A Guide to Painting Seashells in Watercolour
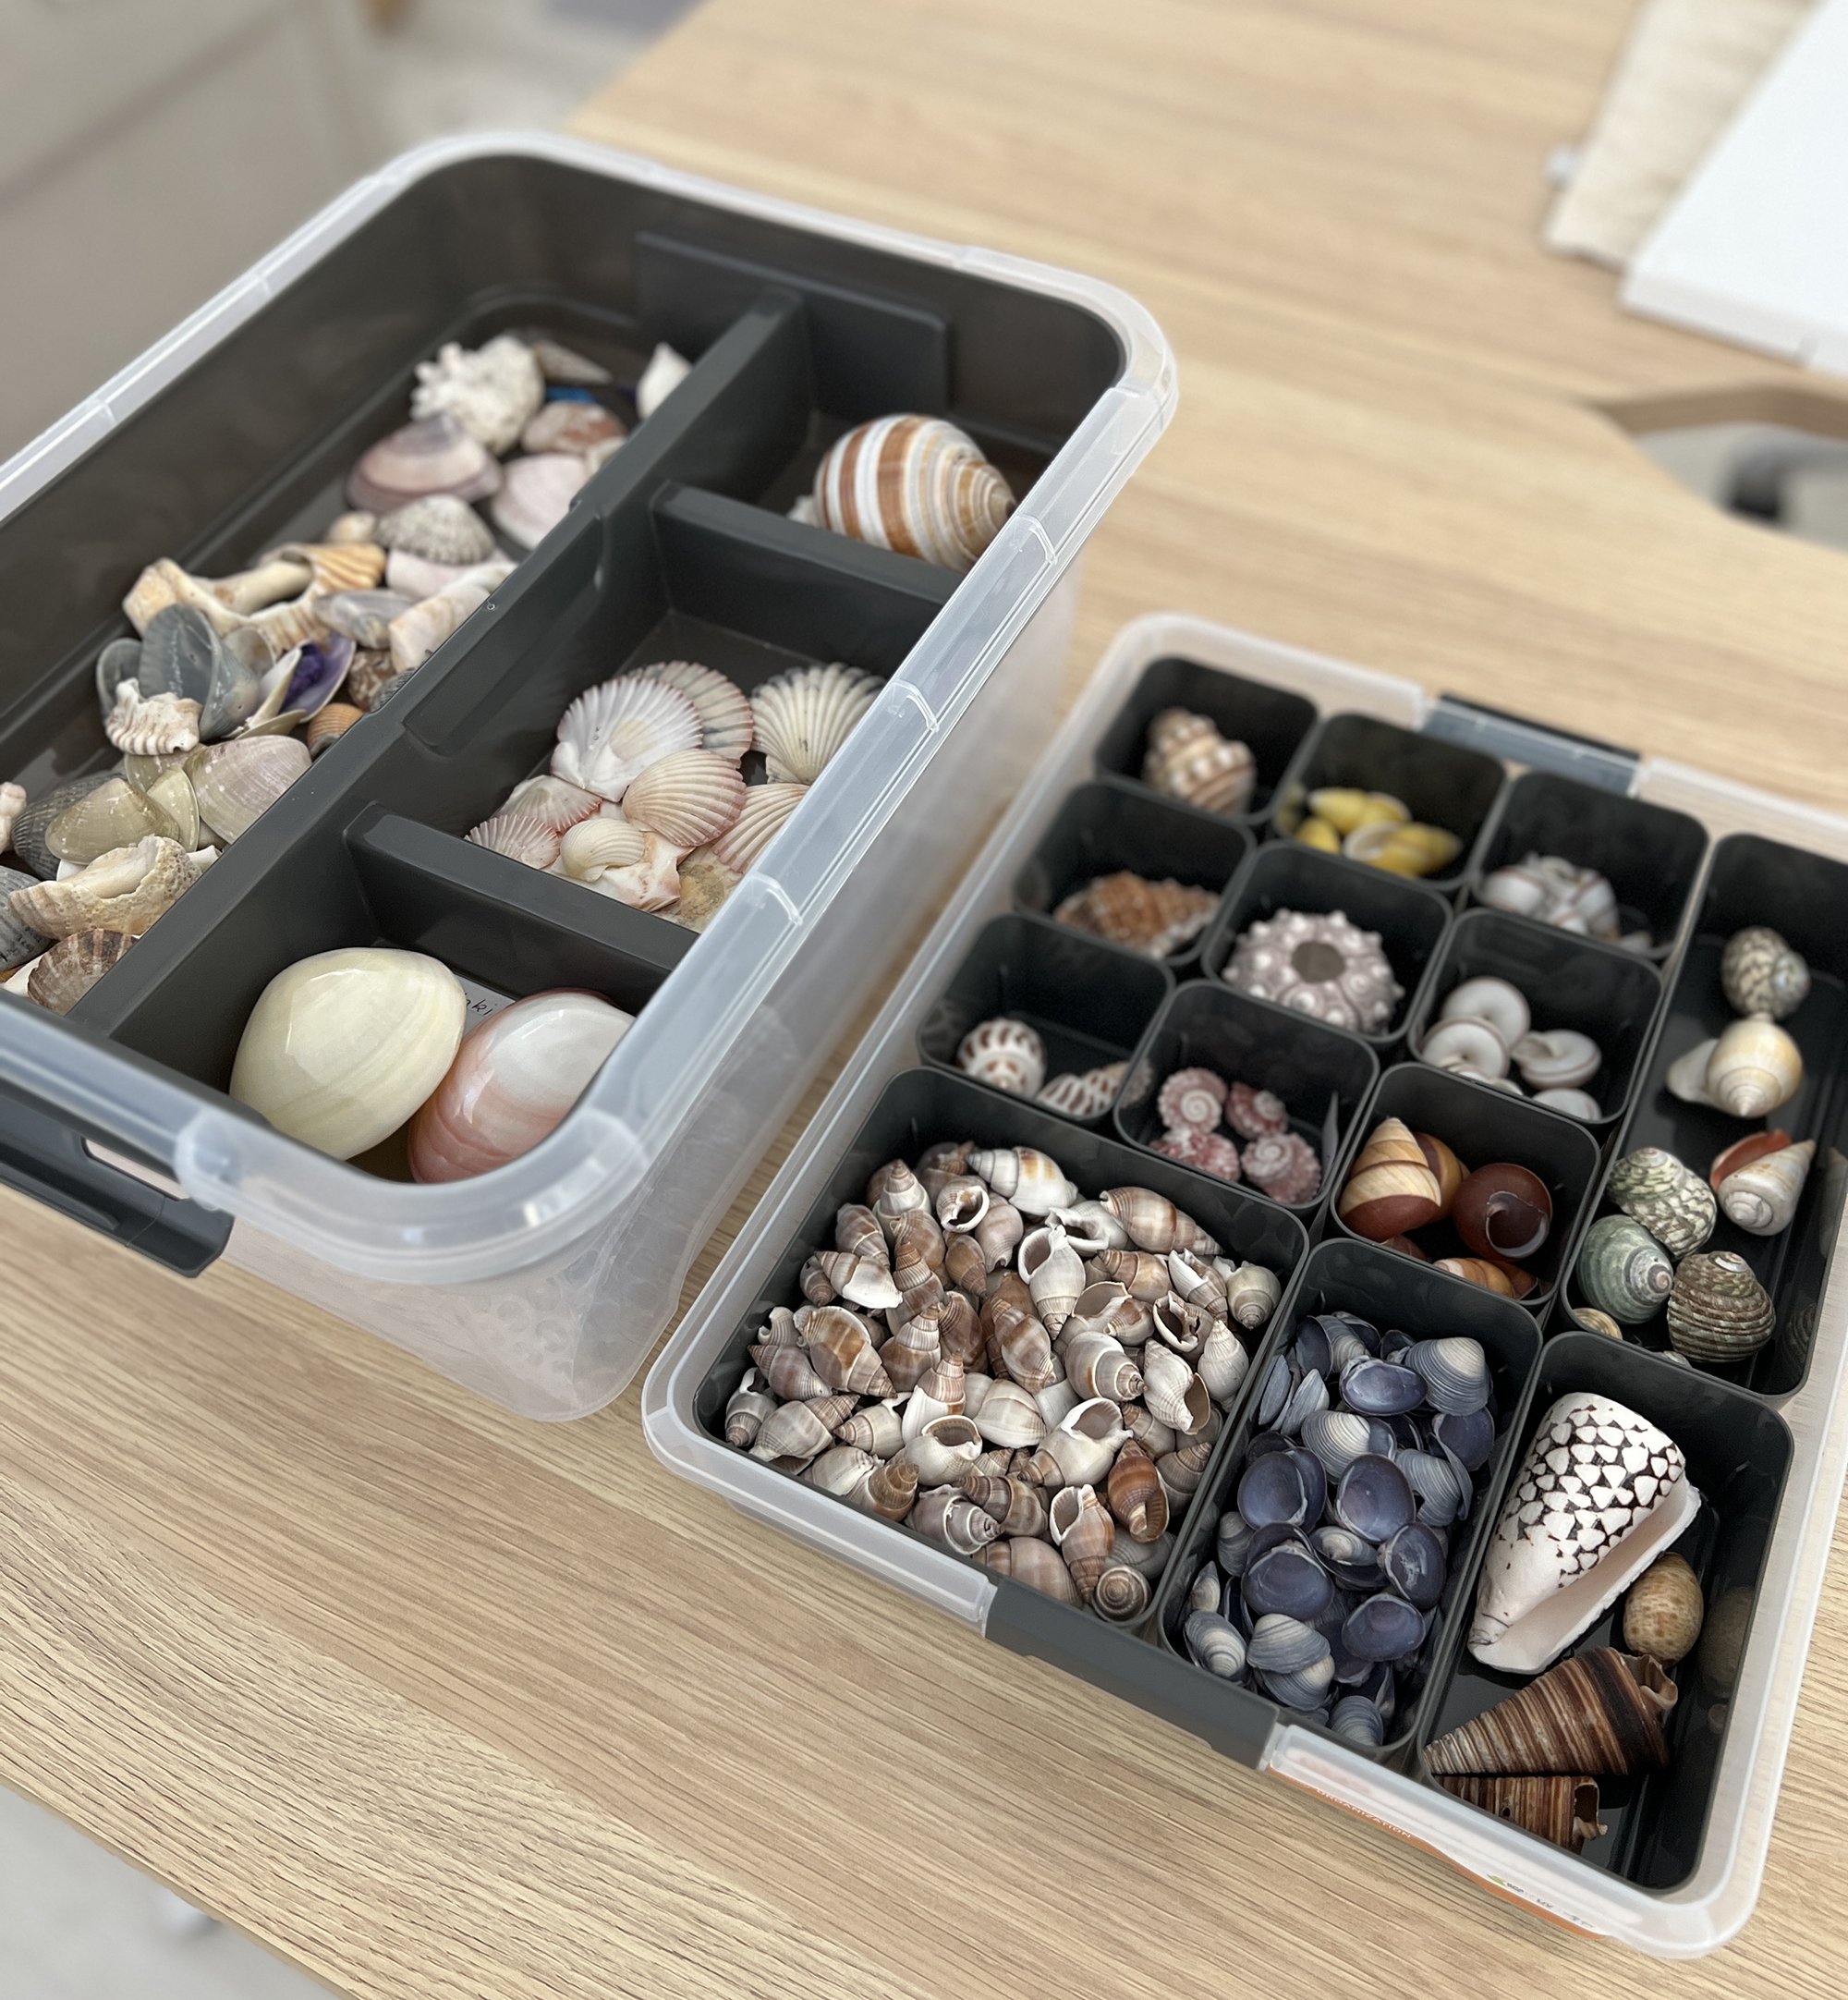
Seashells sorted into containers.
I have quite a few sea shells! I recently sorted them all into containers and in doing that I was inspired to paint this painting.

Composing the seashells into an arrangement that I found pleasing took a little while. At first I placed some of my larger shells onto a piece of white cardboard side by side but that looked a bit stiff and formal.

So then I had an idea. I tipped out all of my violet cay cay shells and moved all of them around until I was happy with the way they were sitting.
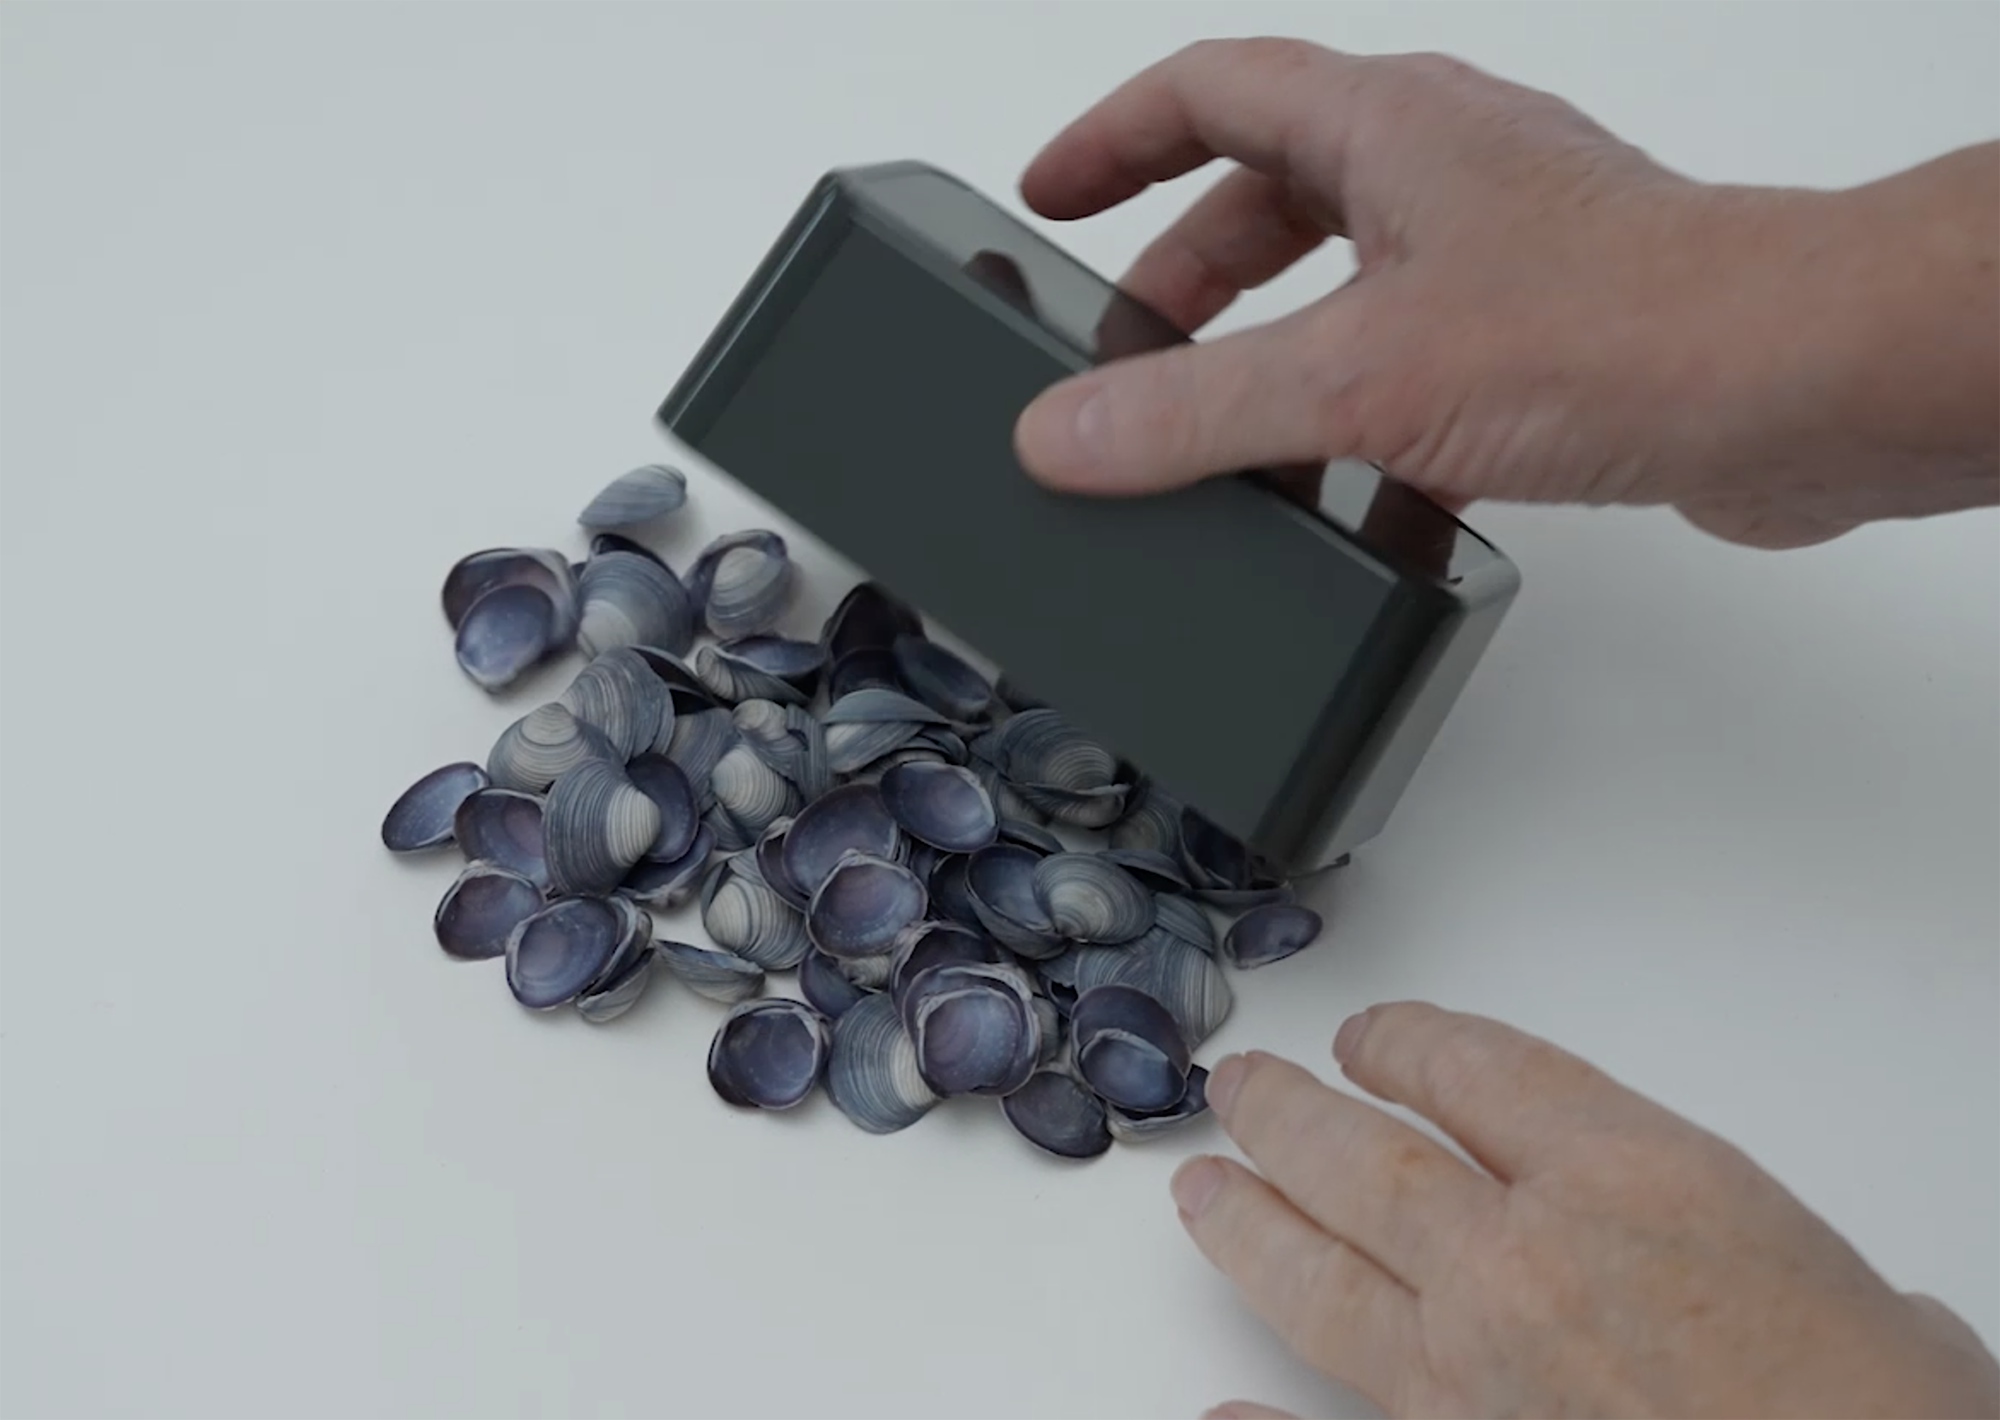
Because the cay cay shells are violet in colour, I immediately grabbed two of the larger shells I had that had natural yellow colourings and I placed them on top of the cay cay shells. I thought that would allow me to use a complementary colour scheme on my painting.
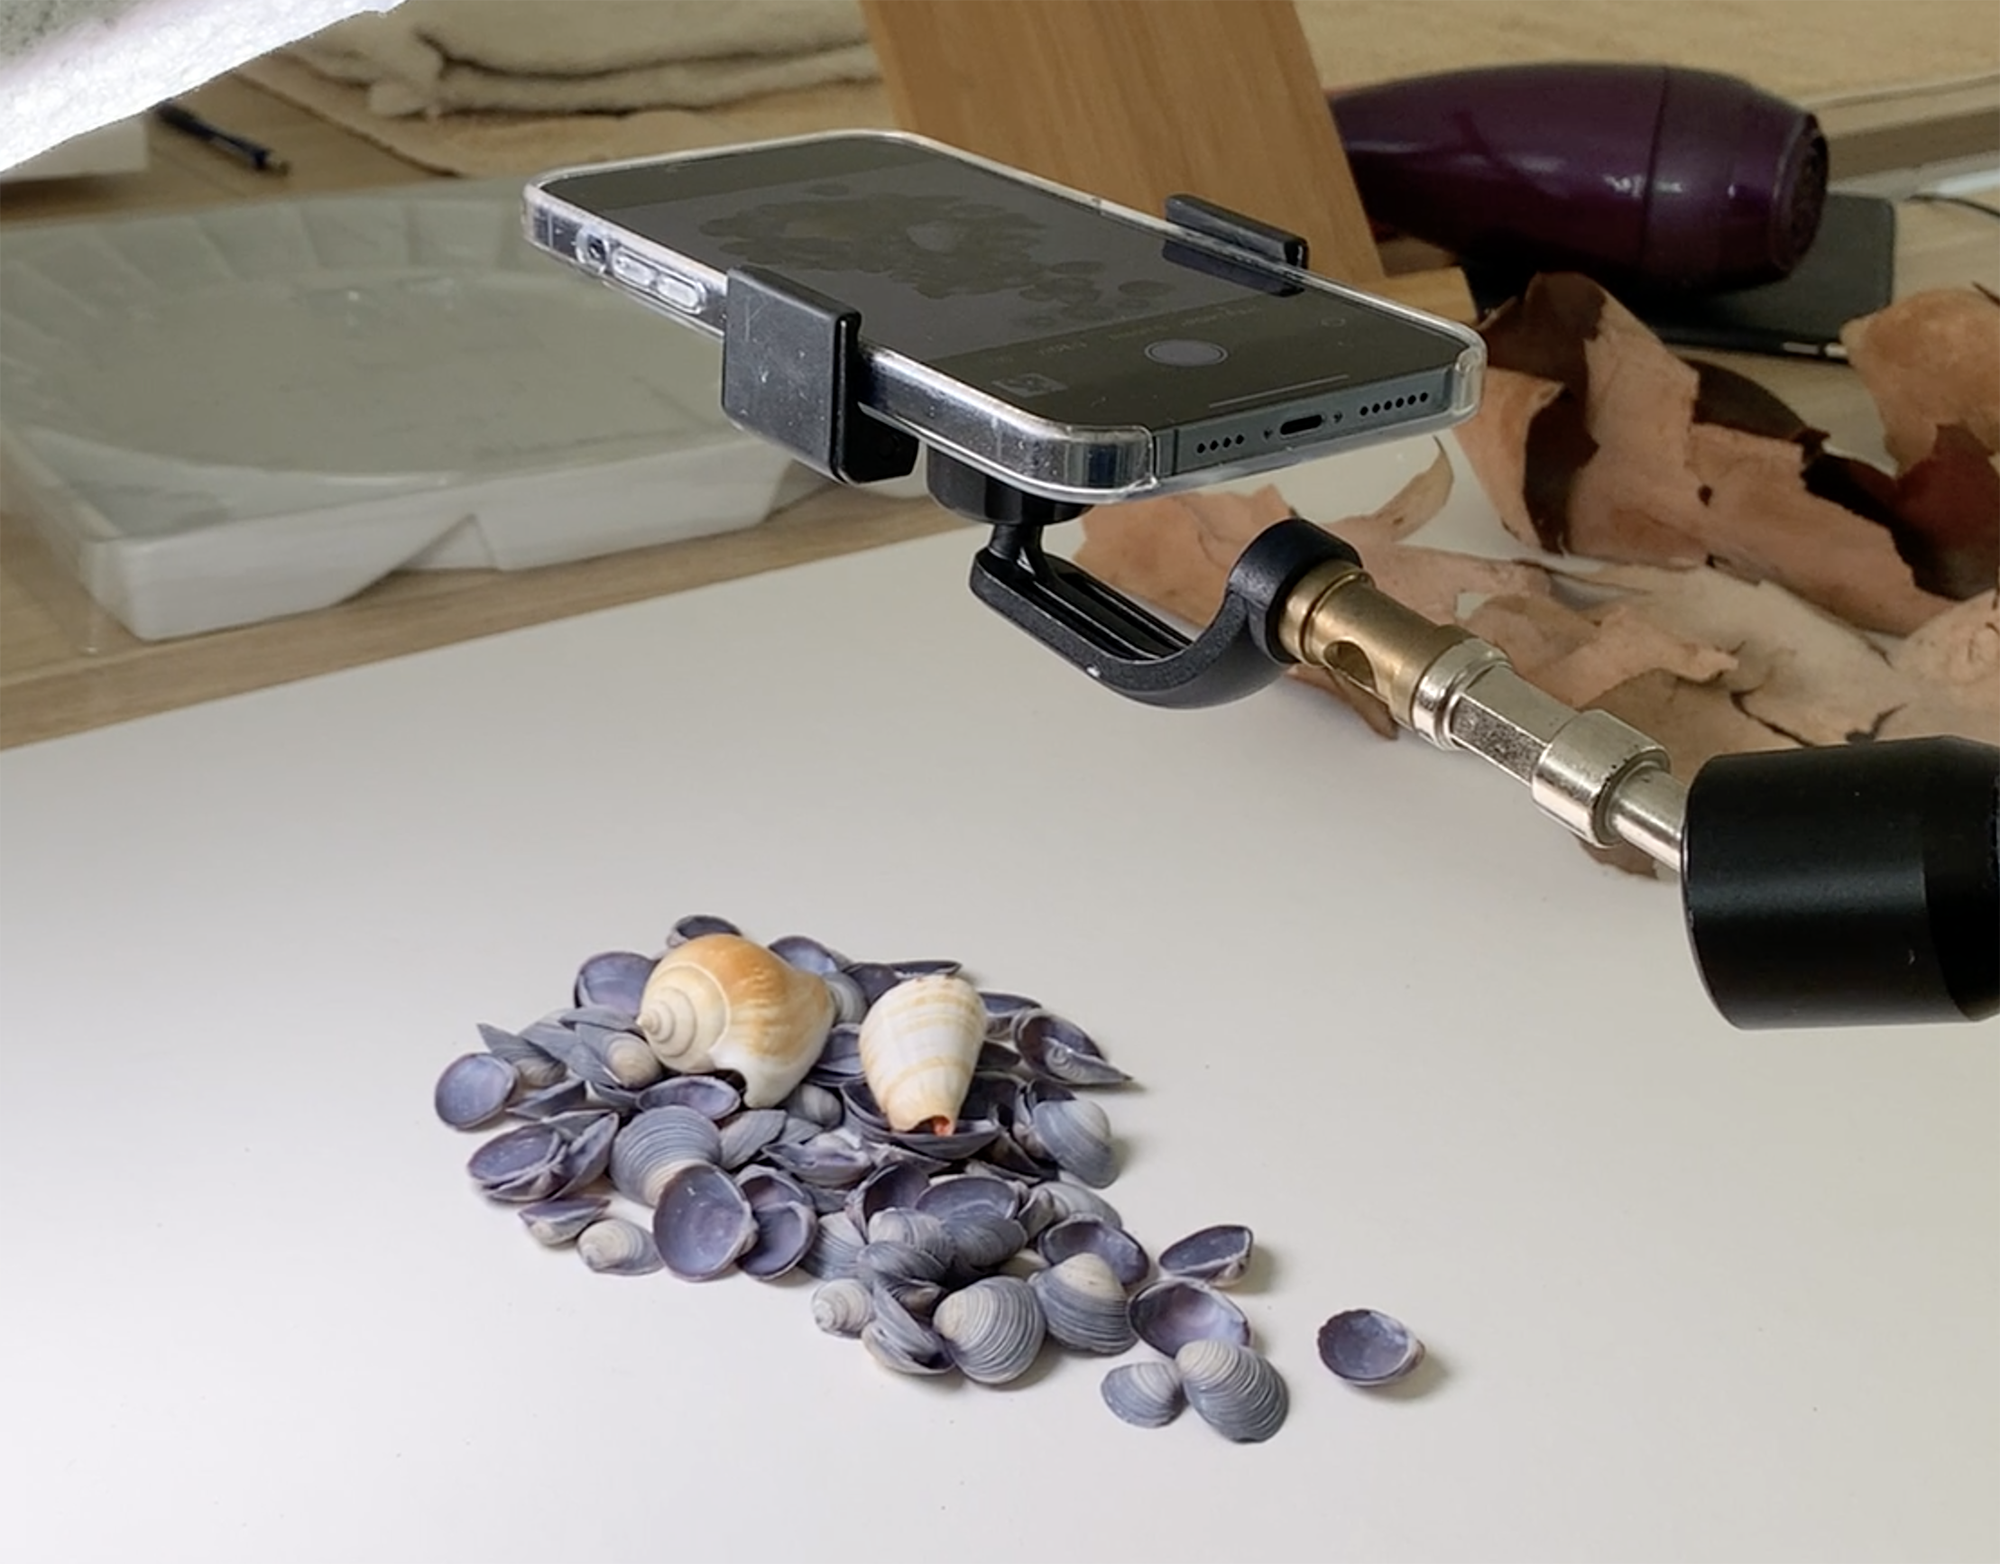
I took a few photos of the arrangement with my phone, I moved the shells around some, took more photos until, eventually, I took a photo that I was happy with and was able to use as reference.
I used a limited palette of only four colours, Winsor & Newton’s Burnt Sienna, French Ultramarine, Permanent Rose and Yellow Ochre, and I painted on a piece of Arches cold press watercolour paper 640gsm.
I painted in a loose wash of grey behind the shells on wet paper and then I began to paint in the cay cay shells that were underneath and around the two larger shells. I worked both wet on wet, and wet on dry and I tried not to dwell too long on the detail of each shell. I painted in the detail that I wanted to include and I left out the rest.
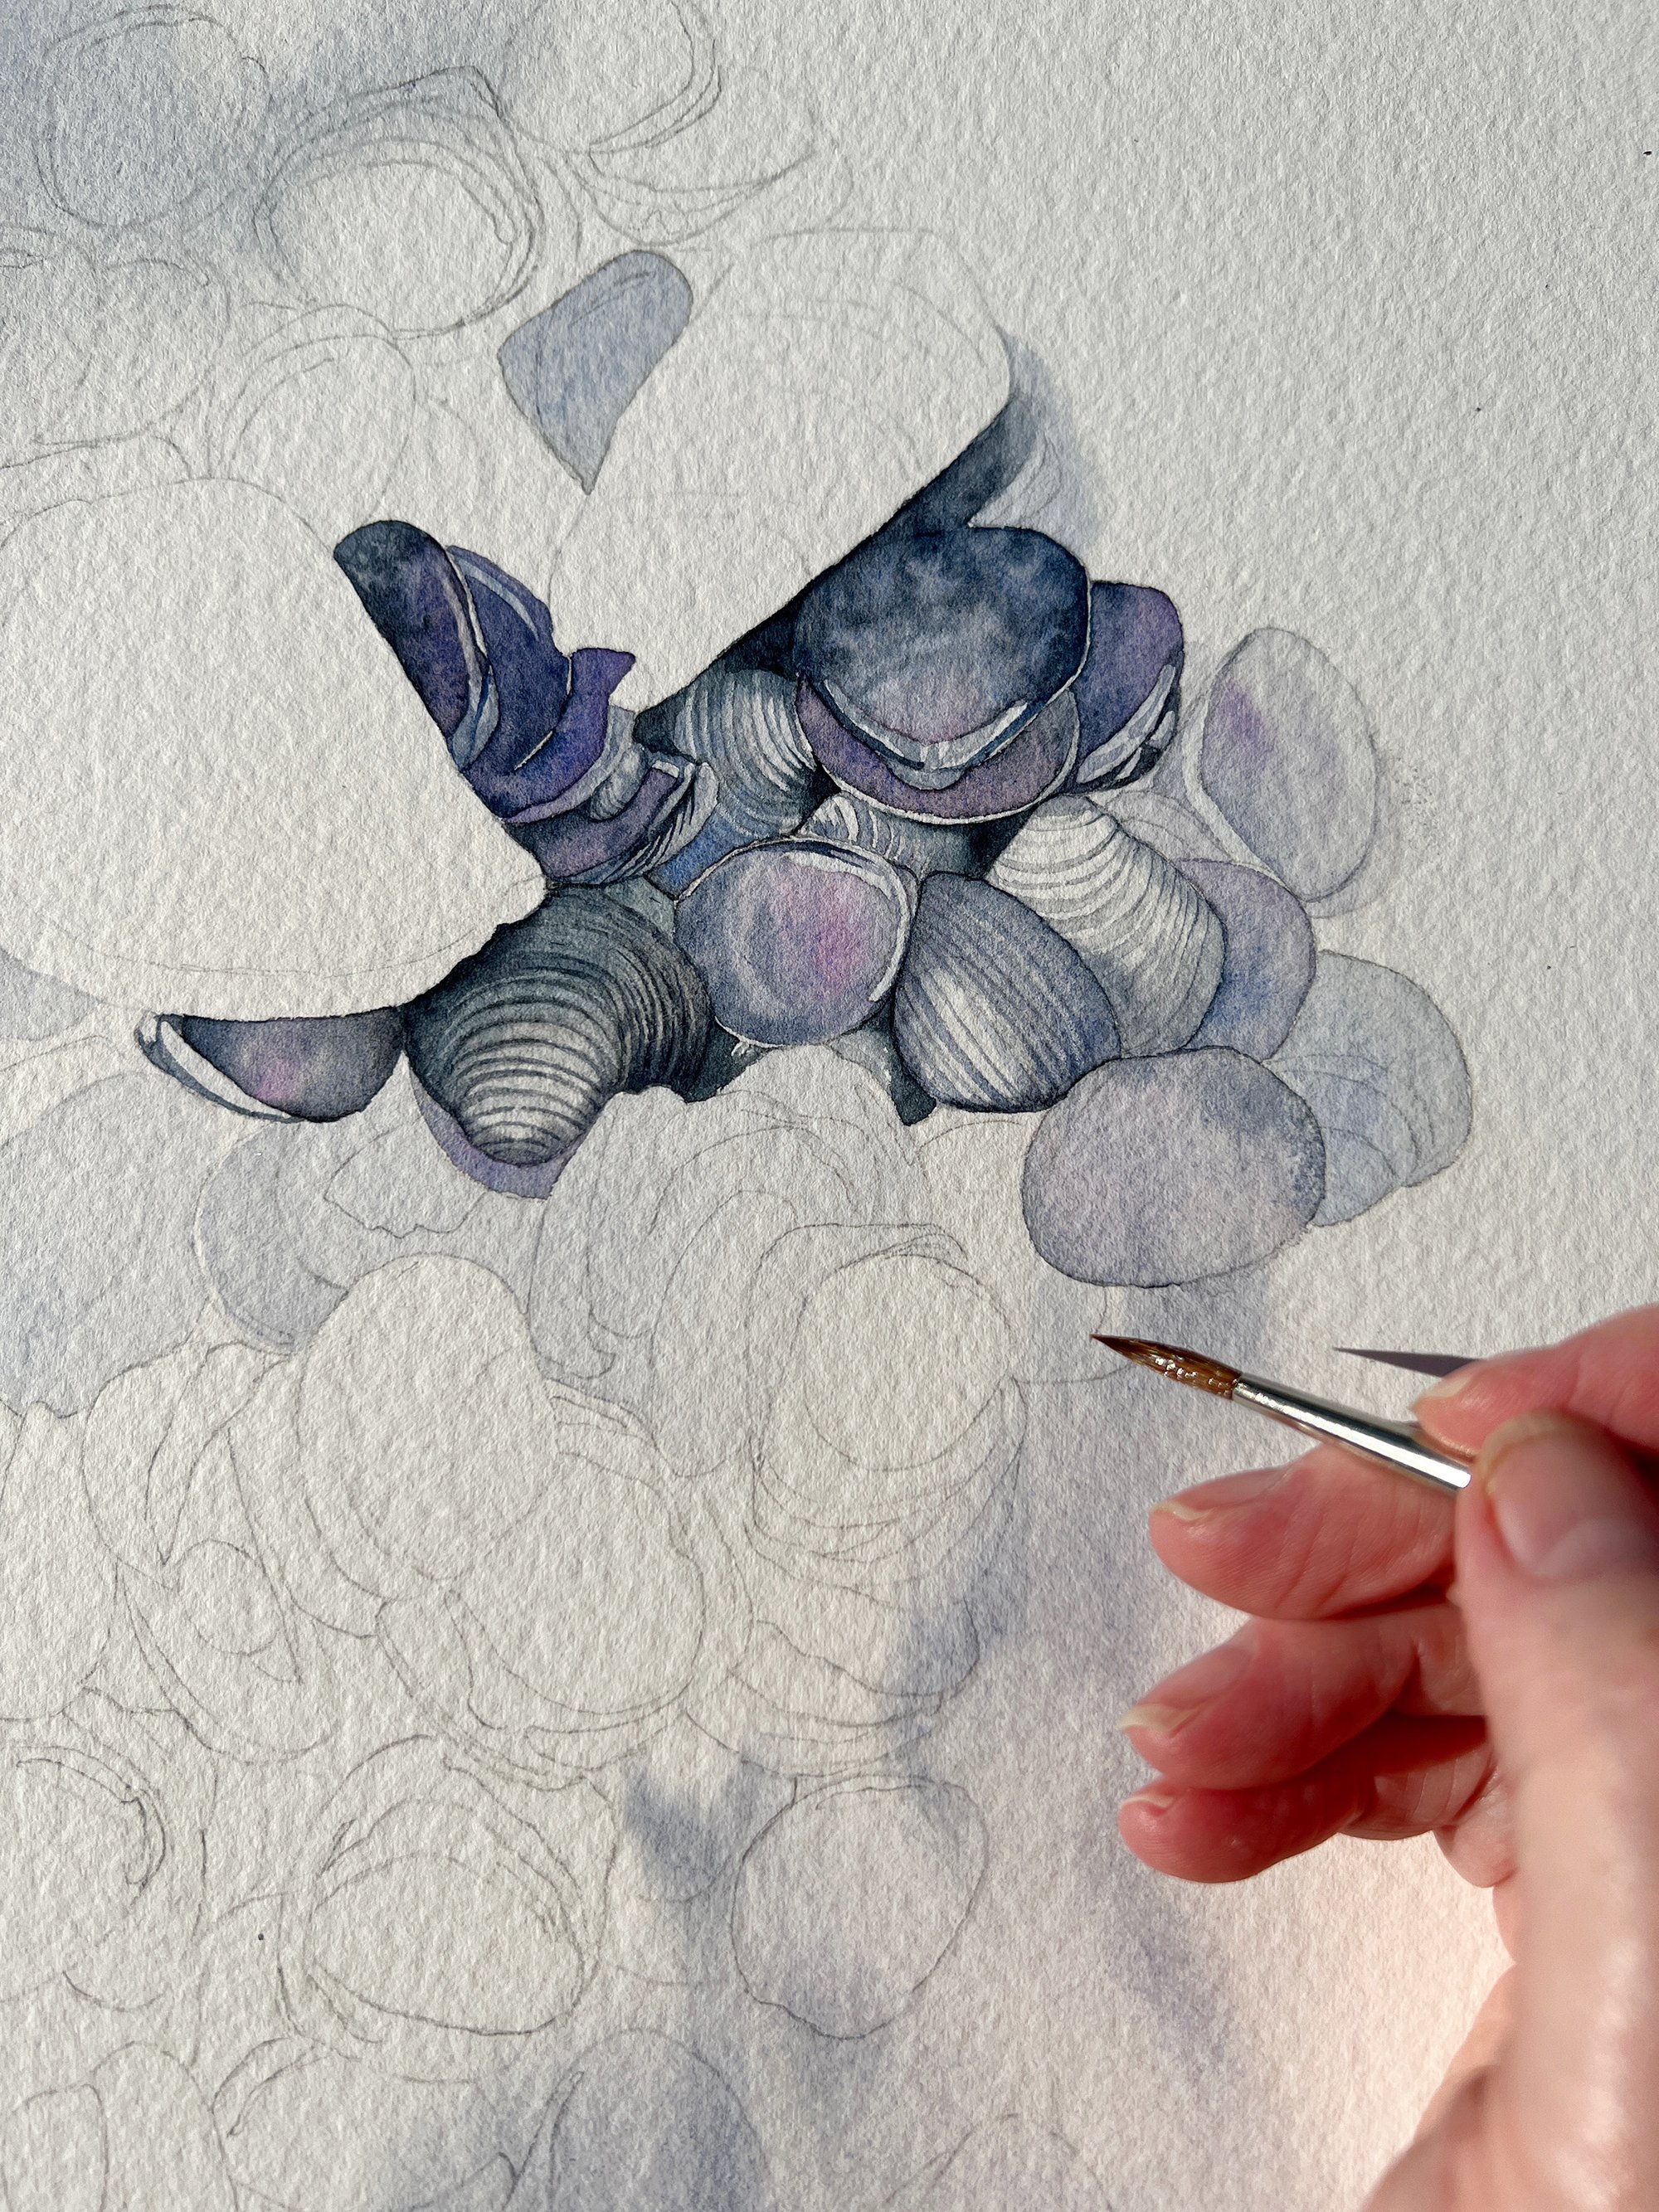
Then I worked on the cay cay shells lower down the painting. I lightened the colour on those shells because I wanted the focus to be around the two larger shells. I also knew that the painting was fairly detailed and I wanted an area where the eye could rest. I was worried that it was looking a bit busy.
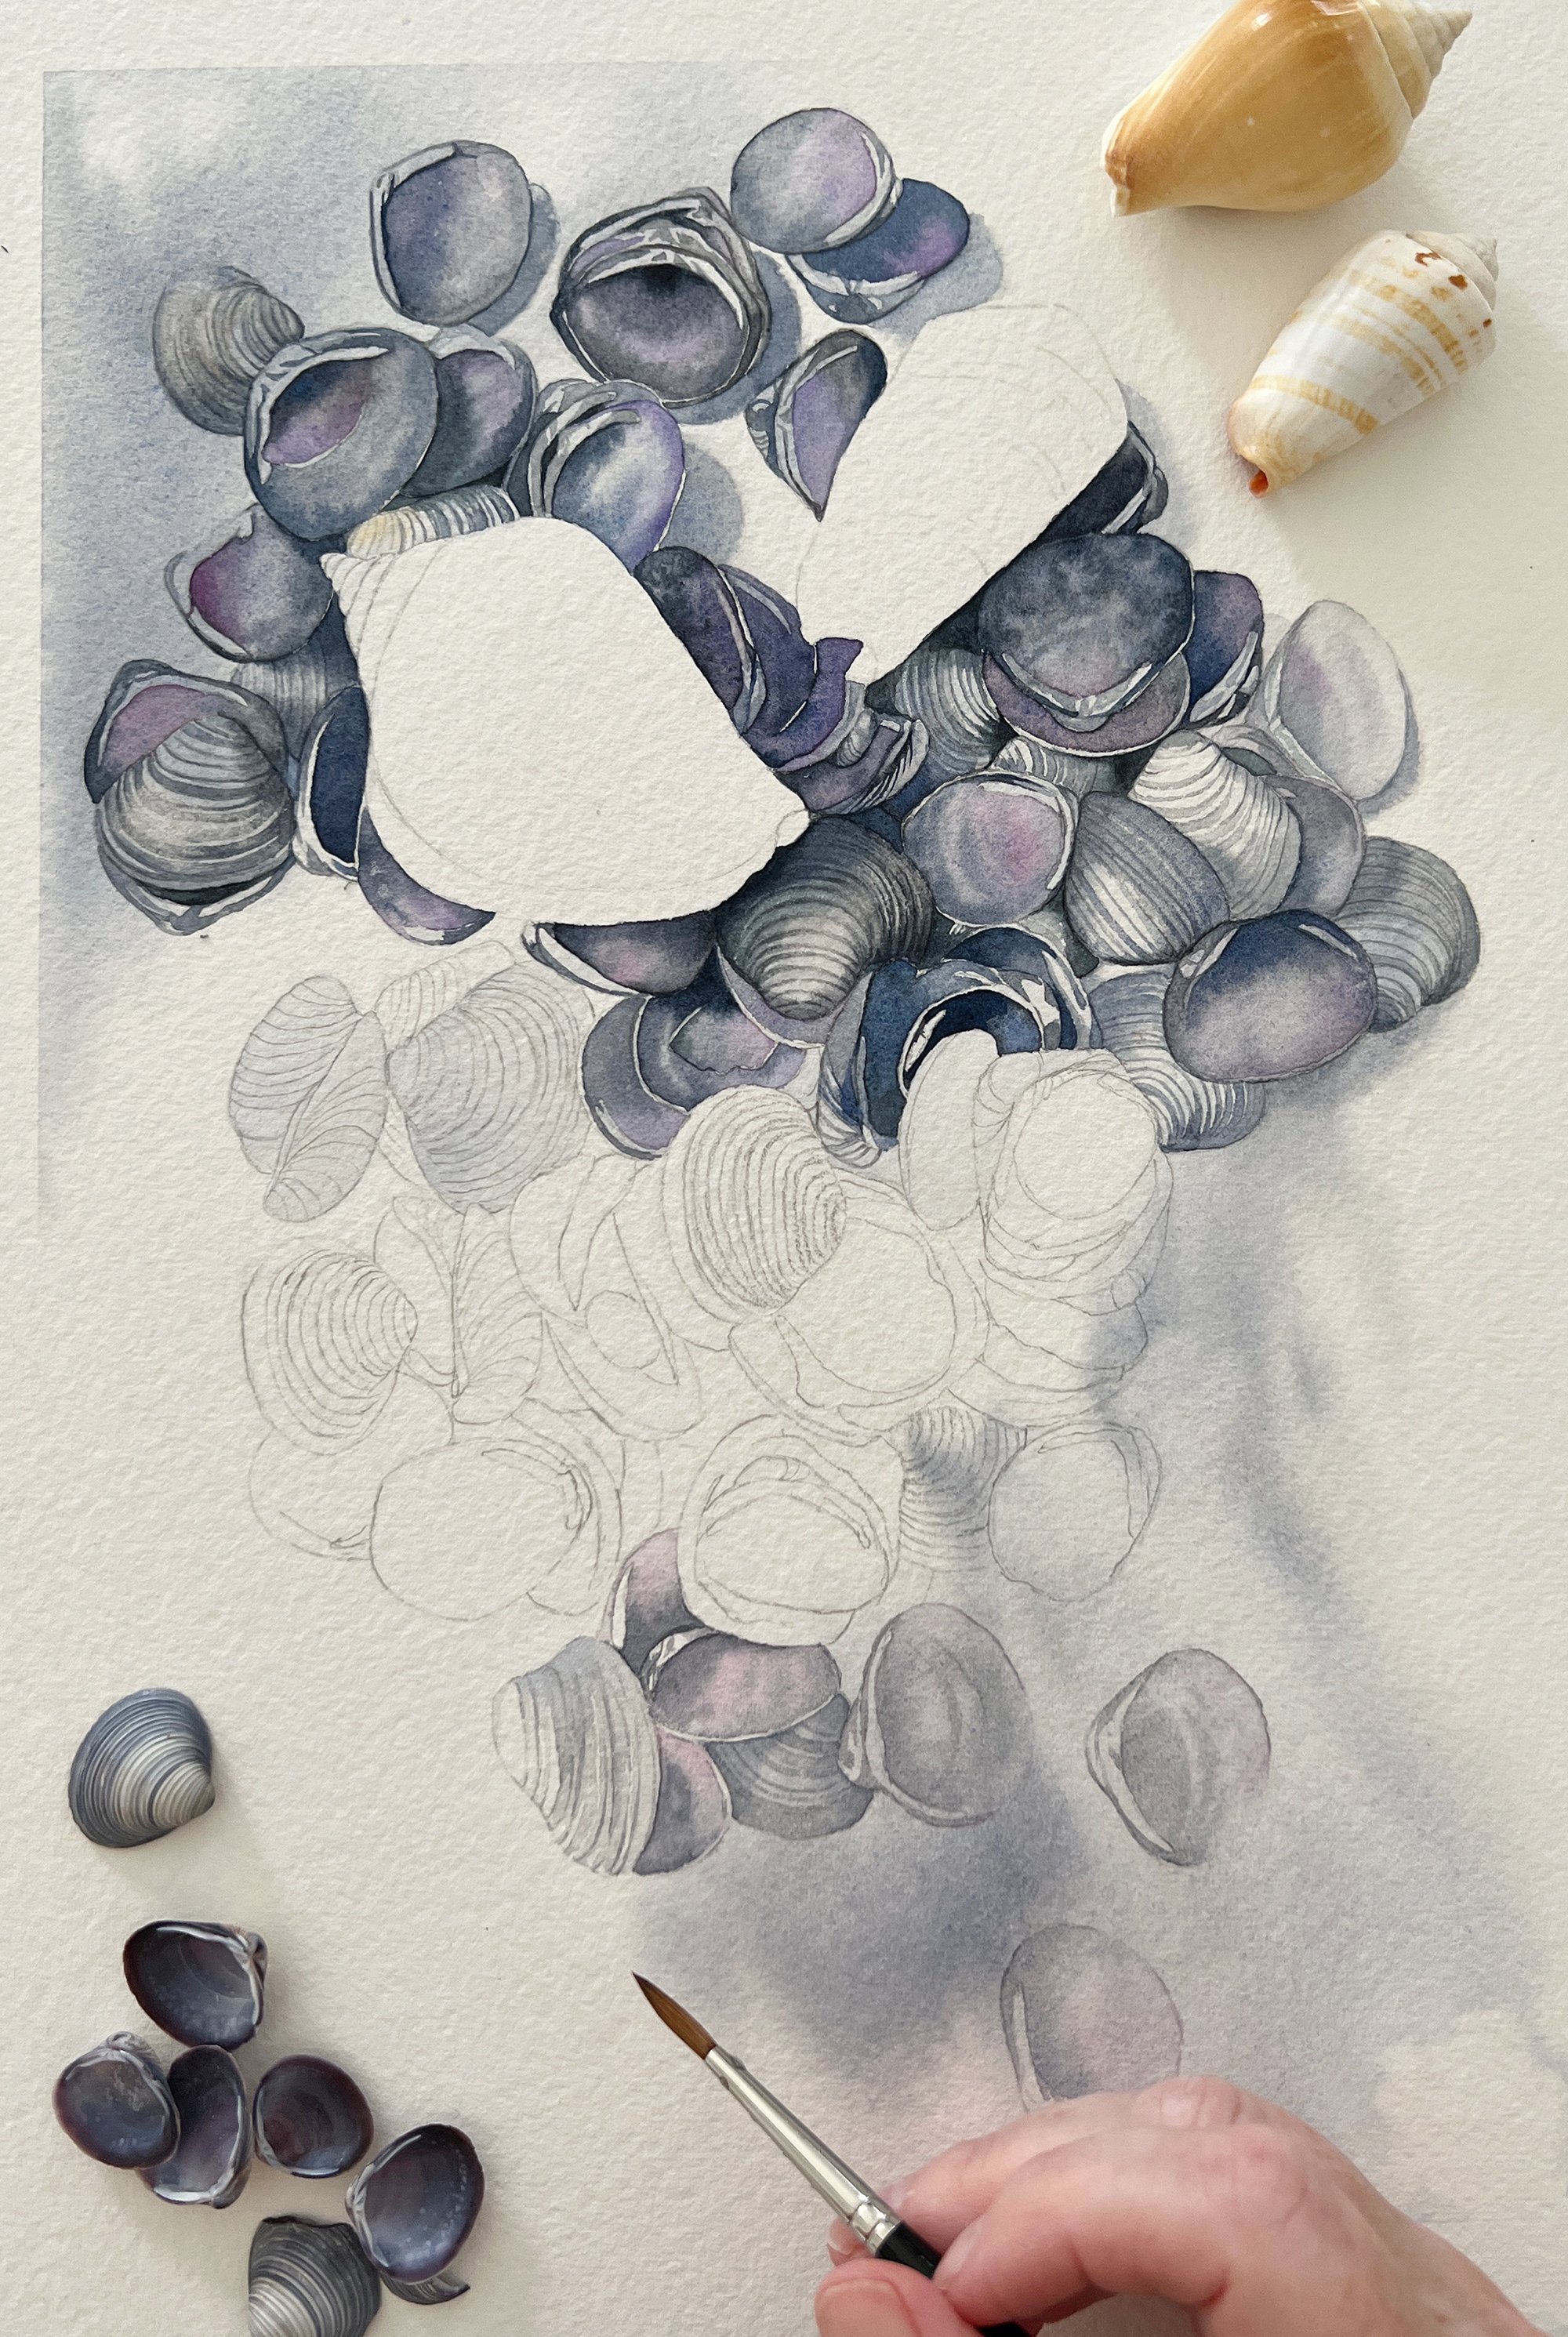
The larger shells were fairly quick to paint. With the shell on the left, I wanted to paint the yellow area in one layer. The first wash is always the freshest so I did my best to get most of what I needed in one layer.

When I had painted all the shells, I washed over some of the Yellow Ochre onto the background because I felt that the painting needed a bit of warmth here and there.
You can watch my painting technique in the video below.
I rarely get to paint for pleasure these days so this was a painting I completed for myself and the subject is a bit more complex than what I would normally choose for a tutorial. I thoroughly enjoyed painting these shells and I painted a simpler seashell watercolour painting using the same shells for my patrons, it’s pictured below.
I have a tutorial of the simpler painting on Patreon available now.
