Help! My watercolour paper dries too fast when I work wet on wet.
Hand up if your watercolour paper dries too fast when working wet on wet.

In watercolour painting, the problem of paper drying too fast is a common headache for artists. Recently, I tried two quick fixes, Gum Arabic and Ox Gall Liquid, hoping they'd help. Unfortunately, they didn't work as expected. In this blog post, I'll share what happened when I used these mediums and I'll talk about other techniques I've found to deal with the issue of paper drying too quickly in watercolour painting.
What is Gum Arabic used for in watercolor painting?
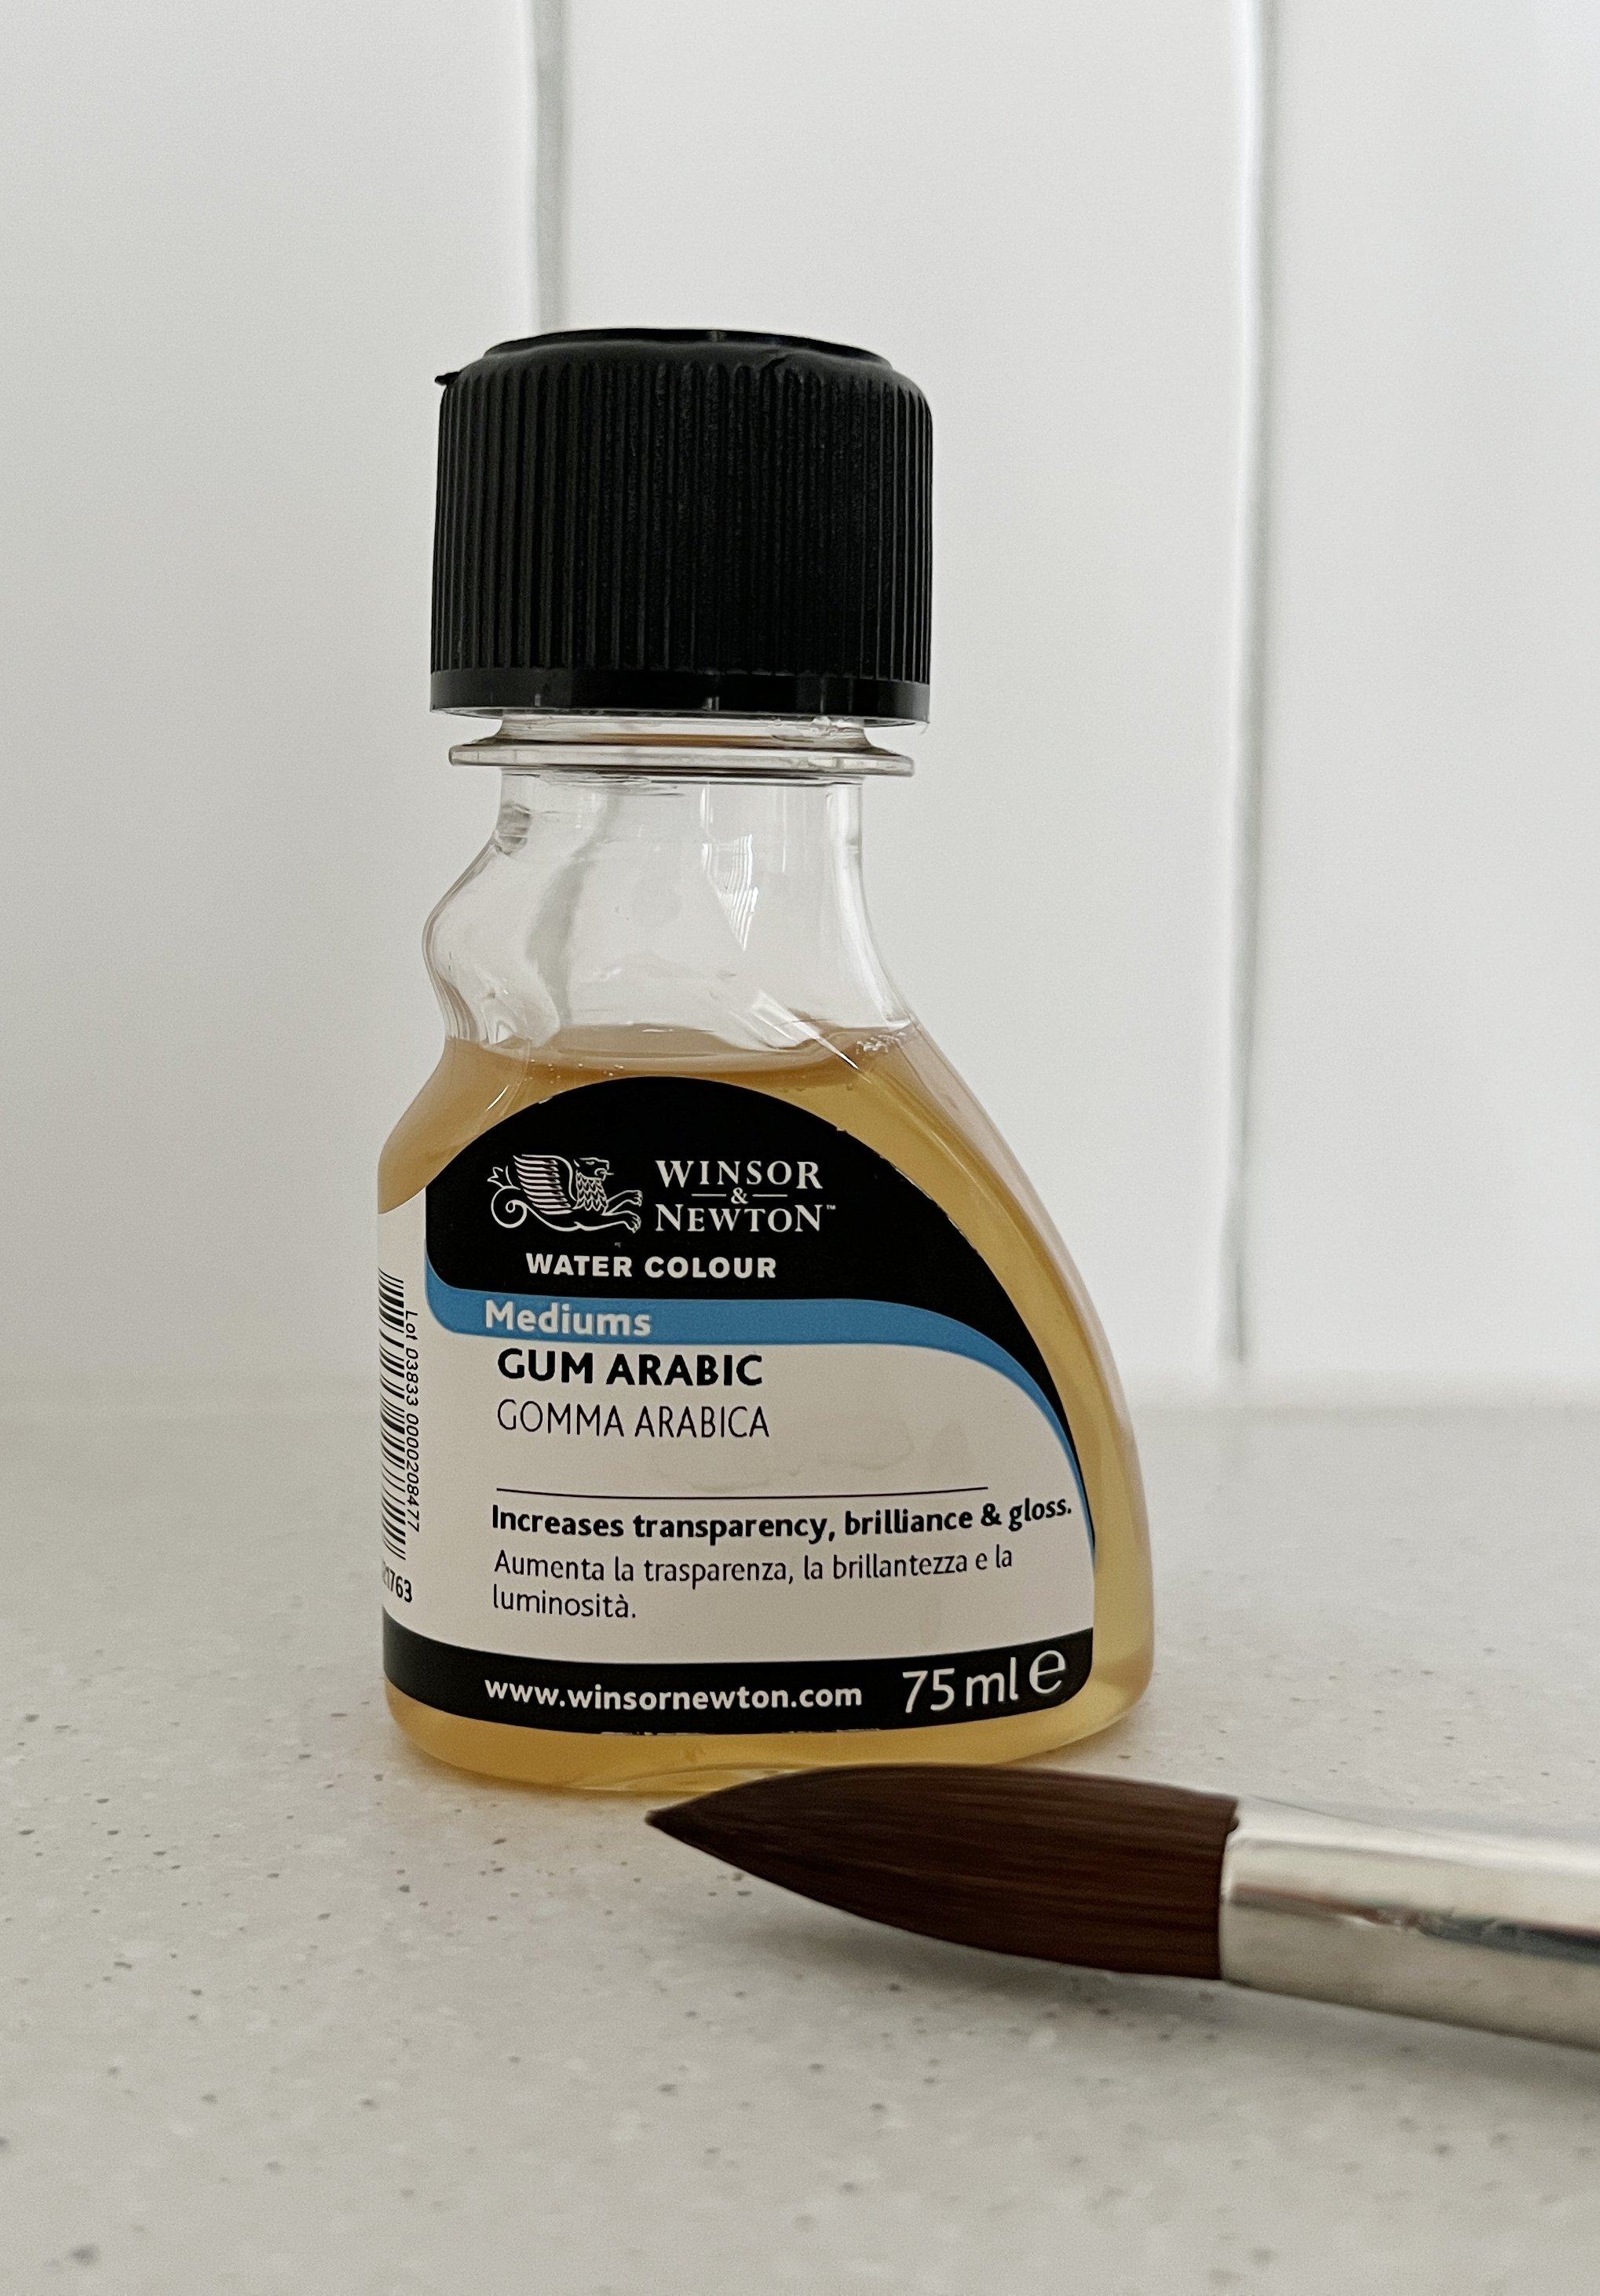
Gum arabic is a natural water-soluble resin that is used as a binder and medium in watercolour paint.
It can also be used as a medium that you add to your paint or you can add a few drops to the water that you use to wet your paper. It increases the transparency of pigments and it can make them more glossy. It reduces the strength of staining pigments and makes them easier to lift and it increases the drying time of the paint.
What is Ox Gall Liquid used for in watercolour painting?

Ox gall, is mainly used to reduce the surface tension of water and paint.
When you add ox gall to your water mixture, it helps the paint spread more evenly across the paper. It reduces the tendency of the paint to bead up or resist wetting the paper surface, which can be especially useful when painting on hard-sized papers. If you add some ox gall to the water you use to wet your paper, technically it should aid blending and give you more time to work wet on wet.
Ok sounds fabulous!
I thought this might be a solution that will help all of my students who have difficulty with their paper and paint drying too fast.
Testing Gum Arabic and Ox Gall to increase the drying time of watercolour paper

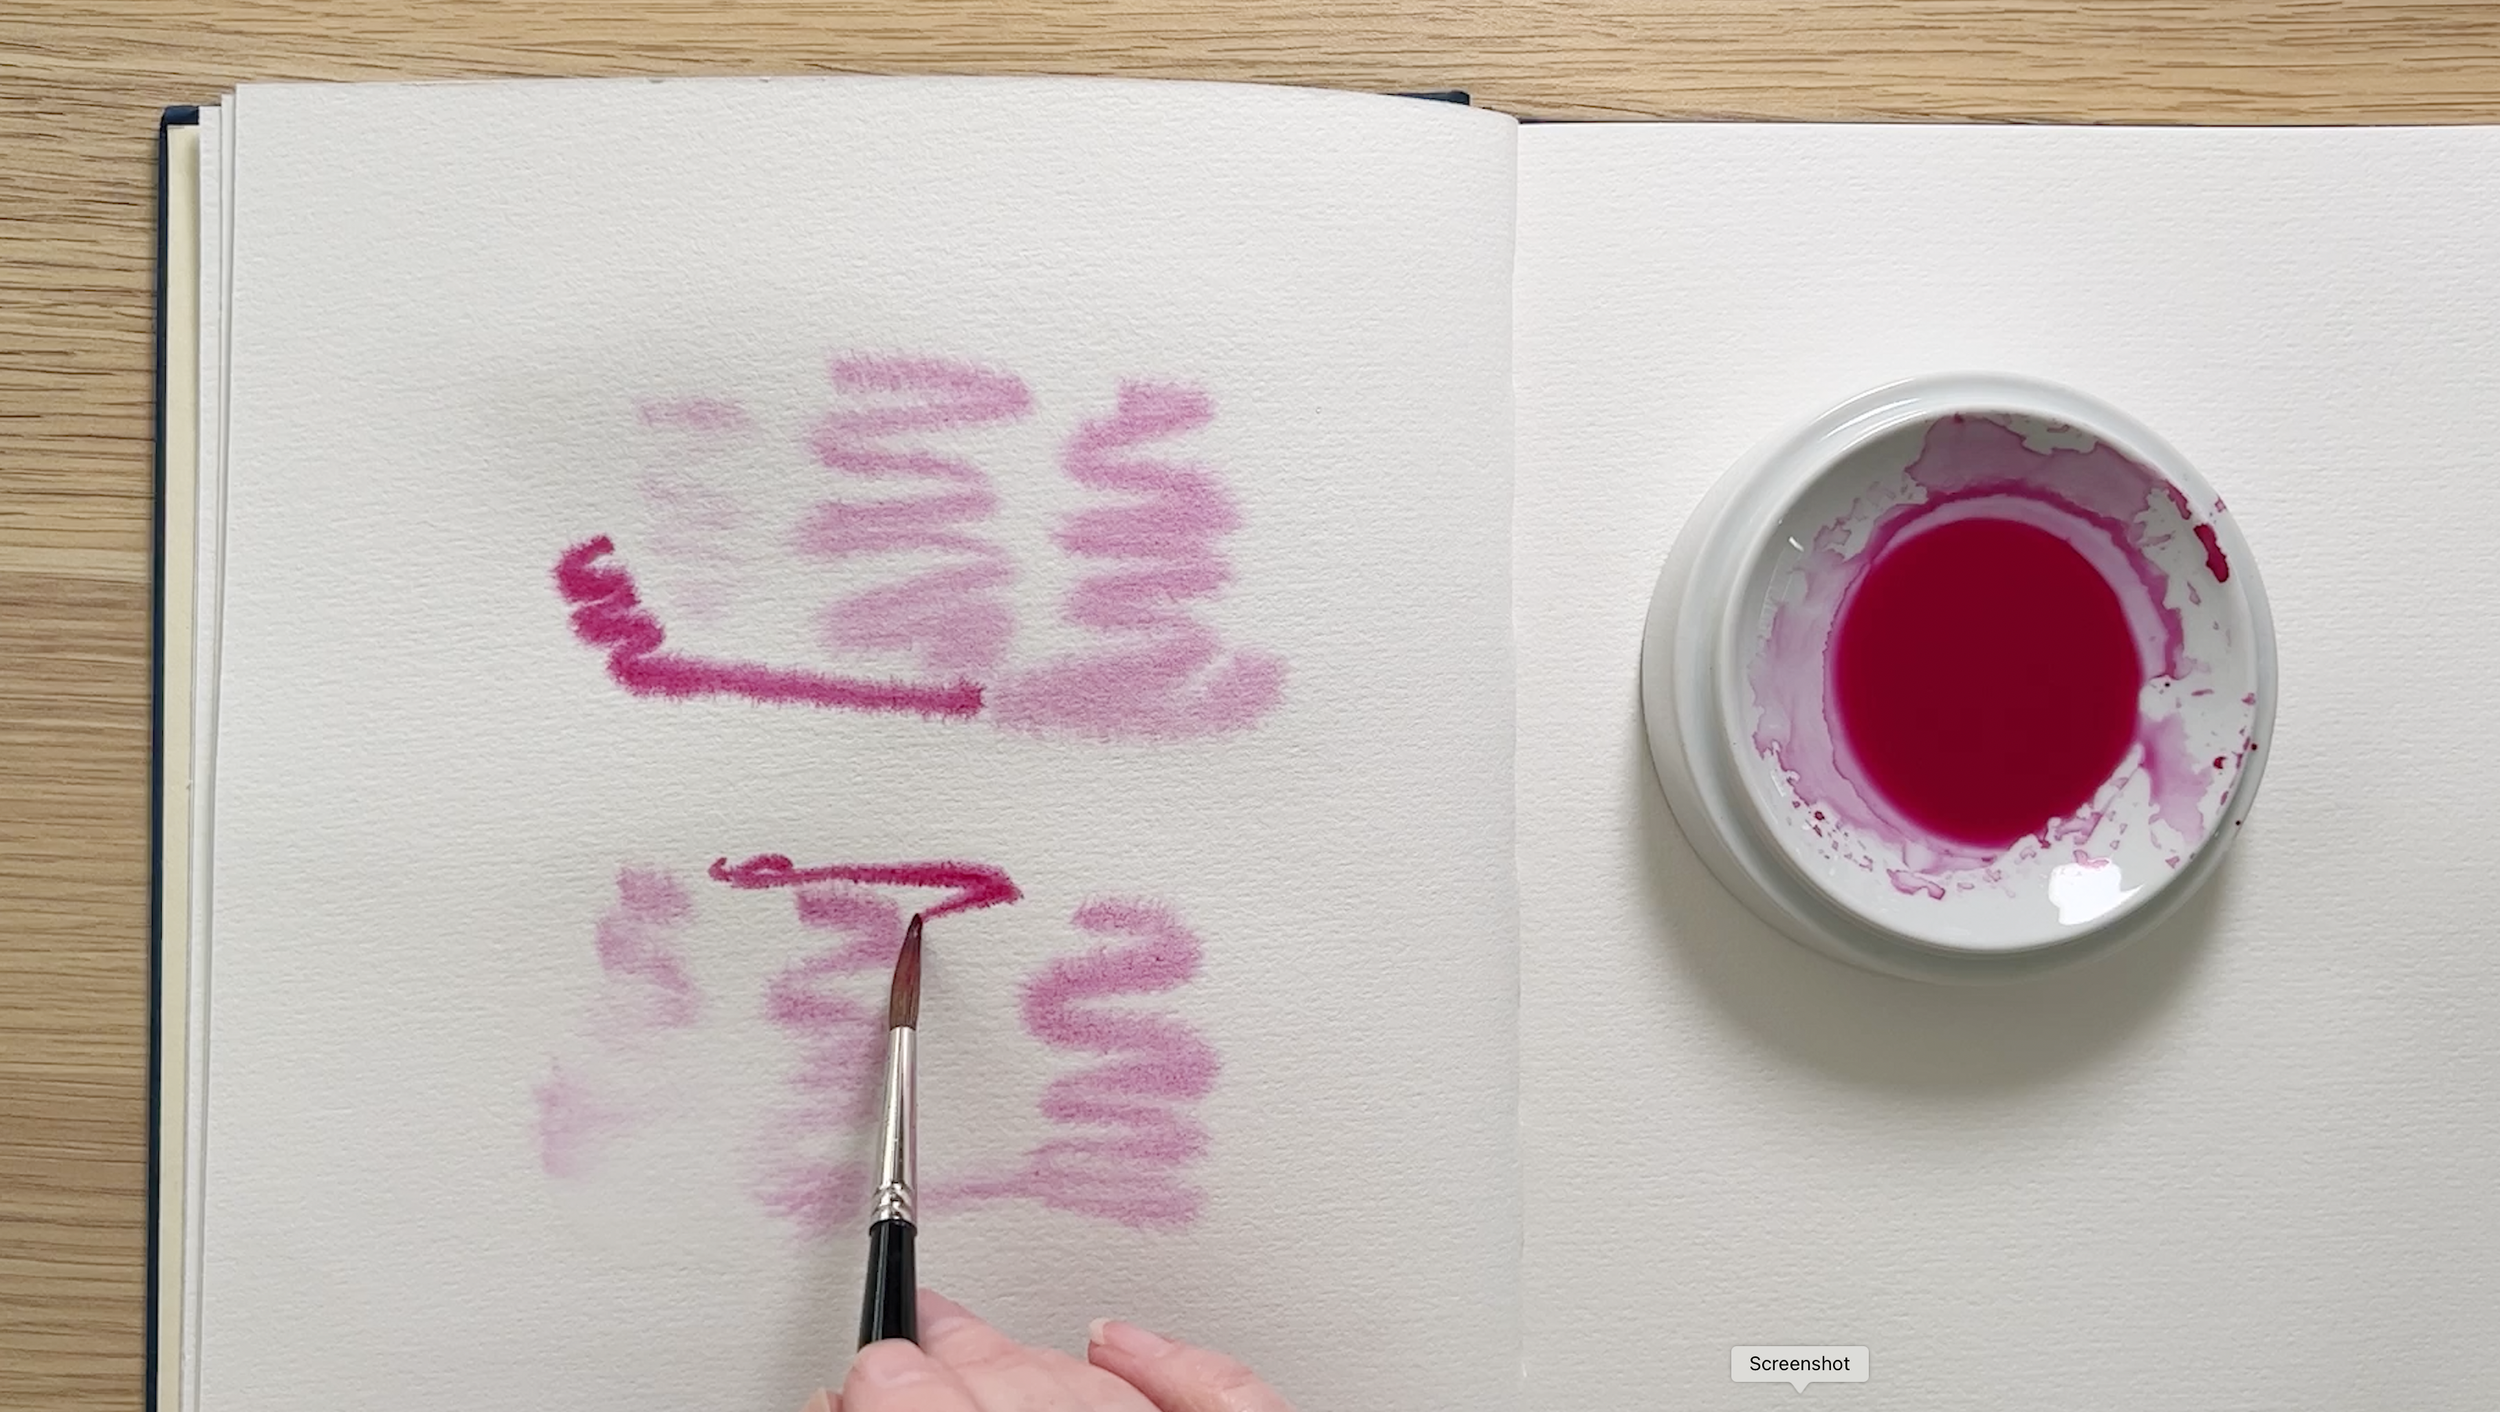
To test both of these mediums, I took two glasses and used two pipettes. In one glass, I put 5 drops of gum arabic, and in the other, I added 5 drops of ox gall liquid. Then, I painted rectangles of each solution in my watercolour diary, alongside a rectangle using just plain water. I watched them dry, and indeed, the rectangles with the mediums mixed into the water stayed wet longer than the rectangle with plain water.
I experimented in my journal with the mediums but I thought the only way to really determine if they would help to keep the paper wetter for longer was to do some paintings while using them.
I tried the gum arabic first. I painted two violas on the same piece of paper (pictured below). With the viola on the left I used gum arabic in the water and with the viola on the right I used plain water. So whenever I wet the paper with water, prior to painting wet on wet, the viola on the left had gum arabic in the water.
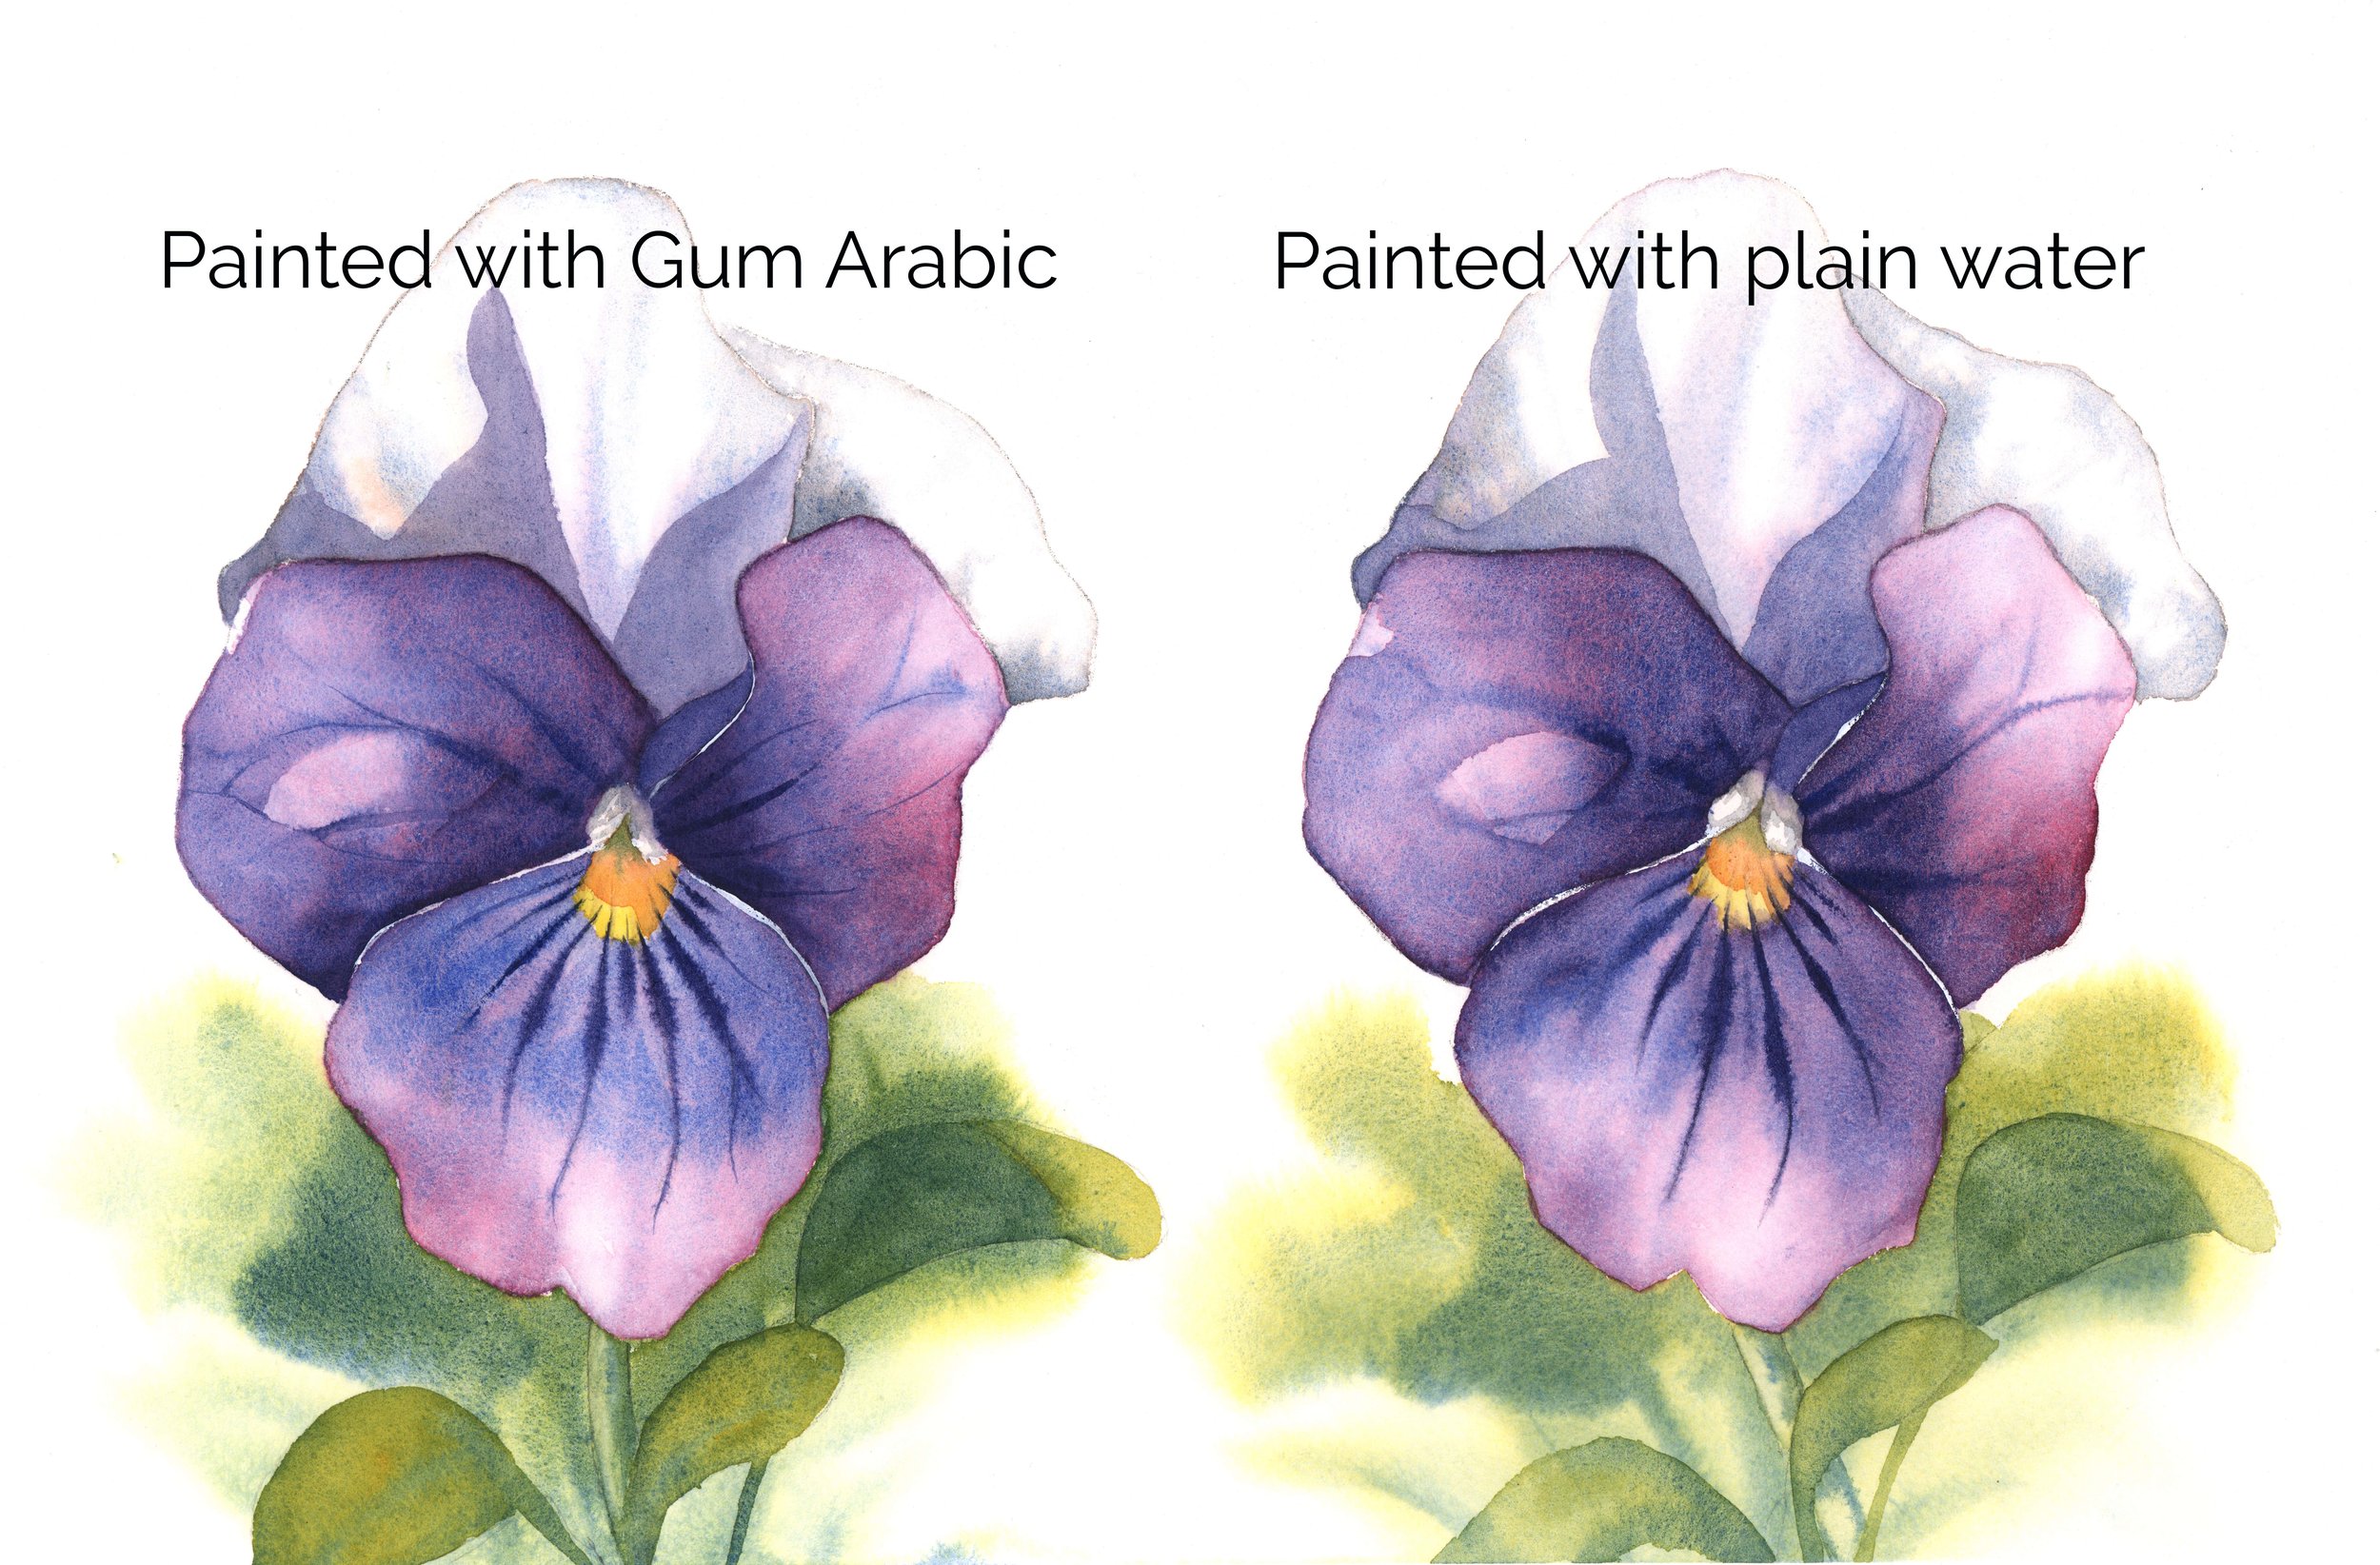
I mainly used the wet-on-wet technique and I didn’t notice a great deal of difference in the drying time between the two violas. I was able to blend the colours just as easily on the viola without the gum arabic added to the water. So, in this particular case, using gum arabic as a wetting agent to prolong the paper's wetness didn't yield the results I had hoped for.
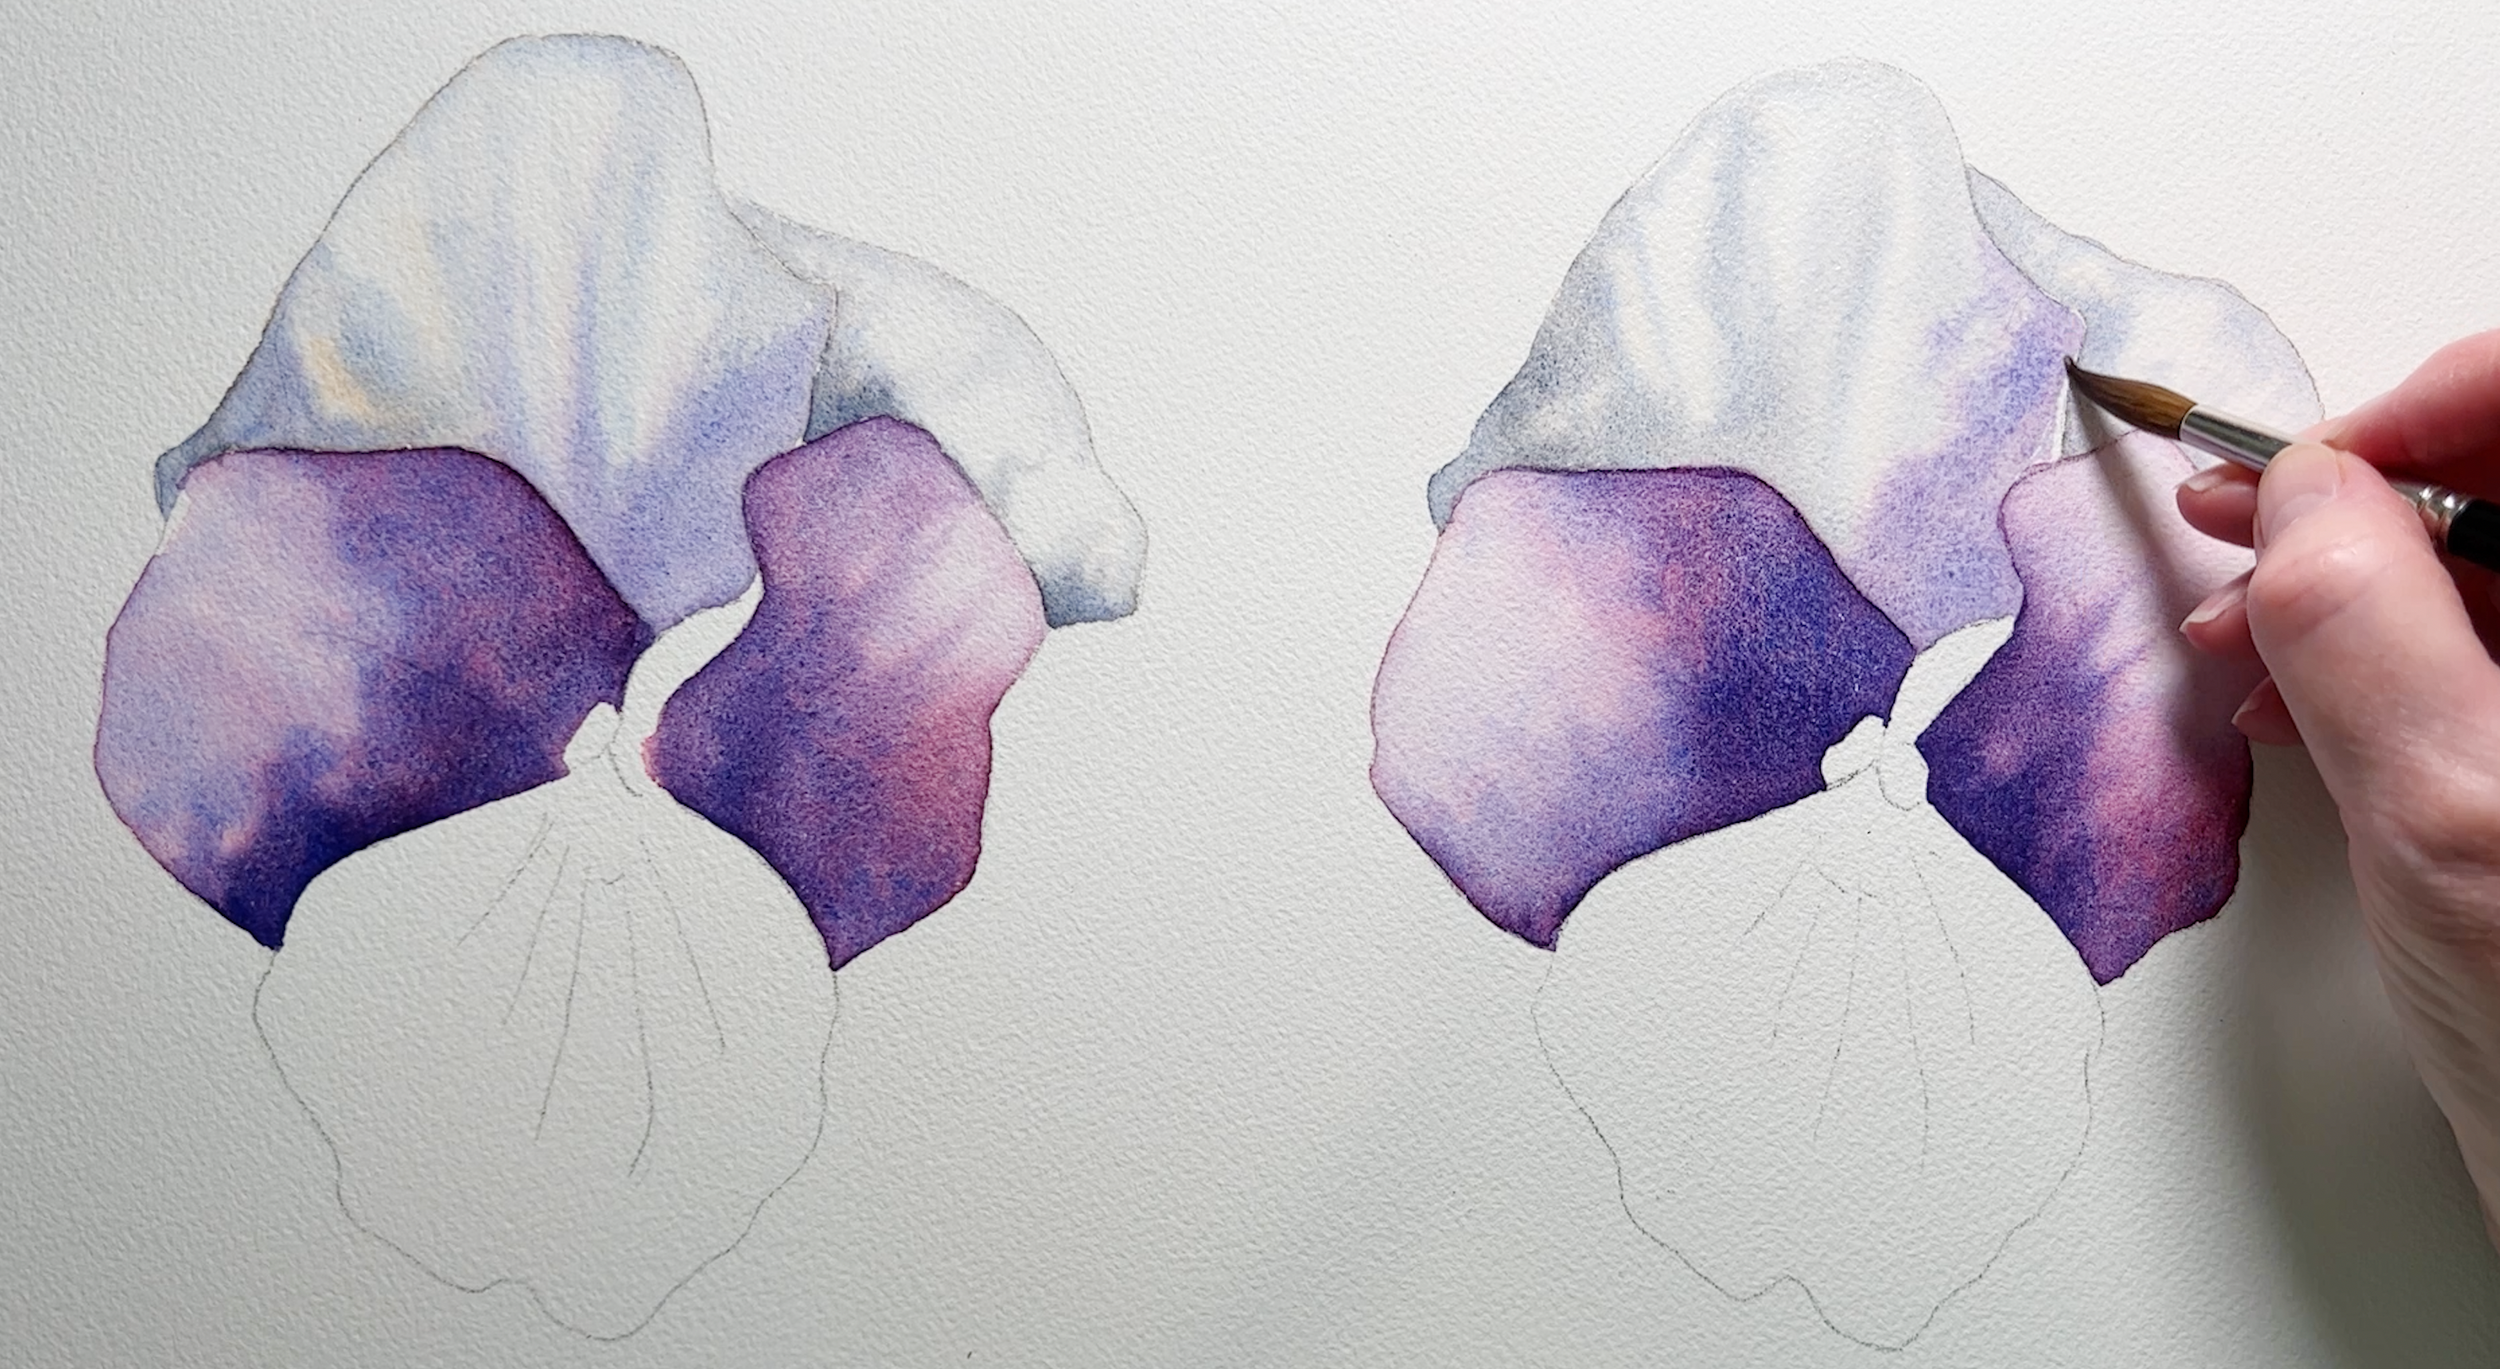
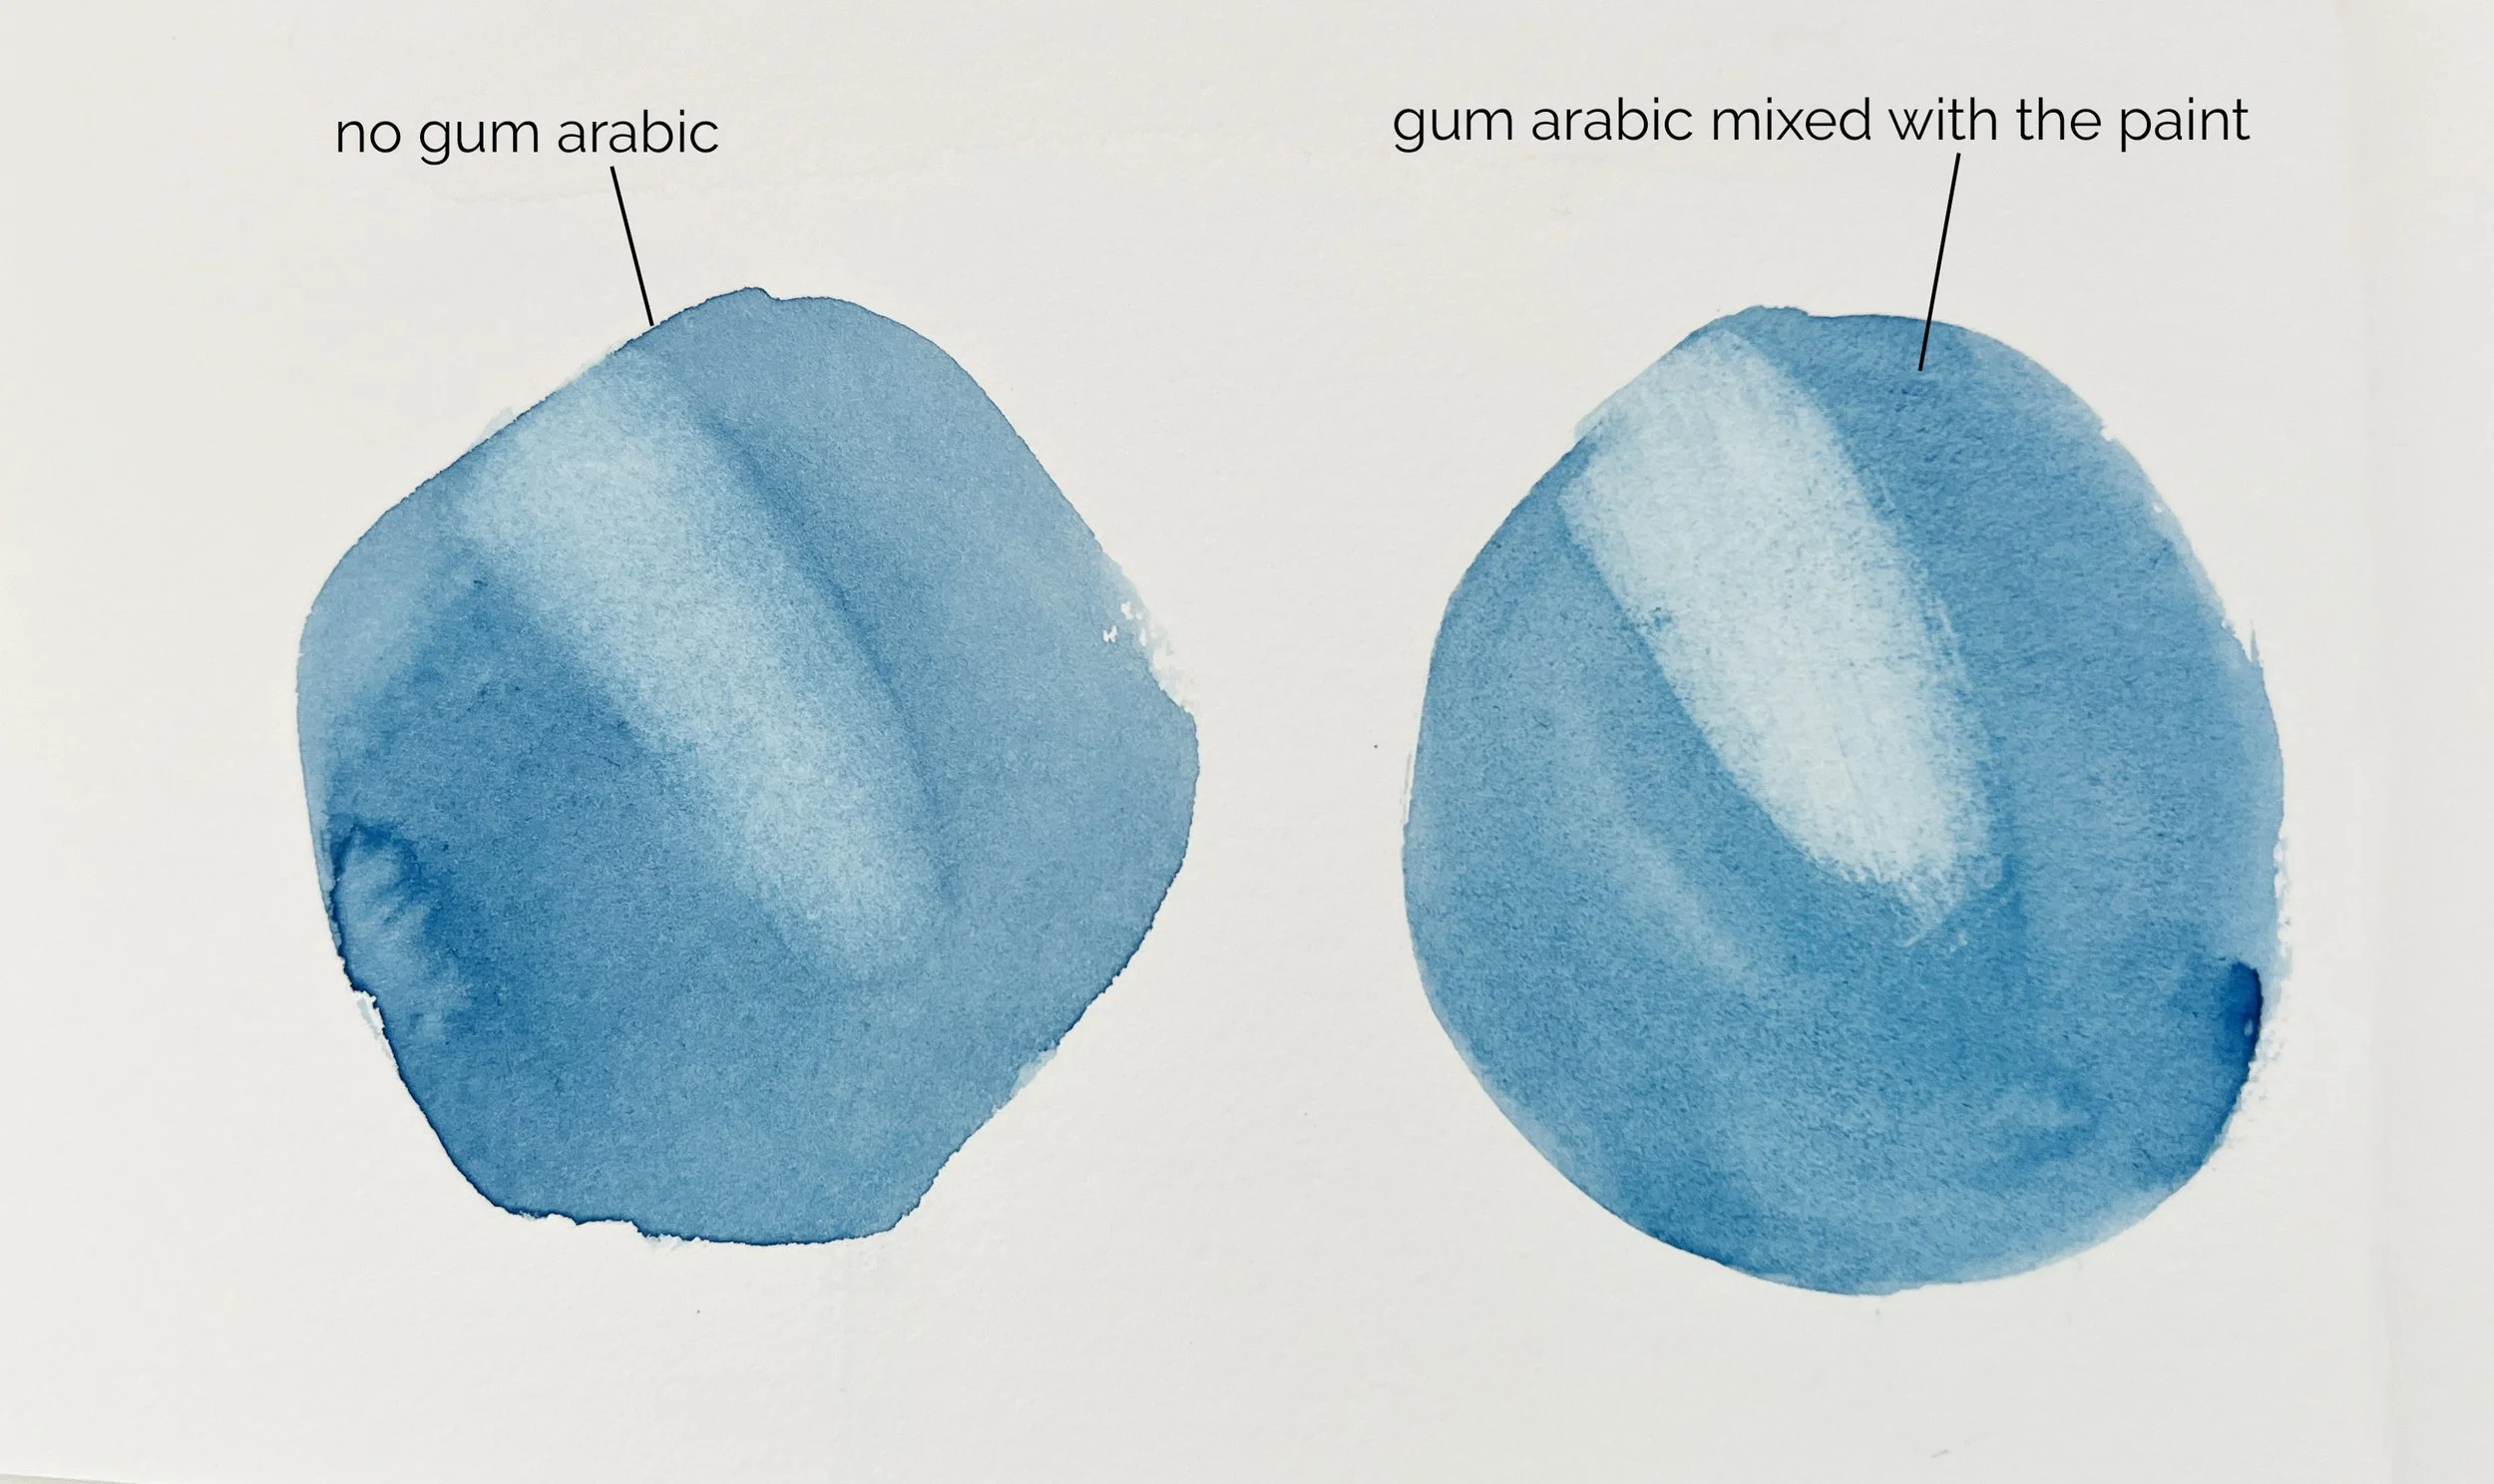
When I worked in my journal I tried mixing the gum arabic with the paint to see if that made a difference in drying time and it did. The shape on the left (pictured below) had a small amount of gum arabic mixed into the paint. The shape on the right has only water mixed with it. I painted the shape on the left first and it remained wetter for slightly longer than the shape without the gum arabic added.

When I mixed a small amount of gum arabic into the paint mixture it made the paint more viscous. It thickened the paint slightly and it stayed on the surface of the paper longer. I found it to be more difficult to work with than the paint with only water added to it.
As well as that, the areas where I wet the paper with the gum arabic solution left behind a glossy sheen. I could see the edge of where the water had dried on the white paper. If you are doing a painting where you have a lot of the white of the paper showing, that could prove to be a problem.

Gum arabic excelled in one aspect: it made lifting the paint easier.
In my journal, I painted two Prussian Blue shapes. Prussian Blue is a staining pigment. One shape was created using a mixture of gum arabic and paint, while the other was mixed with water alone.
After waiting for them to dry, I attempted to lift the paint from both shapes. I found the shape with gum arabic mixed into the paint allowed for much easier lifting compared to the shape without gum arabic.
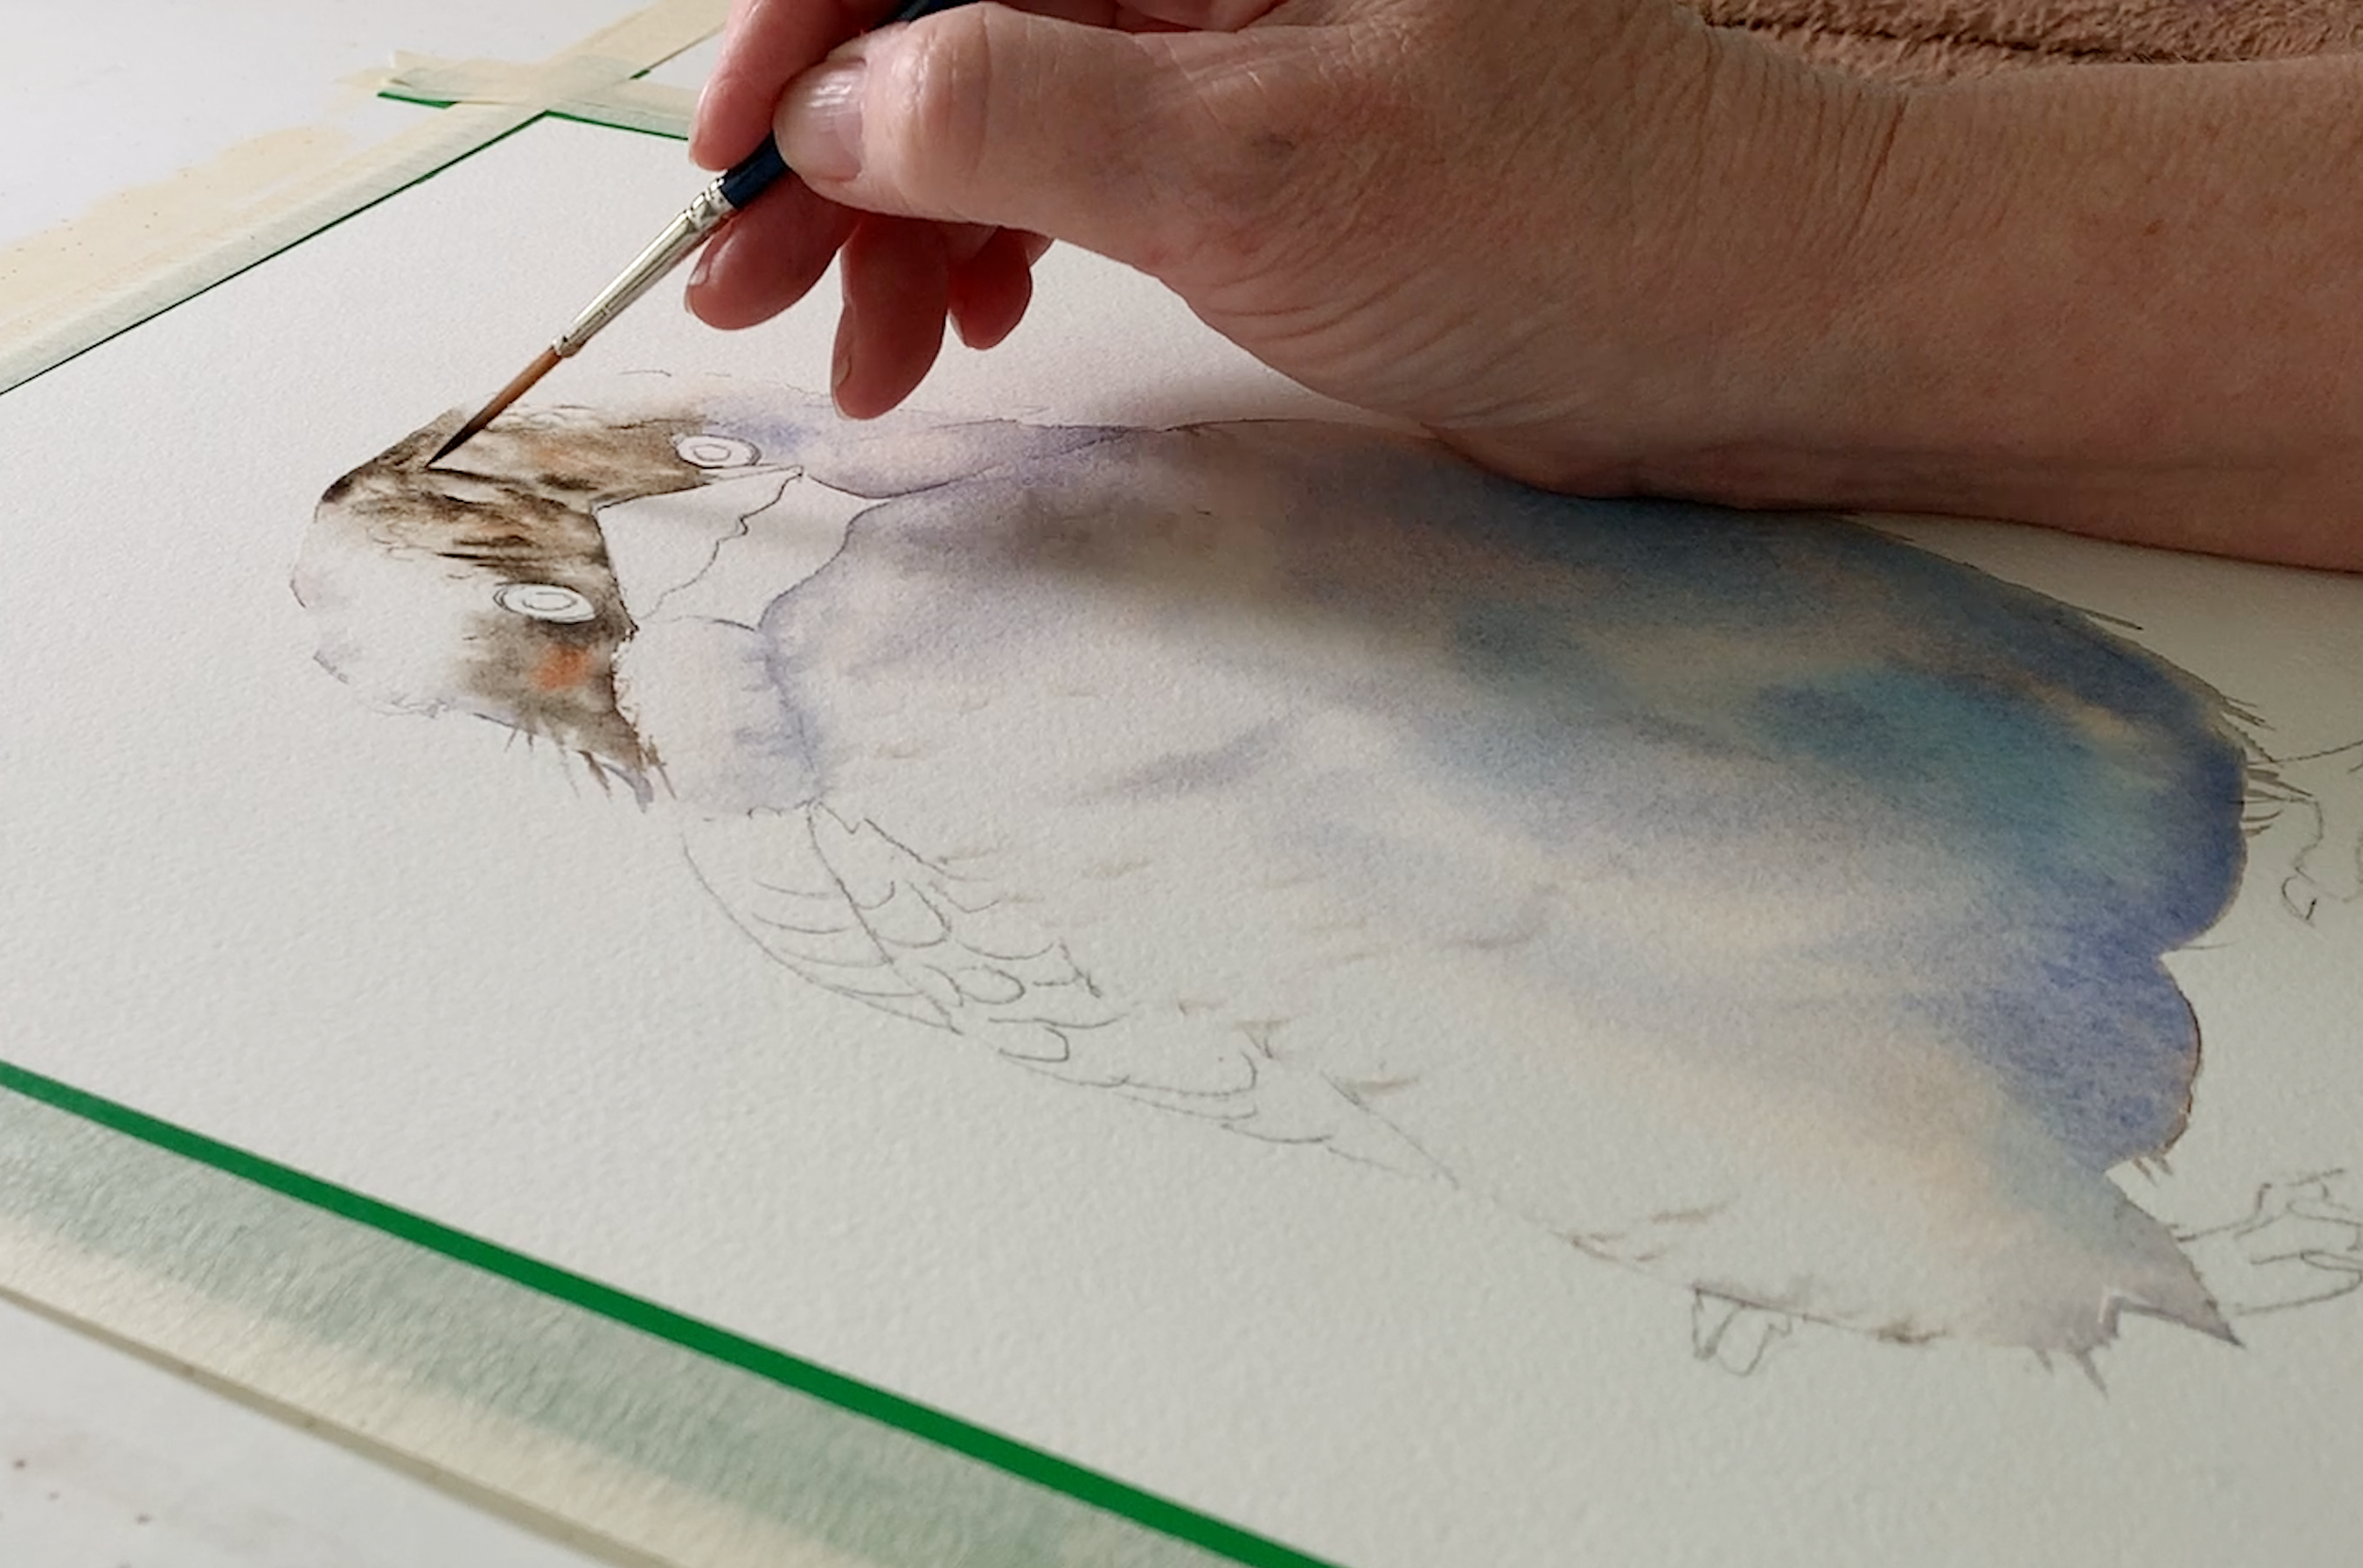
Next I tried the ox gall liquid. I mixed 5 drops of it into a small glass of water and I used the solution to paint the Kookaburra below.

Again, with this painting I worked mainly wet on wet and whenever I wet the paper I used the ox gall solution.

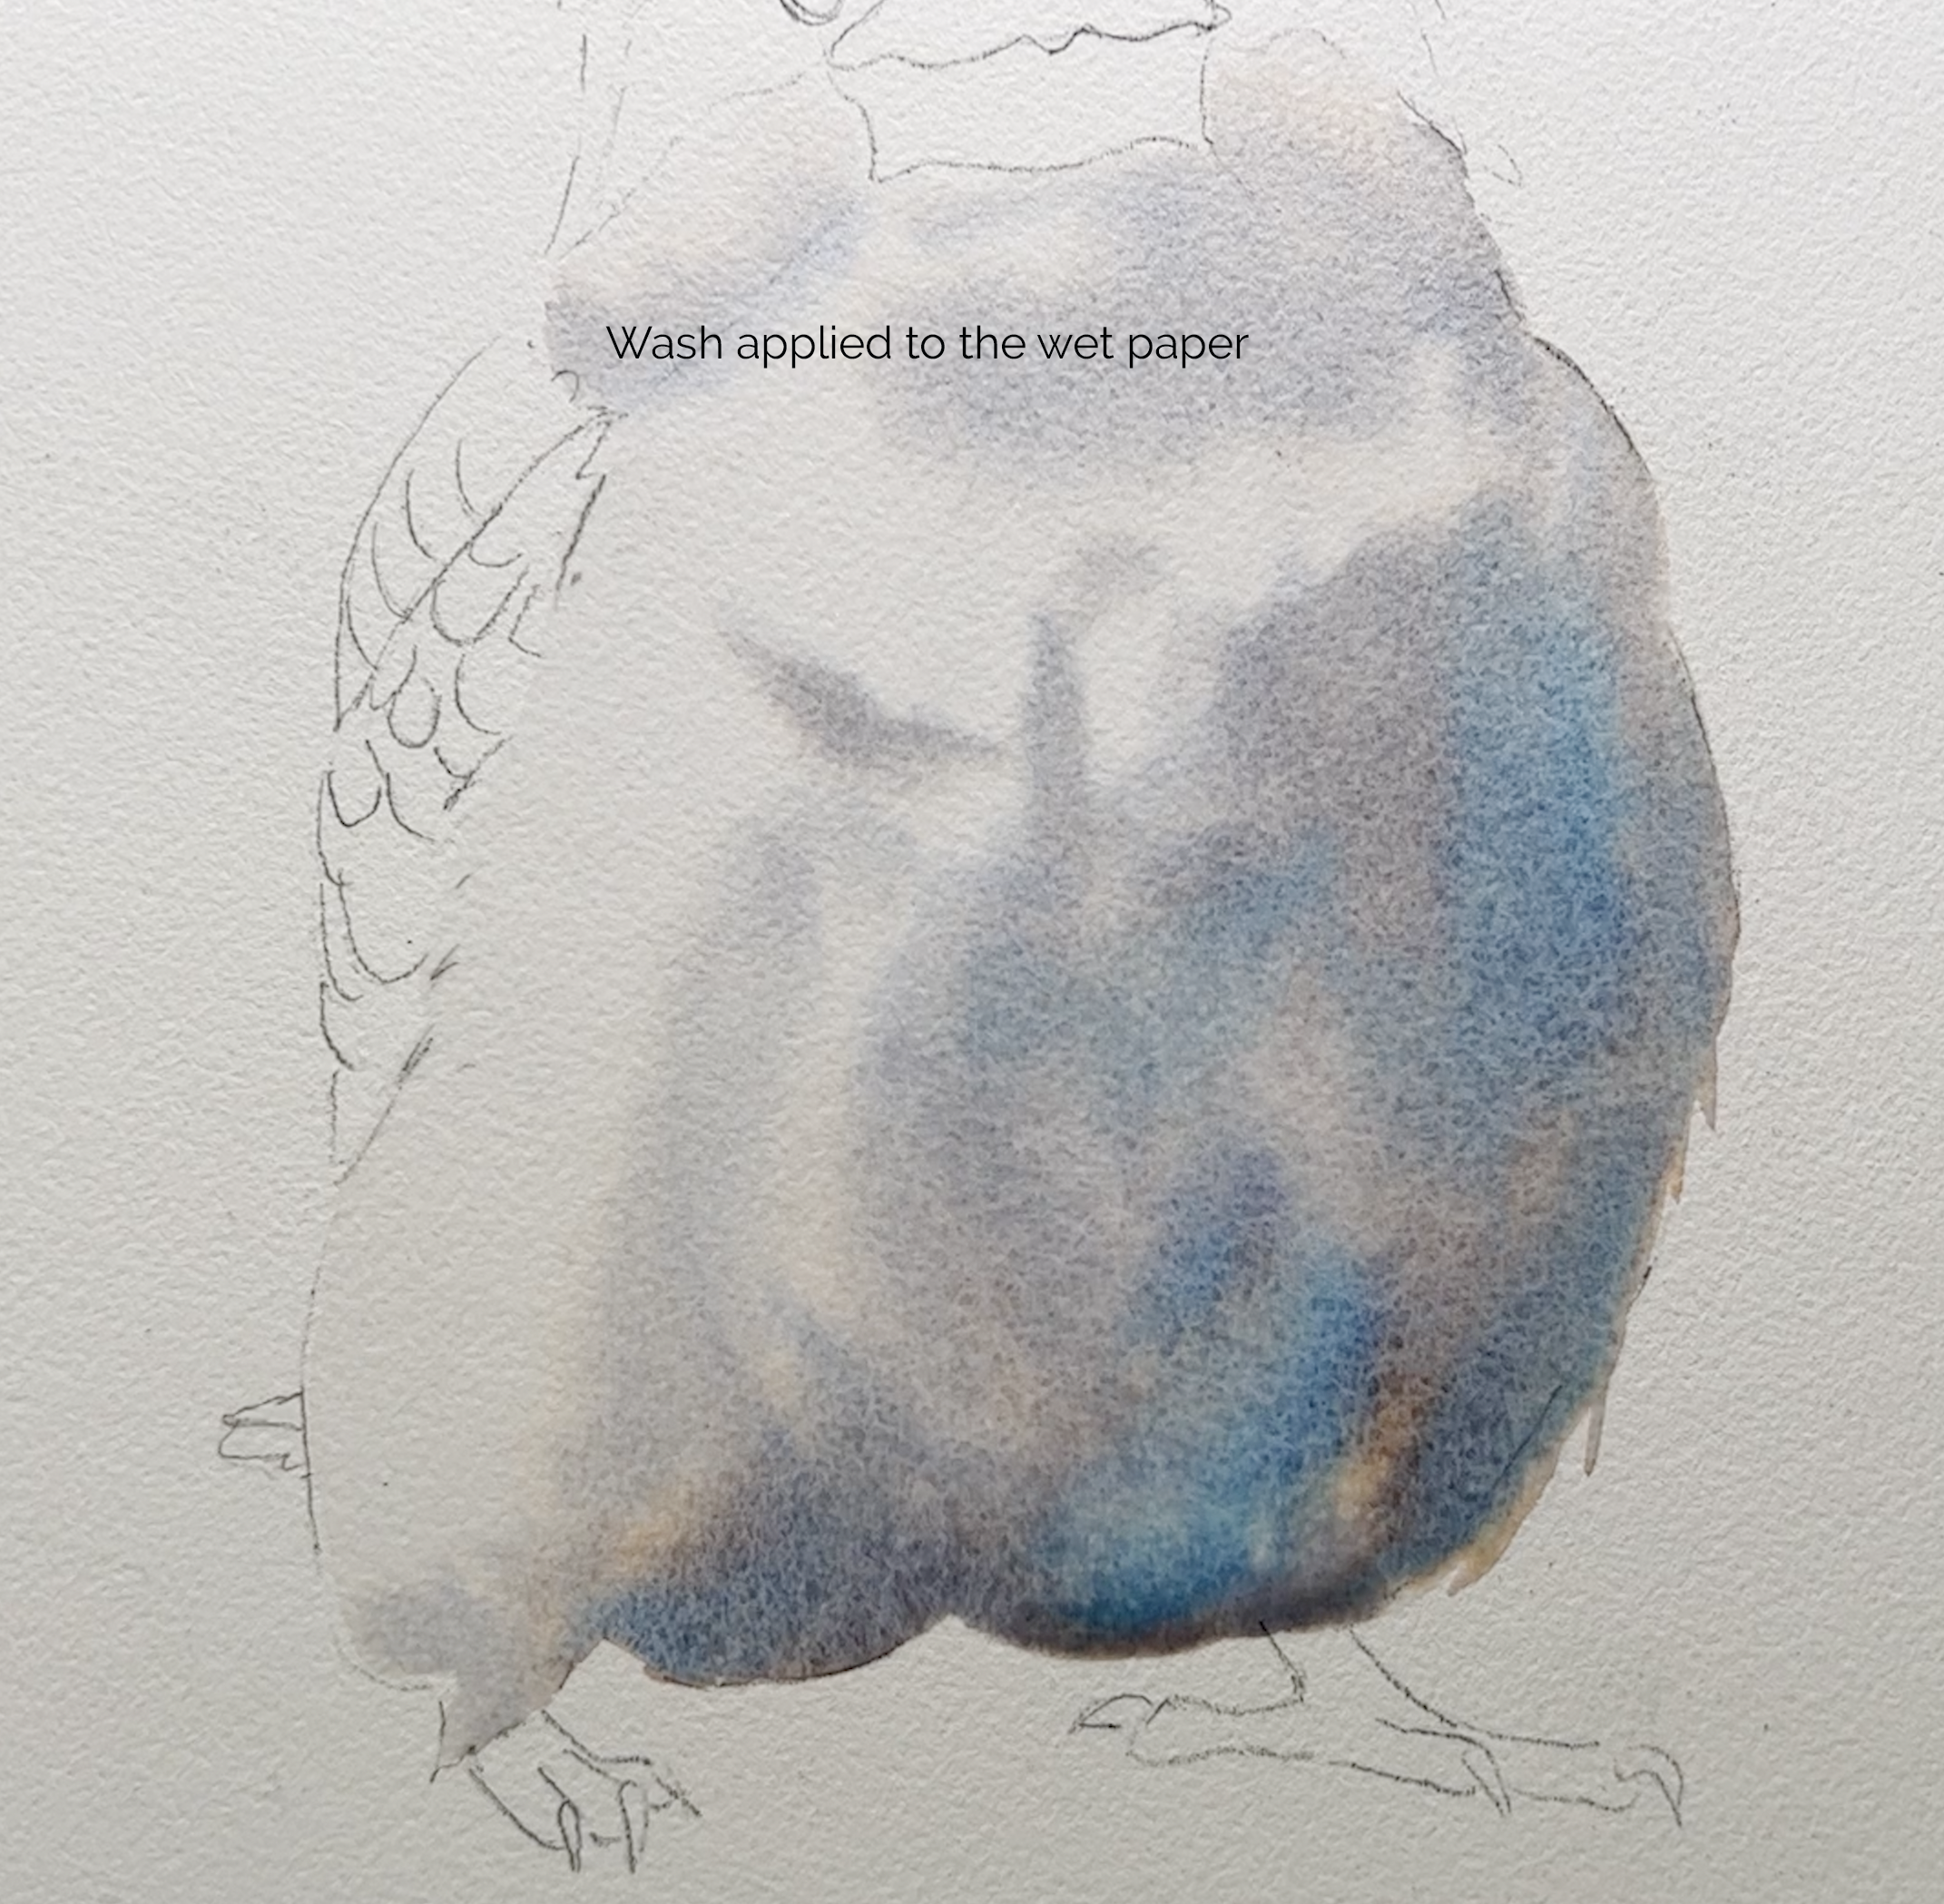
The area of brown feathers on top of the head was also worked wet on wet with the ox gall liquid solution.
After completing my painting, I have to say there was little difference in the drying time of the paper or in the ease of blending paint compared to using water alone. It felt no different to me than how I normally paint. I must point out though that I did this experiment at the start of spring, so the weather was mild. Perhaps I would have noticed more of a difference if I had used the mediums in the middle of summer.
Will I be using these mediums again? Probably not, because I have other methods of dealing with drying paper.
Maintaining Wet Paper for Wet-on-Wet Techniques
Method 1: Wet the paper well
When I paint, I work with a lot of water. I love how the paint swirls and flows over the paper effortlessly. I think a lot of beginners don't use enough water when they first start painting.
Watercolour paper is built to withstand the application of multiple washes and layers without tearing or deteriorating.
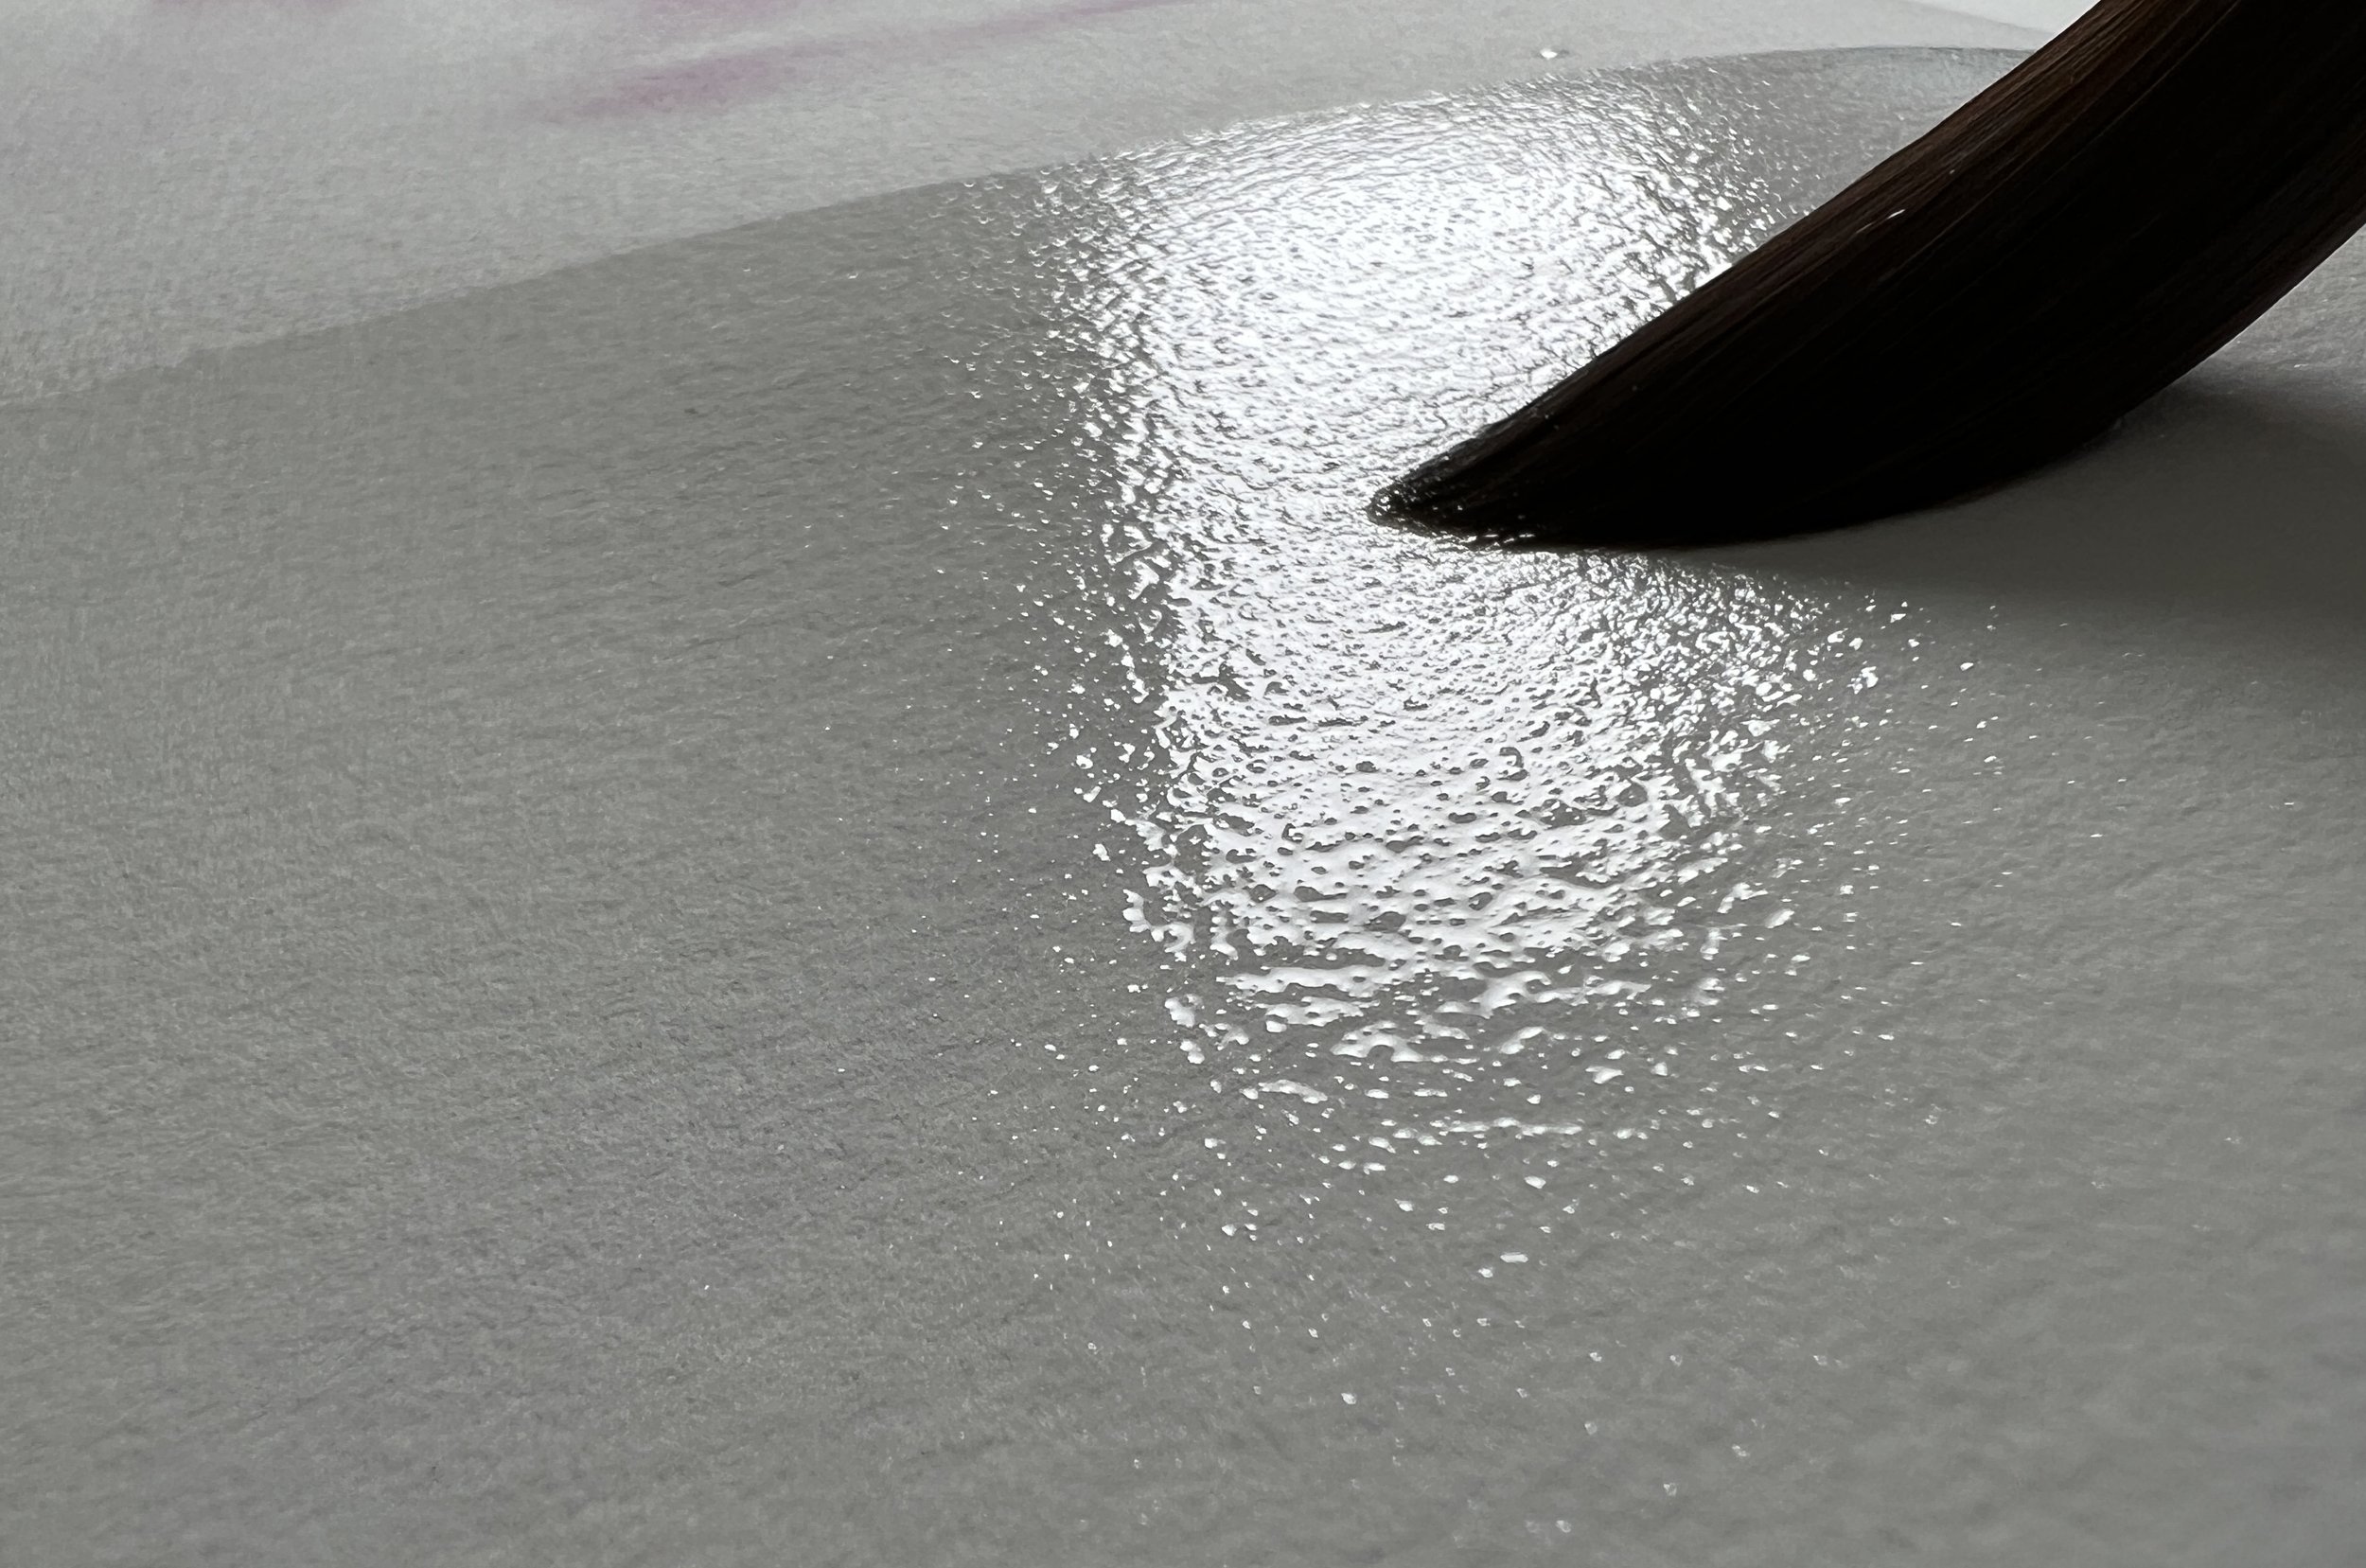
When you wet the paper, use a lot of water. Once you have it wet, smooth out the water so that there are no puddles lying on top of the surface. The surface of the wet paper always reminds me of an orange that I have just cut open.
You could also try wetting your paper and give it time to soak in. Wait until the sheen on the paper starts to become duller and then wet it again. Susan Harrison-Tustain, in her book, 'Glorious Flowers in Watercolor' mentions this technique of 'priming the paper'.
I experimented with this method myself. I wet one section of my paper with water. I waited until the sheen was gone from the surface and then I wet it again. Immediately after that, I wet the paper beside this section only once, and I put my camera on time-lapse to see how quickly the paper would dry.
The paper that was wet twice, remained wet for about 8 minutes longer than the area of paper that was only wet once.

Important: When you are wetting a large area.
If the area you are wetting is a large area, after you have wet the last section of the area, go back and rewet the area you started with. Try to get the entire area evenly wet. Don't rush the wetting. You can wet it a few times before you start painting.
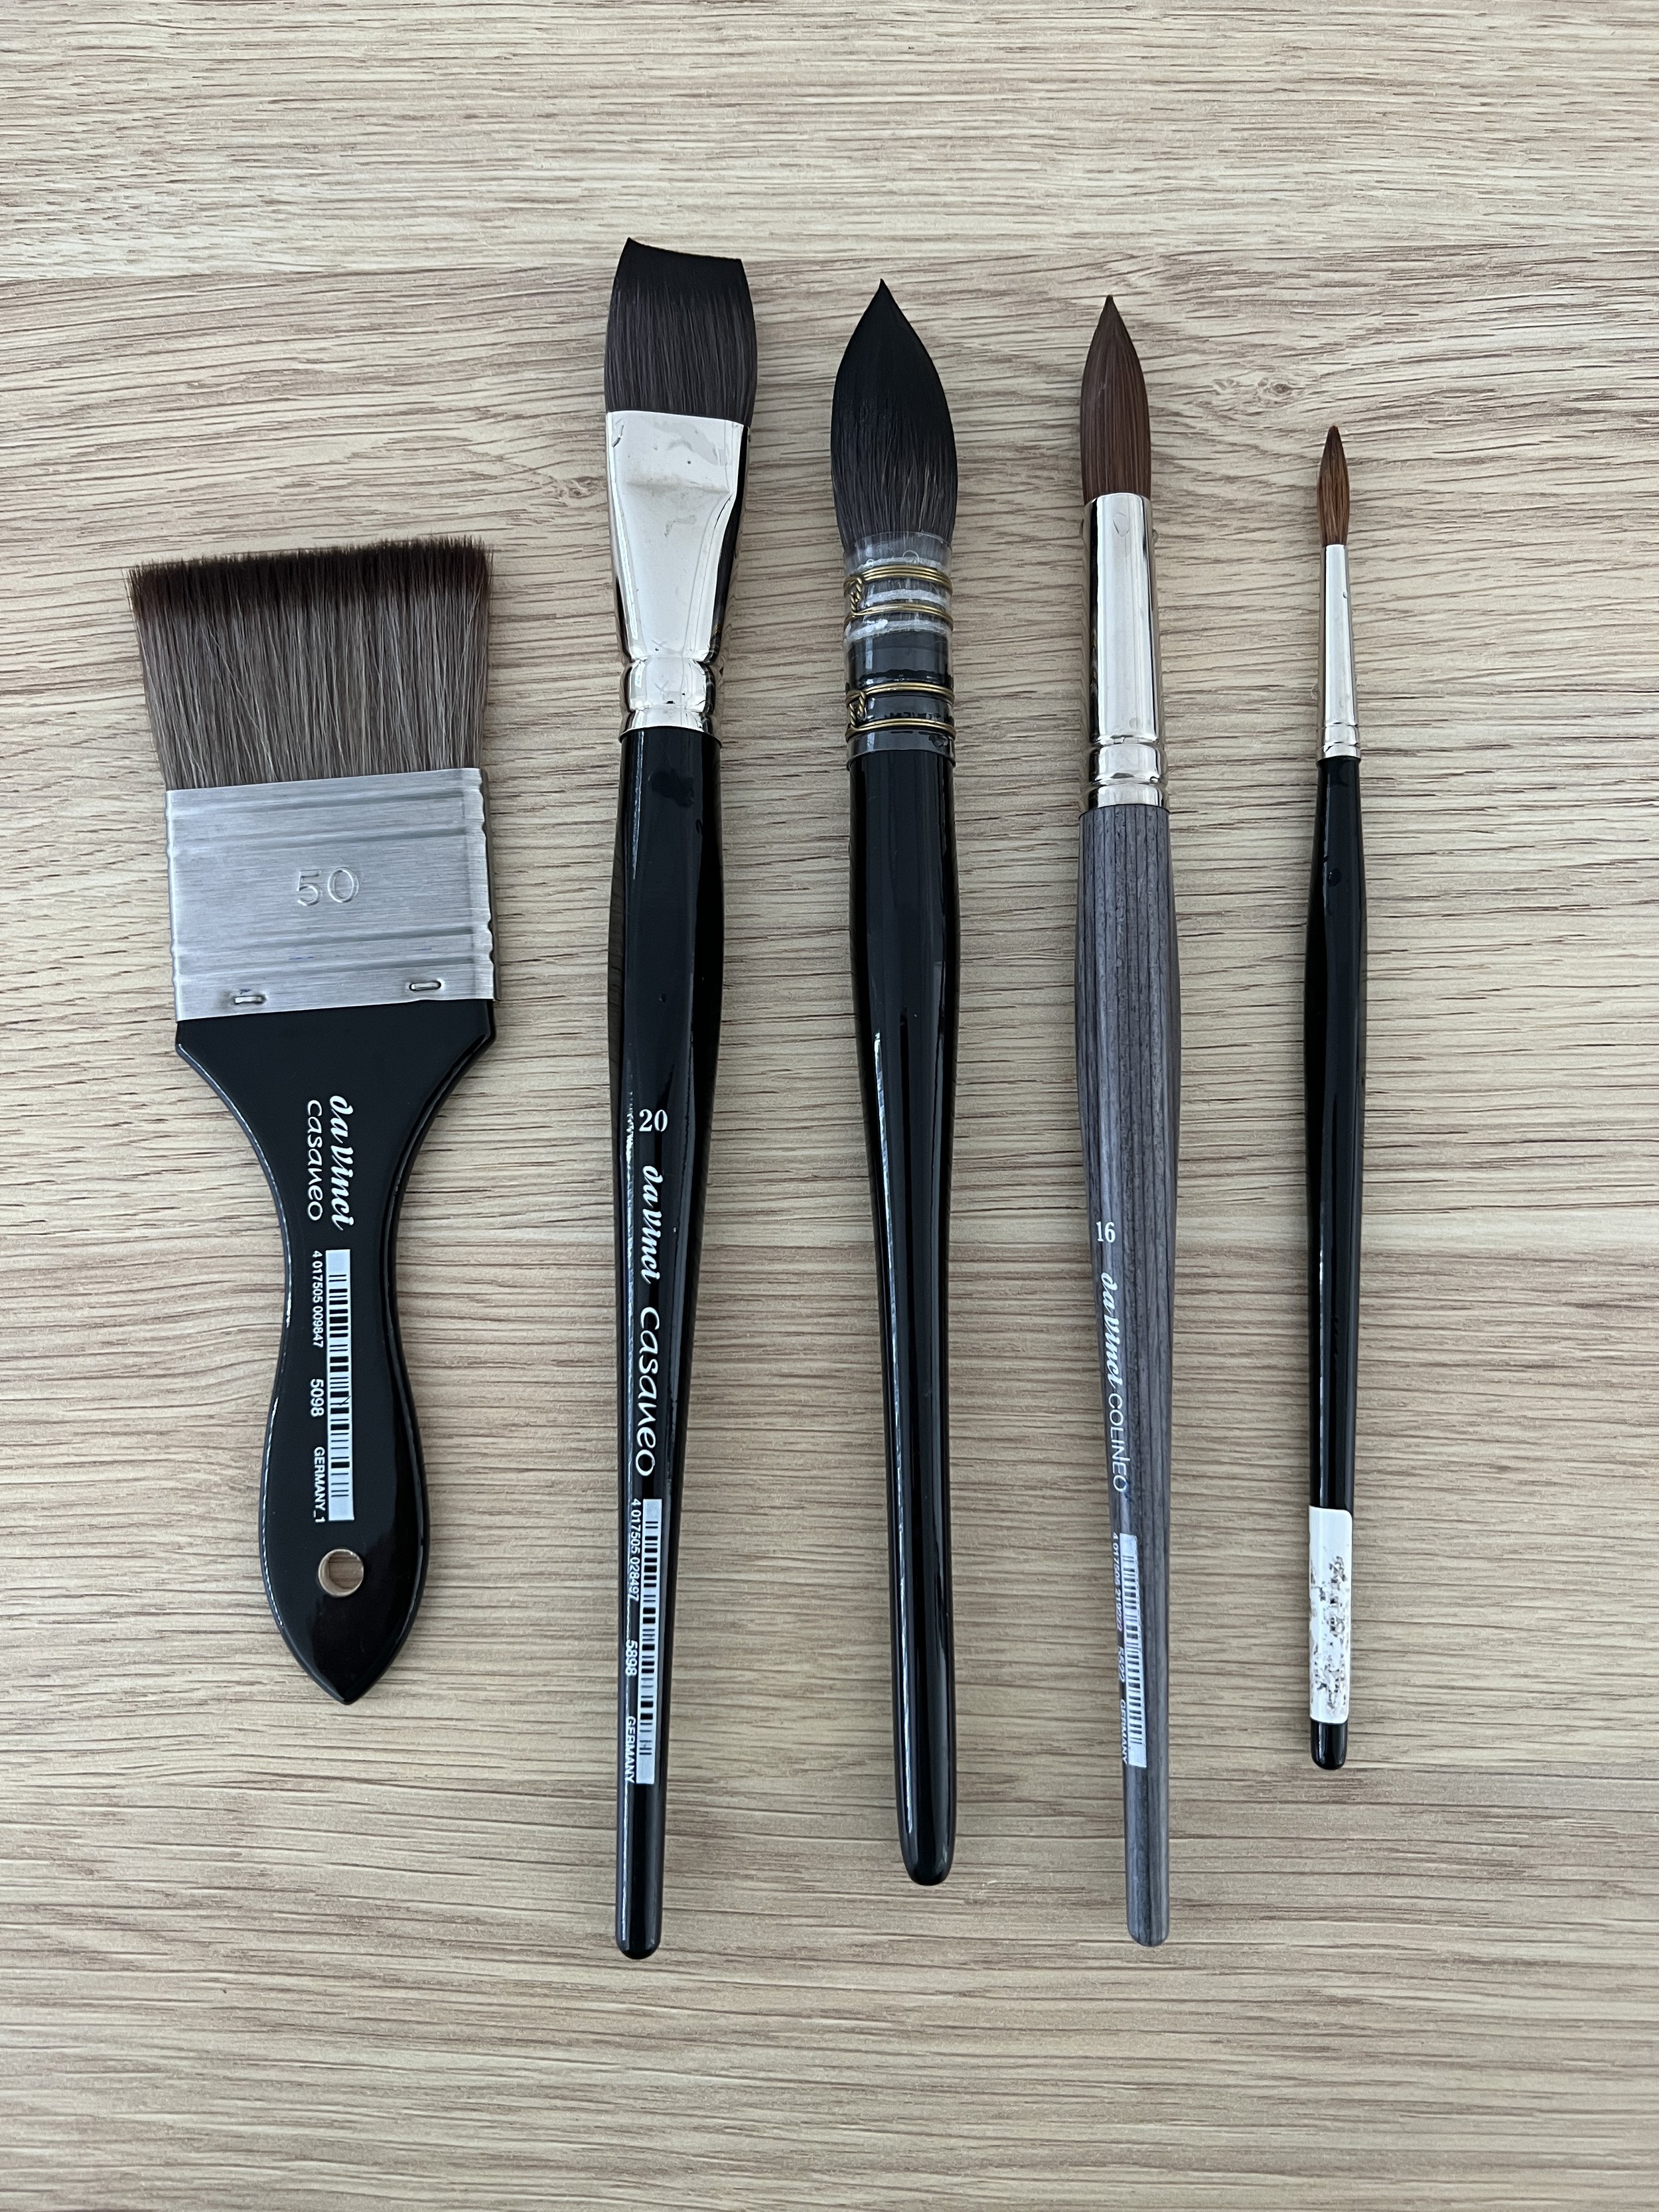
Method 2: Use large brushes
I make it a point to select the largest brush available when wetting the paper. This approach allows me to quickly wet the area I'm focusing on.
I follow a simple guideline:
For large areas, I opt for a large brush.
When dealing with medium-sized areas, a medium brush does the job.
Even for smaller areas, I still prefer a medium-sized brush.
Similarly, during the painting process, I try to use the largest brush suitable for the specific area I'm working on. This strategy ensures efficient paint application. Using smaller brushes may prolong the process, risking premature drying of the paper before completion.
Method 3: Work in sections
If the area you are painting is large, consider working on it in smaller sections. This allows you to focus on one area at a time, preventing the paper from drying out before you finish.
If the paper starts to dry before you finish, don't panic! Wait until it does dry and then rewet it with clean water and carry on painting.
Method 4: Experiment with different papers
I love to use Arches 640gsm cold pressed paper. It's a beautiful paper to paint on and I love using it because it is thick.
Thicker papers can hold more water and paint without becoming oversaturated. As a result, they tend to stay wet for a longer duration, which might give you more time to work with wet-on-wet techniques.
However, the specific drying time of watercolour paper can also be influenced by other factors such as humidity, temperature, and the type of pigments used. Even thicker papers will eventually dry, but they might be worth trying if you are struggling with thinner papers.
Method 5: Be organised
Before diving into wet-on-wet painting, ensure your watercolour paints are already prepared and mixed on your palette. Avoid the hassle of squeezing out new pigment or mixing colours after wetting your paper.
Additionally, take a moment to plan your painting before initiating the process. Deliberate on your approach before moistening the paper. Once the paper is wet, it's time to begin working. Speed is essential if you aim to create a free-flowing wash where colours seamlessly blend together.

Method 6: Experiment with different mediums
Just because ox gall medium and gum arabic didn't work for me, it doesn't mean they won't make a difference for you. There are also other mediums that you can try.
For example Winsor & Newton have a Blending Medium that you can mix with the paint to extend the drying time to make blending easier. I haven't used it myself so I can't give any recommendations about it.
Method 7: Wet both sides of your paper
I personally haven't employed this technique since I prefer working on stretched paper. In my process, I stretch the paper before I start painting. I secure my paper firmly to gatorboard and keep it in place until I've finished my painting.
However, some artists prefer dampening the reverse side of their paper and laying it on a flat surface. The moisture helps it adhere to the surface. Then, they moisten the front of the paper where needed and commence painting. Because the back of the paper remains damp, it retains its moisture for a longer period.
This approach is valuable if you intend to work alla prima, completing your entire composition in one uninterrupted session without allowing the paint to dry in between. My approach differs; I work in layers, and some of my paintings take several days to finish.
If you experiment with this technique, you may observe the paper warping and wrinkling as it begins to dry. For this reason, it's a method I wouldn't use.
Final Thoughts
In the world of watercolour painting, the challenge of paper drying too quickly can indeed be frustrating. While my experiment with Gum Arabic and Ox Gall Liquid didn't yield the results I'd hoped for, it's essential to remember that the art of watercolour is filled with exploration and discovery. As artists, we continually adapt and refine our techniques to overcome challenges. I'll keep seeking innovative ways to tackle this issue, and I encourage you to do the same. Whether it's through the use of different papers, brushes, or blending mediums, there's a world of possibilities waiting to be explored. So, keep your brushes wet and your creativity flowing!
If you are interested in learning to paint in watercolour, I have over 170 online, voiced over watercolour tutorials for all skill levels.
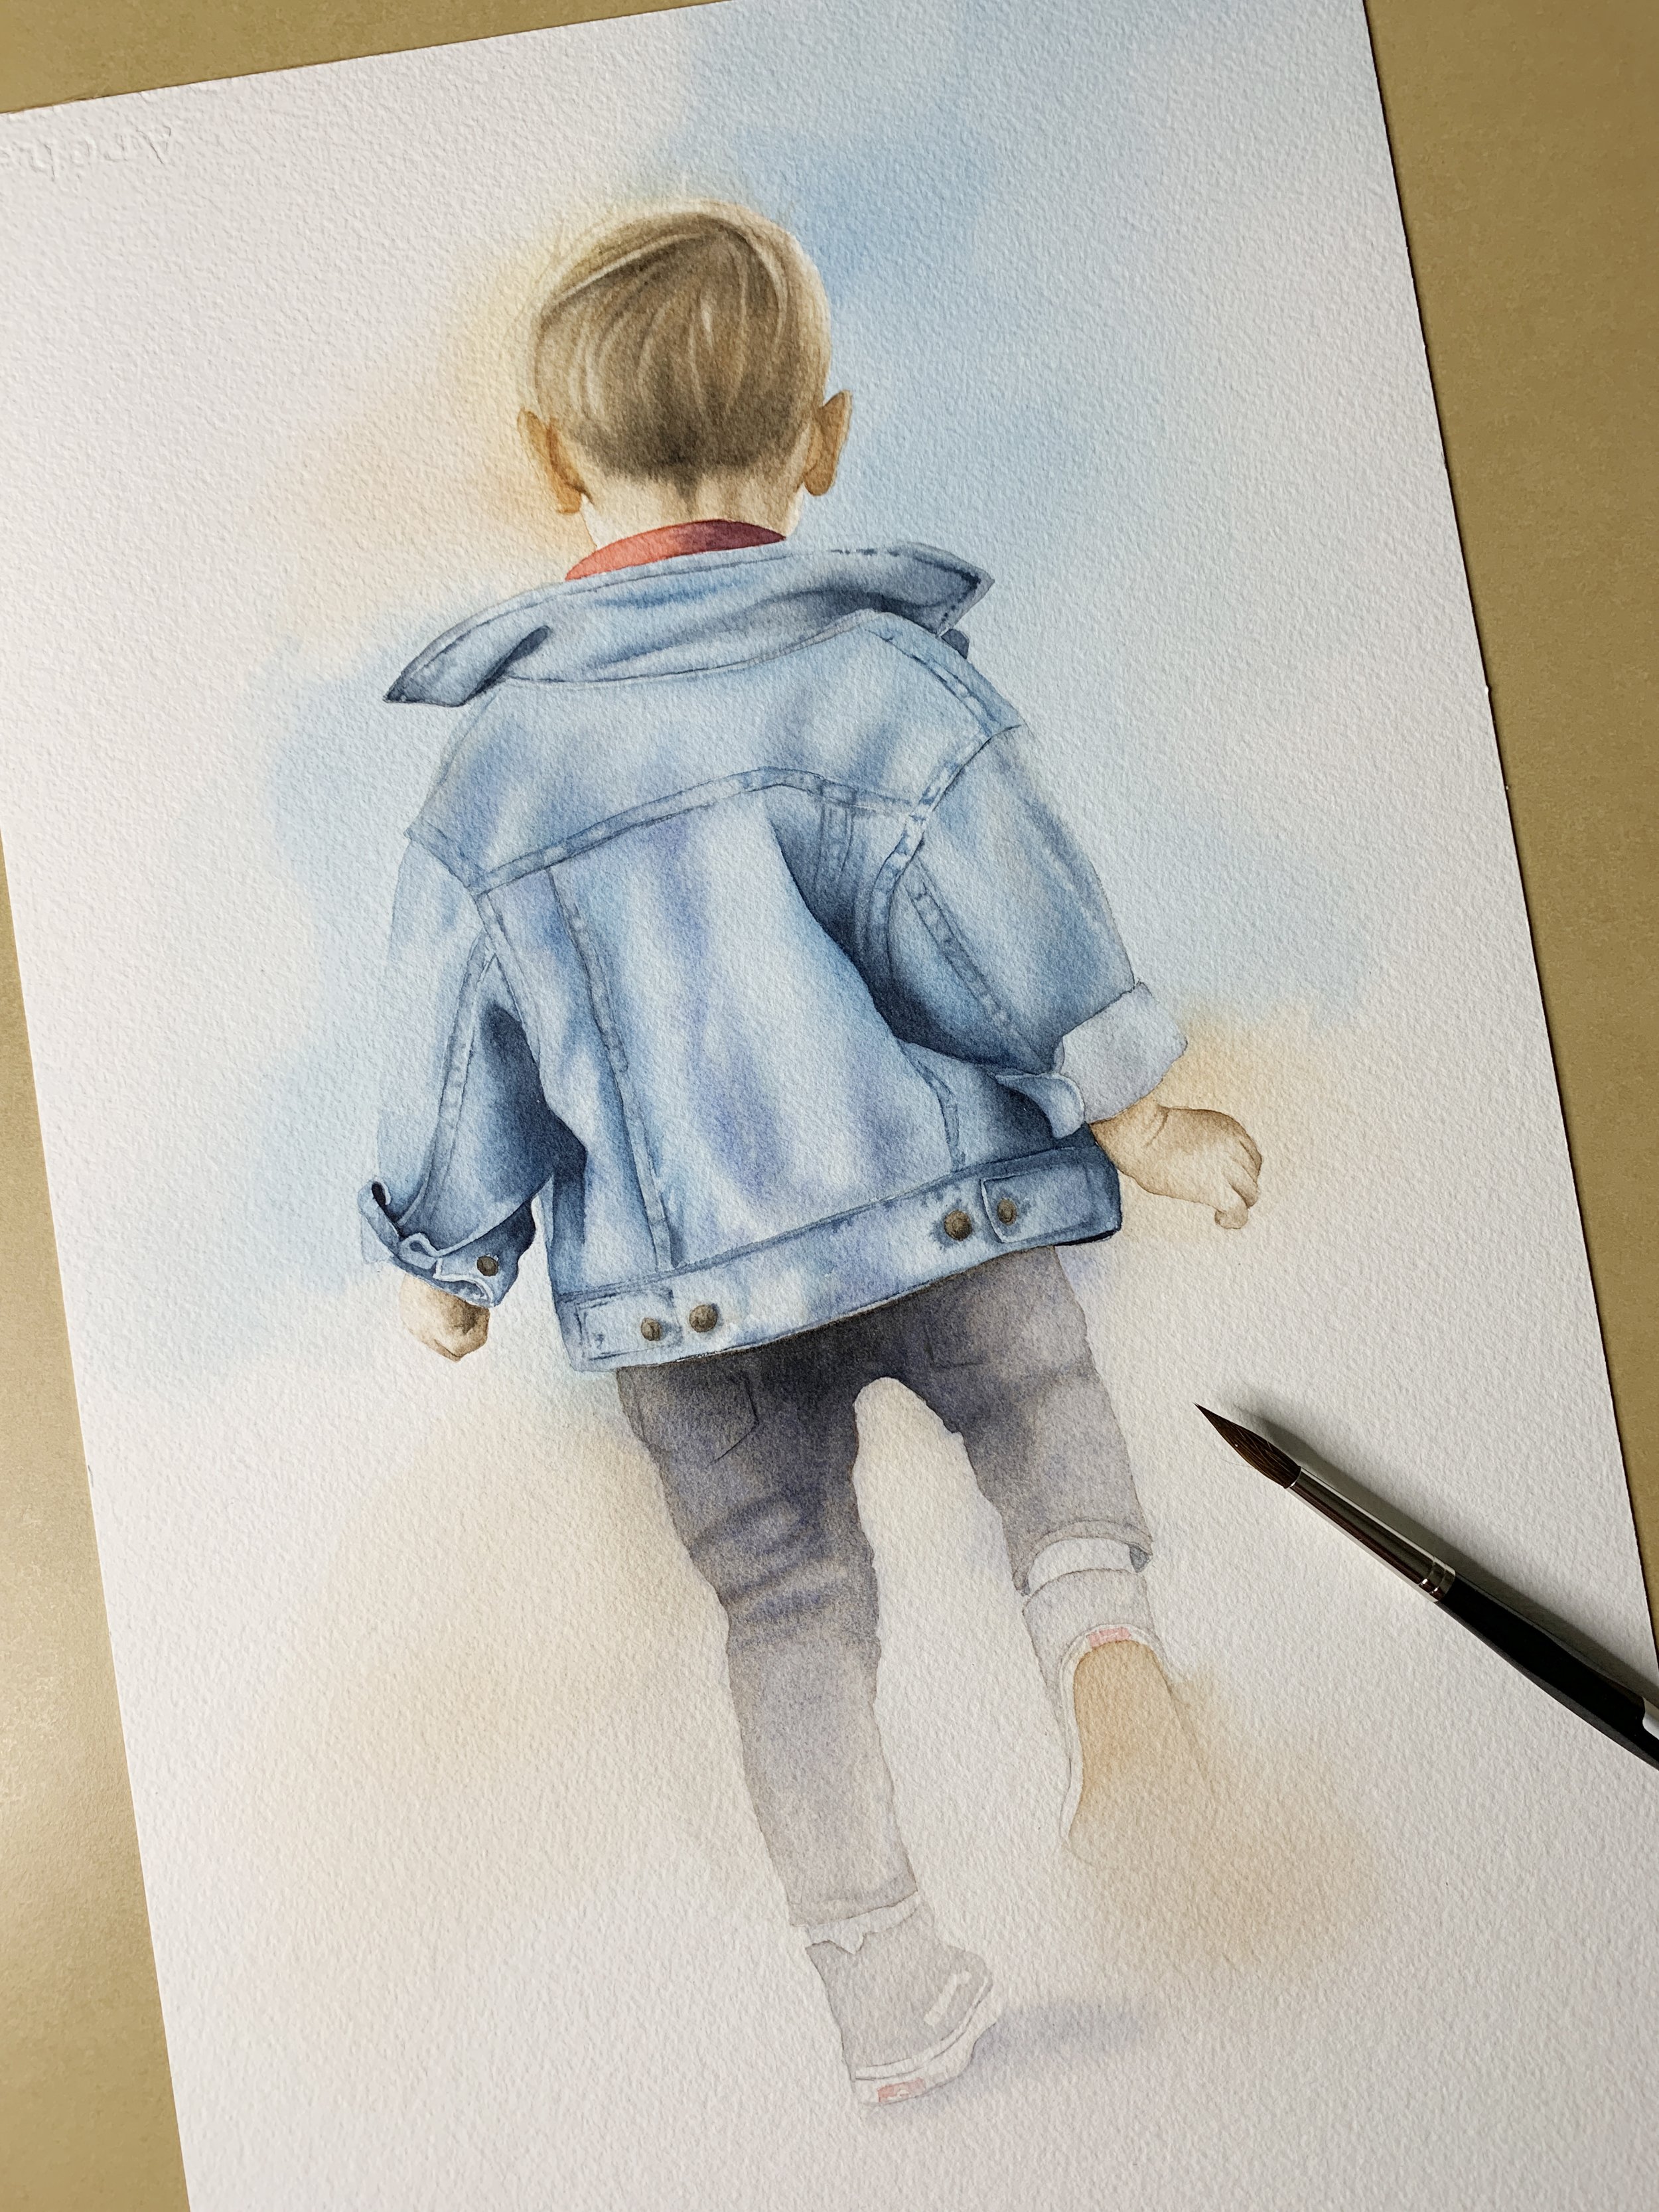
The Kookaburra is available to purchase as a print in the shop.
Further reading: 9 Watercolour Texture Techniques


