Watercolour for Beginners: What you Need to Get Started
Painting in watercolour is magical! I became captivated by it in 2011, and my excitement for it has not waned since then.
With its delicate washes, amazing luminosity, and unpredictable nature, once watercolour has you in its spell there is no turning back. Every brush stroke becomes an adventure as you watch the wet paint dance over the paper. There is no other medium like it.
If you've been enchanted by the beauty of watercolour paintings and are eager to dip your brush into this amazing medium, you've come to the right place.
In this blog post I will provide you with a comprehensive guide on the essential materials you need to get started with watercolour painting. So, gather your brushes and let's dive in.
Essential Watercolour Art Supplies for Beginners
Watercolour Brushes
It's important to buy good brushes when you paint in watercolor if you want to produce a successful painting.
Watercolour brushes are designed to absorb, hold, and release water effectively. The bristles on watercolor brushes are softer than the bristles on brushes used by acrylic and oil painters.
Brush Size: There's no need to buy a lot of small brushes, you won't use them that often. Instead, buy large brushes. I use sizes 5 and above more than I use my smaller brushes.
Round brushes with a fine point are the most commonly used brushes in watercolour painting.
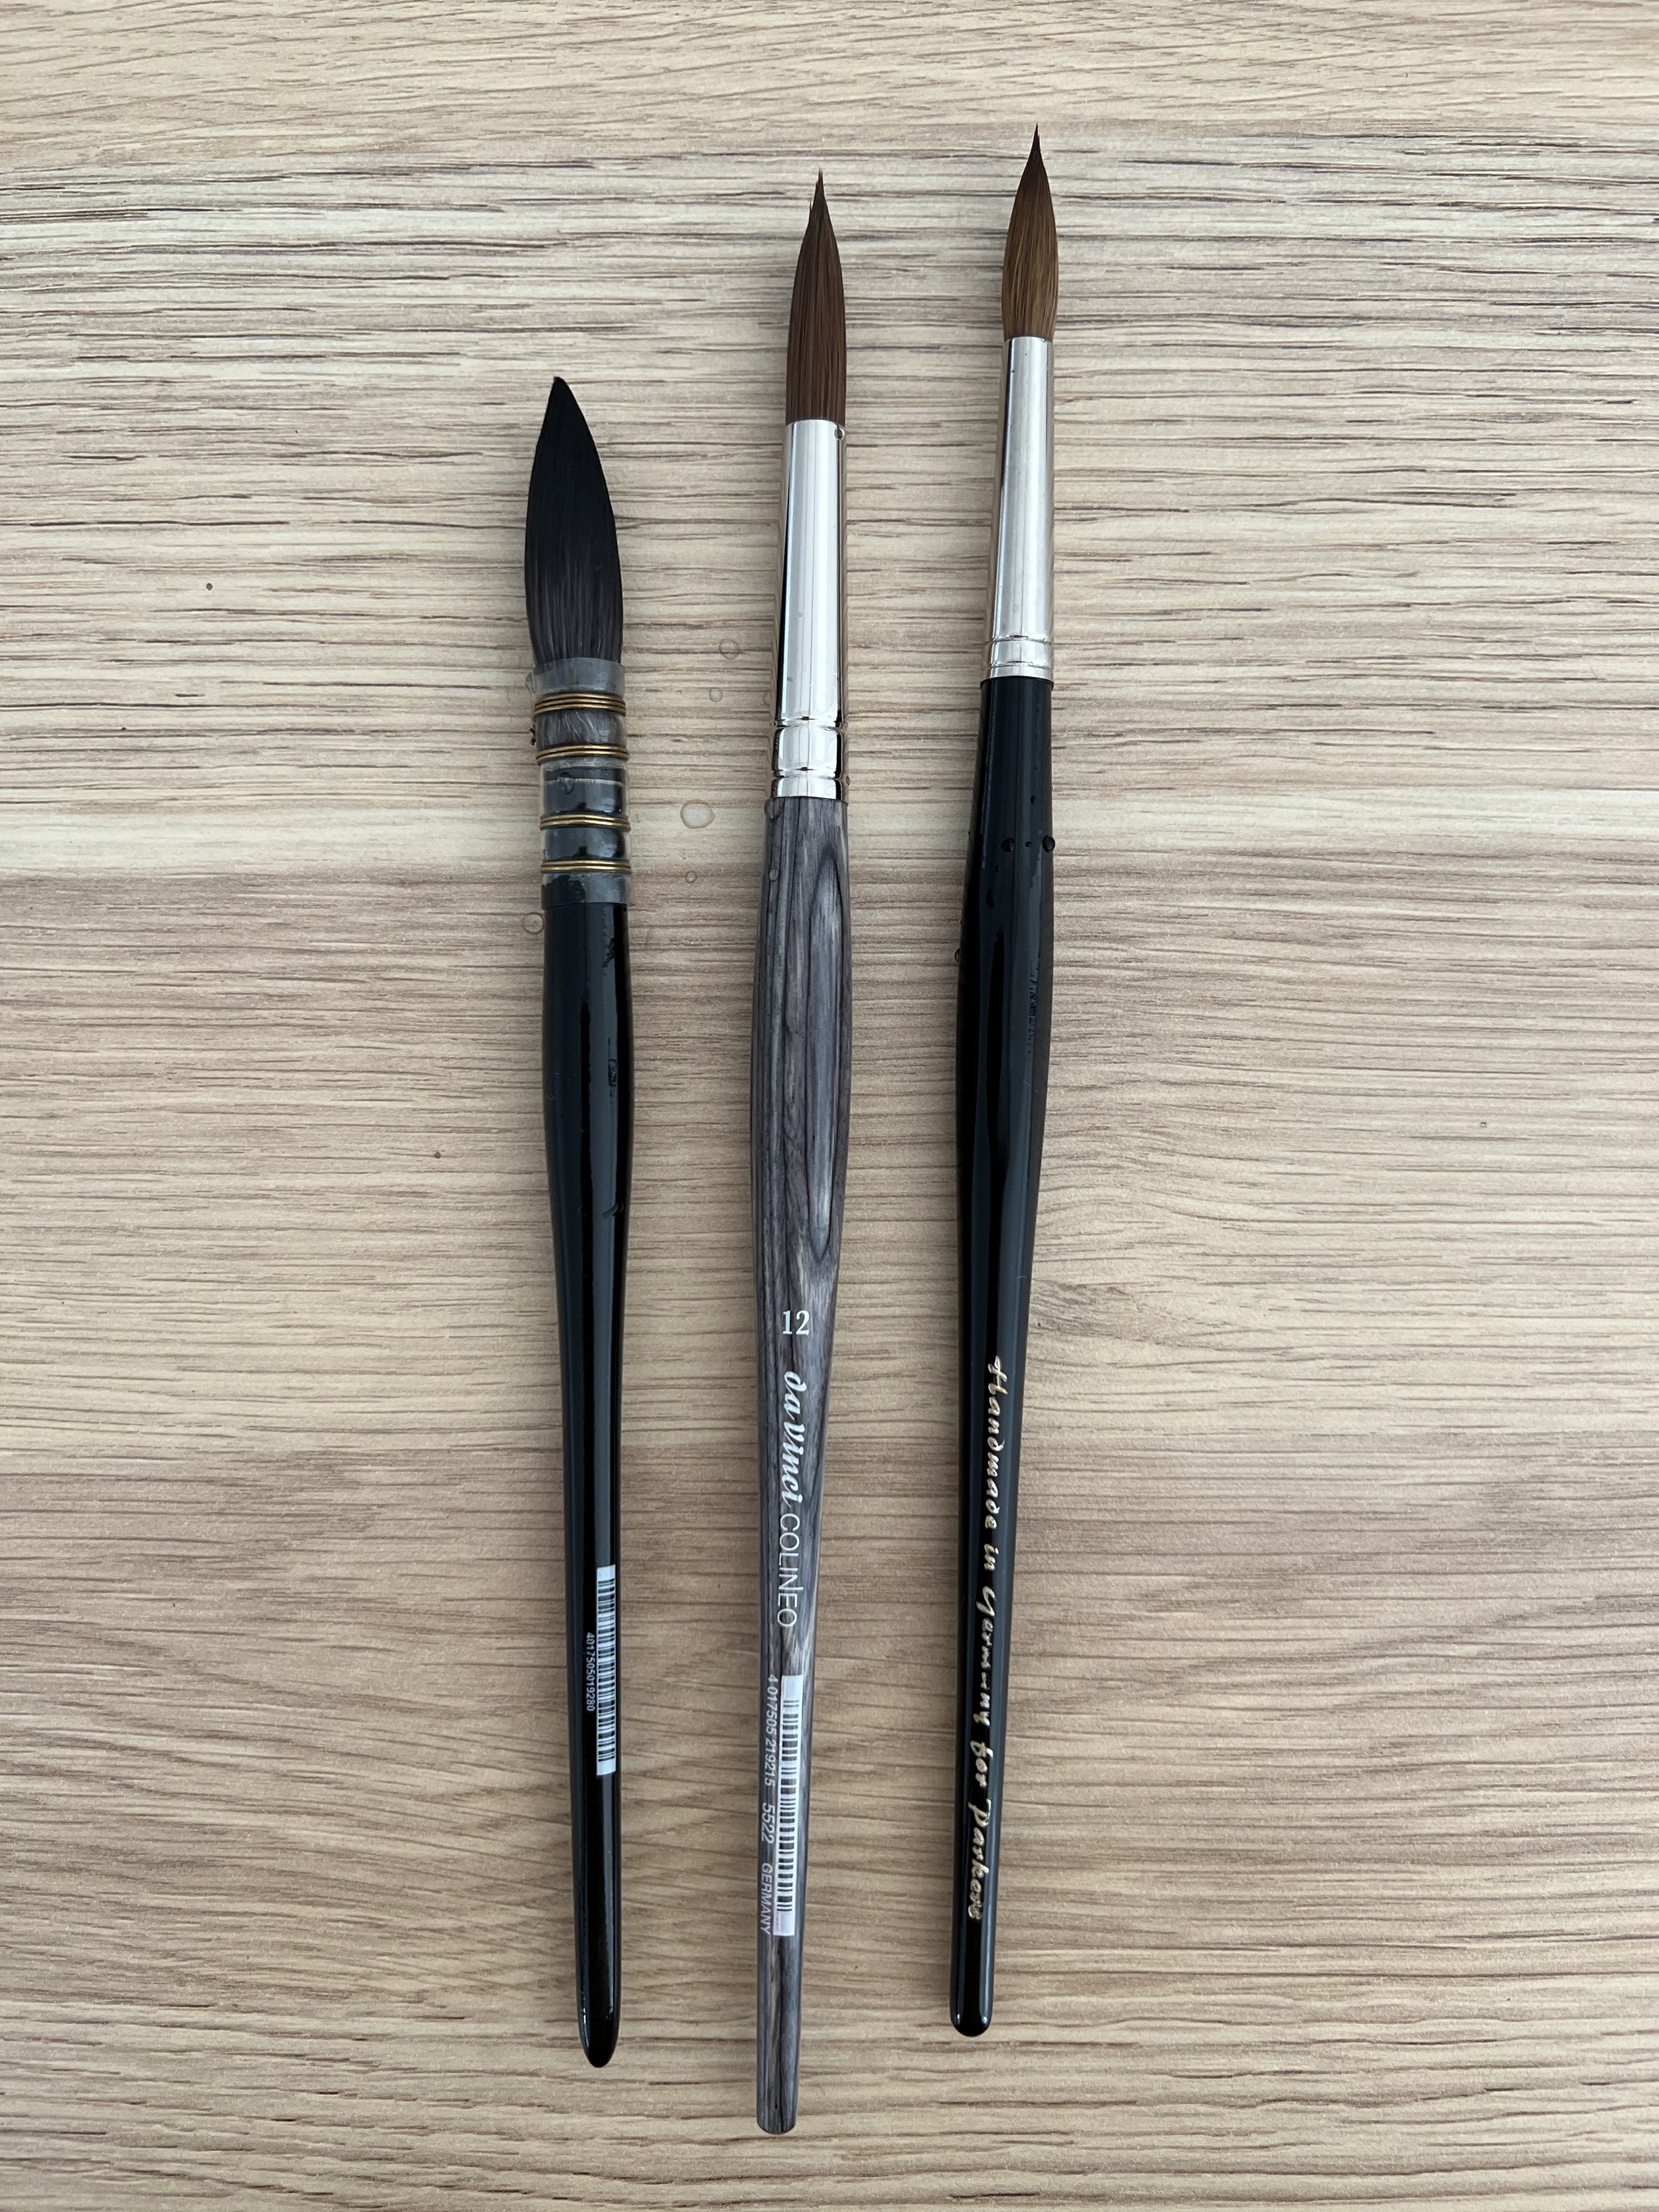
Round brushes
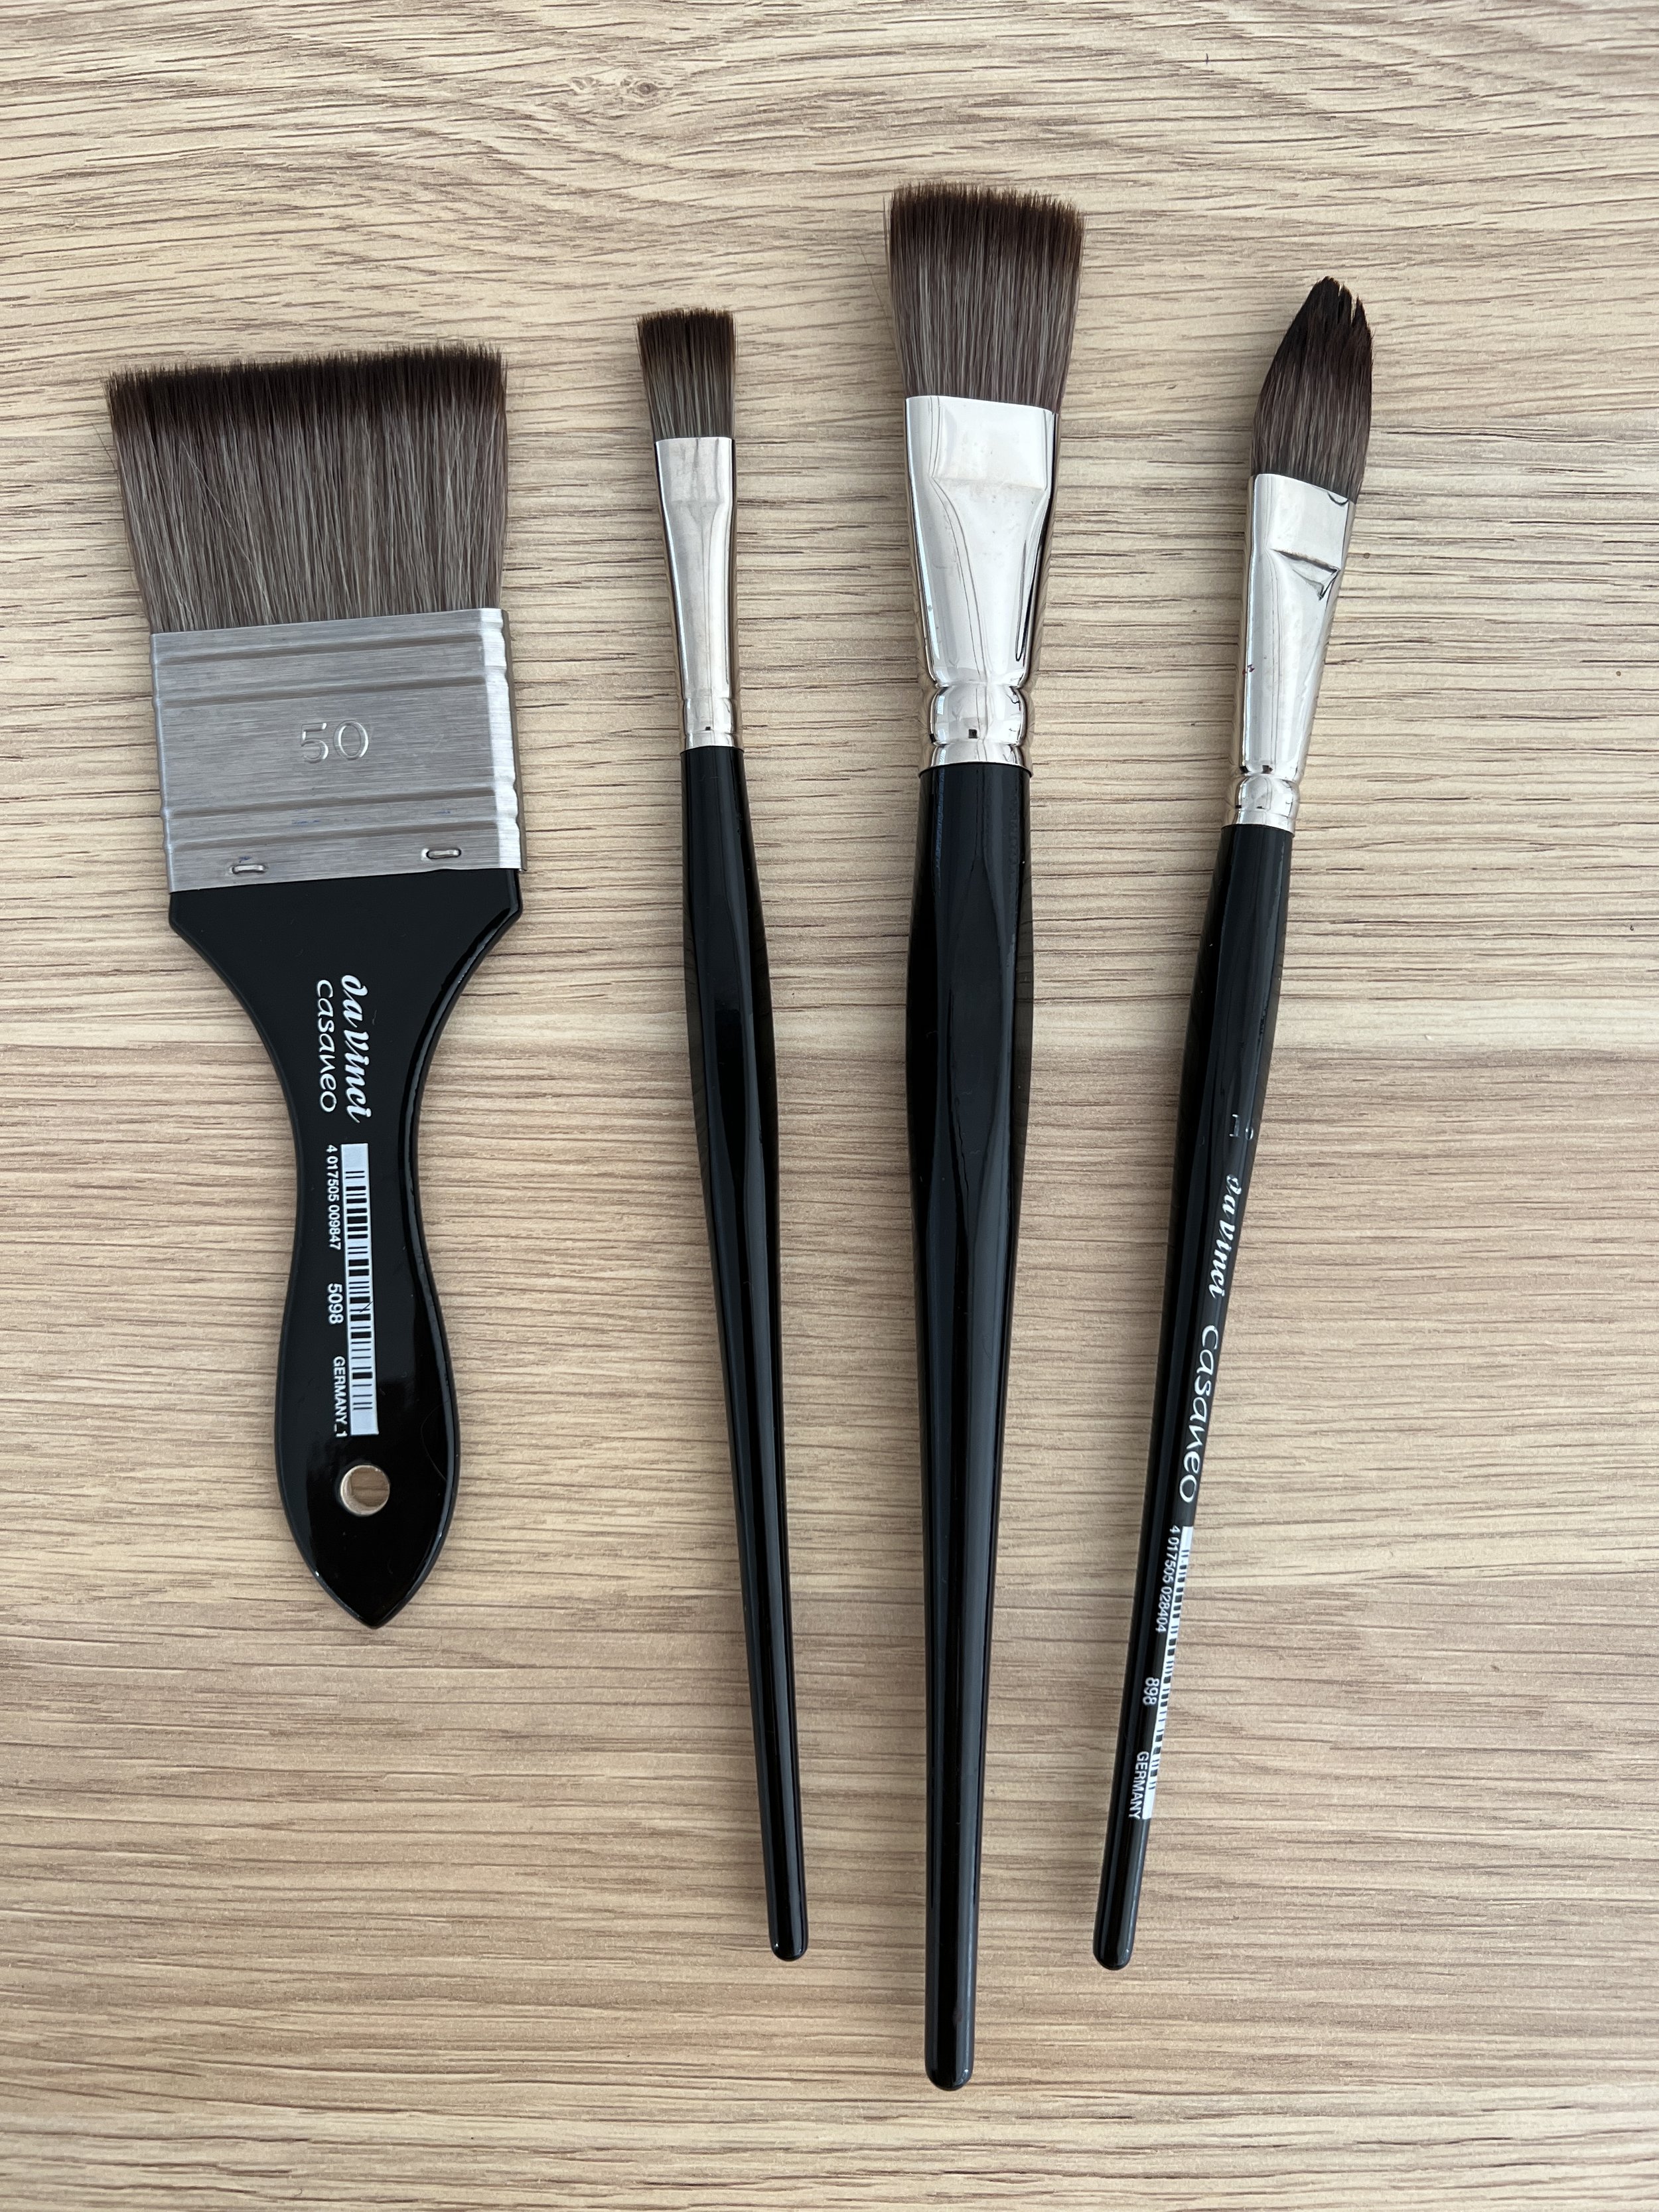
Flat brushes
Flat brushes have a flat, square-shaped tip, and they are ideal for creating sharp edges, broad strokes, and washes.
You can also buy filbert brushes. They are flat brushes that have a round tip. Sometimes they are called 'cat's toungues'. I have a large one that I use when I'm painting washes or when I want to apply water to the paper quickly.
When I first started painting in watercolour I used Winsor & Newton Cotman synthetic brushes. I had a few different sizes and they served me well at the beginning but after a while, as my interest and skills grew, I bought better quality brushes.
Watercolour Paints
Watercolour paint is available in pans or tubes in both student grade and professional grade.

Professional grade watercolour paint (artist quality) contains a higher pigment concentration than student grade paints, resulting in more vibrant and intense colours. The high-quality pigments provide better lightfastness and colour permanence.
If you can't afford to buy artist quality paint then don't be concerned about using student quality paint because when I was a beginner, I used Winsor & Newton Cotman tube paints. They are student grade but I was able to focus on learning and practicing watercolour techniques without worrying too much about the cost of the paint.

Winsor & Newton Cotman tube paints
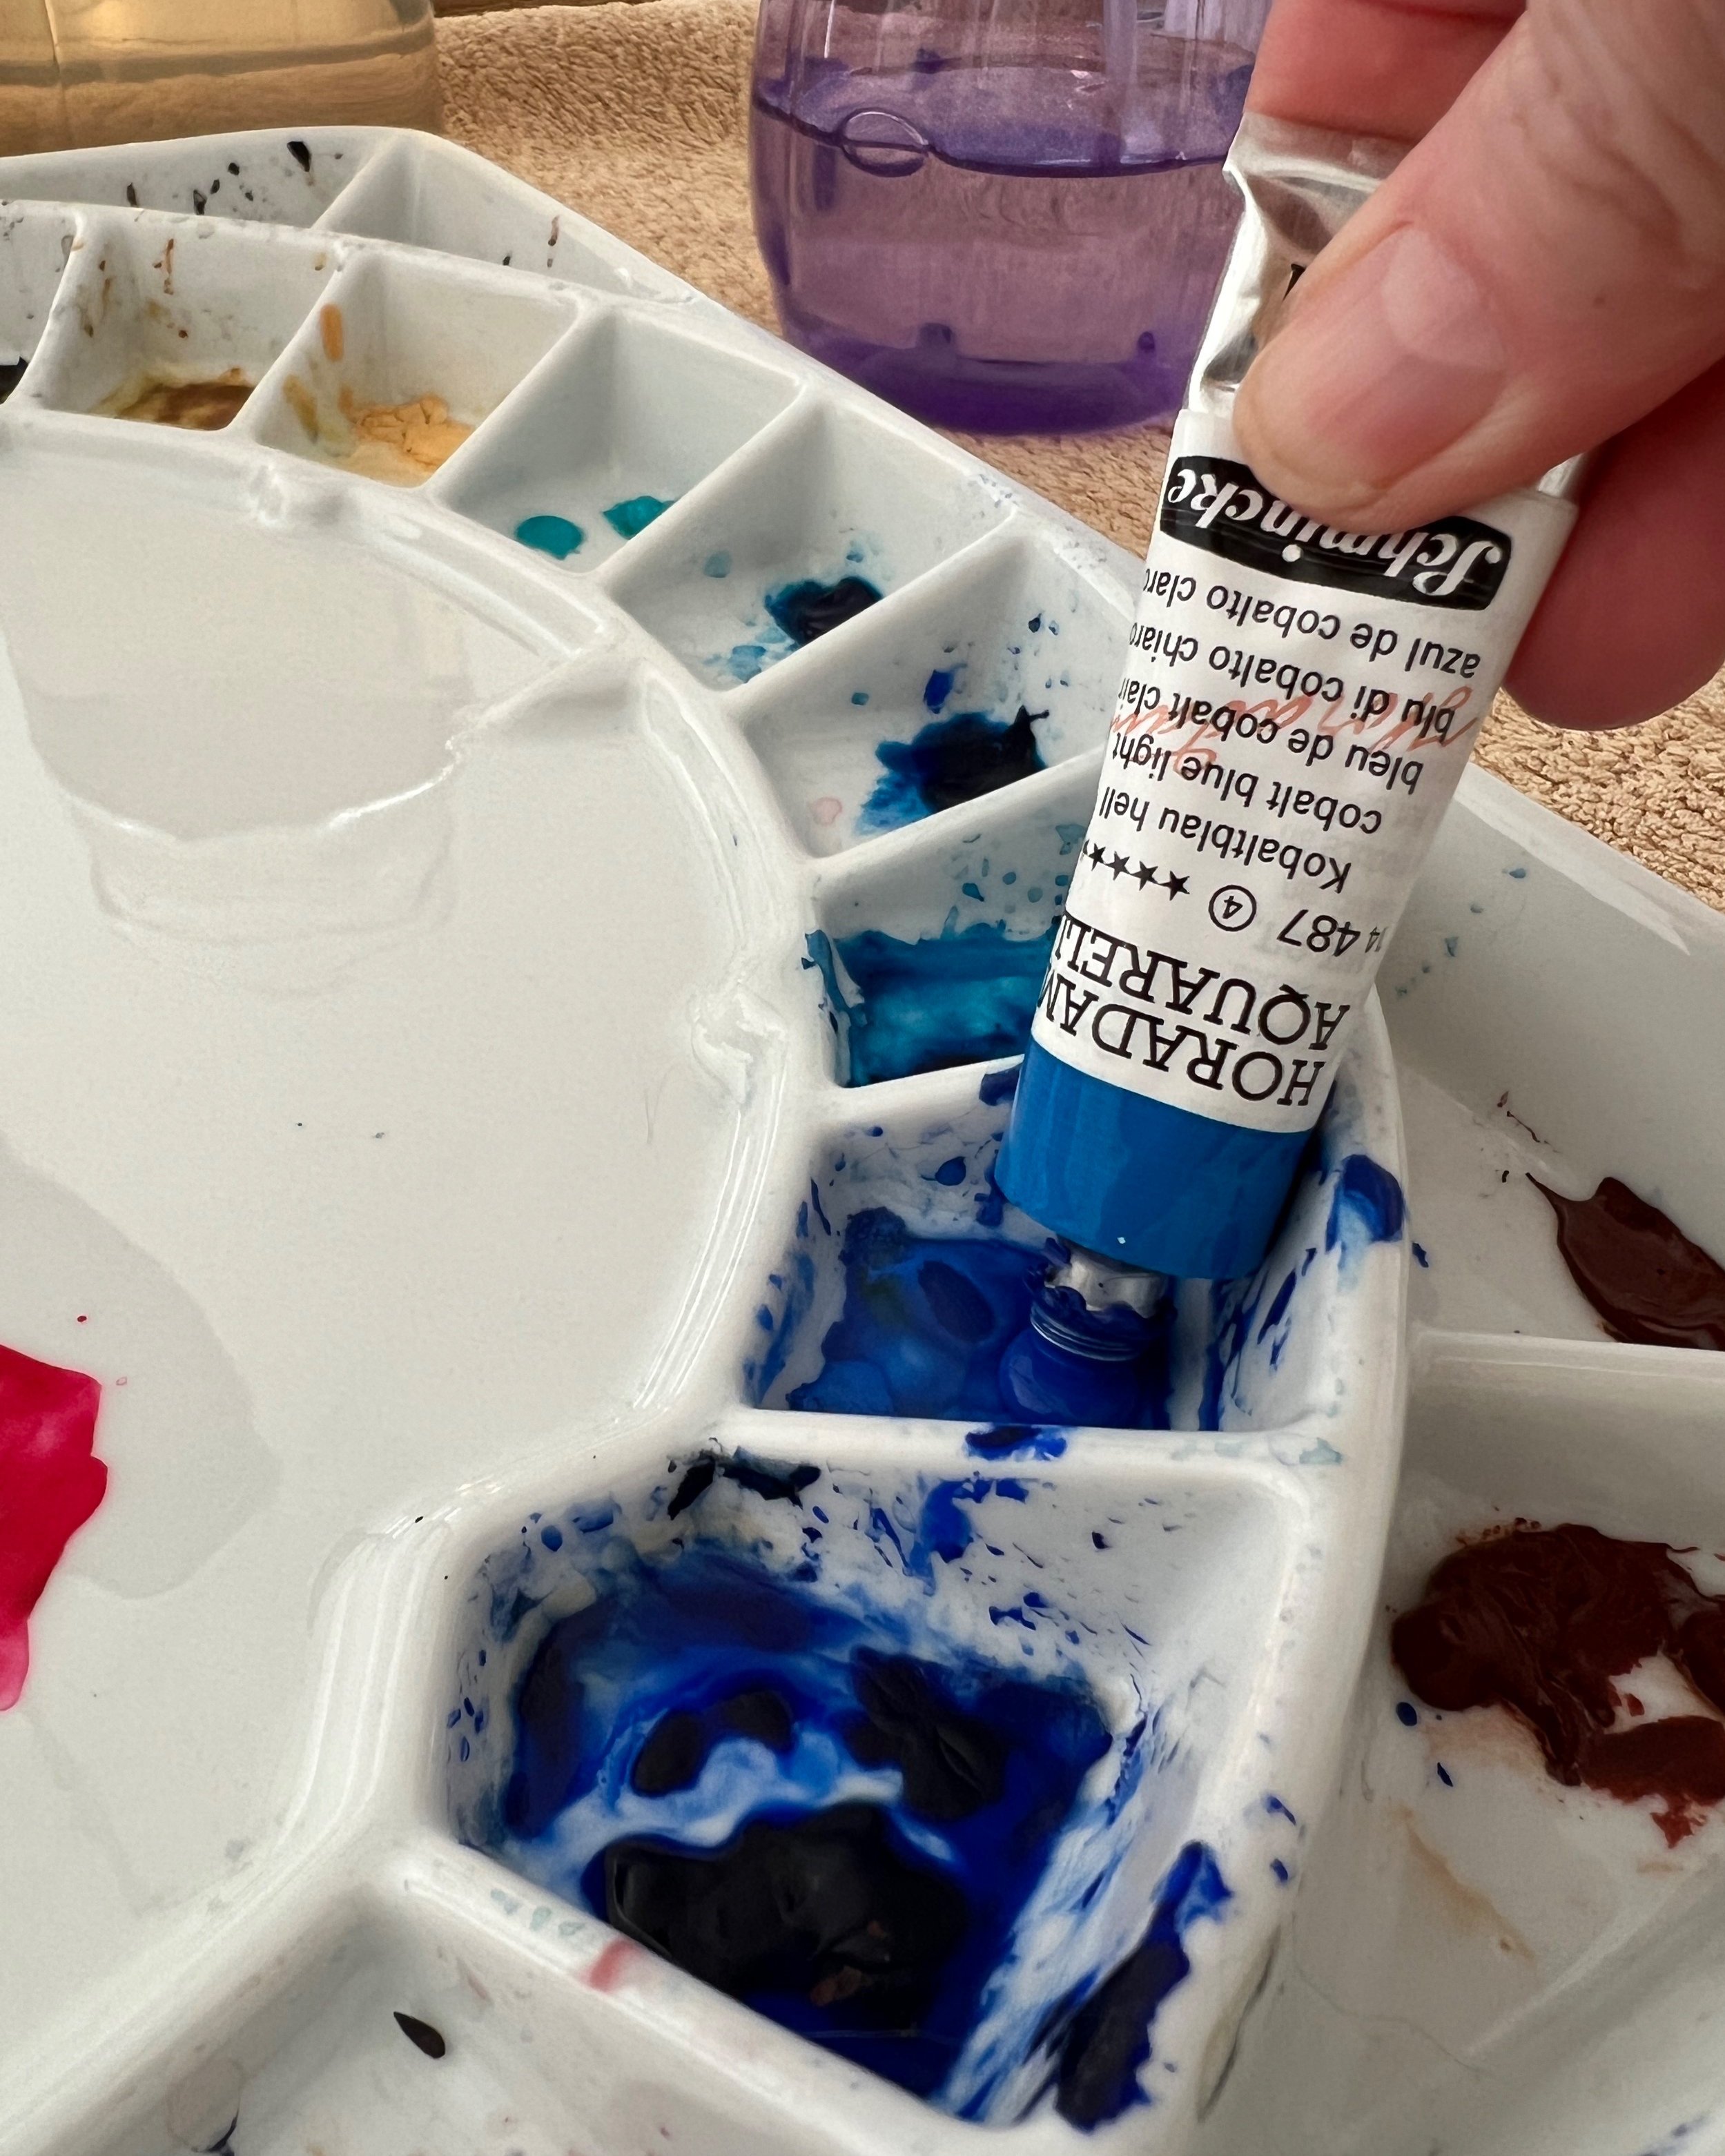
I use fresh pigment from tubes when I mix colors
I prefer to paint with tube paints rather than pan pants because whenever I do any mixing, particular when I want a dark colour, I like to squeeze fresh paint out of the tubes. I find it easier to mix with fresh paint than to re-wet paint that has dried on the palette.
What paint colours should beginners buy?
There are many colours to choose from so don't get seduced by all the pretty hues. Here's a warning: Don't go out and buy all the colours that you like - you don't need them.

You don’t need all these colors
Mixing green from blue and yellow
To begin painting in watercolour all you need are a warm and cool blue, a warm and cool yellow and a warm and cool red. You can mix most of the colours you need with them. Understanding colour temperature is one of the keys to successful colour mixing, especially when you're working with a limited palette. I have a video where I discuss the importance of knowing the temperature of the colours you are using and another video where I demonstrate two simple ways to tell what temperature a colour is.
Purchasing additional green, violet, or orange paints is not necessary as you can easily create these colours by mixing primary colours. You don't need to buy green paint. By combining yellow and blue, you can achieve various shades of green and I find that pre-mixed green paint tends to overpower paintings.
Likewise, mixing red and blue allows you to create a range of violet hues. Additionally, vibrant oranges can be achieved by blending yellow and red together. This method of colour mixing not only saves you from buying extra paints but also gives you the freedom to customise and experiment with a wide spectrum of greens, violets, and oranges, resulting in beautiful and diverse colour palettes for your artwork.
Watercolour Paper
As far as art supplies go, the watercolour paper you use is the most important art supply to buy in terms of quality. I recommend buying 100% cotton paper.
Paper is available in different textures: hot press, cold press and rough. It is also available in different weights or thicknesses.
If you're a beginner I recommend buying 300gsm (150lb) cold press paper. The paper you choose has a huge impact on how the paint behaves, so it's worth understanding the differences before you buy.
Hot press paper has a smooth surface and is good for detailed paintings. Cold press paper has a medium texture and rough paper has the most texture. Rough paper is useful for painting landscapes and impressionistic styles of paintings. Cold press paper is best to use when you are practicing watercolours but it's good to experiment with the different textures to see what you prefer painting on.
I have made a video where I talk about the differences between hot and cold press paper.
I mainly use Arches paper but it is expensive. Saunders Waterford is a good quality paper for beginner painters. I have also used Stonehenge Aqua watercolour paper to do studies on. It's a bit fragile but it's a good paper for beginners to practice on.
You could also buy a watercolour journal to practice in. My favourite journal is made by Winsor & Newton. The paper in it is 100% cotton and it is good quality.

Watercolour Pads, Blocks and Sheets
Watercolour paper is available in various forms to cater for different preferences.
Watercolour pads
Pads consist of multiple sheets of paper bound together on one side. You tear off a sheet from the pad when you are ready to start painting.
When I first started painting in watercolour I bought myself some A5 size Arches cold press pads and I painted hundreds of little bird paintings on them.

When my skills and confidence improved I bought some pads in the next size up - A4 and I painted my heart away on those. Eventually I moved onto A3 size pads and then A2 size pads.
Watercolour blocks
Watercolour blocks consist of multiple sheets bound on all four sides. They are designed to eliminate the need to stretch the paper before use and are useful when painting outdoors. However, I have found that the paper buckles and puckers when I use it still attached to the block.
Watercolor sheets
Watercolour paper is also sold in individual sheets or you can sometimes find it bundled into packs of 5 or 10 sheets. They are available in various standard sizes. You can paint on a full sheet or cut it and make several paintings from one.
Watercolour rolls
Rolls offer a continuous length of paper that can be cut to the desired size. These are suitable for artists who work on large paintings.
Whether you choose pads, blocks, sheets, or rolls, make sure to select a quality 100% cotton watercolour paper that suits your needs and enhances your painting experience.

Stretching watercolour paper to keep it flat when you work on it
When you paint on watercolour paper it will buckle and warp when it comes into contact with the water and paint. Stretching the paper before you paint on it stops this from happening. I have a video where I demonstrate how I stretch watercolour paper to keep it flat.
Many artists don't bother stretching their paper. They prefer to tape a dry piece of paper to a board and then try to flatten it after they have finished their painting. Taping a dry piece of watercolour paper to a board with some masking tape is not going to keep the paper flat while you work on it, unless it’s a really small piece of paper. The water and paint that you apply to the paper during the painting process causes the paper to swell and the tape is usually not strong enough to hold it in place.
I prefer to stretch the paper before I start painting because it's much easier to paint on a piece of paper that remains flat than one that has hills and valleys in it. A flat surface also gives you far more control over washes and helps prevent unwanted pooling and blooms.
Paper that is 640gsm (300lb) and above in weight doesn't need stretching because of its thickness.
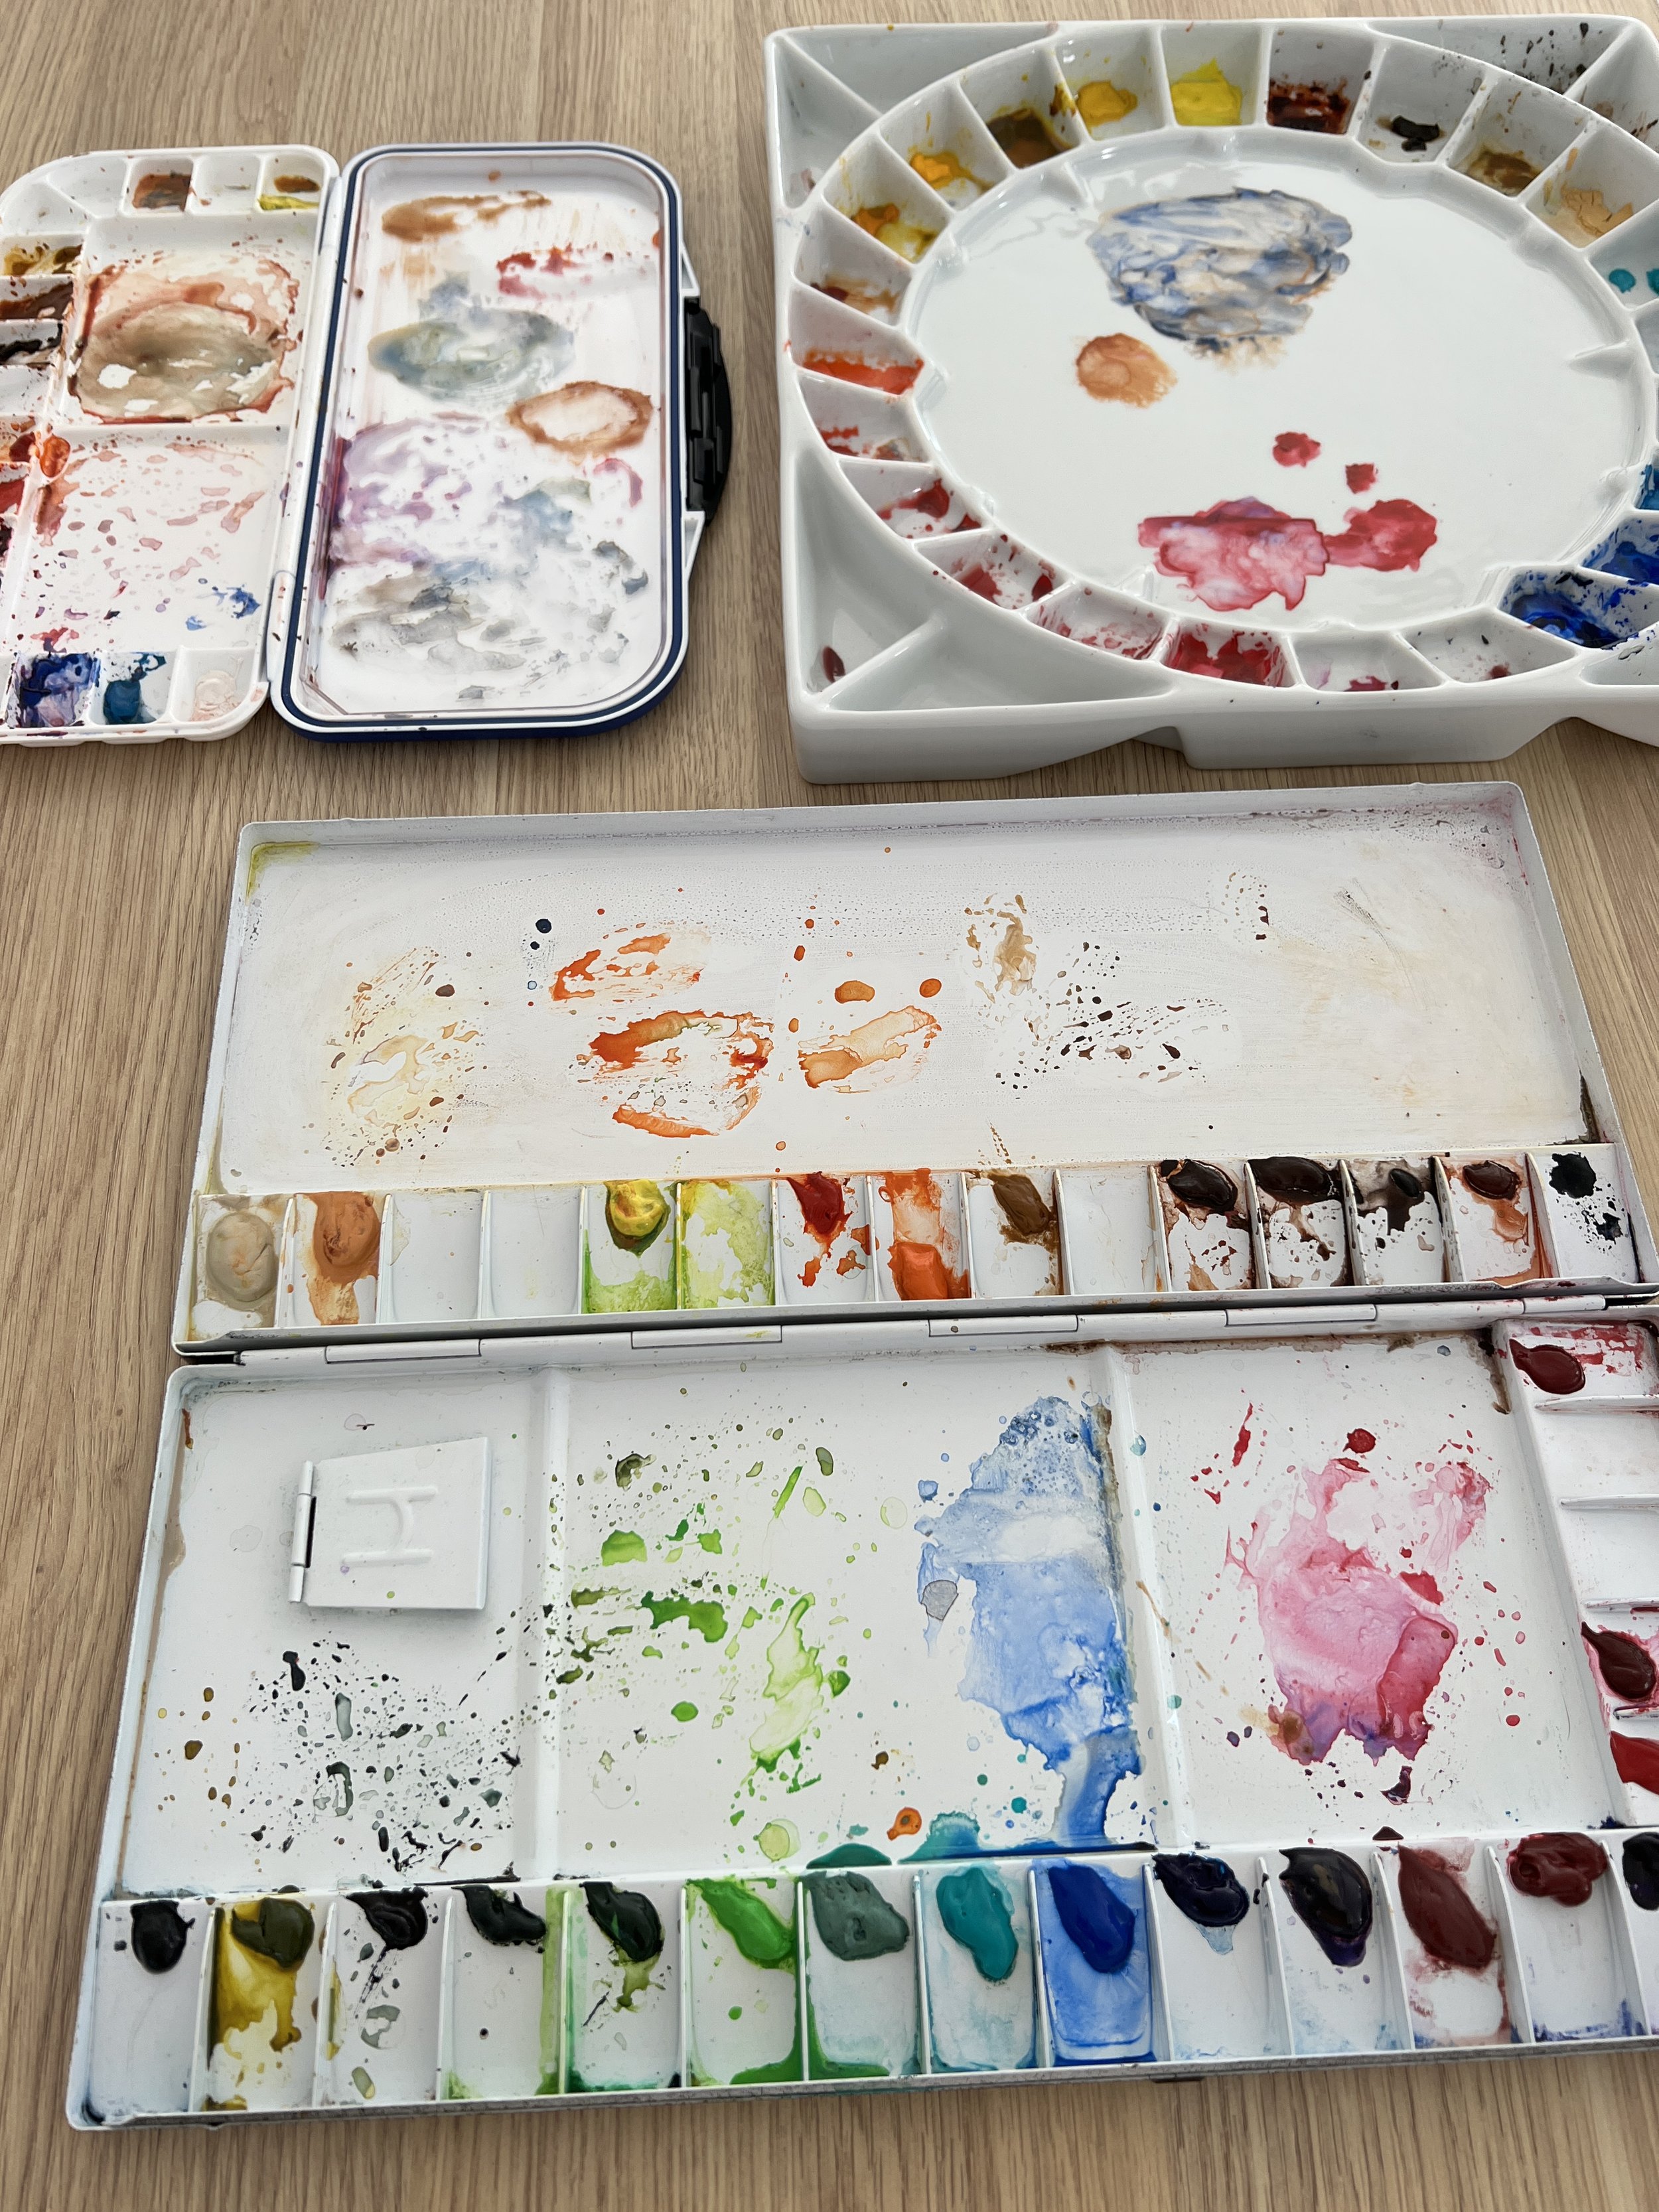
Palettes
There are various types of palettes available for artists, including plastic, metal, and ceramic options, each coming in different shapes and sizes. Whatever palette you decide to use, you'll need a fairly large mixing area.

White platter as a palette
An inexpensive alternative to using a palette is to use a white ceramic platter or tray, which can be found at stores like Kmart for around $6. The advantage of using a white palette is that it allows you to see the colours of the paint accurately.
I prefer ceramic palettes because they are easier to clean than plastic palettes. However, they are more suitable for studio use due to their weight and the risk of breakage.
If you plan to paint outdoors, it's recommended to have plastic palettes with a lid, or foldable palettes that can be closed securely. These options help protect the paint and keep it from drying out while you're on the move.
Water Containers
When it comes to water containers for watercolour painting, larger containers tend to be more beneficial because the water stays cleaner for longer. A practical approach is to use two containers during your painting process. One container can be dedicated to rinsing your brush between colours while you are mixing, ensuring that the colours remain pure and untainted. The other container can serve as a cleaner water source for washing out the brush between colours while you are actively painting. This setup allows for better colour control and helps maintain the desired freshness and clarity in your watercolour palette.

Miscellaneous Items that you Need
Graphite pencils & Watercolor Pencils
HB pencils are commonly used to make preliminary sketches or outlines directly on the paper before starting a watercolour painting. These pencils offer a moderate hardness that allows for smooth and precise lines.
Additionally, some artists opt to use watercolour pencils for their initial drawings, as these pencils are water-soluble. This means that once the drawing is complete, the lines can be activated with water, creating soft, blended effects that seamlessly integrate with the subsequent watercolour layers.
The water-soluble nature of watercolour pencils makes them a versatile tool for artists looking to combine drawing and painting techniques.

Masking fluid

Masking fluid is an invaluable tool in watercolour painting because it allows you to protect specific areas of the paper that you wish to preserve as white. In watercolour, we don't typically use white paint to create white areas in the painting; instead, we rely on the untouched white of the paper itself.
Masking fluid enables artists to temporarily cover these areas, preventing the watercolour paint from reaching them and maintaining their pristine white appearance.
I rarely use masking fluid in my work. I only resort to using it when I cannot find an alternative method to preserve white areas. However, if possible, I prefer to avoid its application because, more often than not, the resulting white space left after removing the masking fluid appears to look a bit artificial.
Cloth
You'll need a cloth to wipe your brush on. I usually use old towels folded up right next to me when I paint. By the end of the painting session, the towel is quite wet.
Some artists use paper towel to wipe their brushes on but because I work fairly wet, I find a large towel works best for my method of painting.
Hair dryer
A hair dryer is useful to dry the paper between layers. Whenever you paint it is crucial that one layer of paint is completely dry before you apply another layer
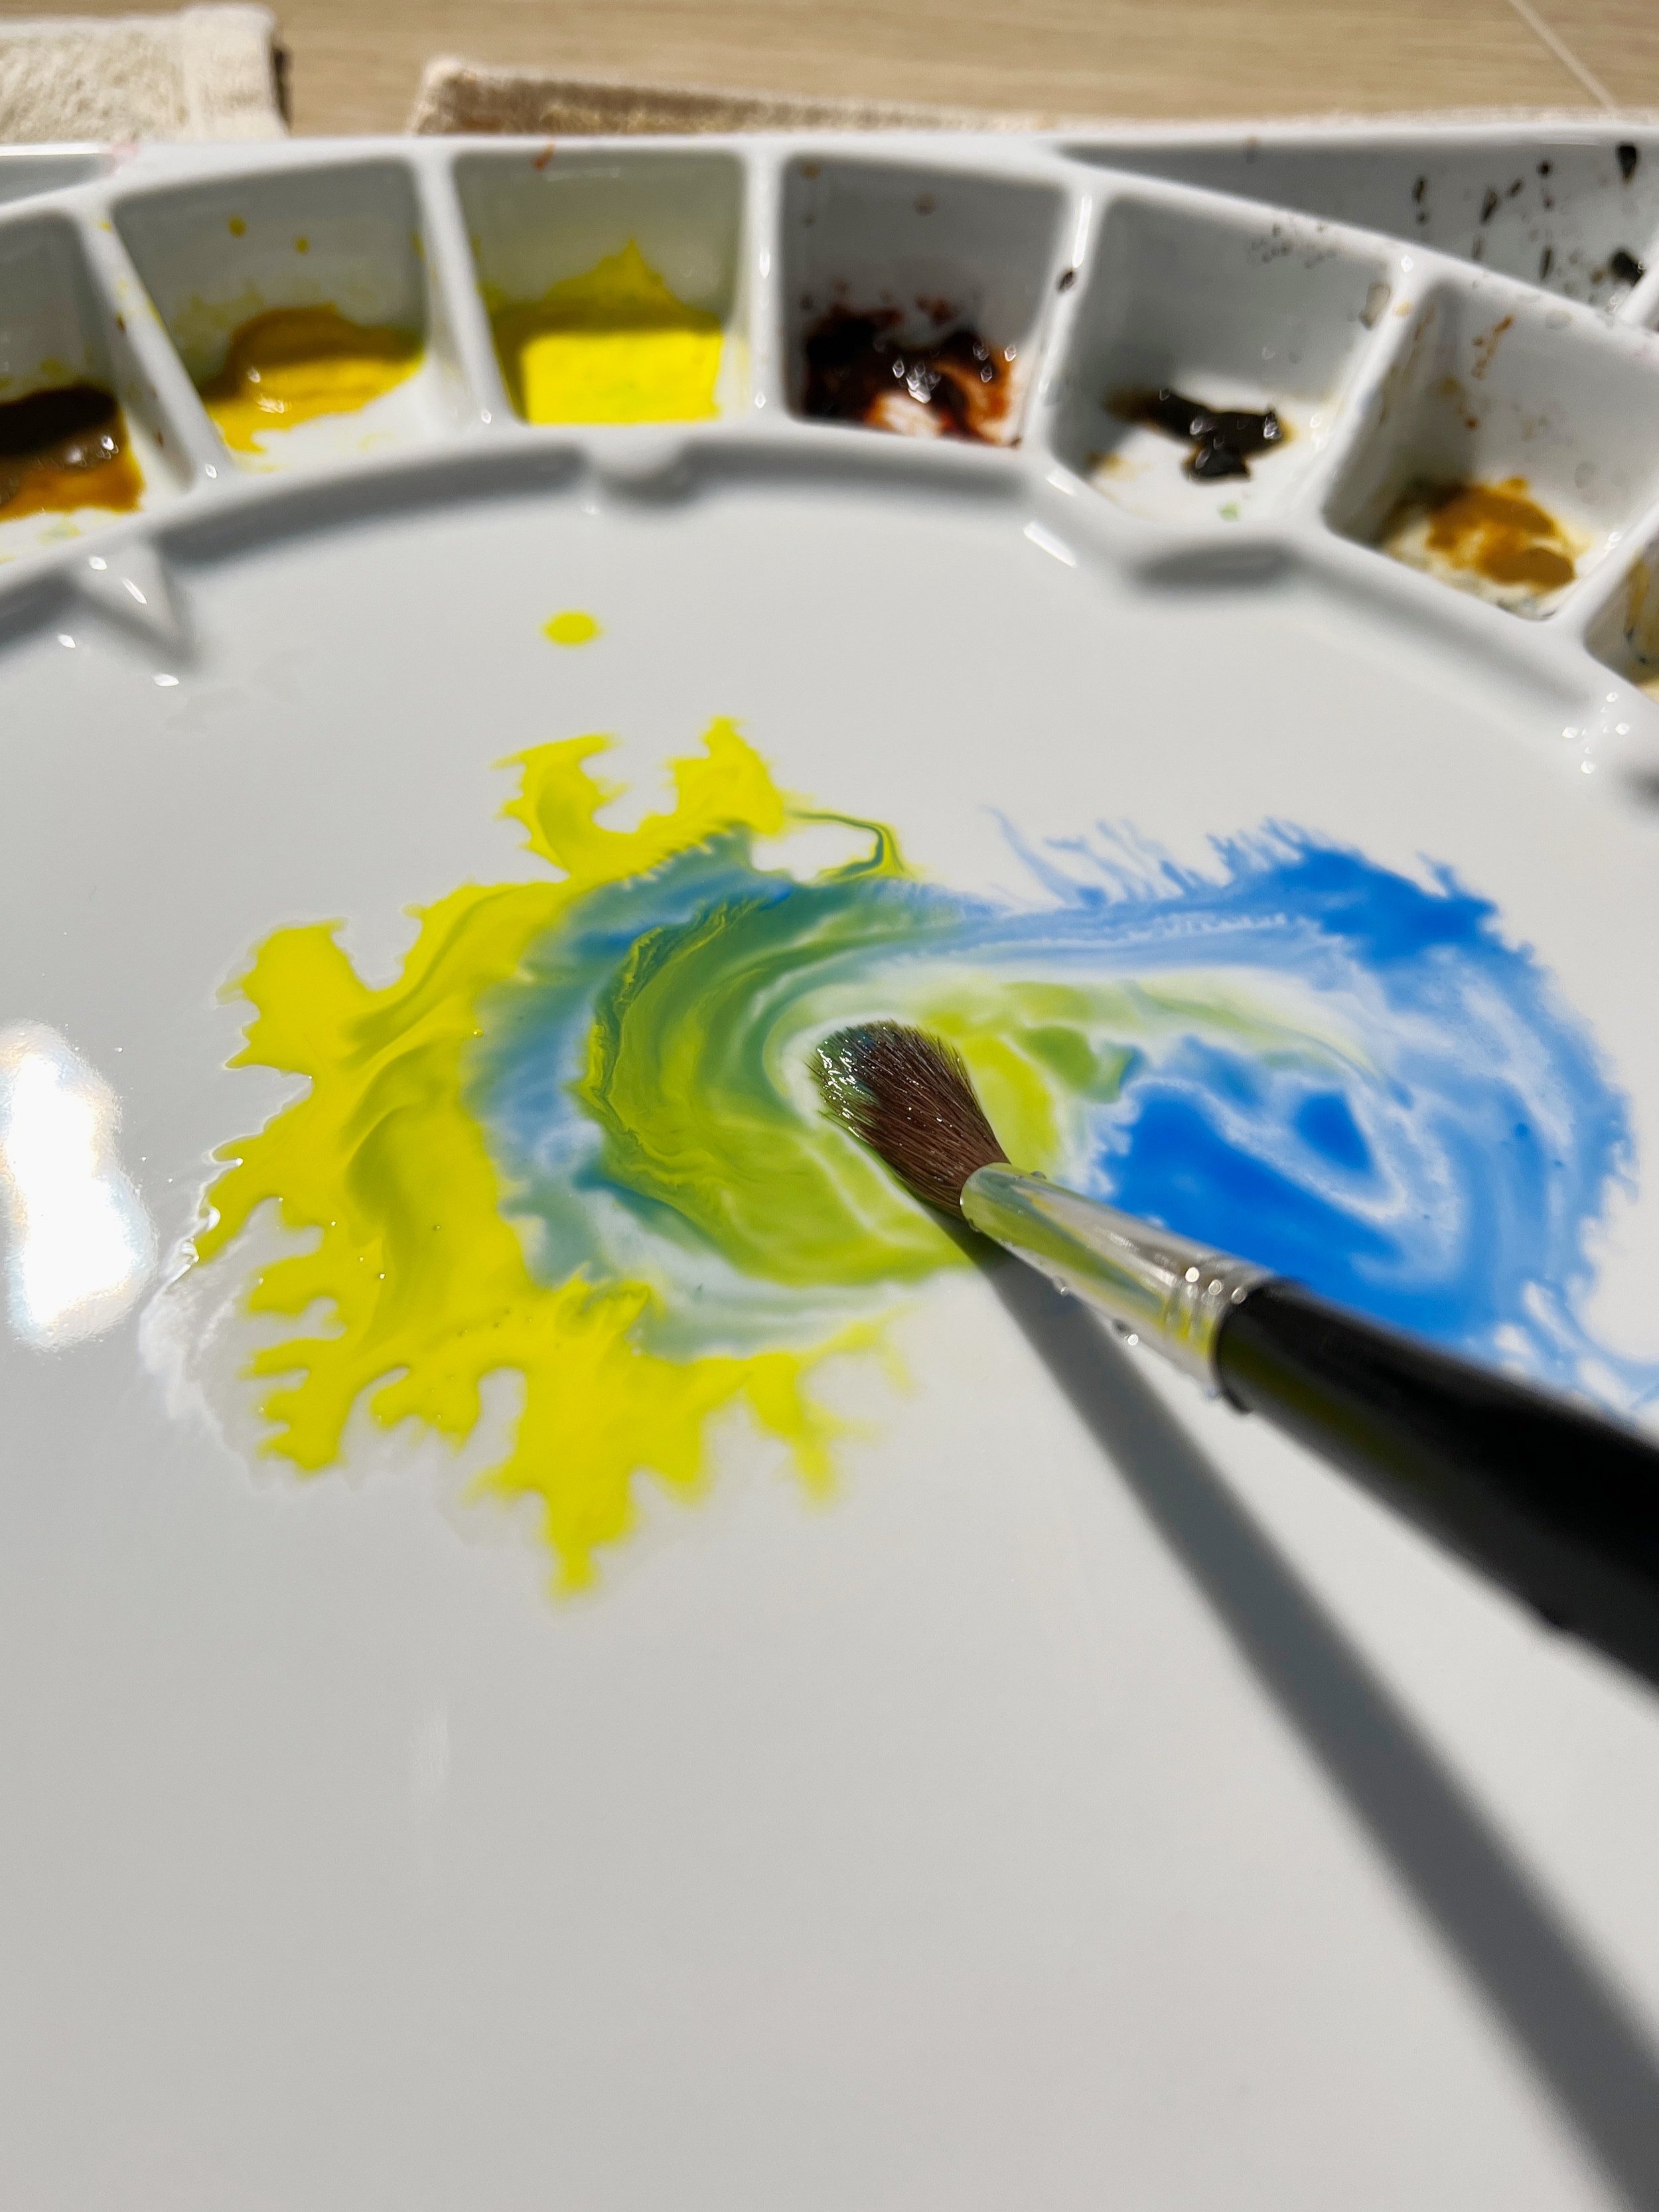
Watercolour Techniques
There are many different watercolour techniques to learn but two of the most important are wet on wet and wet on dry. Start with those first because almost every watercolour technique builds on them. Once you understand those foundations, you can move on to dry brushing, glazing and charging.
The key to improving your watercolour skills is consistent practice and experimentation. Start with simple exercises and gradually progress to more complex subjects as you gain confidence. Don't be afraid to make mistakes, as they are a valuable part of the learning process. Enjoy the journey of discovering your own style and techniques.
Watercolour Classes
Rather than attempting to learn watercolour painting on your own, it is beneficial to enroll in online classes taught by an experienced teacher, like myself.
My online classes cater to all skill levels, from beginners to experienced painters.
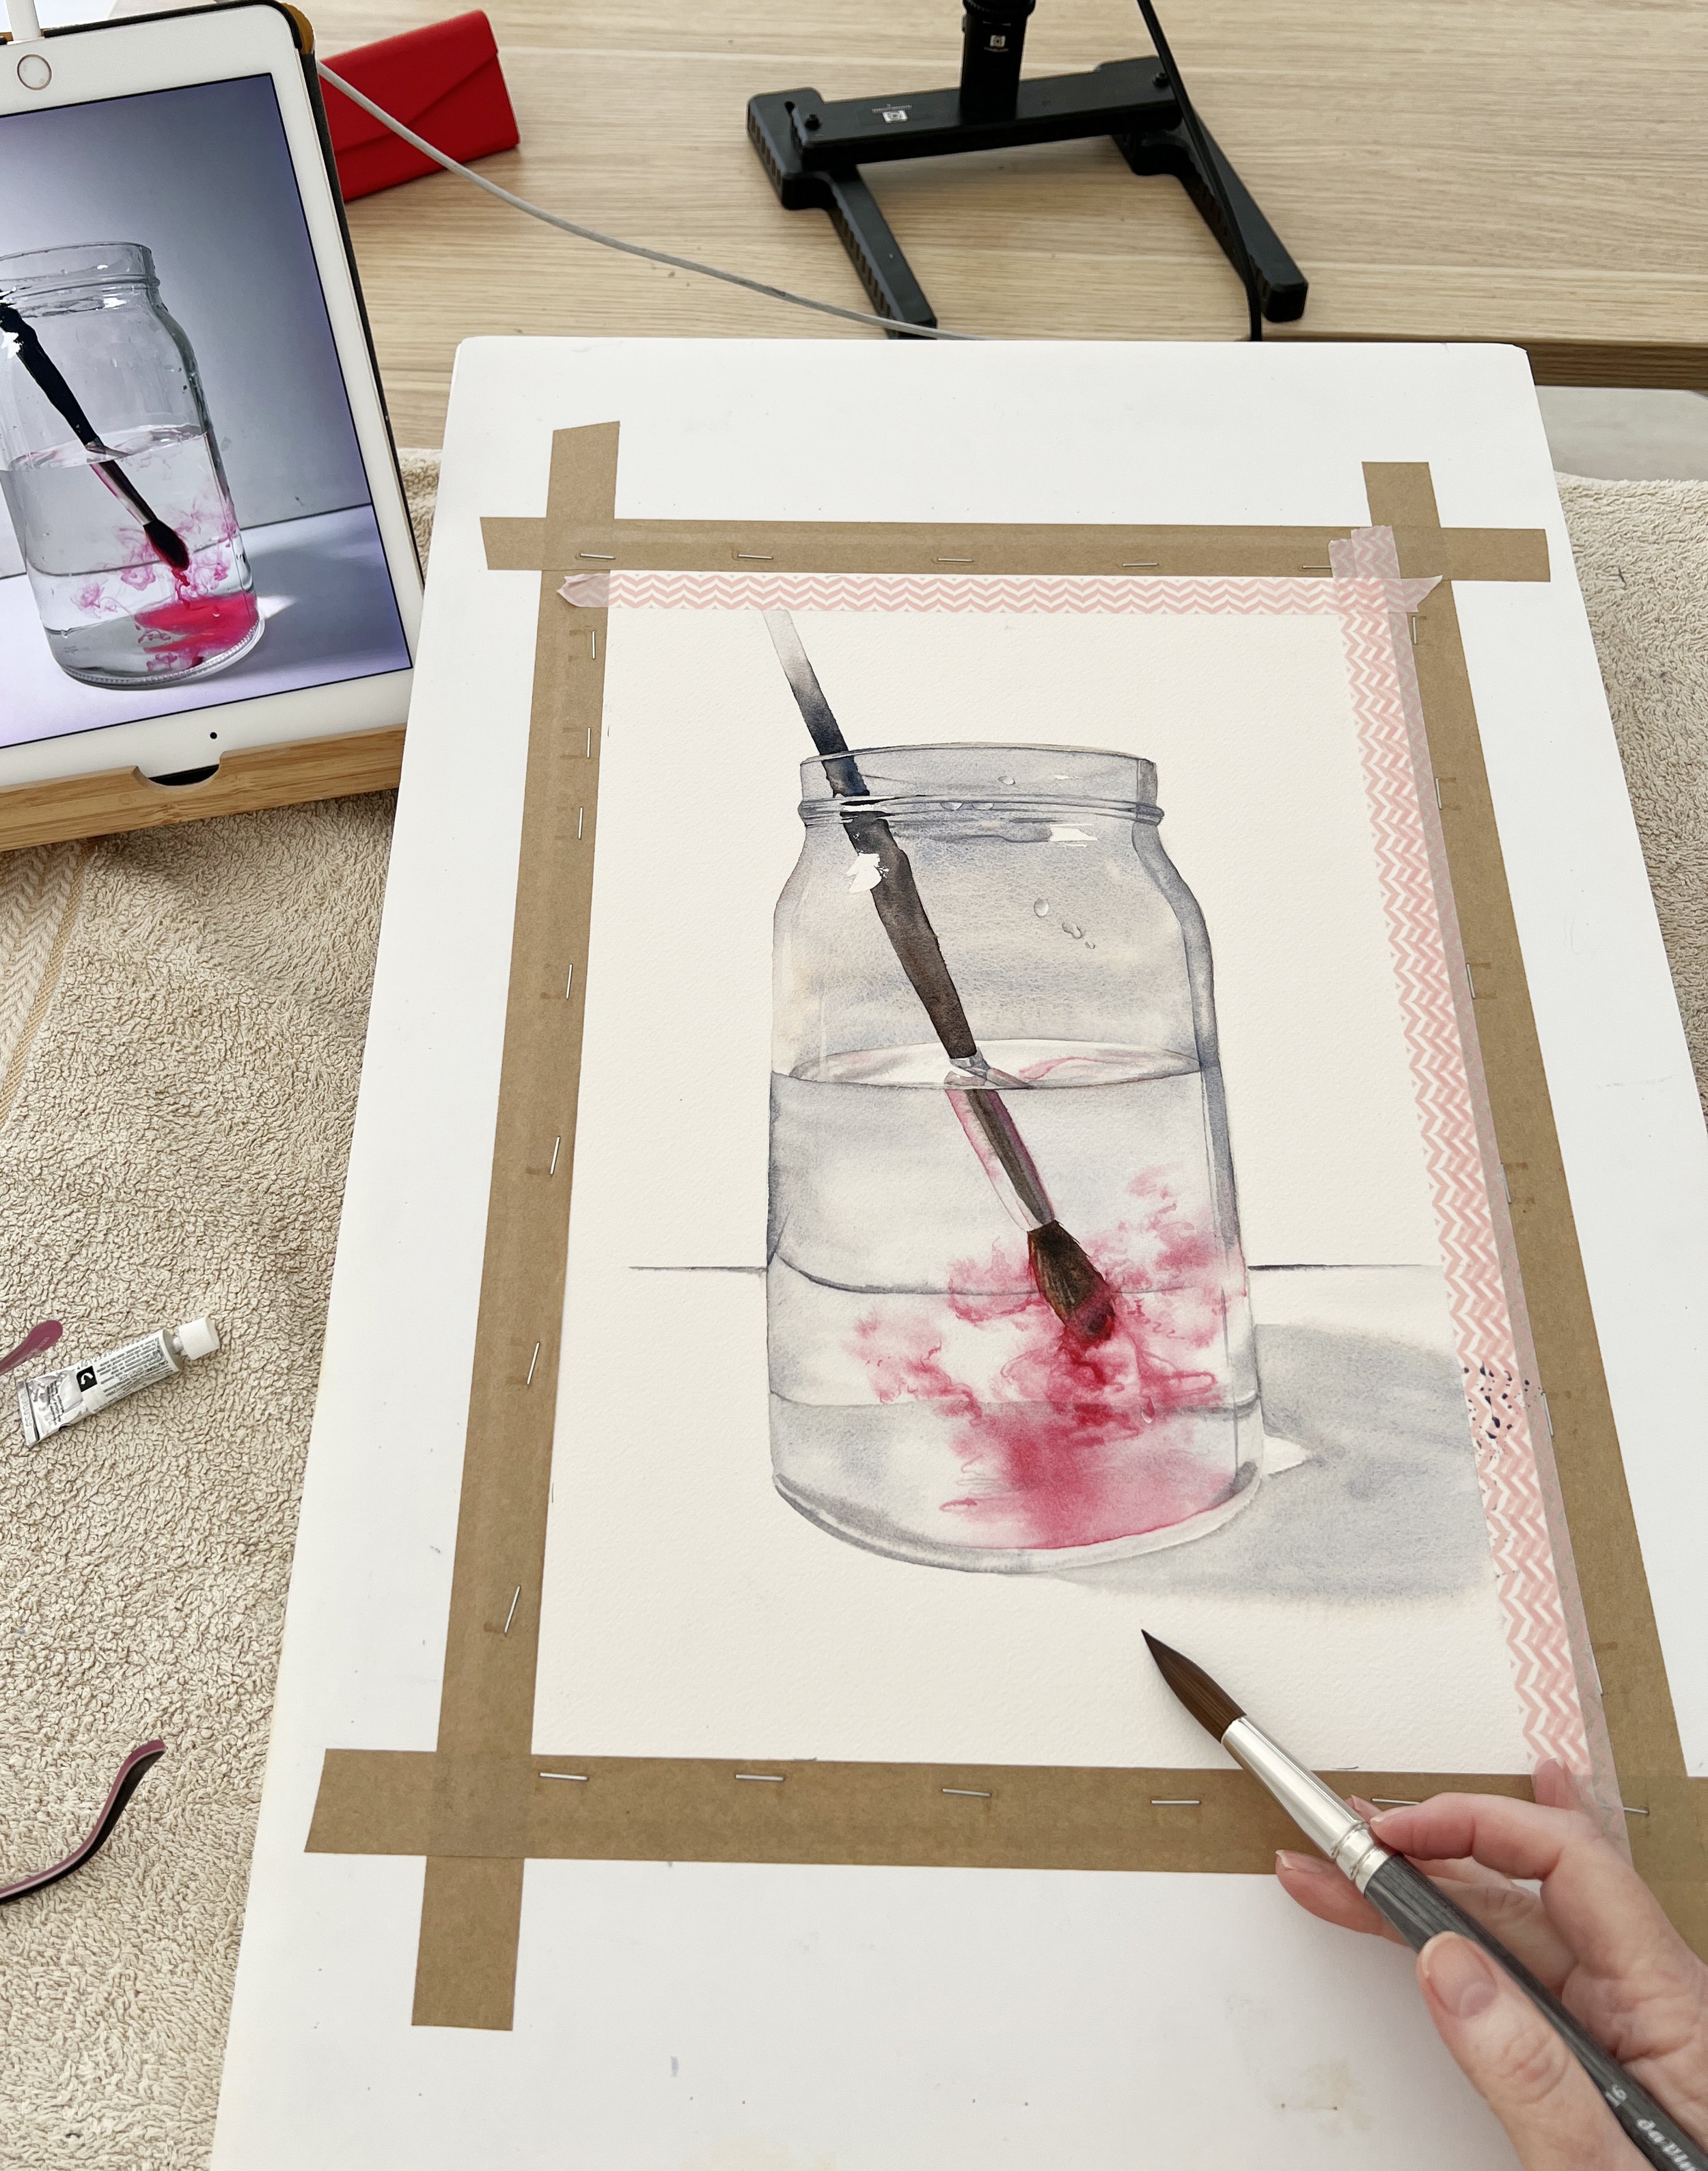
Each class provides a comprehensive walkthrough of a watercolour painting, guiding you step by step from start to finish. You can paint along with me by downloading a line drawing, progress photos of my painting, a copy of the finished artwork, the reference photo, and a supplies list detailing all the materials I use.
In these video classes, you will receive structured instruction and guidance.

The step-by-step approach ensures that you understand and master each stage of the painting process. By following along with the demonstrations and instructions, you can apply the techniques and principles to your own artwork.
The availability of downloadable resources is another advantage of these online classes. Having access to a line drawing allows you to focus on the painting techniques without worrying about initial sketching. Progress photos of my painting enable you to compare and assess your own progress. Additionally, receiving a copy of the finished painting serves as a visual reference to help you understand the desired outcome. The reference photo allows you to study the subject in detail, and the supplies list ensures you have the necessary materials to complete the painting successfully.

Regardless of your skill level, these step by step classes offer a valuable opportunity to learn from an experienced watercolour artist. Beginners can develop a strong foundation in the medium, while experienced painters can refine their techniques and explore new approaches. The structured nature of the classes, along with my guidance, provides a supportive environment for growth and improvement.
I look forward to painting with you in this exciting medium.
So grab your supplies and let's get started!
If you are interested in learning to paint in watercolour, I have over 170 online, voiced over watercolour tutorials for all skill levels.
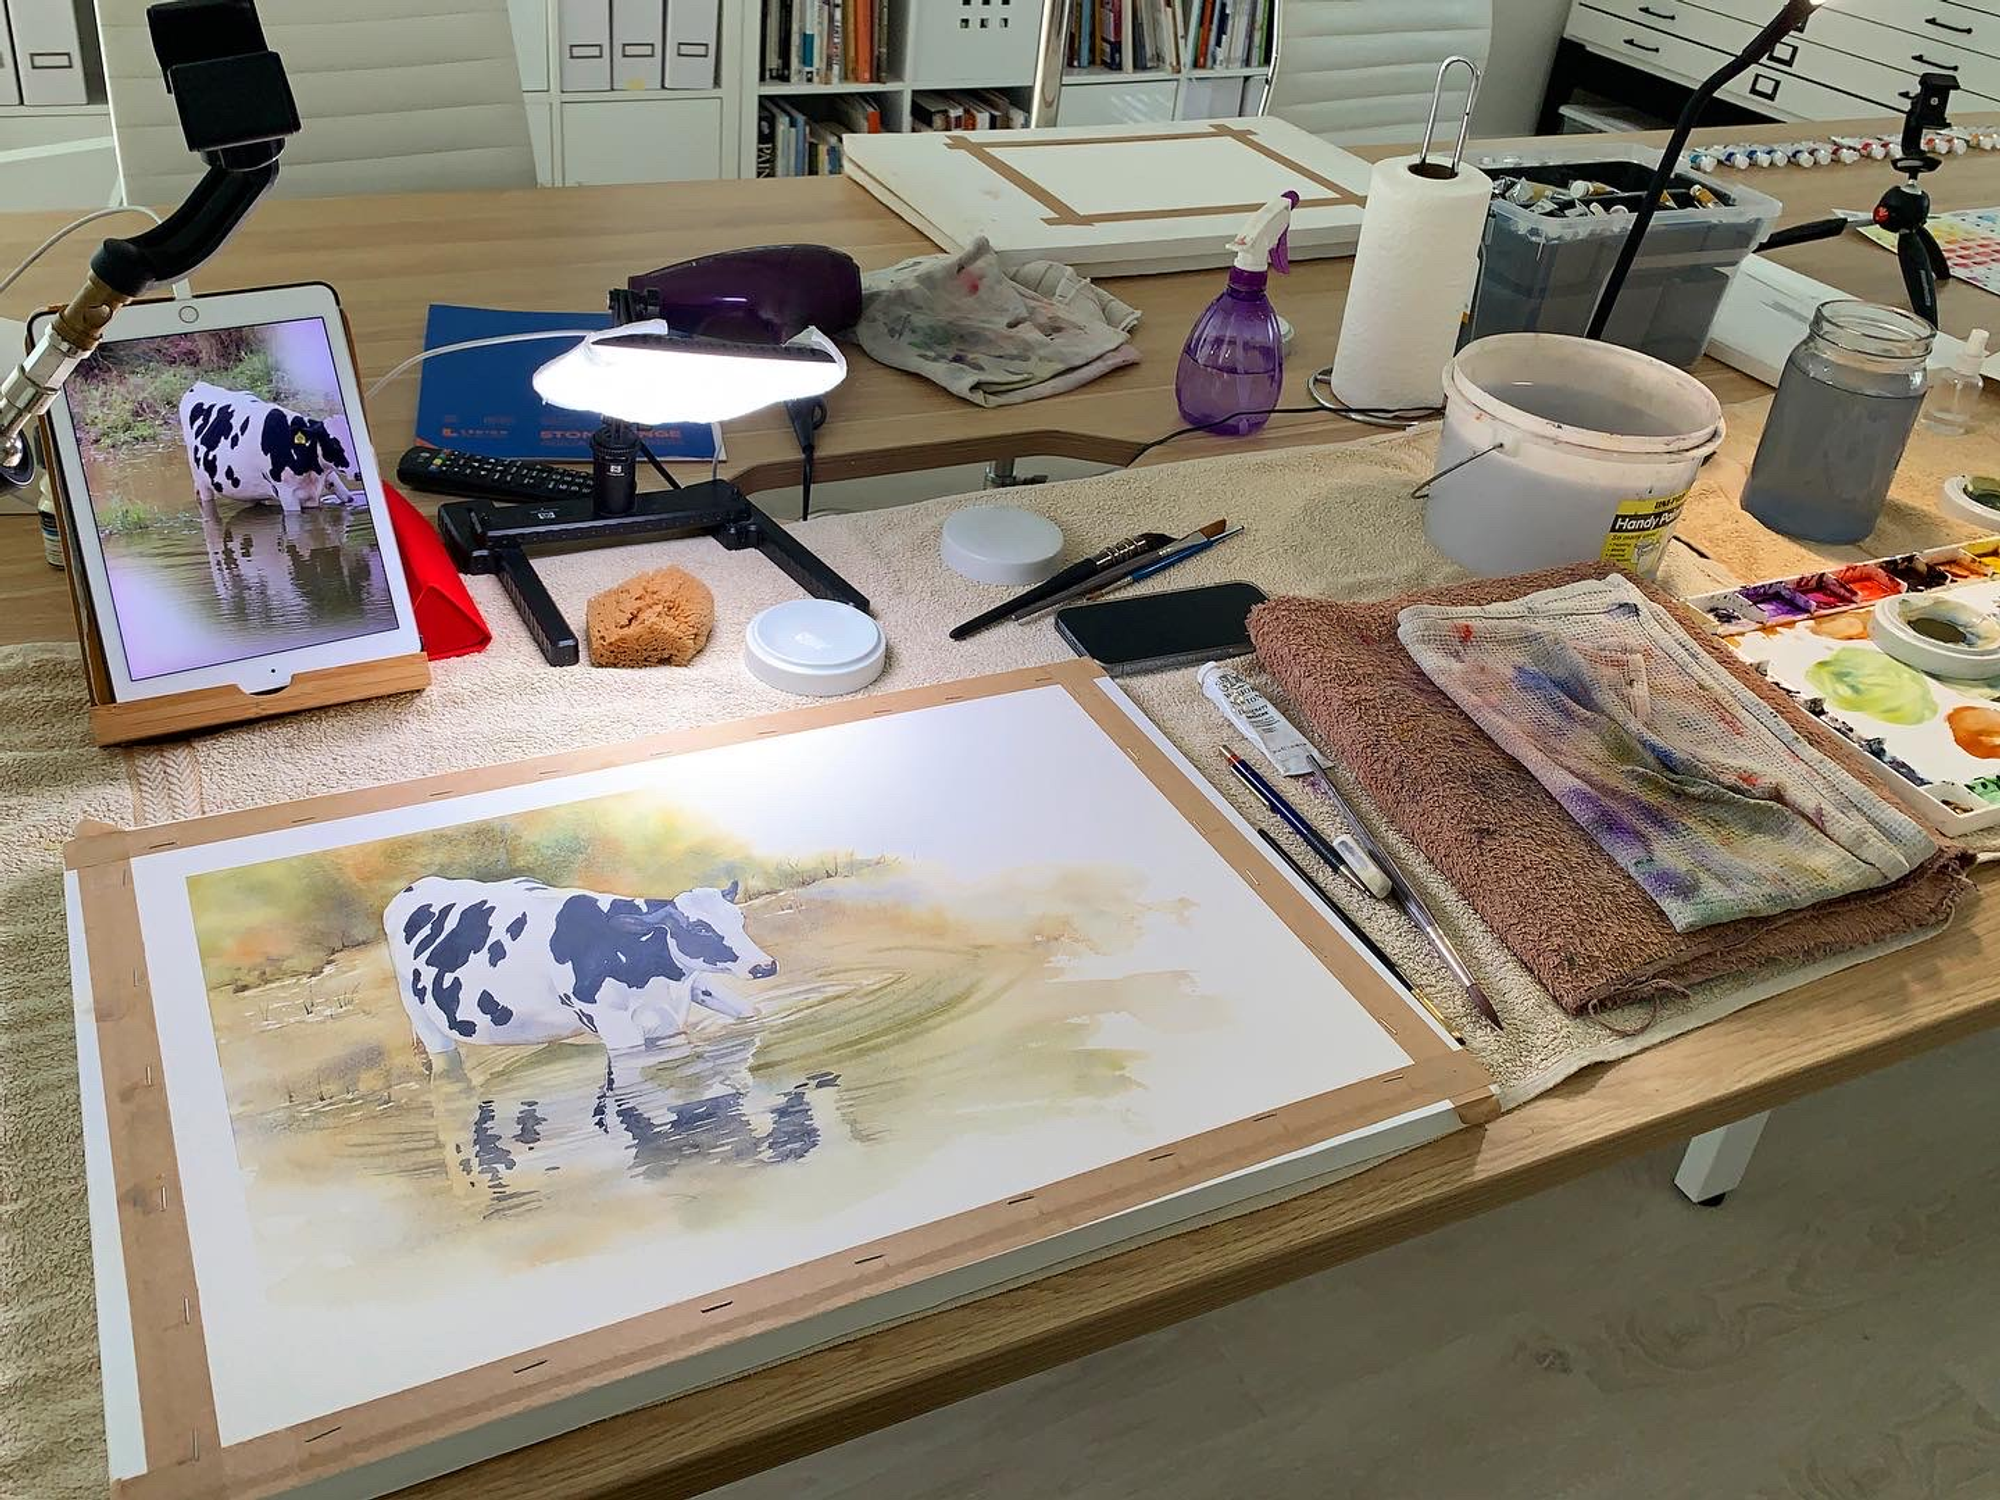
The cow vignette at the top of this page is available to purchase as a print in the shop.
Further reading: 9 Watercolor Texture Techniques
Disclosure: This post contains affiliate links, which means I may earn a commission if you make a purchase through my links at no extra cost to you.


