How to do the Watercolour Glazing Technique

The watercolour glazing technique is a valuable skill for beginner watercolour artists to learn for several reasons.
Glazing helps to add depth to your paintings
It enhances the luminosity of your paintings
It allows you to create subtle shifts in colour and tone
In this blog post I'll be covering what a watercolour glaze is and how it differs from a watercolour wash. I'll demonstrate how to do it and what to use it for. I'll also show you why a glazing chart is a valuable resource to make.

Watercolour glazing is a basic technique that many artists use. When you glaze with watercolour paint you apply a thin, transparent layer of paint over a previous layer of dry paint with the purpose of modifying or enhancing the underlying layer.
You can paint several glazes of the same colour over the top of one another to increase tonal value or you can glaze a different colour over the top of another colour to create a new colour.
How do you glaze in watercolour?
The first thing you do is paint a light layer of paint on your paper and let it completely dry. When I'm painting, I let the paint dry naturally and then I use a hair dryer on it to make sure it is completely dry.
When it's dry, use the same colour and paint a new layer over the top of the first layer. Thin your paint with water so that it is not too thick. To achieve transparent glazes the paint should flow effortlessly off your brush.

In the image below, the shape on the left has one layer of Ruby Red on the white paper. On the middle shape, I have painted two layers of Ruby Red and the third shape has three layers of Ruby Red.
By painting the additional layers I have darkened the tonal value of the shape.

You can keep layering more than three times, and as you do, the colour will move from light to dark.
Below I've painted a cool yellow strip (Transparent Yellow). I allowed it to dry and then I painted a cool red strip (Ruby Red) over the top.

Because watercolour paint is transparent, you will see a new colour where the colours overlap one another. That's very useful when you paint in watercolour because when you use the glazing technique you are effectively mixing colours on your paper rather than on your palette.
What do you use the glazing technique for?
Glazing is useful for creating depth, luminosity, and richness in a watercolour painting. By gradually layering colours, you can create subtle shifts in colour and tone, enhancing the overall vibrancy and complexity of your artwork.
You can also use watercolour glazing to increase colour harmony through your painting.
When you mix complementary colours you create beautiful neutral greys. Complementary colours are those colours that are opposite one another on the colour wheel (red and green, violet and yellow, blue and orange). Glazing with complementary colours can tone down areas of your watercolour paintings that might be too bright.
So let's say you have painted a pink tulip and you think that the colour is too bright in different areas. You can glaze some transparent green (complementary colour) over the top, to tone the colour down slightly in those areas.
If only I'd known this when I first started painting. I have many watercolour paintings that are so bright you could use them as neon signs for nightclubs on a budget 😂.
In the image below I've painted a basic tulip shape in Ruby Red. I let it dry and then I painted a glaze of Viridian (green) over the right hand side of it. You can see how Viridian has toned down the colour.

Tips for using the watercolour glazing technique
When you first start glazing in watercolour you must wait until the paint is completely dry before you paint another layer over the top. If you don't, you risk disturbing the underlying layer.
Use a large soft brush and a gentle touch to minimise the disturbance of the underlying layers of paint.
Keep your brush strokes to a minimum (that's why large brushes are recommended).
Try not to apply too many layers because it can lead to overworking and muddying of colours
Some paints are made with more than one pigment. To minimise muddying colours try to use single pigment paint colours when you glaze.
Soften any hard edges that you don't want with a damp brush
Choose transparent pigments over opaque paints
What are the best watercolour paints for glazing?
Glazing involves painting transparent layers onto watercolour paper so transparent paints are always a good choice to use.
Staining colours are helpful as well because they don't easily reactivate when further layers are applied. This non-lifting property ensures that the underlying layers remain undisturbed, which means you can lay down clean glazes without worrying about muddying your colours.
You can determine whether a colour is staining or not by looking at the labelling on the paint tube or on the colour charts the paint manufacturers supply.
Schmincke paints indicate on the tube if the pigment is staining with a blackened triangle on the label.
Daniel Smith use numbers on their paint charts to indicate if a colour is staining. You’ll see a number 1 under the colours that are staining.
On the Winsor & Newton colour chart you will see the letters ‘St’ if a colour is staining.

What is the difference between a watercolour wash and a glaze?
The main difference between a watercolour wash and a glaze lies in their purpose.
Glazes are transparent layers of paint applied to modify or enhance underlying layers.
Washes are layers of paint that are used to establish the overall tone and colour of a painting.
How do you use the glazing technique on a painting?
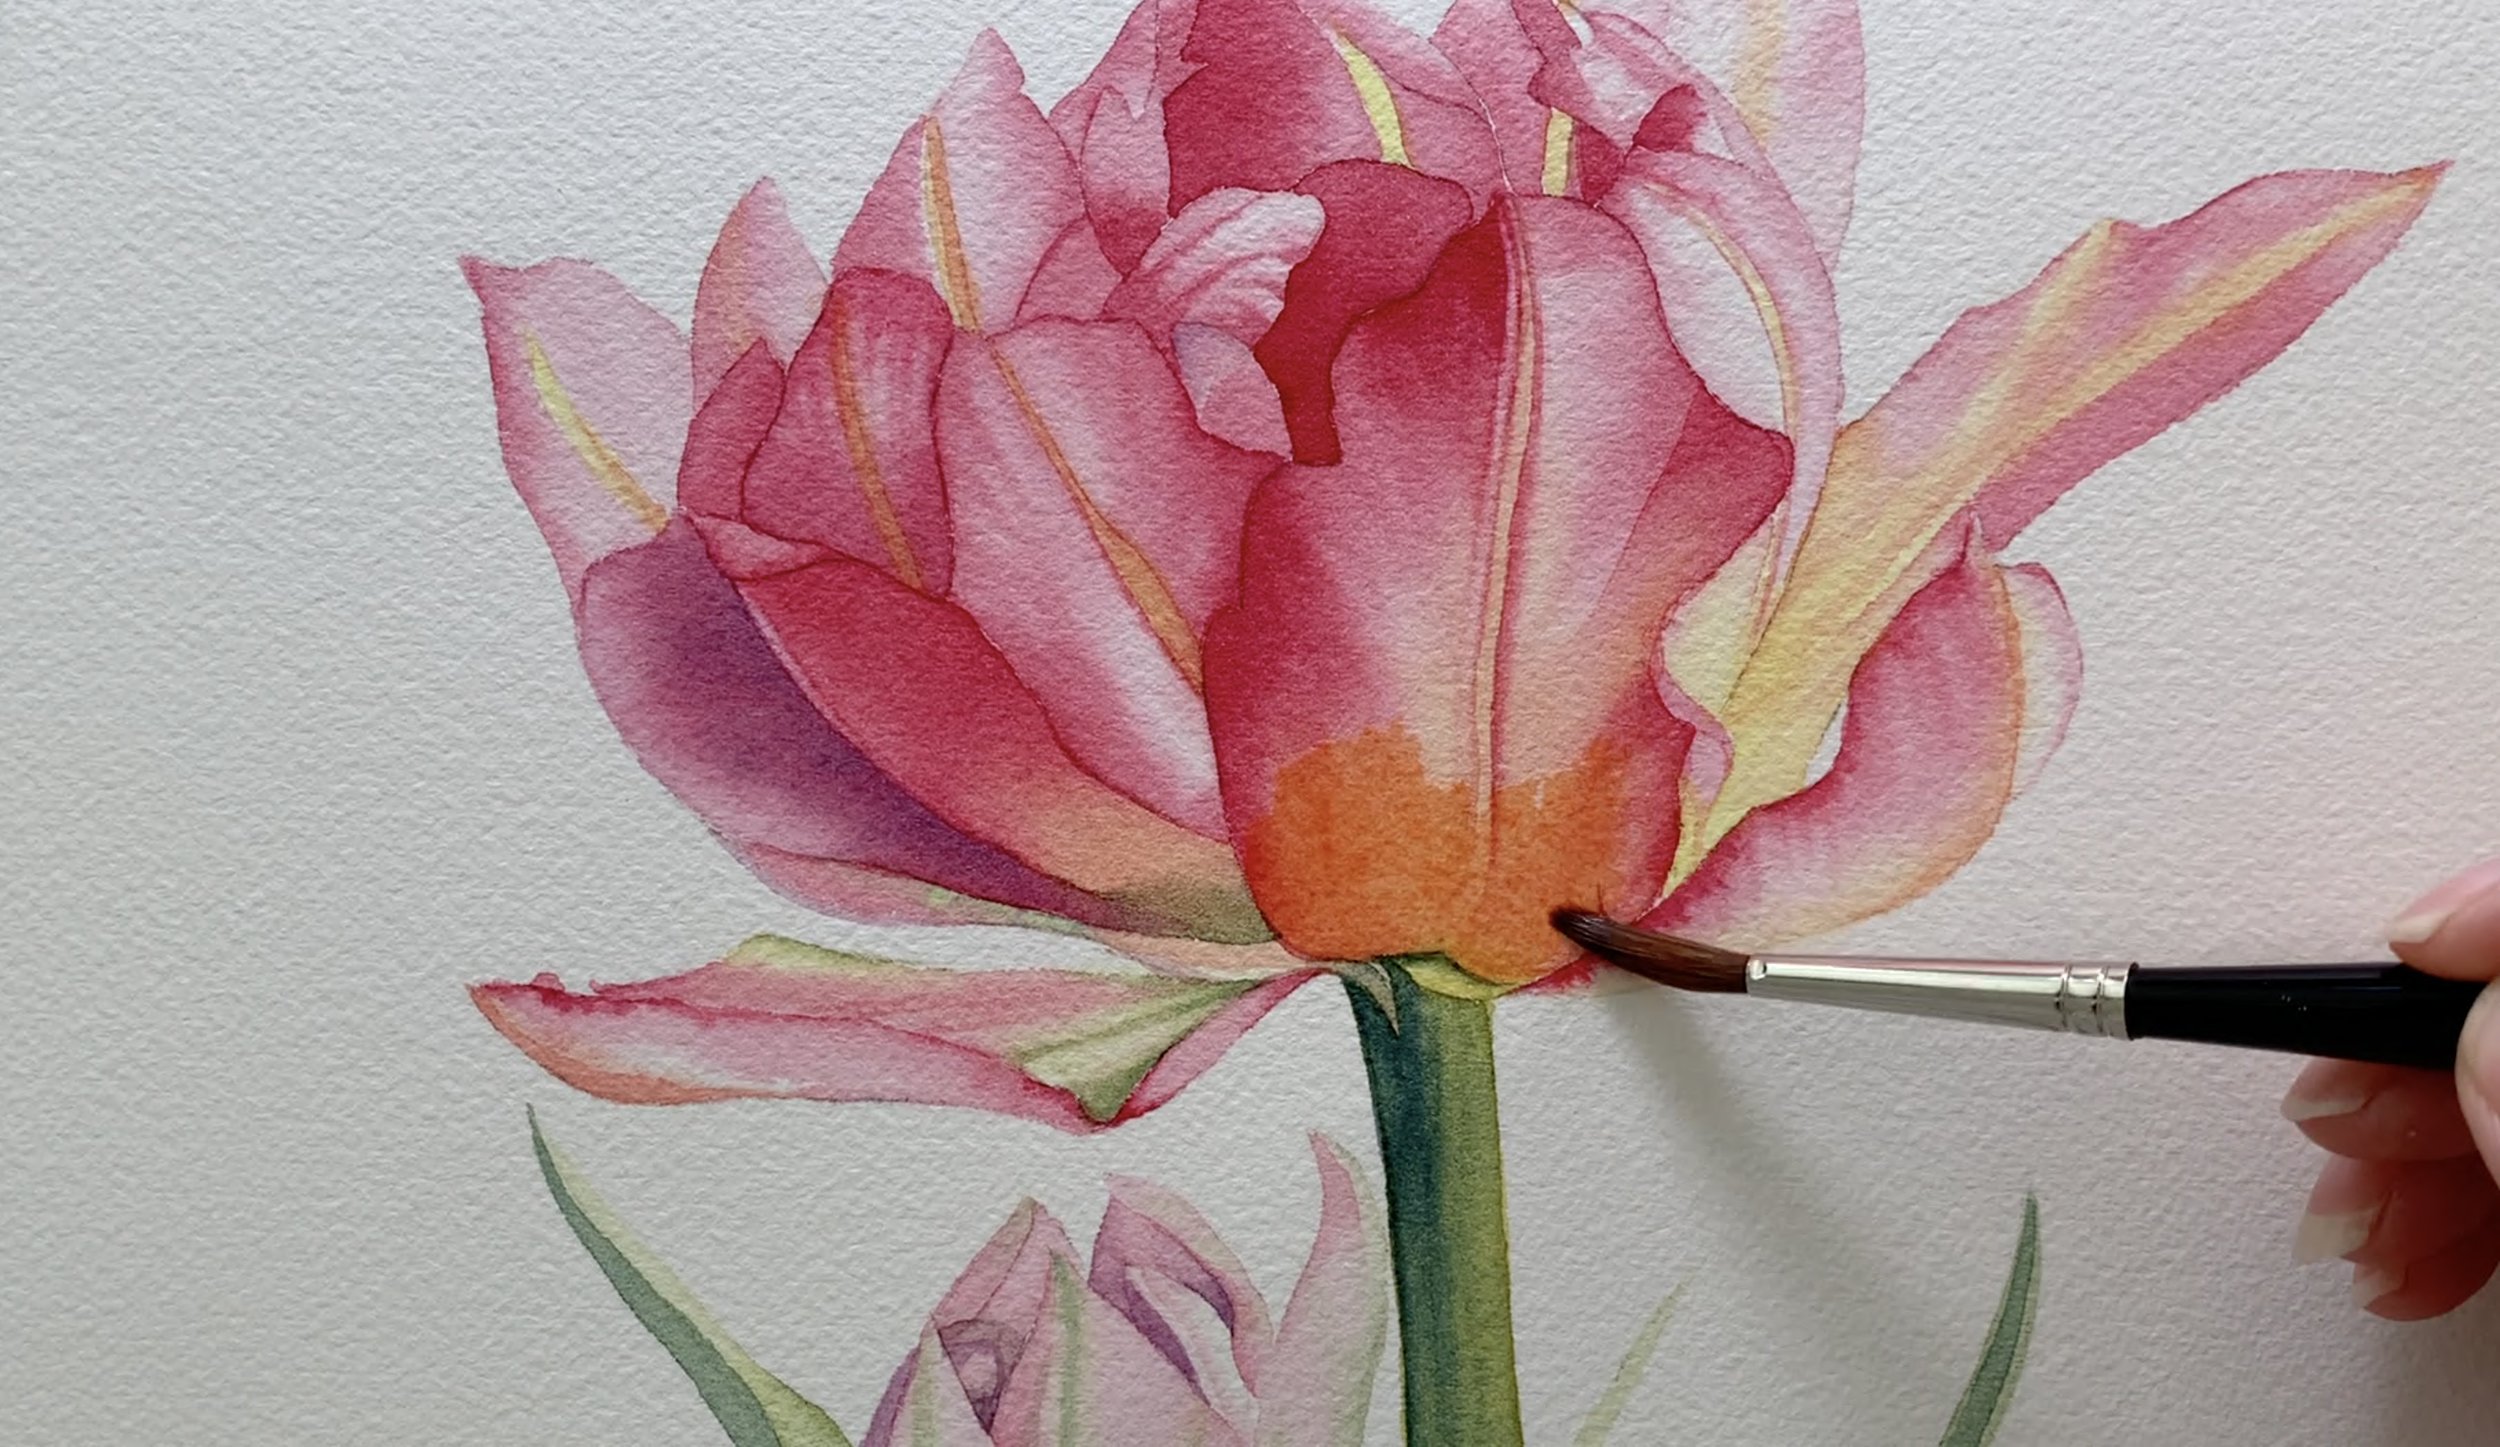
I often use the glazing technique to alter the colour of an area of my painting. On the tulip below I needed to warm the bottom of the front petal so I mixed some Ruby Red with Yellow to make an orange and I glazed it over the top of previous dry layers of Ruby Red. The added warmth there helped to bring that petal forward.
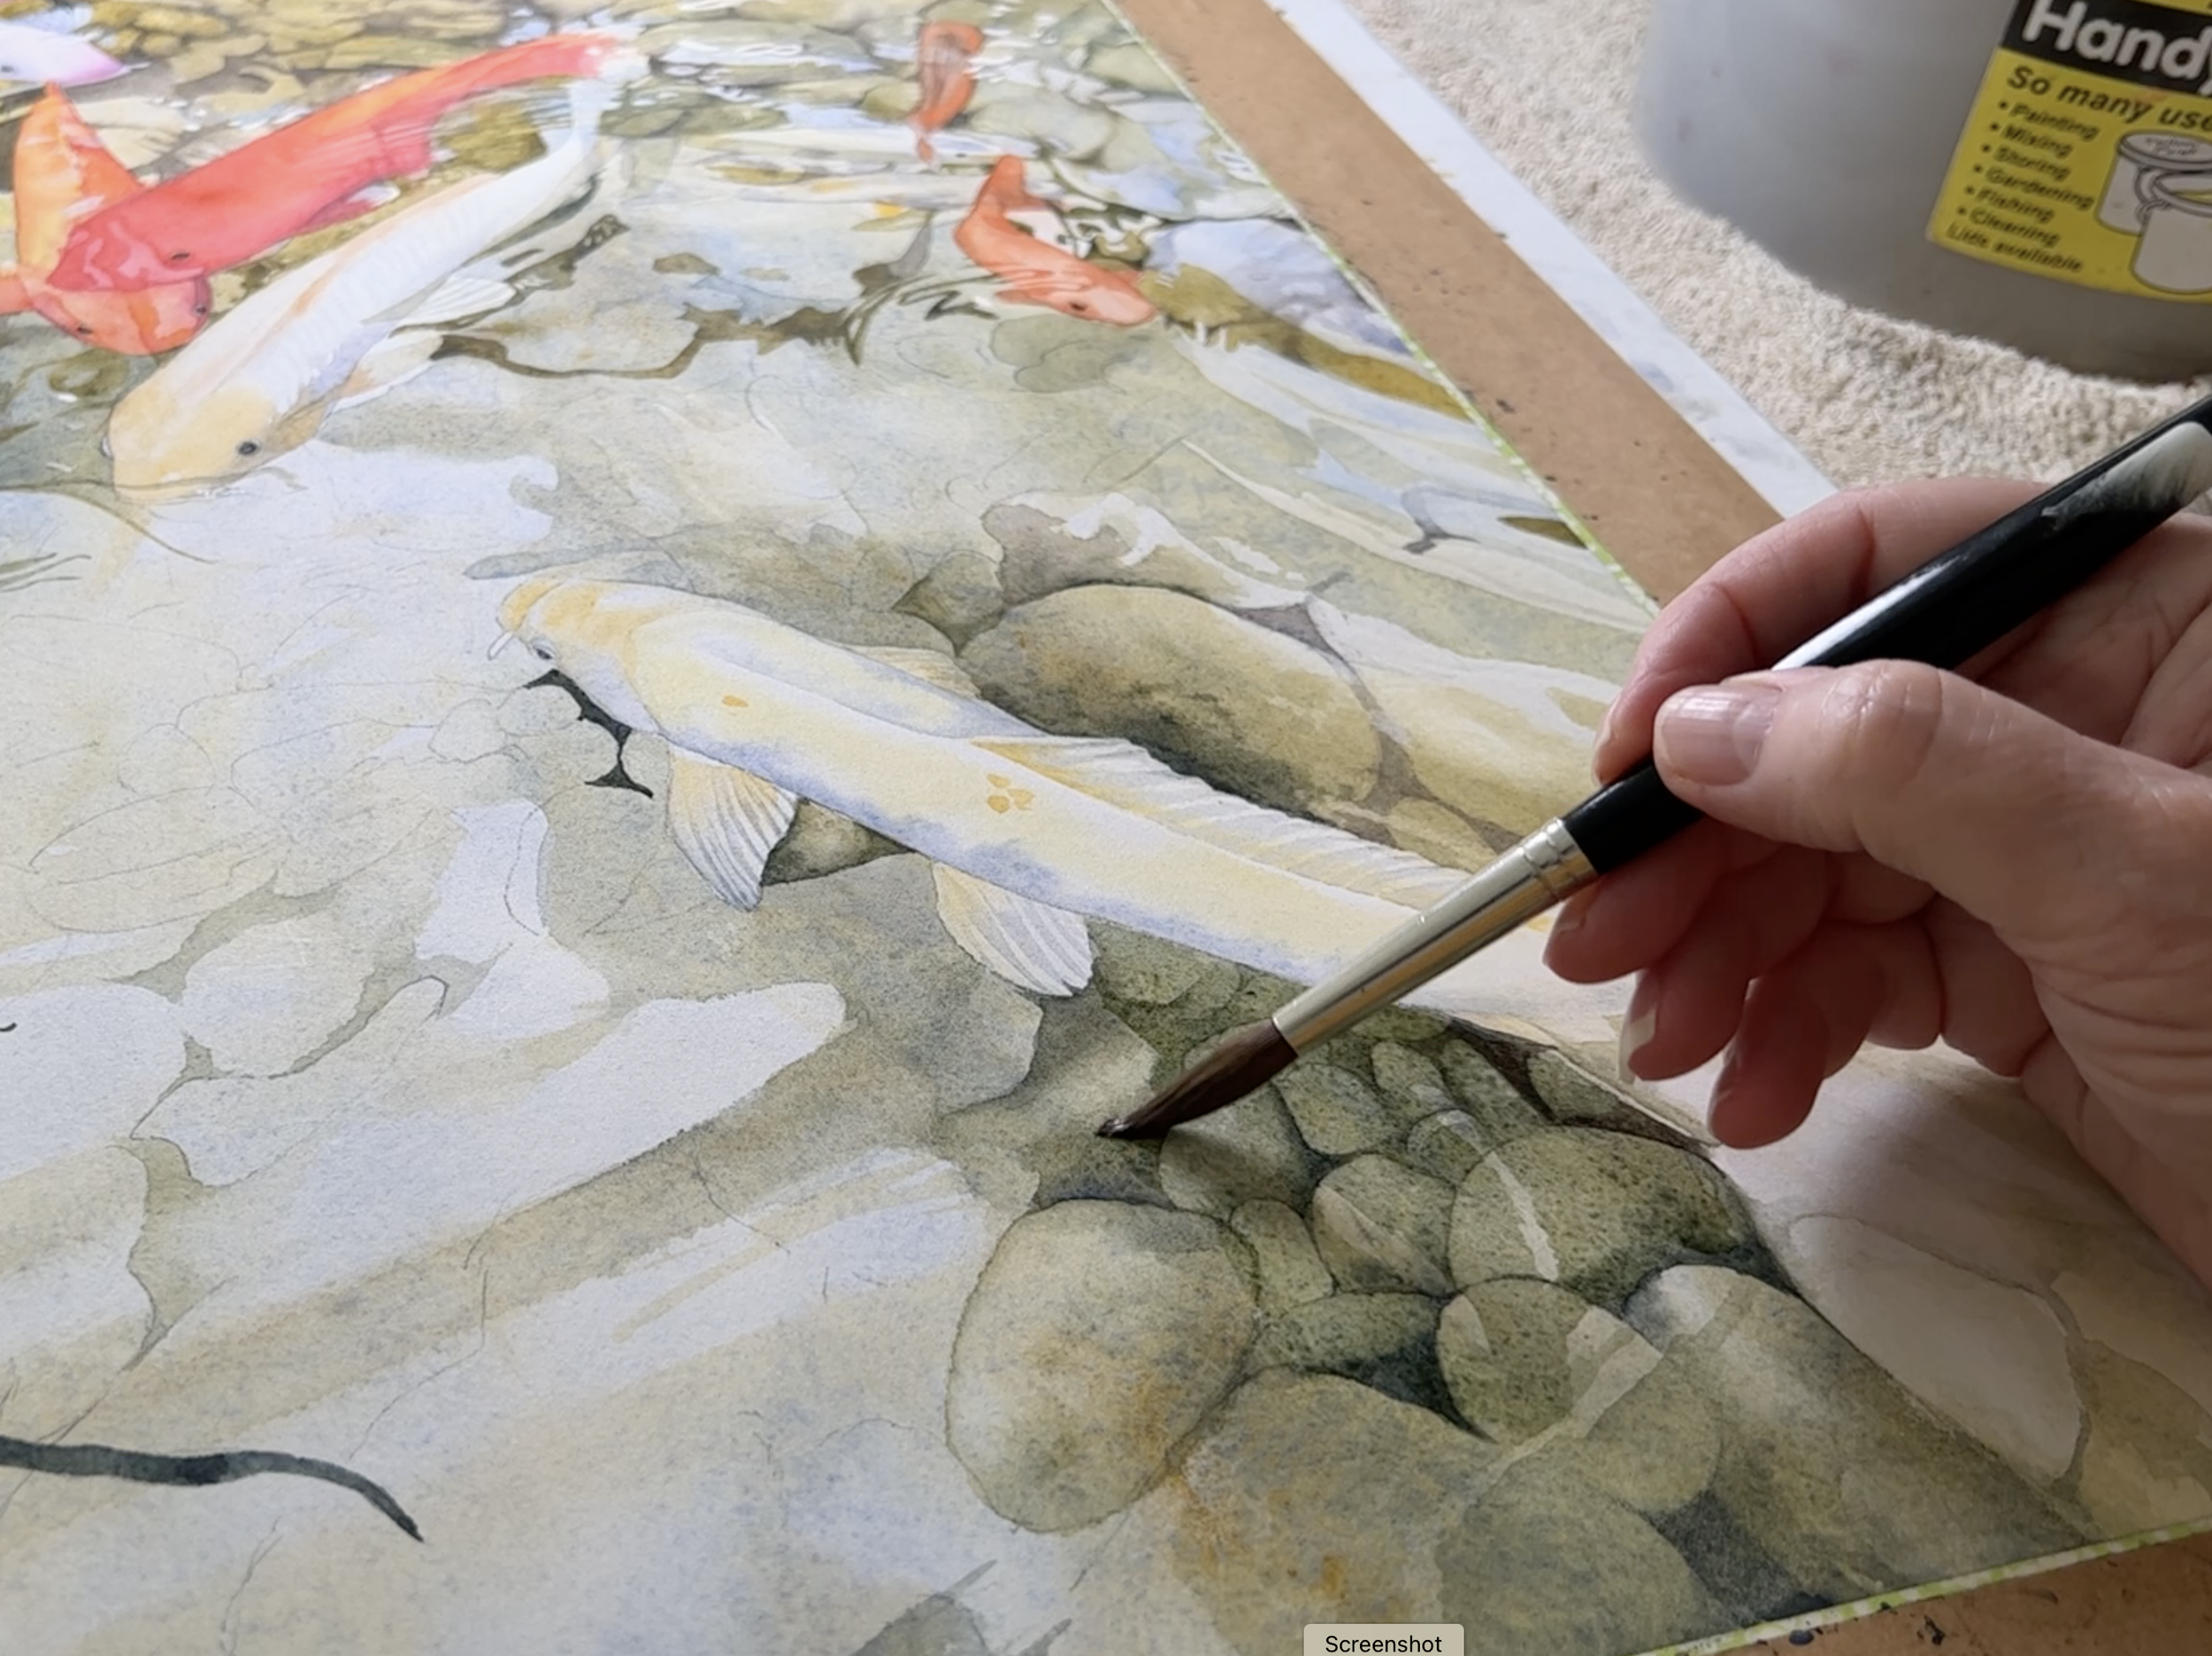
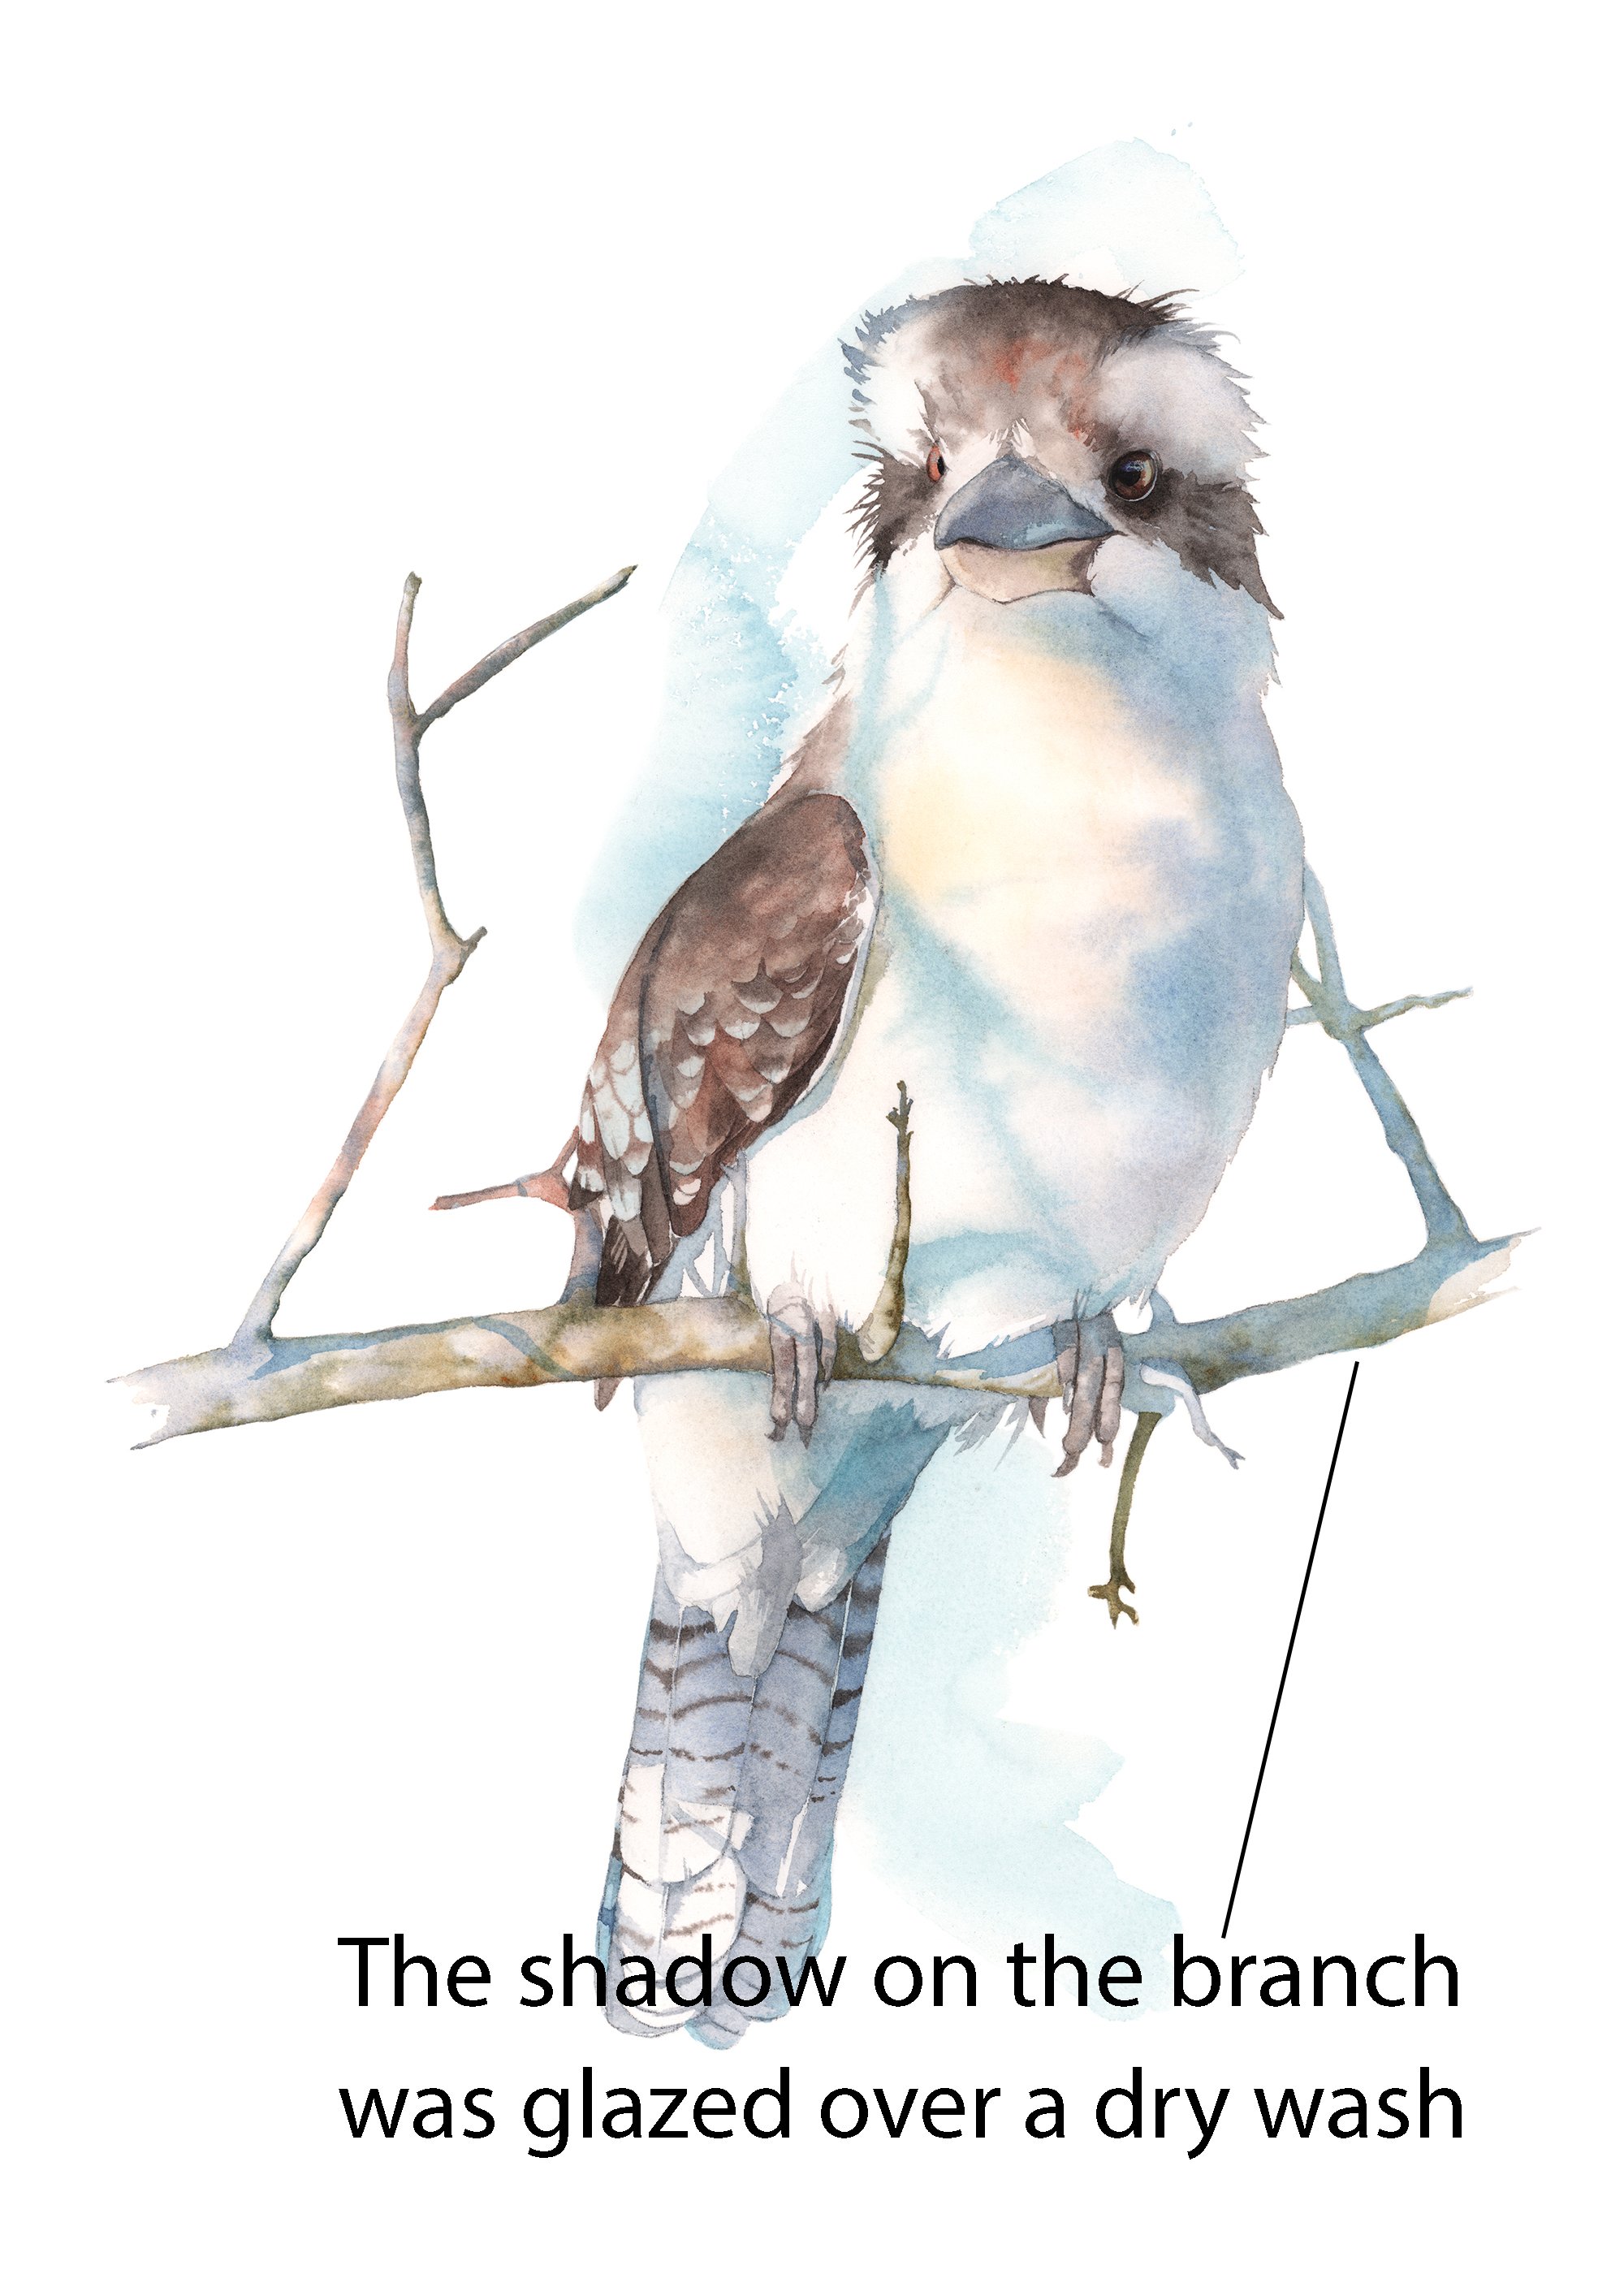
Sometimes I use the glazing technique to paint cast shadows onto my subjects. On the Kookaburra painting below I had finished painting the branch and when it was dry, I glazed some blue over the top to create the cast shadow.

I use the glazing technique to build up tonal value gradually in my paintings. It's important not to paint dark layers at the start of the painting because dark areas tend to lift more easily than light areas and if you paint the dark areas in too early you risk disturbing them as you continue to paint.
How to make a glazing chart

A glazing chart can be a helpful reference tool for understanding the effects of glazing and layering different colours in your watercolour paintings. When you make a glazing chart, you can experiment with different colour combinations, layering them to see how they interact and create new hues. Not only will it show you what colours glaze together well but it will also show you what colours you should avoid glazing over one another.
To make a chart, get out your watercolor paints and use a piece of watercolour paper that you normally do your paintings on and label it along the top and side edges with the colours you normally use.
Paint the different colours you have chosen in one direction first. Let them dry and paint over them using the same colours in the other direction. Where the colours overlap, you will see the new colour that has been created.
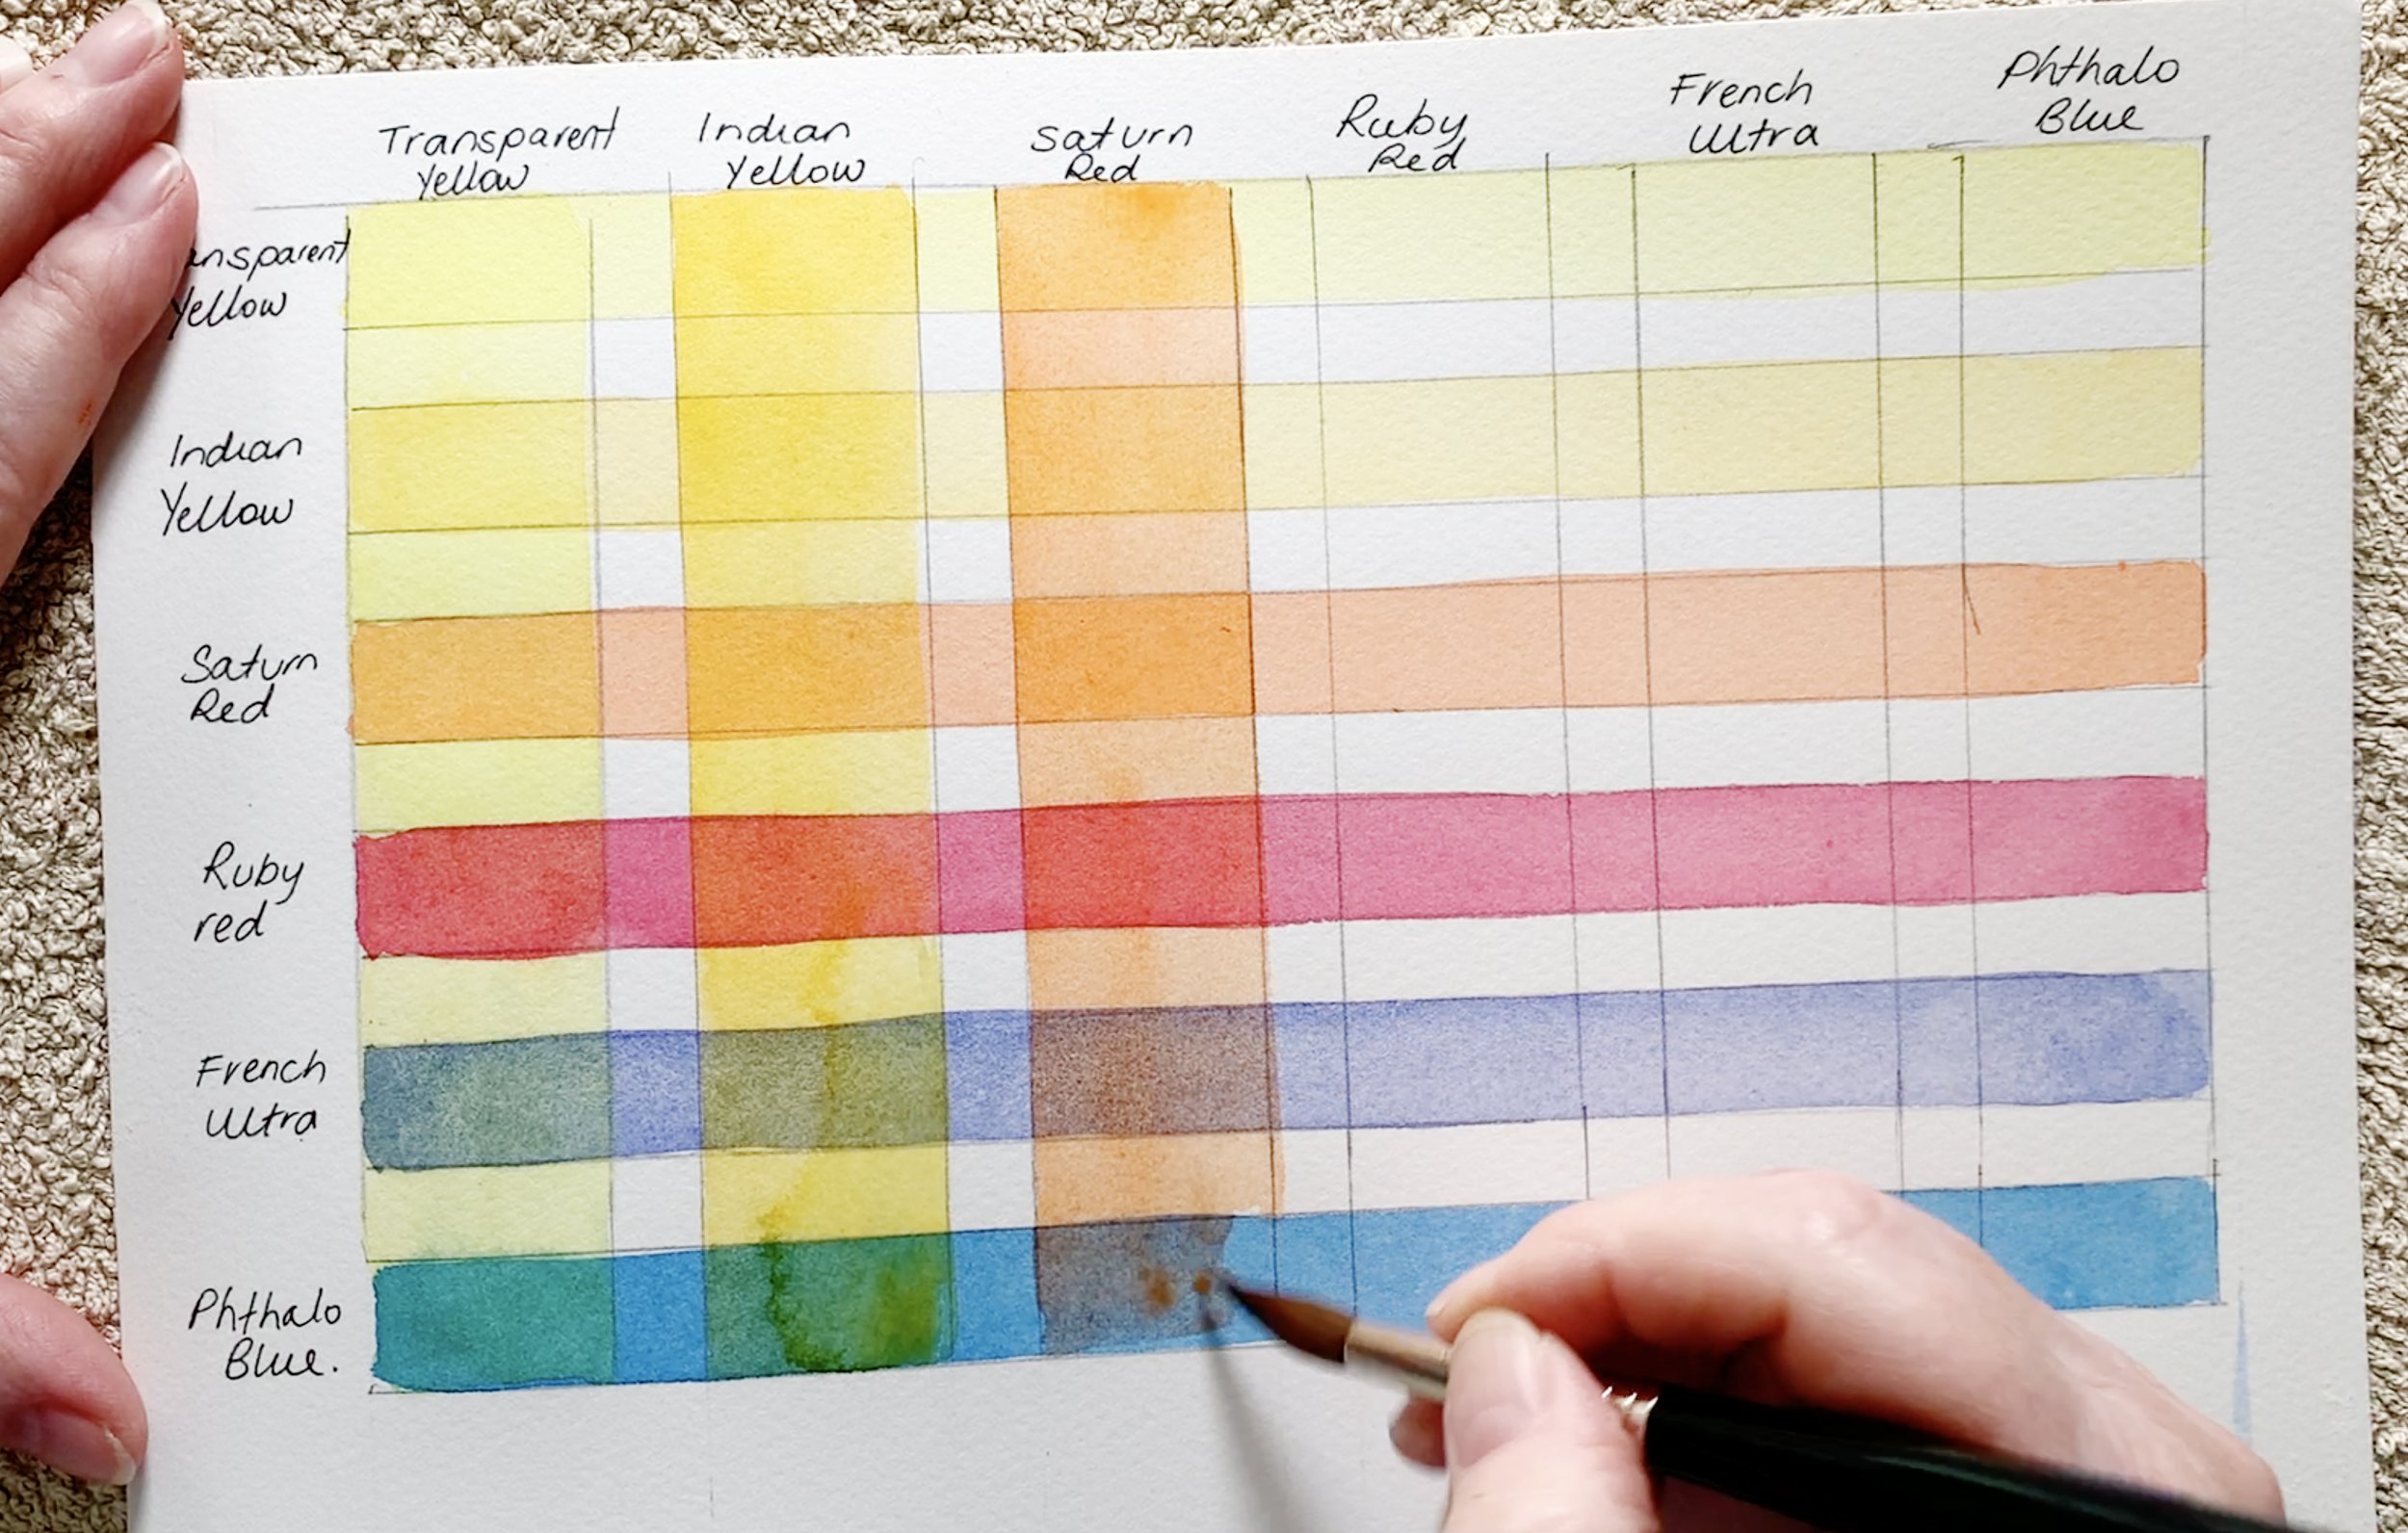
The glazing chart will give you a visual reference of how different colours interact and change when you layer them. It will help you plan your glazing techniques more effectively.
Glazing in watercolour is a versatile technique that you will use often. Through layering transparent washes, you can achieve depth, luminosity, and vibrant colours in your paintings. The glazing chart will serve as your faithful companion, providing you with a visual reference and a record of your experiments and discoveries.
I hope you will embrace the magic of glazing and allow your watercolour paintings to be 'aglazing' examples of perfection!
Want More?
I have a video on Patreon where I demonstrate the glazing technique.
If you are interested in learning to paint in watercolour, I have over 160 online, voiced over watercolour tutorials for all skill levels.
The Kookaburra is available to purchase as a print in the shop.
Further reading: 9 Watercolour Texture Techniques


