What Makes a Good Reference Photo for Watercolour Painting?
7 Steps to Finding the Right Photographs for Your Painting
One of the questions I get asked a lot is, “How do you choose a good reference photo?” And it’s a great question. Picking the right reference can really set you up for success - or leave you pulling your hair out halfway through a painting.
Over the years, I’ve learned to be quite selective about the photos I choose to paint from. A good reference photo doesn’t just show you what something looks like - it inspires you. It helps you see the shapes, tones, and colours you’ll need to interpret it in watercolour.
So today, I want to share what I look for when I’m selecting a photo to paint. These eight tips will help you find photos that are not only beautiful, but also practical and inspiring to paint from.
1. Look for Strong Lighting and Clear Values
Lighting is everything. When you’re picking a reference photo, look for one with a clear light source and good contrast between light and dark areas. That contrast is what helps you build form and depth in your painting.
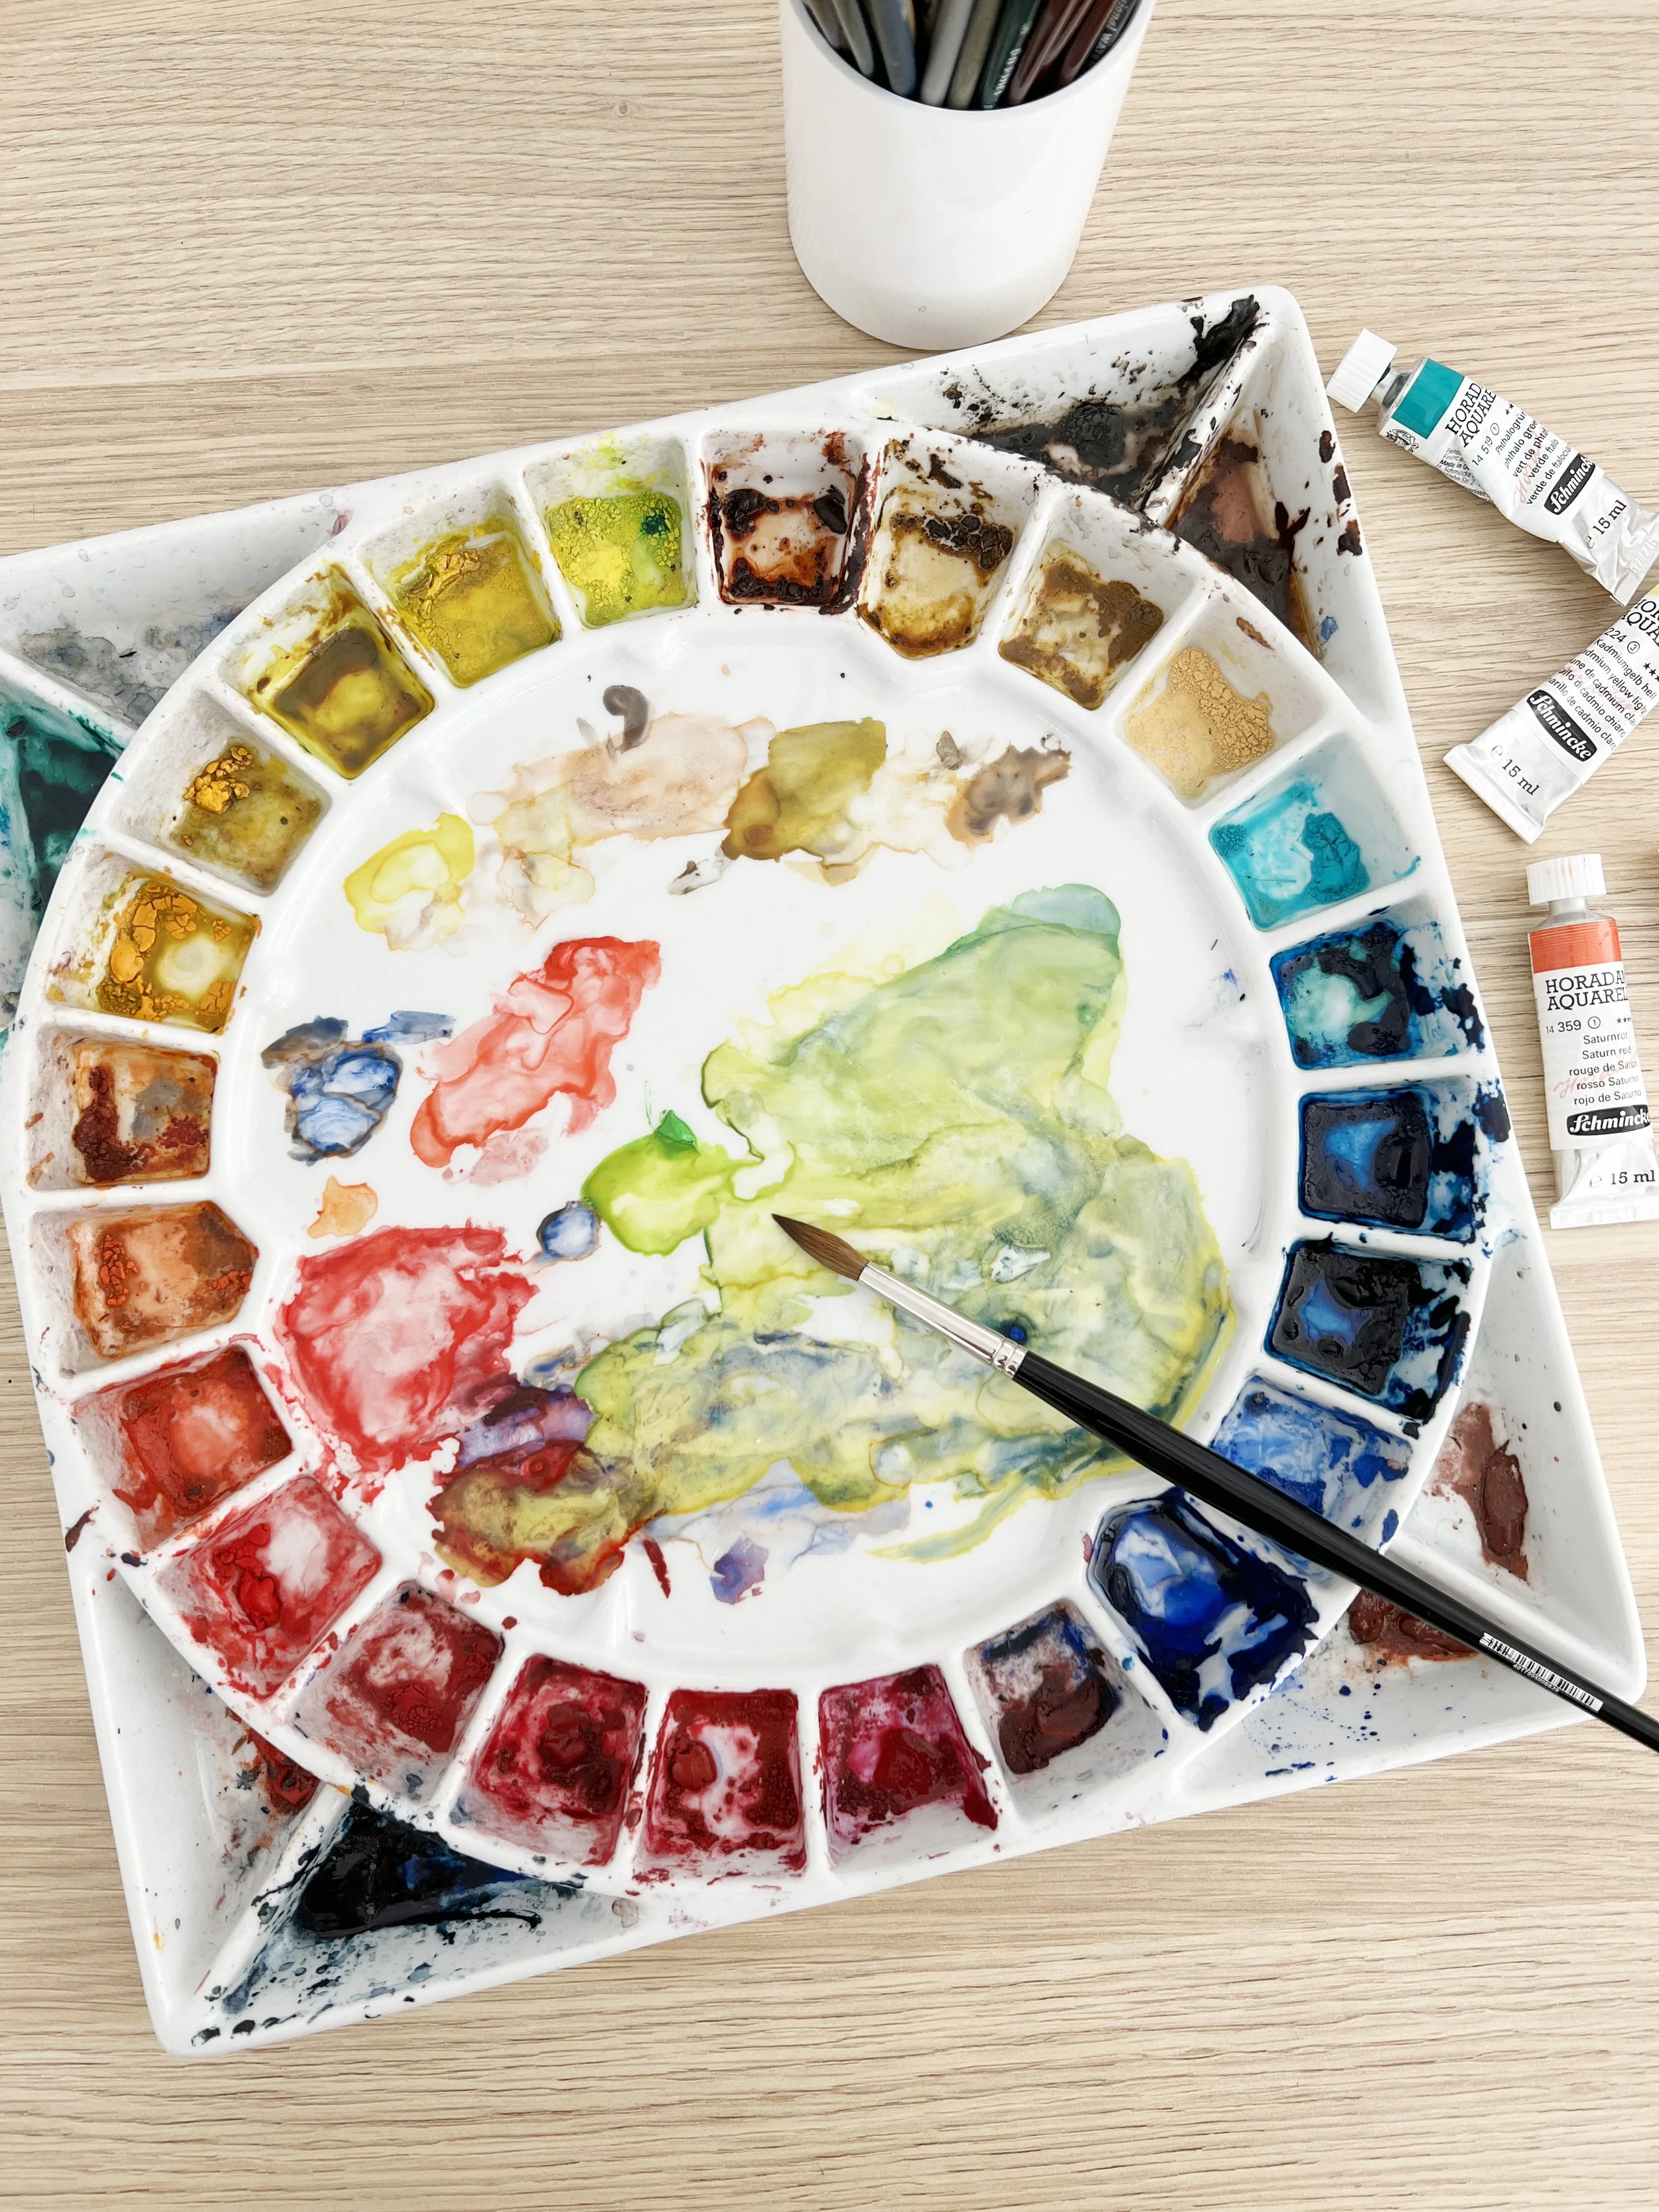
The first thing I look at when choosing a reference photo is the lighting.
Painting from nature - it's the light and contrast that attracts me.
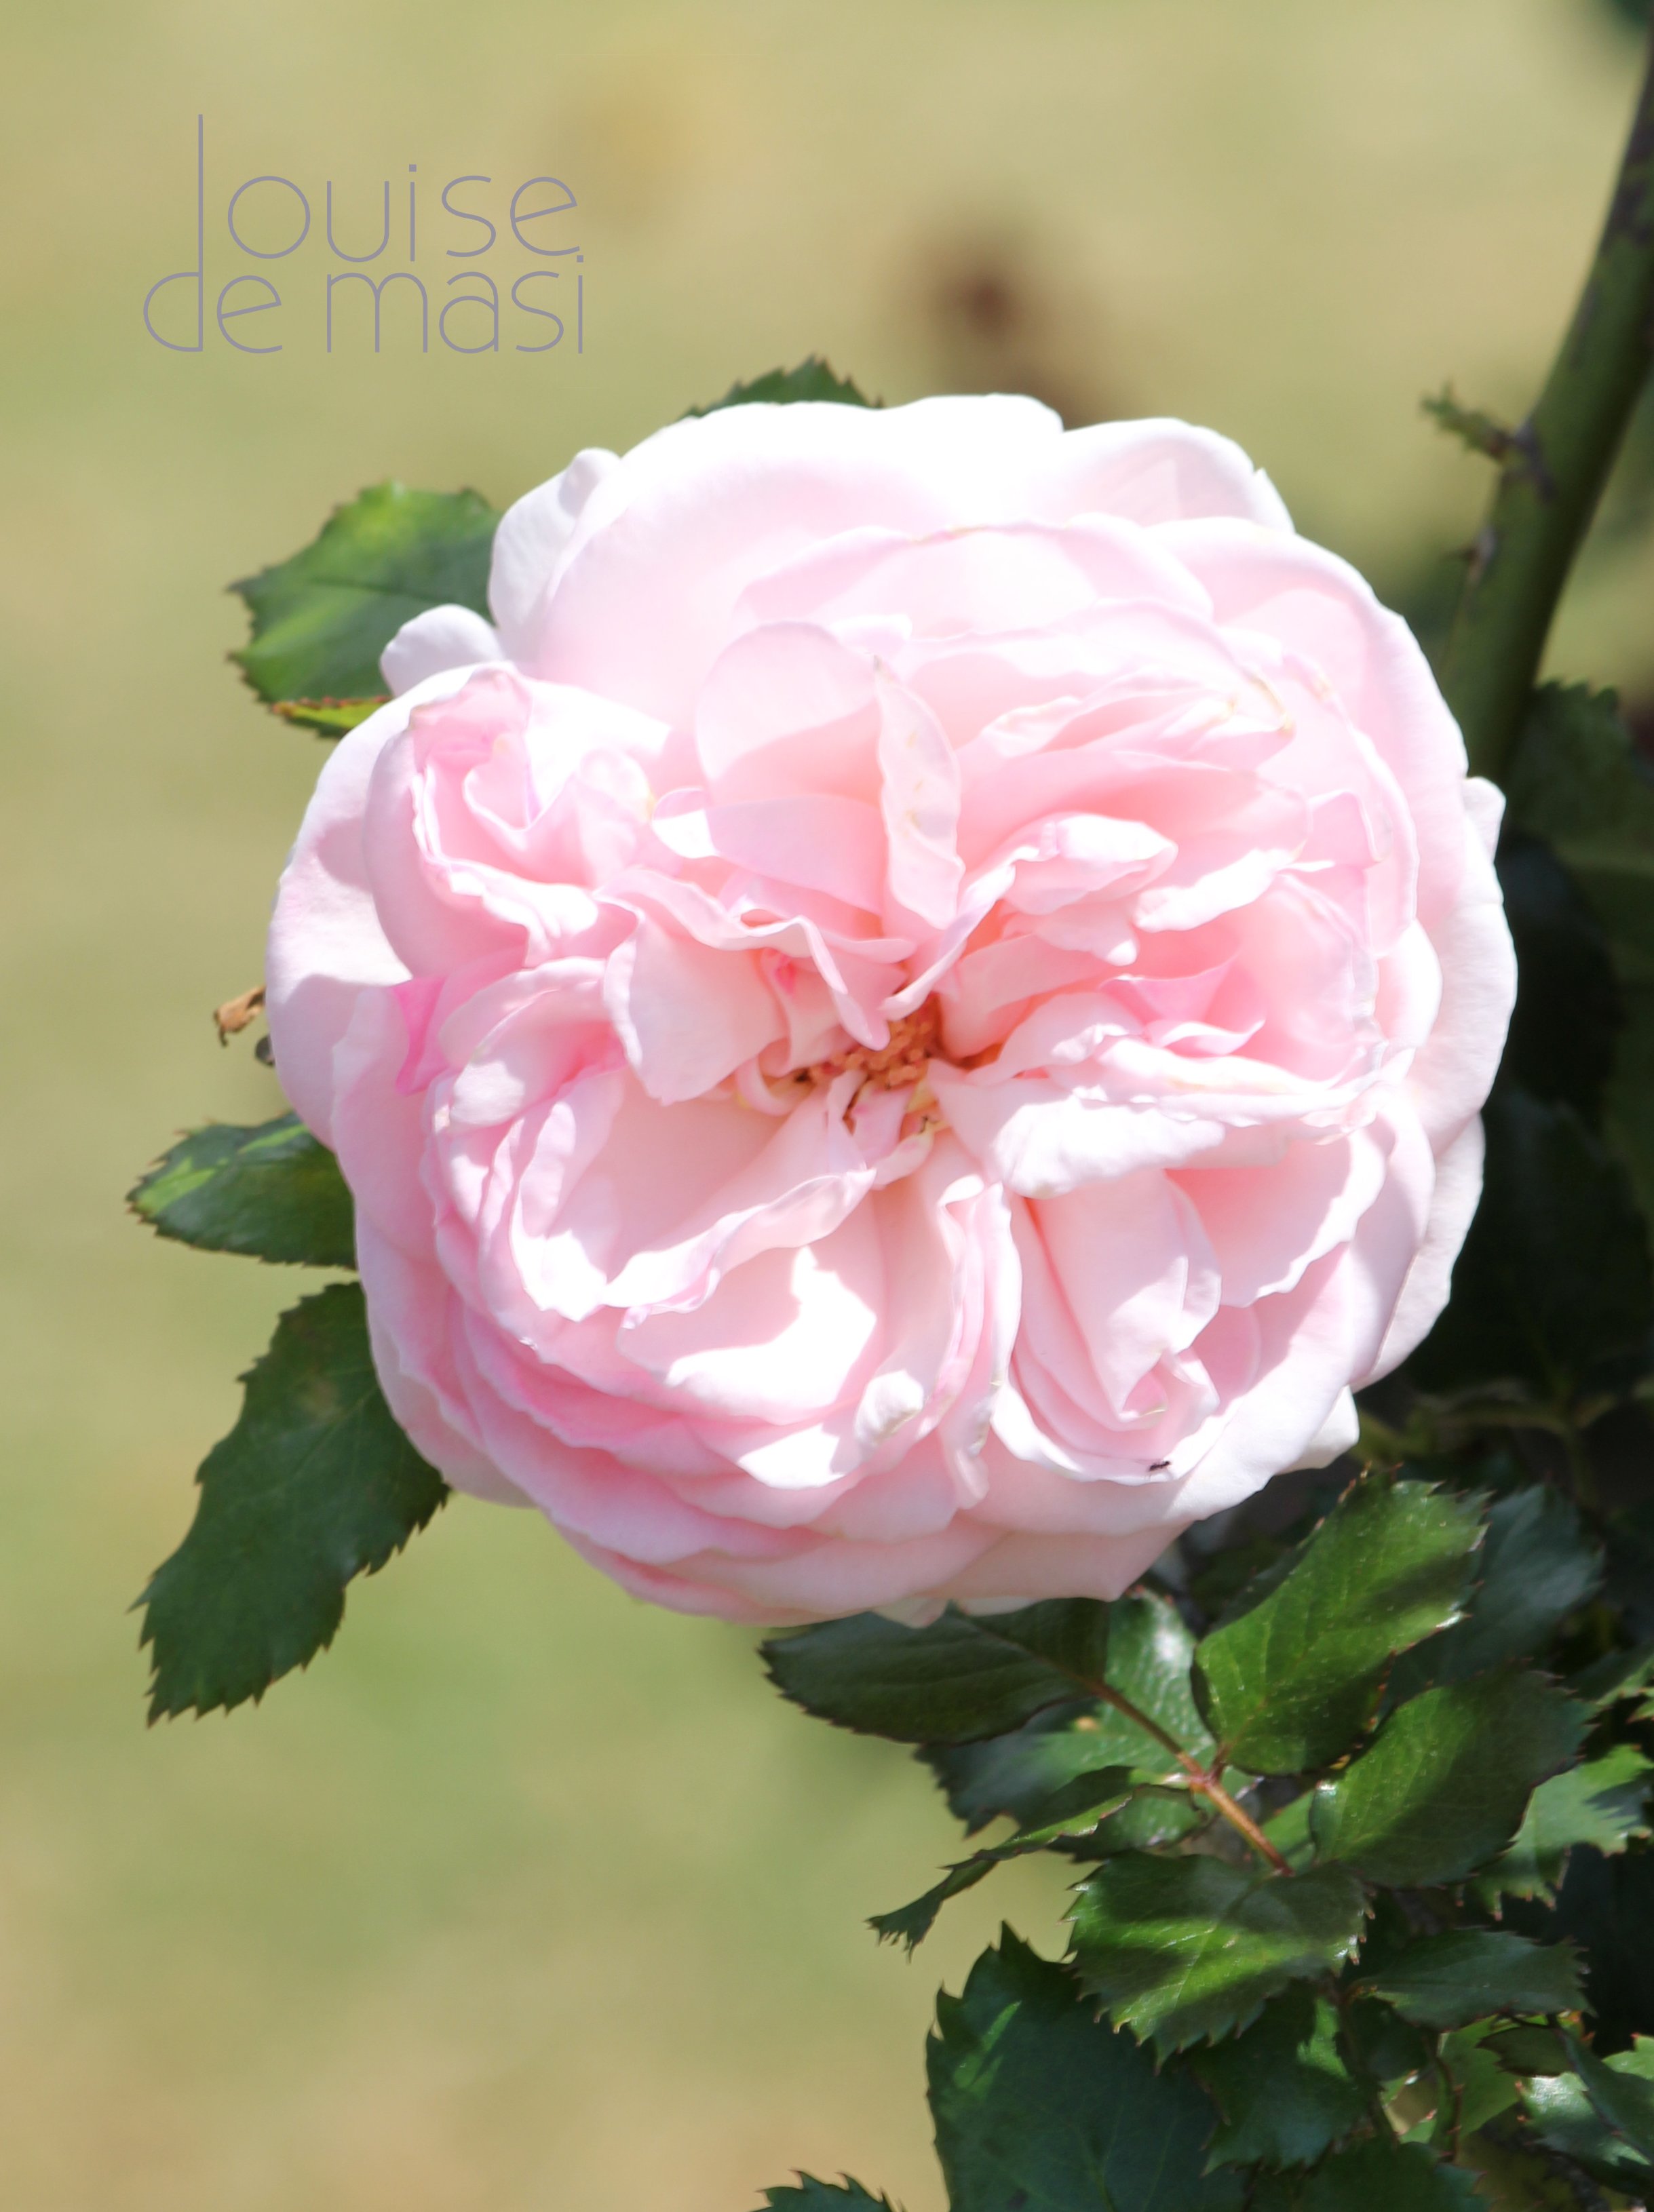
I often look for photos taken in natural light that creates interesting shadows and soft gradients. These photos of pink roses are great examples - the sunlight gives the petals beautiful depth and variation in tone, which makes them a joy to paint. The curves of the petals catch the light in different ways, giving the flowers a sense of form and movement that’s perfect for watercolour.
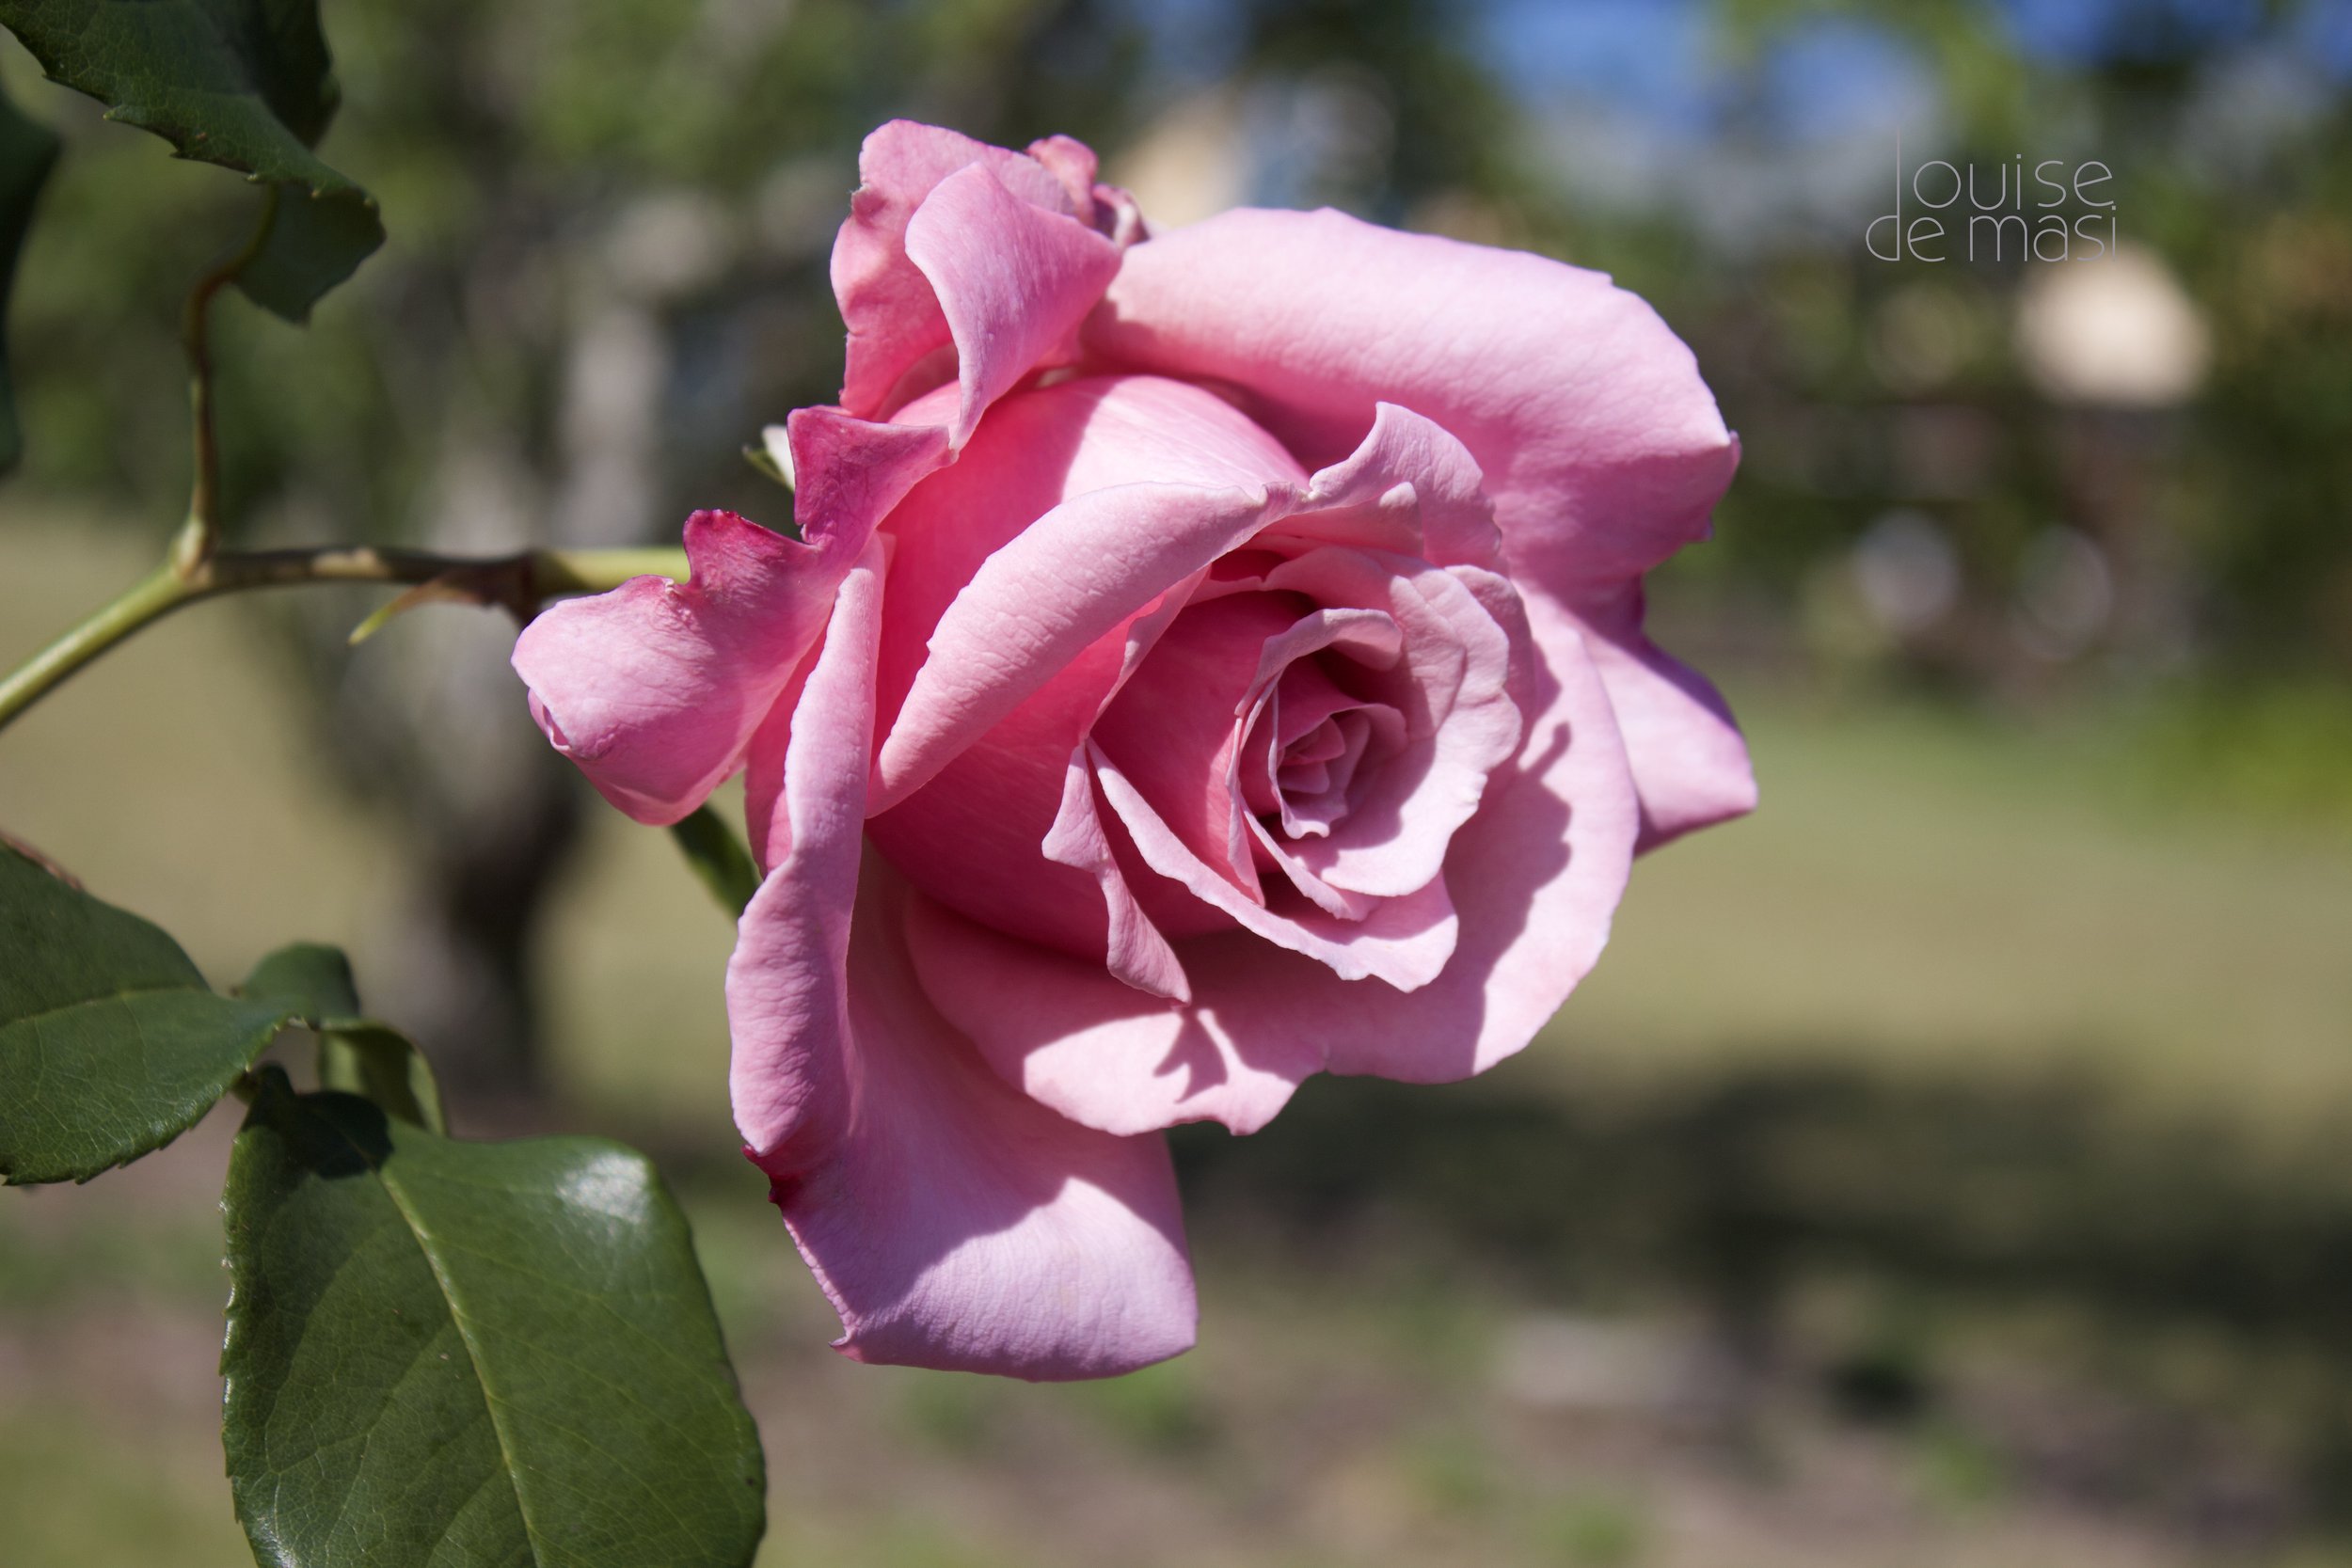
This rose features beautiful cast shadows that add contrast and depth. The curved and straight lines contrast for impact.
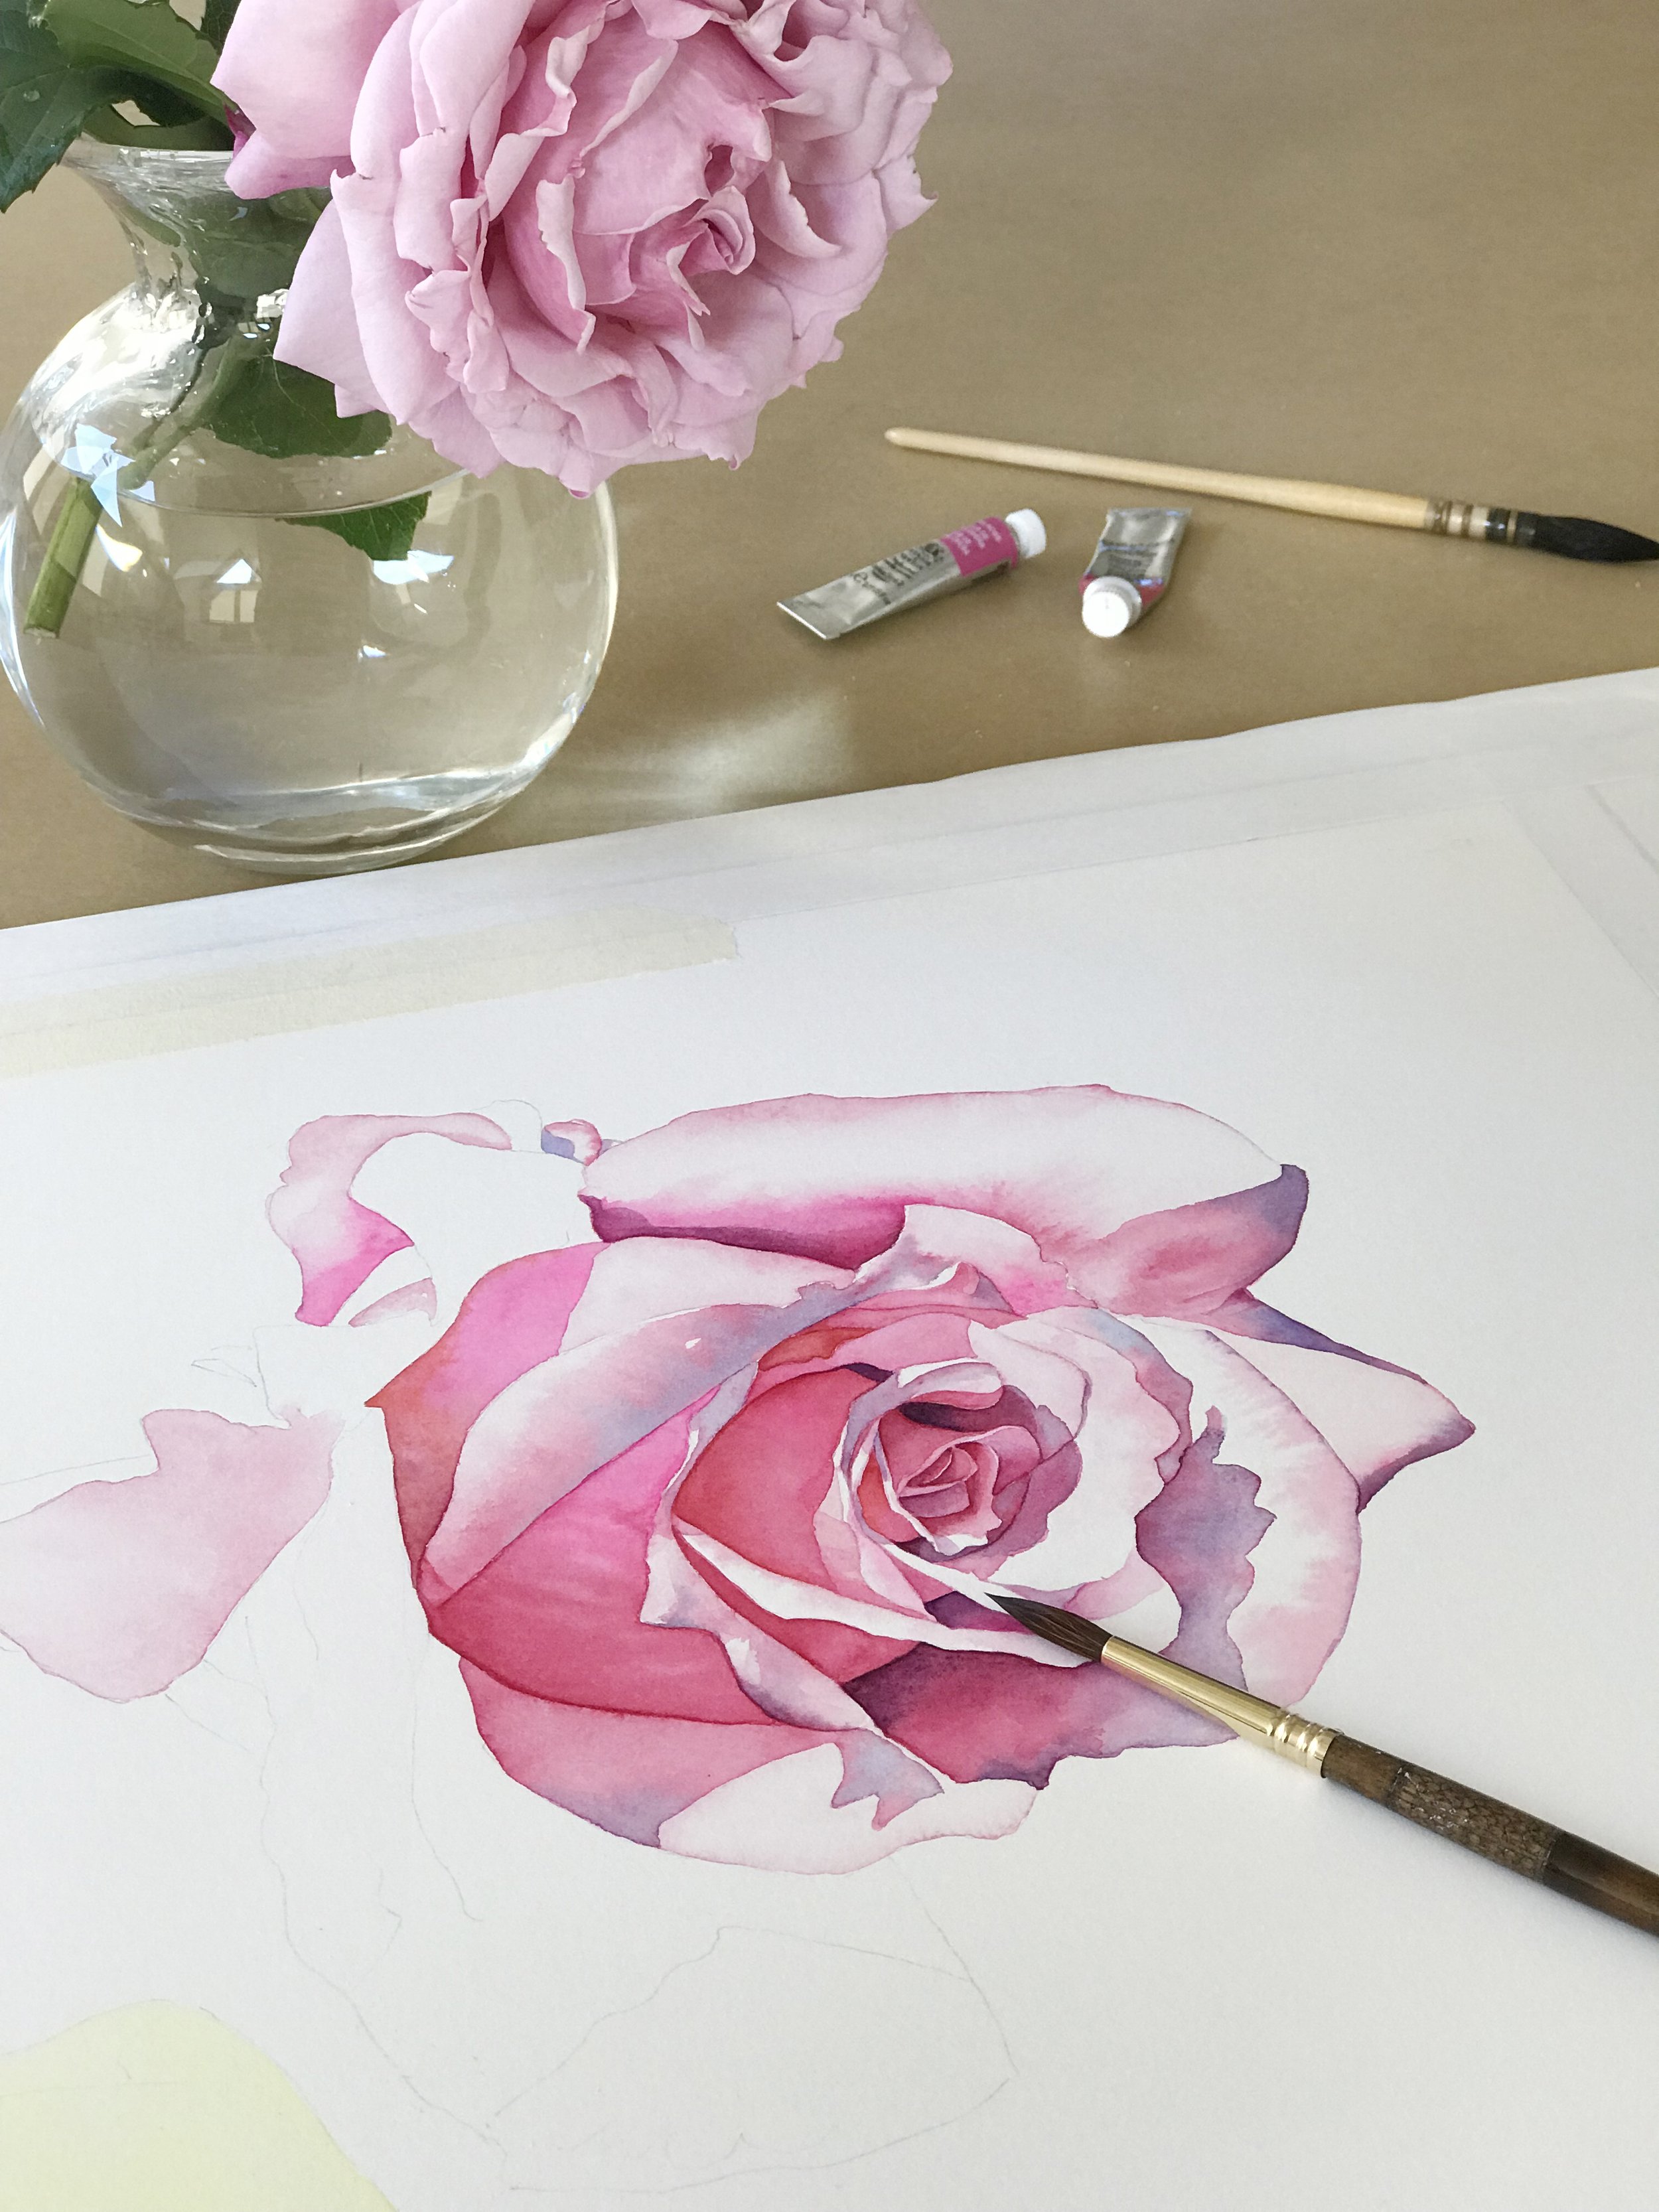
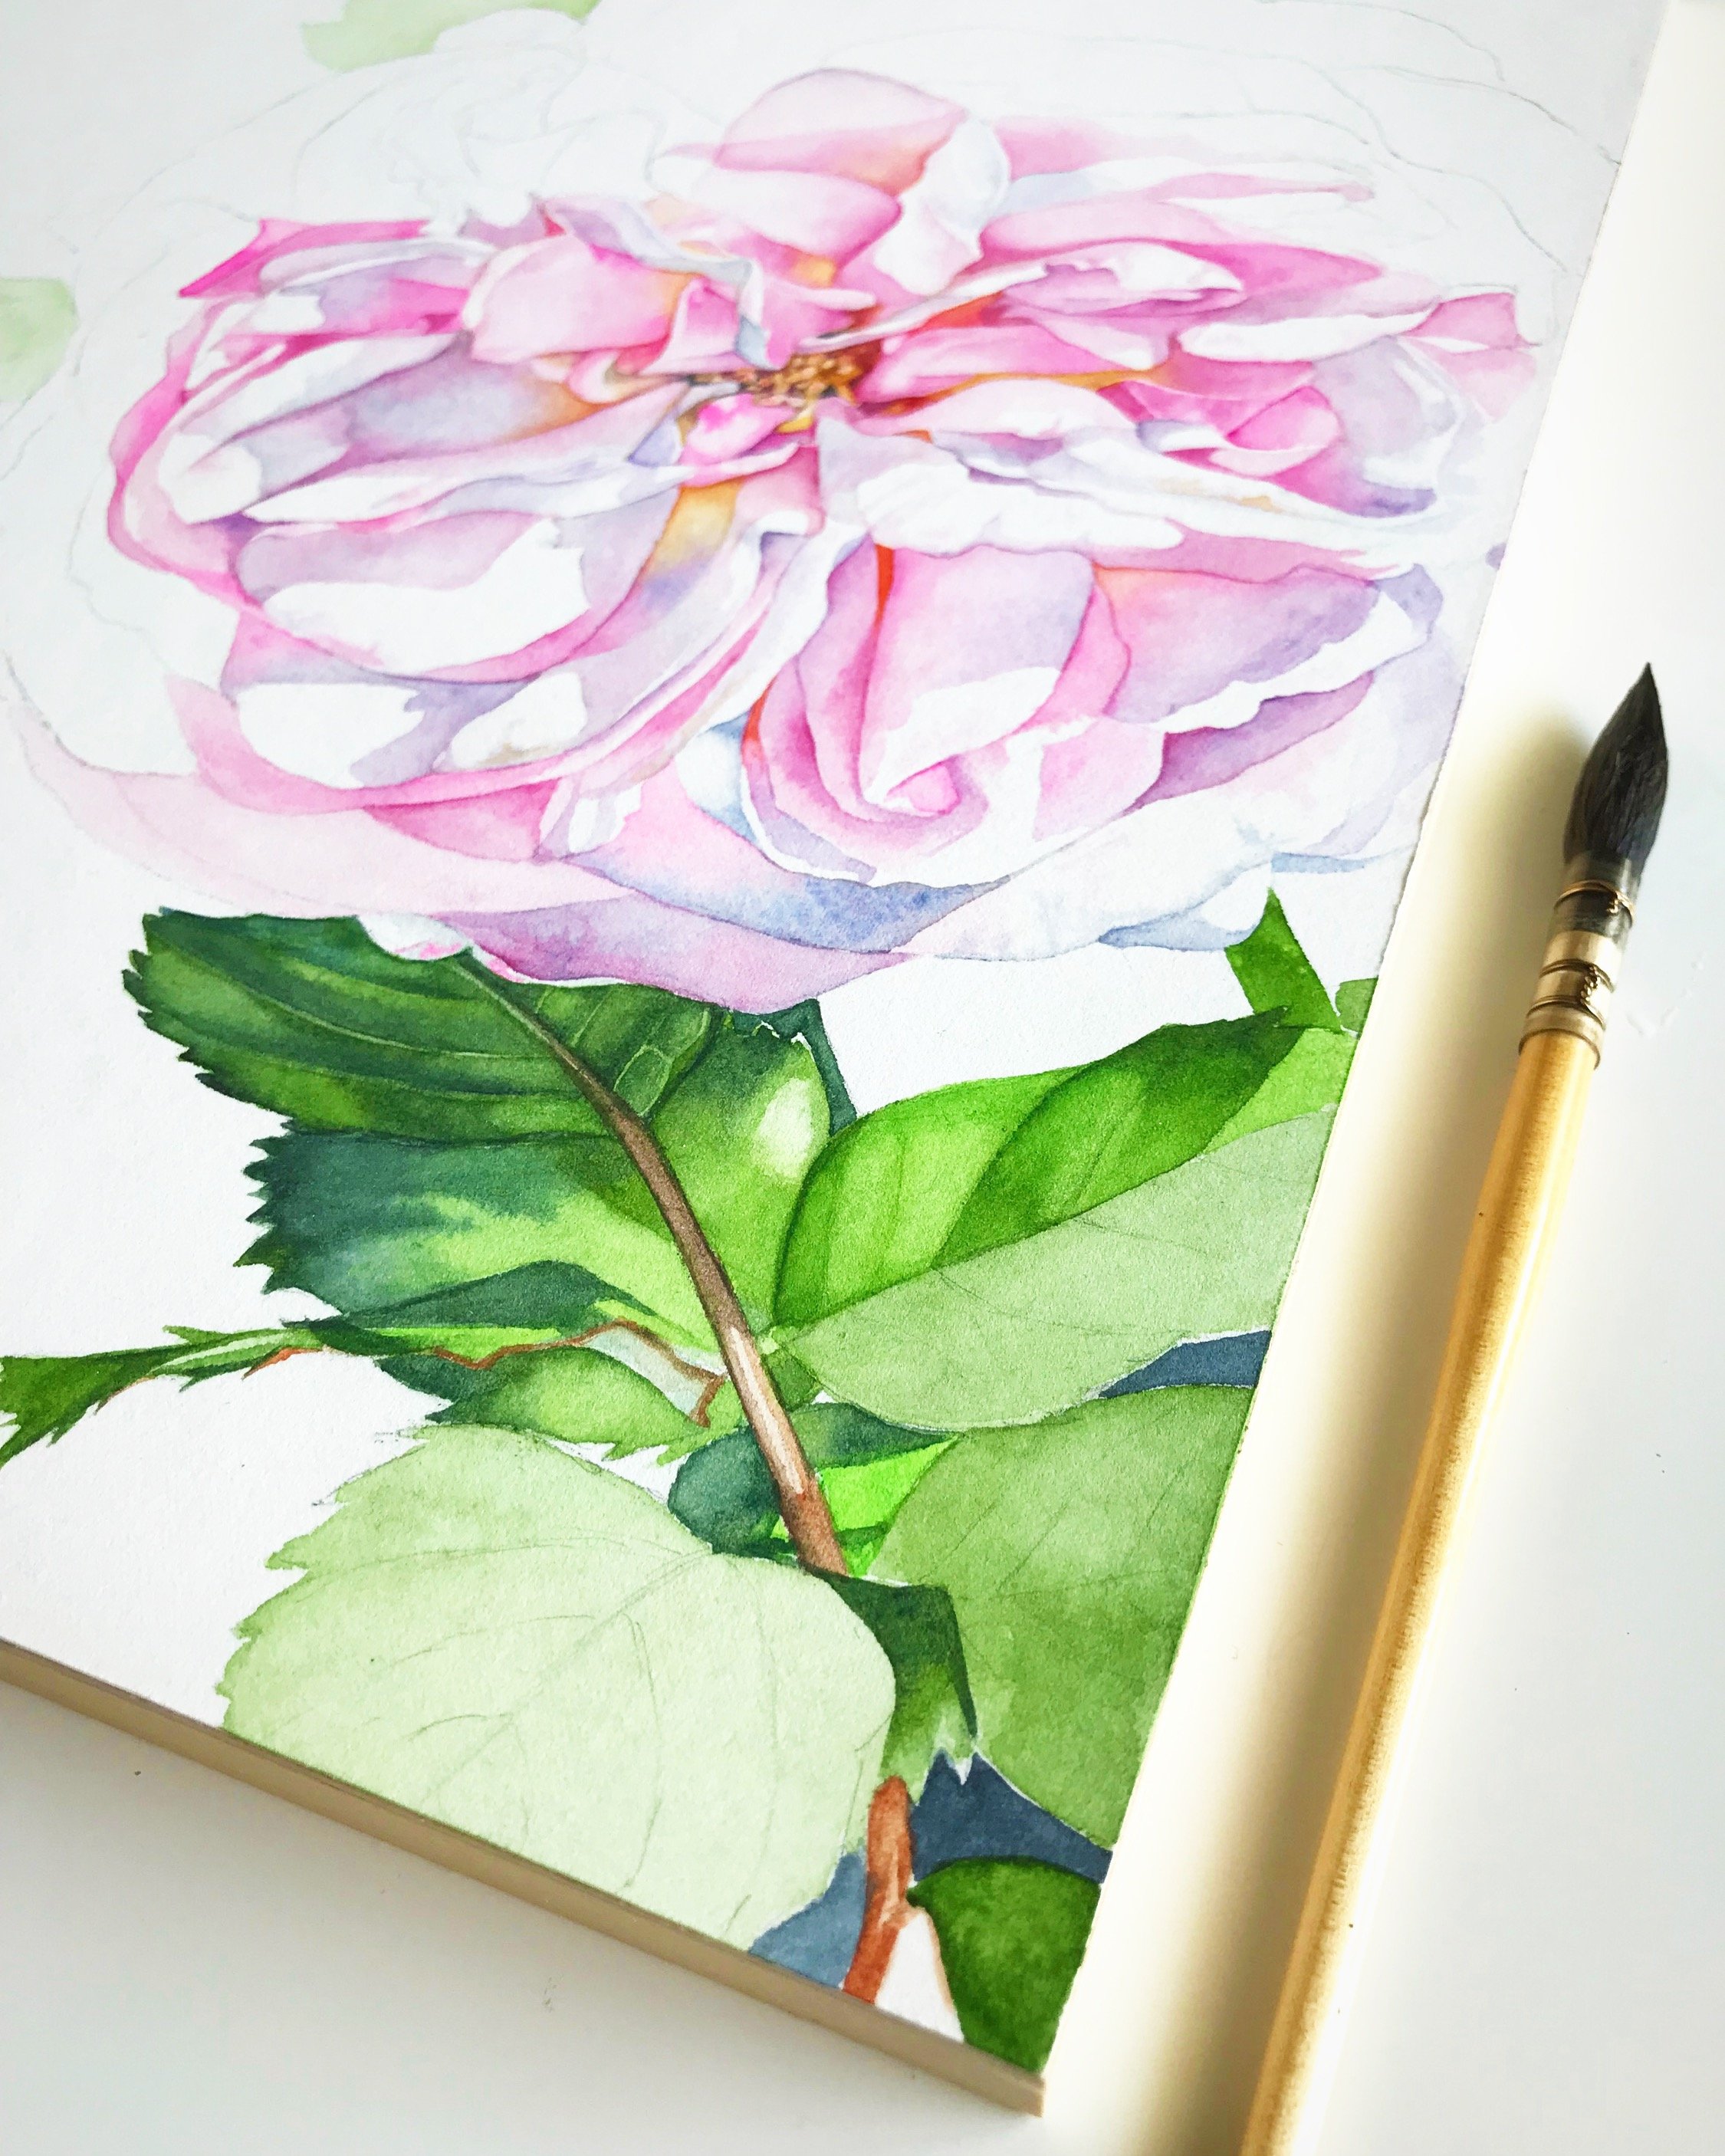
Painting the rose on watercolour paper.
Sometimes, it's the harsh and unforgiving light of the midday sun that I am after. It creates bold, sharp shadows and very clear values.
Without clear lighting, a subject can look flat and lifeless and that makes it very difficult to capture the illusion of form. So before you fall in love with a photo, take a good look at the values. Can you see the lights and darks clearly? If so, you’re off to a great start.
2. Simplify Busy Backgrounds
A common mistake many beginners make is choosing a photo with a very cluttered background. While the details might look beautiful in a photograph, they can quickly become overwhelming when you try to paint them.
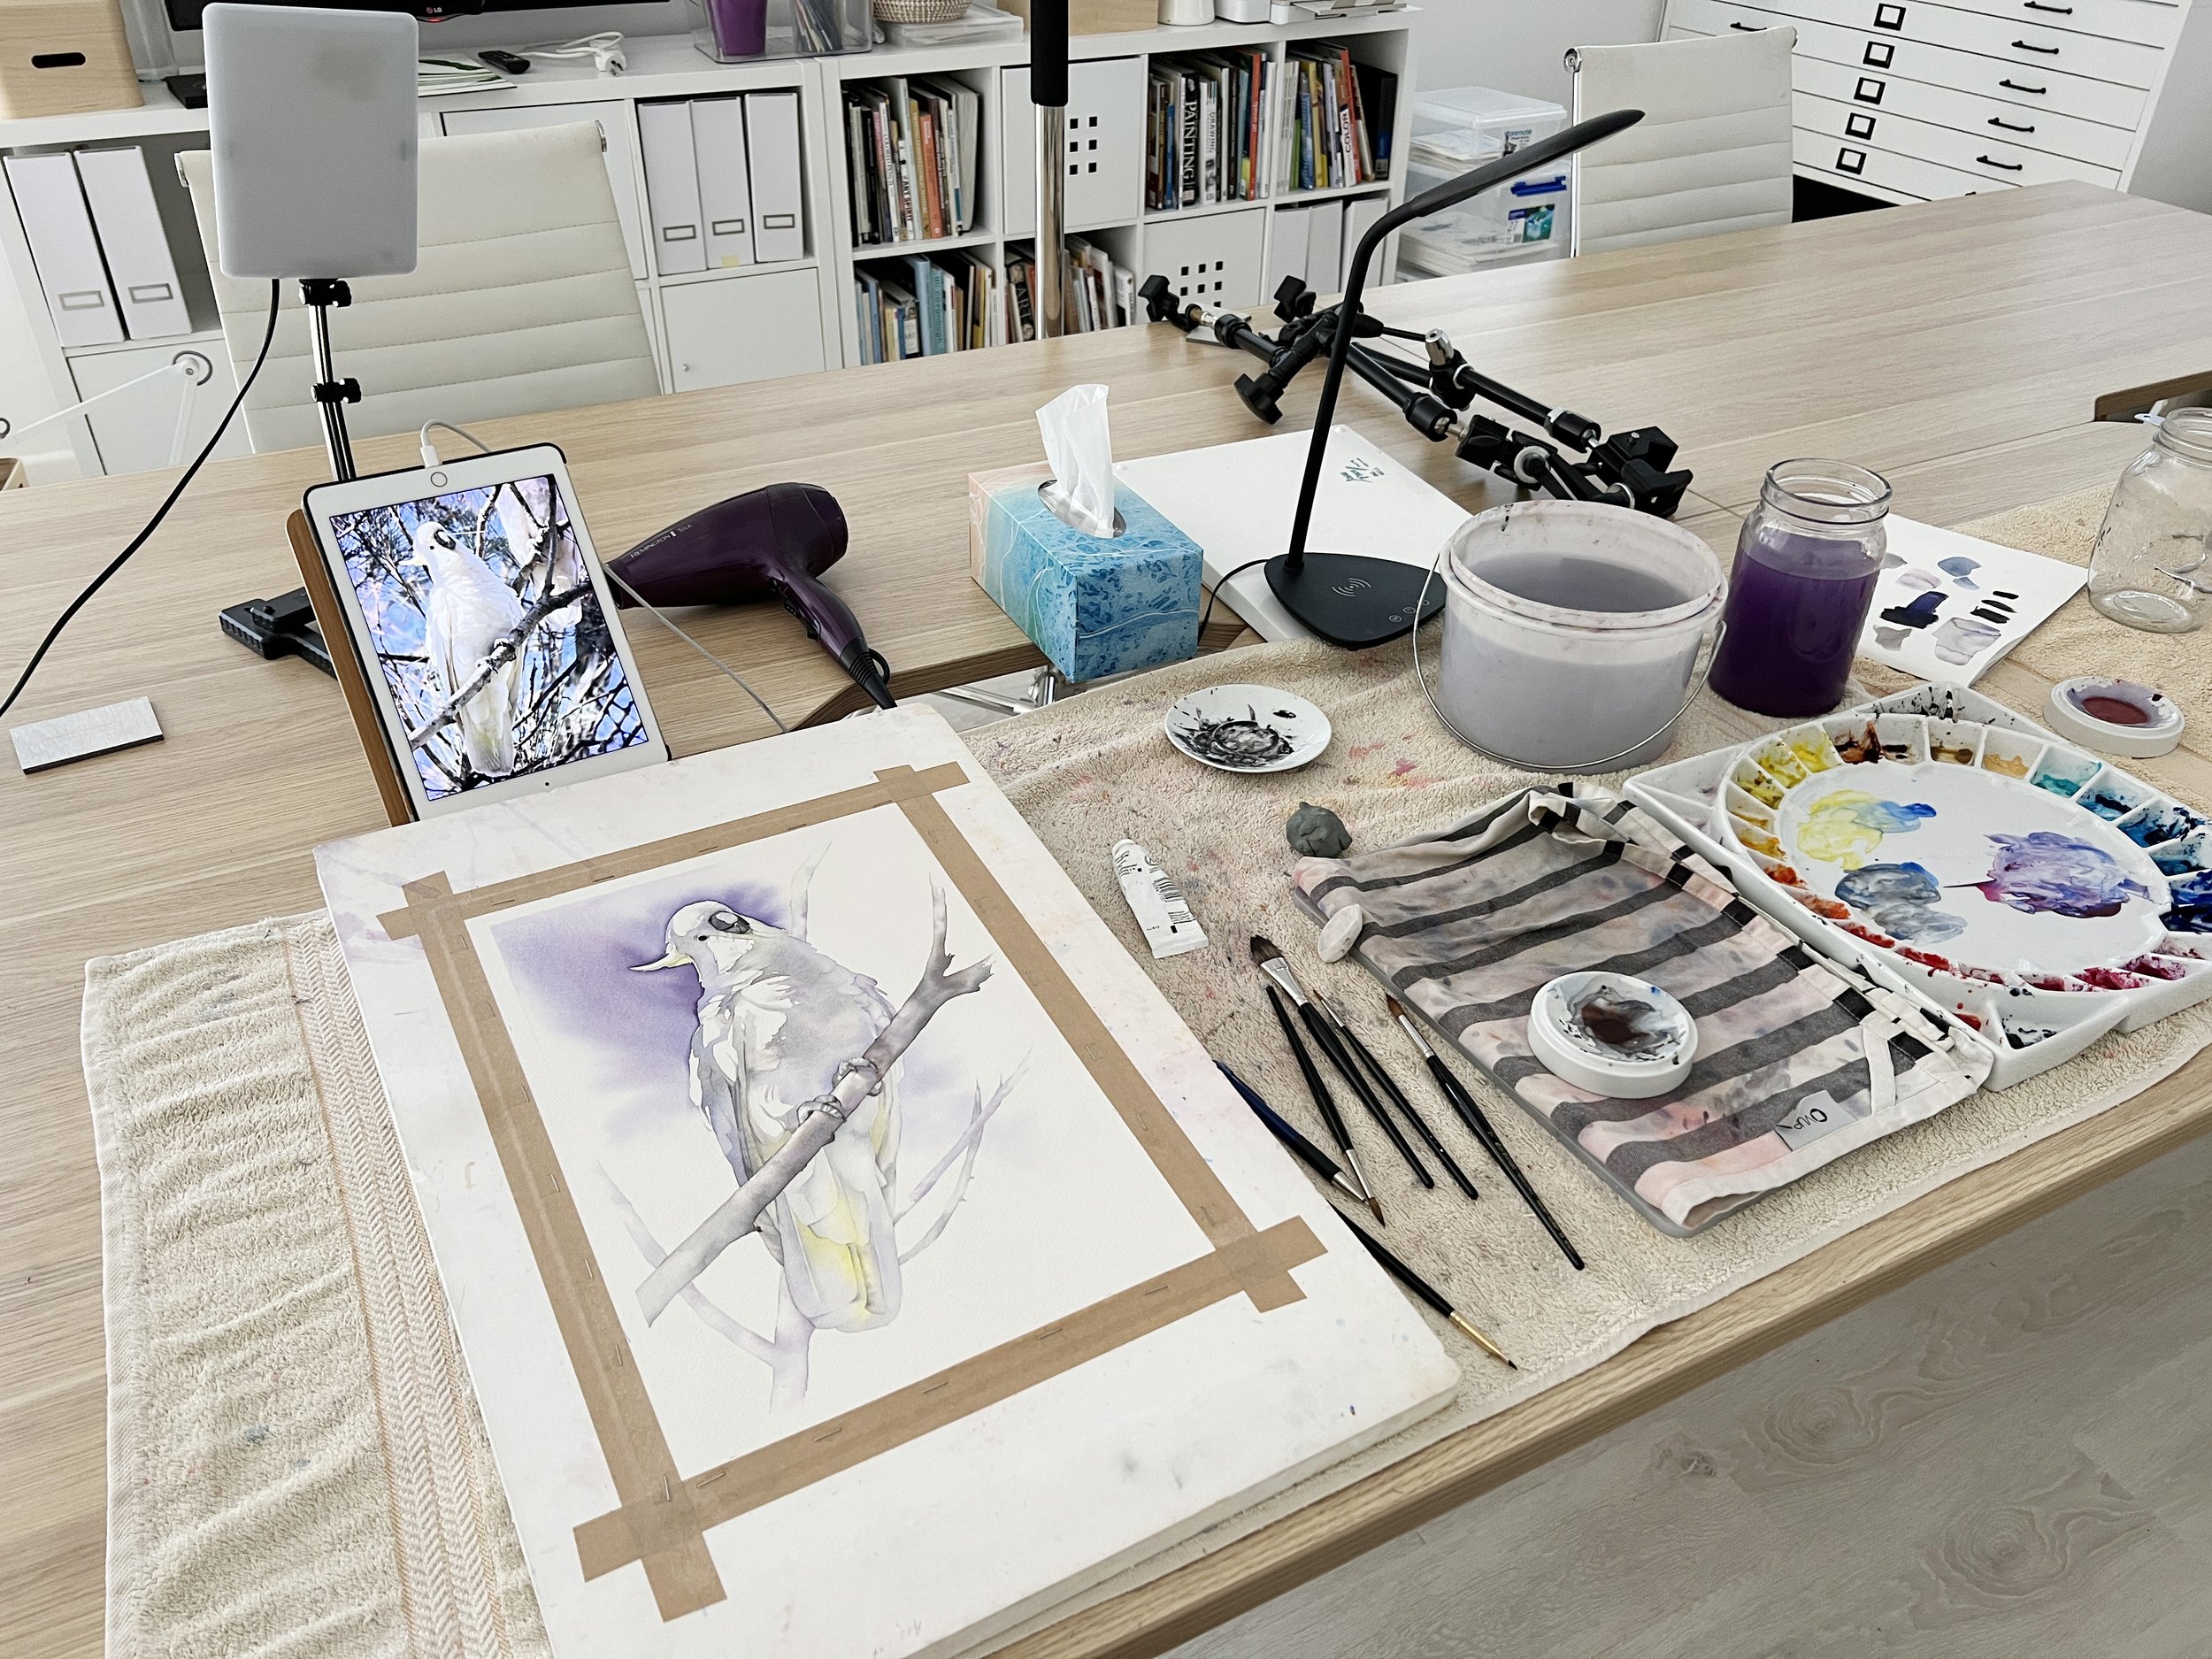
That’s why I always look for ways to simplify. When I painted the cockatoo, the original photo had a busy background filled with pine needles and branches. But I knew that would compete with the bird for attention, so I didn't paint any of the pine needles and I minimised the branches. The result was a much stronger composition and a more focused painting.
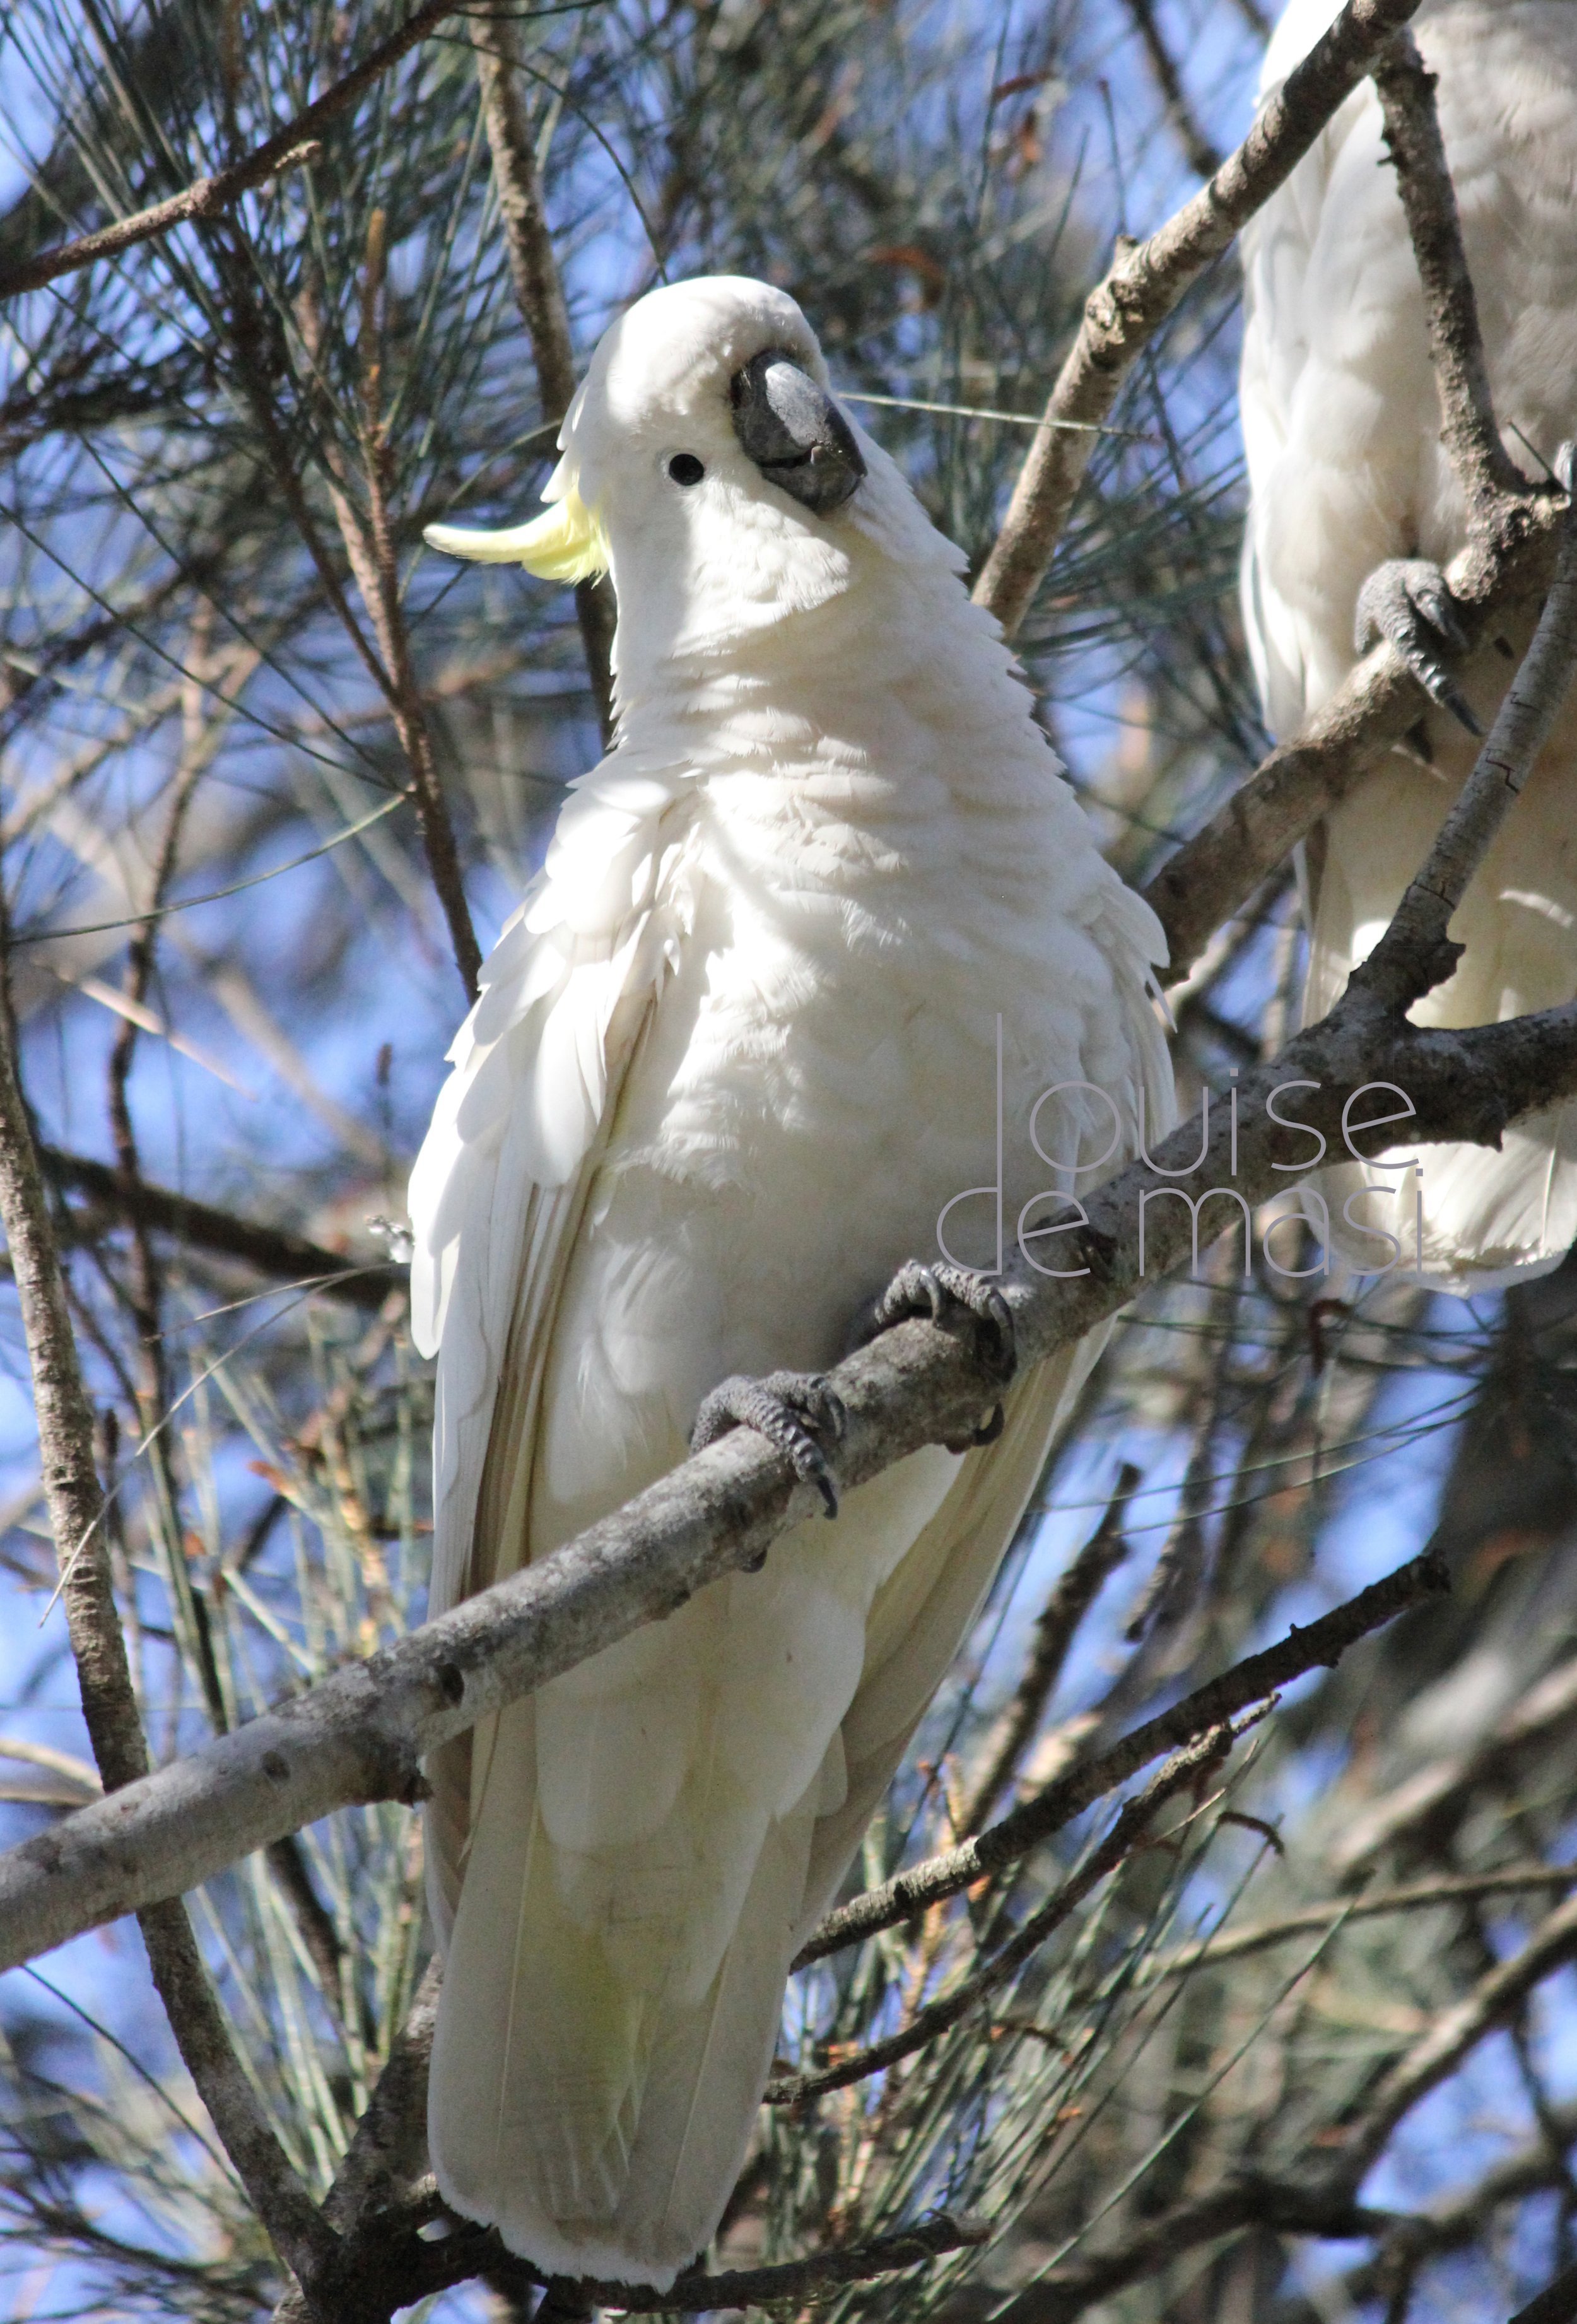
In this picture the background is too busy so I simplified the scene.
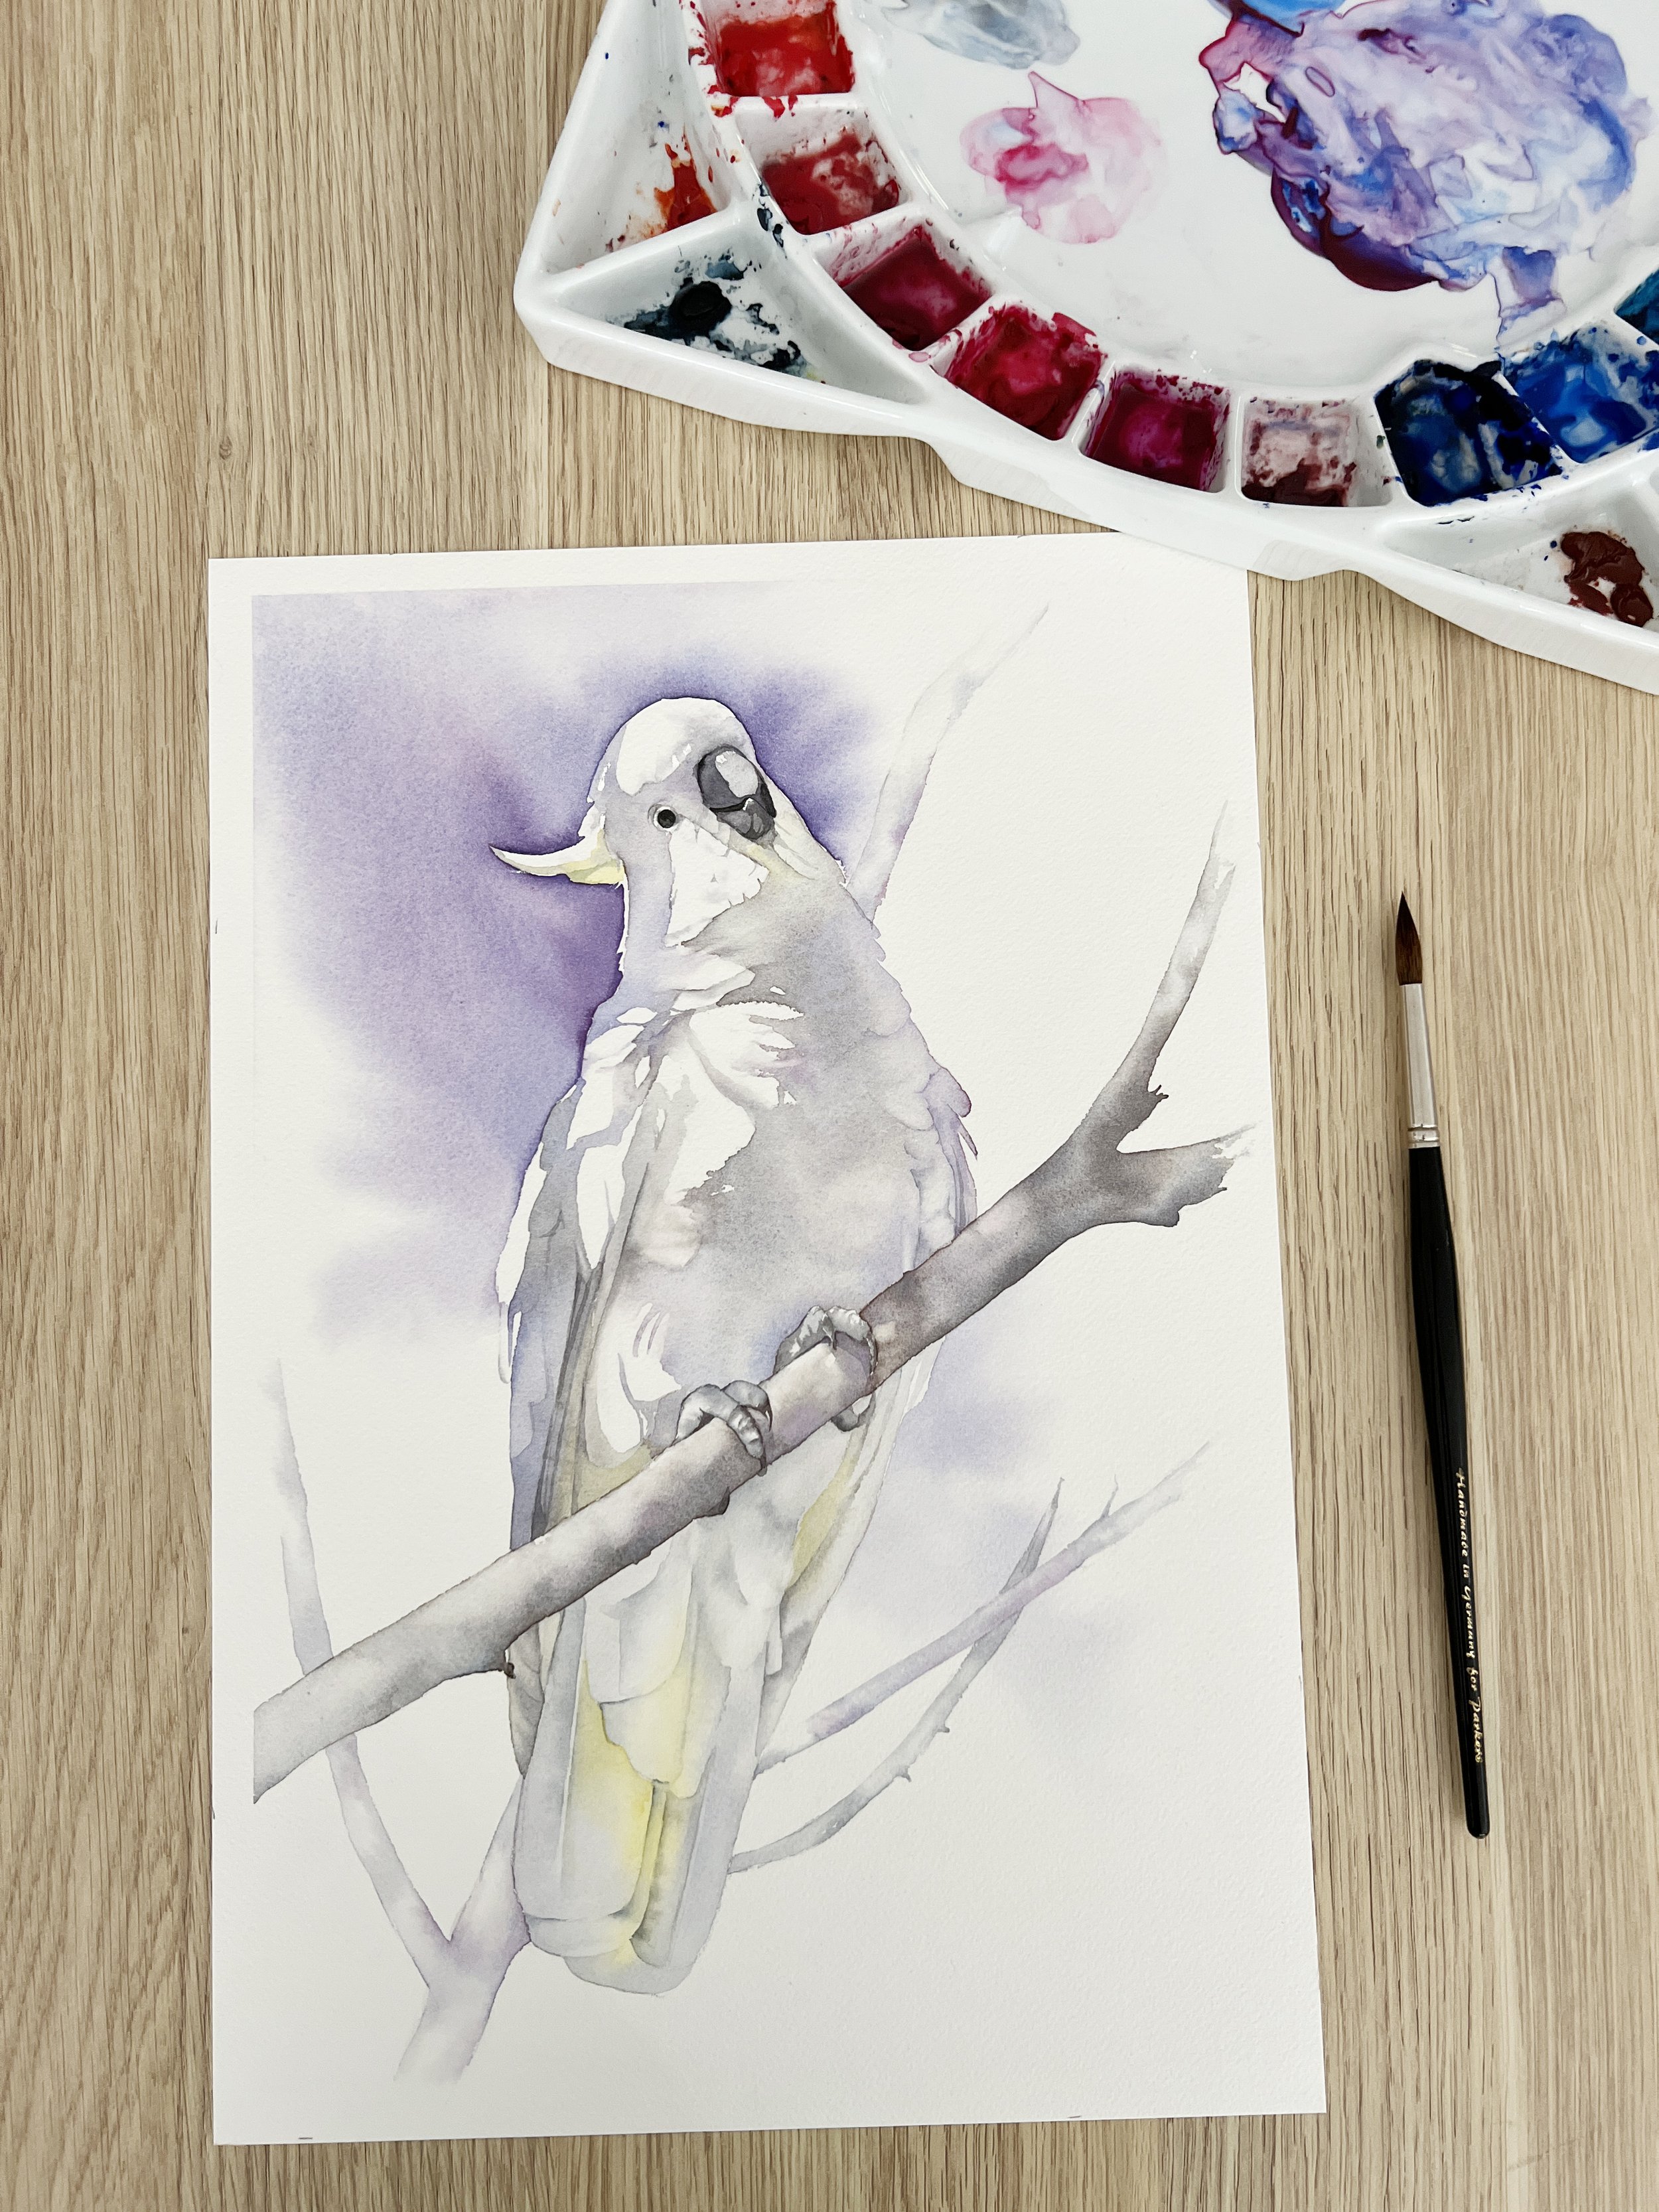
The finished cockatoo painting.
When you’re evaluating a reference photo, try squinting at it. What do you see first? If the background is fighting for attention, you might want to blur it out or leave it out altogether. Your goal is to support the subject - not to steal the spotlight.
3. Identify a Clear Focal Point
A strong painting needs a focal point - something that draws the viewer’s eye and gives the composition a sense of purpose. So when you’re choosing a photo, ask yourself: What is the star of the show?
It might be the eye of an animal, the curve of a petal, or the way the light hits a glass bottle, that fills you with inspiration. But there has to be something that grabs you. If a photo is too evenly detailed across the whole image, it can be difficult to know what to focus on in your painting.
Personally, I often find myself drawn to reference photos that have a bit of drama - a close-up angle, an expressive pose, or a little sparkle of light that adds interest. Once I’ve identified that focal point, I build the rest of the surrounding composition, supporting it rather than competing with it.

This watercolour painting was painted from a photo taken by 'Pics by Fran' from Pixabay.
In this painting of a Cavalier Spaniel, the dog’s face and eyes are clearly the focal point. I’ve emphasised them with richer colour and detail, while keeping the body softer and paler so it fades gently into the background. That contrast helps guide your eye straight to the expression, which is what made me want to paint it in the first place.
Here's another example:
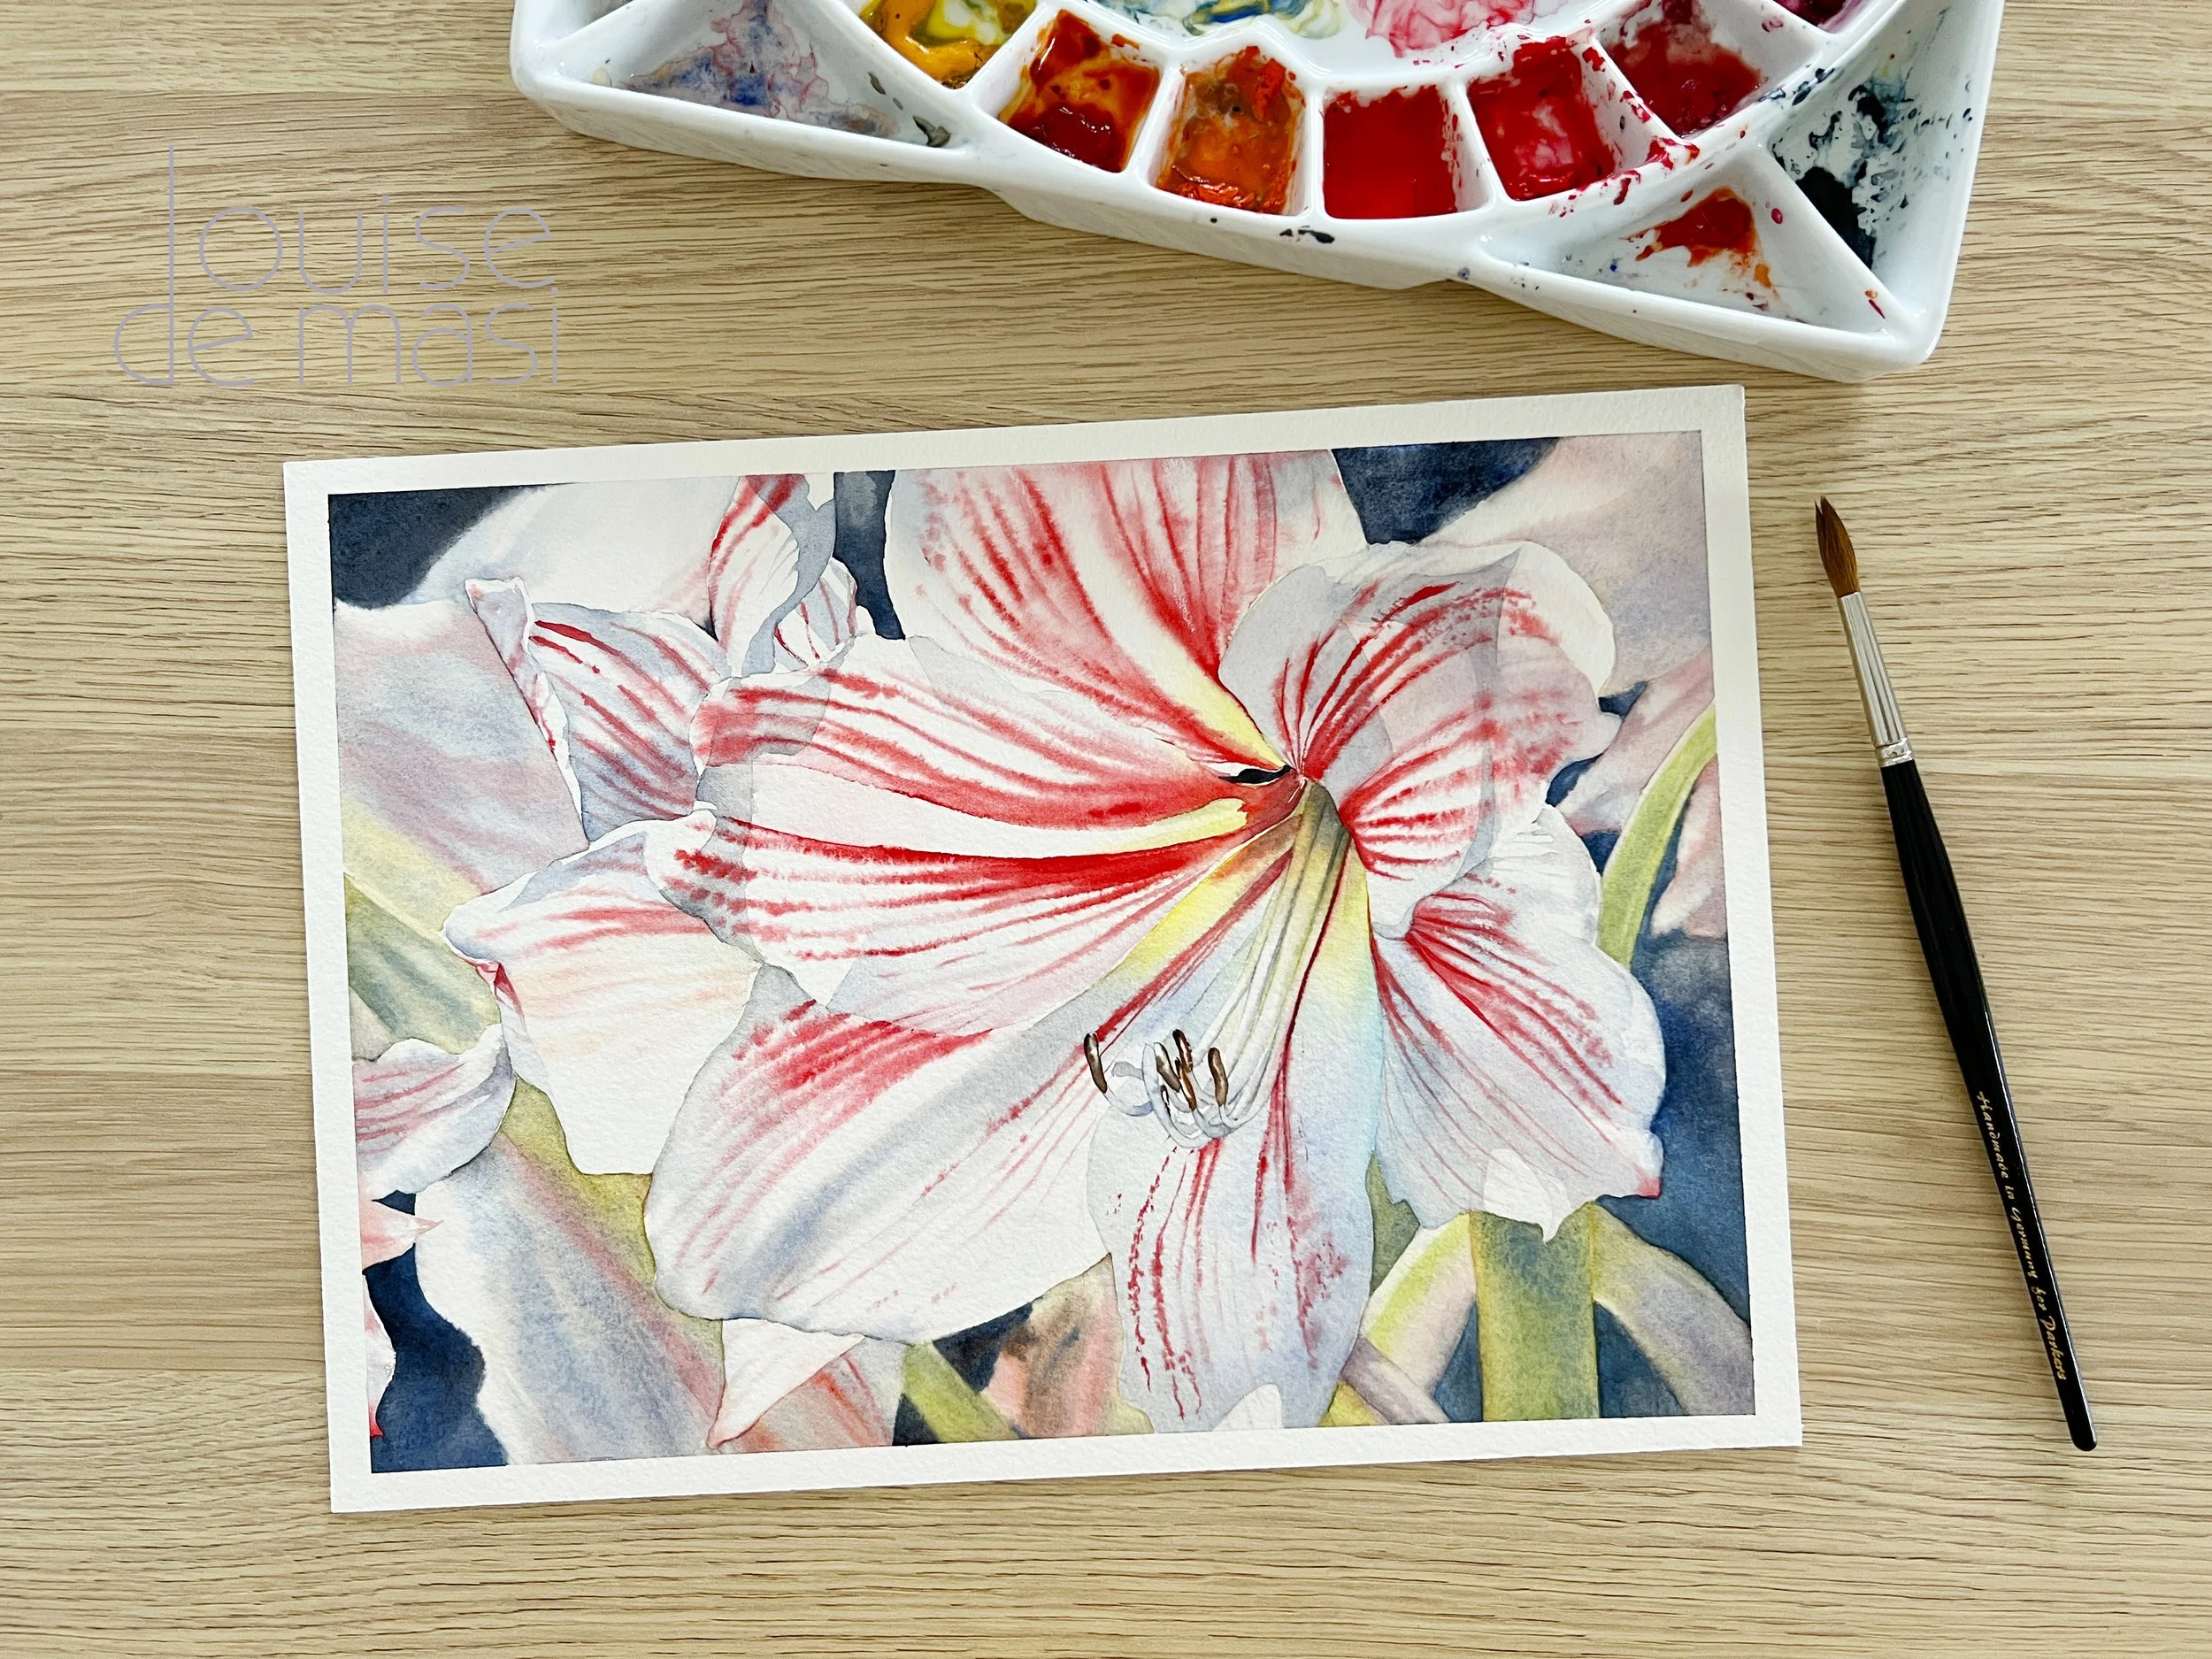
When I painted this amaryllis, I wanted one flower to take centre stage - the one that grabs your attention straight away. I used stronger colours and sharper details on the main bloom to bring it forward, while keeping the surrounding flowers softer and less defined. That contrast helps guide the viewer’s eye and gives the painting a sense of depth and focus. It’s a great reminder that not every part of a painting needs to have equal weight - sometimes, it’s what you leave understated that makes the star shine brighter.
4. Crop to Simplify
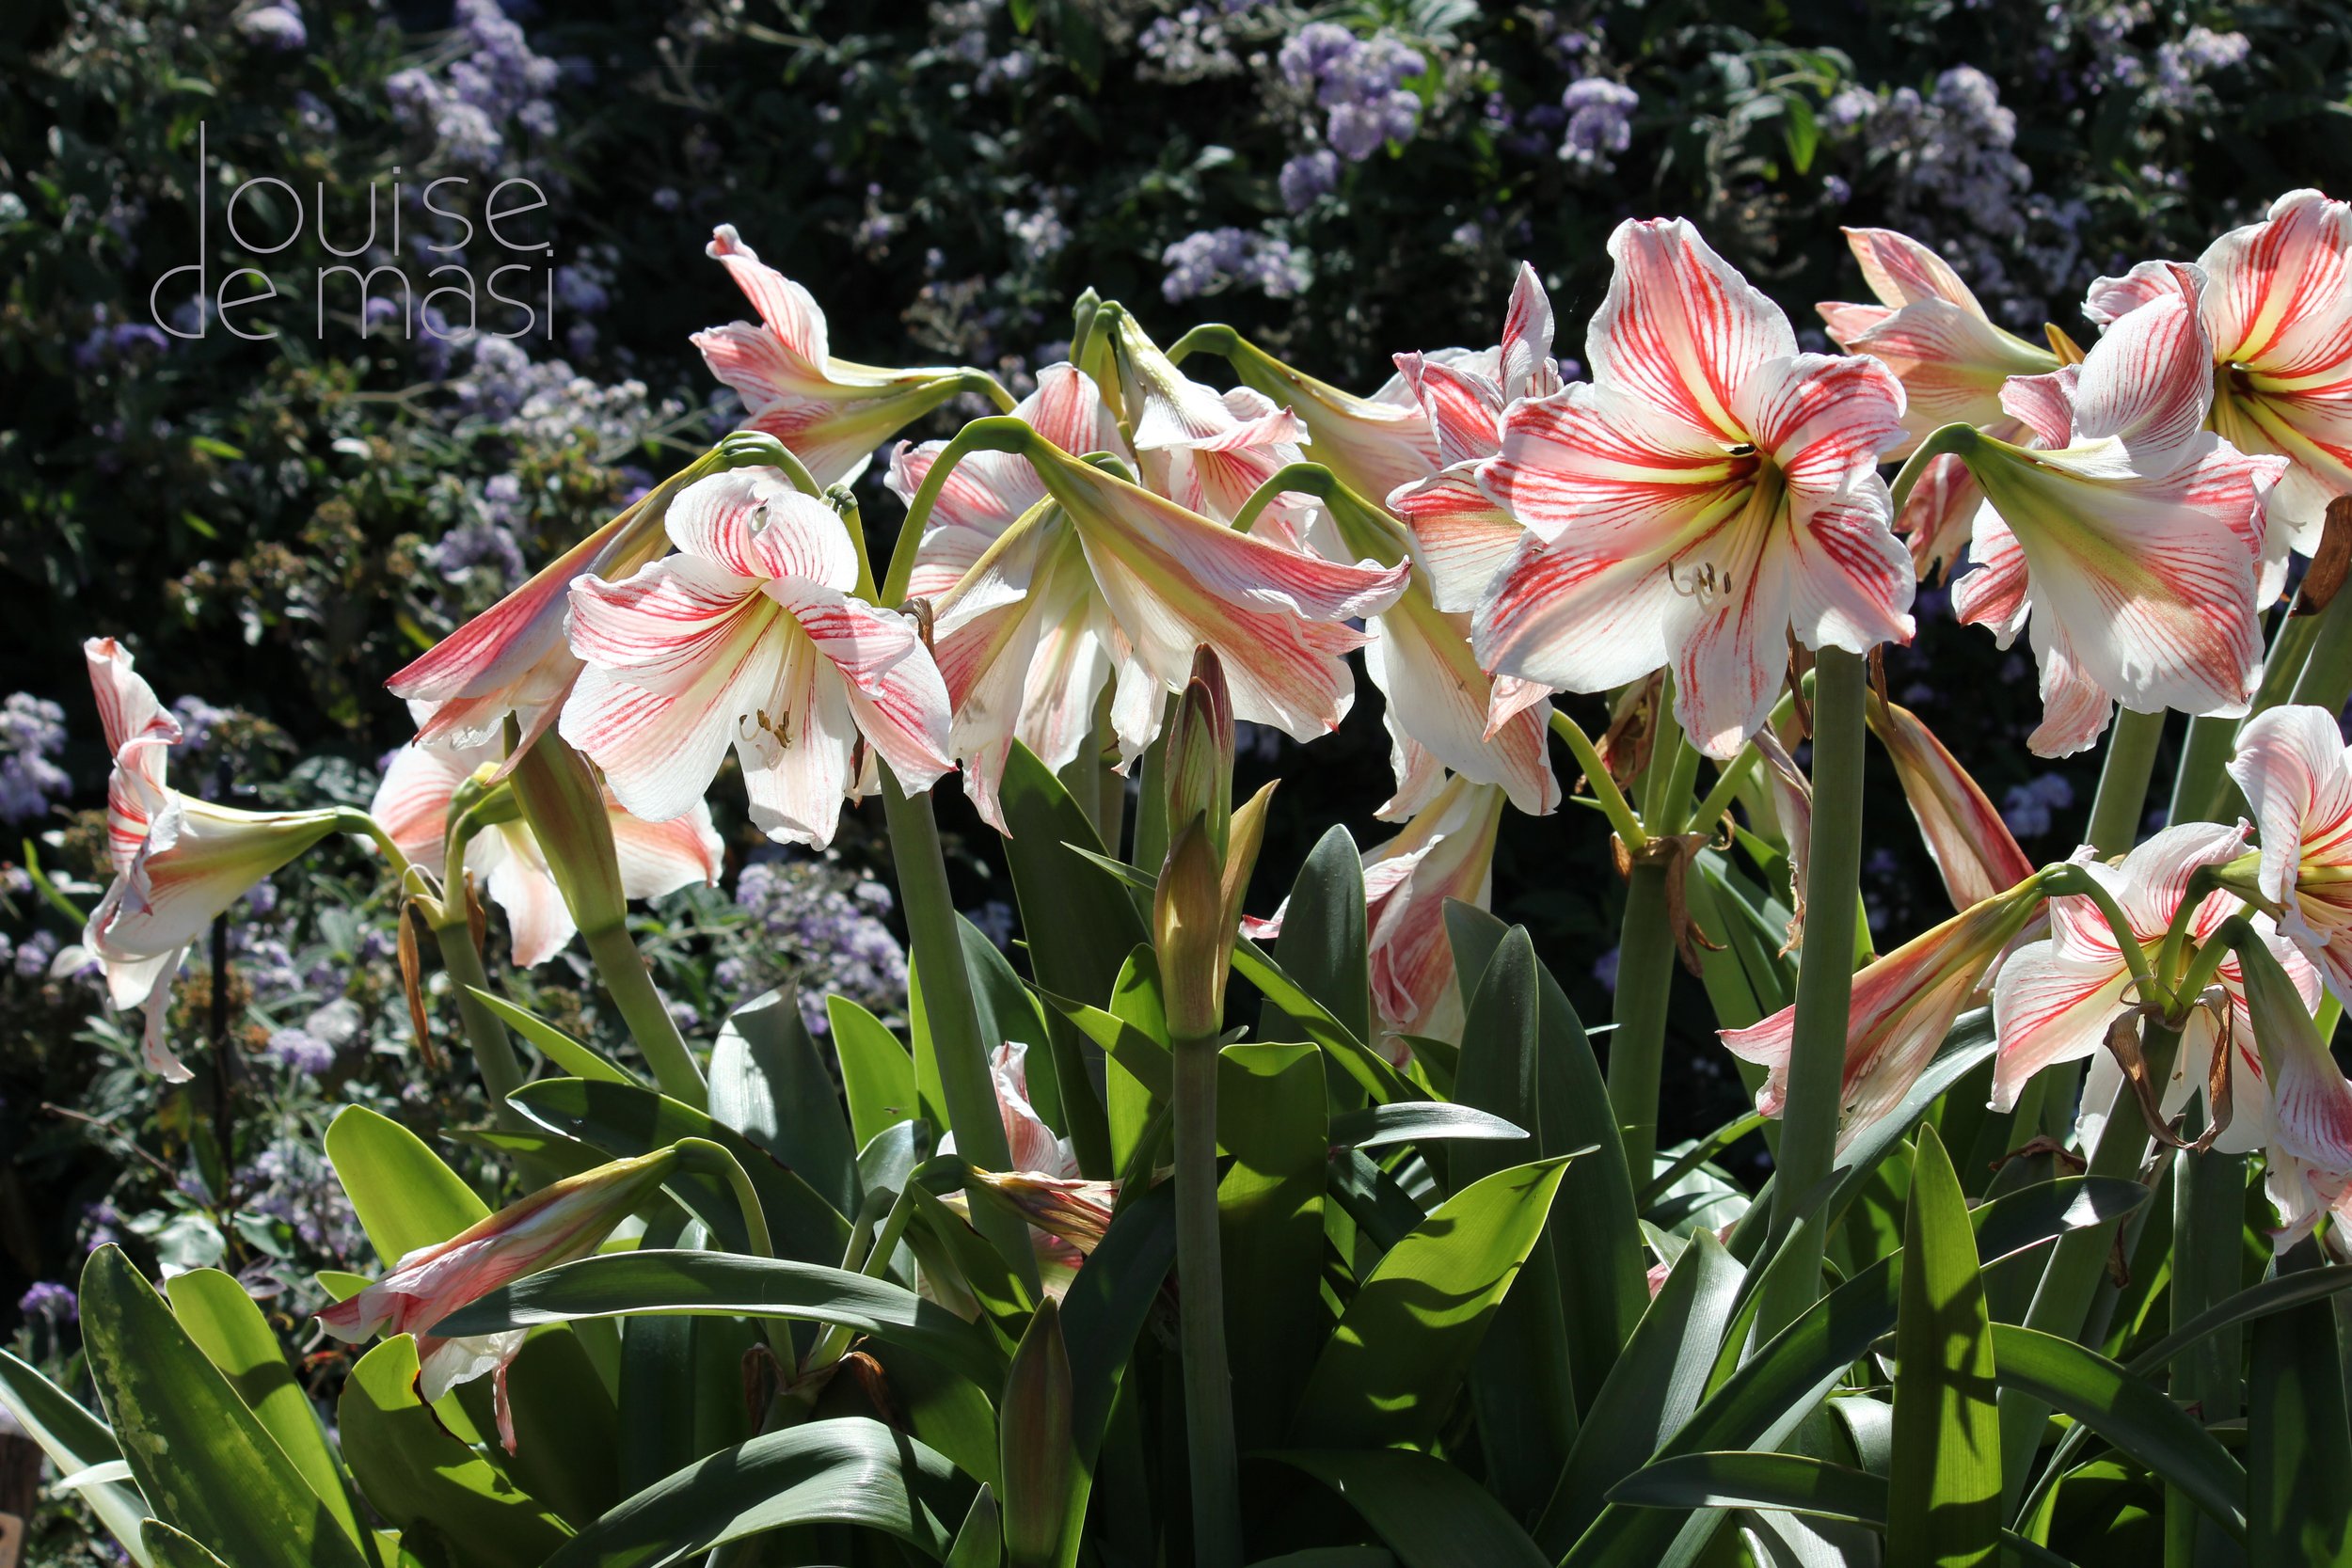
This is the photo I used for the painting of the amaryllis. I had to decide what part of the photo drew my attention the most and that is what I painted.
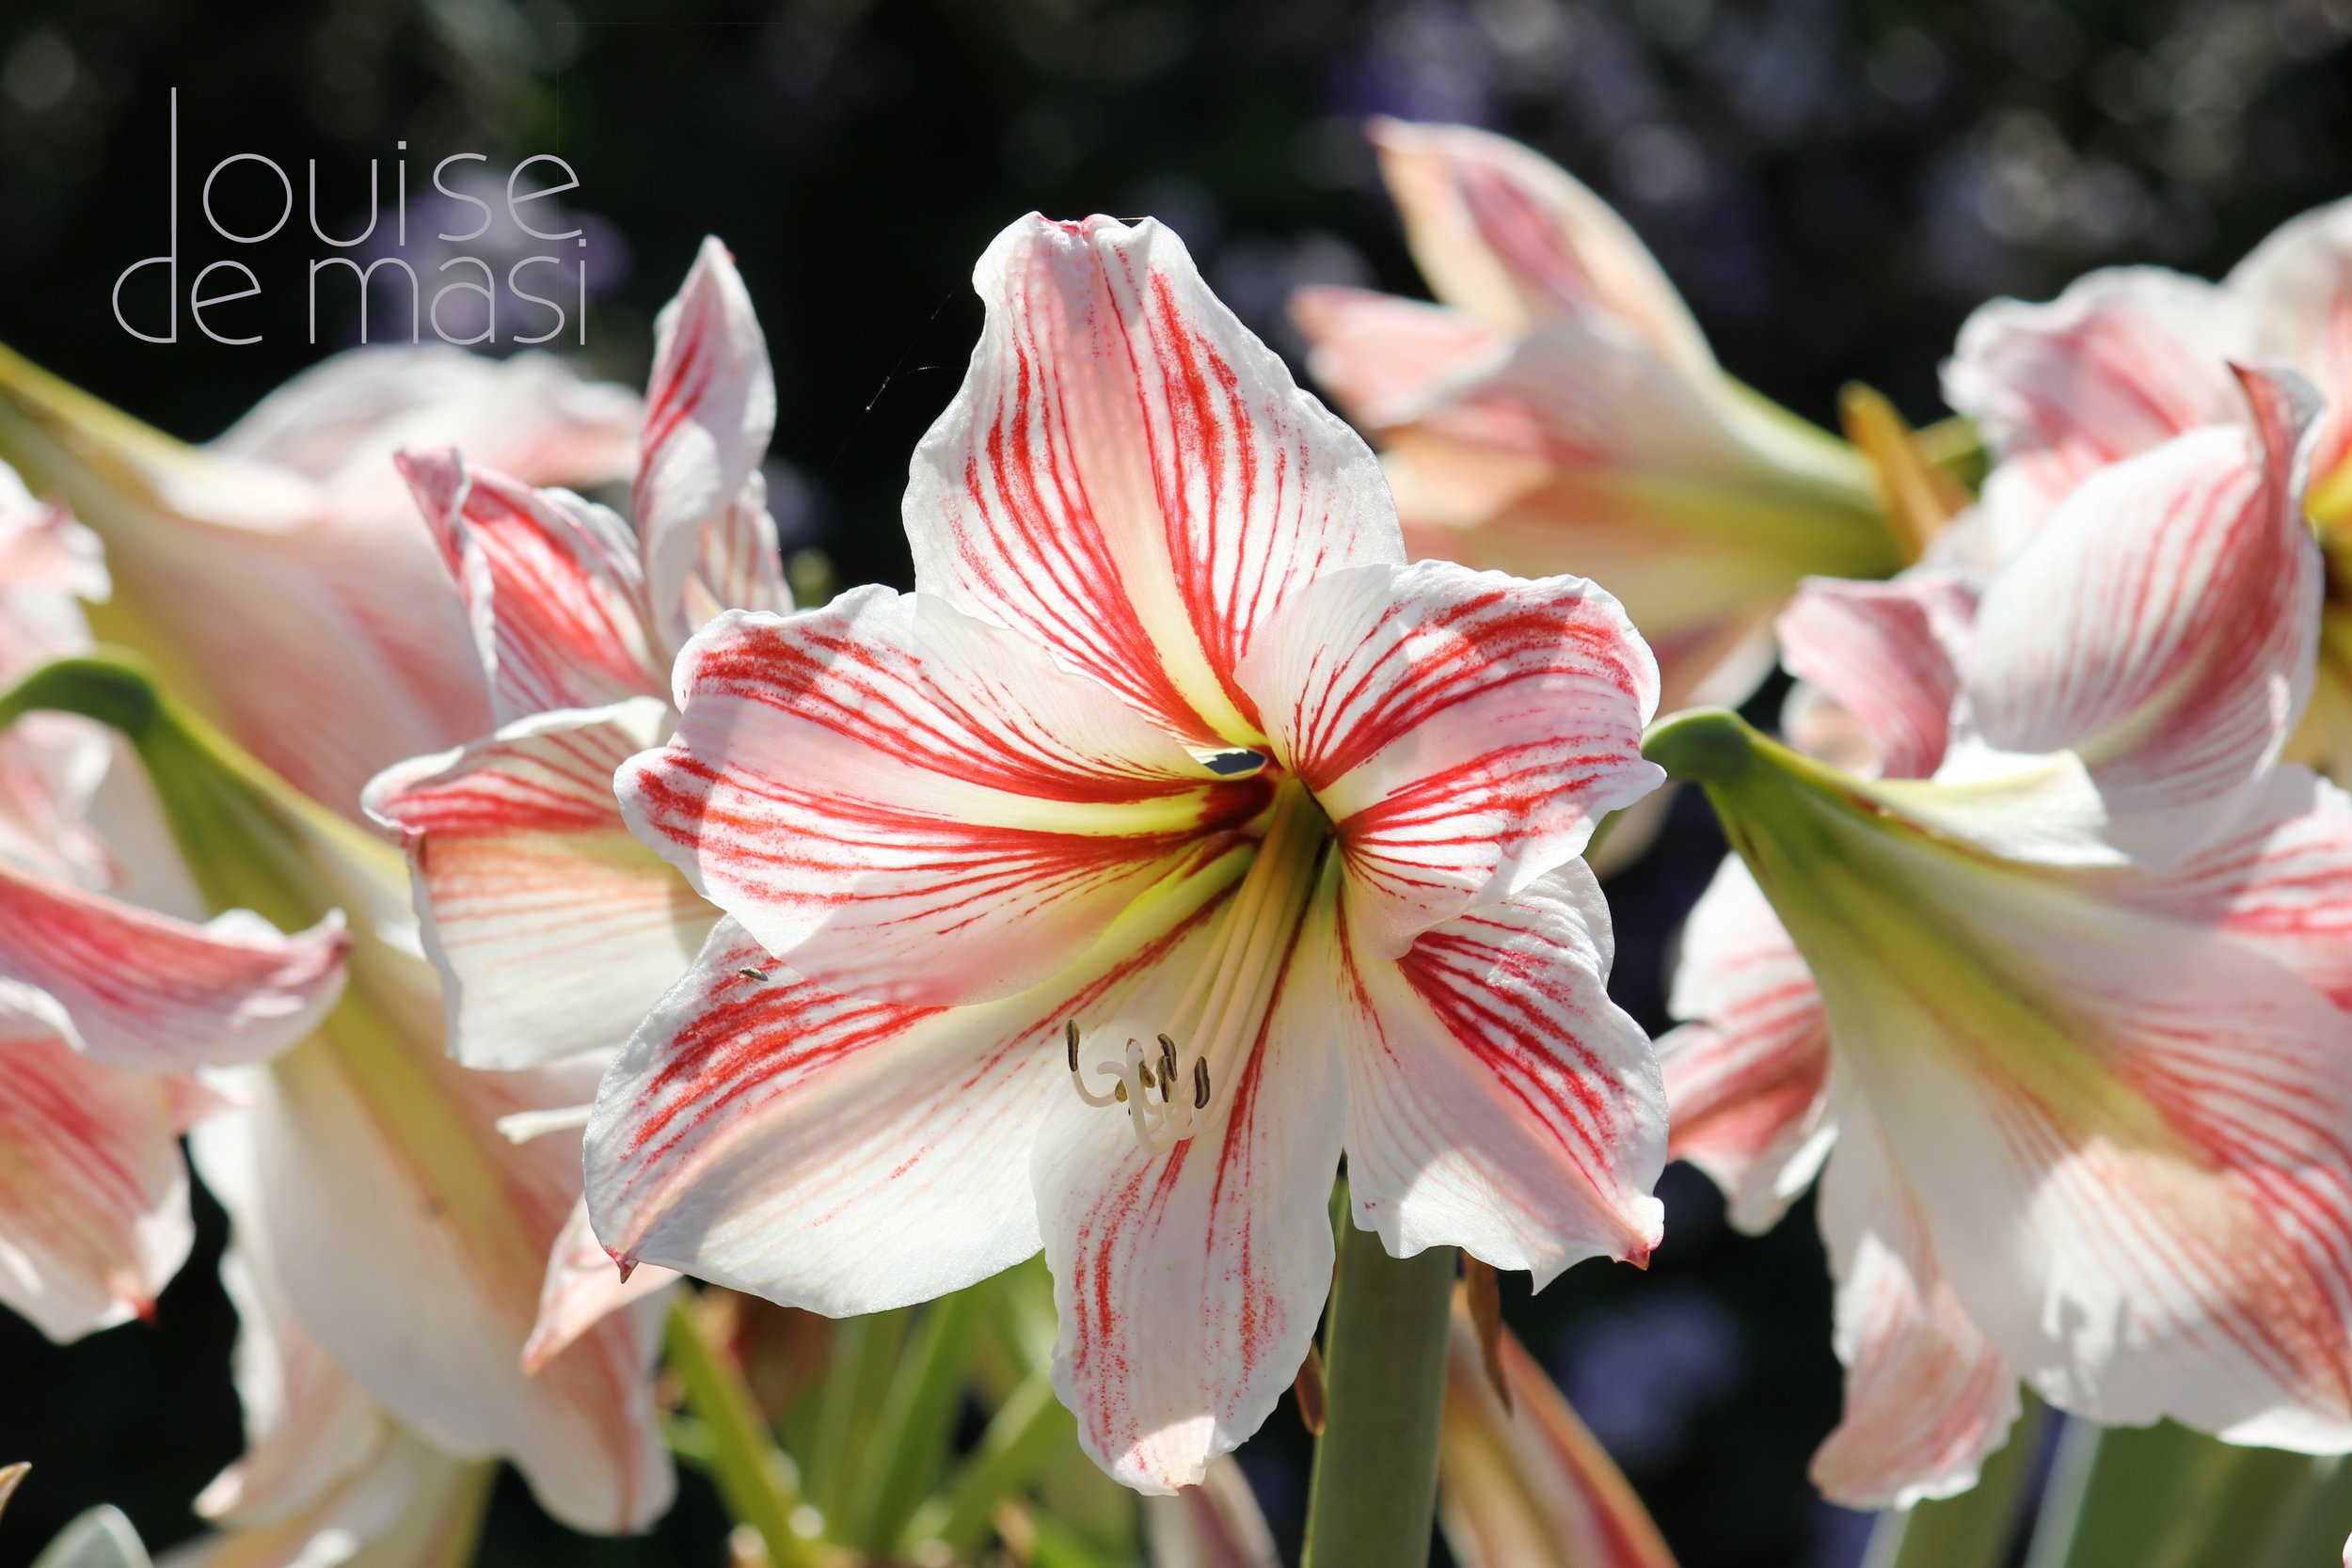
A close-up of the previous photo.
The original photo I took had a lot going on - multiple blooms, leaves, and a busy background. While it was beautiful in person, it felt too crowded as a painting reference. To simplify things and give the painting more clarity, I zoomed in on the one flower that stood out to me and cropped everything else away.
Cropping your reference photo is such a simple step, but it can make a huge difference. It helps define your focal point and sets the tone for the rest of the composition.
5. Use Thumbnail Sketches to Plan Composition
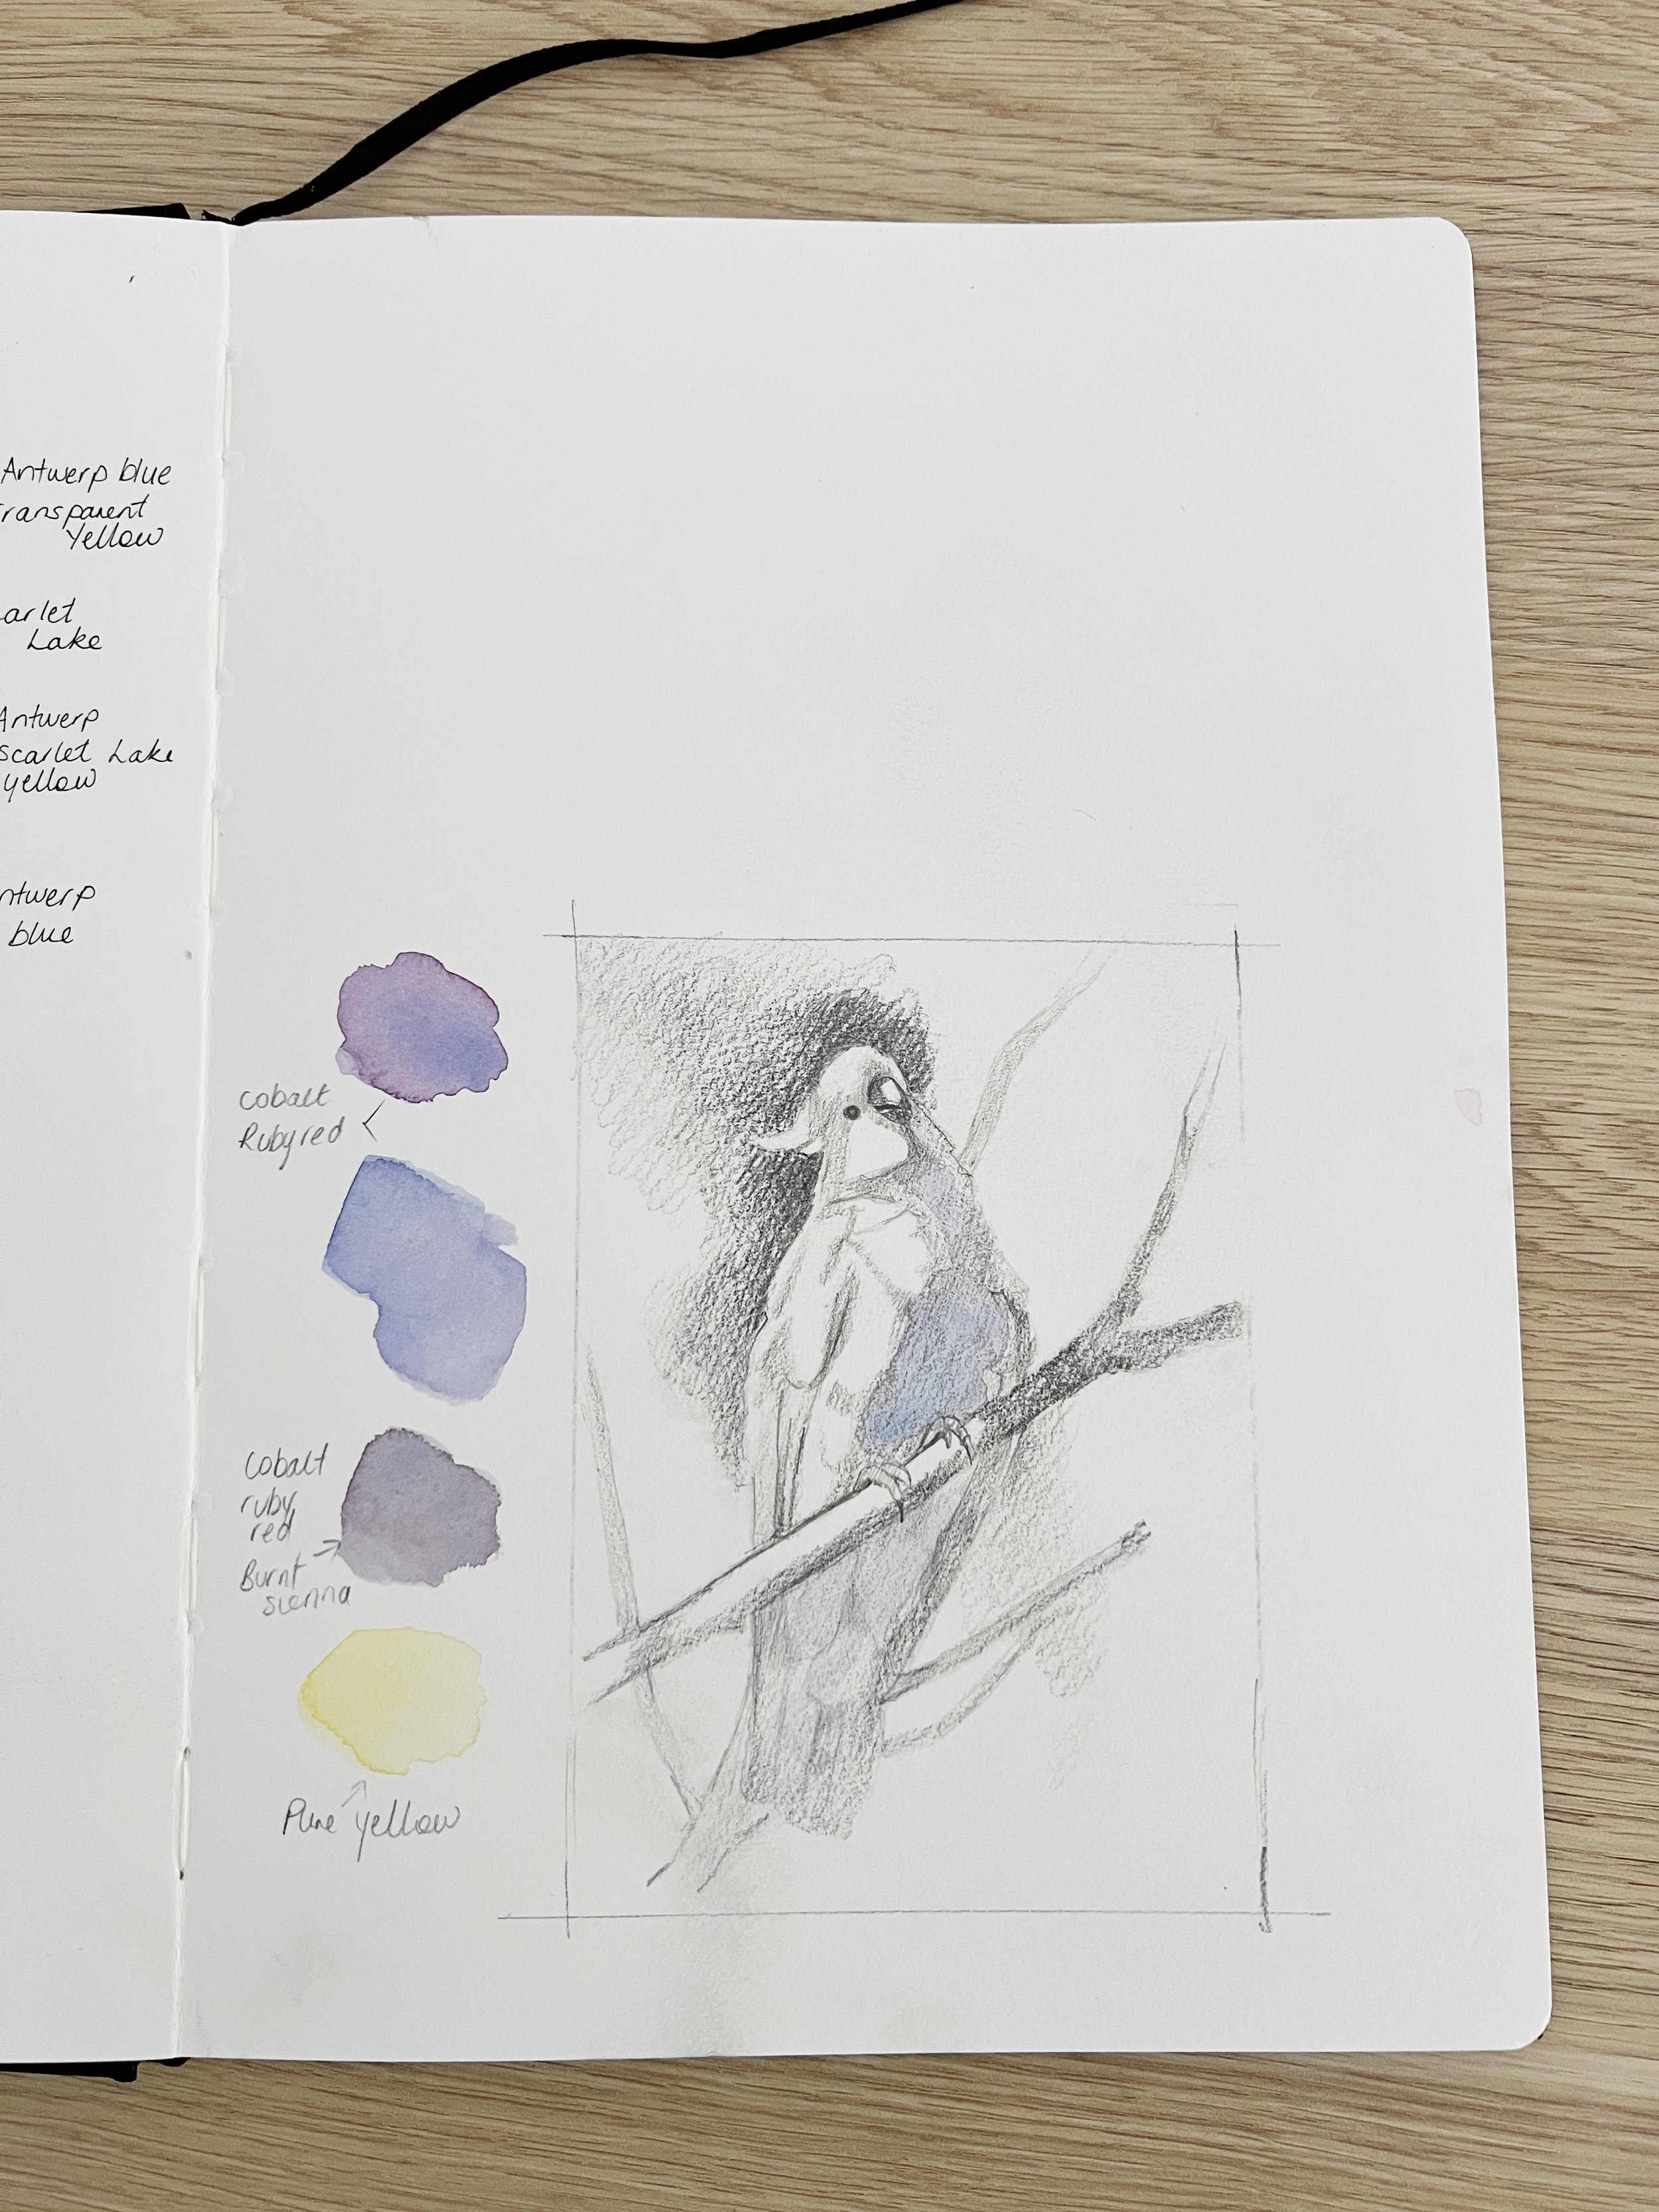
Before I dive into a detailed drawing or start painting, I often create a few small thumbnail sketches. These are quick, rough drawings - nothing fancy - but they help me plan out the composition and test whether the photo is going to work as a painting.
Sometimes, I shift the subject slightly, crop out unnecessary parts, or even move things around completely. It’s during these thumbnails that I start thinking about how to simplify shapes and arrange the composition in a pleasing way.
I find this process especially helpful when working from a photo that feels a little too busy or unbalanced. It gives me a chance to experiment, without the pressure of making a perfect drawing. And more often than not, I come away with a stronger composition than the one in the original photo.
6. Embrace Artistic Licence
Just because a photo shows something one way doesn’t mean you have to paint it that way. In fact, I often don’t. I like to think of reference photos as a suggestion - not a set of instructions.
Maybe the colours aren’t quite right. Potentially, a leaf is in the wrong spot. Or maybe the background needs a complete makeover. That’s okay! You’re the artist. You get to make the decisions.
Sometimes I’ll combine elements from multiple photos - taking the best parts of each to create a new composition that works better. Other times, I’ll adjust the lighting or crop in tighter to focus on a detail I love. Don’t be afraid to tweak things. You’re not a photocopier - you’re a painter. Your interpretation is what makes your work special.
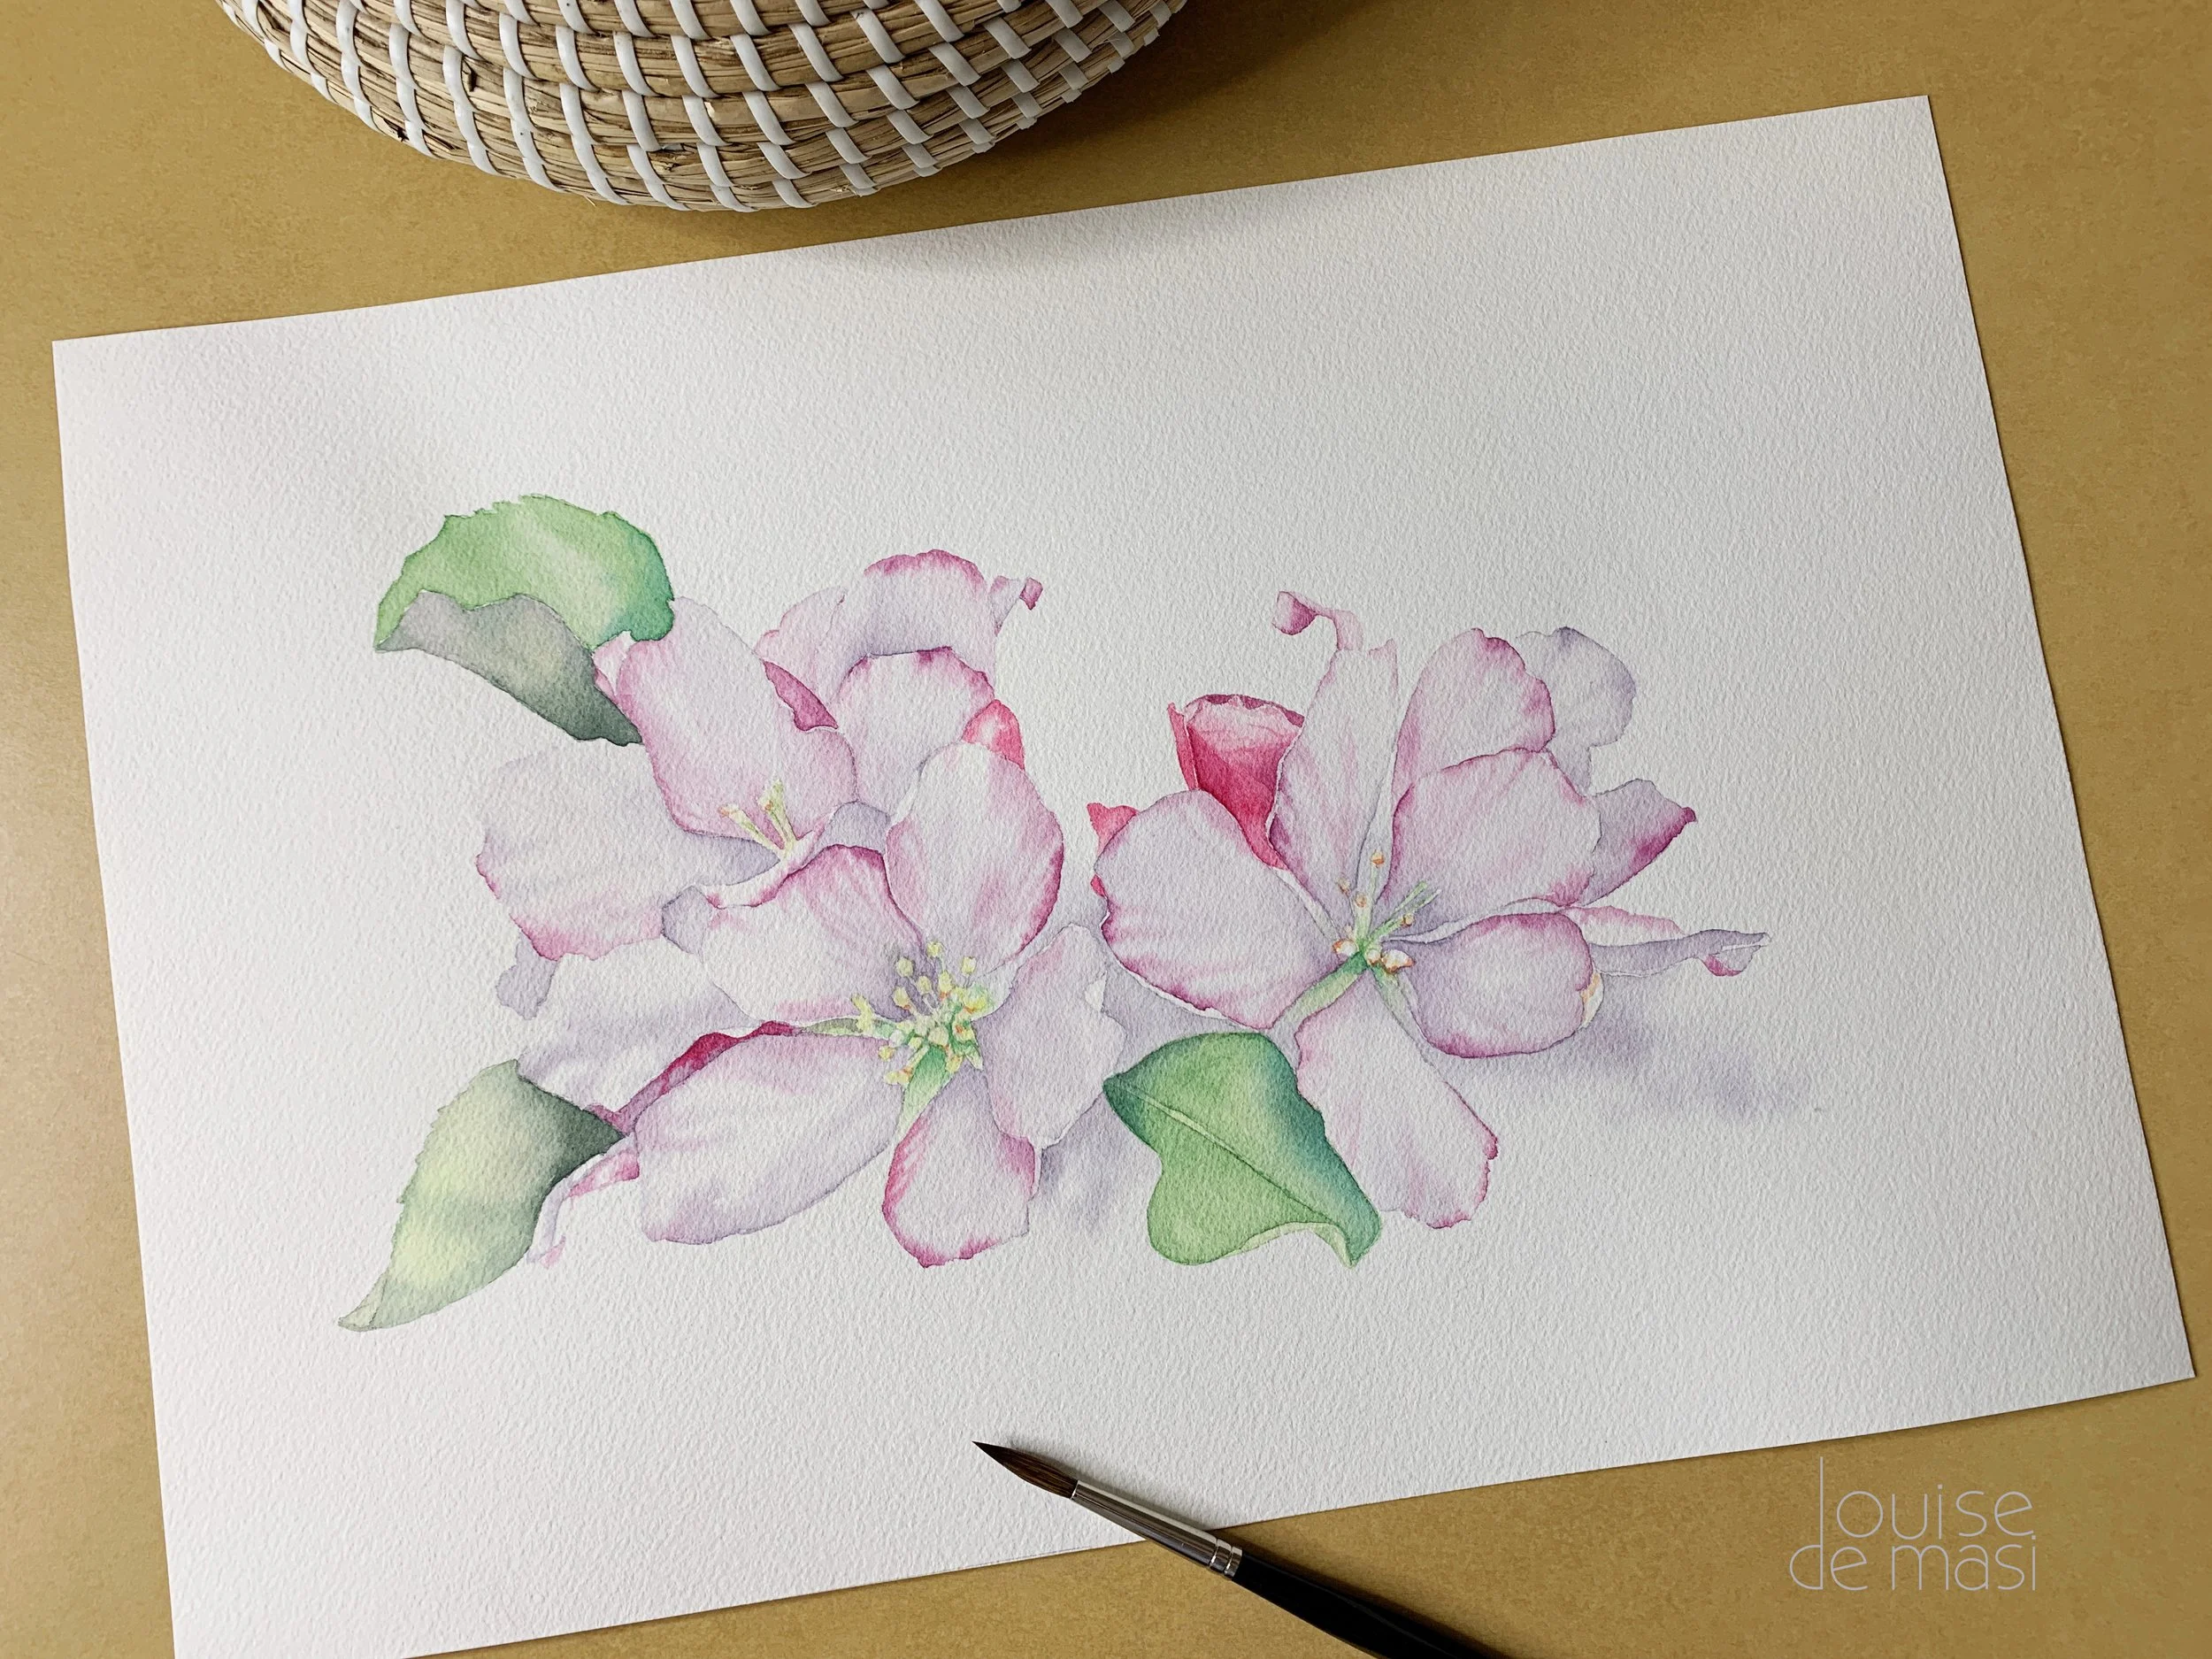
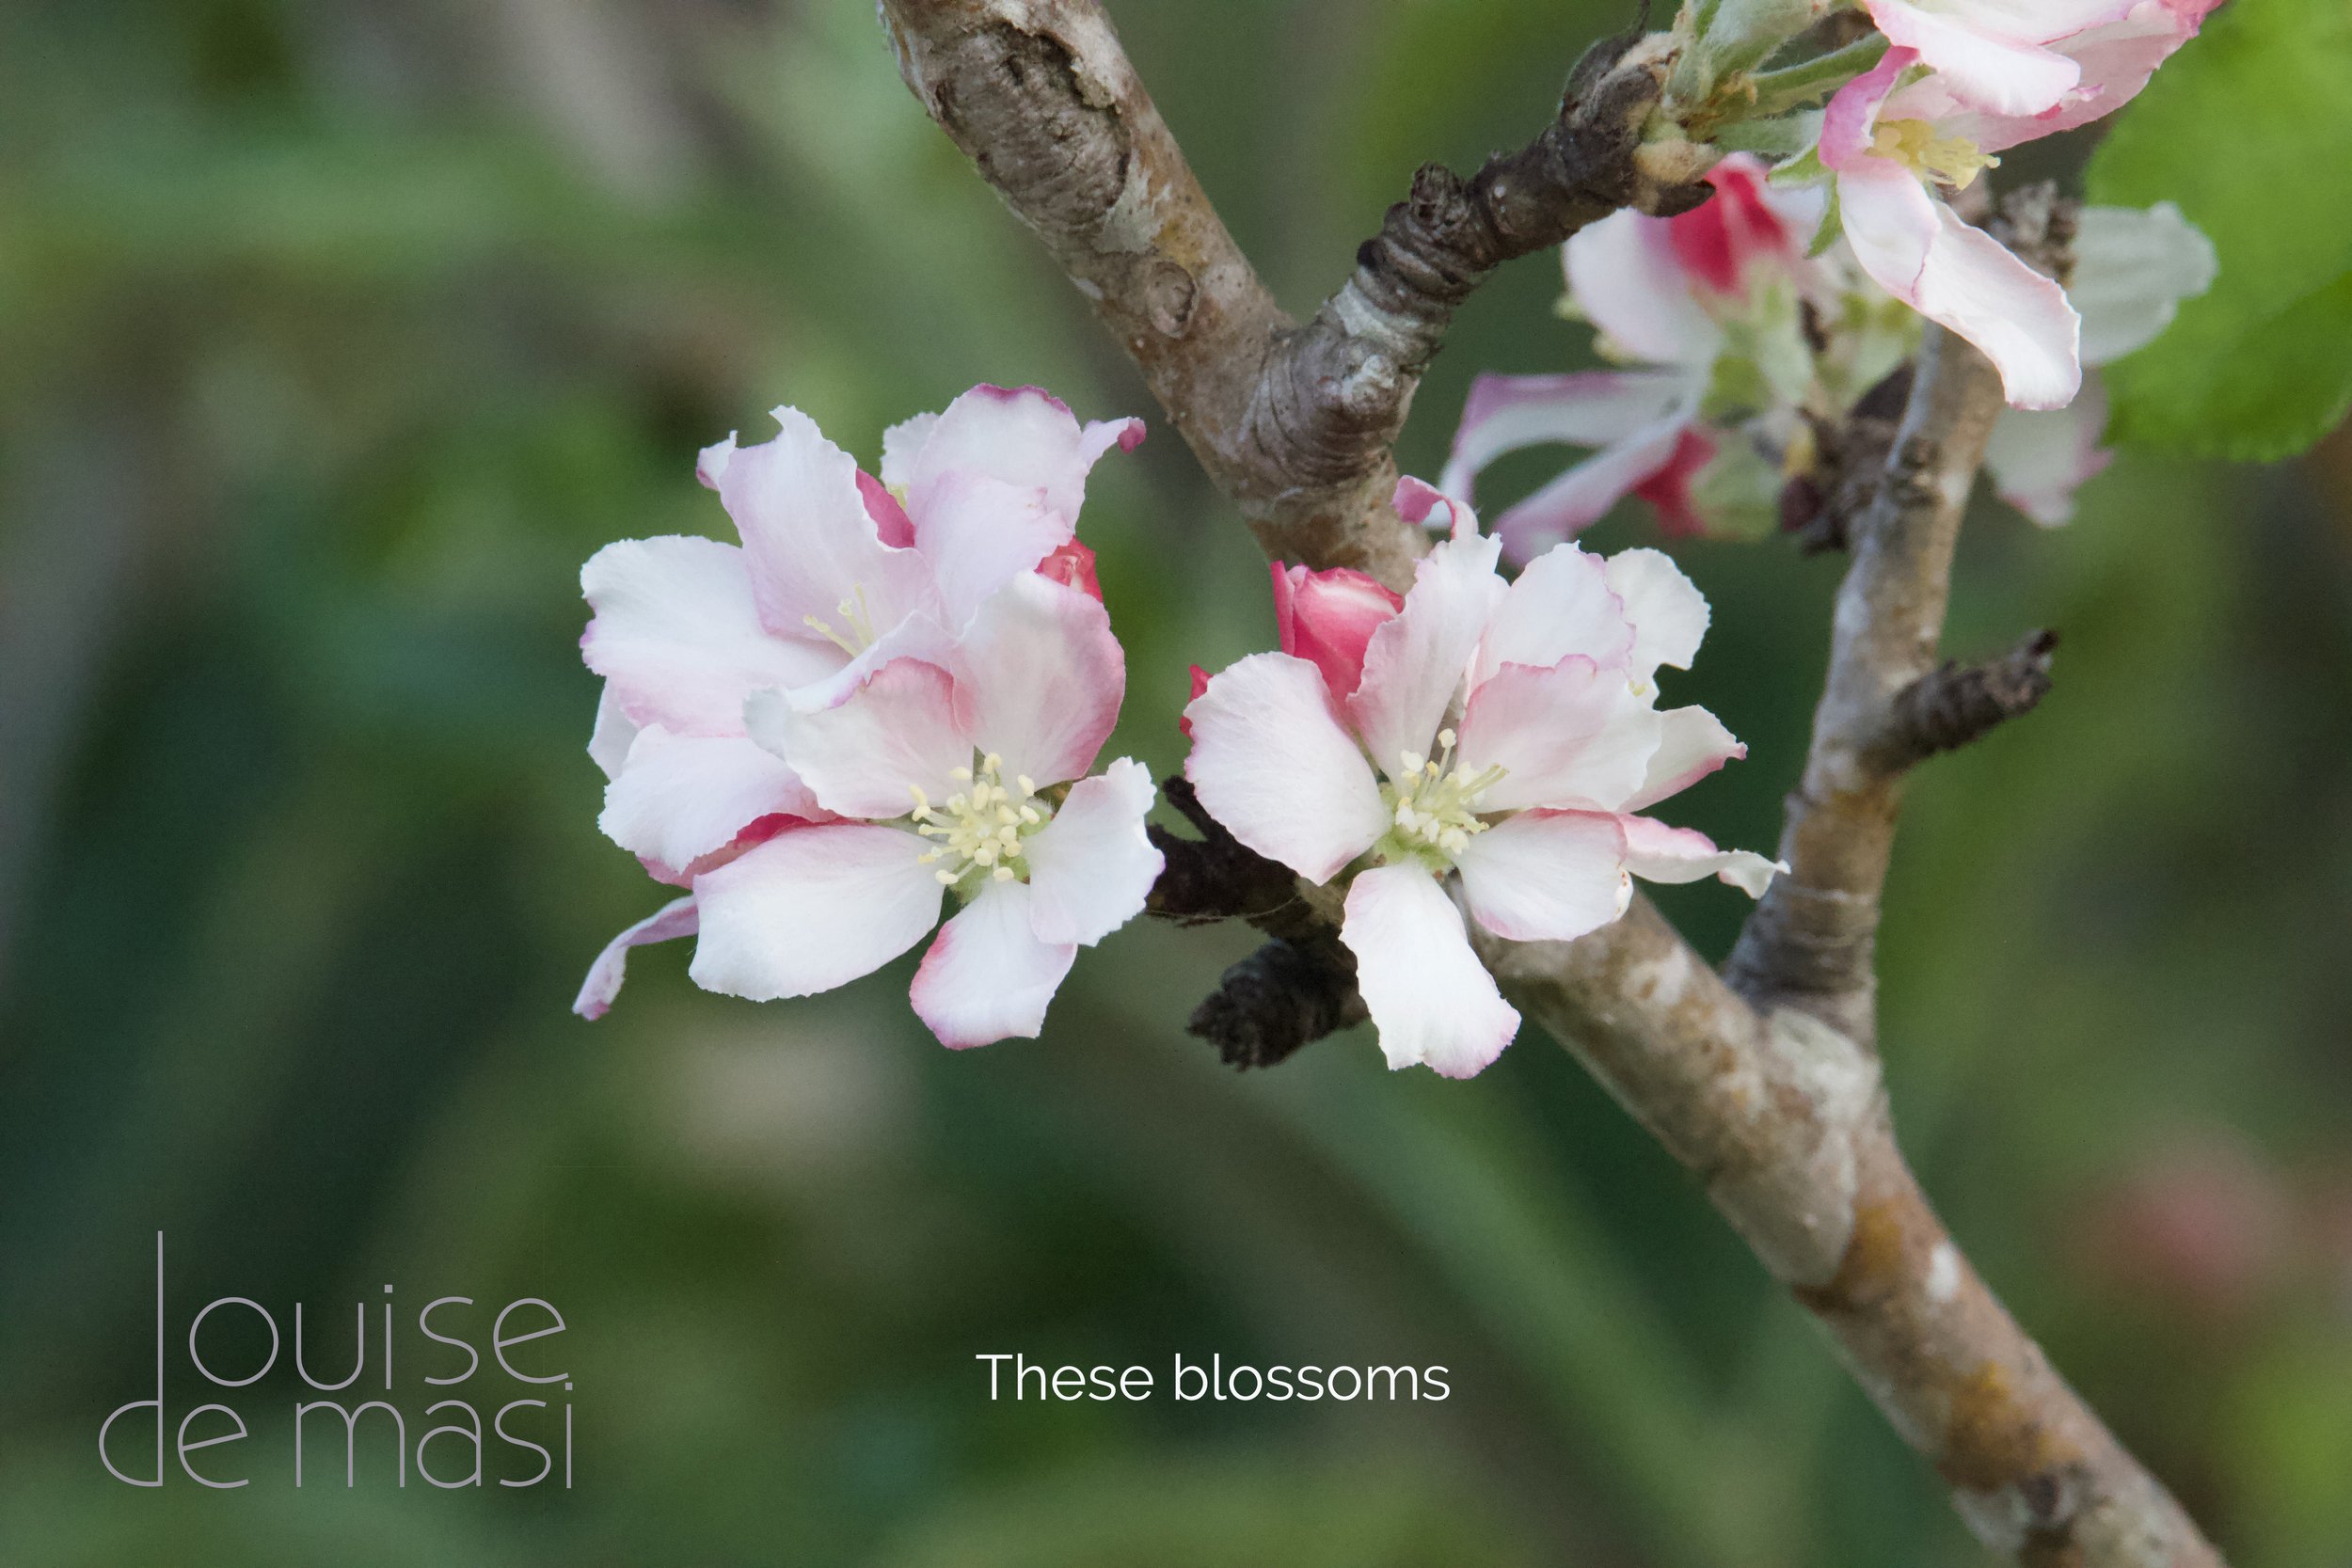
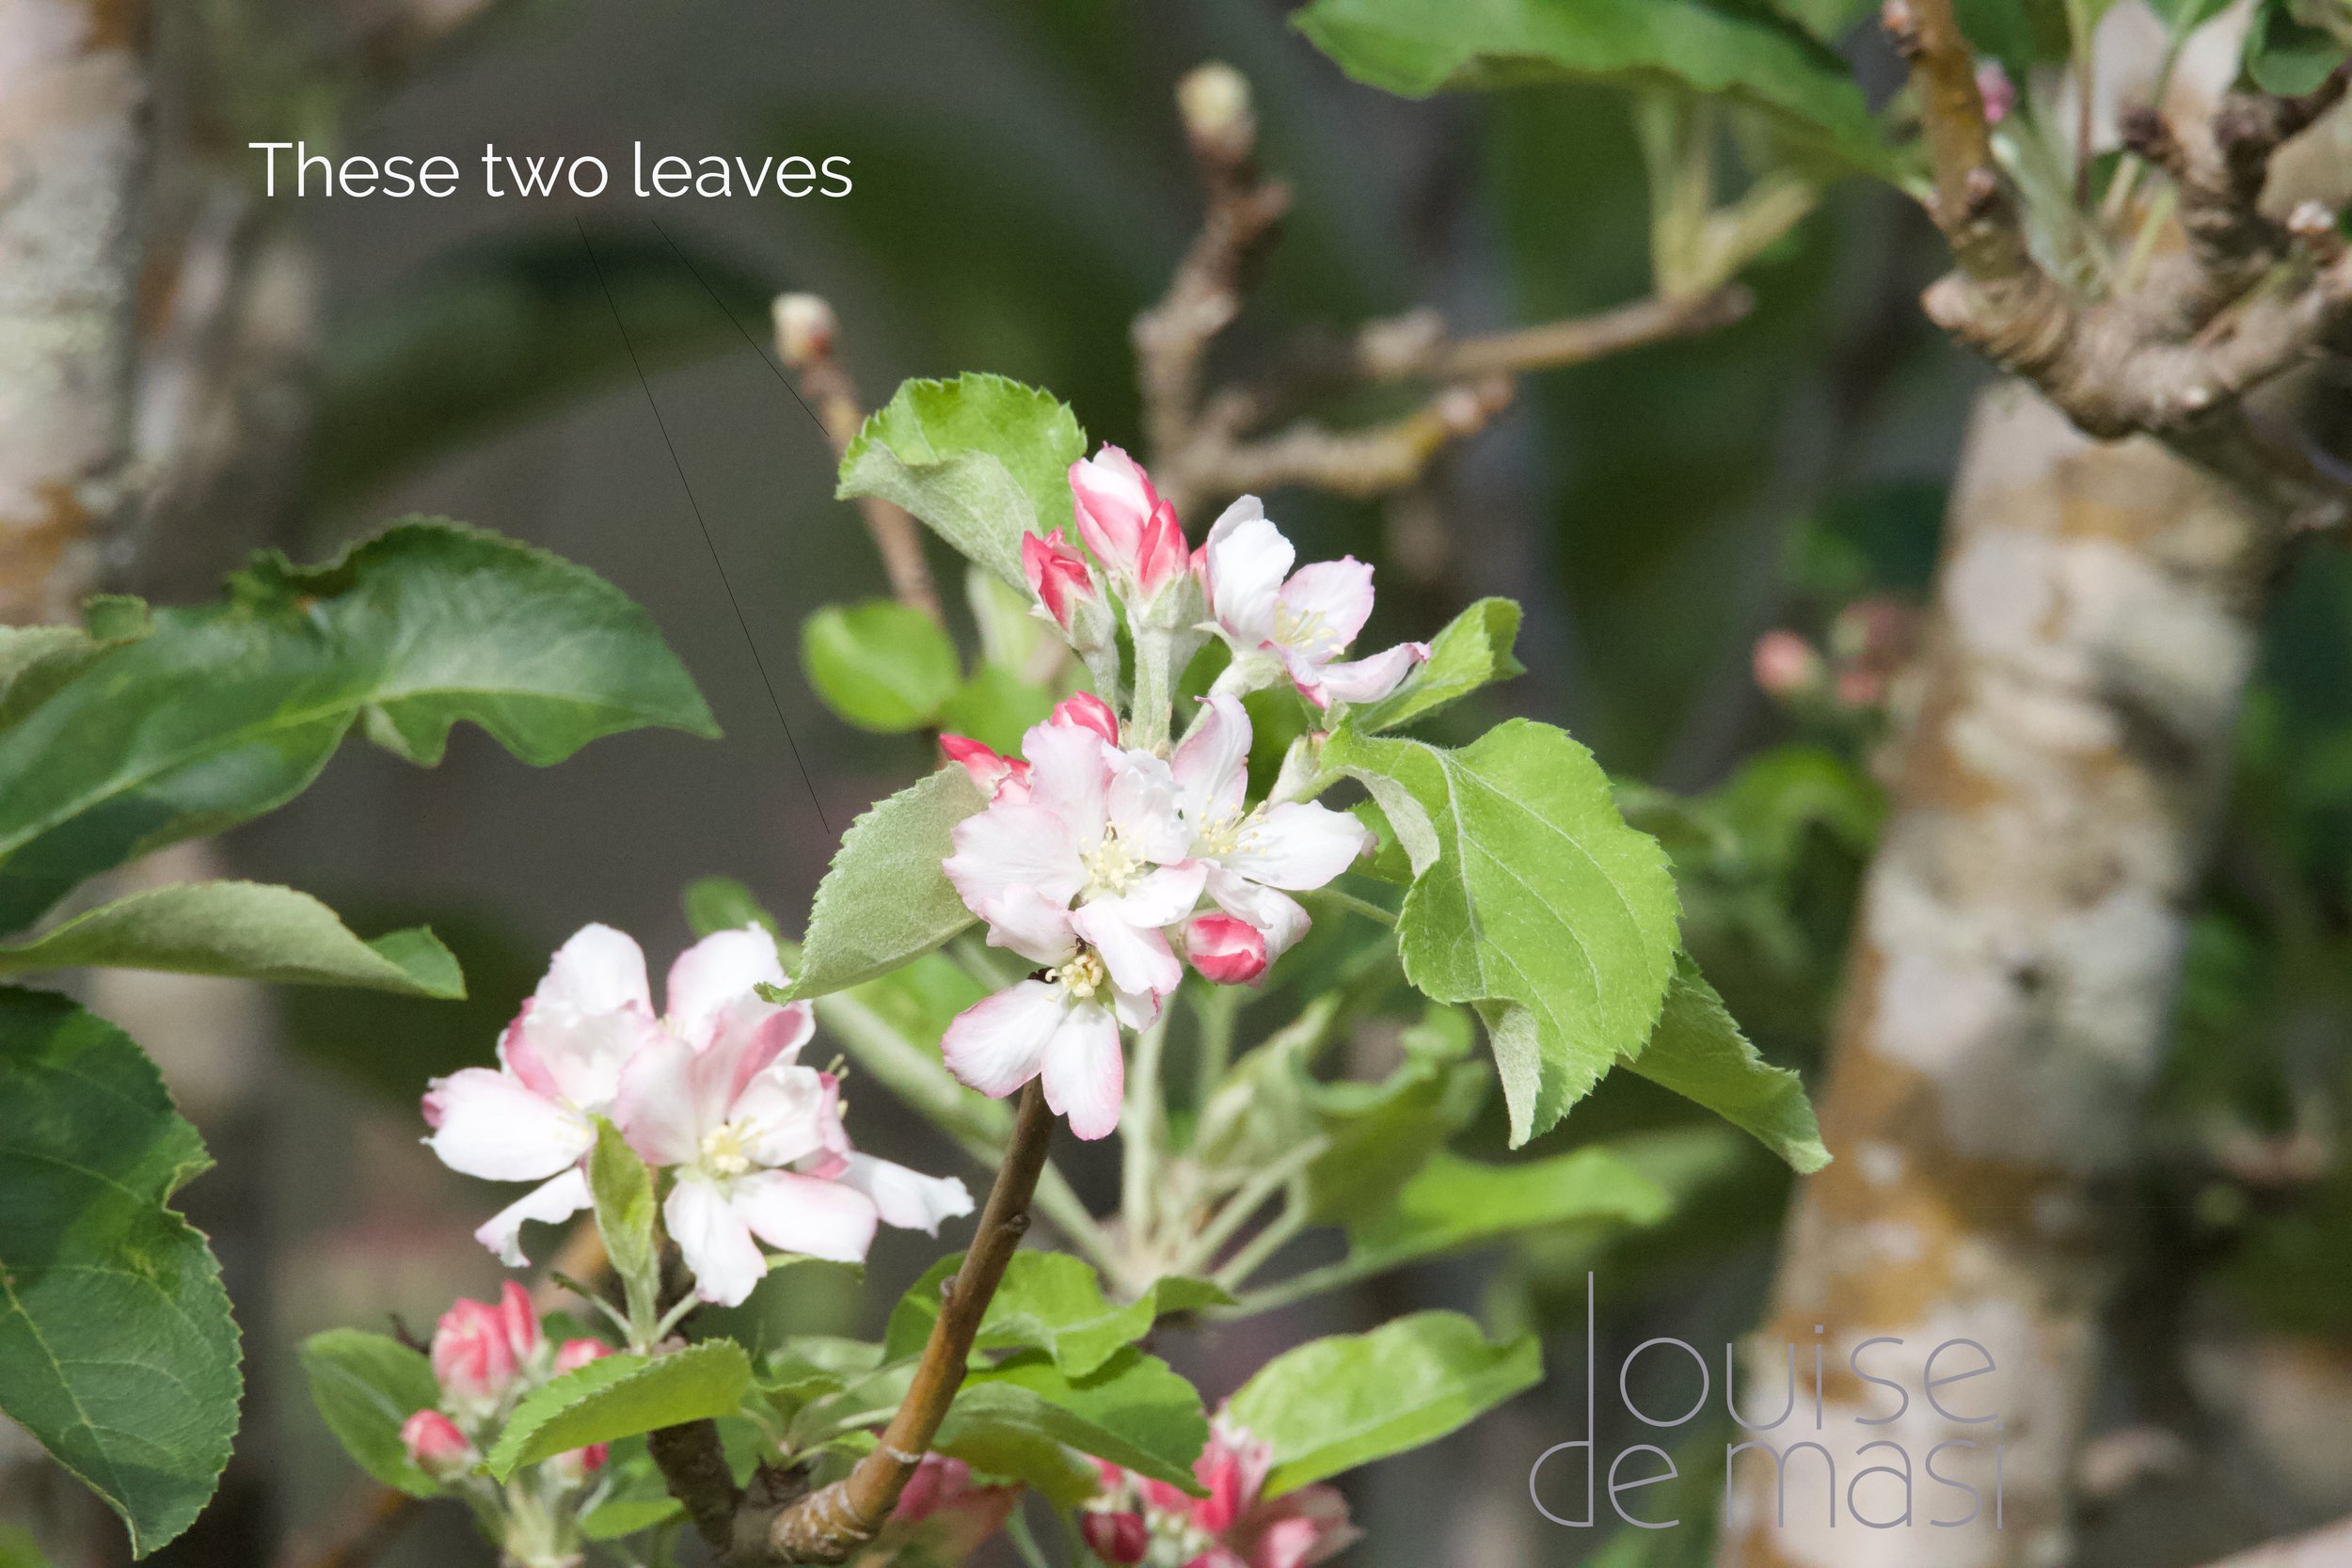
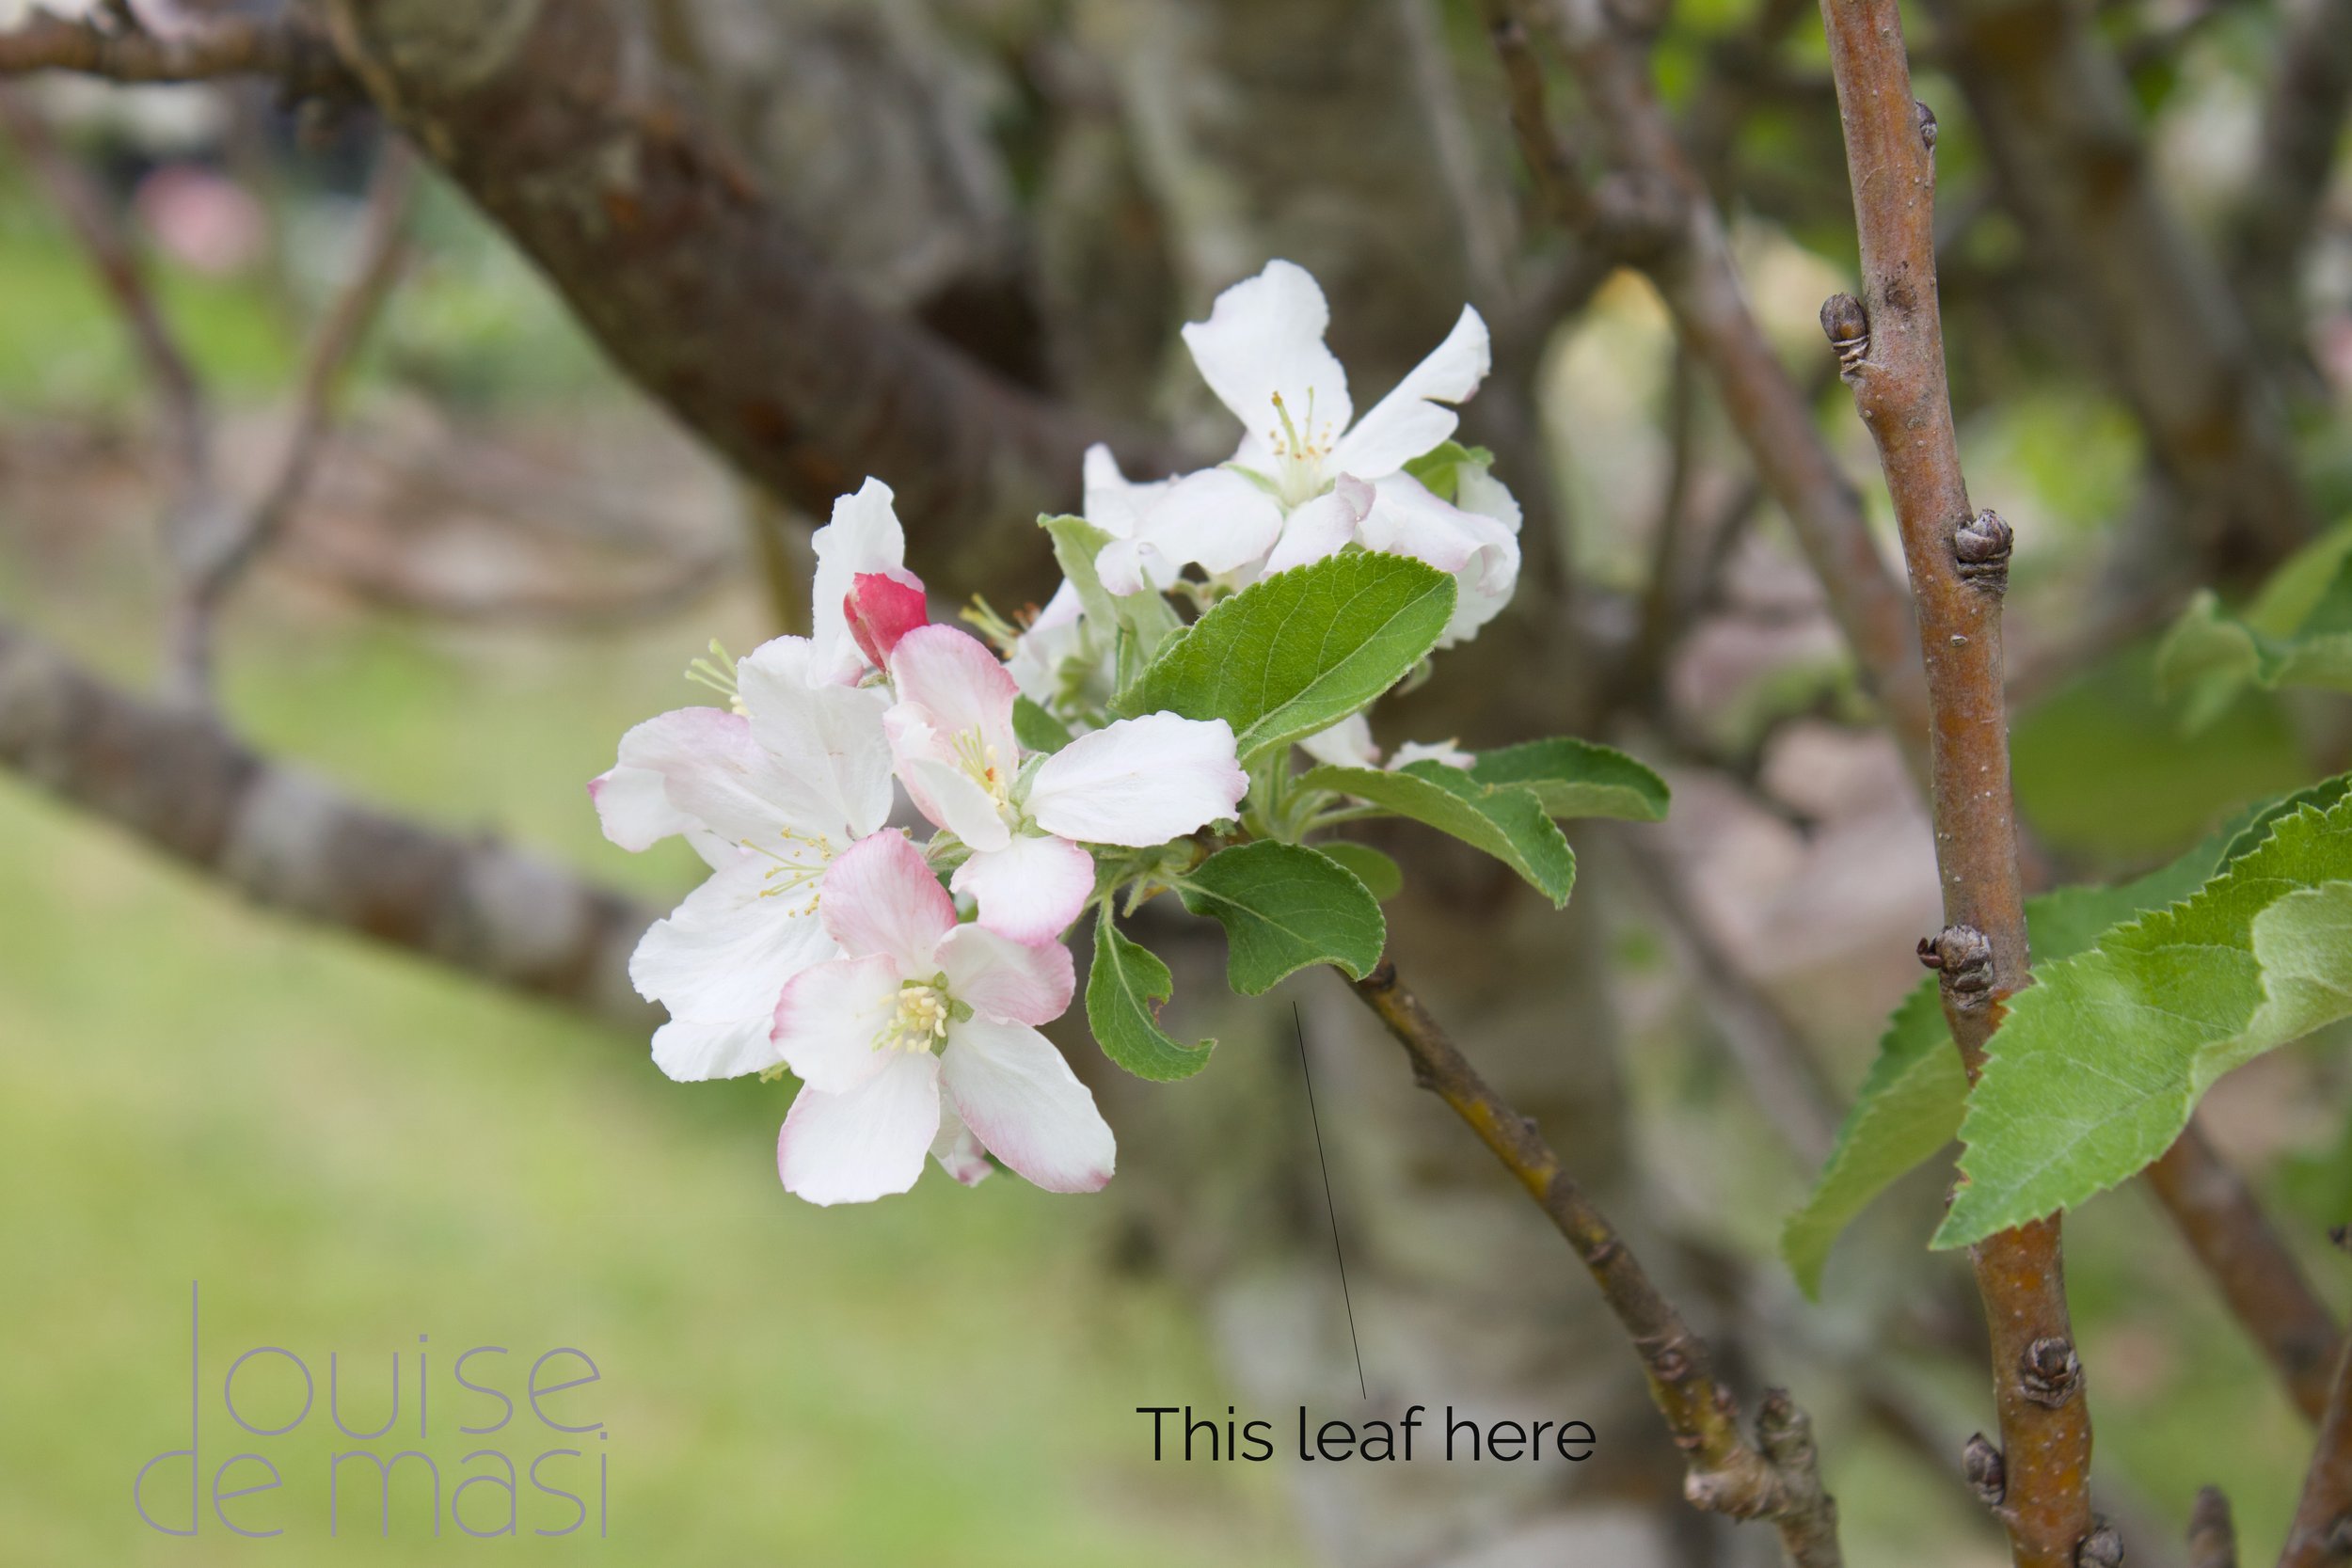
With the simple apple blossom painting below I used three different reference photos.
7. Choose High-Quality Images
A high-quality photo makes everything easier. You’ll be able to see the subtle shifts in colour and value, the textures, and the tiny details that give your subject life.
On the other hand, low-resolution or blurry photos can be frustrating. You’ll find yourself guessing more than observing, and it’s easy to lose confidence when you can’t quite see what you’re painting.
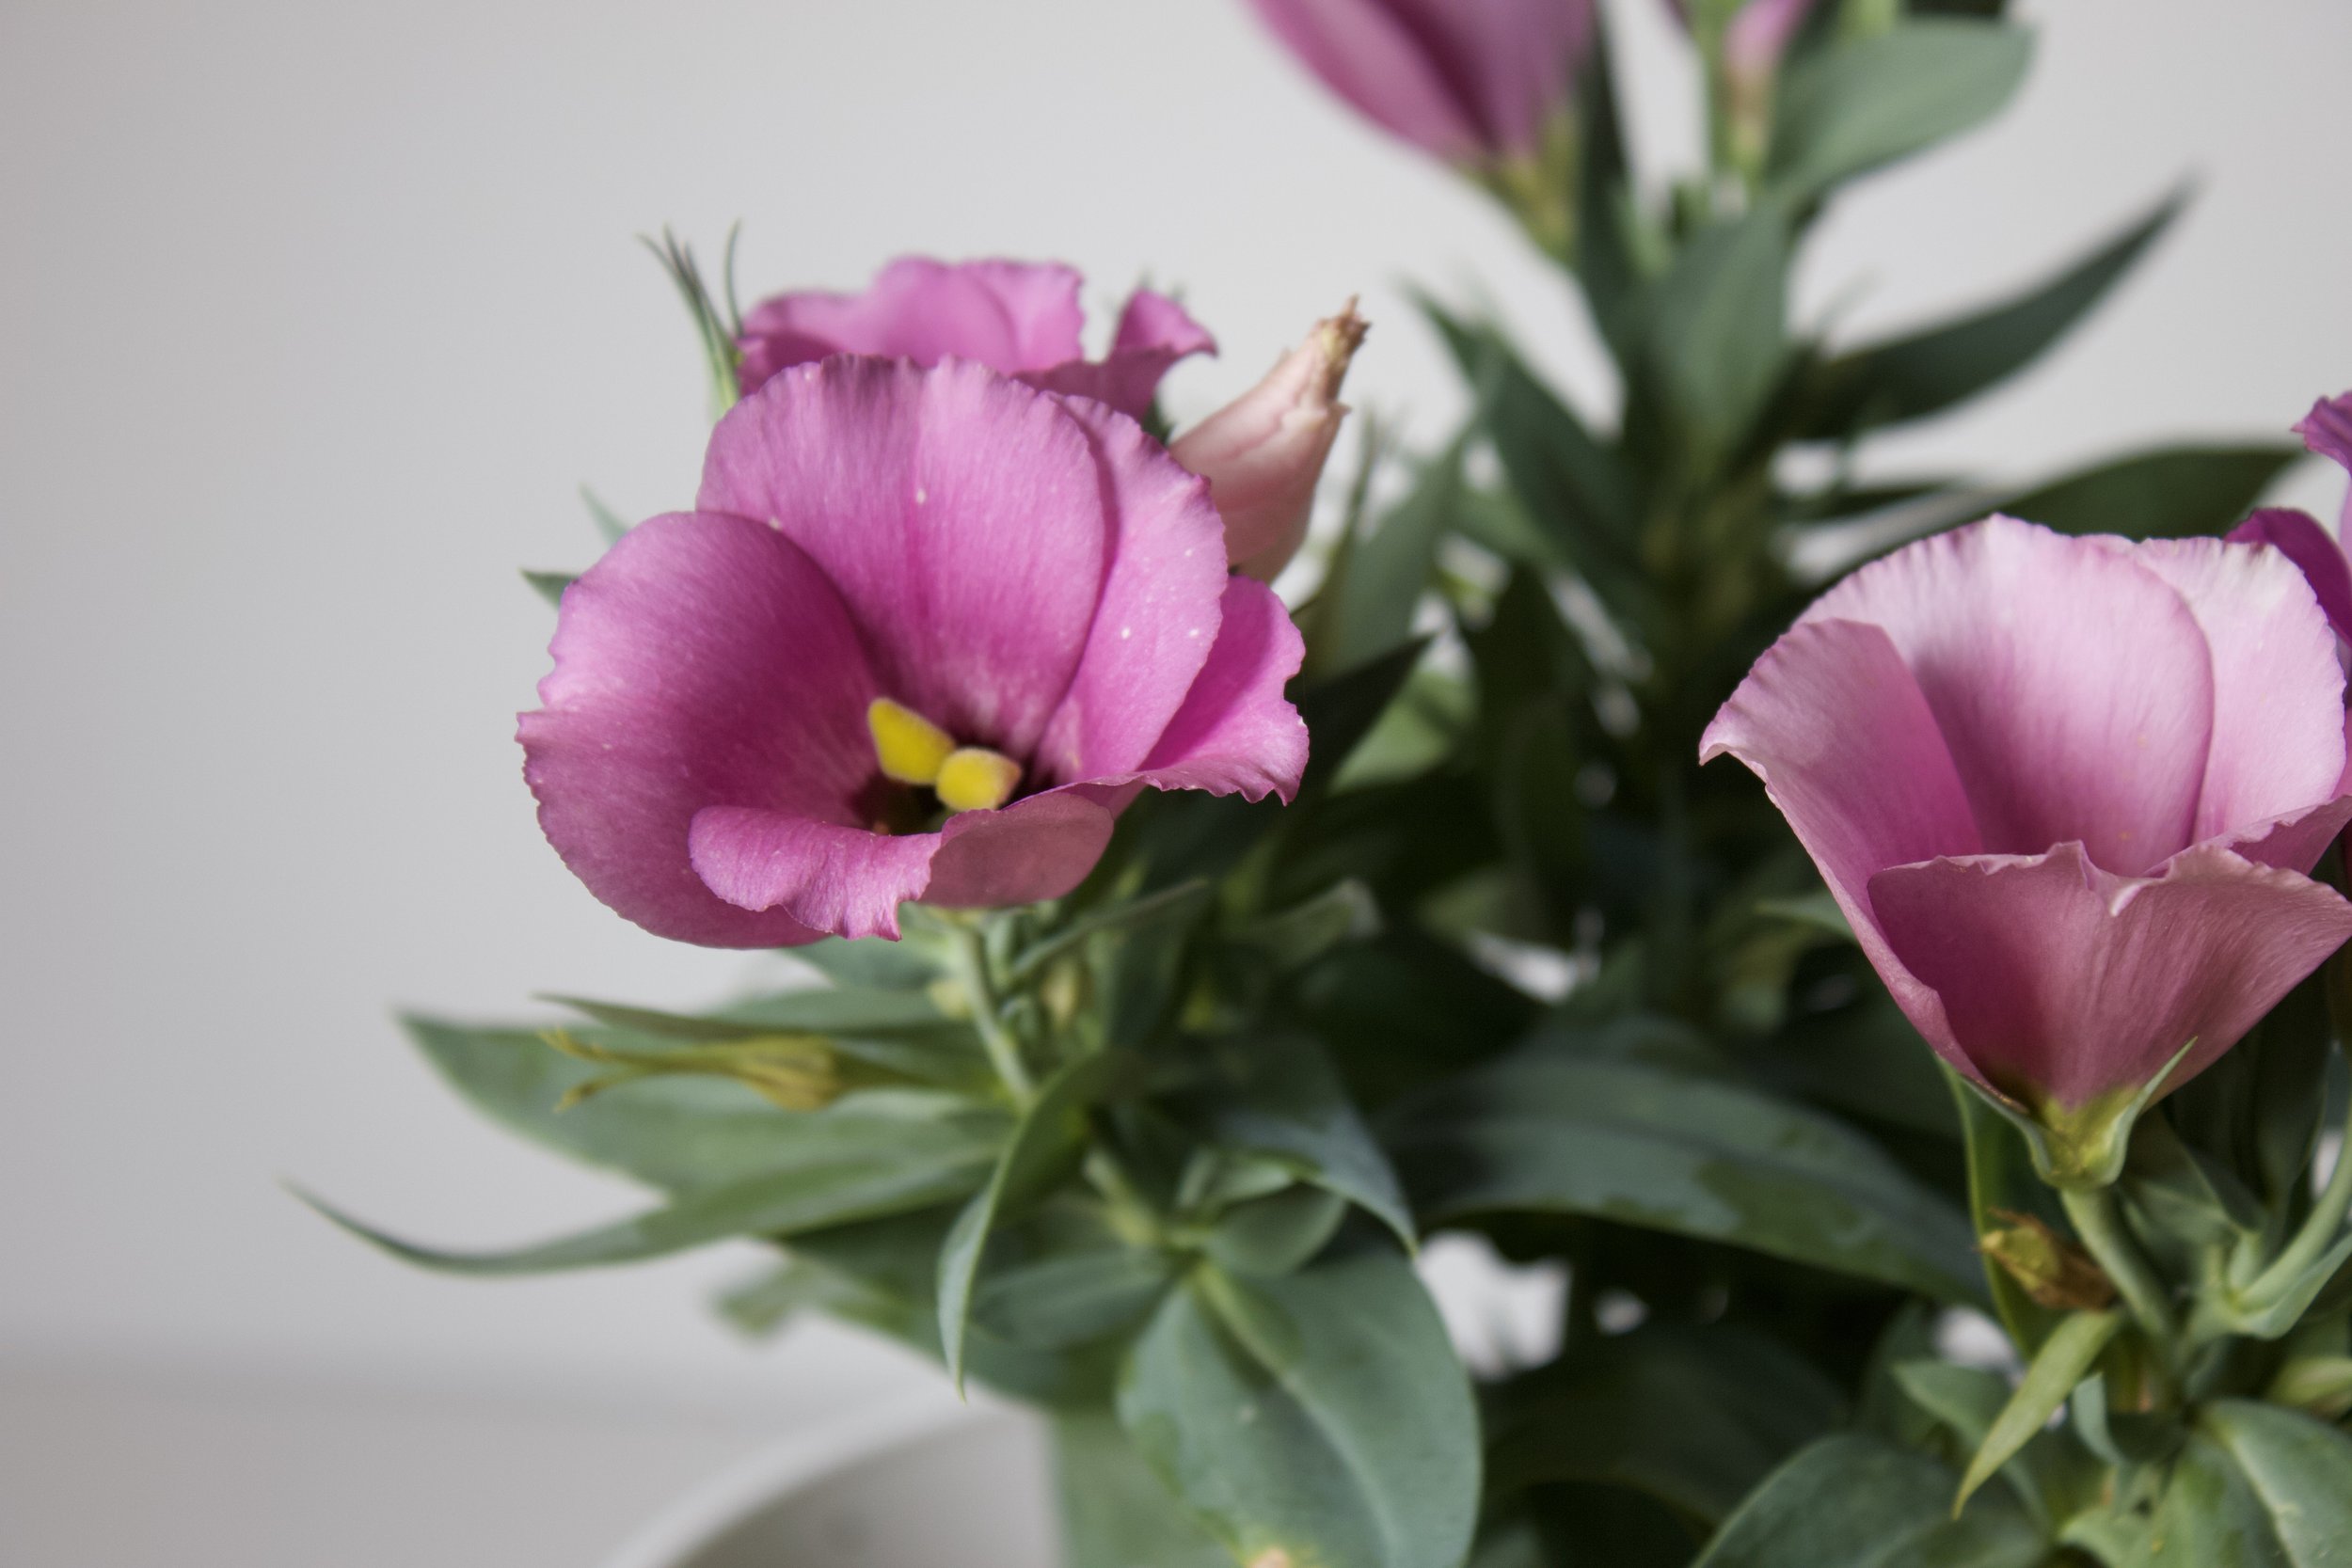
This image of Lisianthus is out of focus and I would have found it too difficult to paint from.
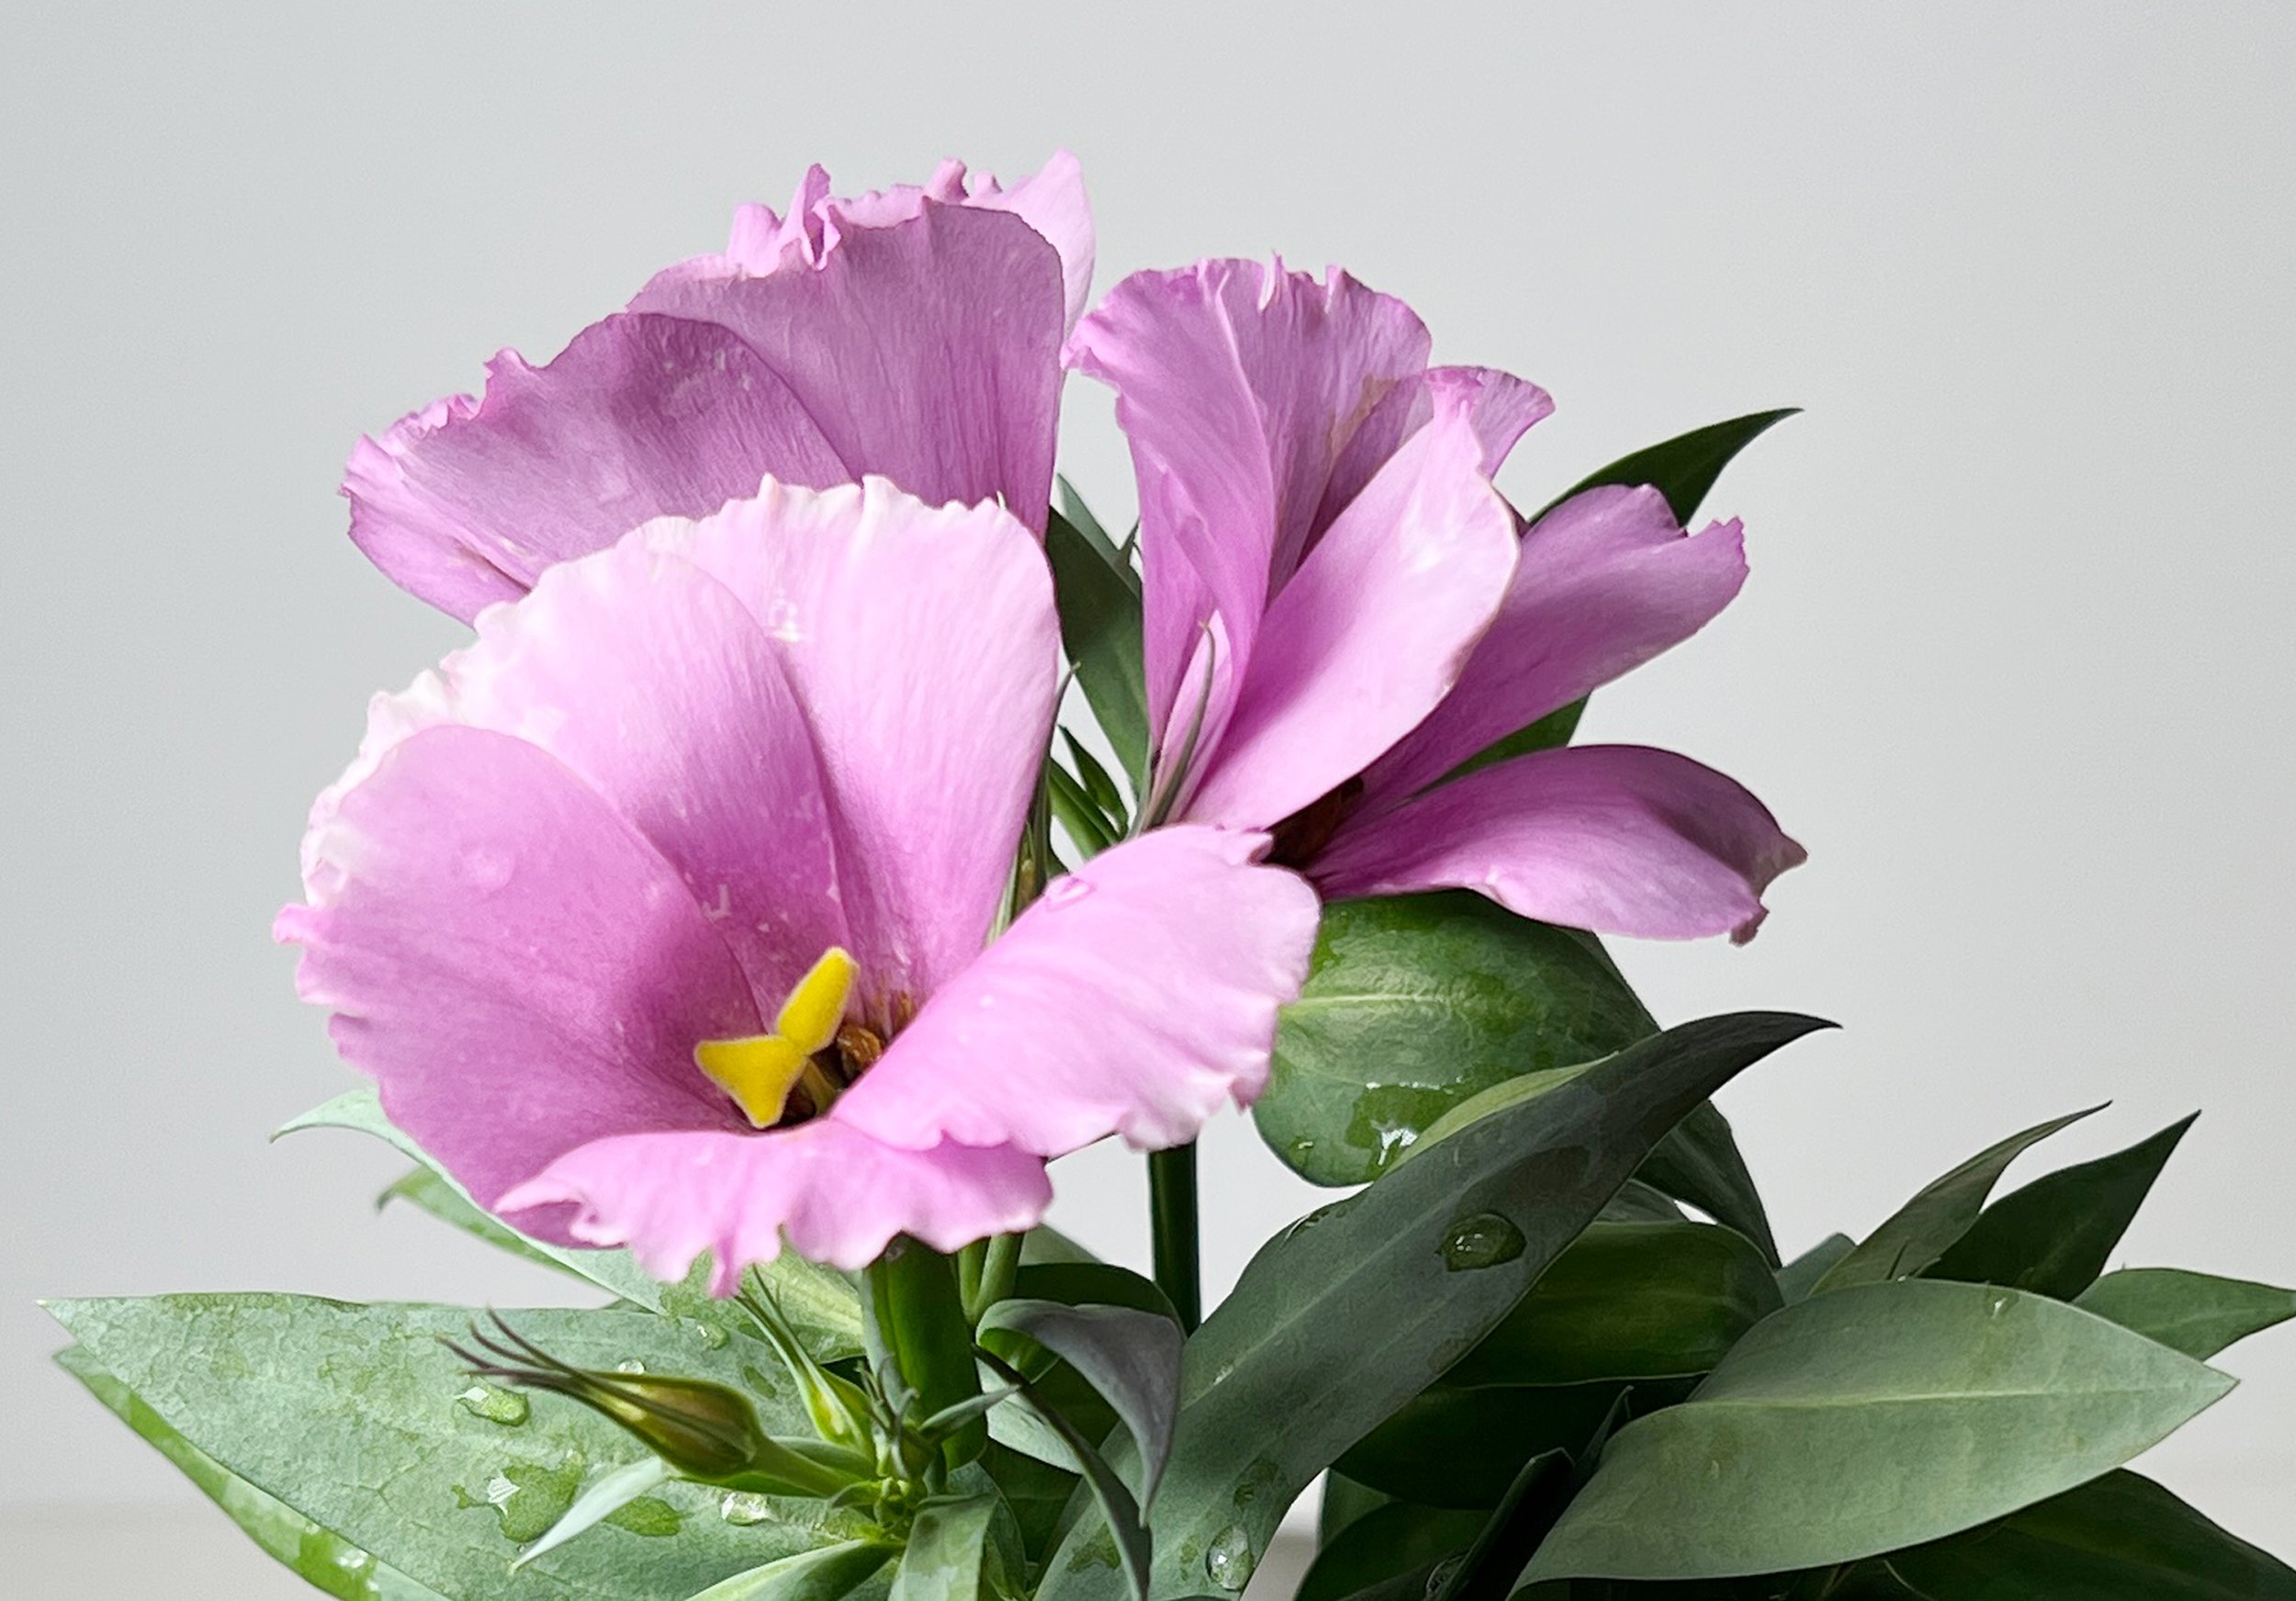
This one, on the other hand, was my reference for the painting below.

Whenever possible, I work from high-resolution images - whether they’re my own photos or ones I’ve sourced online with permission. If you zoom in, you should be able to see details like the direction of fur, the way light wraps around a surface, or the tiny veins in a leaf. All of these help you paint with more accuracy and expression.
8. Test with Thumbnails
Here’s a quick trick I love: view your reference photo as a thumbnail, or squint your eyes so the details blur. This gives you a sense of the overall composition - just big shapes and values.
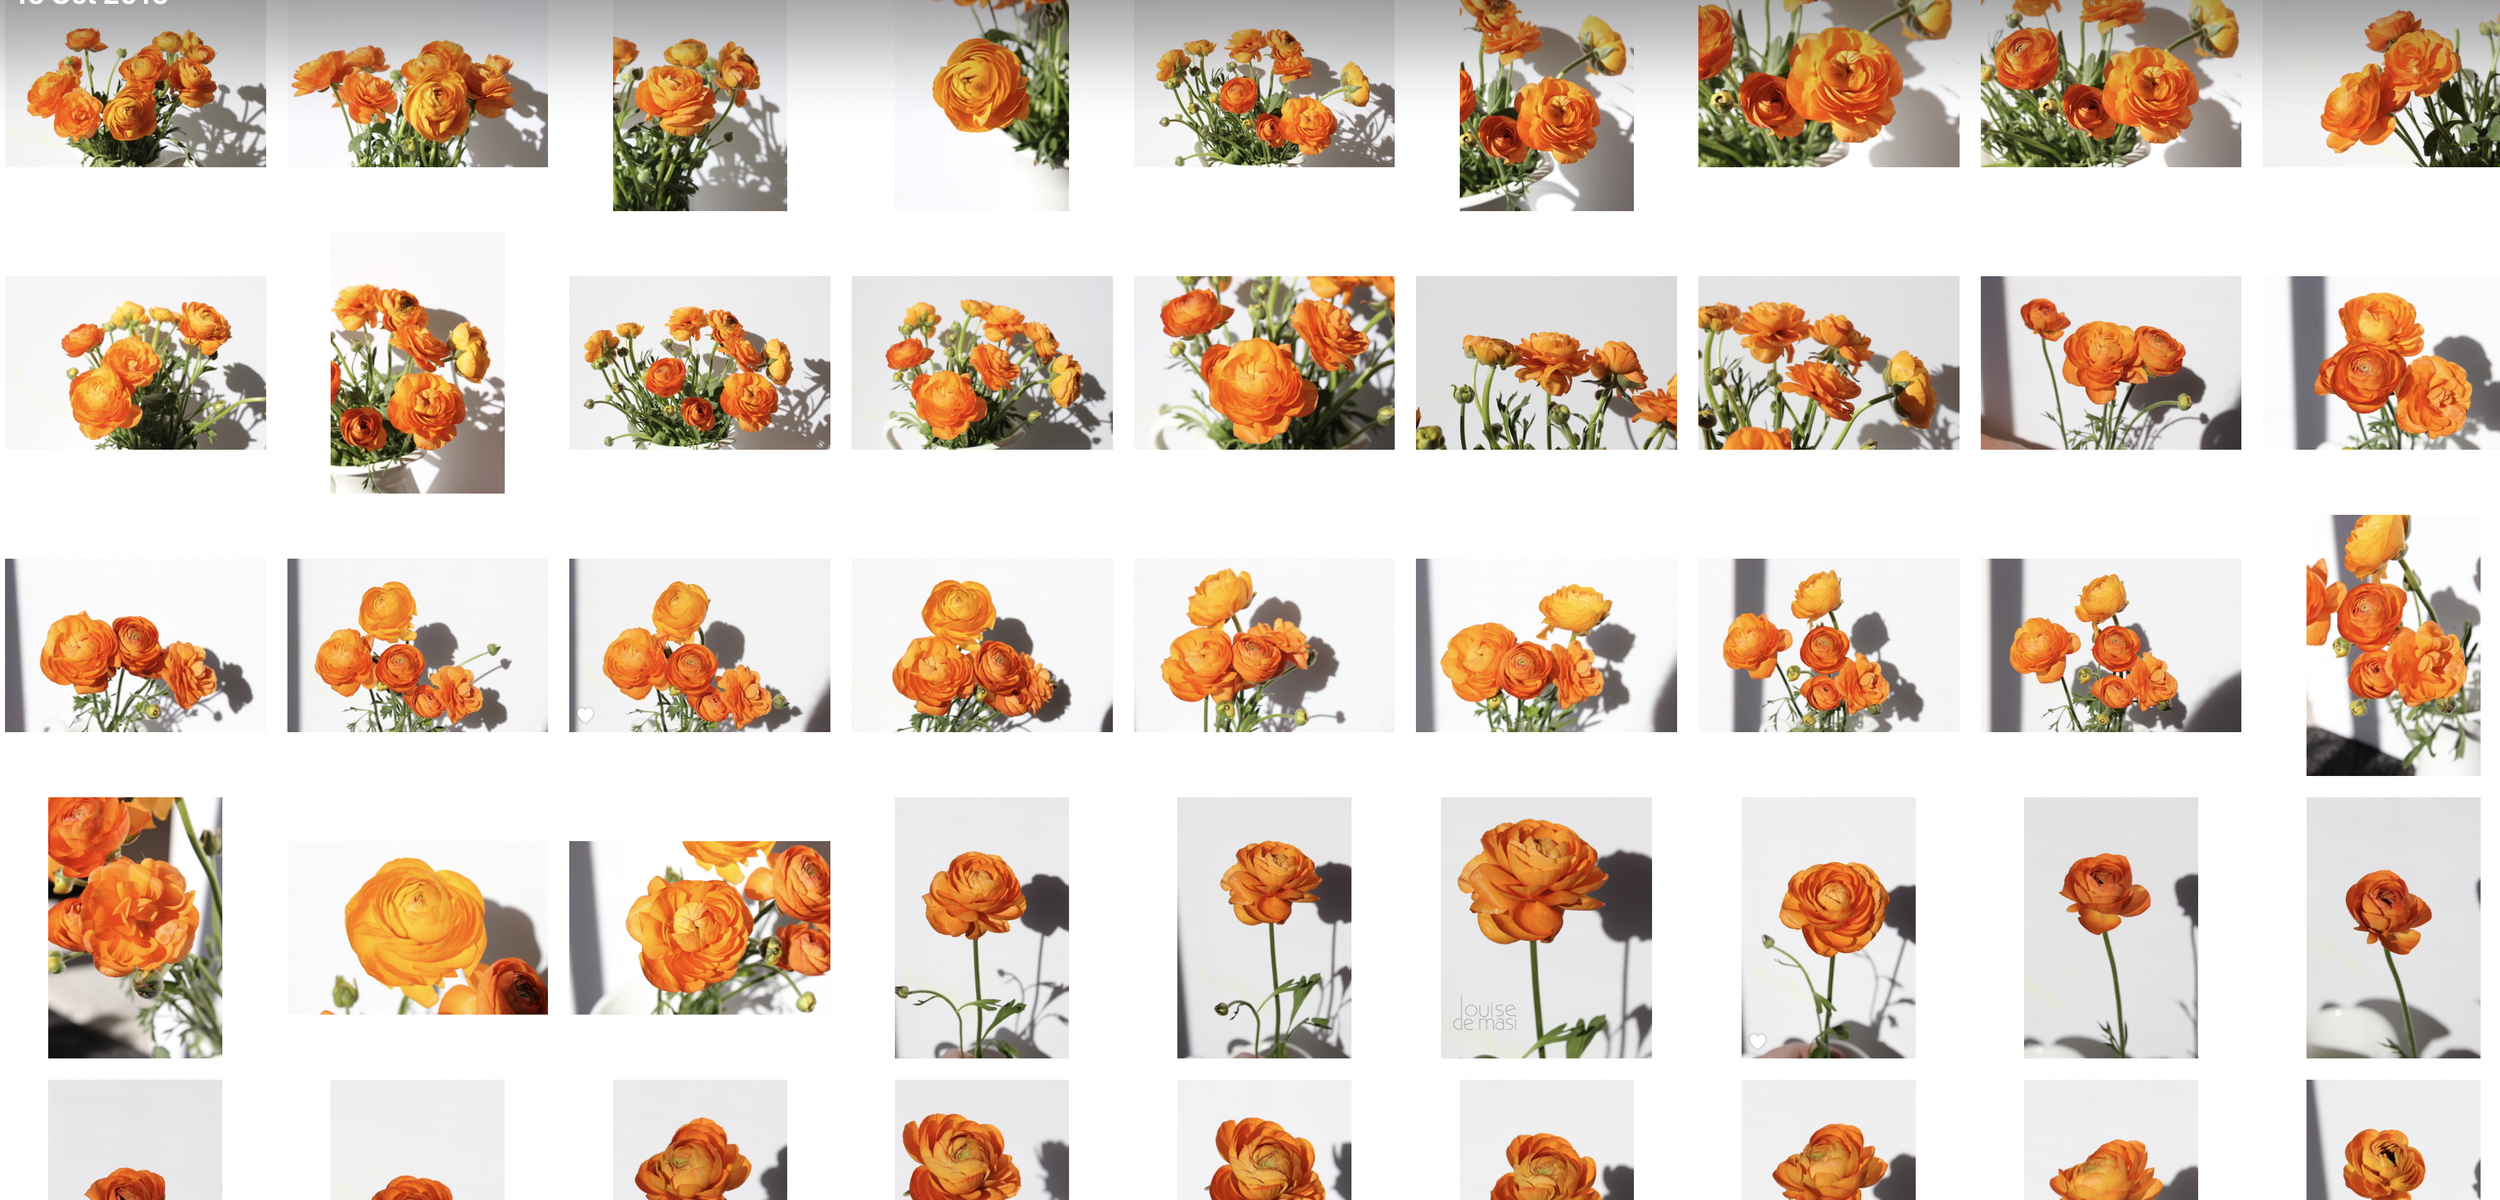
Looking at thumbnails on my computer.
If it looks strong at that small size - if the subject pops, the shapes are interesting, and there’s a nice balance of light and dark - it will probably make a good painting.
I use this test all the time. It helps me see whether the photo has a good visual structure. If it passes the thumbnail test, I know I can work with it. If it doesn’t, I might set it aside or rework the composition until it does.
Always Respect Photo Copyrights and Licensing
Before you pick up your brush, it's essential to ensure that you have the legal right to use your reference photo. Using someone else's photograph without permission isn't just unethical - it can also lead to legal issues.
I always make it a point to use reference photos that I have taken myself or have explicit permission to use.
For those looking for reference photos, there are fantastic resources available. Websites like Unsplash and Pixabay offer a vast array of high-quality, royalty-free images that are safe and legal to use. If I use a photo from such a site I always credit the photographer.
Remember, being mindful of photo copyrights not only respects the original creator's rights but also upholds the integrity of your own artistic practice.
Choosing the right reference photo is such an important part of the painting process. It’s where your journey begins. By taking the time to find (or create!) an image that has strong lighting, a clear focal point, and good composition, you set yourself up for a painting that flows more easily - and that brings you joy in the process.
Remember, your reference photo is just the starting point. The magic happens when you bring yourself to it - your choices, your style, your voice.
Happy painting!
Louise 🎨
For a visual demonstration of how I select and simplify reference photos for my watercolour paintings, you might find this video helpful.
If you are interested in learning to paint in watercolour, I have hundreds of online, voiced over watercolour tutorials for all skill levels.