How to Stretch Watercolour Paper
Stretching watercolour paper is an essential, yet often overlooked, step in the preparation for creating a watercolour painting. This traditional technique is not just a ritualistic prelude but a critical process that ensures your paper remains flat and free from buckling, no matter how wet it gets during painting. Understanding the how and why of stretching watercolour paper can transform your painting experience, allowing for smoother washes, better control of the paint, and ultimately, more vibrant and expressive artwork. In this blog post, I will share with you how I stretch watercolour paper.

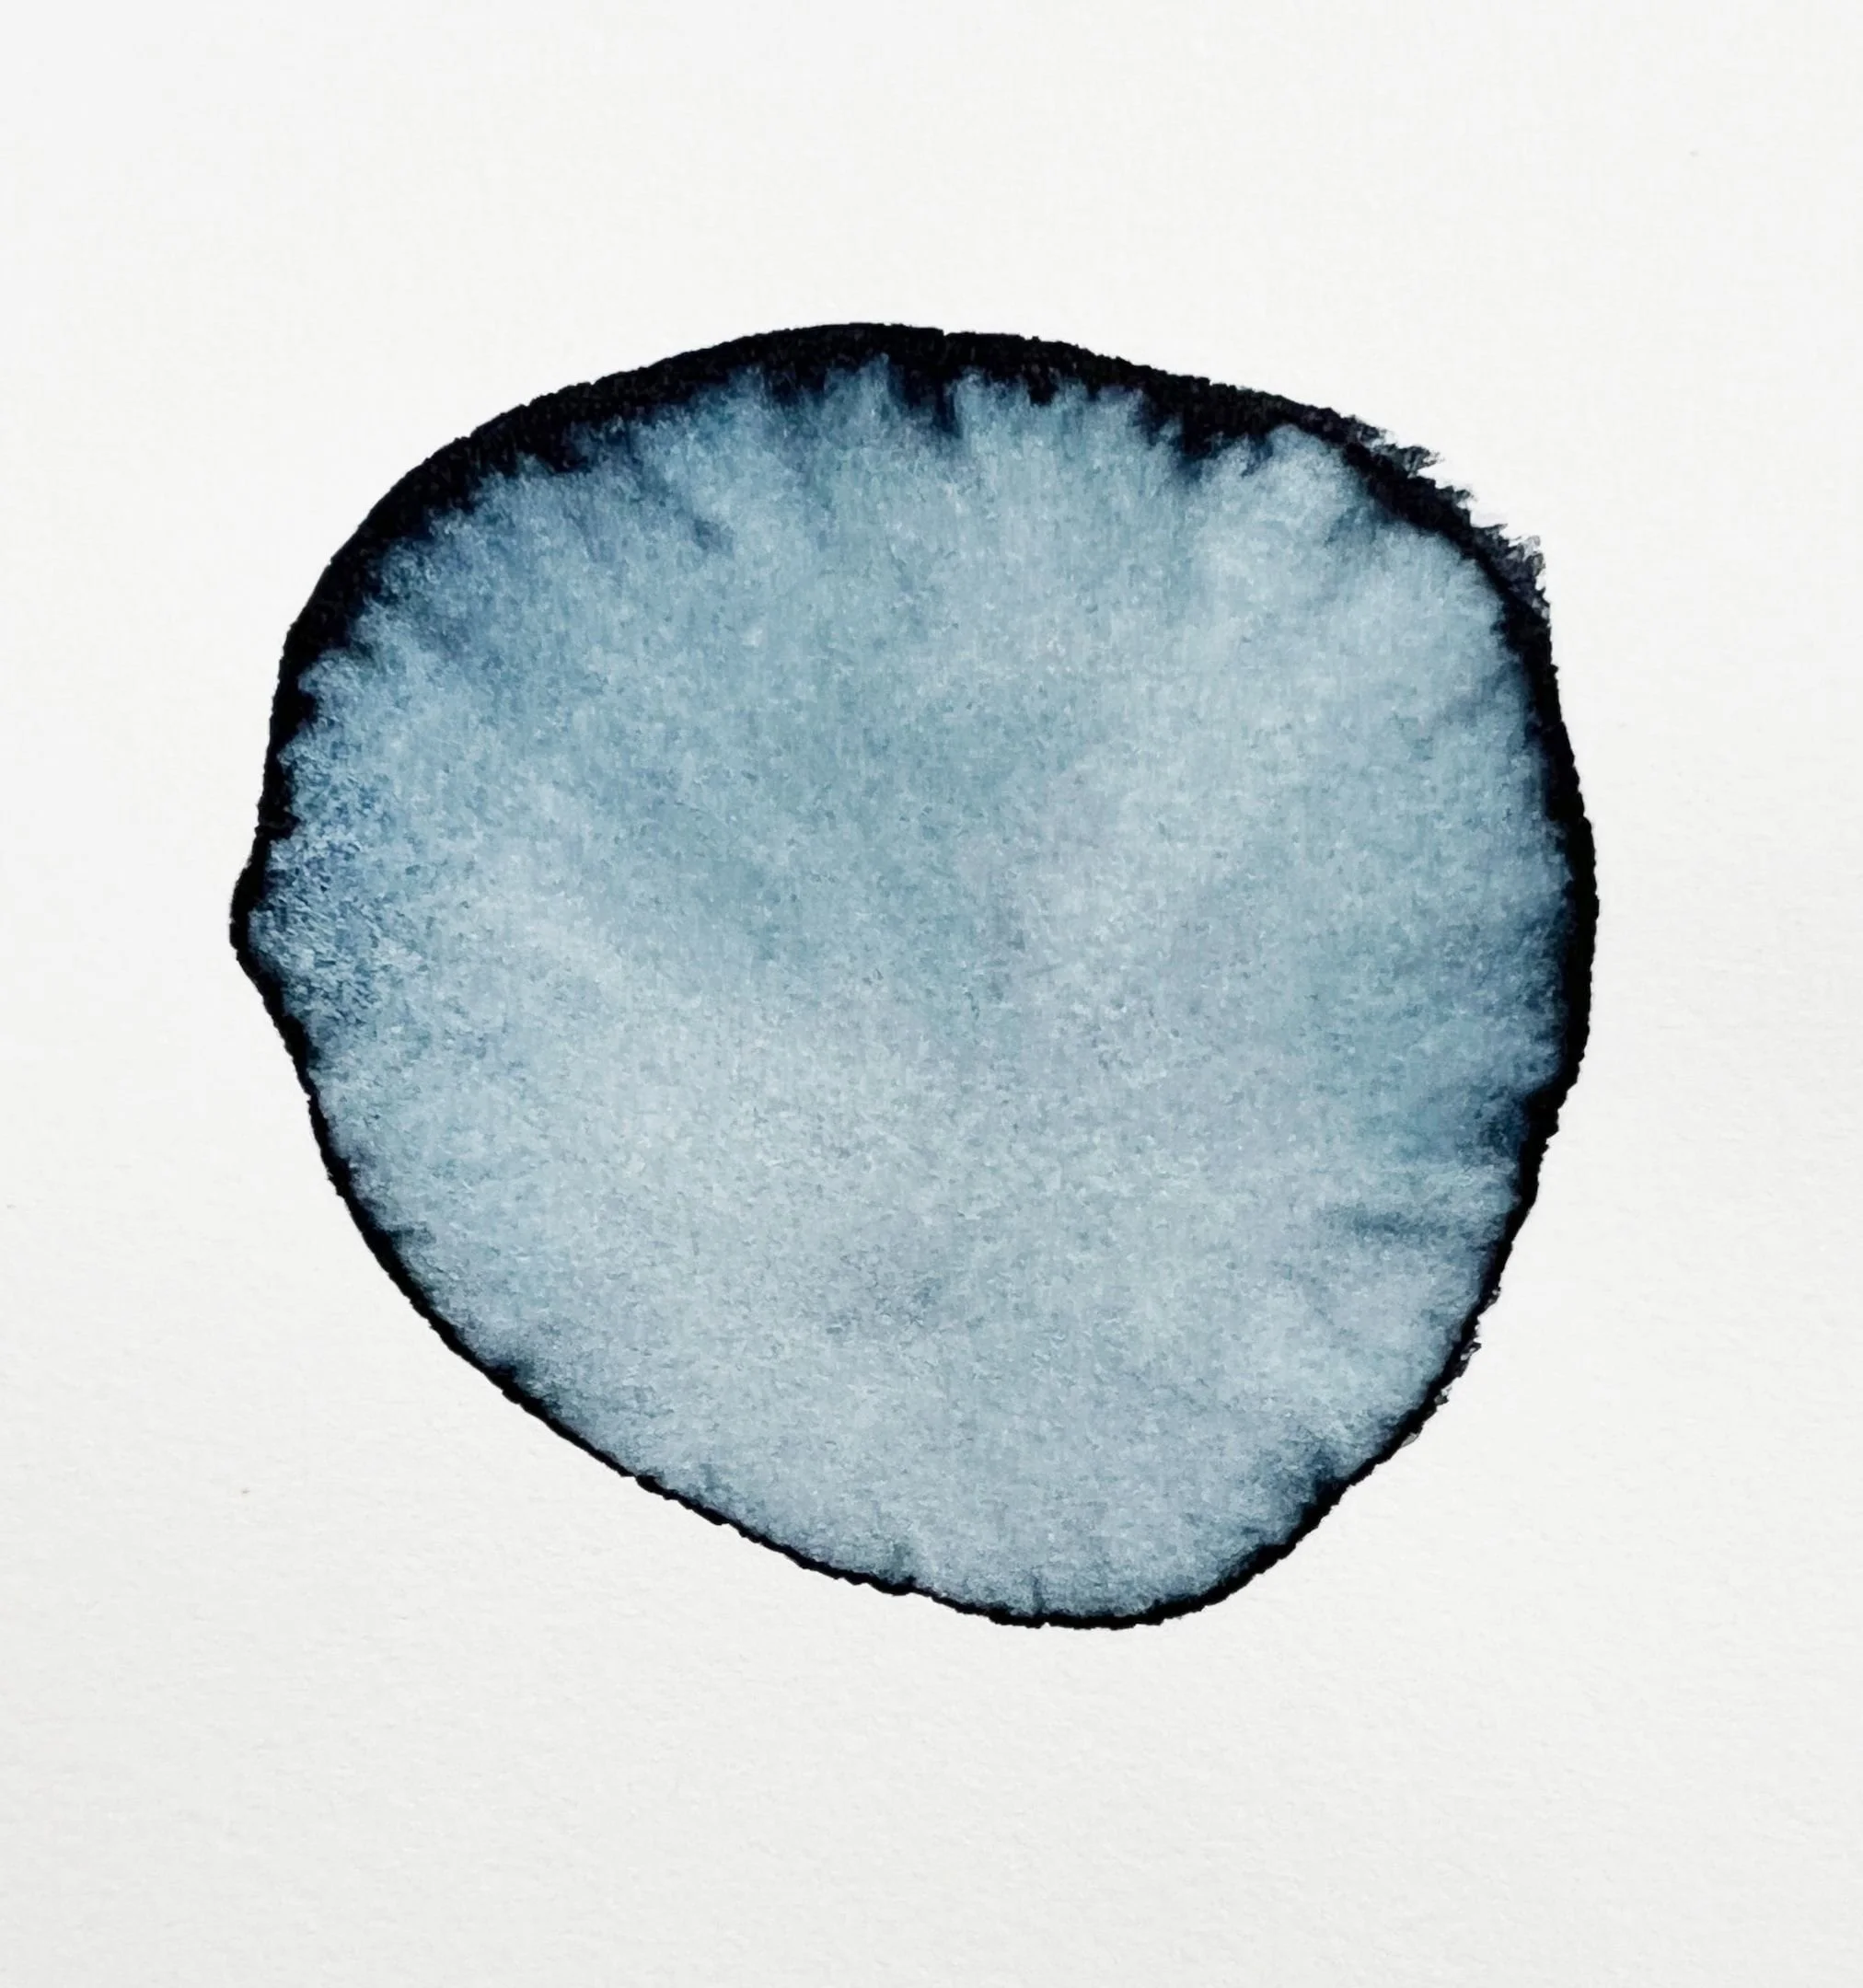
Stretching watercolor paper before you paint on it enables you to paint on a perfectly flat surface.
Stretching Paper Keeps it Flat While You Paint
Unstretched paper naturally buckles when water and wet paint are applied, as the paper's fibres expand, creating an uneven surface that presents challenges during painting. This buckling can result in unexpected streaks, blooms, and undesirable edges, ultimately compromising the intended effect of the artwork. As well as that, the buckled paper may dry unevenly, which not only effects the painting process but also the presentation of the finished painting. Techniques like wet-on-wet or gradients, which rely on precise control over the paper's moisture, become difficult to execute effectively when the paper is not properly flattened.
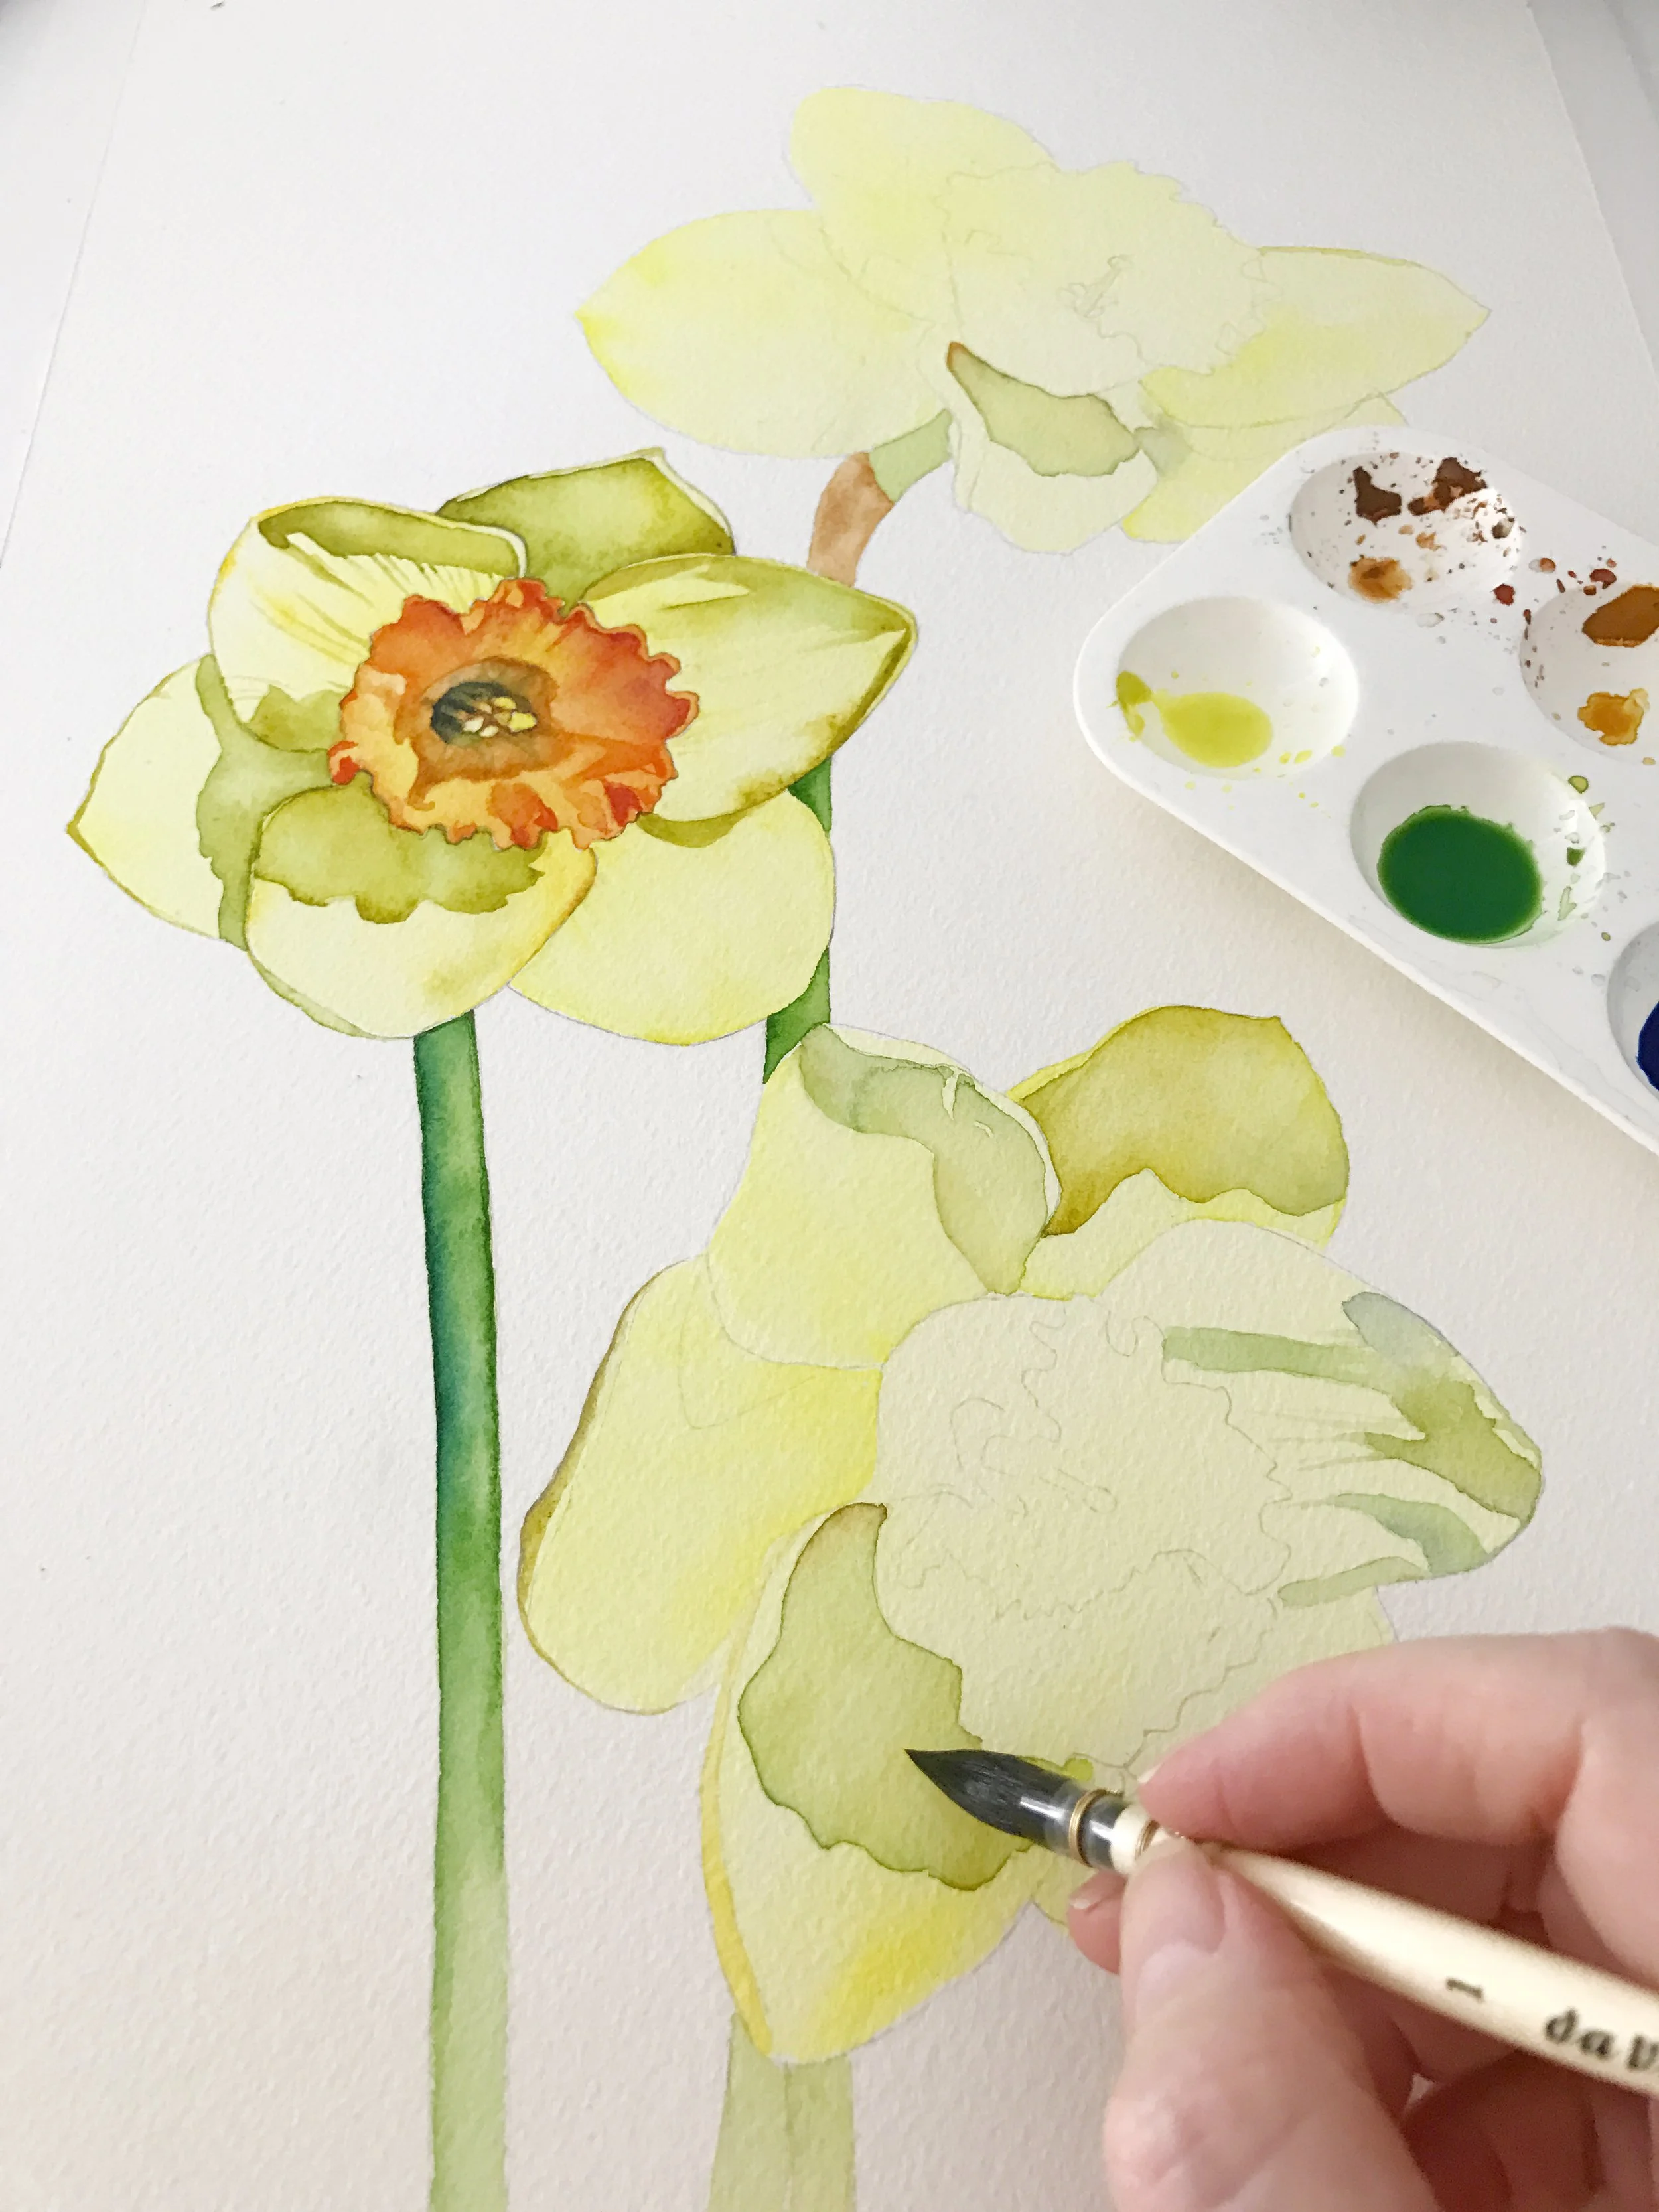
I often paint using a wet on wet technique in my watercolour work, and I frequently encourage my students to explore this method as well. For those of you who, like me, prefer working with a lot of moisture, I highly recommend trying out stretching your paper. It significantly enhances the painting experience, making it much more enjoyable.
Unstretched watercolour paper expands when you work on it creating uneven drying and paper buckling.

This is painted on Arches hot press paper that wasn't stretched.
Paper Thickness
Watercolour paper is available in a variety of thicknesses or weights, typically measured in grams per square meter (gsm) or pounds (lb). The most common weights for watercolour paper include:
190gsm (90lb): lightweight and suitable for studies, sketches, and practice pieces.
300gsm (140lb): A popular choice among watercolour artists, 140 lb paper offers more stability and durability than lighter weights.
640gsm (300lb) and higher: These heavyweight papers are extremely sturdy and can withstand heavy washes, scrubbing, and lifting without significant buckling. They are often preferred for large-scale paintings, professional work, and artworks that require extensive layering and manipulation of paint.
I mainly work with 300gsm and 640gsm papers, and because I like to work fairly wet, I make it a practice to stretch both weights before painting....yep....even the heavyweight paper.
While the thicker watercolour paper (640gsm) doesn't buckle when wet, it tends to bow slightly, which I find frustrating. So, I prefer to stretch it beforehand, especially for larger paintings—half a sheet and above.
Watercolour Blocks
A Watercolour block consists of a pad of paper where the sheets are securely bound on all four sides, forming a stable block. The edges of these sheets are glued together, allowing you to paint directly on the top sheet as it remains attached to the block. Once you've completed your painting and it has fully dried, you can then easily remove it from the block.
They are designed so that you don't have to stretch the paper. They are good for plein air painting because they offer a firm, stable surface without the need for a separate board, making it easier to manage your workspace in the outdoor environment.
I find that the paper still buckles and puckers when I paint on a watercolour block. Because I work with a lot of water, they aren't suitable for my style of painting.
How to Stretch Watercolour Paper
Stretching paper involves soaking it in water and attaching it to a board, while it's wet. Then you allow it to dry before you paint on it. I'd like to share my technique of stretching paper, which is a process I've refined over the past 13 years:
What I use to stretch my paper:
Gator board
gummed tape
stapler
ruler
pencil
scissors
sharp knife
small pliers (or staple remover)
Gator board

Gator board is light, strong and water resistant.

Stretching boards. Some of my gator boards are 9 years old and I am still using them.
Gator board is the perfect surface to attach your watercolour paper to. It's tough, light, and doesn't bend out of shape, thanks to its core of dense polystyrene foam that's sandwiched between two layers of wood-fibre veneer and melamine. Plus, it's water-resistant, so you don't have to worry about it warping or getting ruined when you're working with wet media.
It is available in a few different thicknesses but I prefer the board that is 3/4 inch (about 19mm). I have used thinner boards but they tend to bow as the paper starts to dry.
You can attach the paper to an ordinary wooden board, plywood or MDF, but be sure to seal the board with a sealer before using it so that nothing leaches out into the watercolour paper. You will also need a heavy duty builder's stapler instead of a lightweight office stapler.
Gummed tape
Gummed tape is different to masking tape. It is a special adhesive paper tape that has a water-activated glue coating on one side.

Gummed paper tape.
When you moisten the tape, the glue becomes sticky, allowing you to fix the watercolour paper in place. As it dries, the tape forms a strong bond, keeping the paper stretched and flat.
Stapler
I use an ordinary office stapler to staple through the gummed tape.

Stapler and staples
Ruler, Pencil and Scissors
I use a ruler and pencil to mark the paper before I soak it in the water.

Ruler, pencil and scissors.
Sharp Knife & Small Pliers
To remove the painting from the gator board after I have finished painting I use a small pair of pliers and a sharp knife.

Small pliers and utility knife.
My Stretching Process
Step 1
Measure and mark the paper
The initial step involves measuring 1.5cm inward from the edge of the paper, going all around its perimeter. At each edge, I lightly mark two small points with a pencil. These marks serve as a guide to align the gummed tape, ensuring it's applied straight and evenly across the paper's edges.

I mark the edges of the paper with a pencil so that I can align the gummed tape evenly.
Step 2

Getting ready to stretch watercolour paper with some gummed tape cut to size.
Cut the gummed tape and put the roll away
I measure and cut enough gummed tape to cover all four edges of the watercolour paper, ensuring it's ready for use. Then, I carefully store the roll of gummed tape away to avoid any risk of getting it wet, which could potentially ruin the entire roll.
Step 3
Soaking the paper
I immerse the paper in clean water for approximately 3 minutes, making sure that it's fully submerged. This step is crucial for allowing the paper to absorb water and expand to its fullest. However, it's important to avoid soaking it for too long, as this can effect the sizing that paper manufacturers apply.

I make sure the whole surface is covered with water.
Sizing plays a crucial role in the paper's performance; it helps to control the absorbency of the paper and maintains the vibrancy of the watercolours. By preventing the paper from becoming too absorbent, sizing ensures that the watercolours sit nicely on the surface, allowing for smoother washes and more precise control over the paint.

I soak the paper in water for about 5 minutes.

I let the paper drip so that I can get as much water out of it as possible before I attach it to the board.
After 3 minutes I remove the paper from the water and let the excess water drip off the edge of it. The paper should feel like a thick piece of cloth.
Step 4
Attaching the soaked sheet to the board
I place the wet paper carefully on the board and then I smooth it out with my hand. I take one of the strips of gummed tape and I place the gummed side quickly against the water in the sink. I hold it there for about 1 second.

I wet the gummed side of the tape in the water - quickly.

I line up the gummed tape with the marks I made around the edge of the paper because I want it to sit straight on the paper.
Then I place it on the edge of the paper lining it up with the pencil marks I made earlier. The tape sits half on the watercolour paper- half on the board. I run my fingers along the tape gently to make sure it sticks to the paper and the board.
I repeat this step with all four pieces of gummed tape.

Adding tape to the 2nd side of watercolour paper to fix it to the board.

Adding tape to the 4th side of watercolour paper to fix it to the board.
Step 5
Staples
Occasionally, as the paper starts to dry, the adhesive on the gummed tape may fail and become unstuck from the paper. This prevents the paper from drying flat.
To counter this issue, I also use staples. Should the tape fail to secure the paper, the staples act as a backup. To do this, I use a standard office stapler because gator board has a soft core.
You might wonder why I don't just use staples by themselves. The reason is that the soft centre of the gator board does not provide sufficient grip for the staples, especially when the paper is moistened again during painting. They struggle to maintain their hold.

Sometimes the gummed tape becomes unstuck from the watercolor paper. Thankfully, the staples, with the gummed tape, are enough to hold the paper flat.
Combining staples with gummed tape has proven to be a foolproof method for keeping my paper flat.
I place the staples through the gummed tape and watercolour paper at about 5cm intervals.

The staples are a safe guard when I stretch paper, in case the gummed tape fails.

Stapling the tape through the tape and paper onto a board after wetting.
Step 6
The Drying Process
You need to keep the board flat while it dries. I leave the wet paper to dry on a table over night. It needs to dry on a flat surface so that it dries evenly. It's best not to use a hair dryer to speed up the process because it will dry the paper unevenly and it may make the gummed tape lift off the paper. I often prepare a few boards at once so that I have them ready when I am ready to paint.

Attach the soaked paper to the board and allow it to dry horizontally on a flat surface.
Step 7
Removing a painting from the board
The paper needs to remain attached to the board when you paint on it. Once your painting is finished, make sure it is completely dry before you remove it.
I use the small pliers to remove the staples first.

Removing the staples from the tape holding the completed painting. The white edge on the painting was created with washi tape (low tack tape) applied to the paper when it was dry- before I started my painting.
Once the staples are removed I use a sharp knife on an angle to cut through the gummed tape. I look for the little air space that runs along the edge of the watercolour paper and I angle the knife in there to try to minimise the damage to the gator board from the knife.

Cutting the gummed tape to remove the completed painting..
When the paper has been removed from the board it still has the gummed tape attached to it. I cut this off with either a sharp knife or some scissors. Some artists leave it on their paintings because it can be hidden behind a mat when the painting is framed. I like to remove it because I often sell paintings unframed and they present better to the buyer when the gummed tape has been removed.

Removing the completed painting from the board.

Cutting the taped edge from the painting.
And - voila! You have a beautiful flat finished painting.

I often cut my watercolor paper sheets in half. This is half a sheet of Arches cold press paper.
Step 8
Removing the gummed tape from the gator board
After cutting the paper from the board, you'll find the gummed tape firmly attached to it. To remove it, I place the taped edge in a few inches of water in the bathtub for about ten minutes, which allows the tape to peel off effortlessly. Since Gator board floats, I make sure the taped side faces downwards into the water. After removing the tape, I stand the board upright in a safe spot to dry. Once it's completely dry, it's ready for its next use.

The gator board with the remaining tape before I remove it.
Common misconceptions about stretching watercolour paper
It takes too long to stretch watercolour paper
Nope - I disagree.
After you have done it a few times, the process is very quick. As I mentioned, I stretch a few pieces at once so that I have them ready when I want to paint. It takes me about ten minutes from start to finish to stretch one piece of paper. What takes the time is the drying process- which is why I stretch a few pieces at the same time.
It wastes paper
Well, yes and no.
I trim 1.5 cm from each edge of the paper to accommodate for the process, which might seem like wastage at first glance. However, choosing not to stretch the paper, in my view, poses a greater risk of waste. This is because painting on an uneven surface can compromise the quality of your artwork. When the paper isn't stretched, you're more likely to encounter issues like buckling, blooms and pooling of paint, which can distort your intended effects and potentially ruin your piece.
Thus, the minor trimming required for stretching is a worthwhile trade-off to ensure a flat, stable surface that enhances the final outcome of your watercolour paintings.

Edges of a painting where I have cut off the gummed tape.
It's easier to flatten the paper after you're finished
Some people argue that placing buckled paper under heavy weights for a day or two is simpler than going through the effort of stretching the paper beforehand. Stretching the paper first ensures a consistently flat surface from the start, eliminating the need for corrective measures after you have finished. This upfront effort pays off by preserving the quality of your work, making the painting process more enjoyable and the results more professional. So, while it might seem convenient to skip the stretching process, investing a bit of time and effort initially can save you from potential headaches and disappointing outcomes later on.
Stapling the gator board damages it
Using staples on the gator board results in small punctures. While cutting the paper away from the board might result in minor scoring, I've been using the same boards since 2015. Now, nine years later, they definitely show signs of wear and tear but they are still usable.
Final Thoughts
In wrapping up this discussion on stretching watercolour paper, it's important to acknowledge that every artist has their own unique approach to preparing their materials. While I've shared my personal method and the reasons behind it, the beauty of art lies in its diversity and the individual journey of discovery each artist undertakes.
Whether you choose to stretch your paper as I do, opt for a different method, or decide to forgo stretching altogether, what matters most is finding a process that works best for you and helps you express your creative vision most effectively.
Art is a personal endeavor, and the techniques we choose to employ are merely tools to help us bring our inner visions to life. So, I encourage you to experiment, explore different methods, and embrace the process that aligns with your artistic goals and preferences.
If you are interested in learning to paint in watercolour, I have over 170 online, voiced over watercolour tutorials for all skill levels.
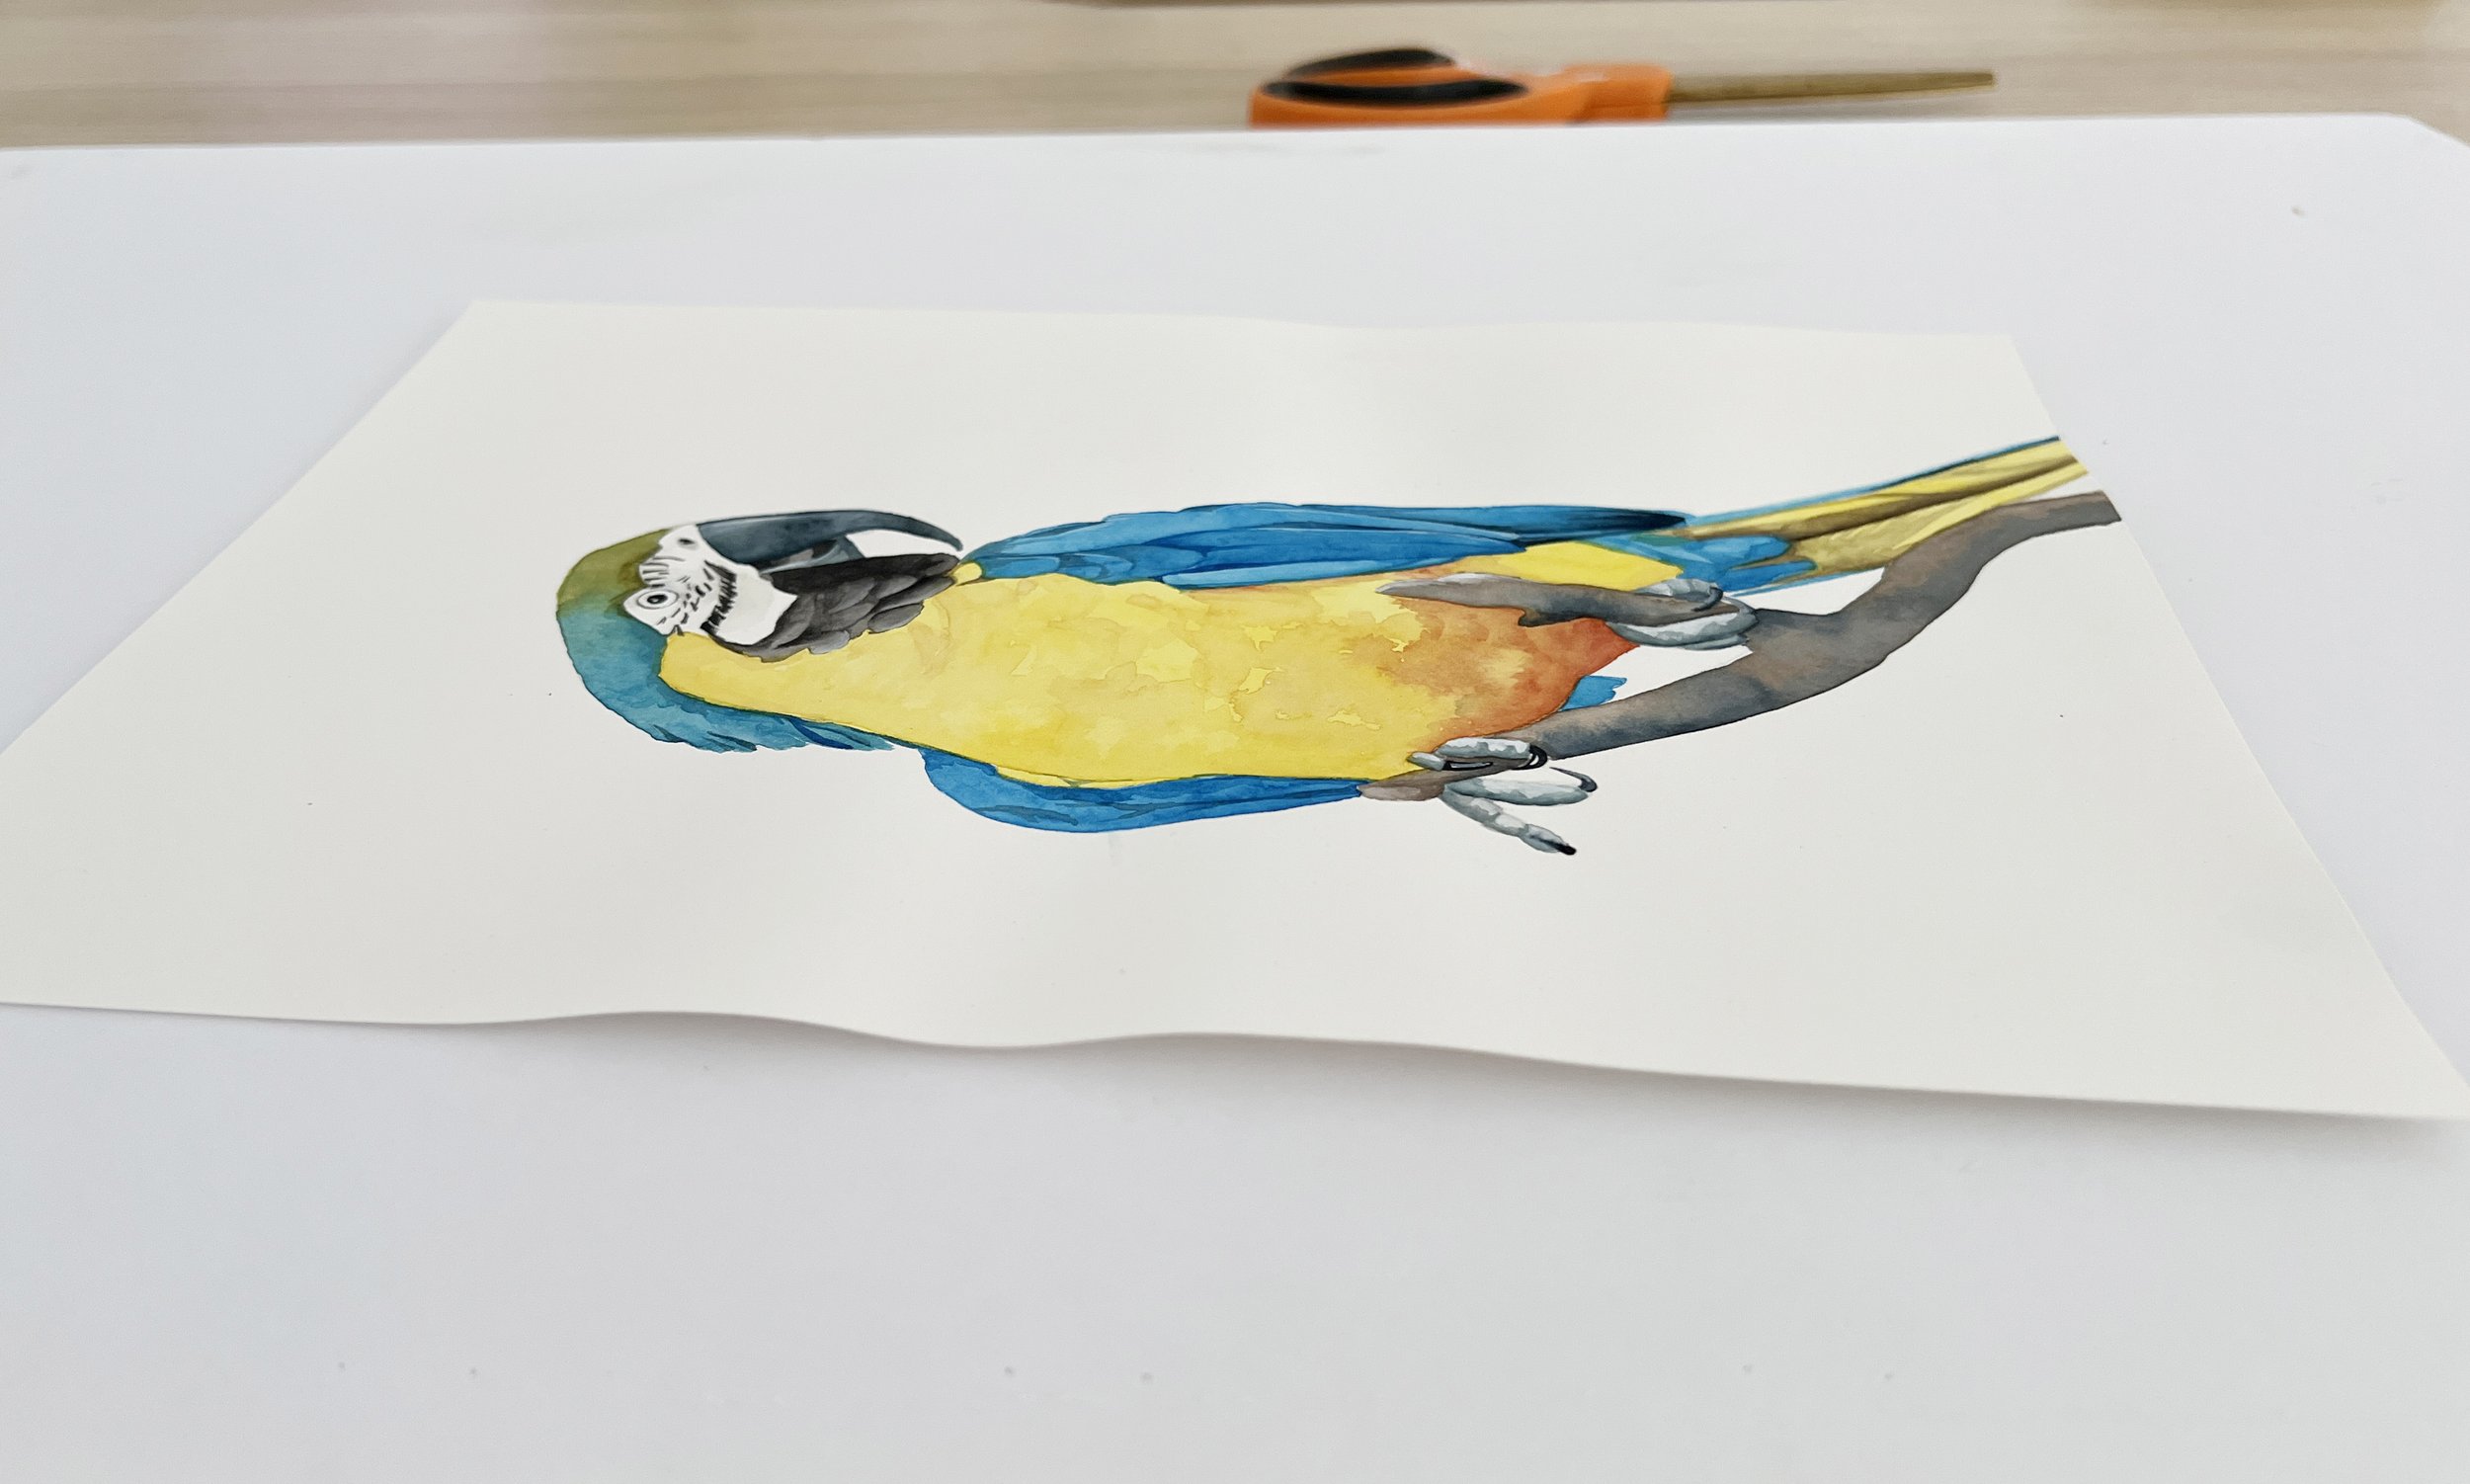
The Macaw print, along with original art and merchandise are available to purchase from the shop.