How to Have Success with a Large Watercolour Painting
5 tips every watercolour artist should know before going big
There’s something truly magical about standing in front of a large watercolour painting - one that’s rich with detail, full of expressive brushwork, and glowing with colour. It draws you in. It tells a bigger story. But let me tell you… when I first tried to scale up my own watercolour paintings, it wasn’t all magic and flow. There were puddles where there shouldn’t have been puddles, streaks where I wanted softness, and a mild panic when the paper dried far too fast for my liking.
Painting large is exciting, yes - but it’s also a whole different game. If you’ve ever thought, “I’d love to try something bigger, but I’m not sure where to start,” then this post is for you. I’ll walk you through the challenges, what’s helped me along the way, and how you can approach large-scale watercolour paintings with confidence and joy.
Why Paint Large?

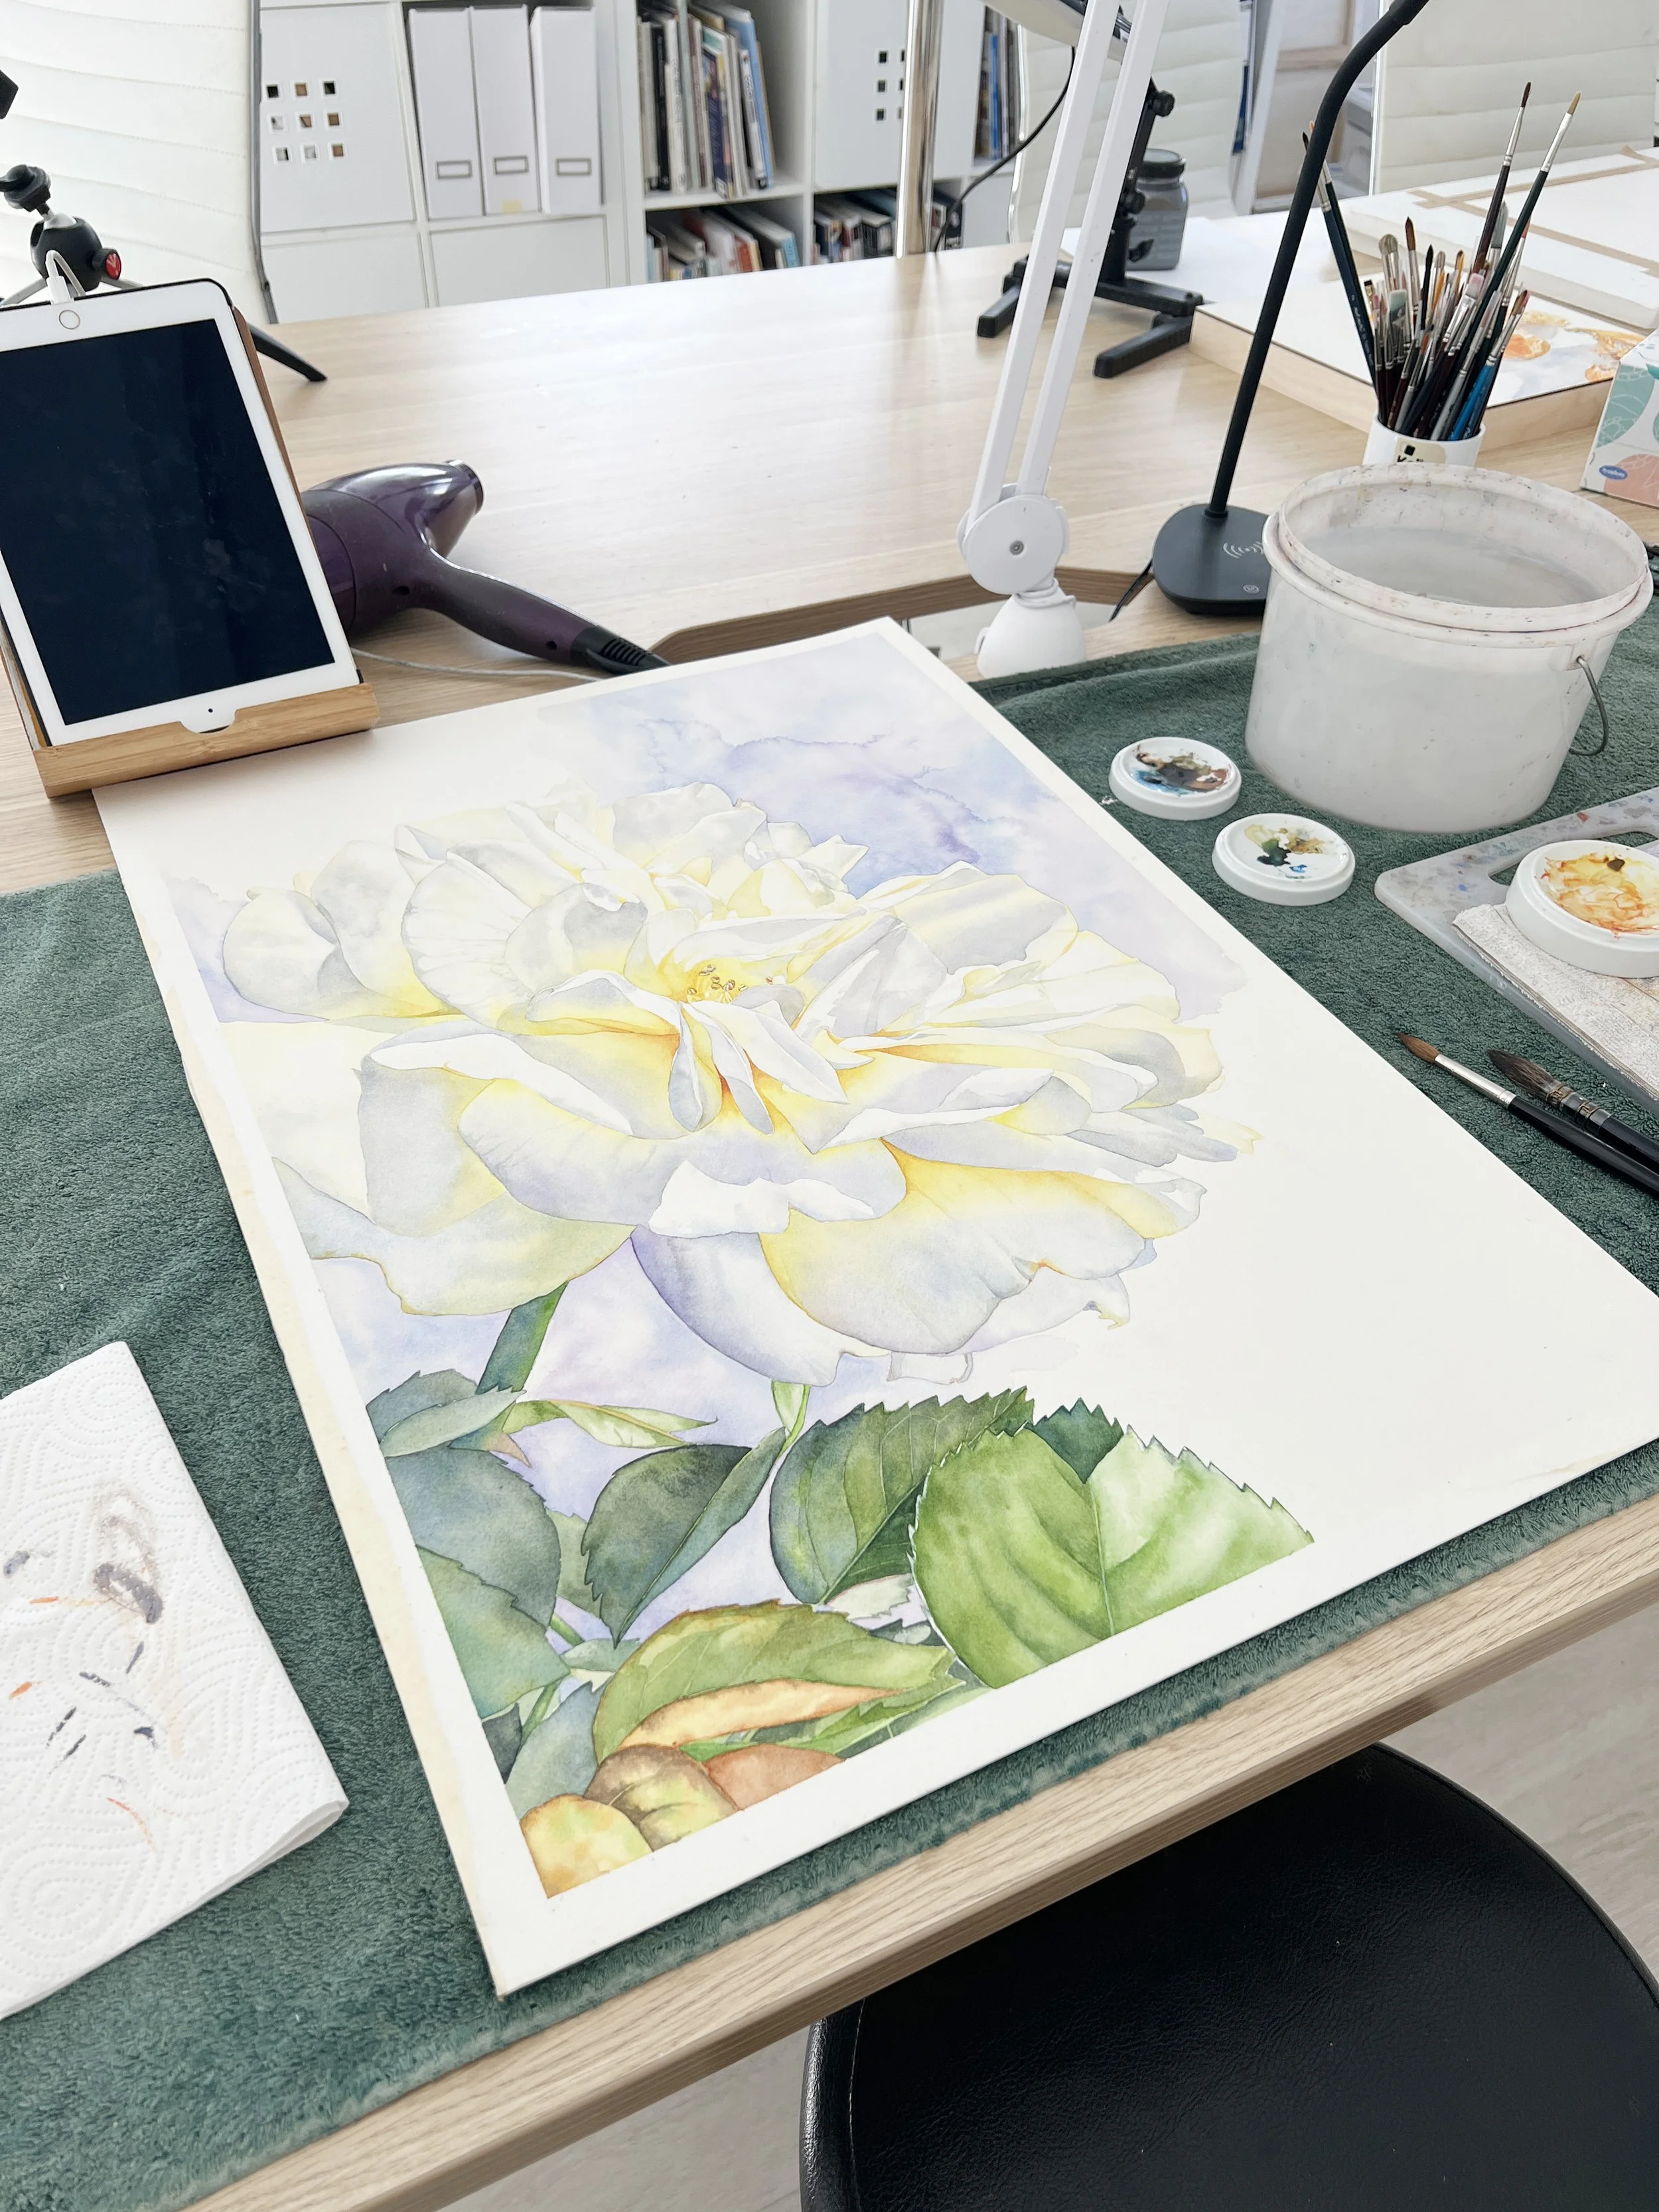
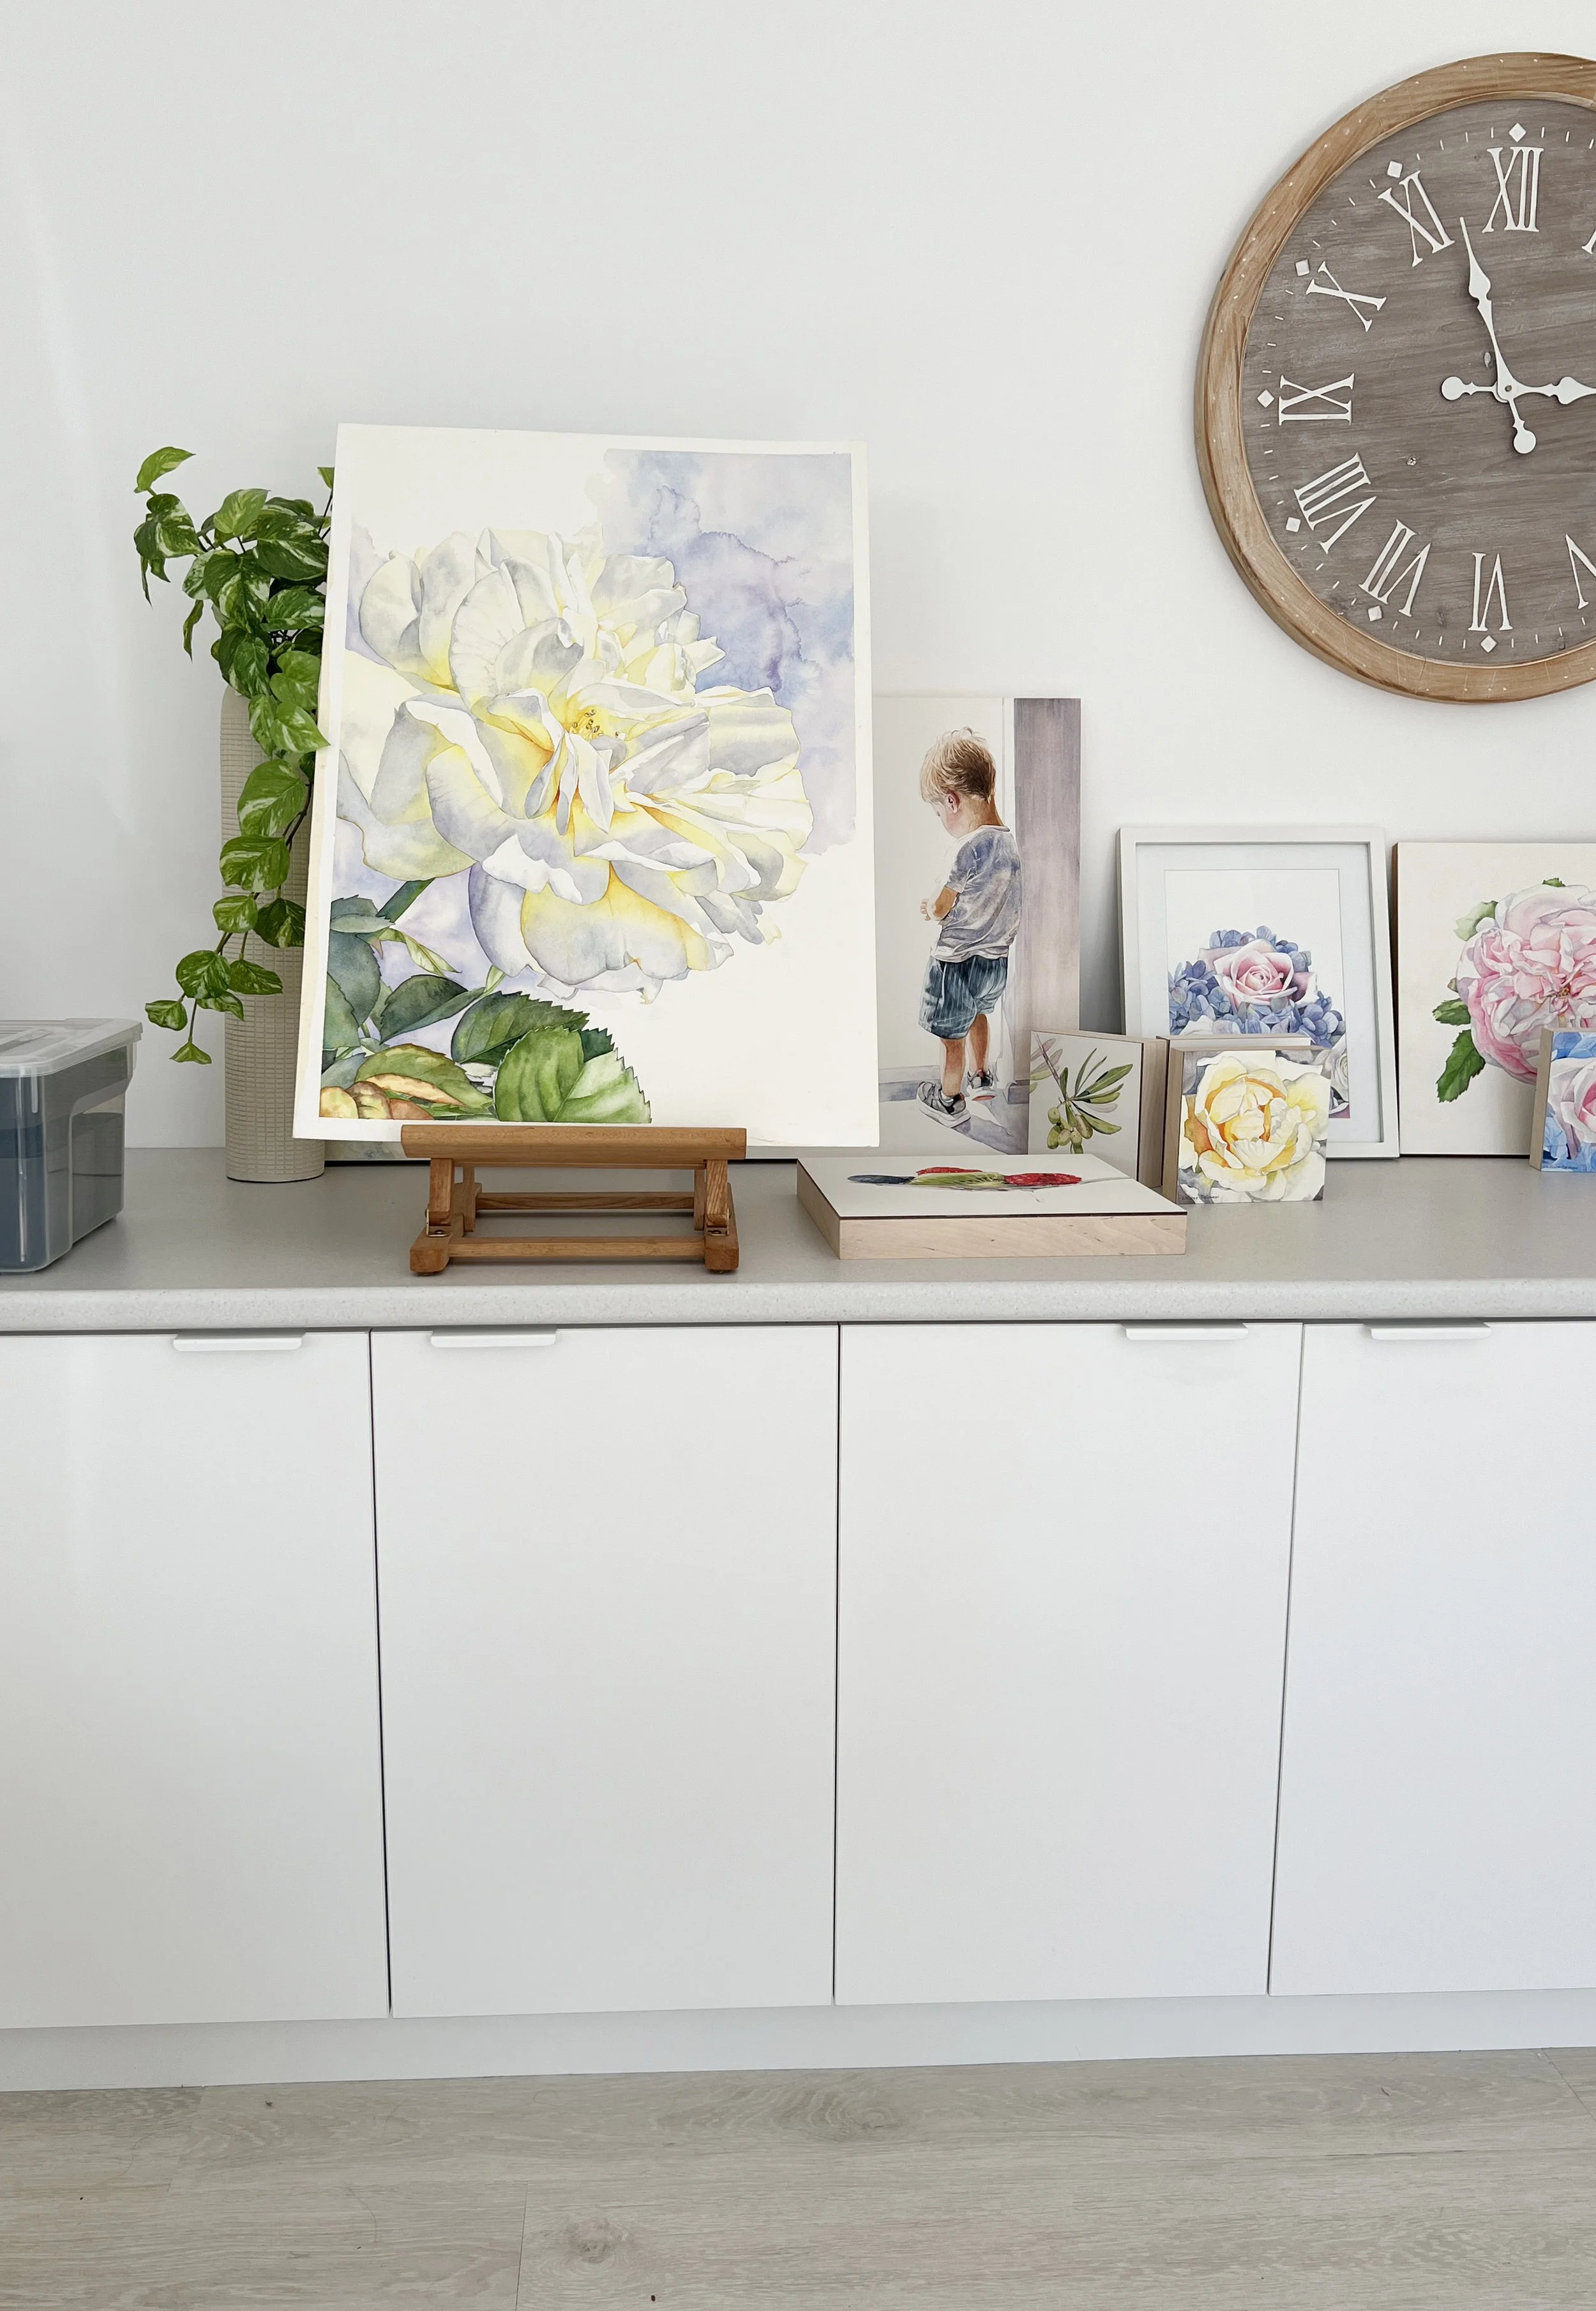
Inspired by a rose from my garden - this is a full sheet of watercolour paper.
Before we dive into the how, let’s take a moment to explore the why. Why bother scaling up a watercolour painting when working small feels familiar, comfortable — even safe? Why stretch yourself across a full sheet of paper (or more) when a postcard-sized scene might be quicker and less intimidating?
The truth is, painting large opens up a whole new world of possibilities. There’s a certain presence a large painting holds - a quiet authority that draws the viewer in. You suddenly have room to breathe, to stretch your brushstrokes wide across the paper, to linger on textures, or let a single wash span a horizon. The drama of scale makes even the simplest subject feel grand and immersive.
From a creative standpoint, working large allows you to include more nuanced detail while also celebrating looser, more expressive areas. You don’t have to choose between precision and spontaneity - a large surface lets you explore both.
But more than that, painting large is a wonderful teacher.
The beauty of painting large!
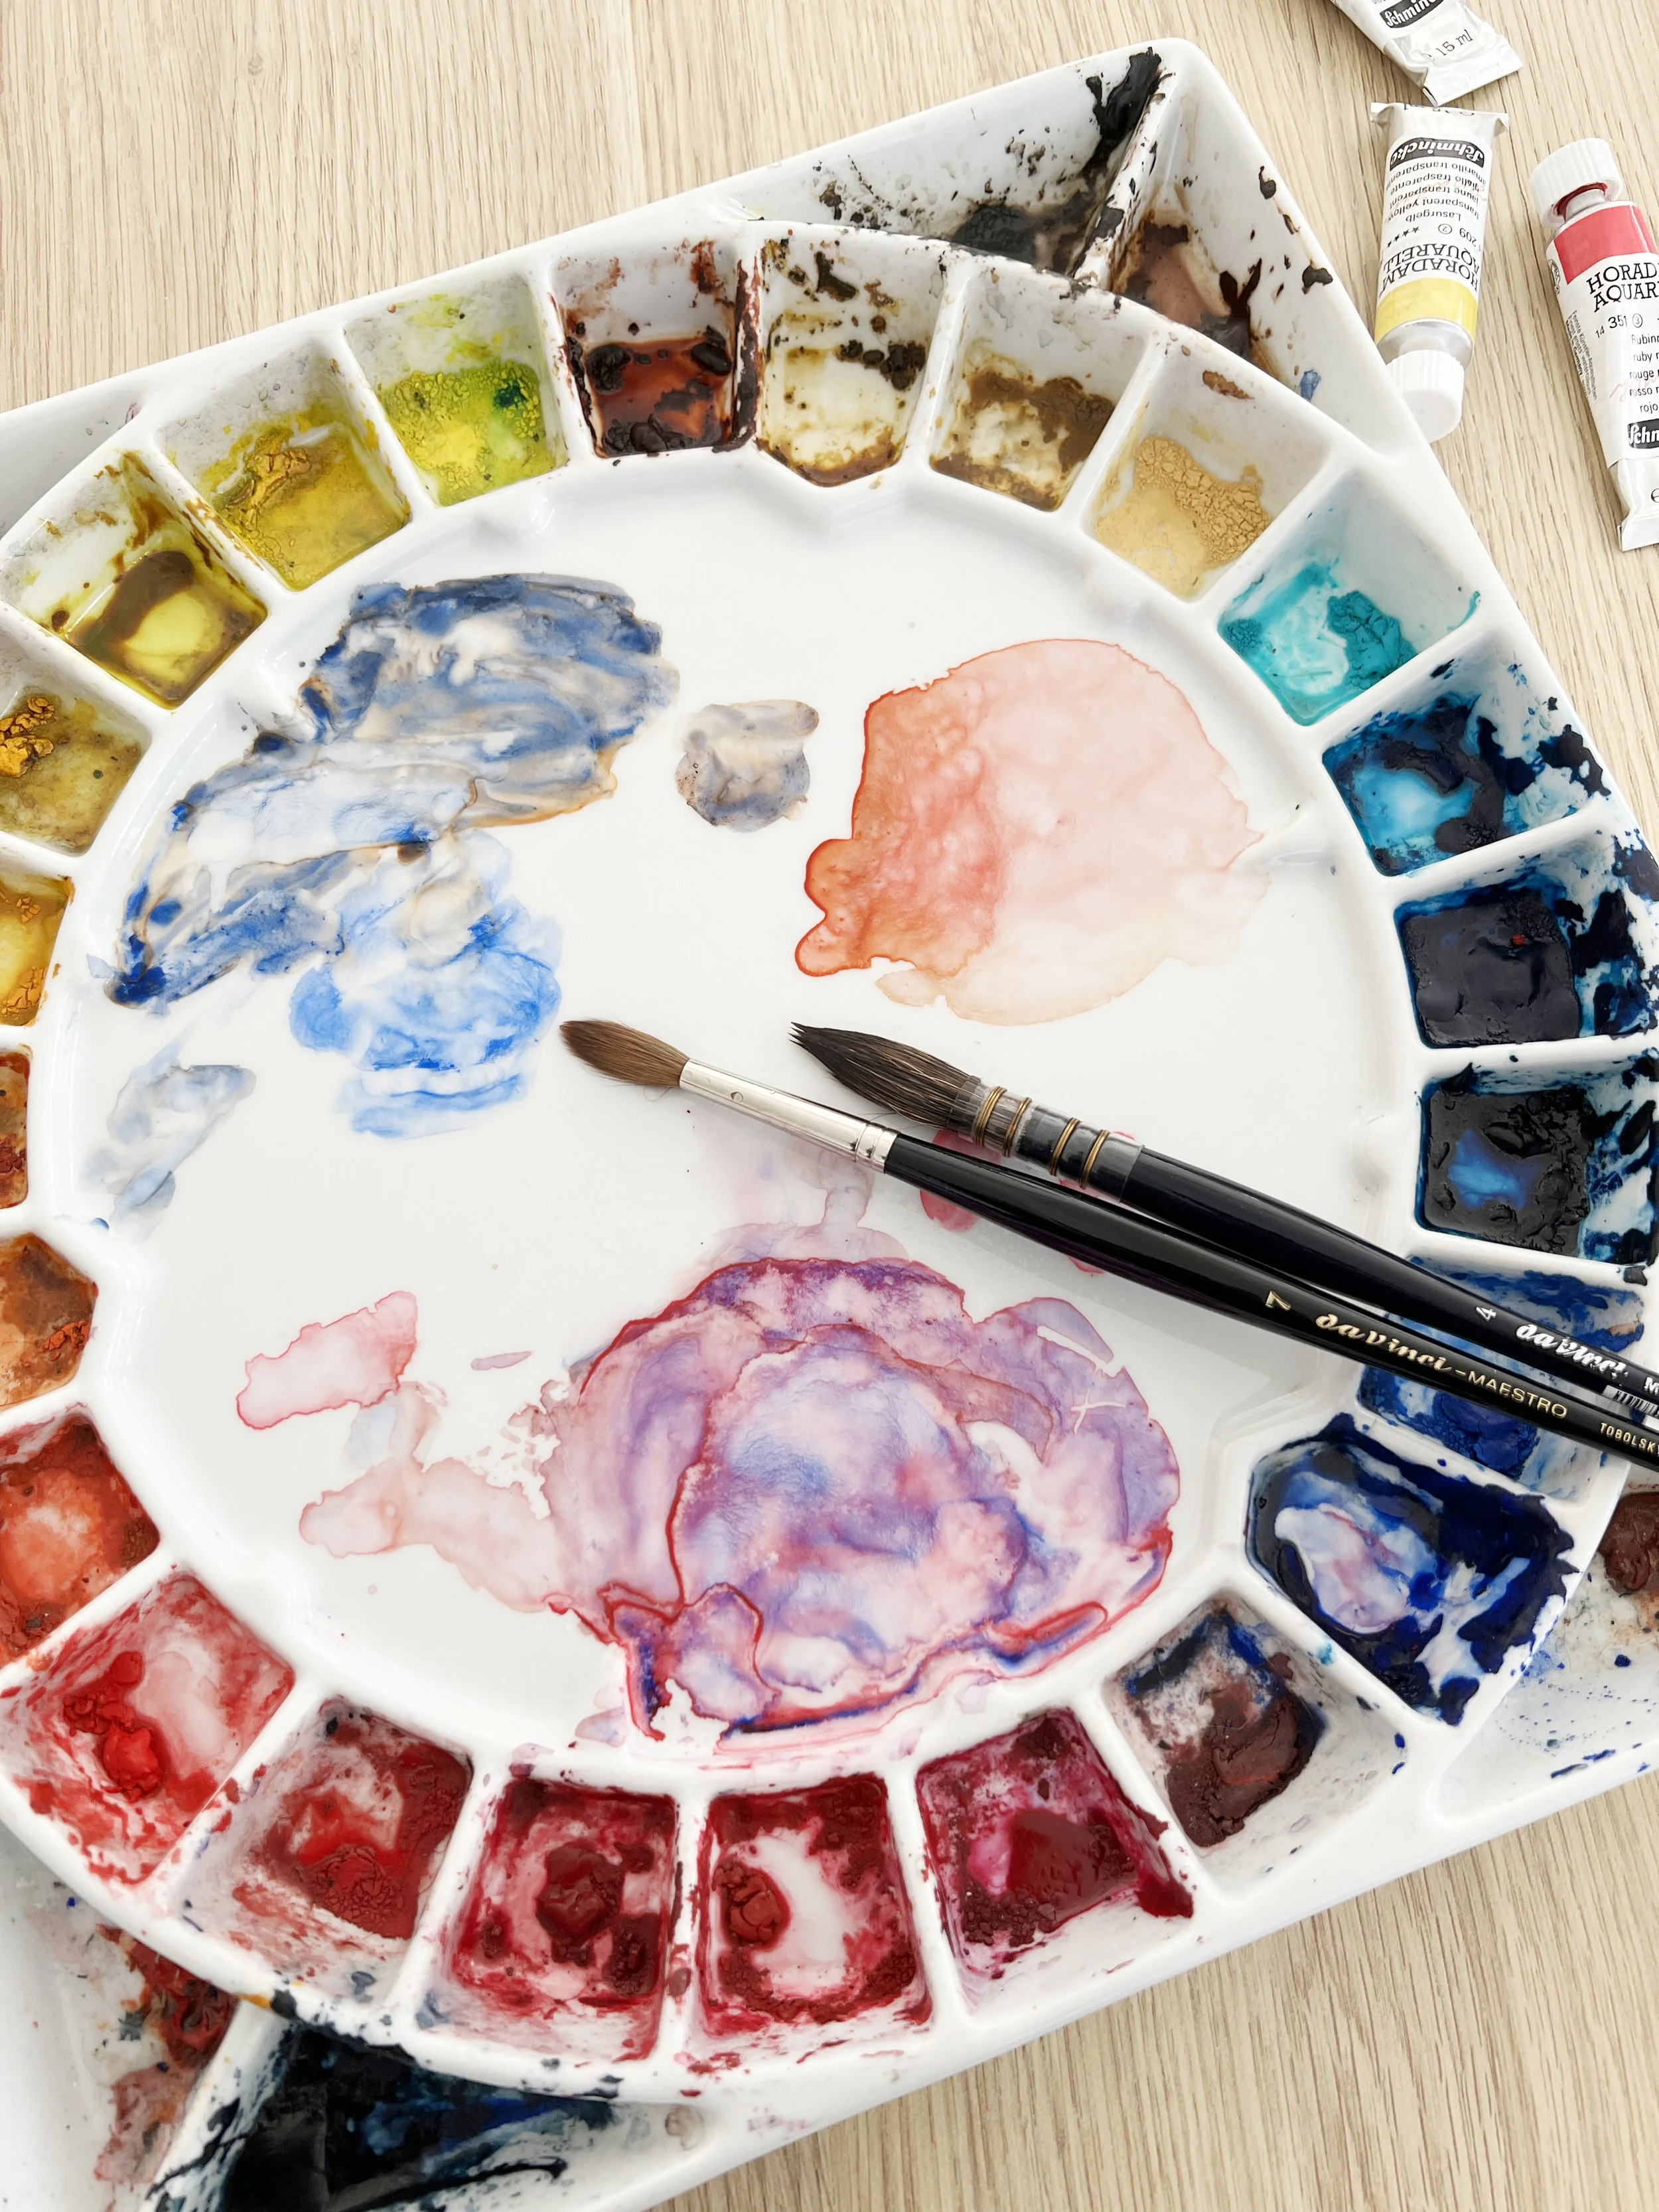
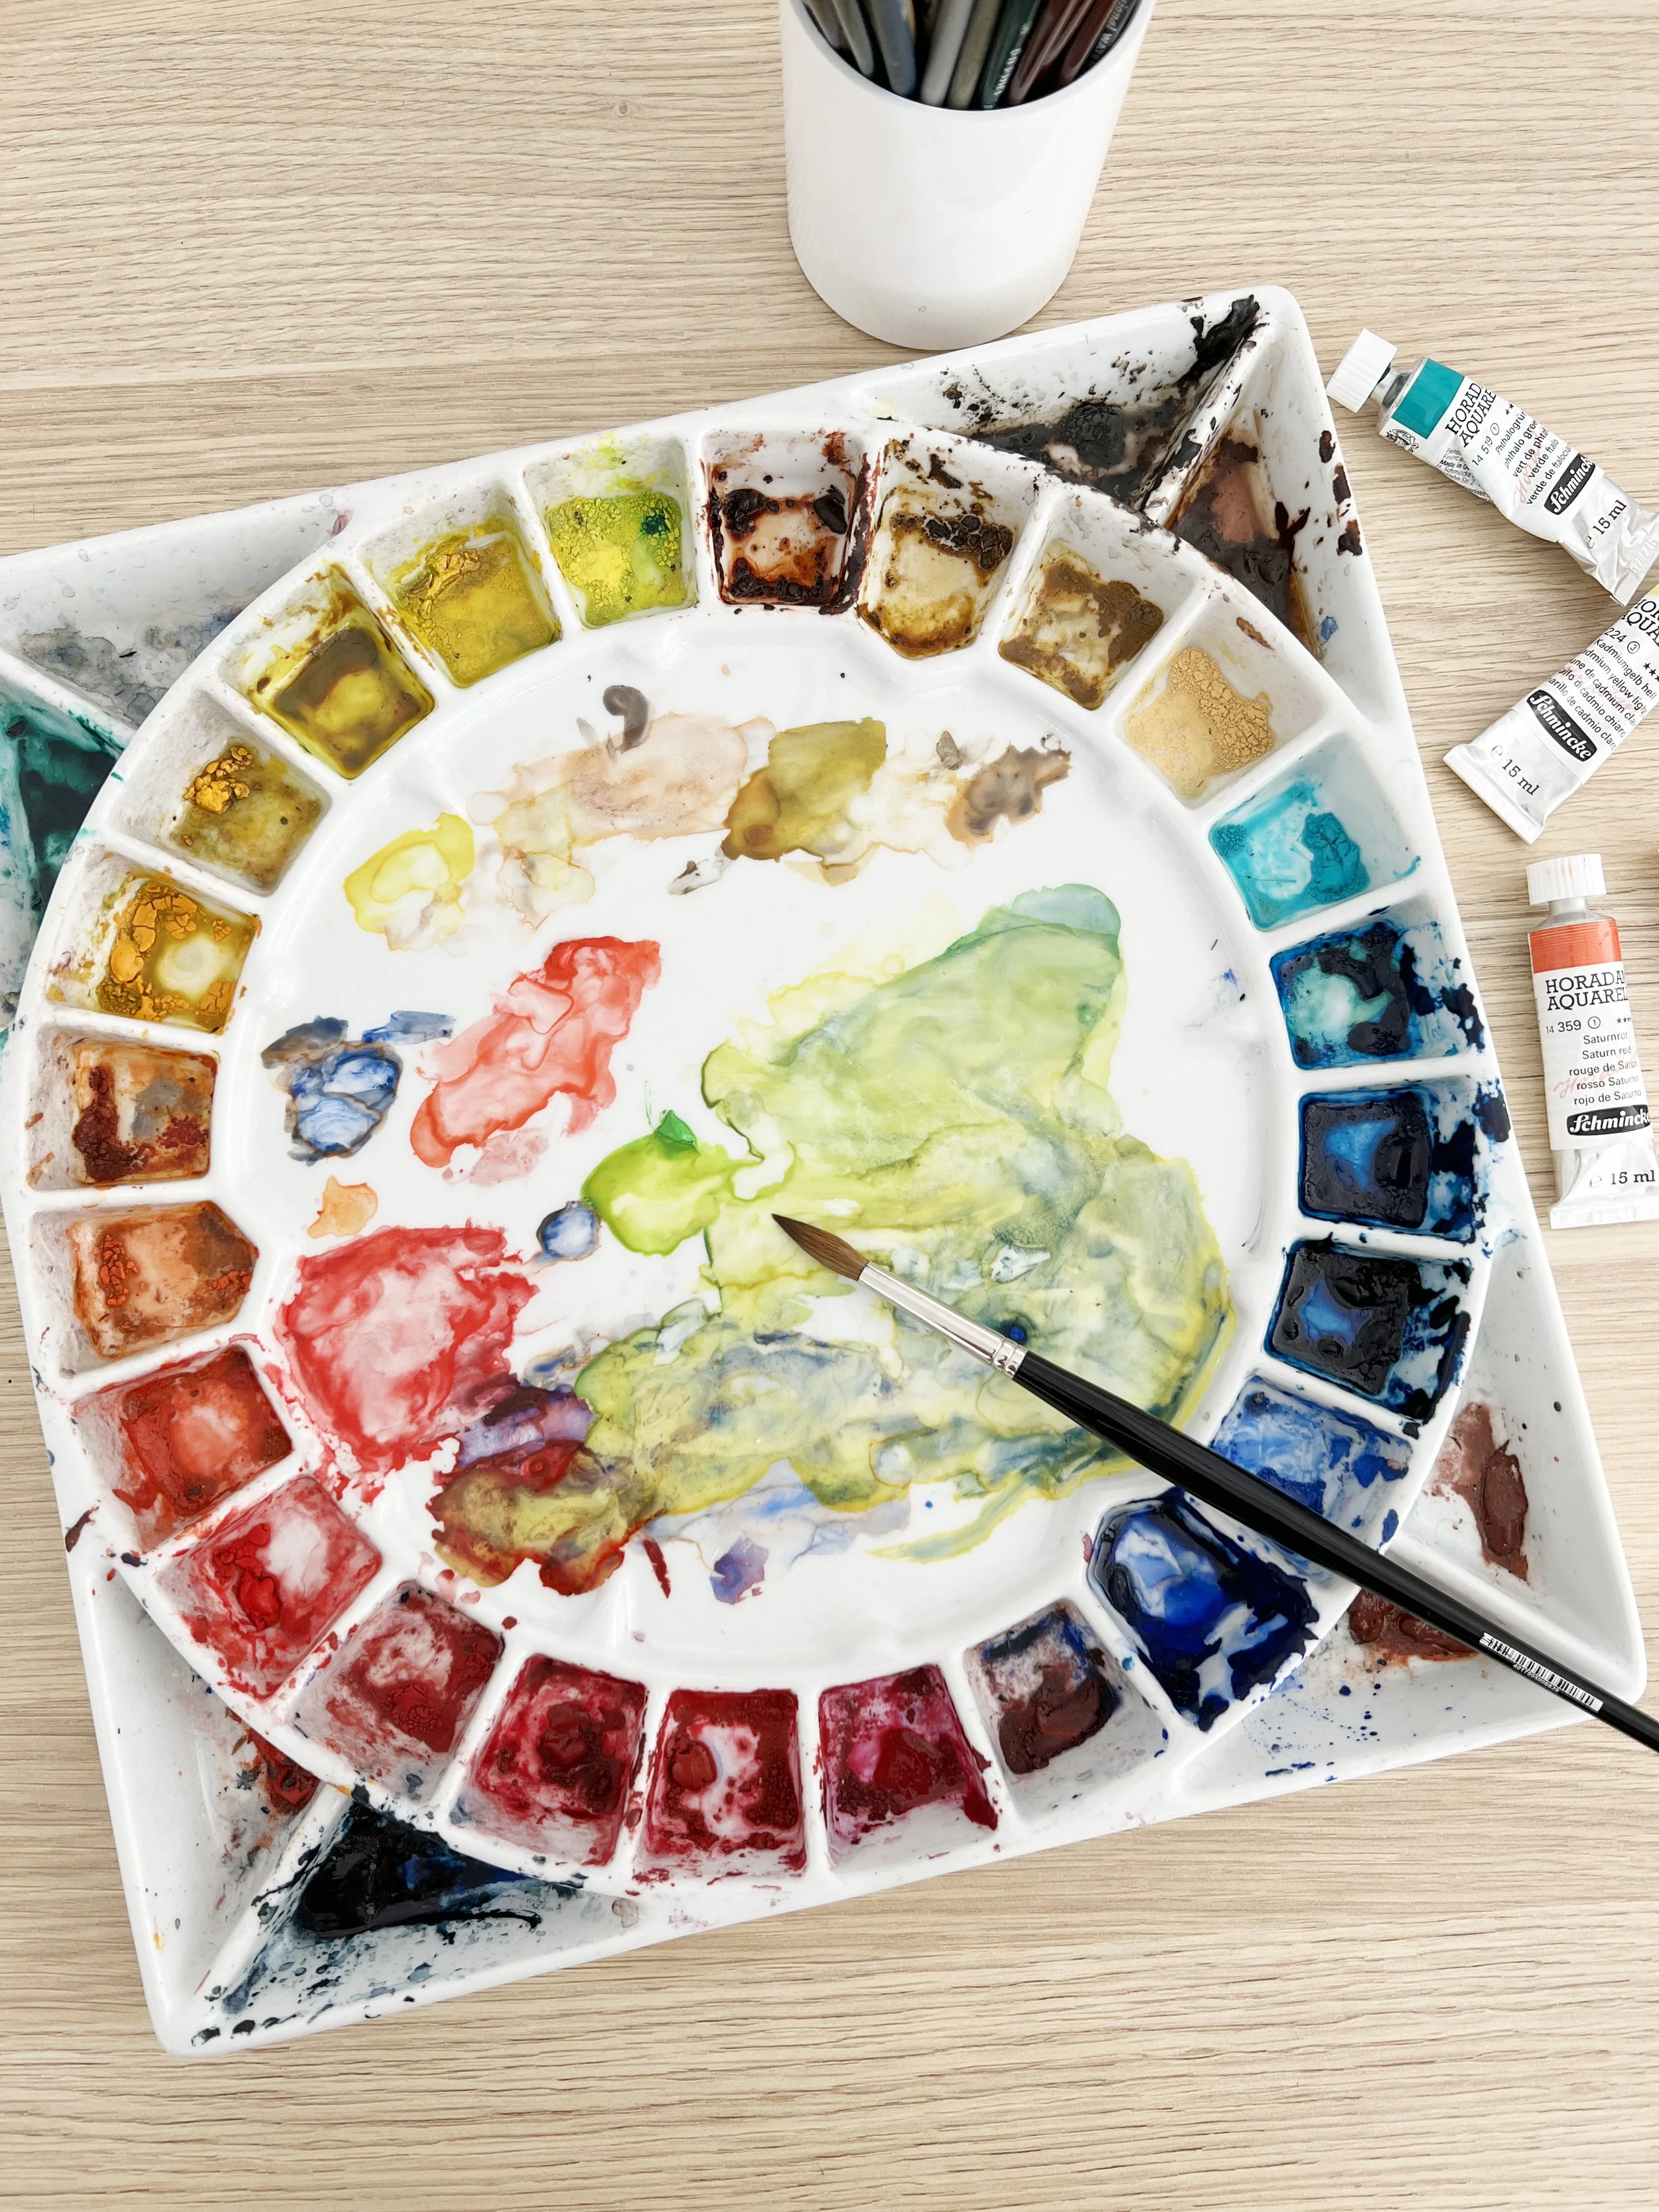
My favourite watercolour palette that I use to create all of my art.
It pushes you to plan thoughtfully - you can’t just wing it when the paper is this big. It tests your timing, your water control, and your patience. You have to slow down, observe carefully, and trust the process. And in doing so, you often find new levels of control, clarity, and confidence in your work.
Even if you usually prefer smaller formats, tackling a few larger paintings now and then will sharpen your skills in ways you might not expect. Then, when you return to your usual size, you bring those lessons with you - a more refined sense of composition, a better grasp of timing, and a stronger hand.
So if you’ve ever looked at a big, blank sheet of watercolour paper and felt both excited and terrified - you’re not alone. But that’s often where the most growth happens. Take a deep breath, roll up your sleeves, and give yourself permission to go big. You might just surprise yourself.
The Challenges of Going Big
Of course, scaling up comes with its own set of hurdles. Here are a few I’ve bumped into (and maybe you have too):
Timing becomes tricky. Water dries at different speeds across a big sheet of paper - especially if you’re painting in a warm or dry room.
Brushes suddenly feel tiny. You need tools that match the scale, or you’ll end up scrubbing instead of flowing.
Planning is crucial. With more space, there’s also more opportunity for things to go wrong. A well-thought-out composition makes all the difference.
Warping. Larger paper, more water - you can imagine the drama. If you’re not using heavy paper or stretching it properly, the buckling can wreak havoc.
Sound familiar? Don’t worry - these are all solvable, and they don’t have to stop you from creating something wonderful.
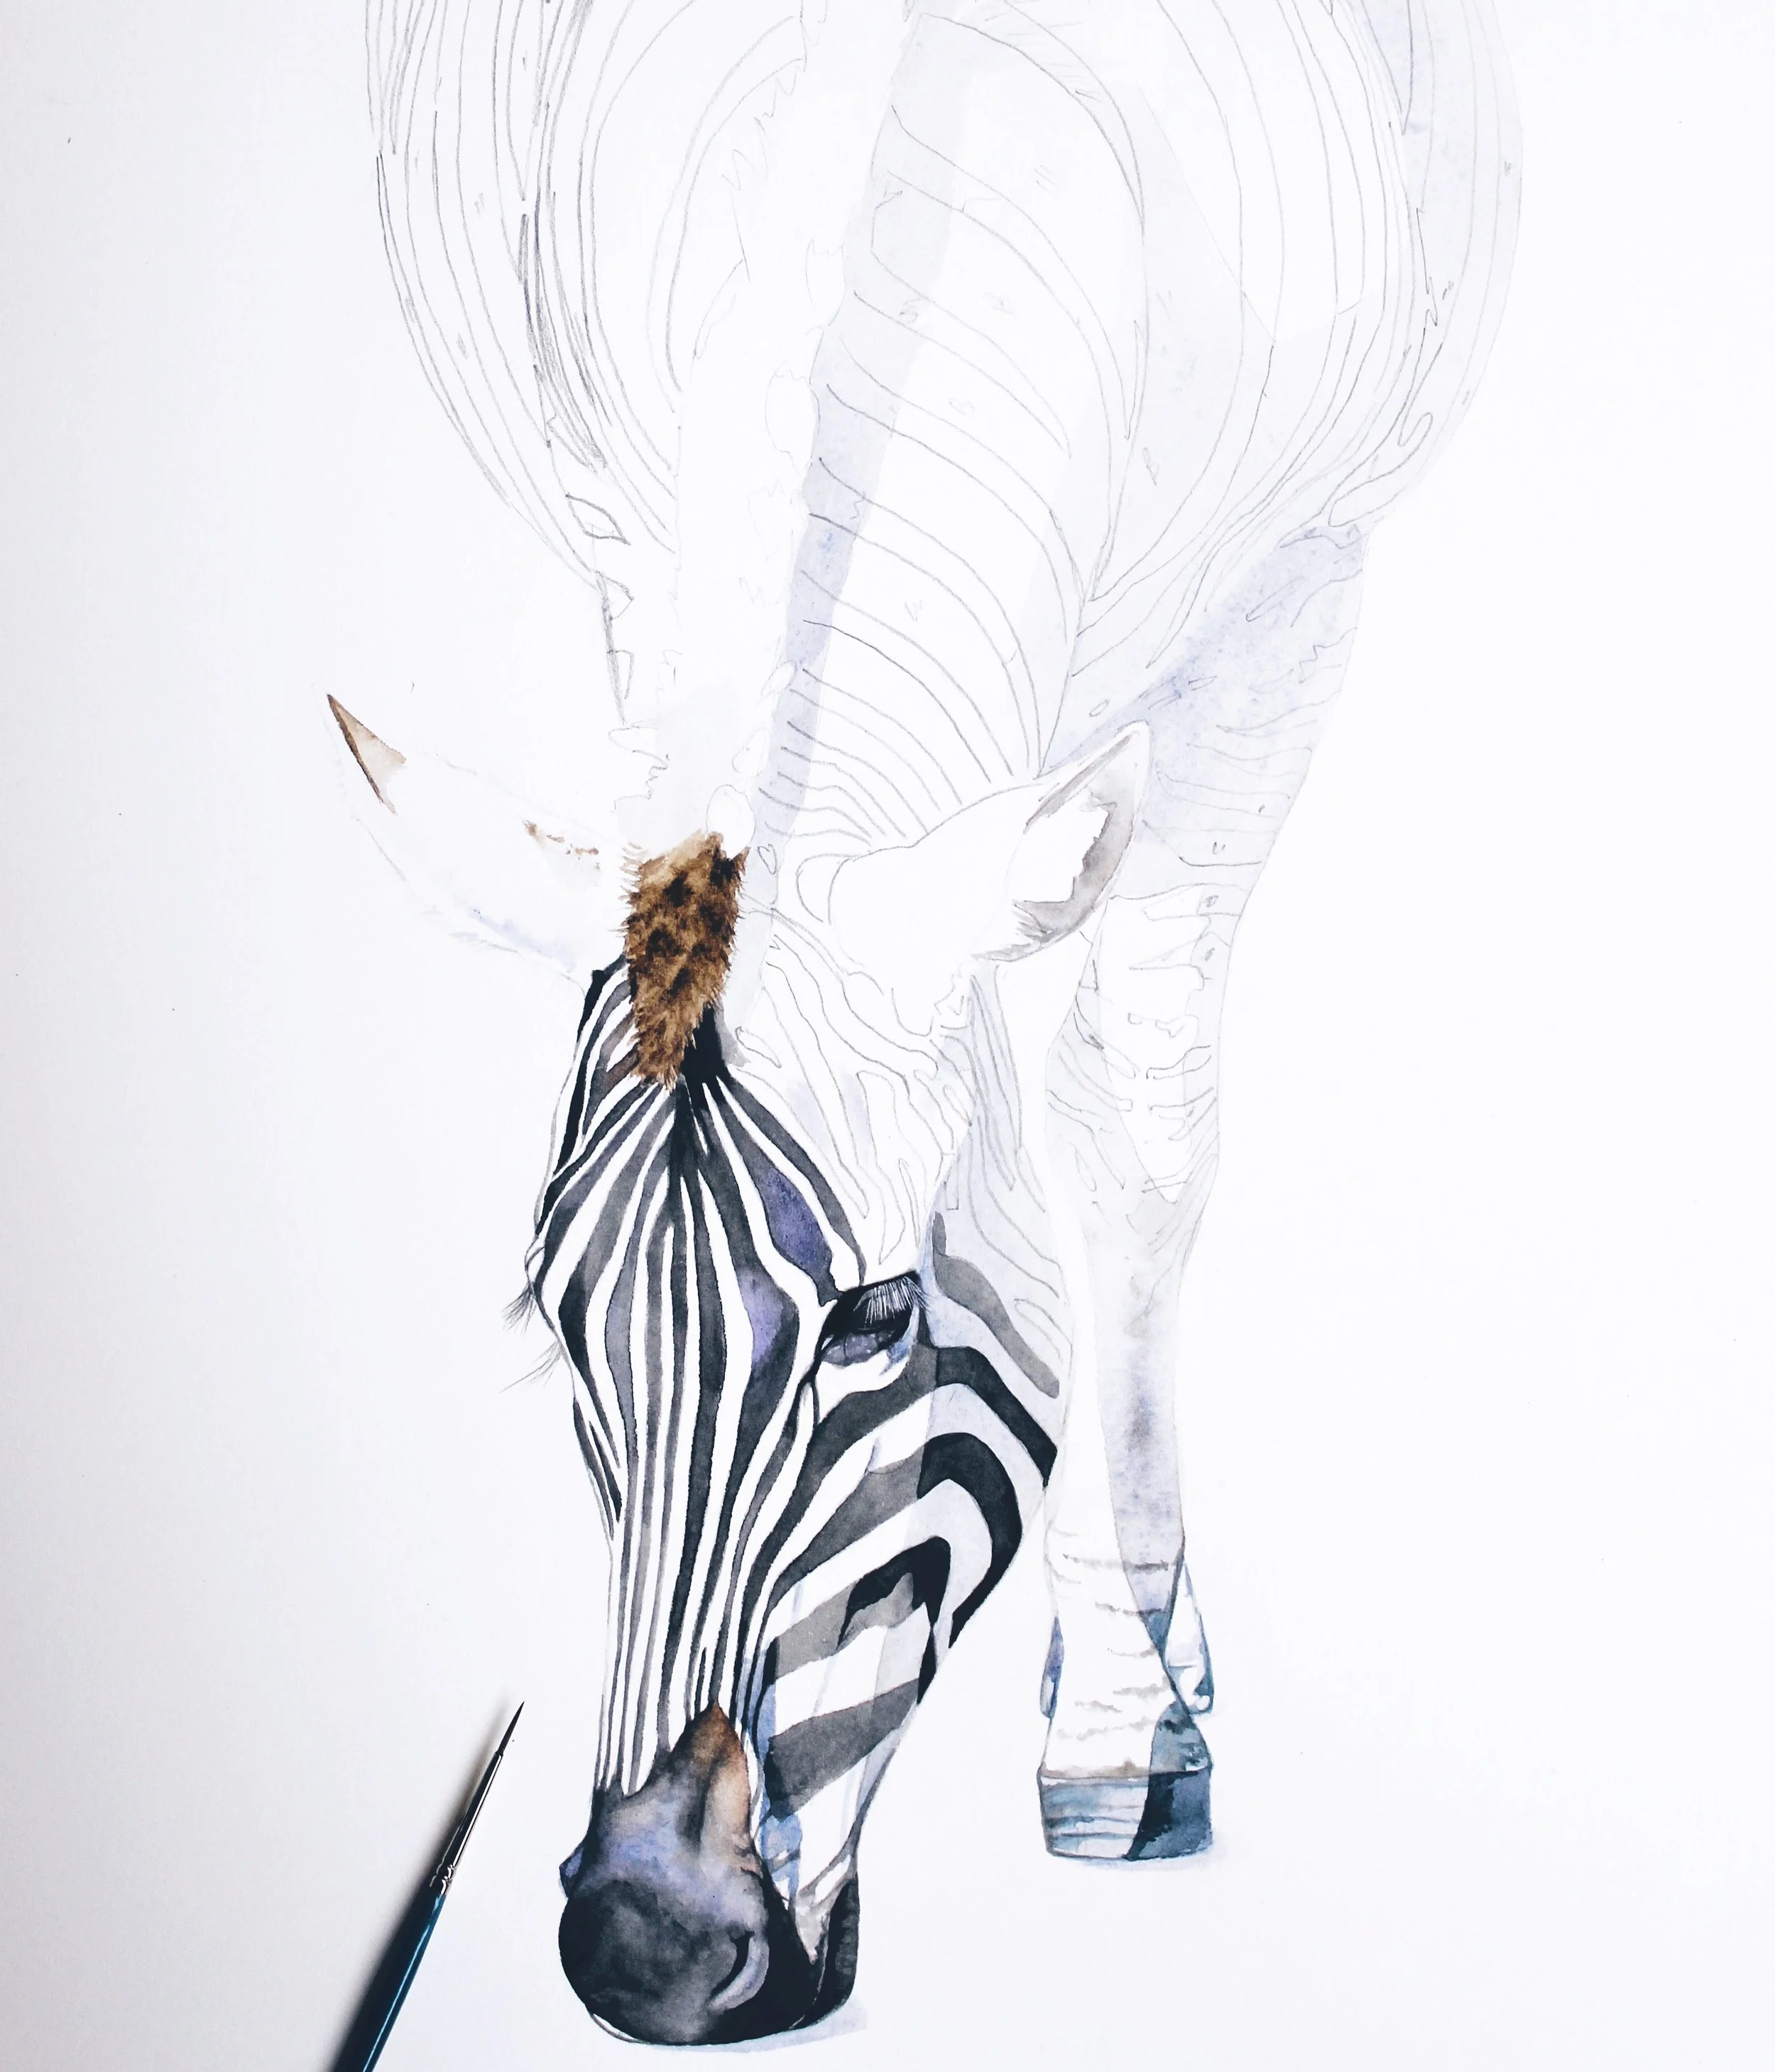
This is the first painting I did on a full sheet of watercolour paper.
5 Tips for Success with Larger Watercolour Paintings
1. Start with the Right Materials
Your materials can make or break your painting experience - especially on a larger scale.
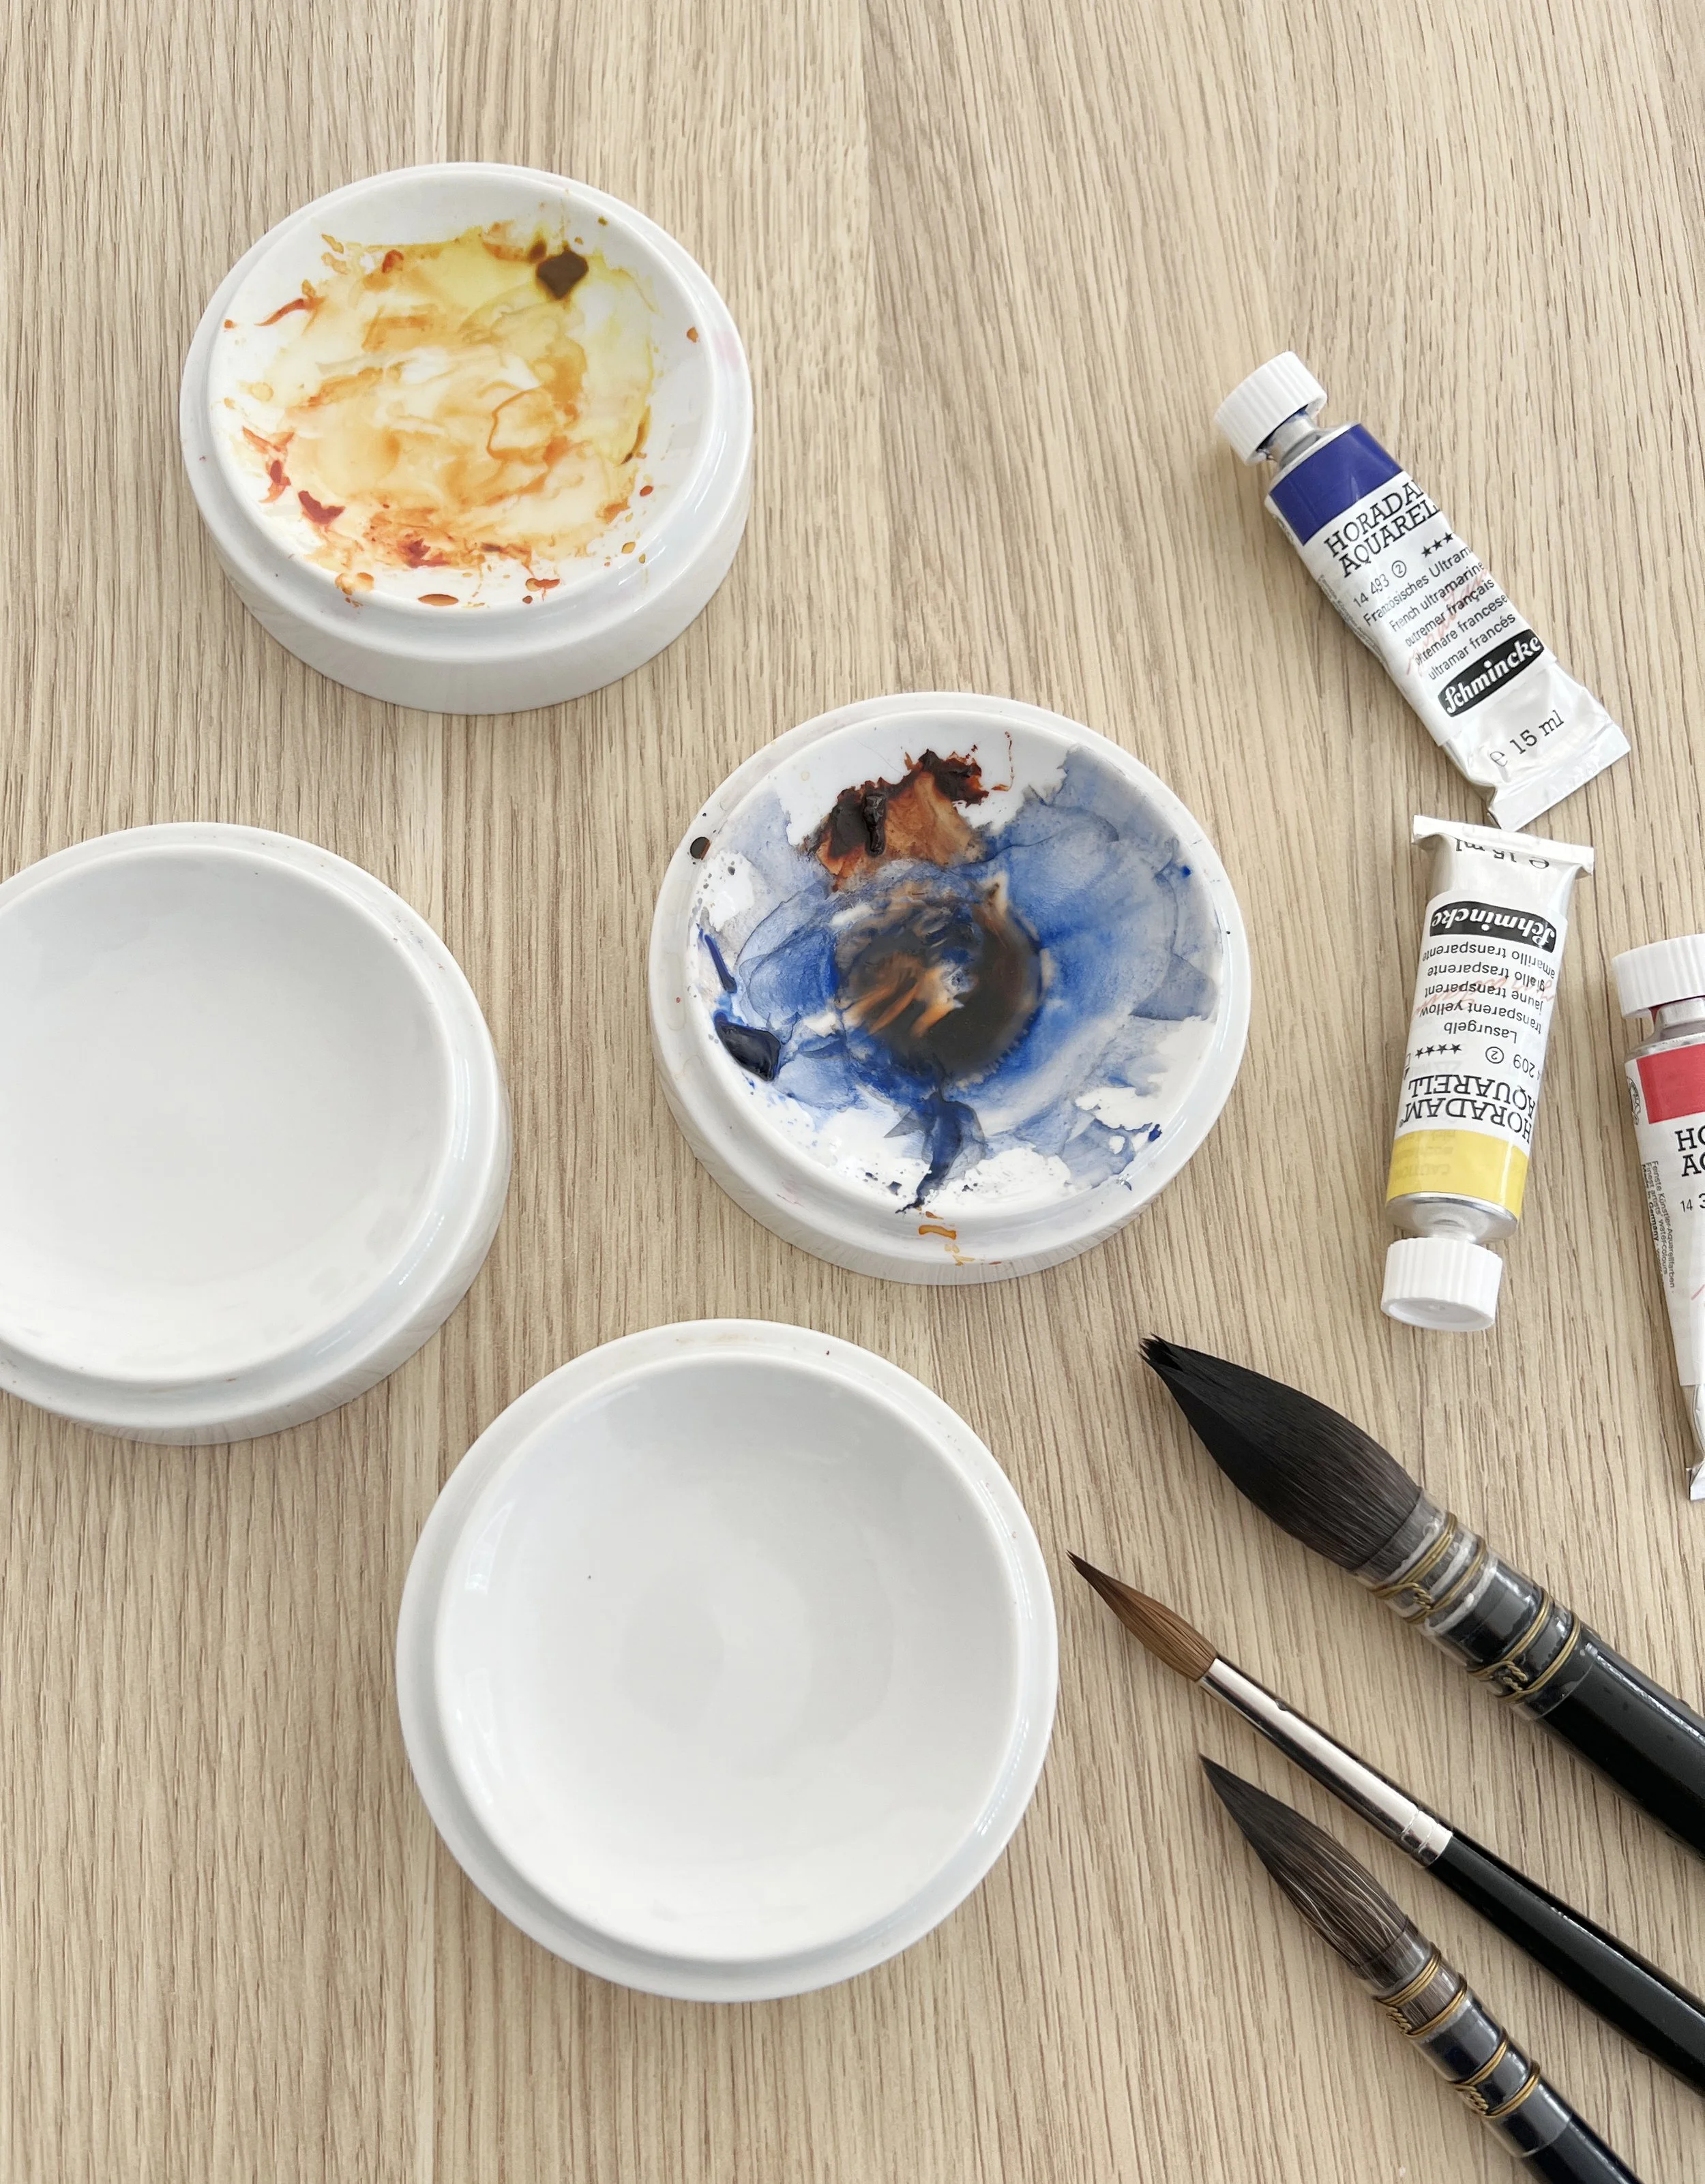
I love these little dish palettes for mixing paint colours.
Watercolour Paper: Choose a heavy-weight, 100% cotton paper (I love Fabriano Artistico and Arches). I recommend at least 300gsm, but even heavier is better for large work. It's important to stretch your paper to avoid warping. Not sure how to do that? I have the answers right here.
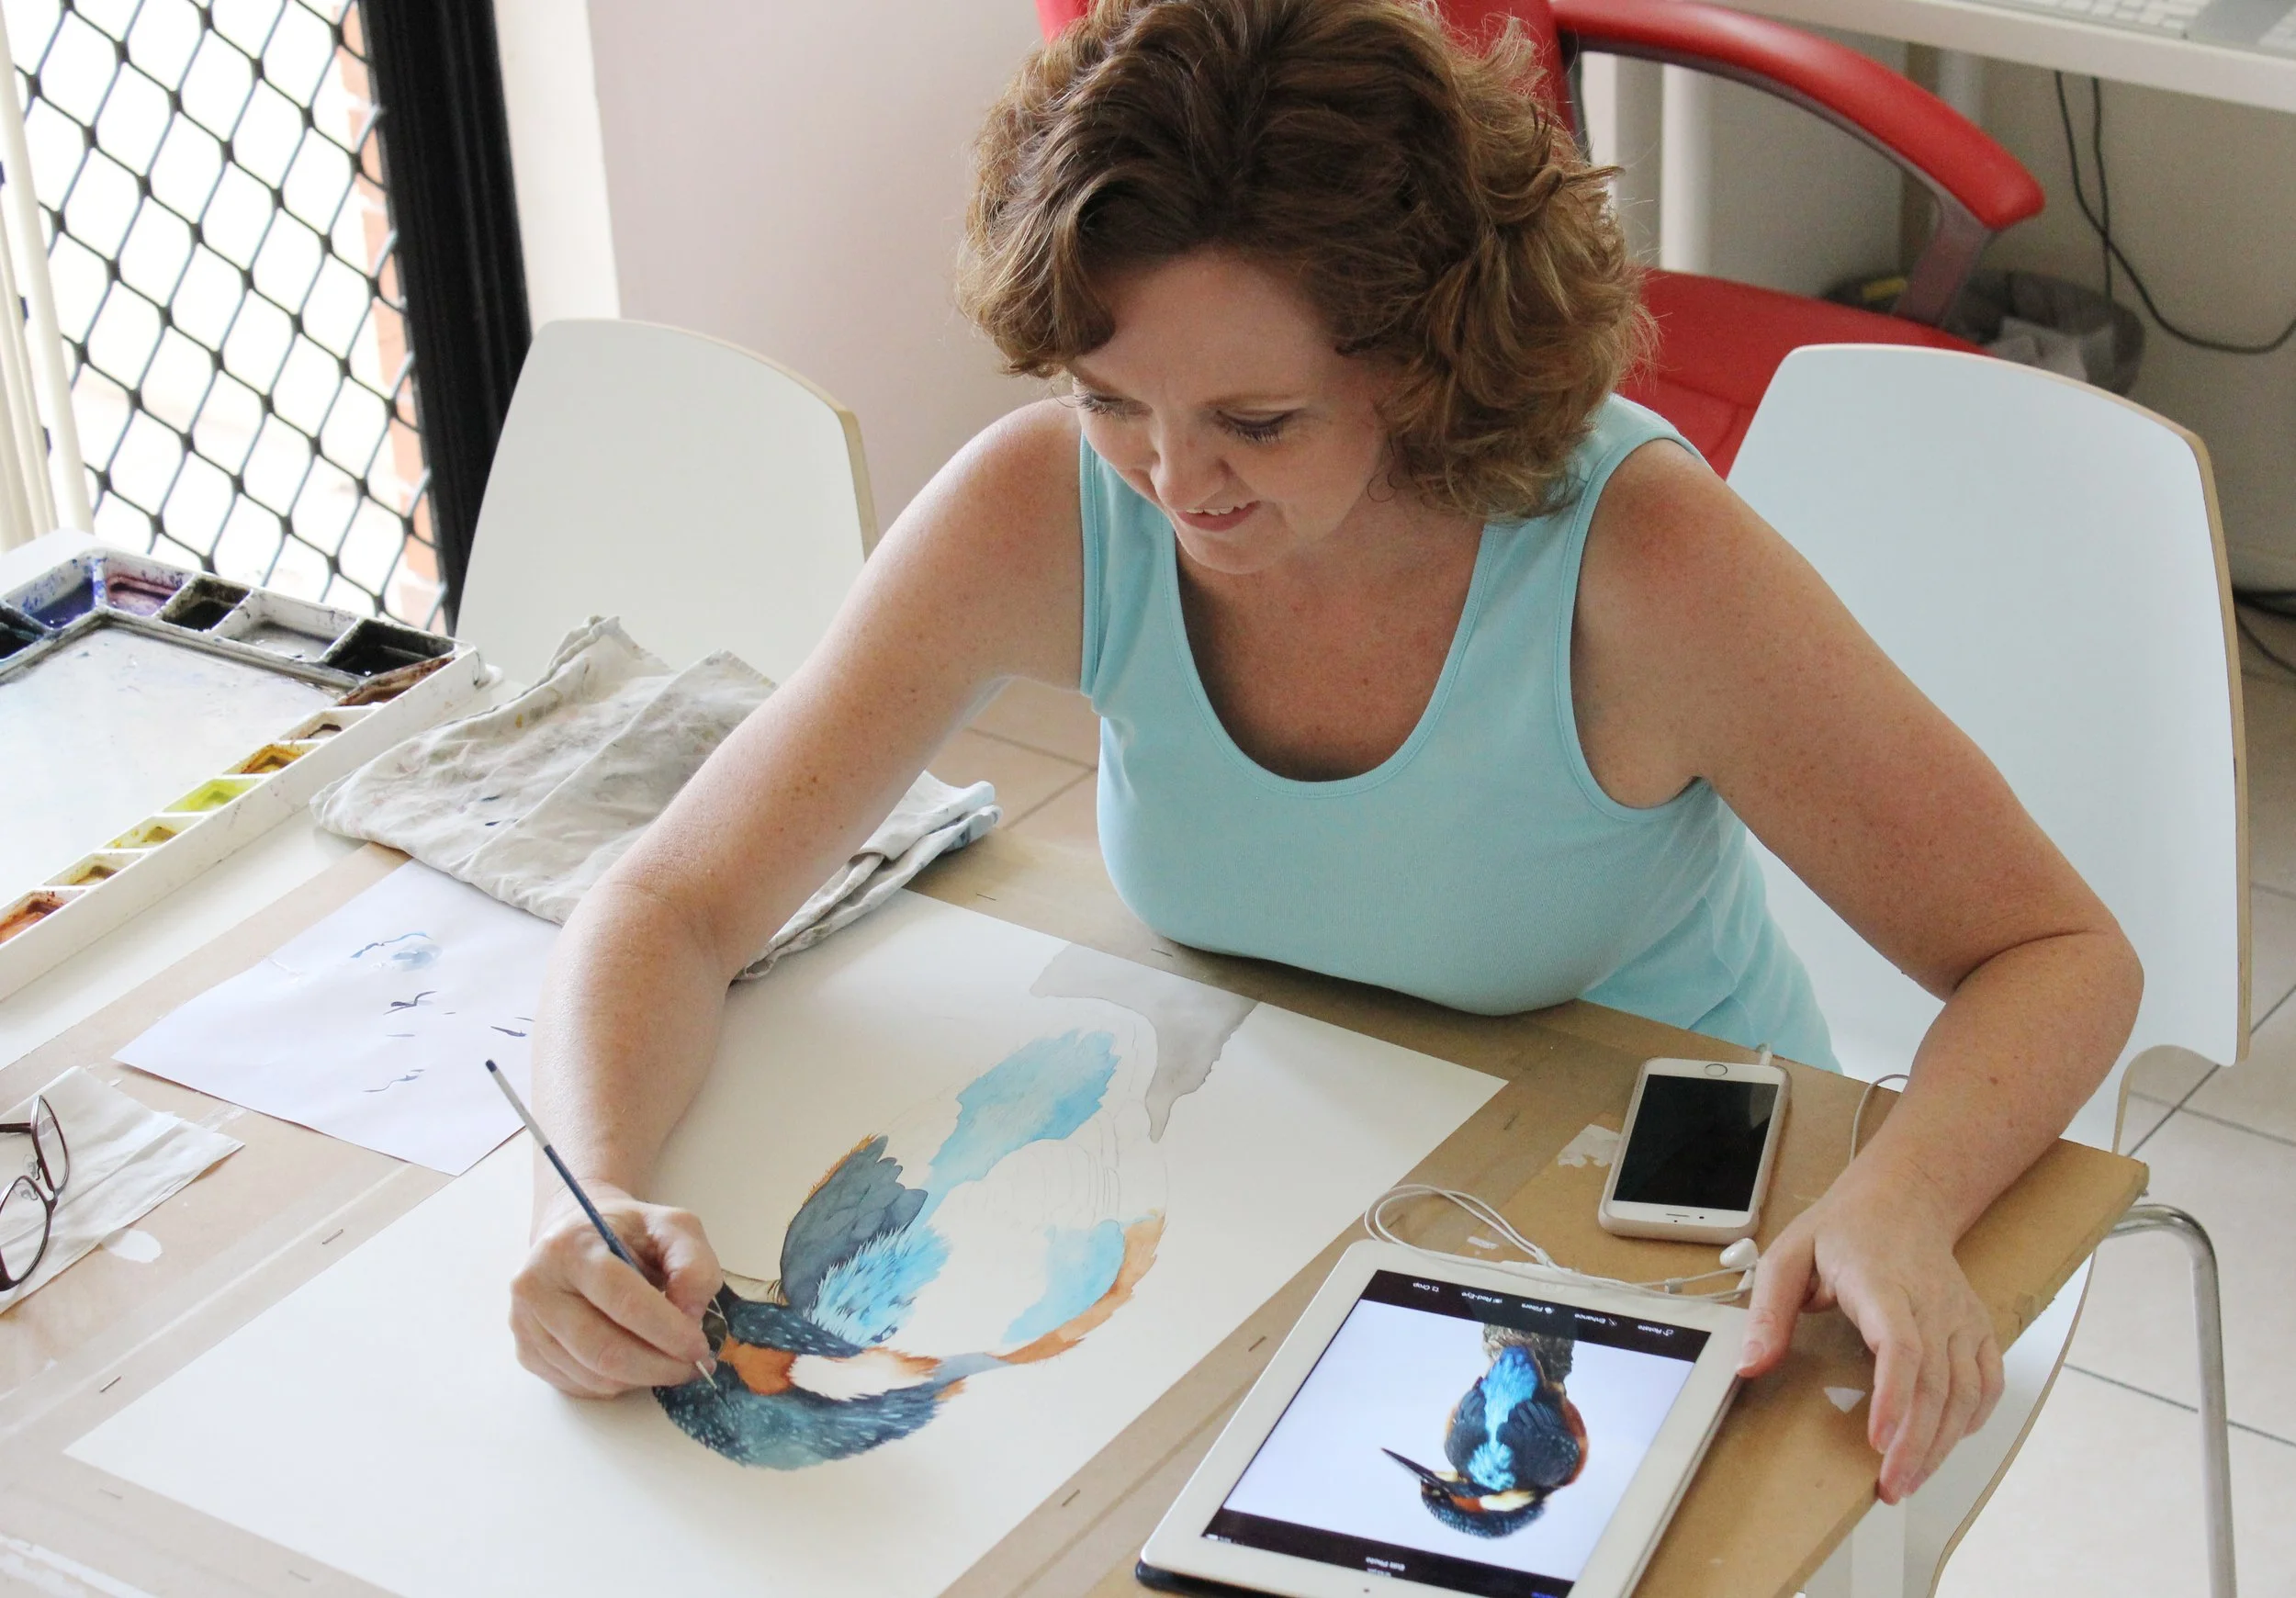
Brushes: Invest in a few larger brushes - mop brushes, flats, or even big rounds. I use my Da Vinci Maestro brushes often, and Jackson’s has some excellent alternatives as well. The goal is to move water and pigment efficiently. You can find my personal favourites here.
Paint & Palette: You’ll need more paint than usual. Pre-mix your colours in larger wells so you’re not stopping mid-wash to remix. Trust me, this alone can save a wash!
2. Plan Before You Paint
Larger paintings leave far less room for guesswork. When you’re working small, a little spontaneous change here or there might go unnoticed - but on a big sheet of paper, everything is amplified. A misplaced shadow, an awkward composition, or an unbalanced colour can quickly overwhelm the piece. That’s why I never skip the planning stage in my painting process.
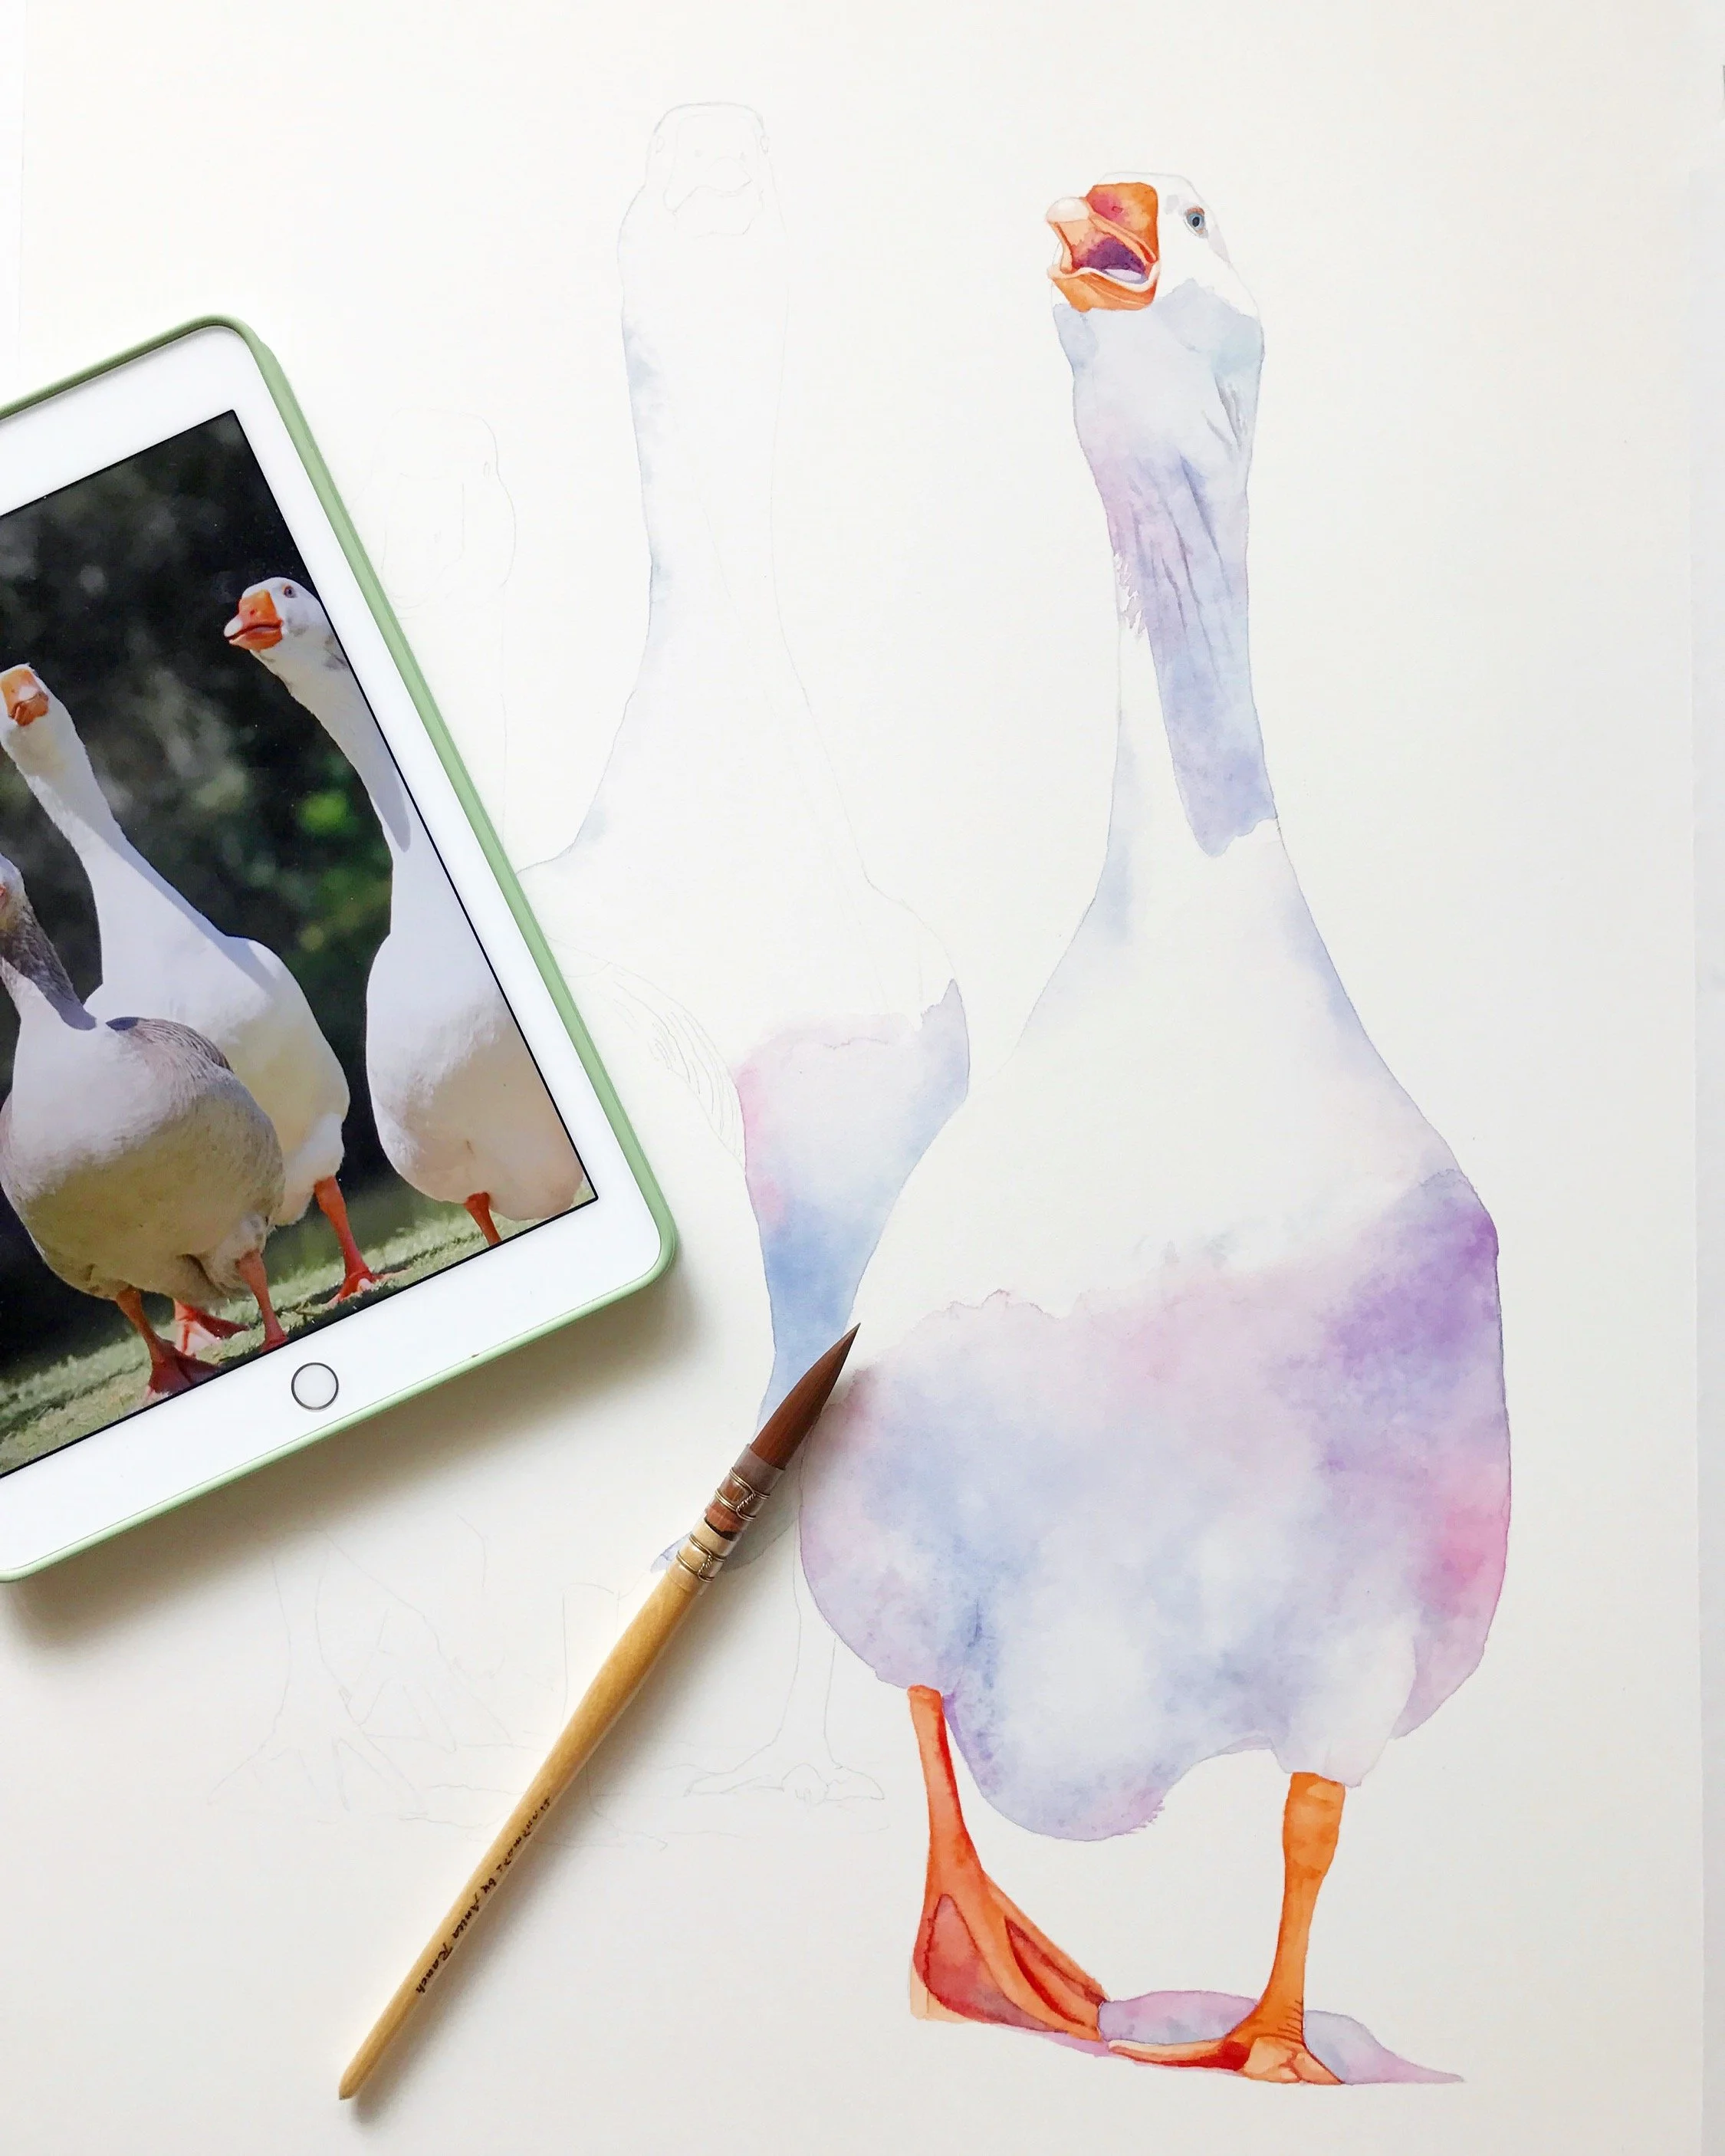
This image is a small colour study I completed before I painted a large watercolor painting of the same subject.
Before I begin a large painting, I like to start with a thumbnail sketch or a small colour study -sometimes both. I’ll often do a quick graphite drawing to nail down the composition, then follow it up with a loose watercolour version to explore values and colour choices. These early sketches don’t need to be polished but they can make all the difference.
This process helps me identify potential problems early on. For example, I might notice that the focal point needs to shift slightly, or that a colour I had in mind doesn’t work as well as I hoped. Far better to figure that out on a small scrap of paper than halfway through a large, time-consuming painting.
Think of it as a rehearsal before the main performance. Just like an actor runs through lines before opening night, you’re giving yourself a chance to feel out the scene before committing to it at full scale. And when you’ve done that prep work, you can approach the final piece with so much more clarity, confidence, and creative freedom. You’re not second-guessing every stroke - you already know where you’re headed.
3. Work in manageable sections
One of the most daunting things about painting large is exactly that - it’s large! The paper feels endless, and the temptation to cover everything at once can be strong. But here’s a little secret: you don’t have to paint everything in one go. In fact, you’ll often get better results if you take it step by step.
Work in manageable sections. Sometimes it helps to complete one area before moving on - it gives you the confidence to keep going.
When I’m working on a big painting, I break it down into manageable sections, especially when I’m laying in broad washes or background areas. Instead of wetting the whole sheet - which can be stressful and hard to control - I wet only the part I’m ready to paint. This gives me time to focus on just that area, blending and shaping the wash without it drying too quickly or running into areas I’m not finished with yet.
To make sure the joins between sections stay soft, I feather out the edges with a damp brush. That way, when I come back to paint the adjacent area, I can blend the new paint seamlessly into the old without any harsh lines.
When it comes to painting large backgrounds, I like to give gravity a helping hand. Tilting the board slightly lets the paint flow downward in a natural, even way - it’s especially helpful for smooth gradient washes. And don’t be shy with your brush! A big mop or soft round brush loaded with juicy paint will help you cover ground quickly and confidently.
Also, keep an eye on the drying time. Work from top to bottom so you’re not leaning over wet areas, and be mindful of how fast each section is drying. If you're painting in a warm room or the paper is drying faster than you'd like, you can lightly mist the edges with a spray bottle or take a short break between sections to let things settle.
Remember: painting big doesn’t mean you have to rush. Give yourself permission to slow down, break the process into parts, and tackle each section with care. Watercolour rewards thoughtfulness - and your painting will thank you for it.
4. Control Drying Time
Here’s the tricky part: large surfaces can dry too fast or too unevenly, especially if you're working in a warm or dry environment. And once the paper starts to dry unpredictably, you can end up with unwanted hard edges, streaky washes, or patchy blends. But don’t worry - there are a few simple strategies that can really help.
Pre-wet strategically
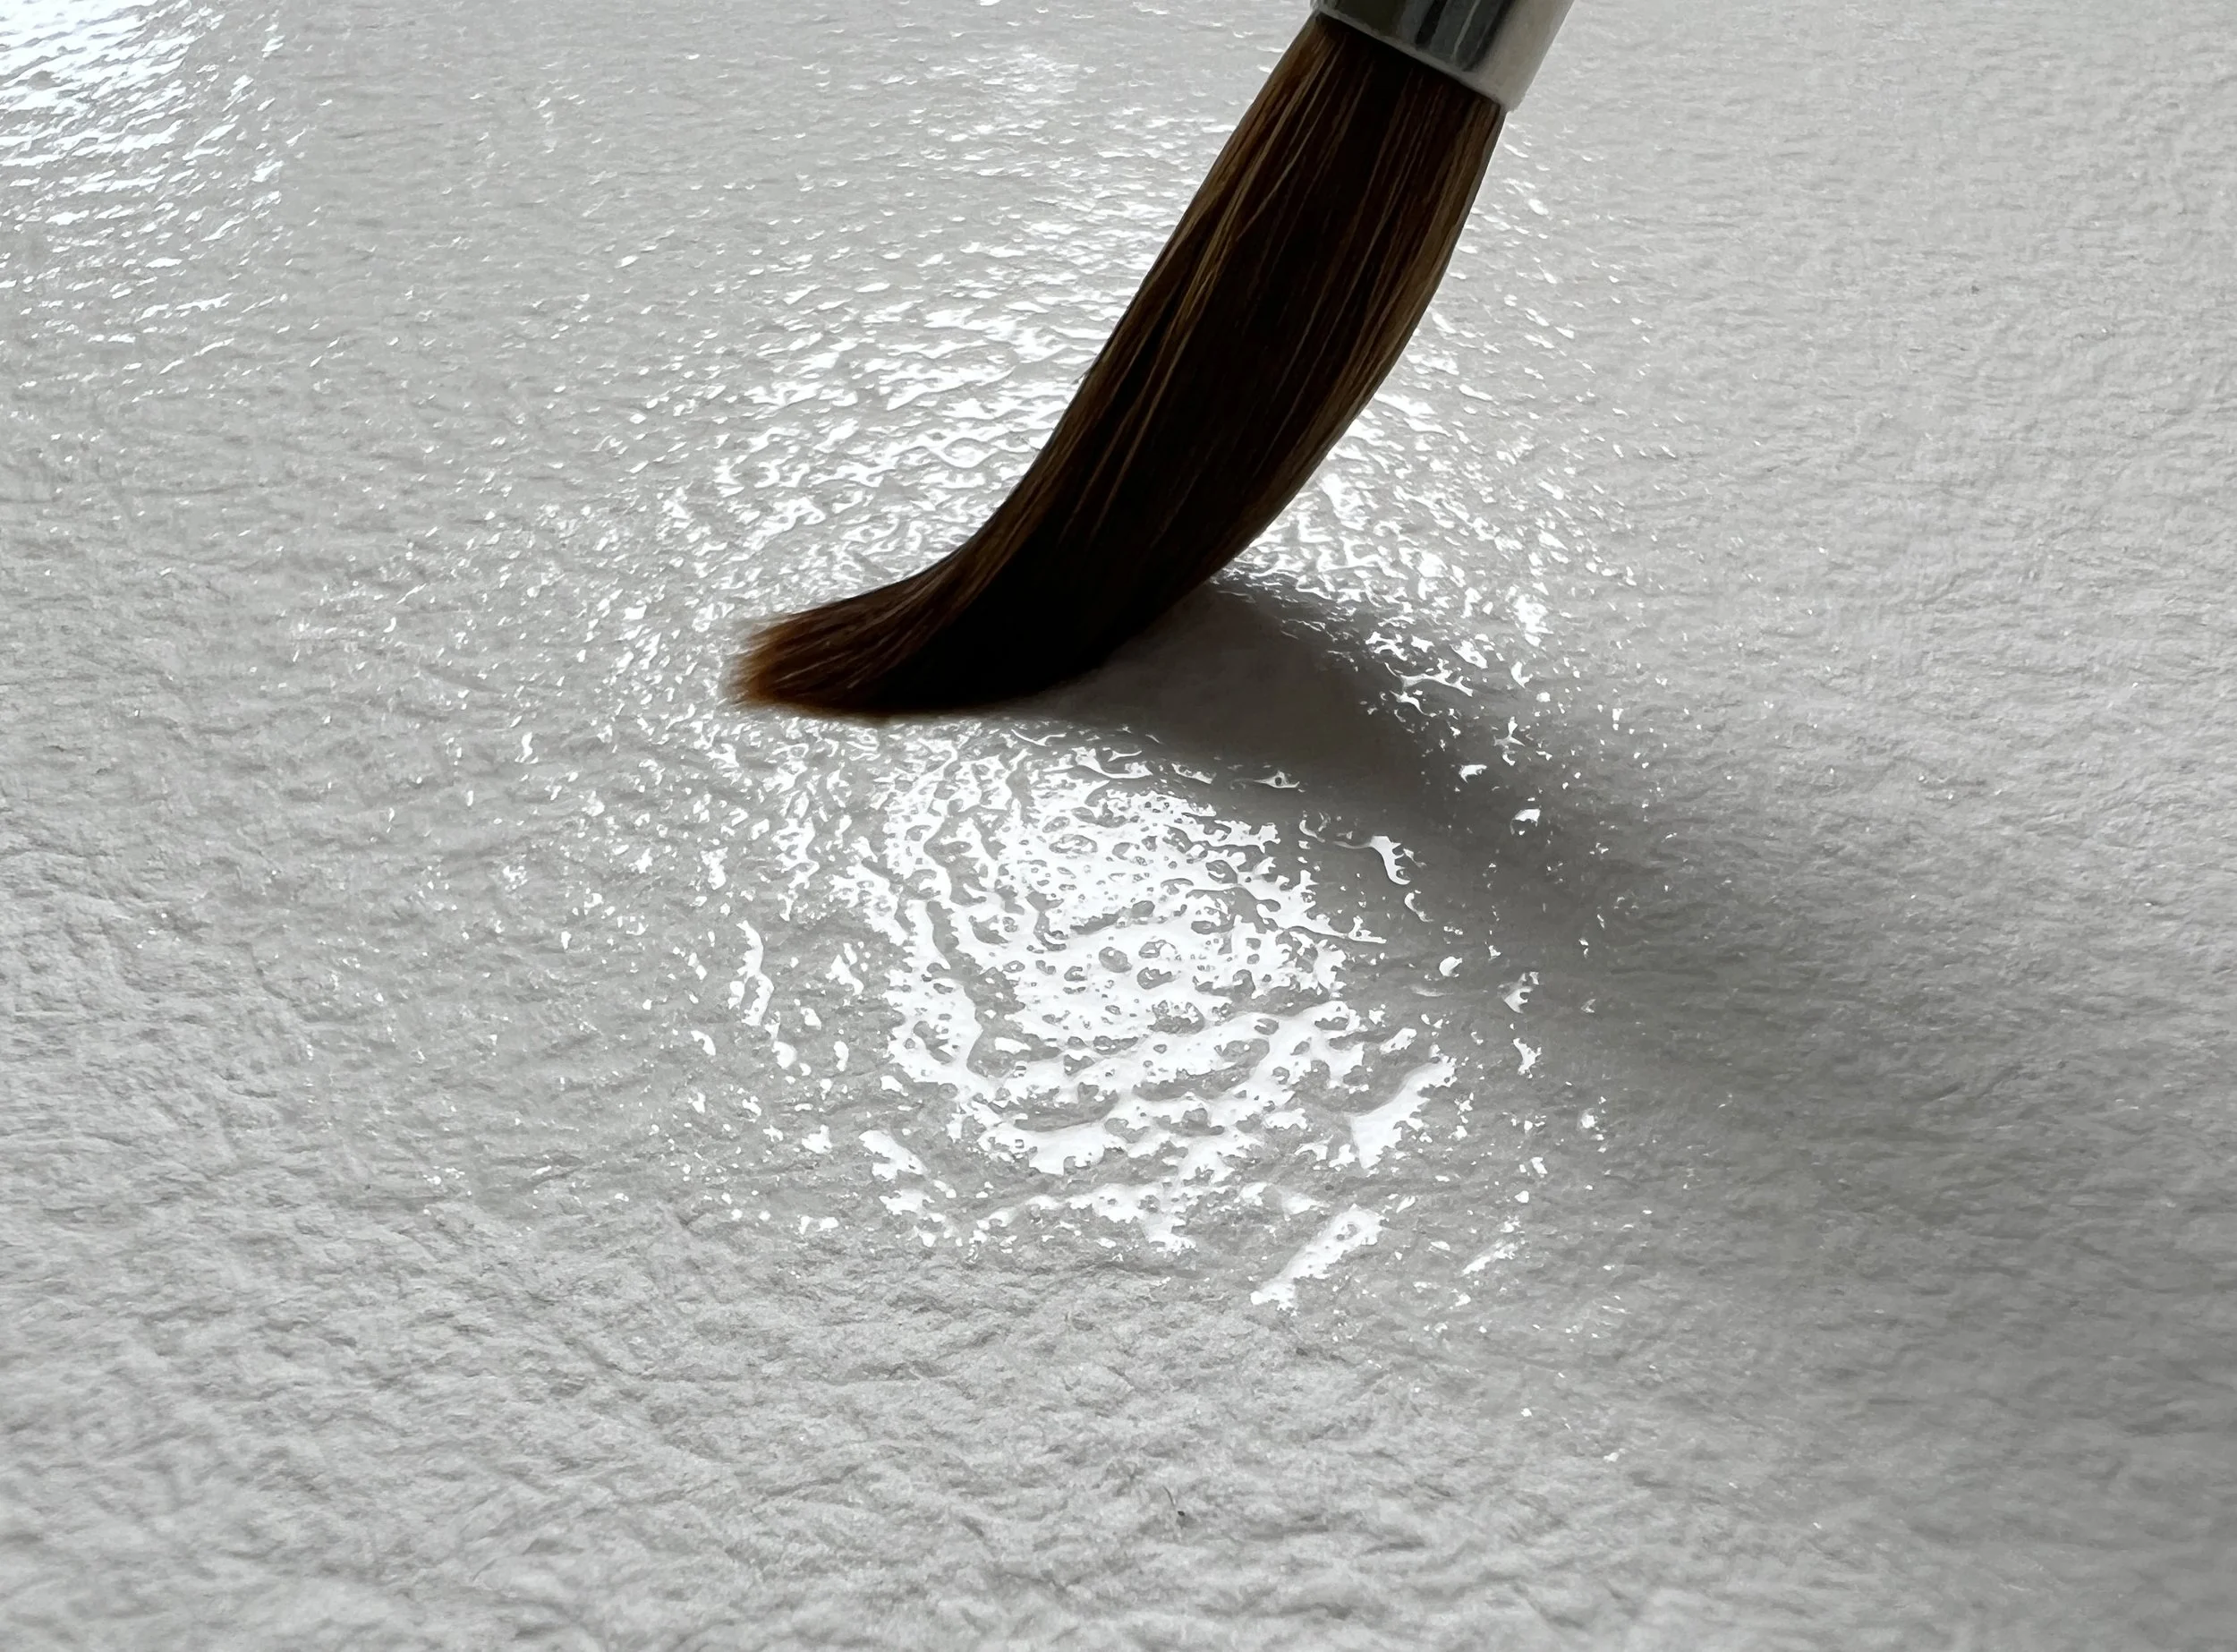
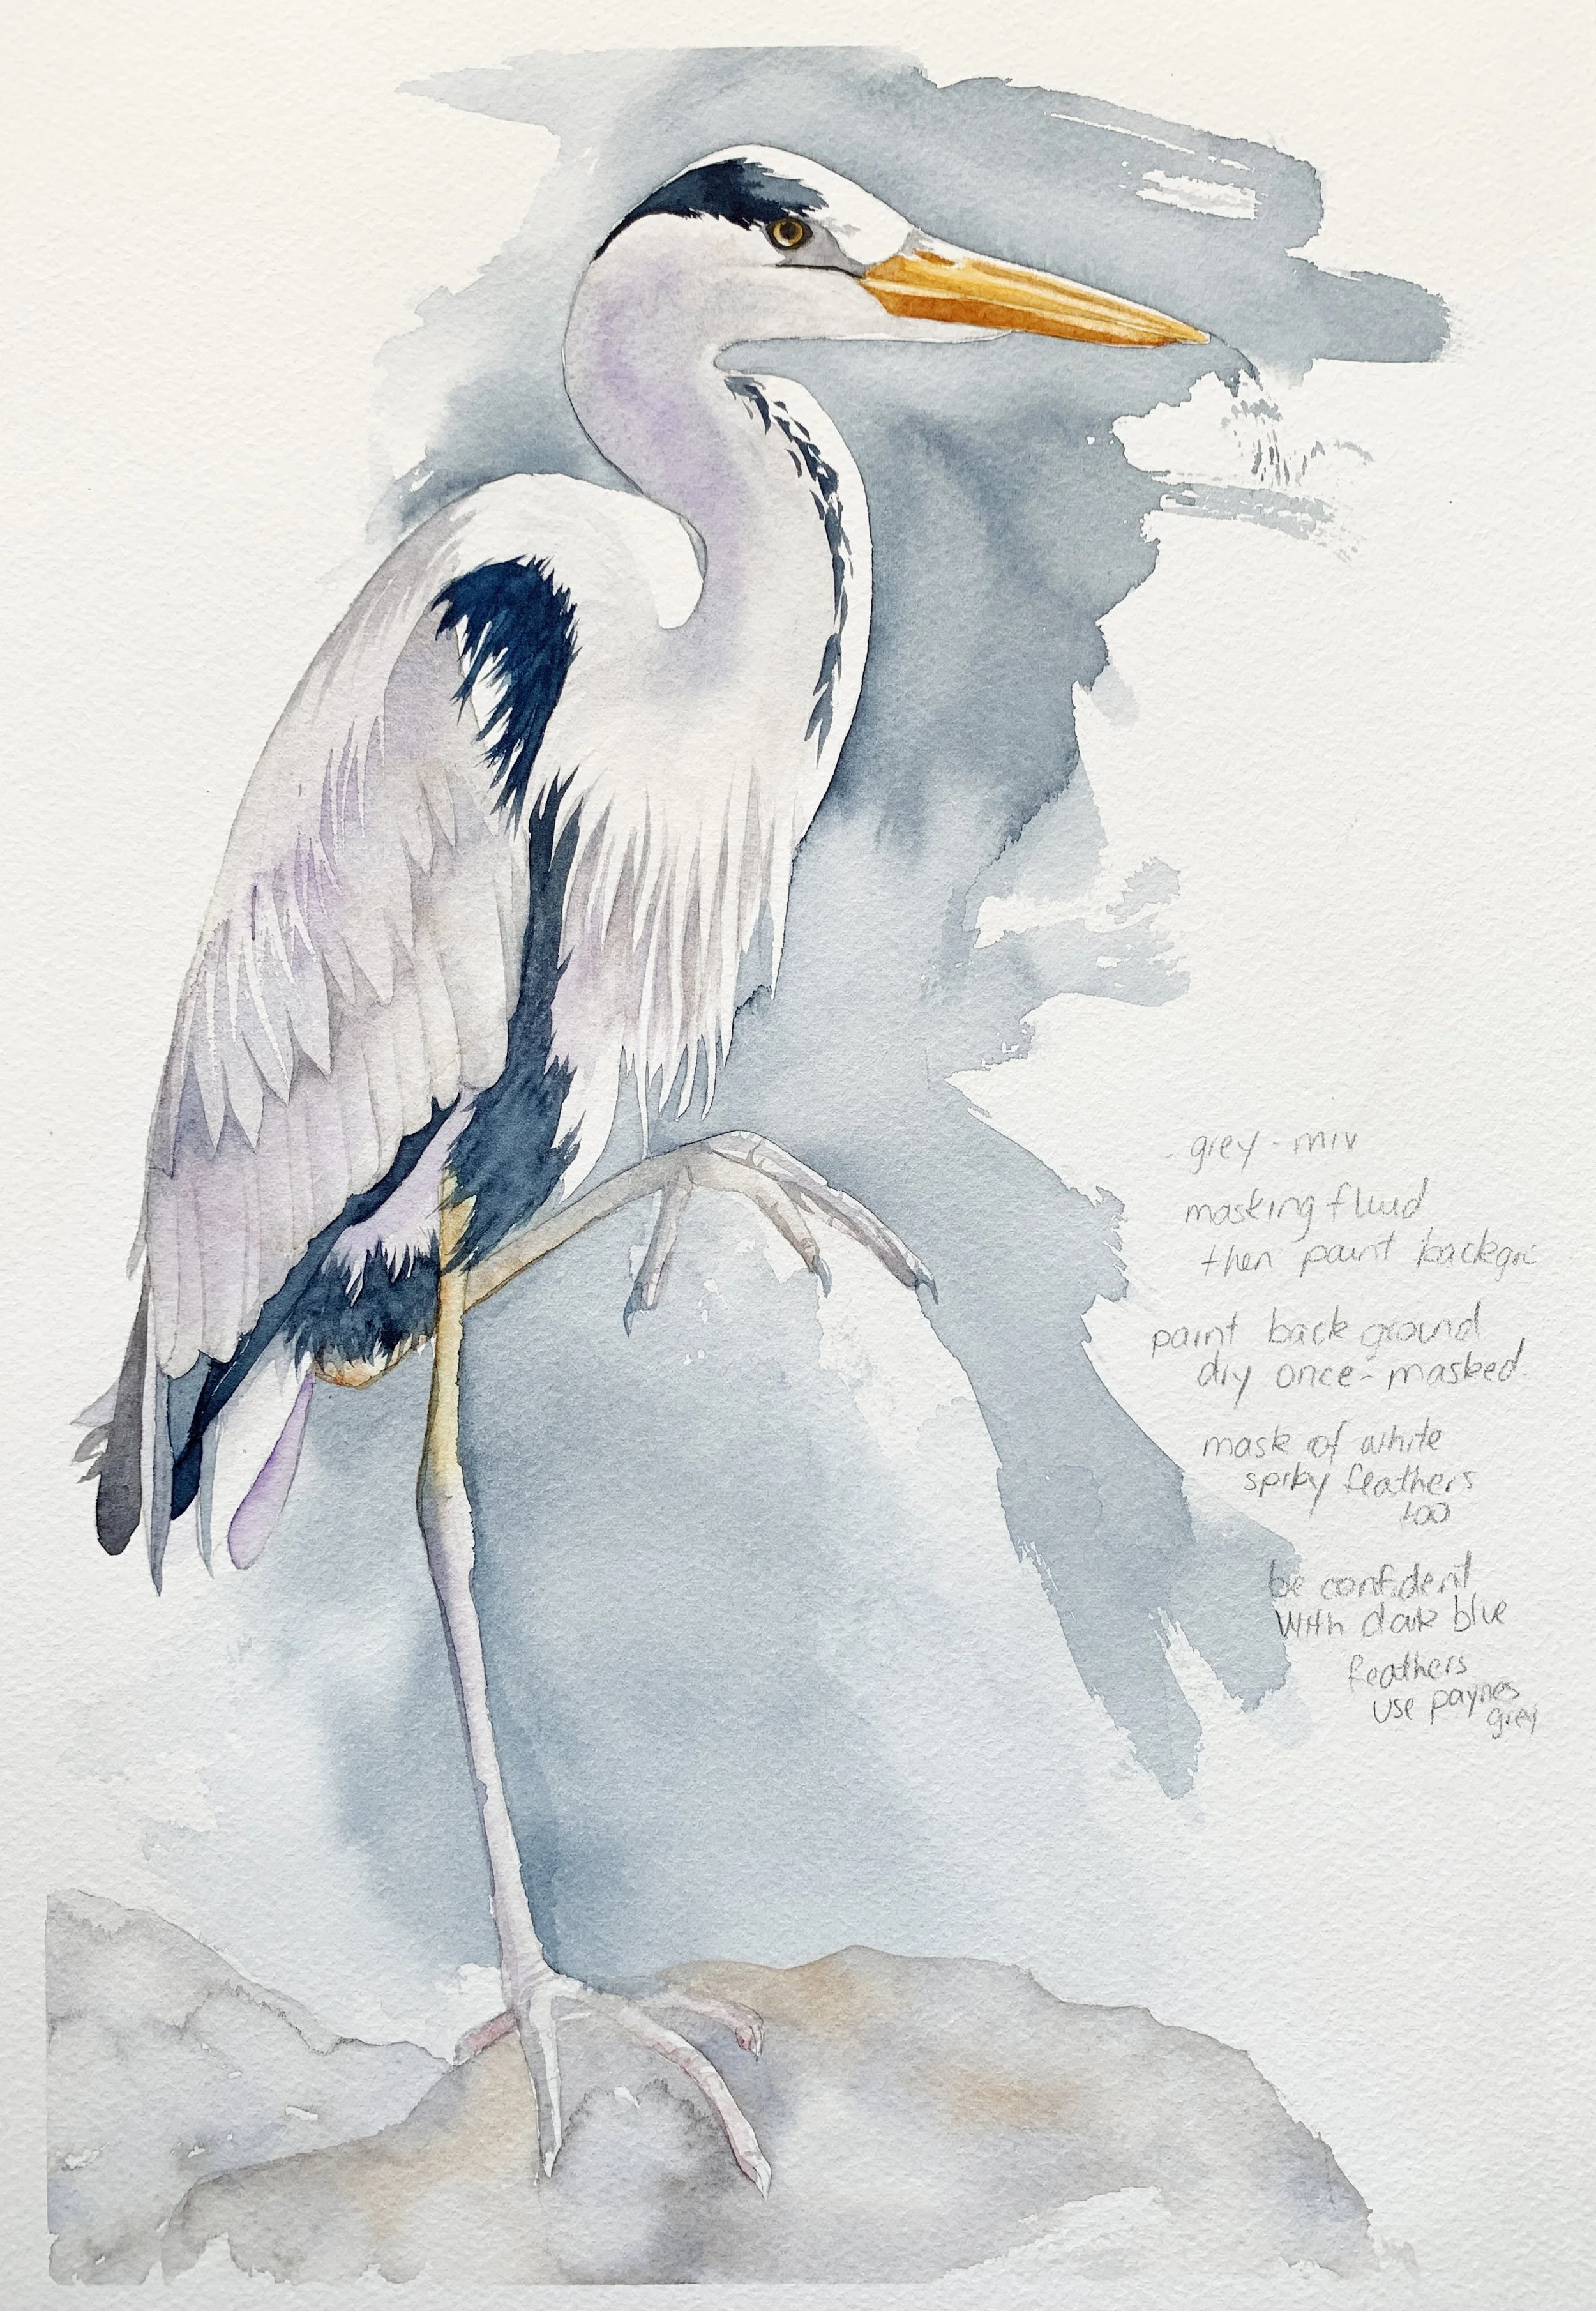
Mistakes are often made when the paper is either too wet or not wet enough. This is what the watercolor paper often looks like when I work wet on wet.
Before I apply any paint, I often pre-wet the area I’m about to work on - especially backgrounds or large flat washes. Using a big, soft brush like a mop or hake, I wet the section evenly with clean water. The key here is consistency - you want the entire area to have the same level of dampness, without puddles or dry patches. If one part starts to dry before the others, that’s when you can run into trouble.
Allow the water to soak in for a moment and settle. When the paper has a soft sheen - not dripping wet, but not dry either - it’s ready for paint. This “sweet spot” gives you a window of time where the pigment will flow beautifully and blend softly.
Keep a spray bottle nearby
I always keep a fine-mist spray bottle on my table - even though I rarely use it.
It’s a handy backup if a large wash starts drying too quickly and I really need a few extra seconds to soften an edge or fix a transition. A light mist can buy you that time. But most of the time, I prefer to let a section dry completely and come back with another layer. That approach has worked well for me over the years.
Be careful not to overdo it if you do use the spray - a light mist is enough. Too much water can cause blooms or backruns (unless that’s what you’re after).
Work in layers
Another way to avoid drying disasters is to work in stages rather than trying to do everything in one go. It’s easy to get overwhelmed by a large piece and want to fill in all the detail straight away - but watercolour really shines when it’s built up gradually.
Start with a light wash to block in your shapes and values. Once it’s completely dry, you can add depth and detail through glazing- layering transparent washes on top of each other. This method gives you more control and helps prevent muddy colours and overworked areas.
Consider the climate
If you live somewhere with very dry air, or you’re painting during summer, your paper might dry faster than you’d like - even faster than you're used to. In that case, a small humidifier in your painting space can be a game-changer. Just a touch of added moisture in the air can slow down drying time, making it easier to work with large areas.
Watch the sheen on the watercolor paper.
Even placing a damp towel near your painting or using a closed-door room can help retain humidity. Some artists also lightly mist the air around them (never directly on the paper unless you're misting intentionally).
Watch the sheen
This is one of my favourite little habits: as I paint, I constantly keep an eye on the sheen of the paper. If it’s glossy and wet, I know I still have blending time. When it turns slightly matte, it’s entering that delicate in-between stage - and once it looks dry, it is dry. Knowing where your paper is at helps you make better decisions and avoid going back into an area at the wrong moment.
Controlling drying time is all about giving yourself breathing room - both literally and artistically. With a few smart habits and a little awareness, you’ll find that painting large becomes not only manageable, but deeply enjoyable.
5. Step Back Often
When you’re painting something large, it’s so easy to get caught up in the details. You might find yourself hunched over the paper, carefully shaping a petal or blending a shadow, fully absorbed in one small area of the whole. And while that kind of focus can be wonderful, it can also become a trap - because the more time we spend up close, the easier it is to lose sight of the big picture.
Standing back from my painting helps me answer questions like, 'Do I need more colour?'
That’s why I make it a habit to step back regularly while I work. I’ll stand up, walk across the room, and look at my painting from a few paces away. I’m not checking for tiny flaws - I’m checking for balance. Does the composition feel strong? Do the colours guide the eye in the way I want them to? Are there areas that feel too heavy, too flat, or too chaotic?
What looks beautiful up close might read completely differently from a distance. That soft shadow you blended so carefully might disappear entirely, while a slightly darker shape you barely noticed might suddenly feel overpowering. A large painting is meant to be viewed from across the room, so it’s important to give yourself that perspective as you go.
Sometimes I even prop the painting upright - either on an easel or taped to a board leaning against the wall - just to see it vertically. This small change can reveal all sorts of things that might go unnoticed when the paper is flat on your desk.
You can also try photographing your painting on your phone and looking at it in black and white. This is a great way to check your value structure - making sure your lights, mid-tones, and darks are working in harmony.
Taking a step back - literally and creatively - helps you make better decisions. It gives you a moment to breathe, reset, and return to the painting with fresh eyes. It’s a small habit, but one that makes a huge difference.
So don’t be afraid to leave your desk every now and then. Walk away, turn around, and really see what you’ve created. More often than not, you’ll come back with a clearer sense of what to do next.
Final Thoughts
Scaling up your watercolour work can feel daunting, but it’s also incredibly rewarding. It’s like moving from a quiet whisper to a full-throated song - bold, expressive, and deeply satisfying. Don’t worry if it doesn’t go perfectly at first. My first few large pieces had their share of struggles, but they also taught me more than I ever learned on a smaller sheet.
Working on an A2 size piece of watercolor paper for the first time.
So go ahead - stretch that watercolour paper, mix up a big batch of paint, and give yourself permission to go big. You might just surprise yourself with what you’re capable of.
Happy painting,
Louise x
If you are interested in learning to paint in watercolour, I have hundreds of online, voiced over watercolour tutorials for all skill levels.