How to Paint Realistic Water Droplets on Rose Petals in Watercolour
A watercolour painting tutorial with a step-by-step guide
Sometimes it’s the tiniest details that bring a painting to life. A little glisten here, a soft shadow there and suddenly your flower looks as though it’s fresh from the garden. That’s exactly what happened when I painted this rose.
At first, I thought I’d leave the water droplets out. But as the painting progressed, I decided to add them in, and I’m so glad I did. They gave the flower sparkle, depth, and a feeling of freshness, as though it had just been kissed by the morning dew. I always look for new and exciting watercolour painting ideas. I love sharing these skills and techniques with you in a tutorial.
So today I’ll show you how to paint realistic droplets in watercolour. They’re small, a little fiddly, and definitely patience-testing, but they’re also a lot of fun. Follow this step-by-step watercolour painting tutorial to create droplets without a headache.
What You’ll Need
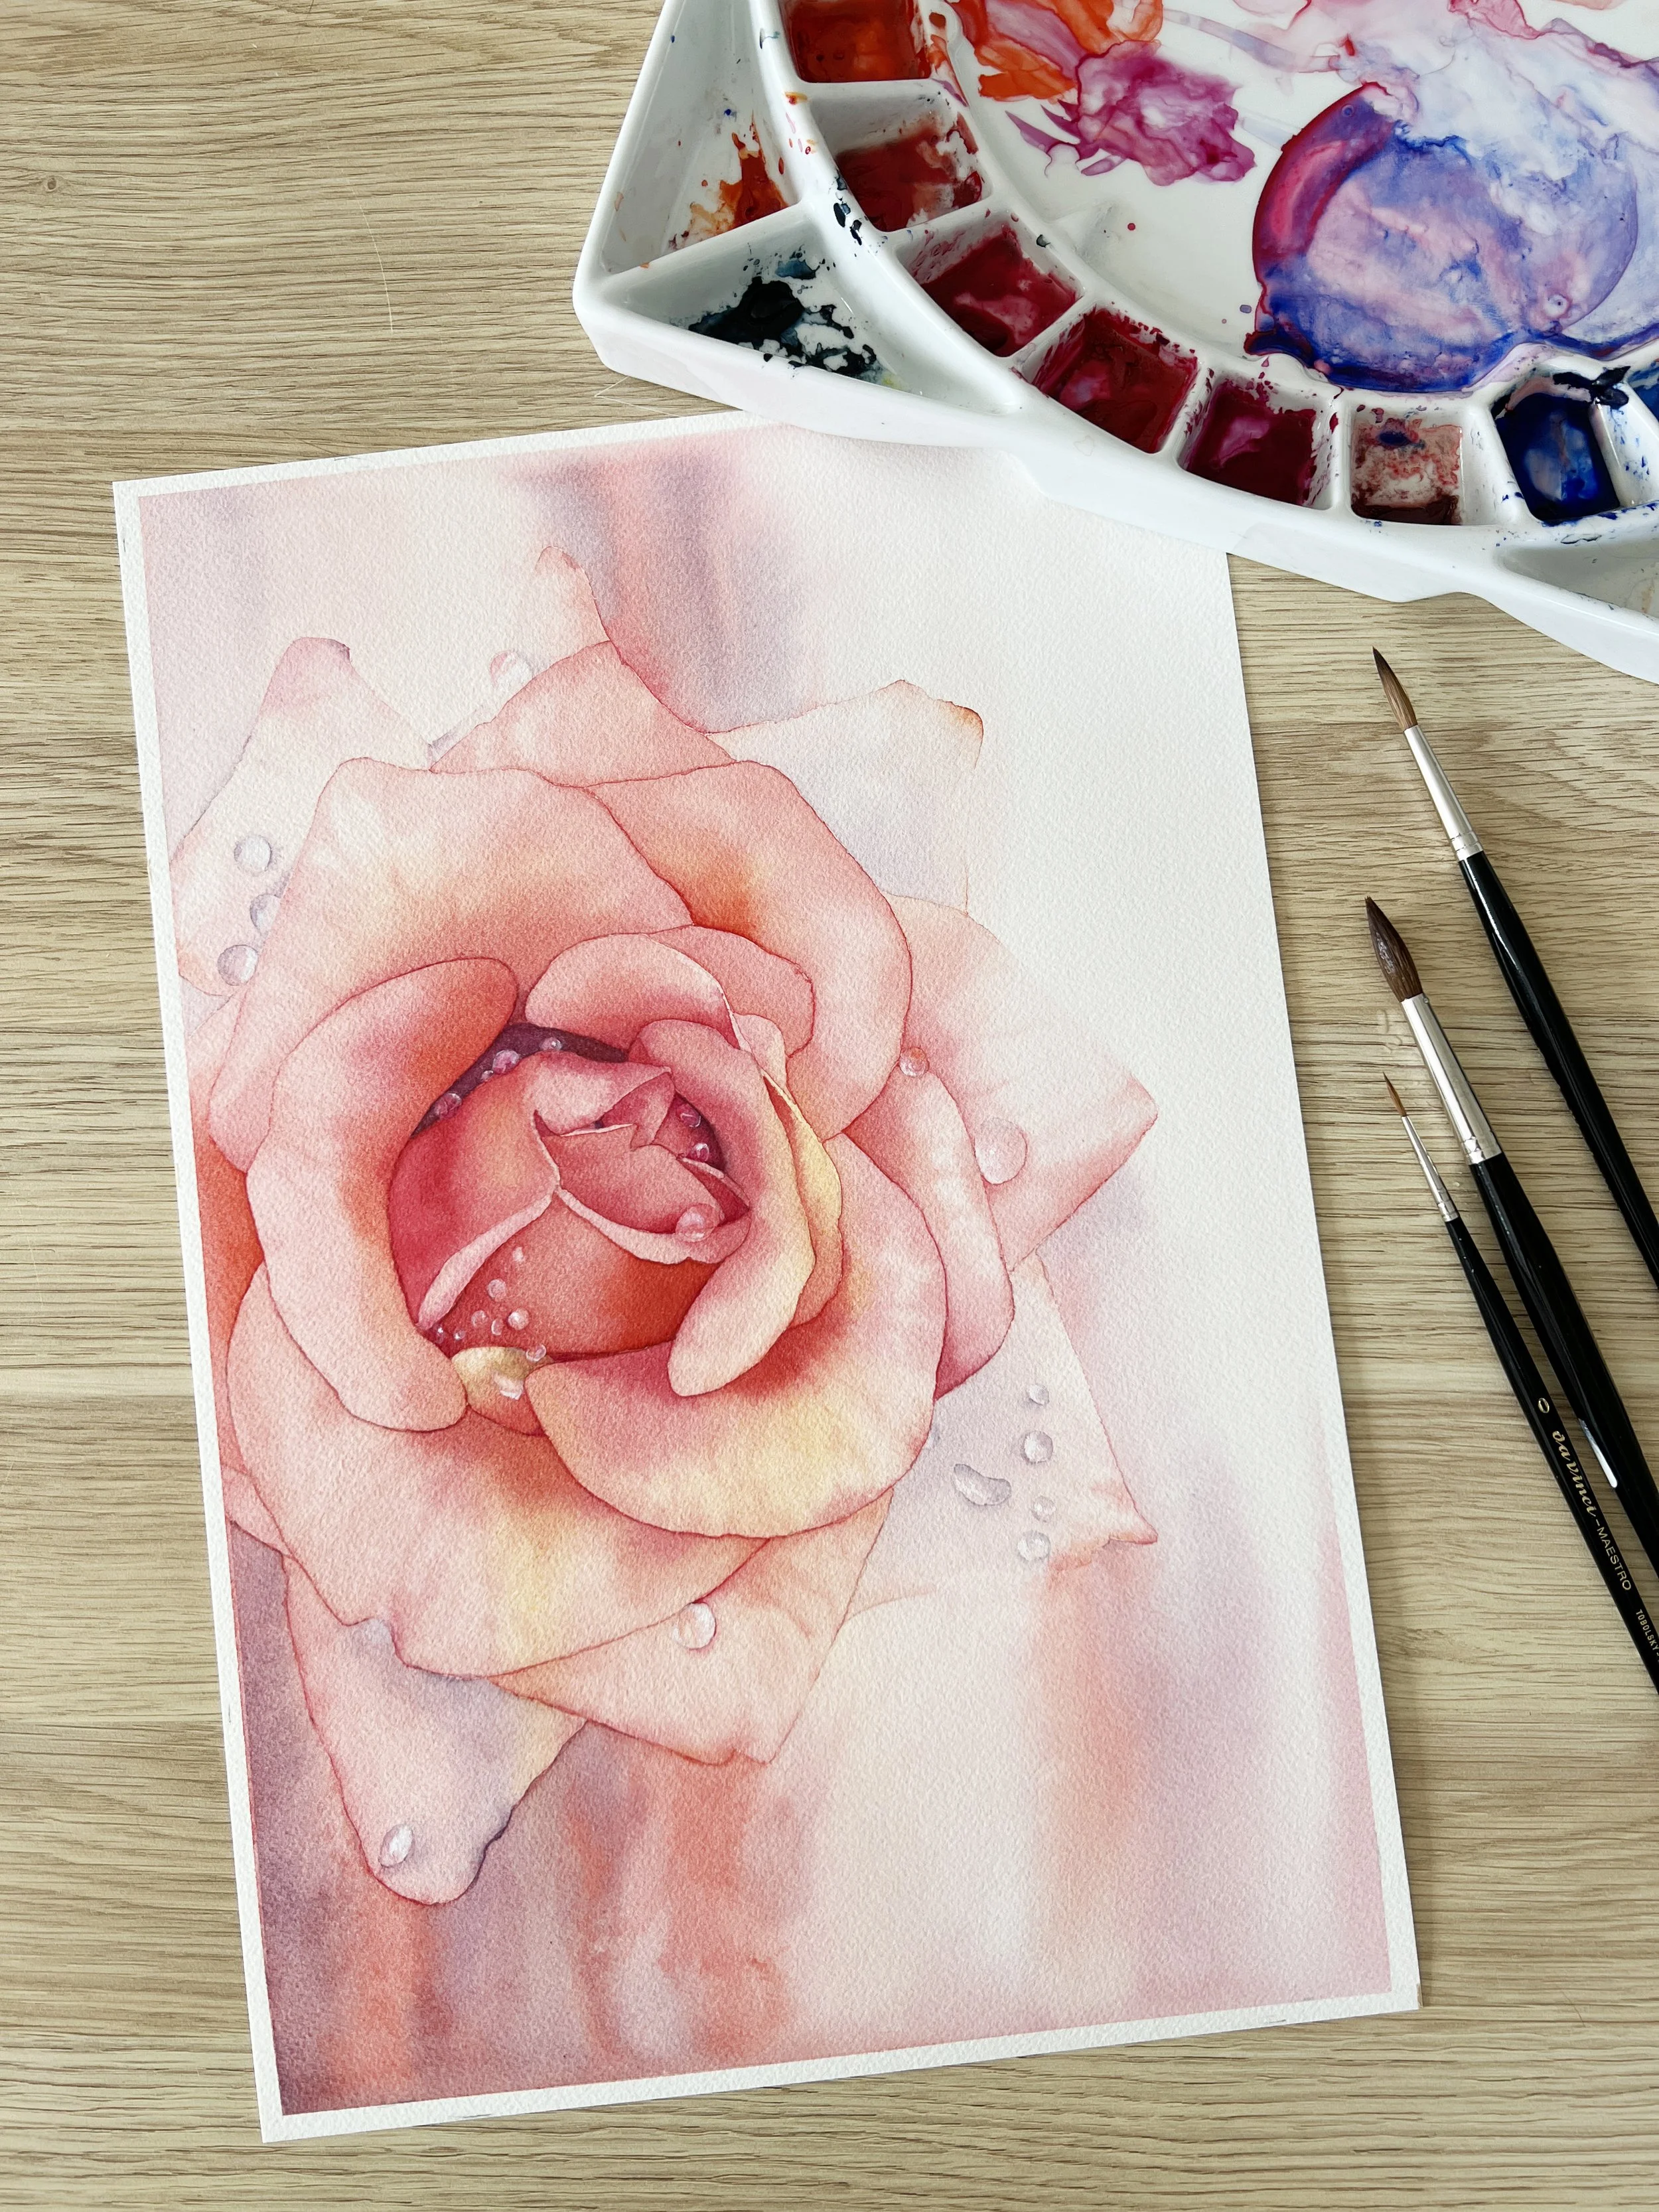
For this rose, I used:
Arches cold press watercolour paper
Schmincke paints – mainly Ruby Red + Pure Yellow, with touches of French Ultramarine Blue and Quinacridone Magenta, but you can use any colours on your watercolour palette.
Brushes – a smaller brush (I use a size zero), a liner brush, and my trusty Eradicator brush
White gouache – for the highlights
Step 1: Observe Before You Paint
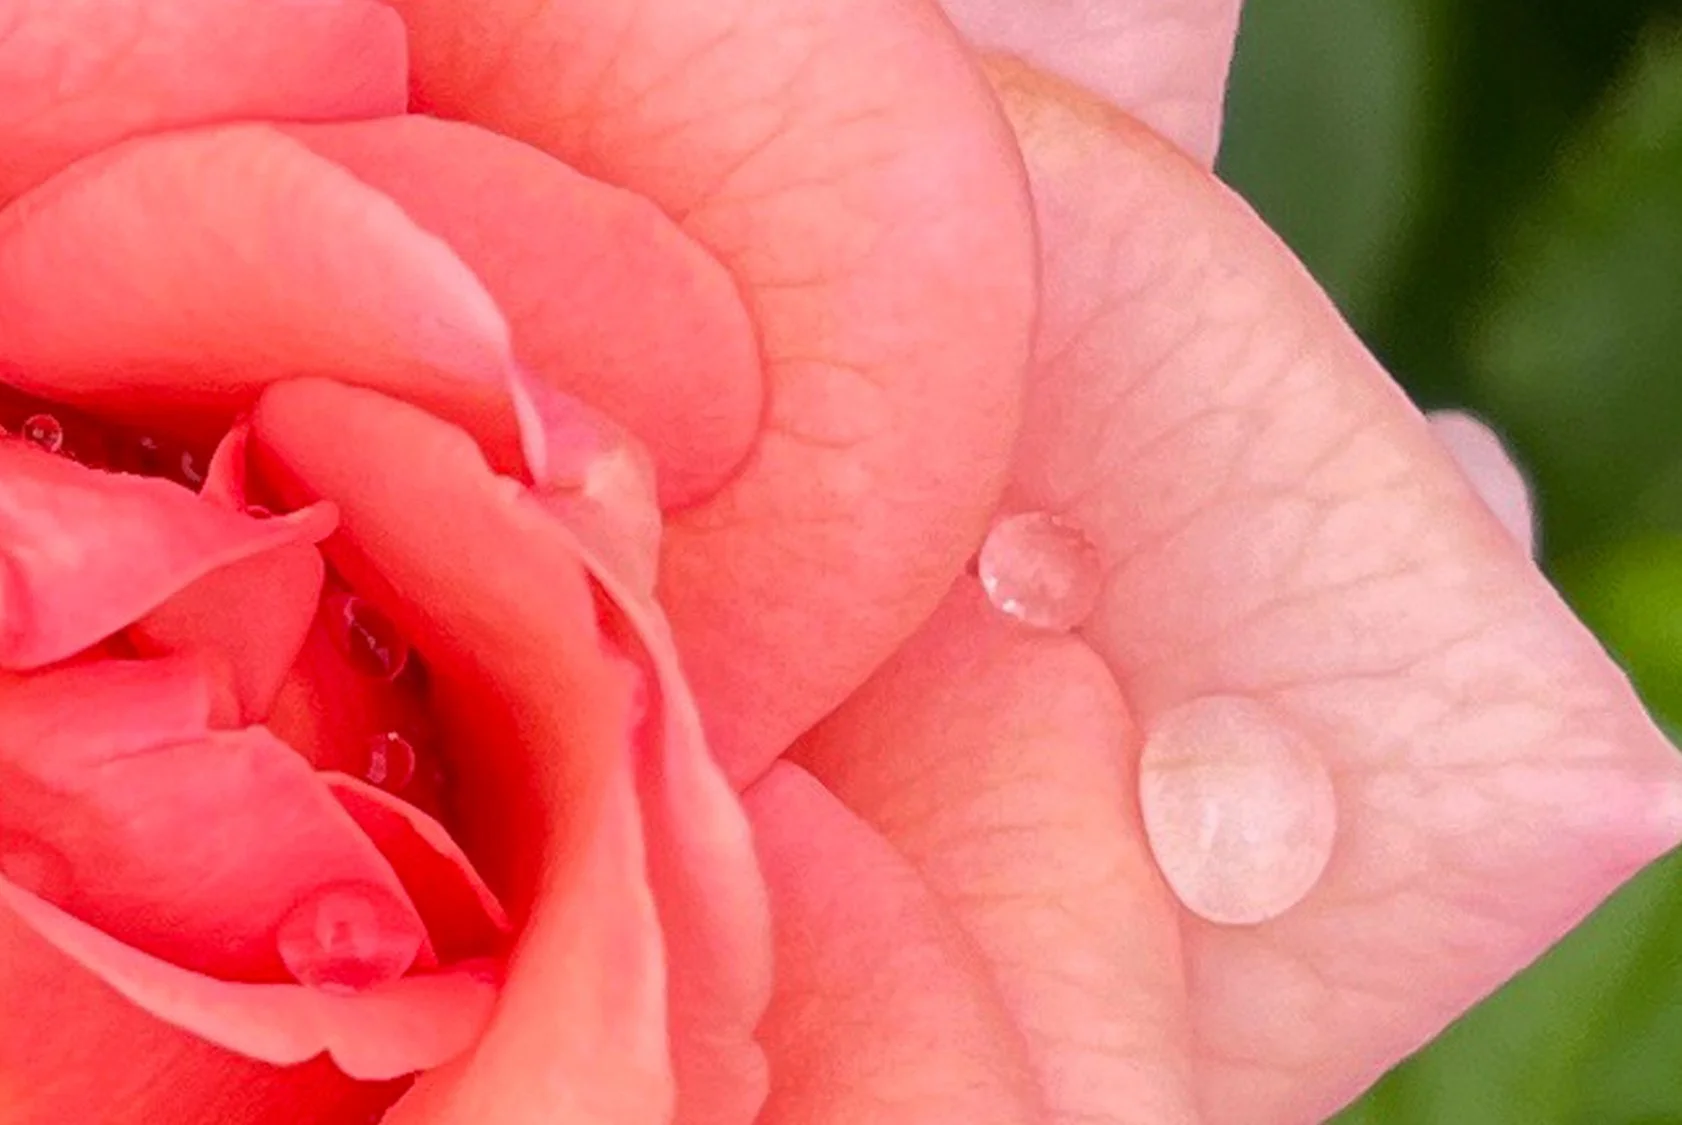
Not every droplet looks the same. Before you begin, study your reference photo closely. Notice:
Where the light is hitting each droplet
How the cast shadow falls
The differences in size and shape
Careful observation is the key to realism. It also helps to simplify the reference photo first, so you can focus on the most important shadows, highlights and shapes.
Step 2: Painting Techniques; Begin with the Shadows
Start by looking closely at where the shadows fall outside the droplet. On a real rose petal, the droplet casts a tiny shadow on the surface beneath it.
Lightly sketch the droplet shapes on your petals. Then, using damp paper, paint a soft cast shadow around the edge of each droplet with your rose mixture. For this rose I used a mixture of Schmincke's Ruby Red and Pure Yellow.
Keep the colour pale and delicate.
Let the paint bleed gently for a soft transition.
Remember: the shadow doesn’t always go all the way around.
This subtle shading is what makes the droplet feel like it’s sitting above the petal, and it’s a lovely example of how small shadows can create convincing depth.
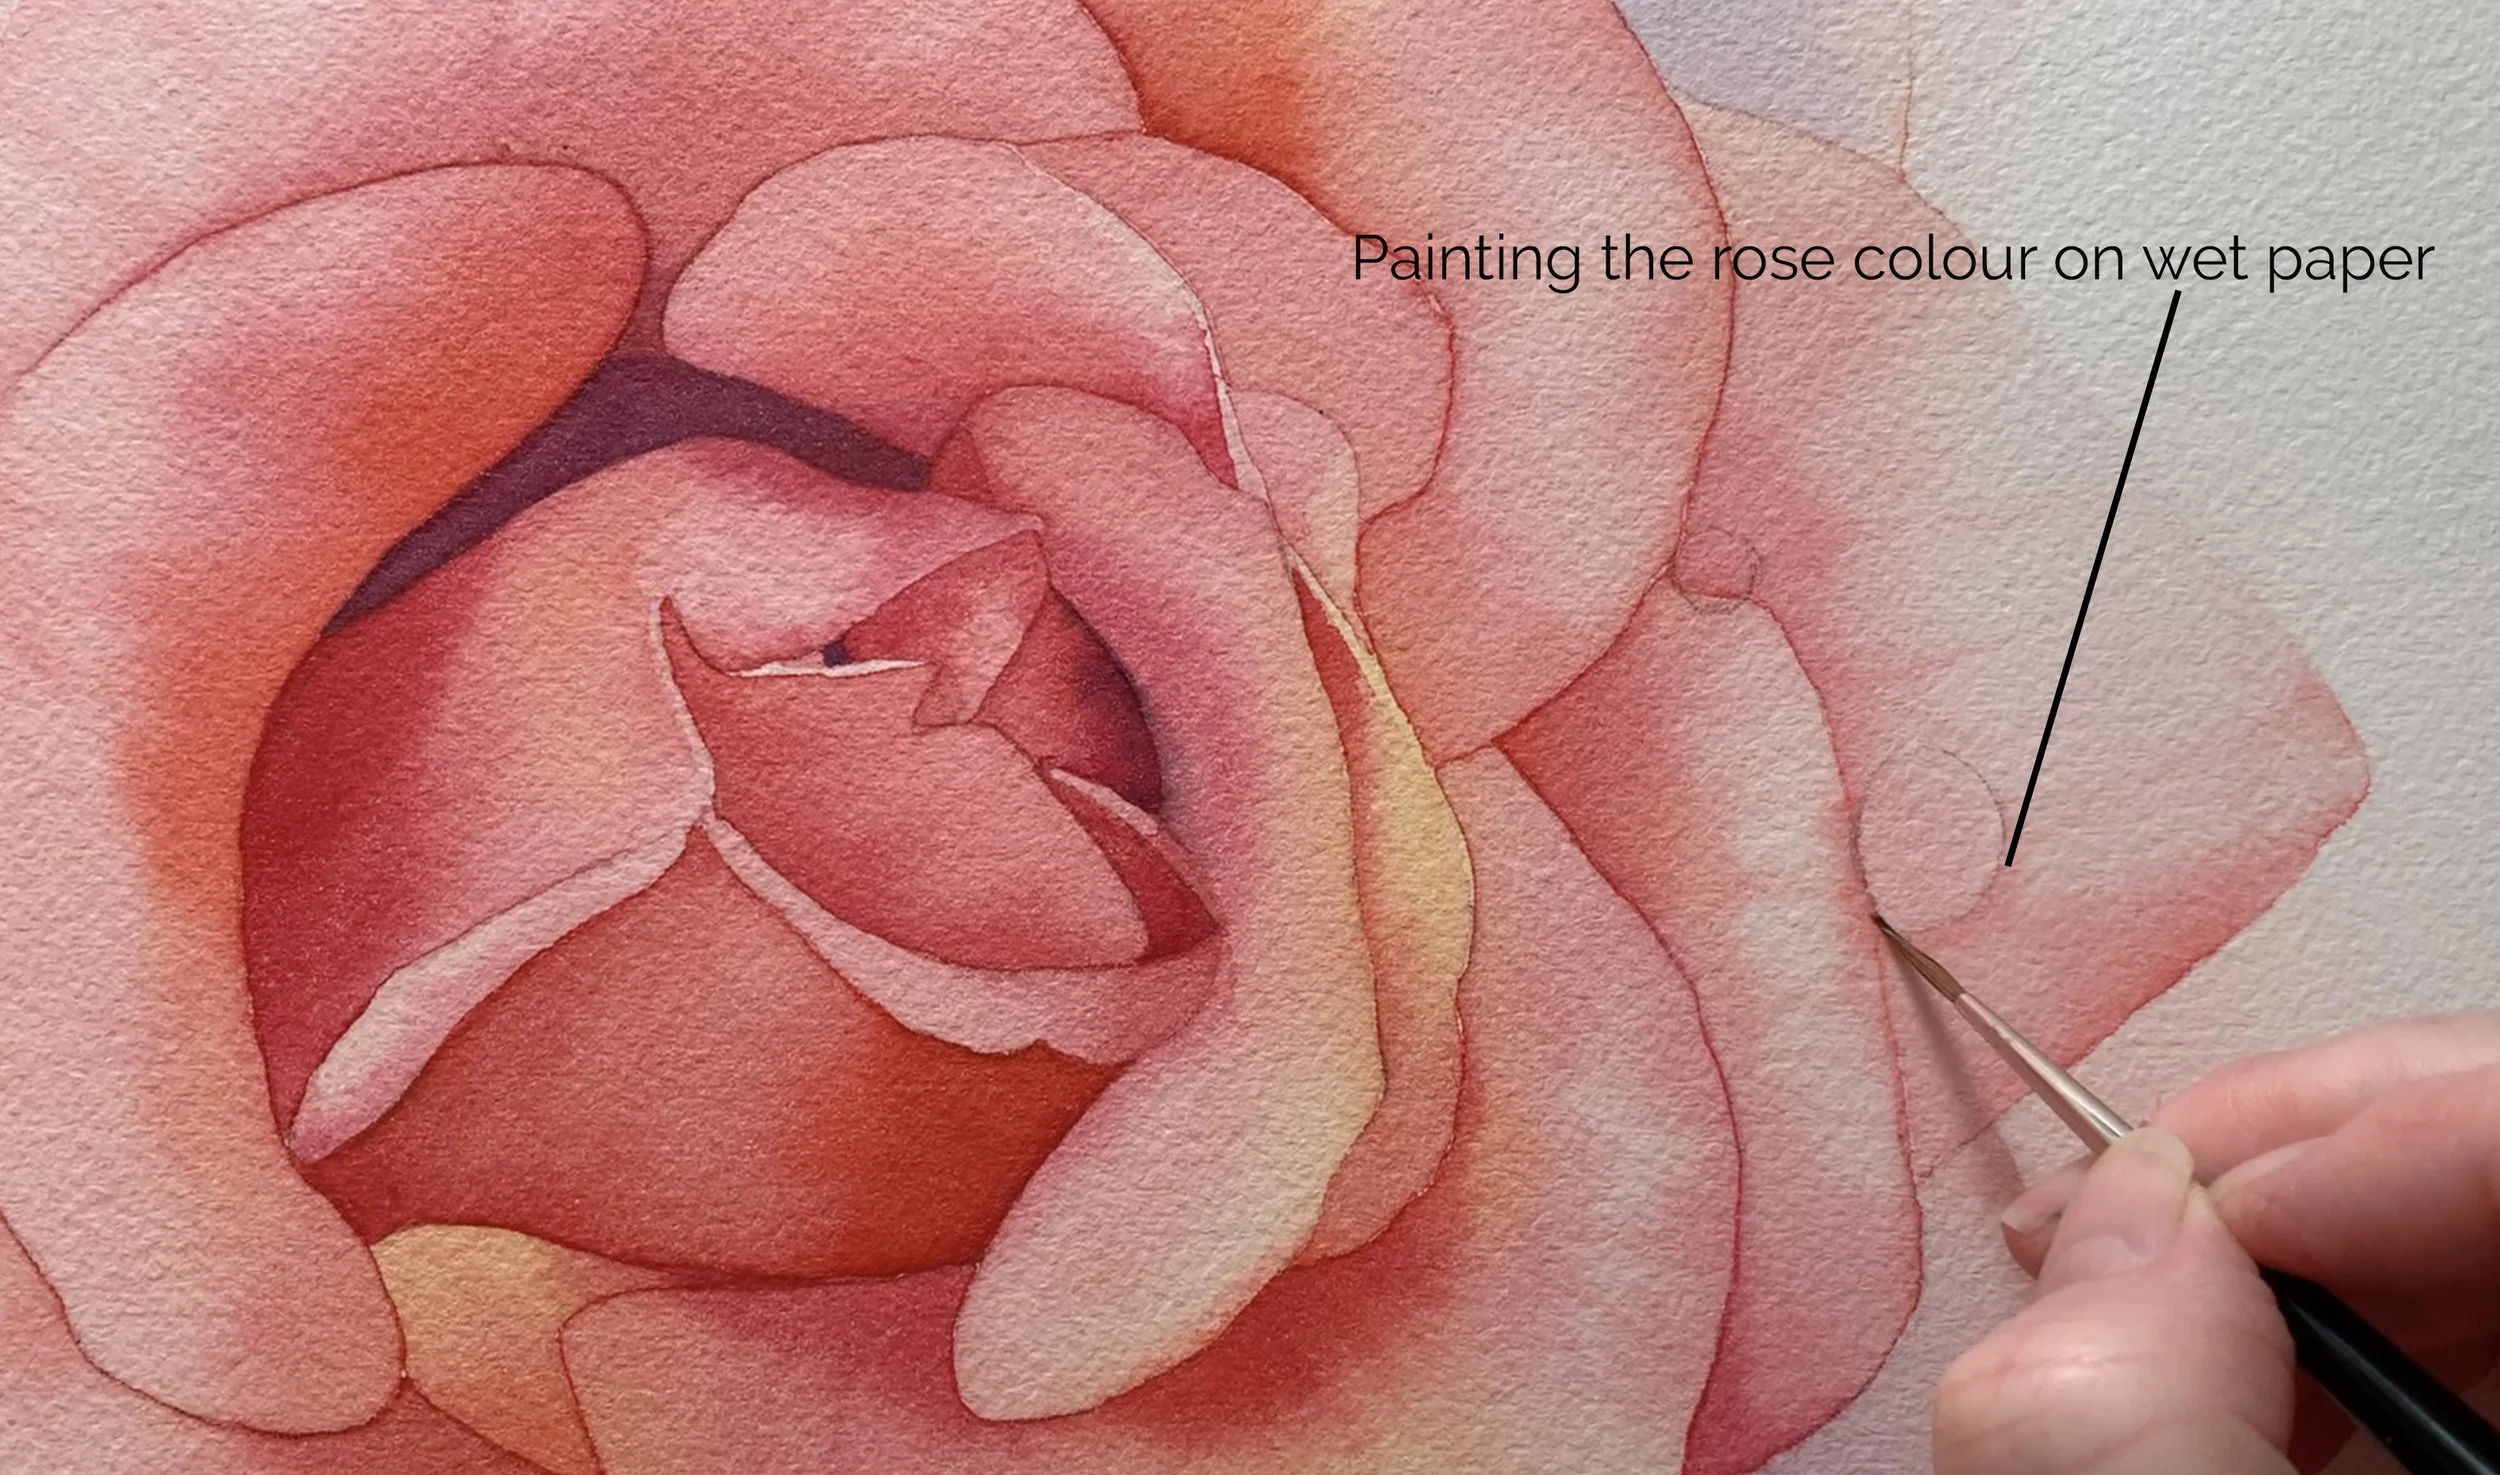
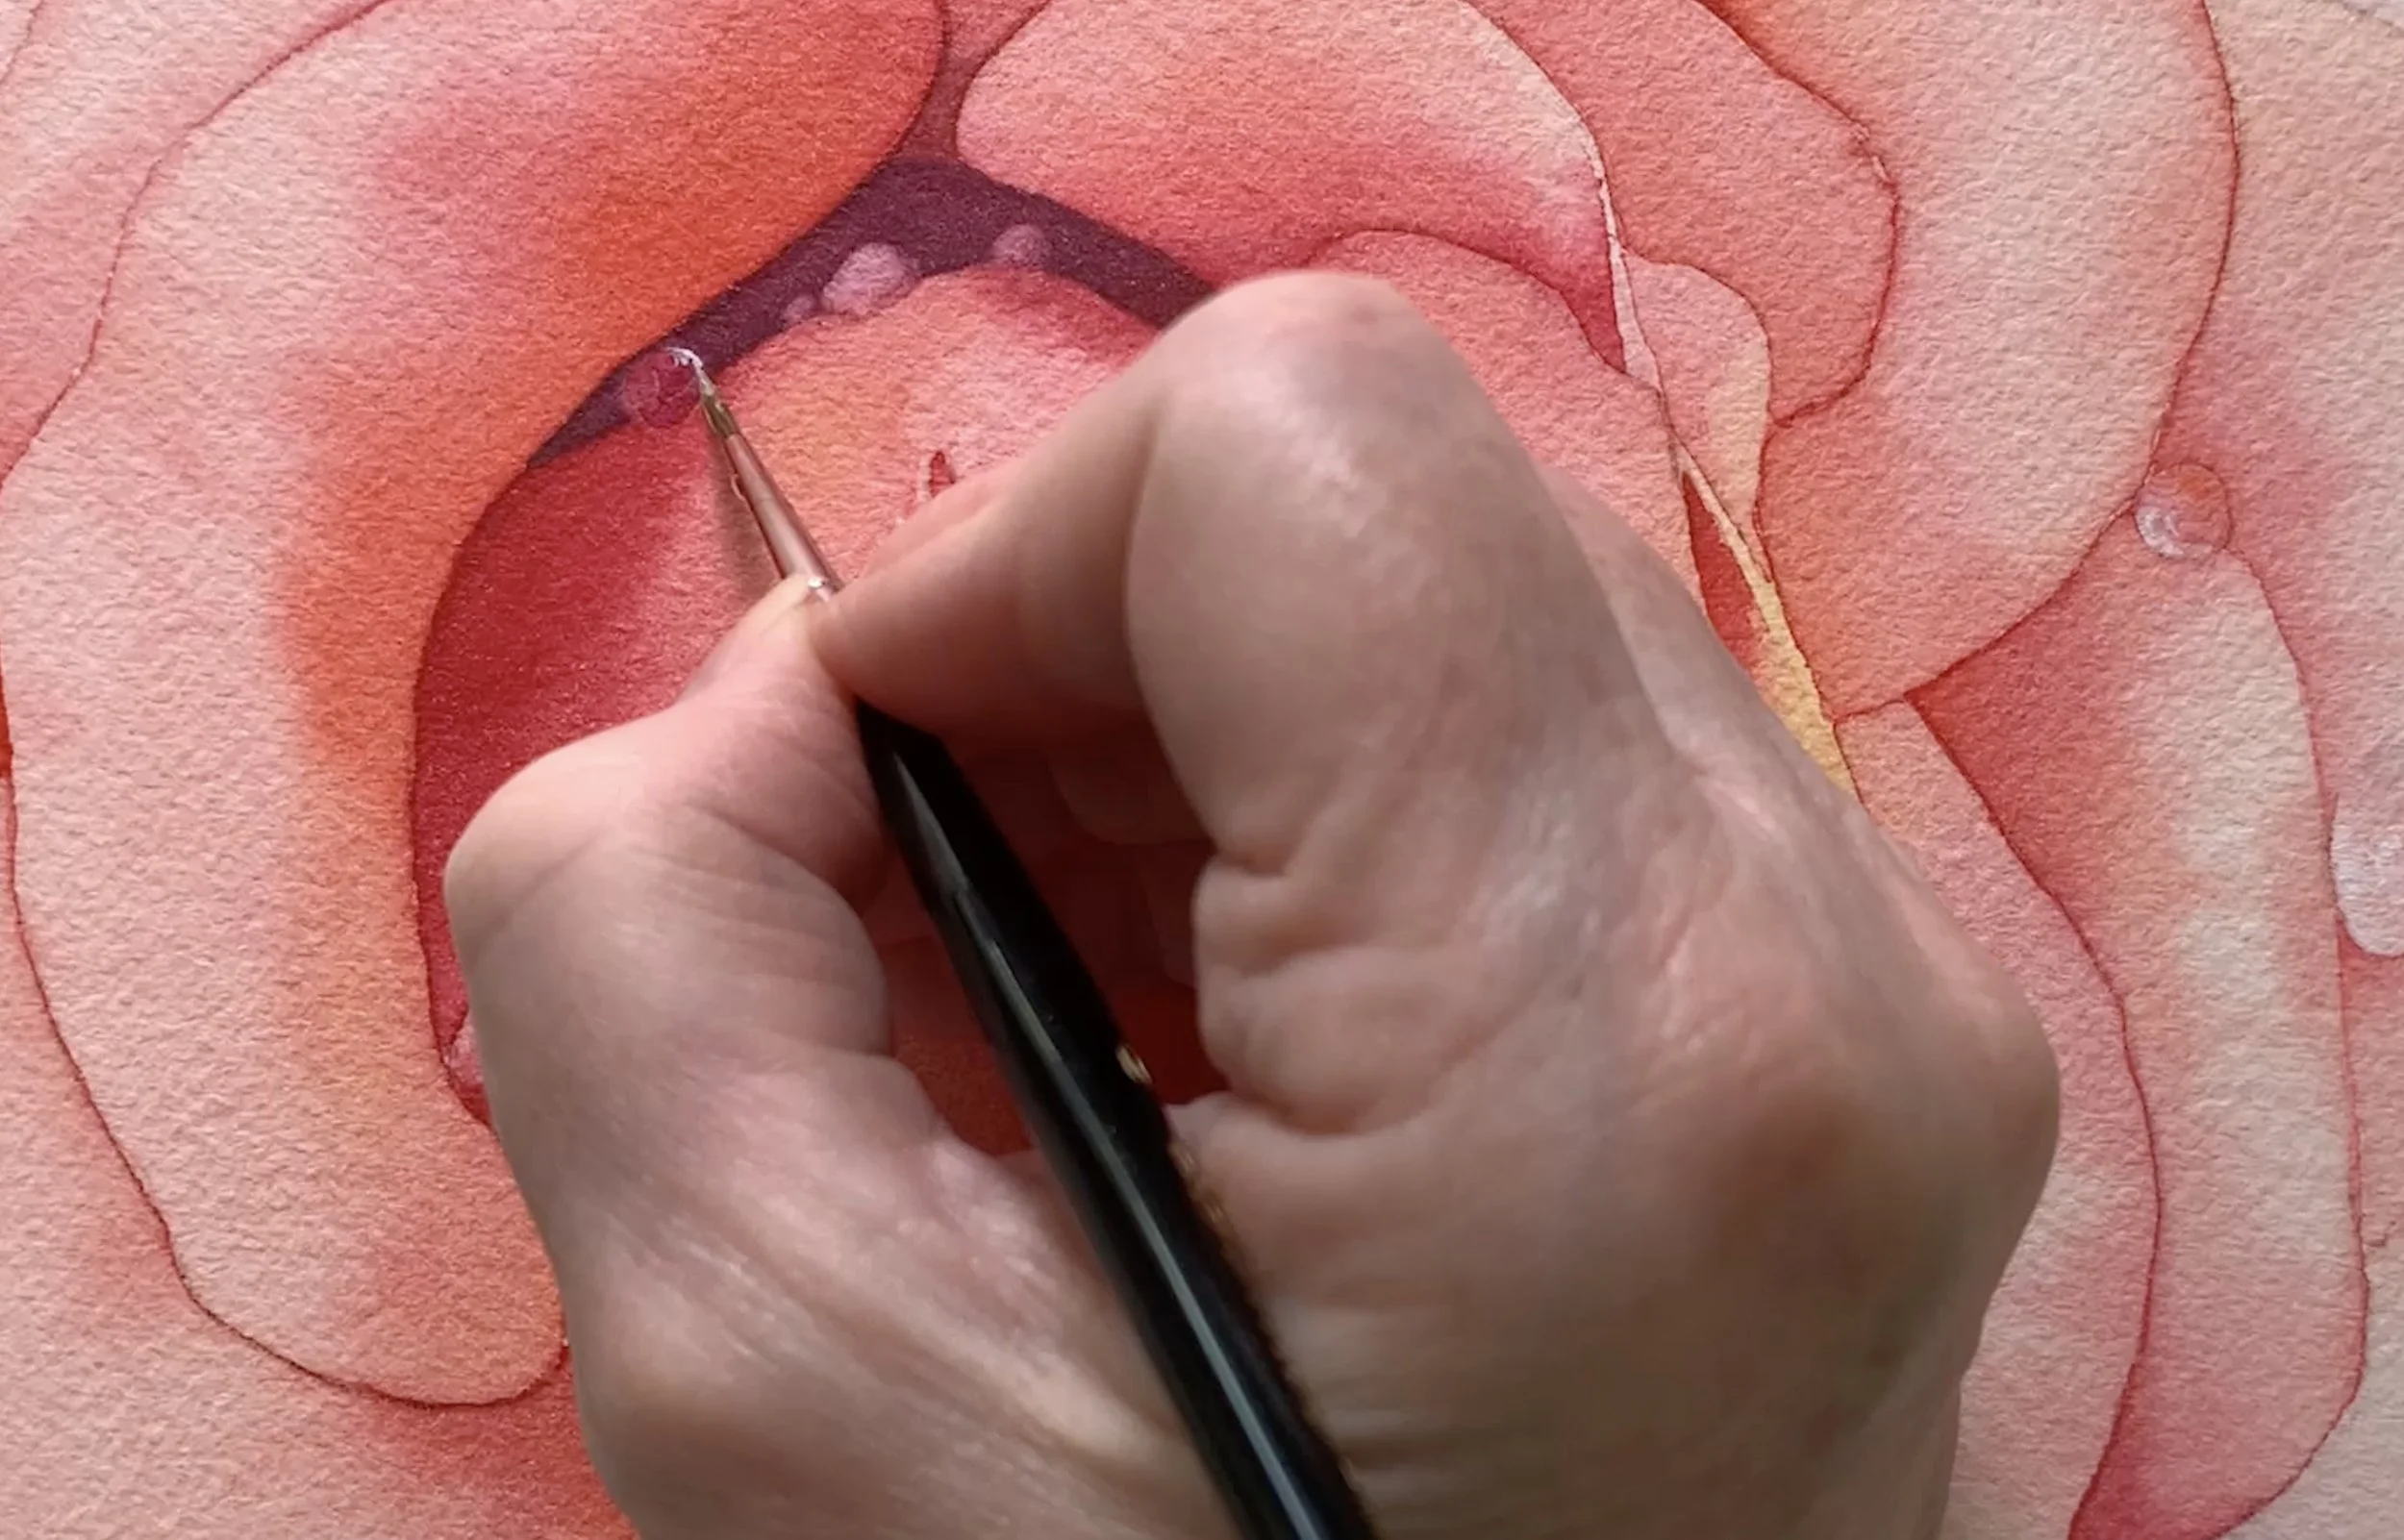
Here I'm painting the cast shadow around the outside edge of the droplet using the same colour I used for the rose petal.
Step 3: Paint the Droplet’s Interior
Now move inside the droplet itself. A droplet isn’t just a blank bubble, it actually contains a tiny piece of the world behind it. In this case, the rose petal’s colour is refracted inside. Load your brush with a slightly stronger pigment mix (of the same colour) and drop it into the droplet shape. Blend gently toward the edges, leaving a lighter area untouched for the highlight later. This is where the magic starts to happen: suddenly, your blob of water begins to look like… well, water.
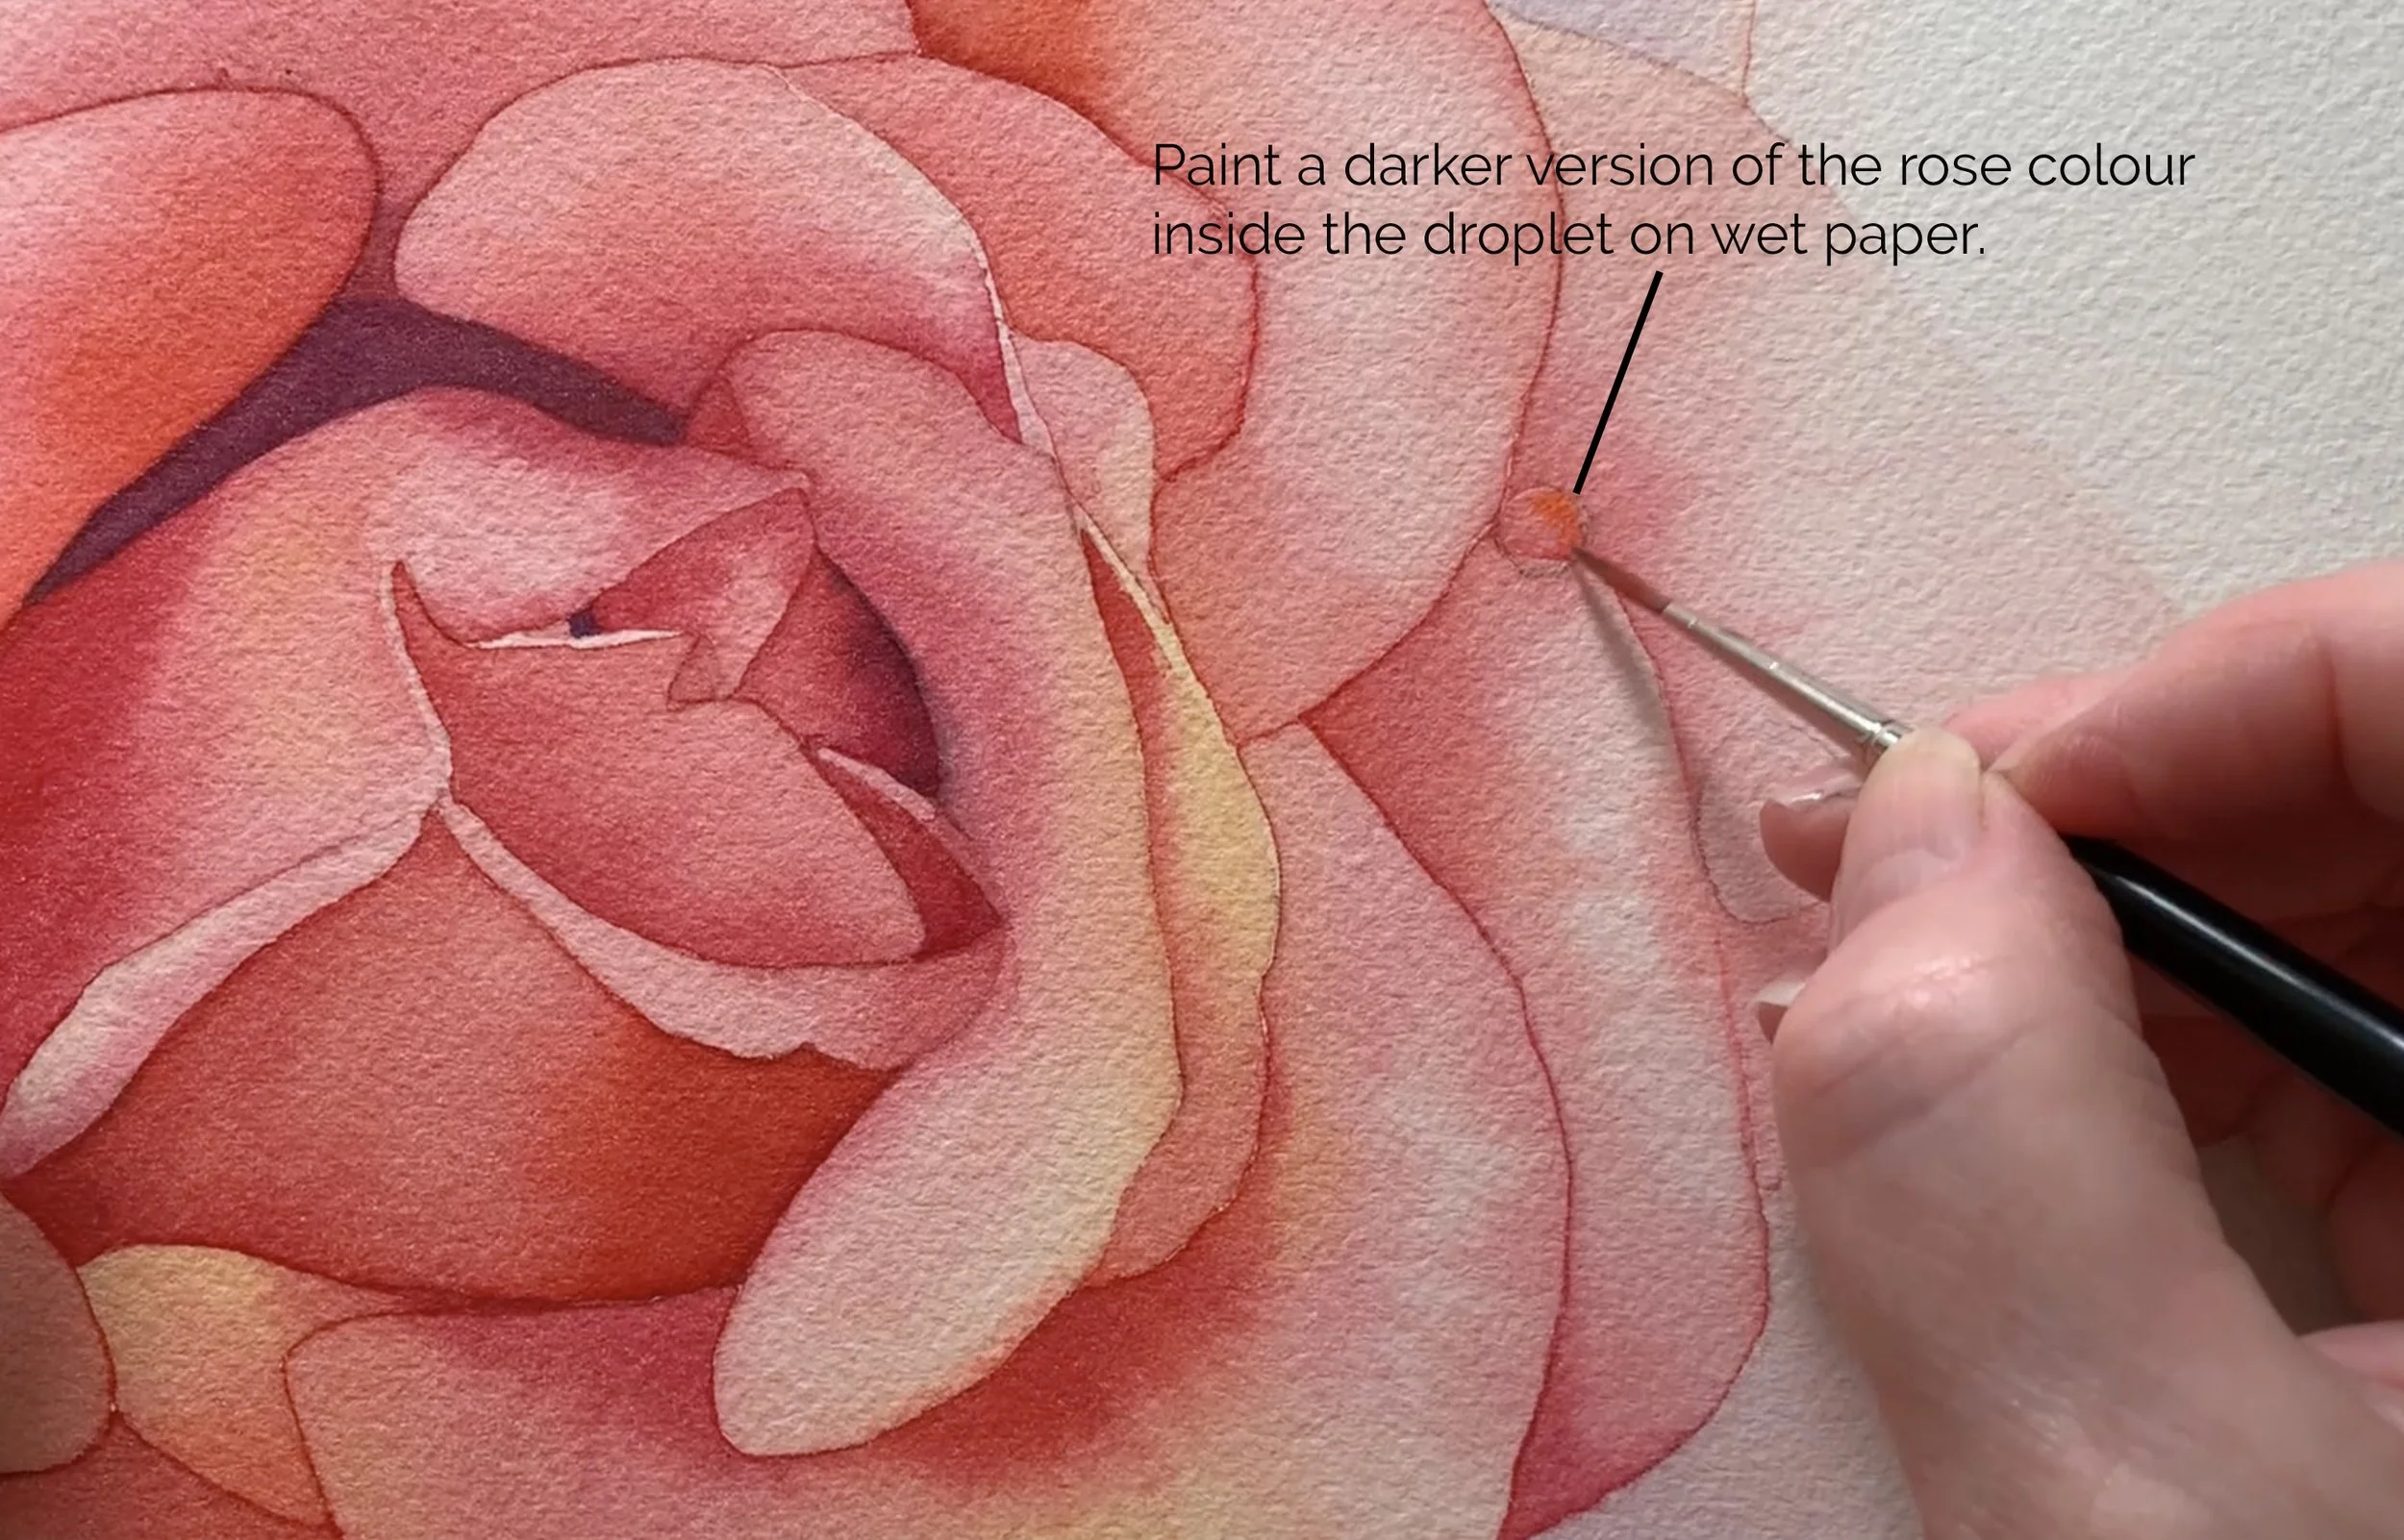
A small brush adds a darker version of the rose colour inside a droplet shape on wet paper, enhancing depth and realism.
Once the shadows are dry, moisten the inside of the droplet with clean water. Drop in a touch of the rose mixture (Ruby Red + Pure Yellow).
On some droplets, add a hint of cooler grey (French Ultramarine + Ruby Red) near the top for depth.
Let the paint spread softly, leaving some of the petal colour showing through.
This is delicate work – patience pays off here.
Step 4: Leave Space for the Highlight
Water is convincing only if it sparkles.
Use white gouache sparingly to paint the highlight on each droplet.
I apply it on the wet paper so that it bleeds softly.
Keep it creamy, not watery, for the strongest effect.
Each highlight will be placed differently depending on the light source.
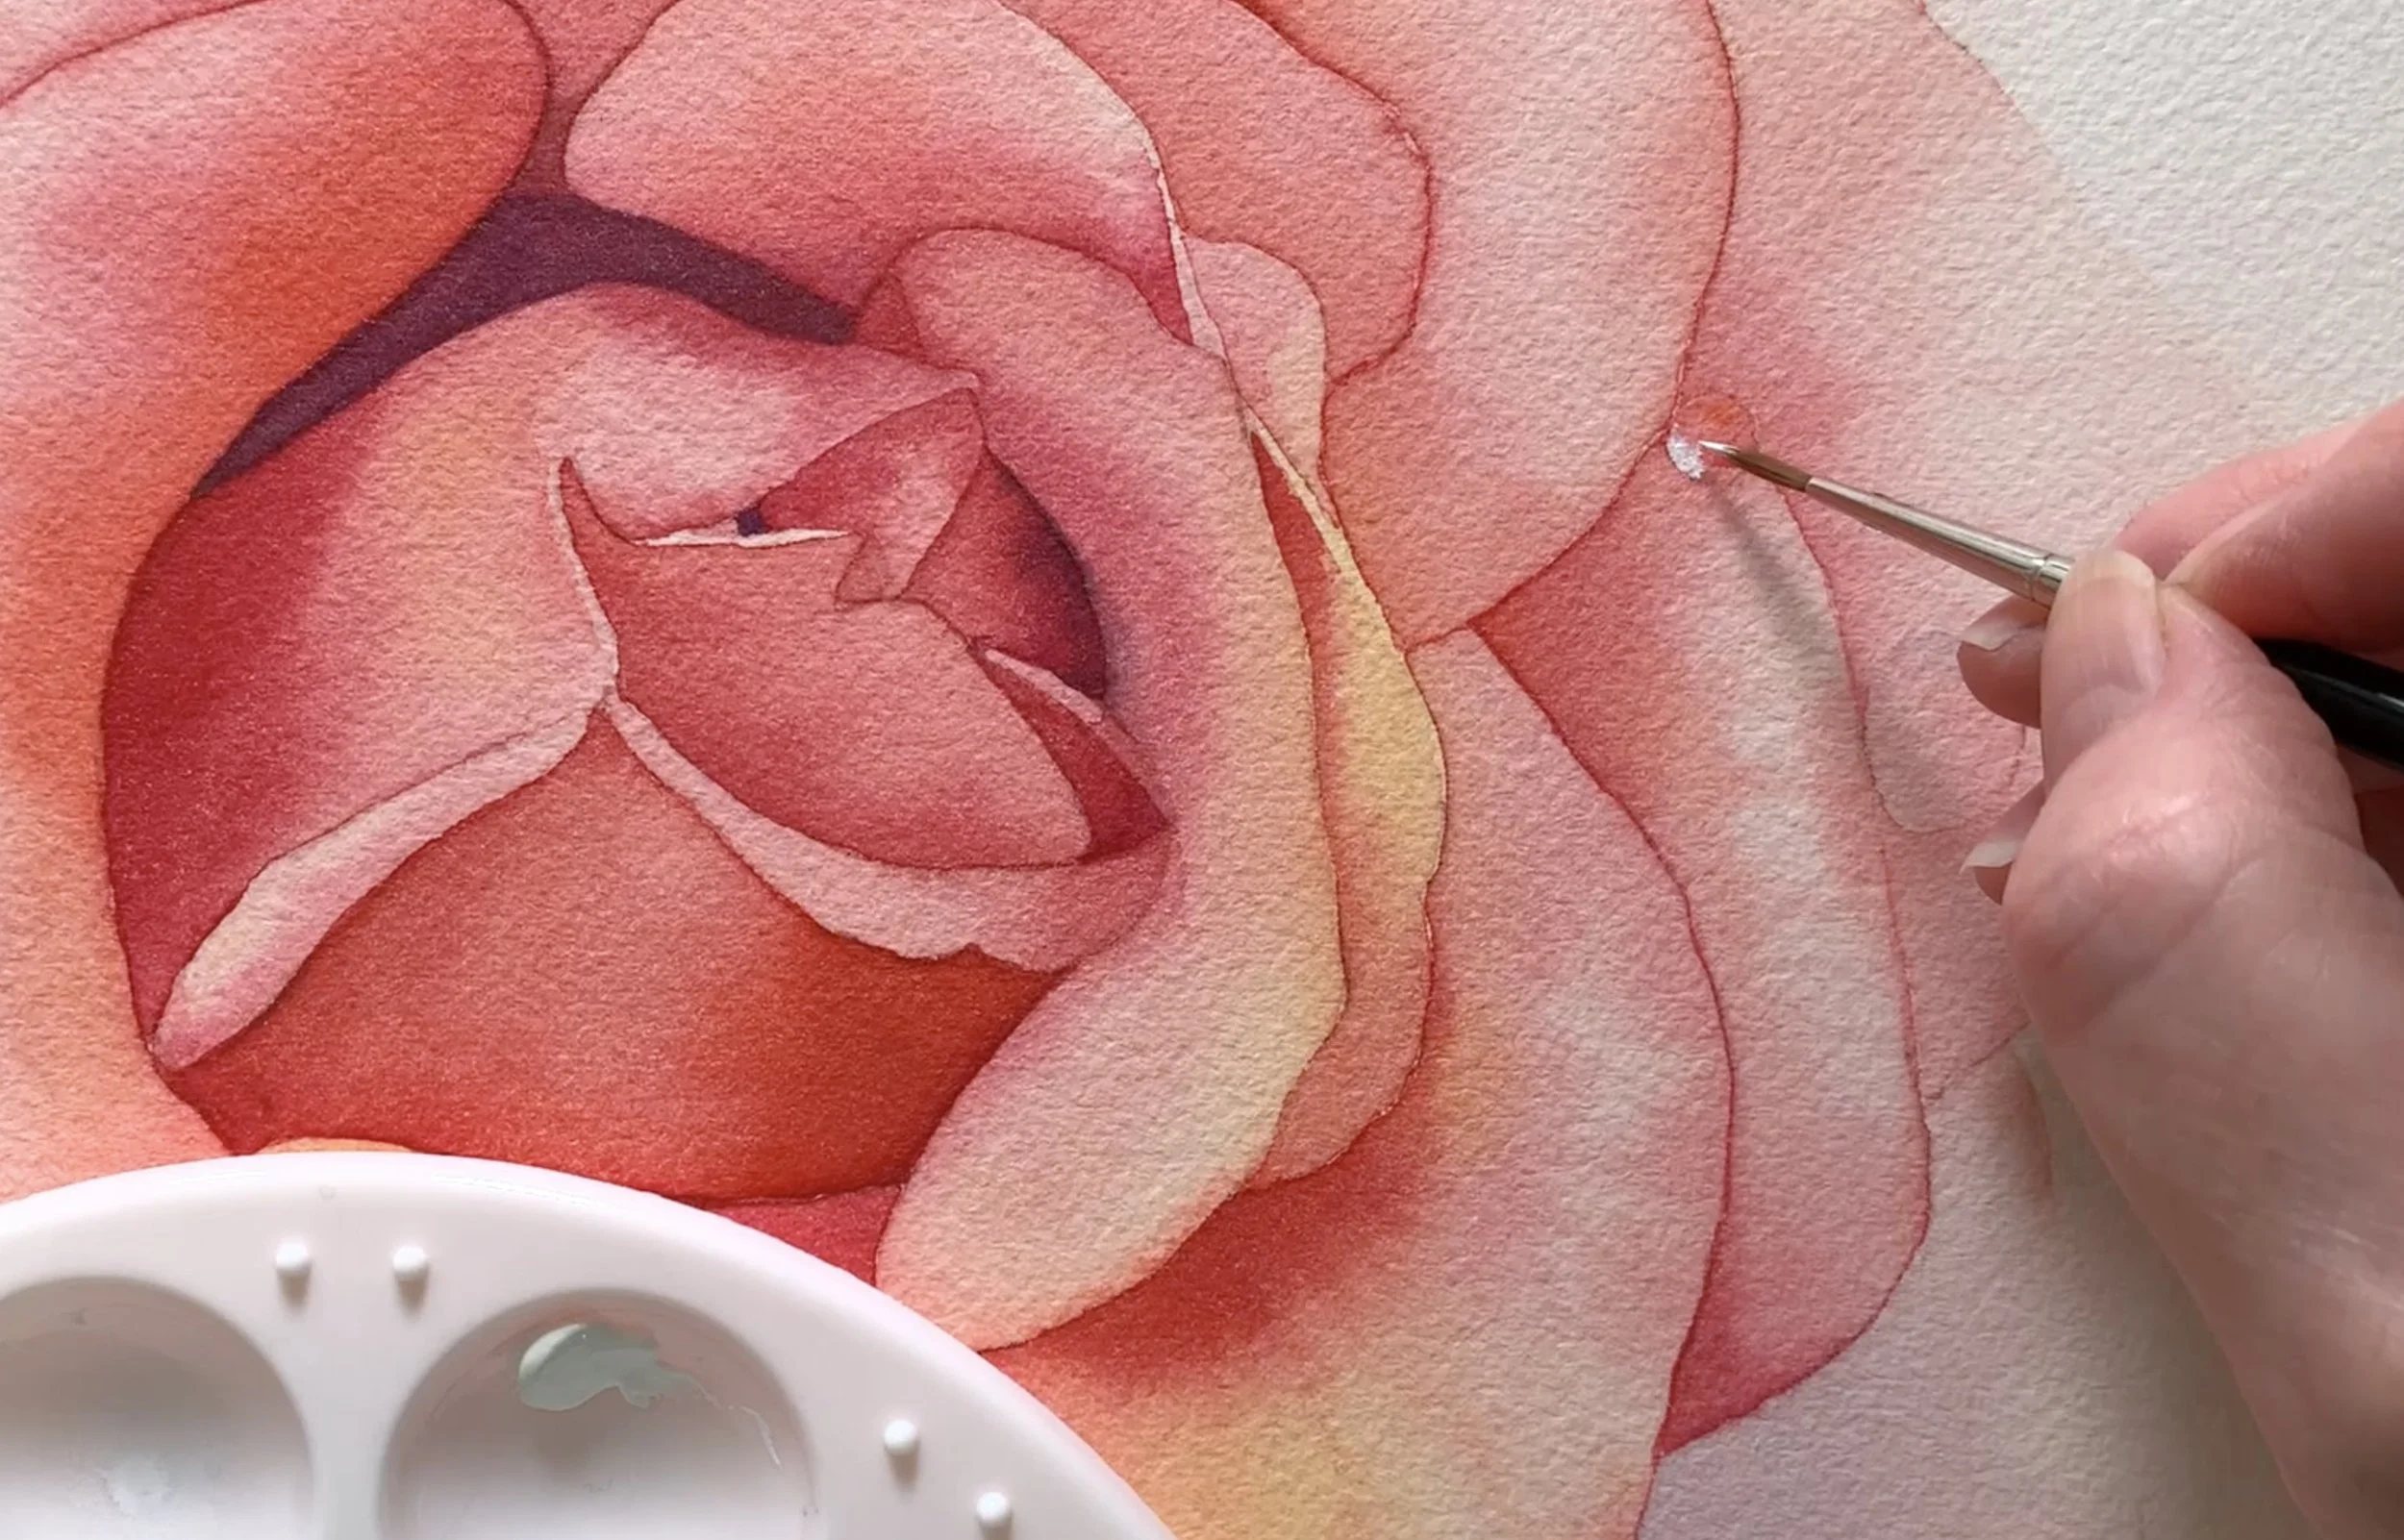
Painting white gouache on wet paper.
And on the larger droplet.
Step 5: Add Depth and Variation
Droplets aren’t uniform. Some parts are darker, some lighter, depending on how the light hits them. To create this variation, deepen the colour on the lower edge of the droplet or along one side. This gives it weight and roundness. I like to think of it as “tucking in the droplet” so it feels nestled against the petal. You can even soften one edge into the petal colour beneath to suggest transparency.
Droplets that sit on the rose cup or darker petals need a slightly different approach. Here’s what I did:
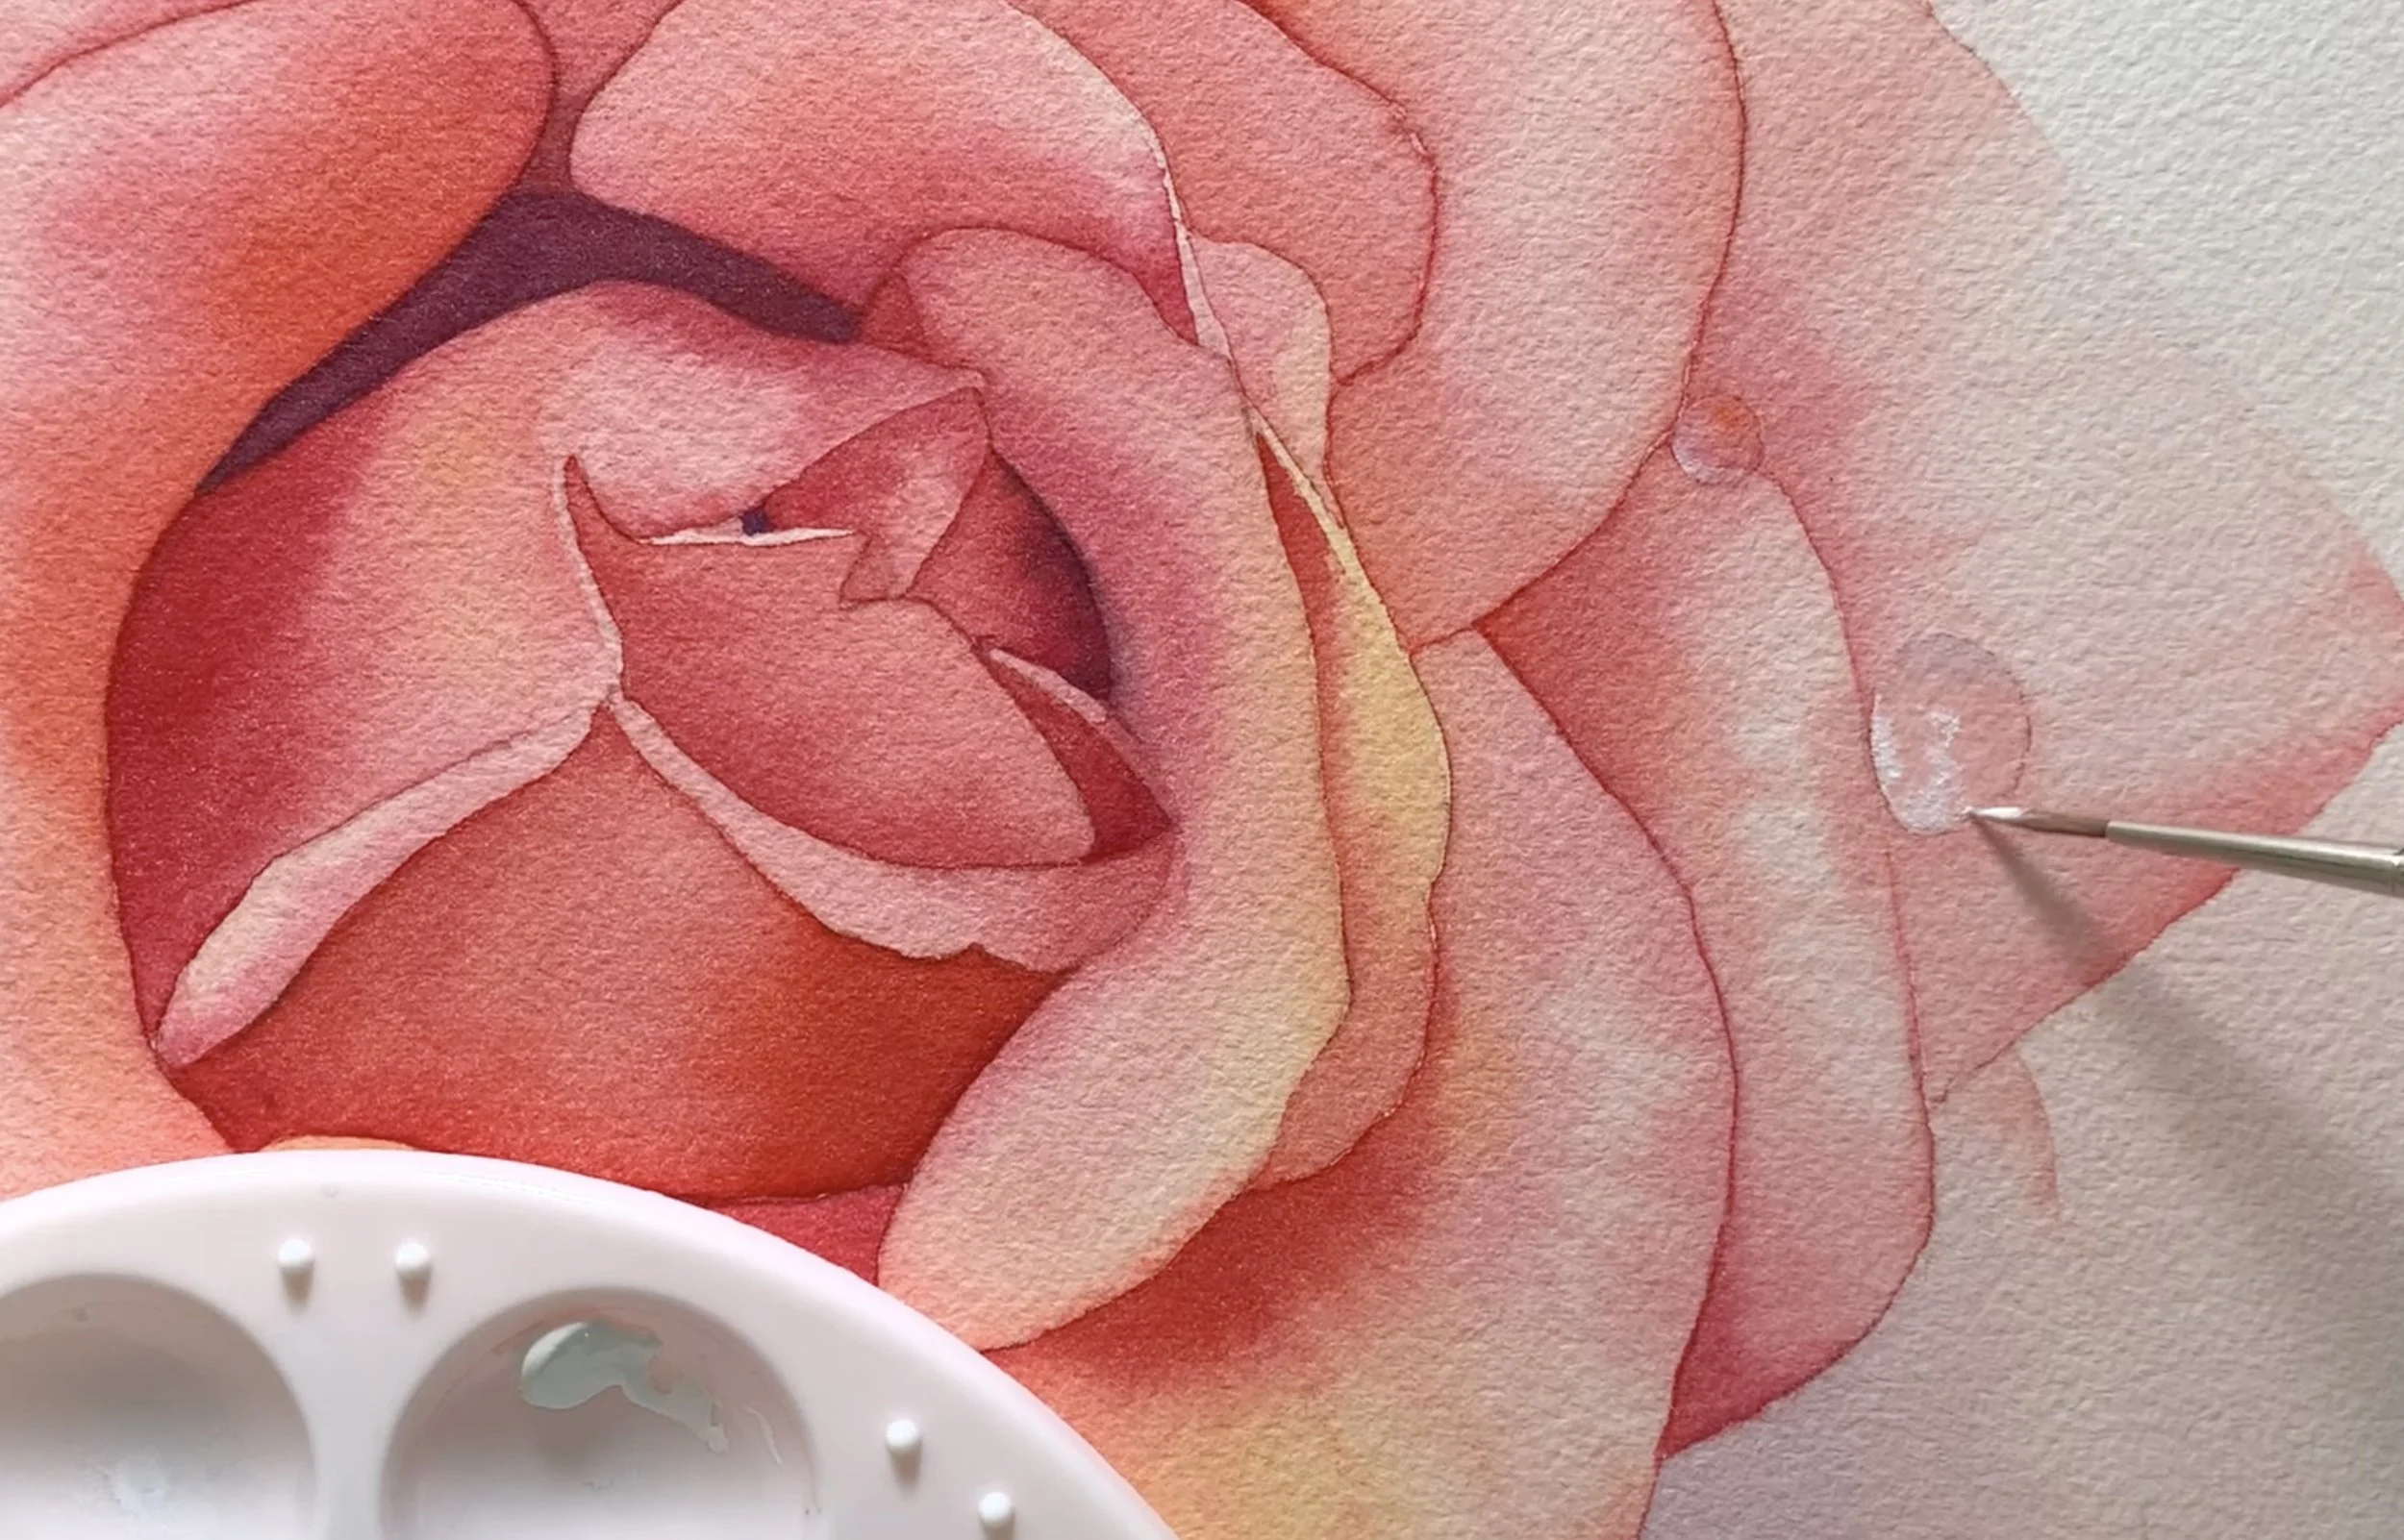
Use the Eradicator brush to gently lift pigment and shape the droplets.
Deepen parts with the same colour that surrounds the droplet (Quinacridone Magenta in this case) to give depth.
Add tiny gouache highlights once the paper is dry.
Vary their sizes for a more natural look.
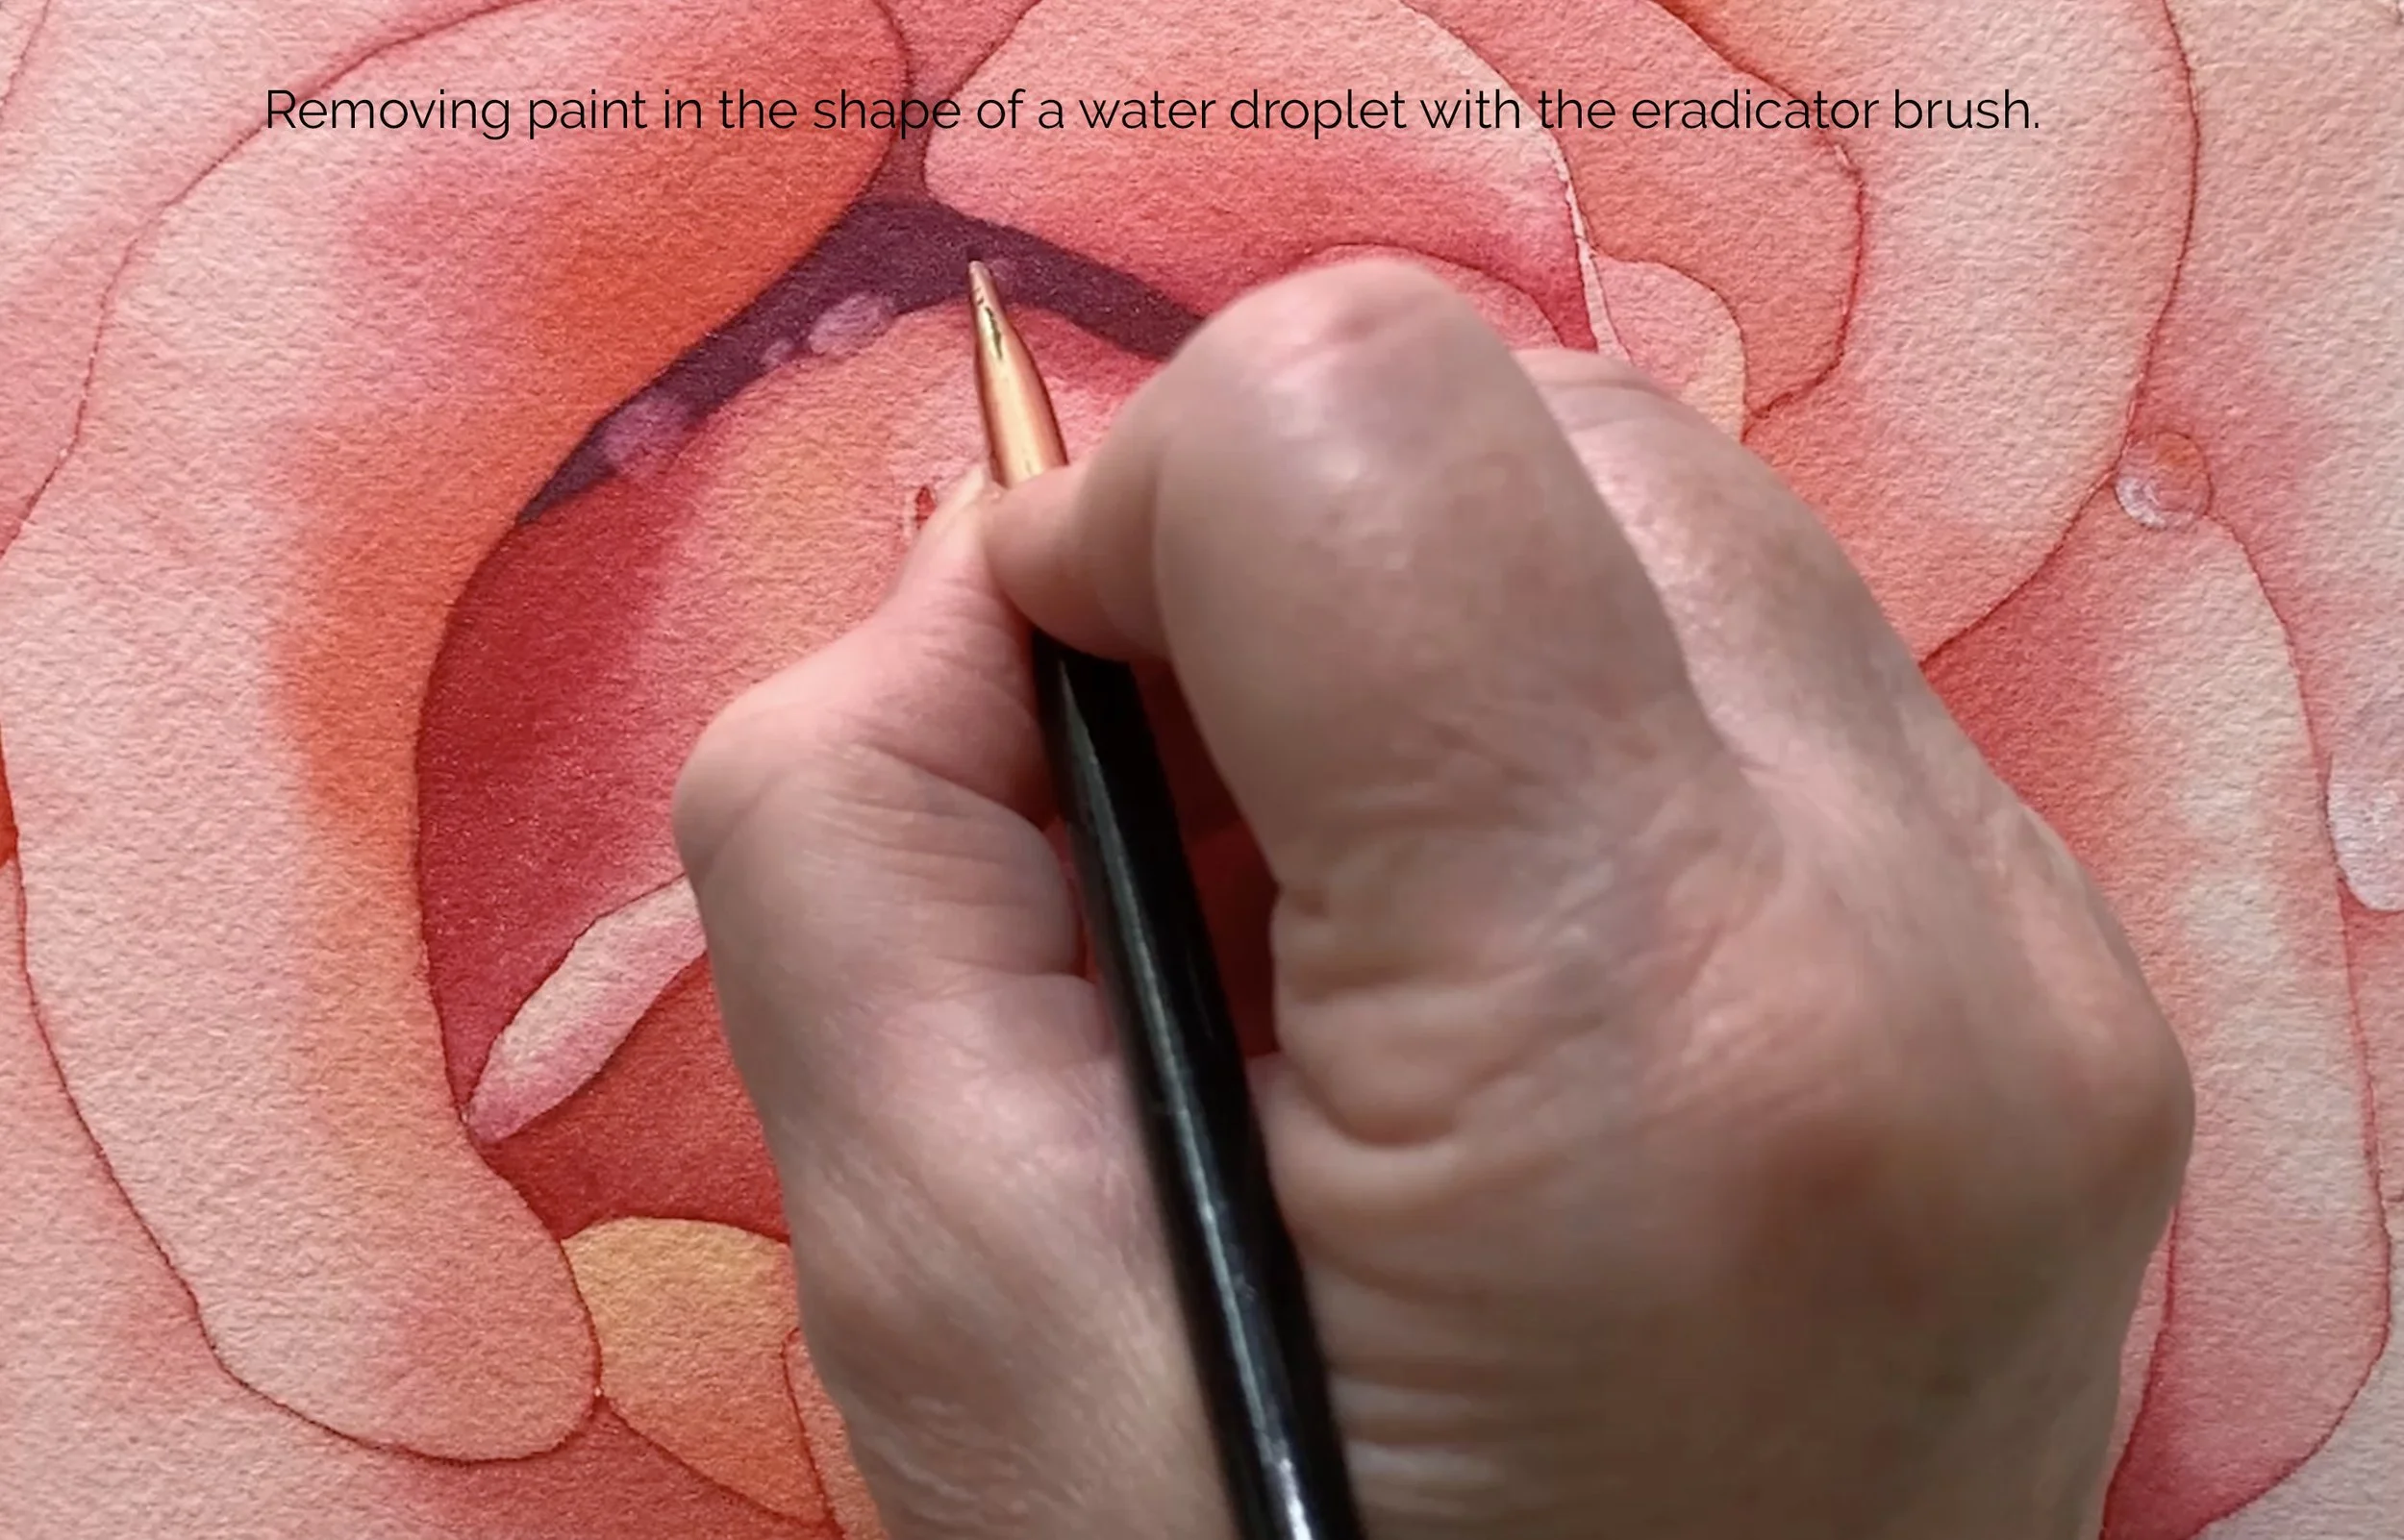
Using the eradicator brush to remove paint for a droplet.
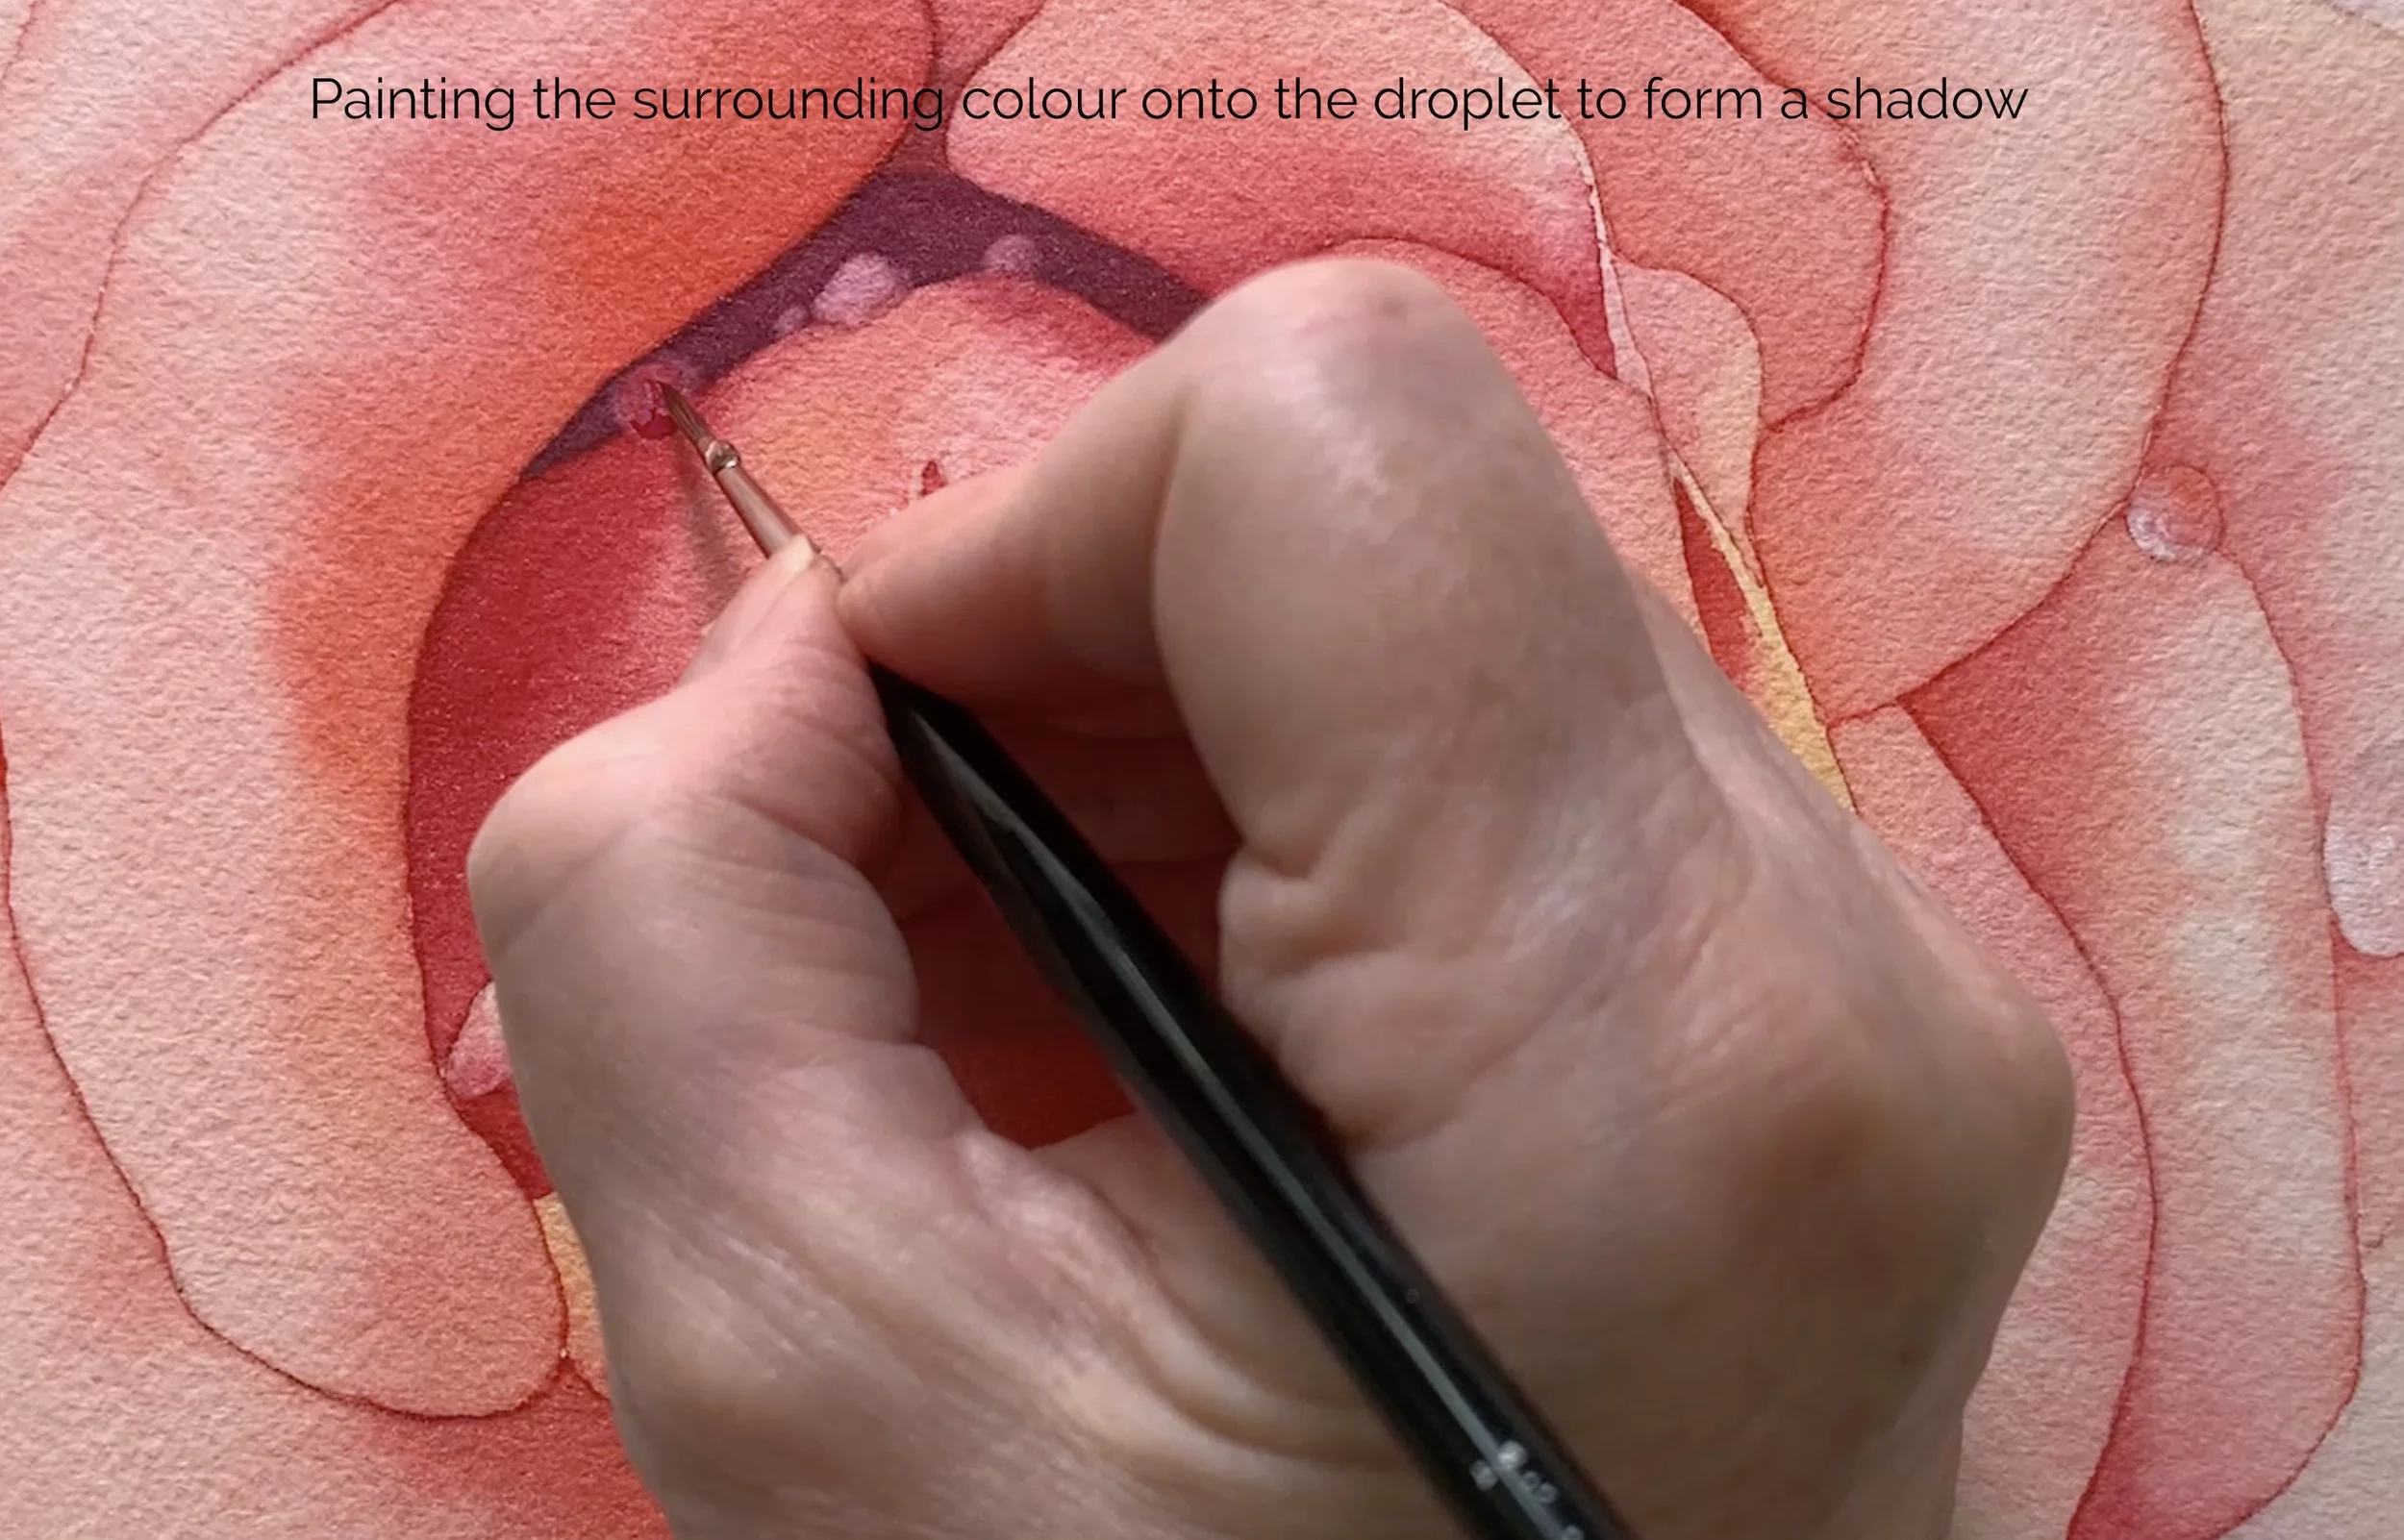
Painting on some of the colour that surrounds the droplet onto the droplet itself.
Painting some white gouache for a highlight - this time on dry paper.
Step 6: Finishing Touches
Step back and squint a little. Does your droplet look convincing? If not, adjust gently: strengthen the shadow if it feels too pale, darken the base to give it more roundness, or sharpen the edge opposite the highlight to make it crisp. And then, stop. Overworking is the easiest way to turn a delicate droplet into a smudge, especially when you keep touching an area as the moisture level changes. Trust your brushstrokes and let the paper do its job.
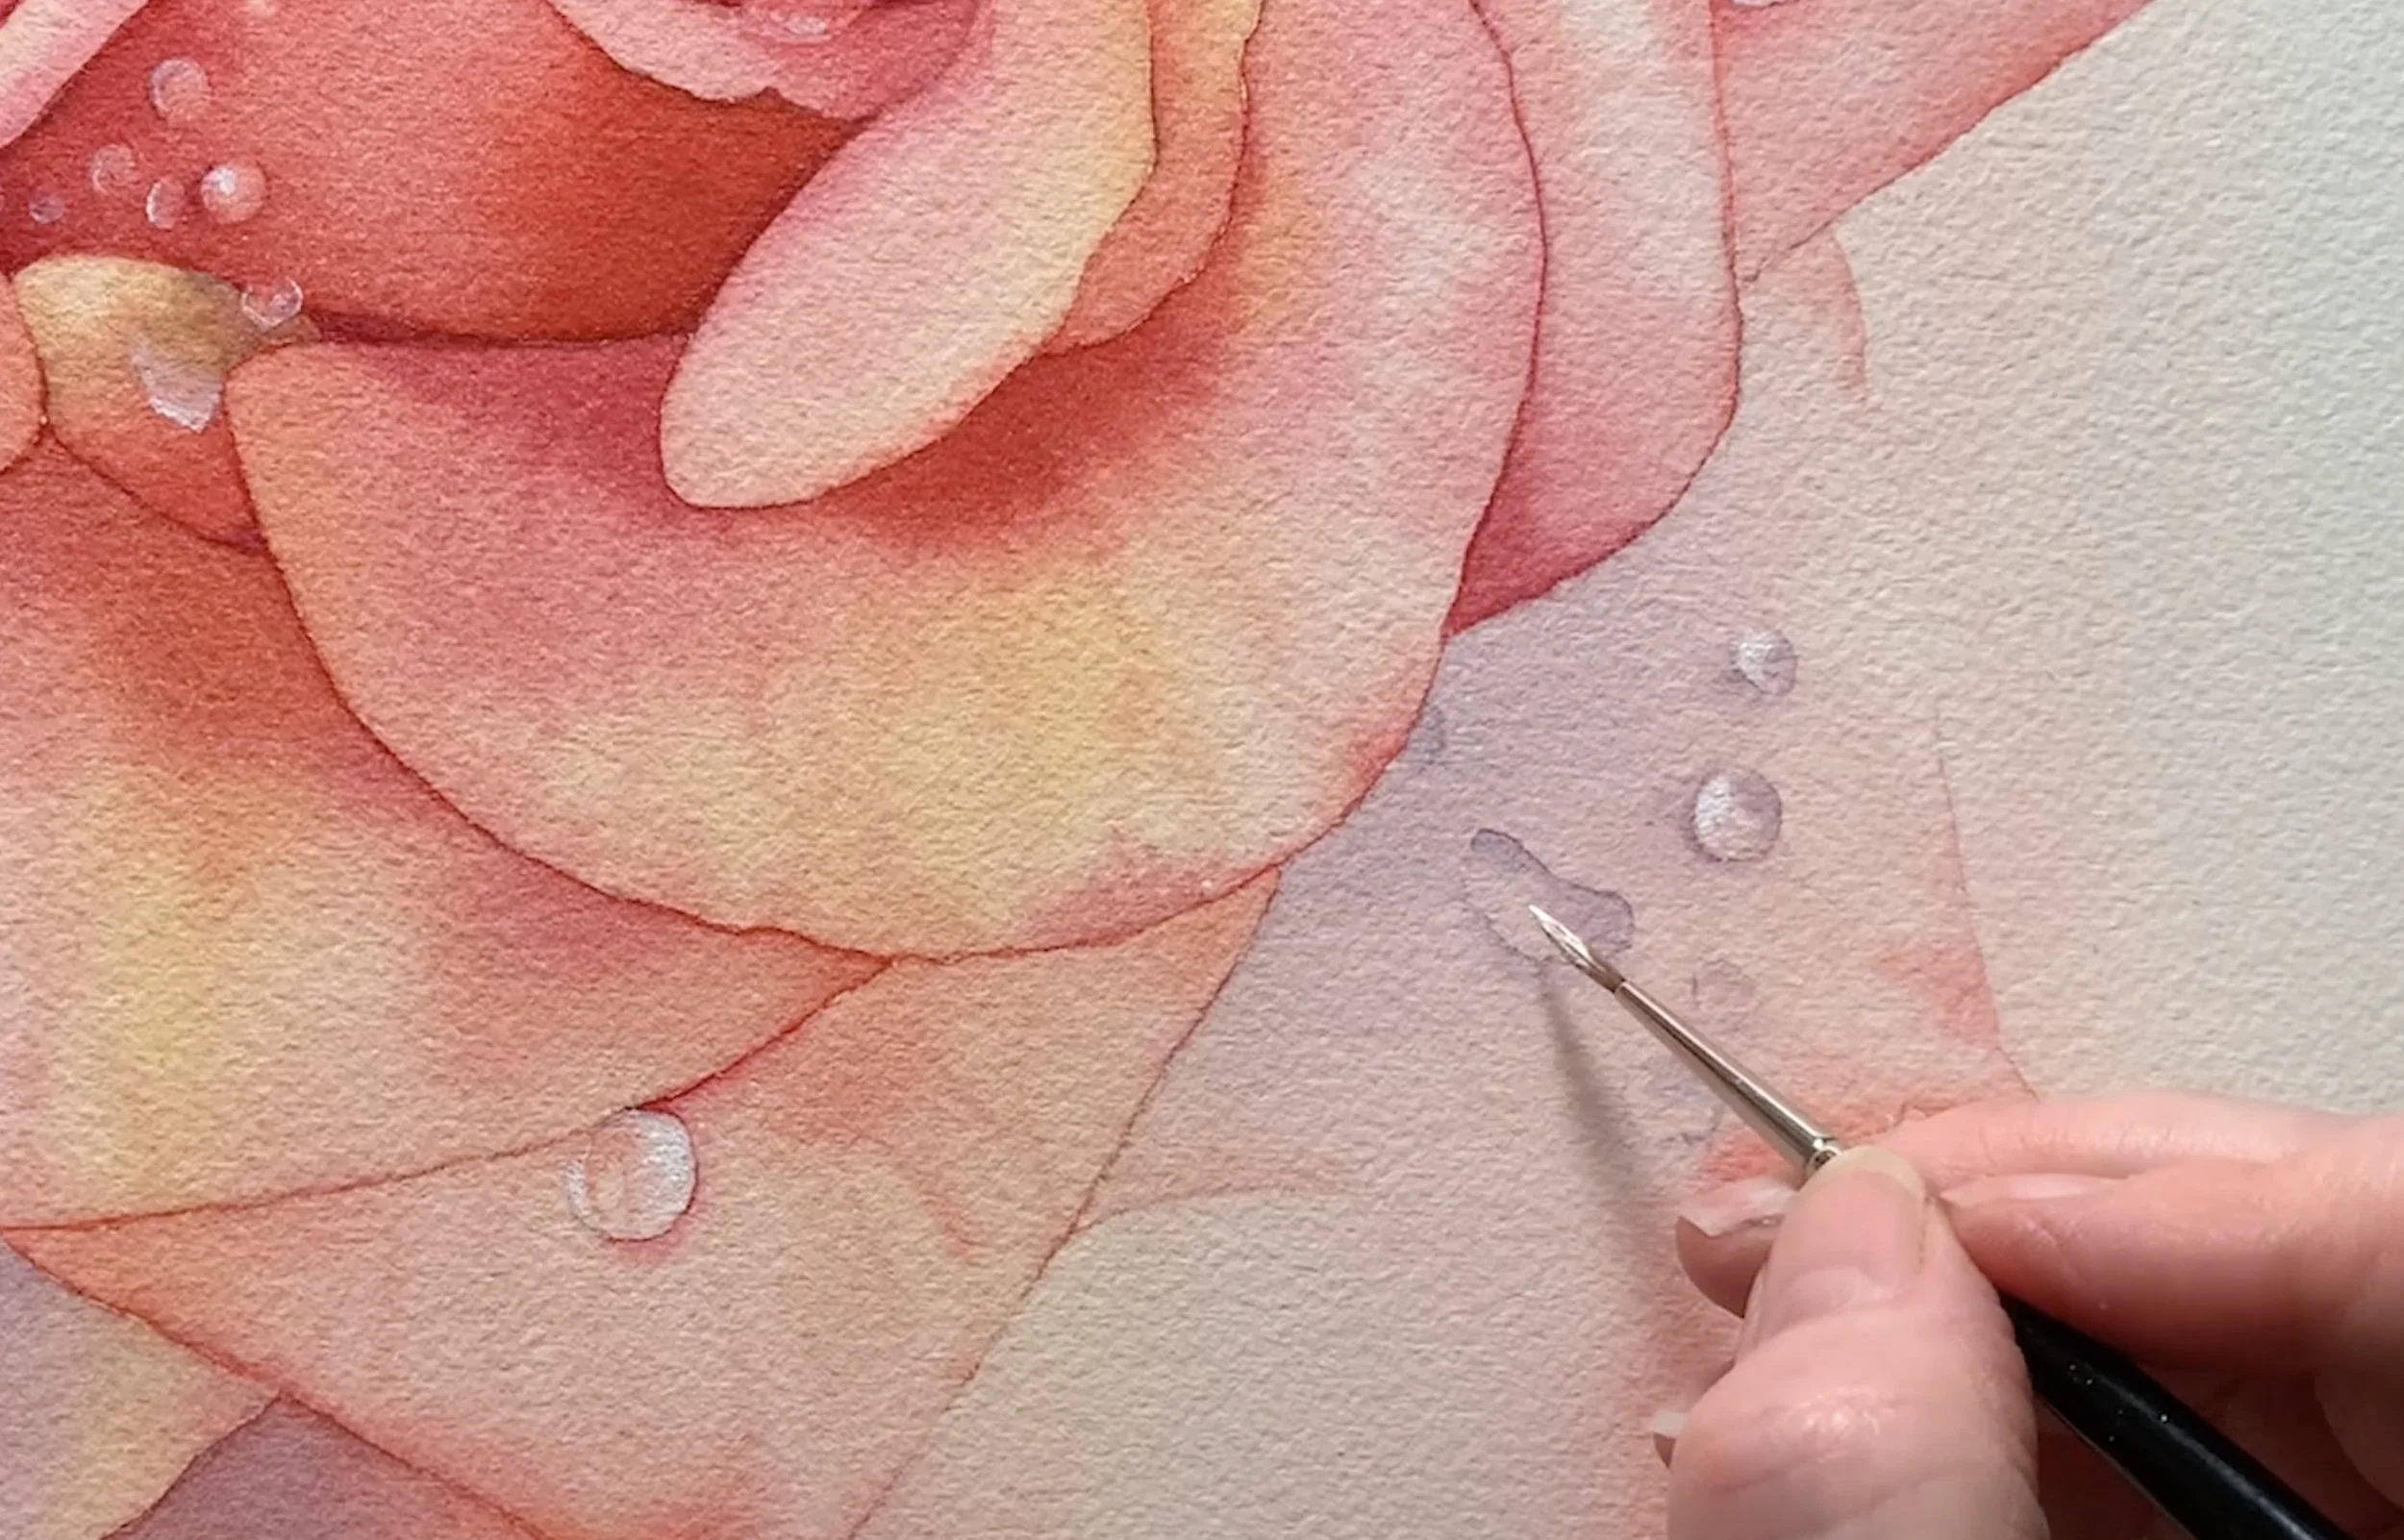
On lighter petals, you can add groups of droplets. I sketched several small shapes and painted their shadows first, then repeated the same process:
Cast shadow on the outside
Soft interior wash on the inside
Highlight with gouache on dry paper
One droplet even dangled off the edge of the petal, a perfect, interesting detail that added realism.
Touching up the last droplet.
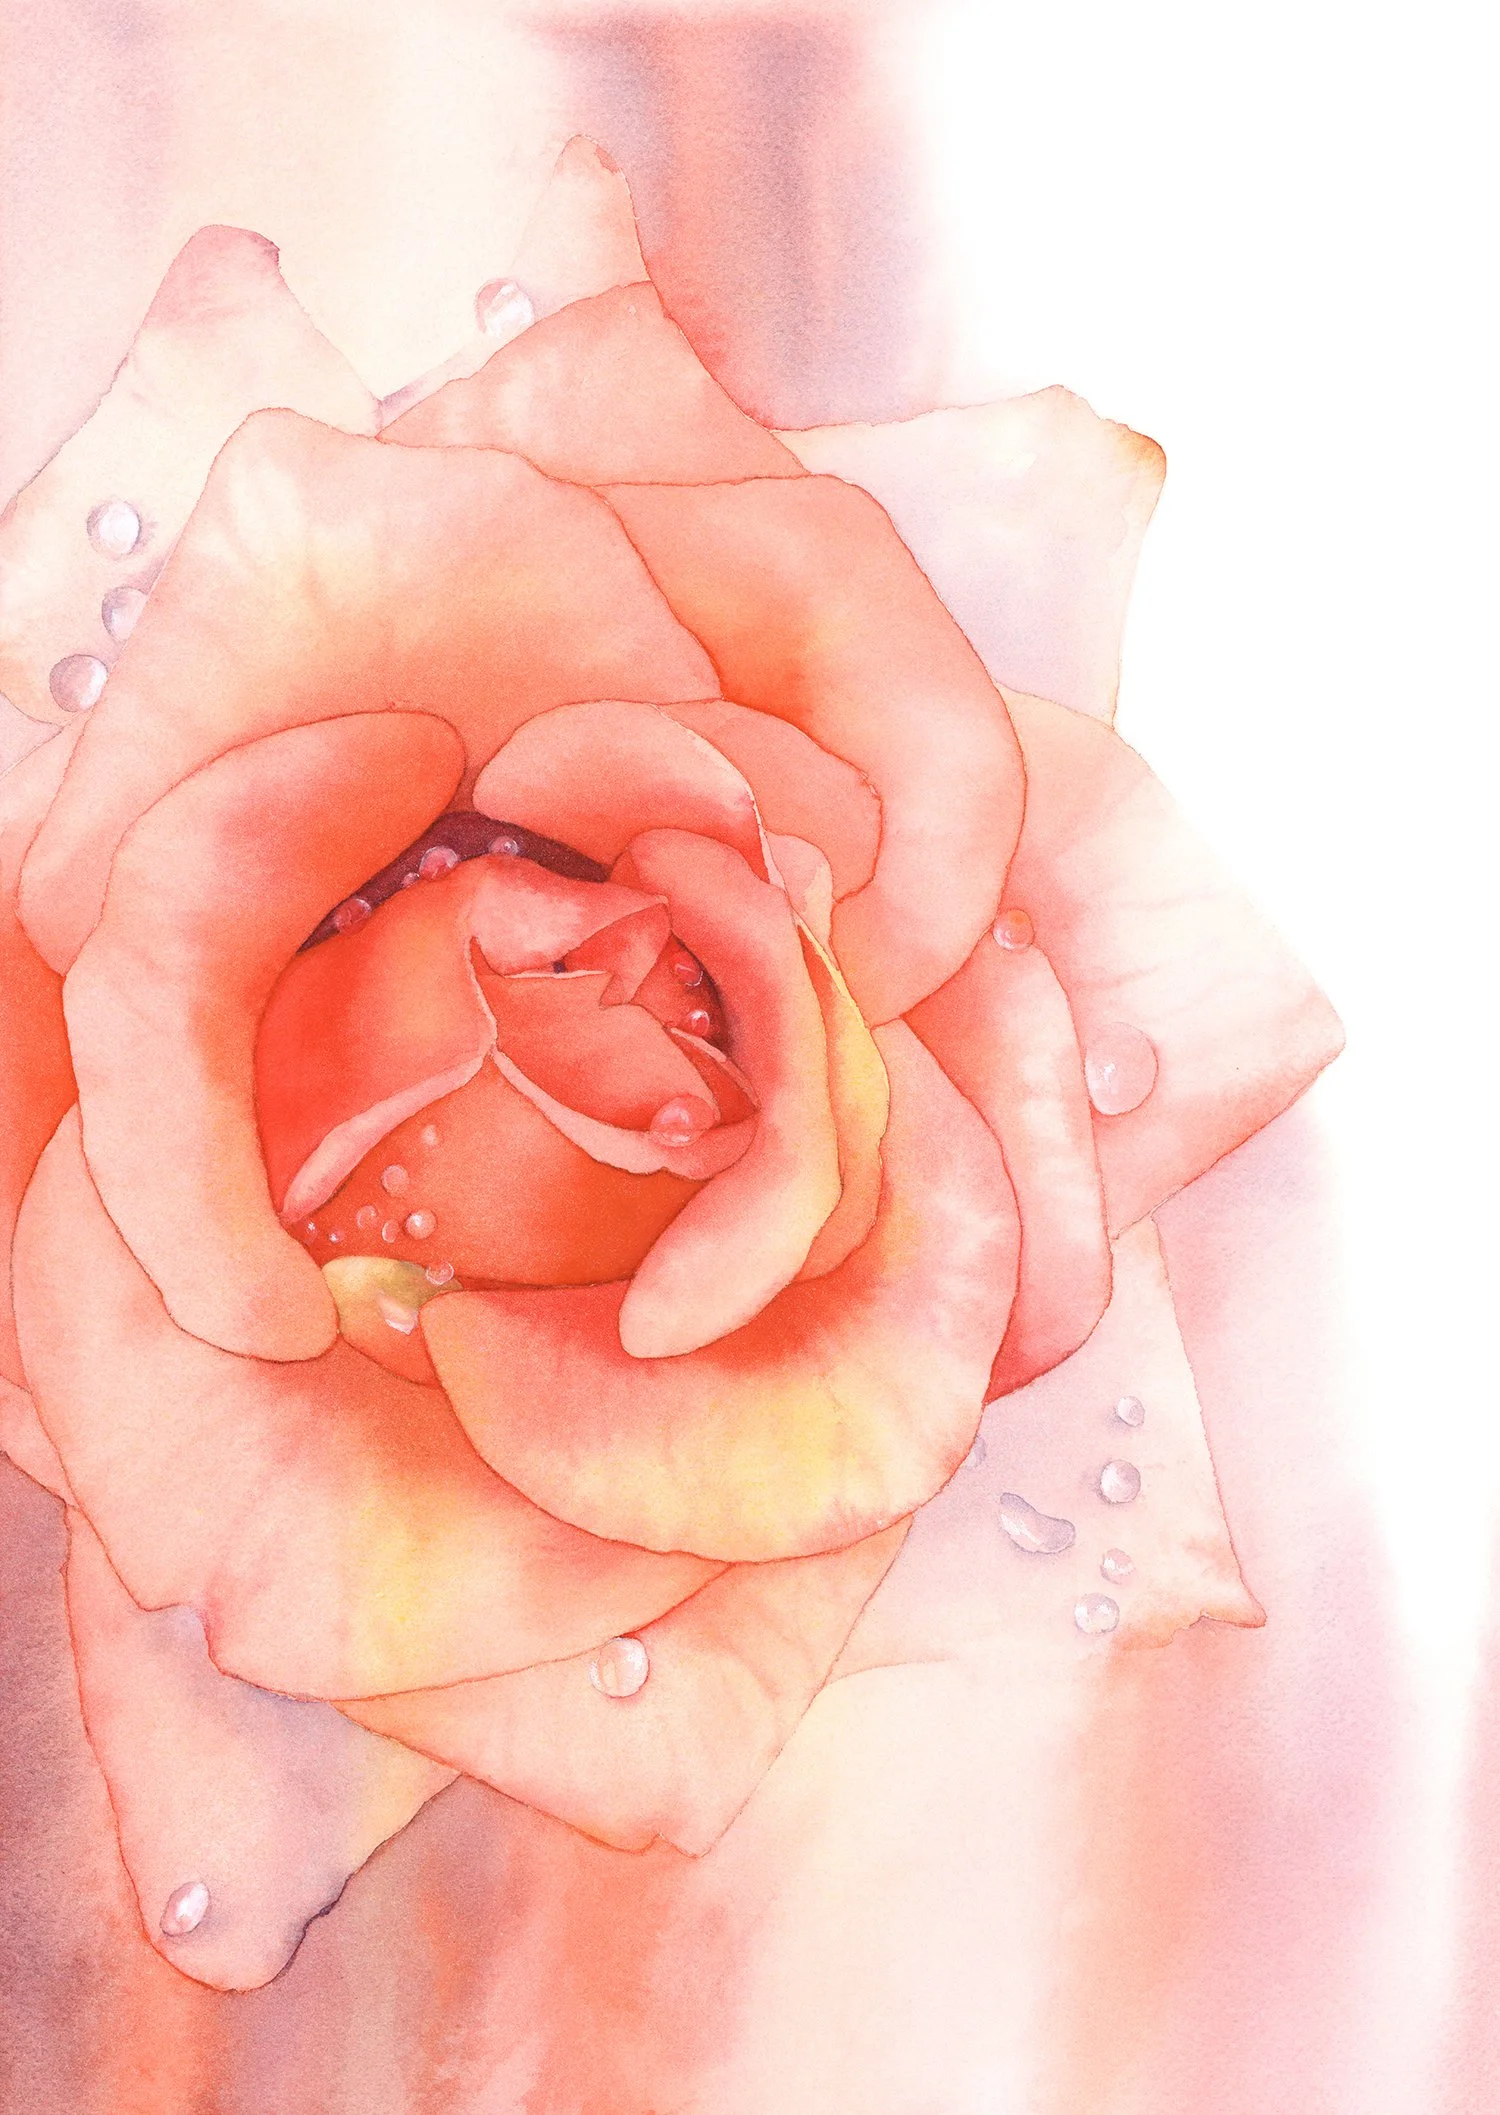
The Finished Rose
After a scattering of droplets across the petals, I decided that was enough. Too many can overwhelm a painting, but just a few add freshness and interest.
When I removed the masking tape and held up the finished rose, I loved how the droplets made it sparkle. They really did feel like the final touch.
Try painting a water droplet yourself
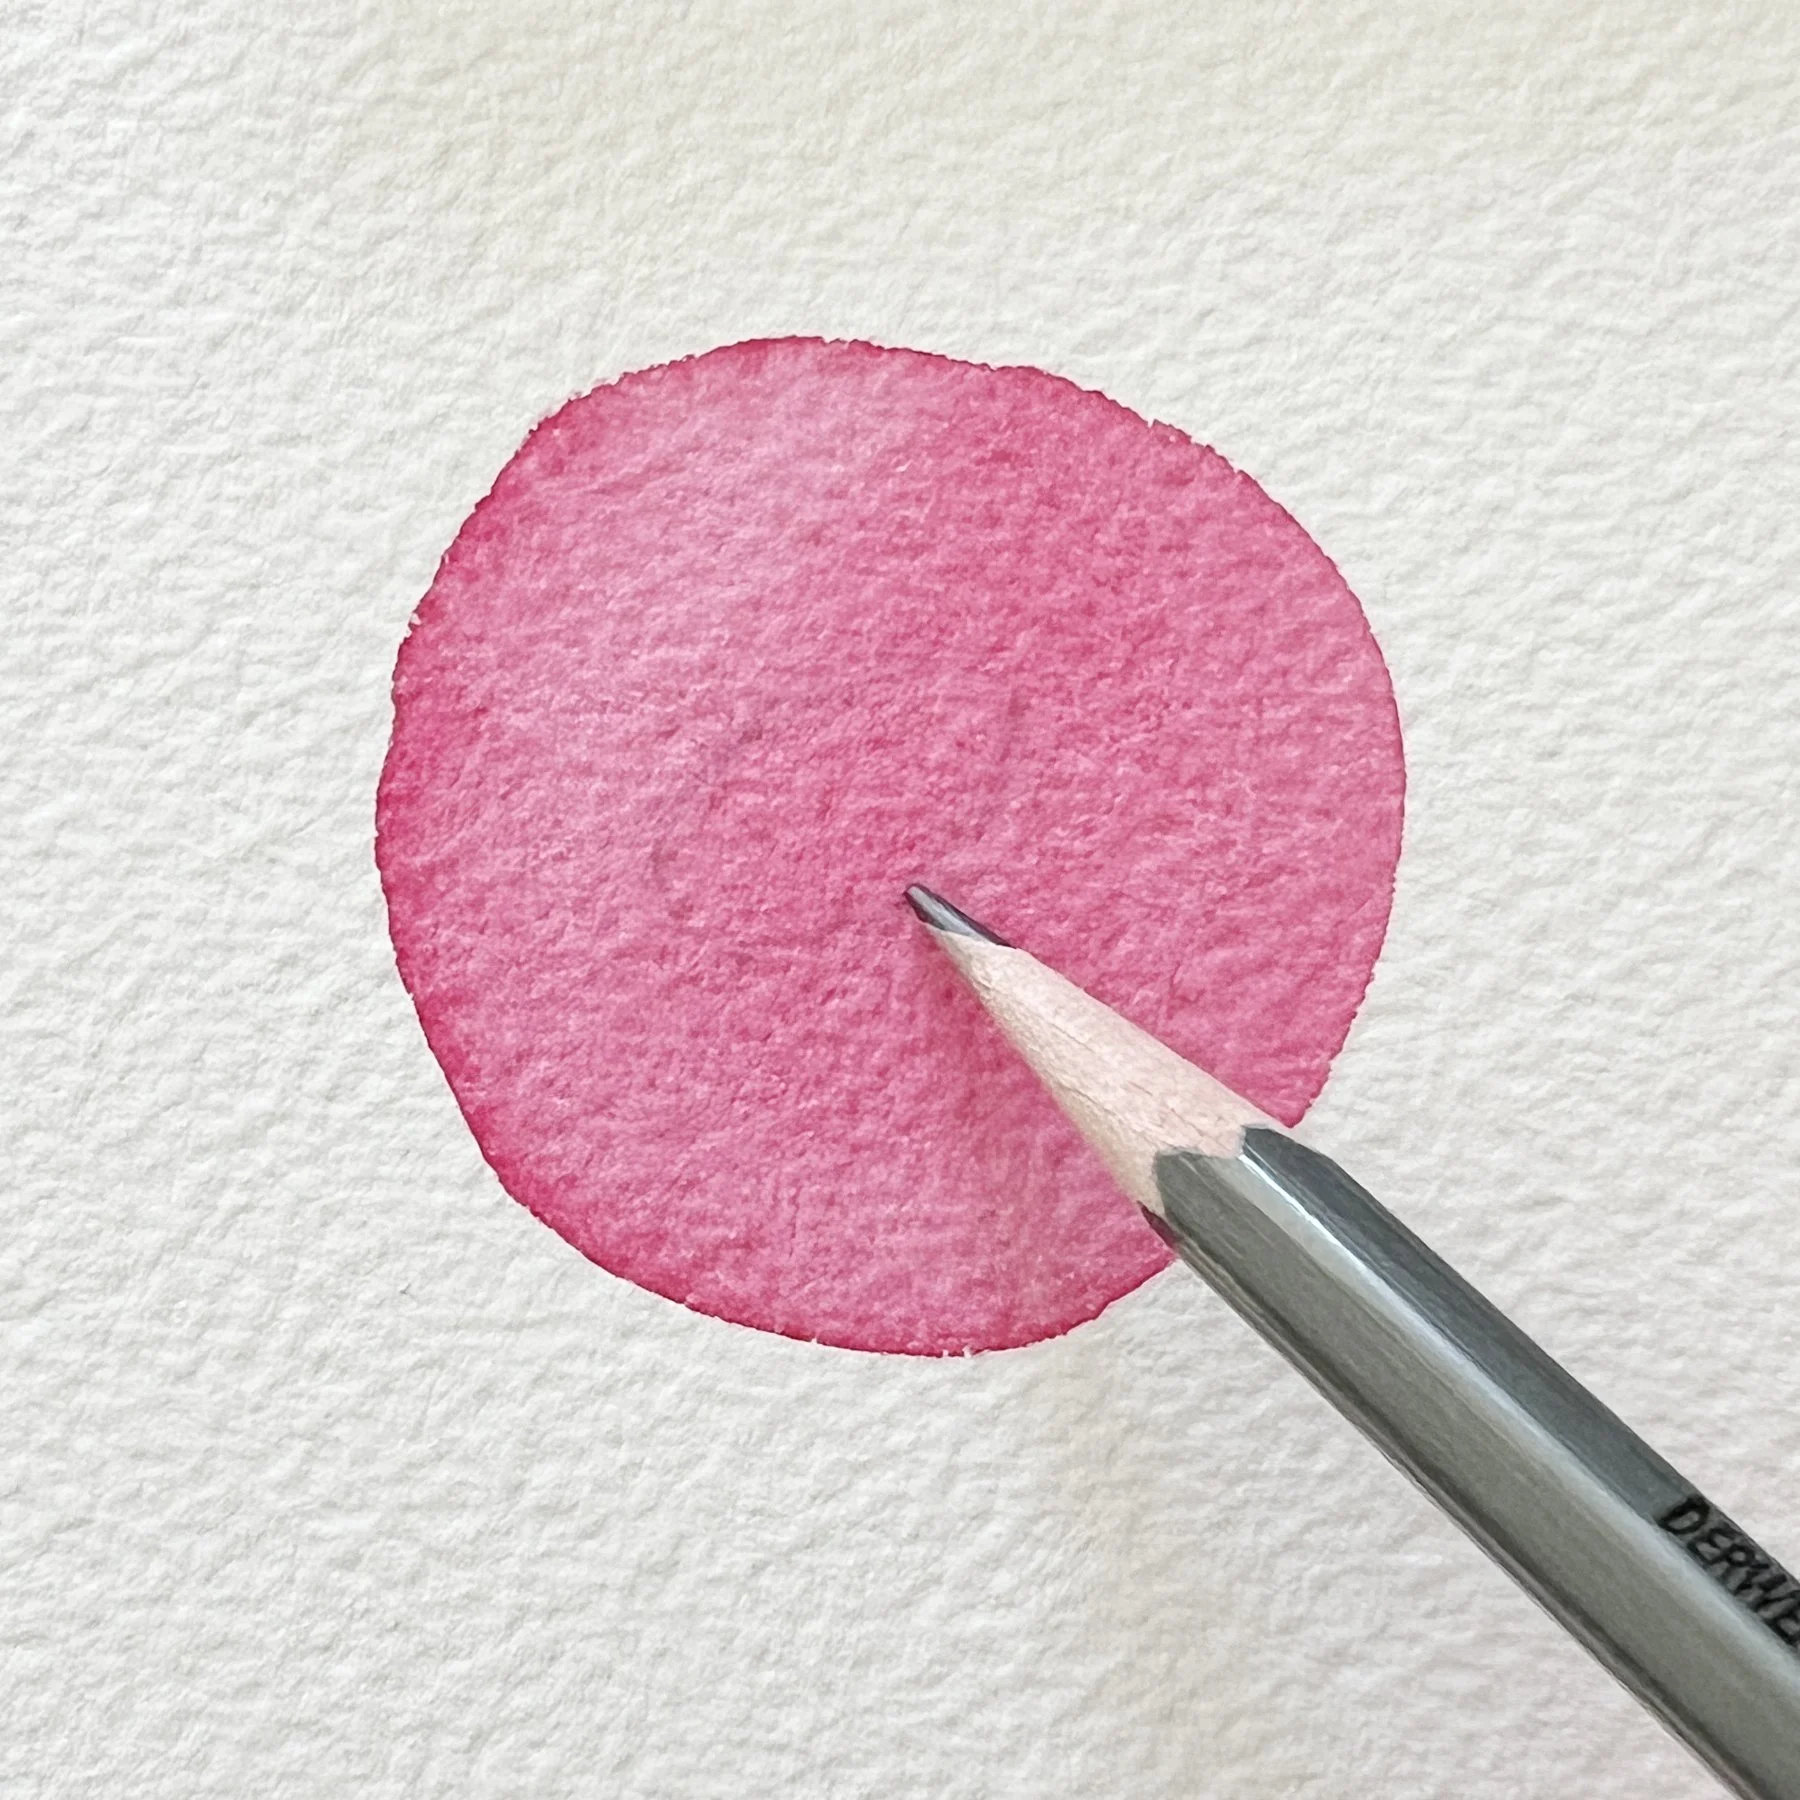
First step
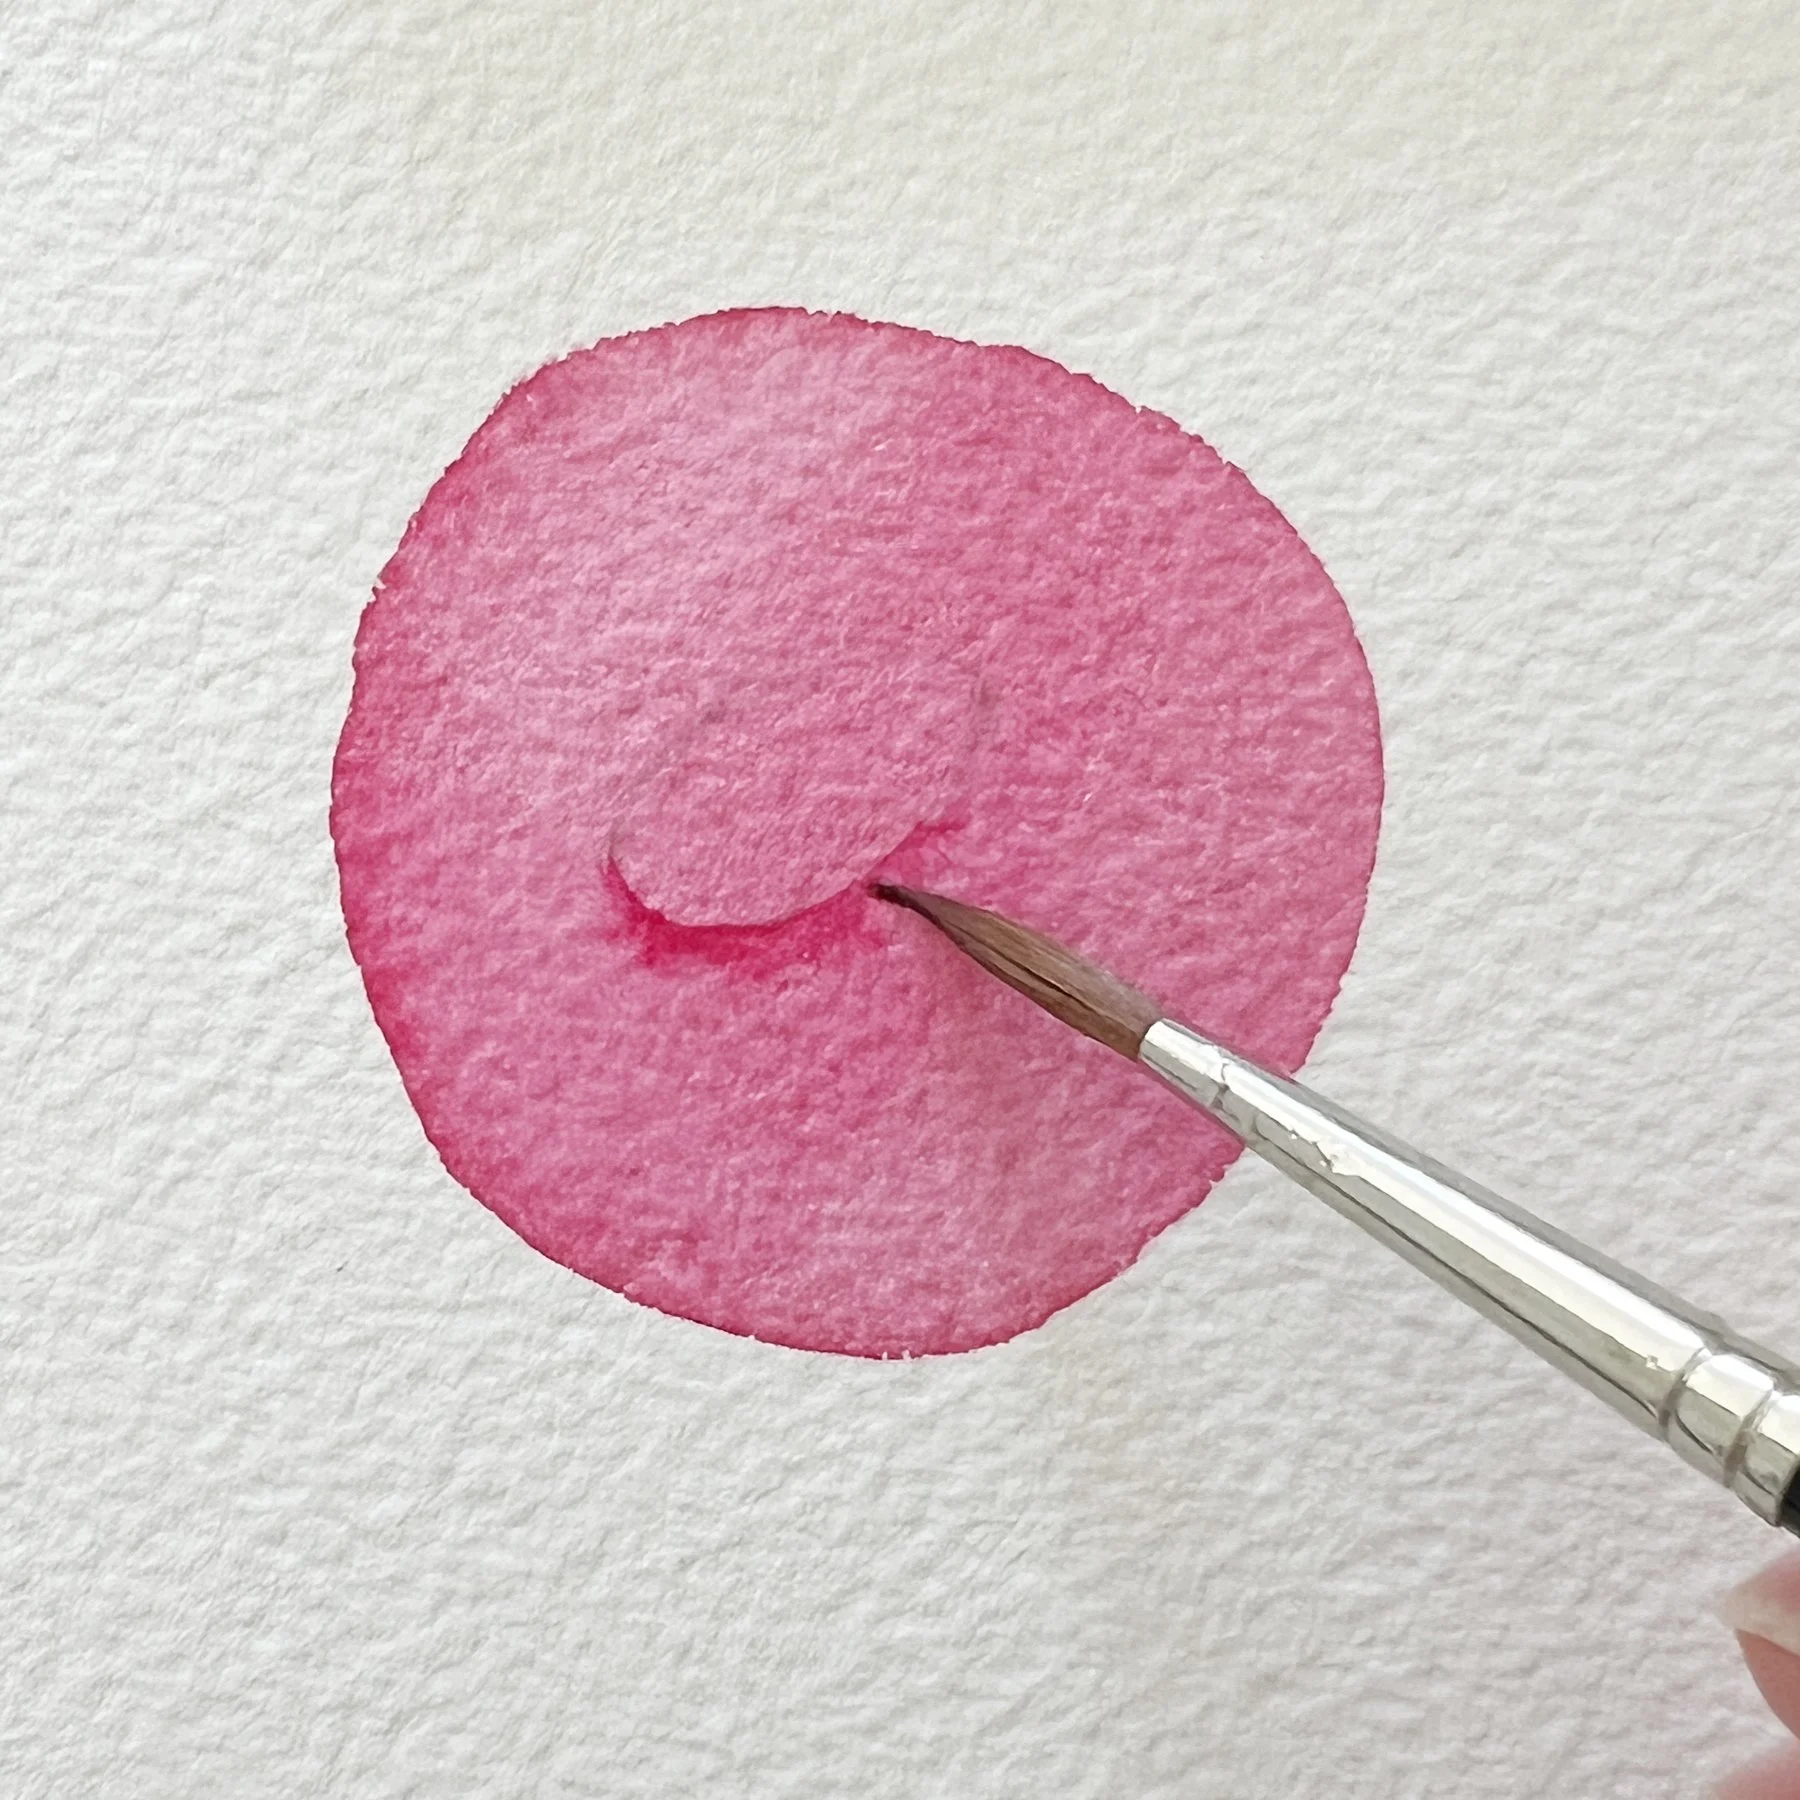
Paint a shape in watercolour and let it dry (I used Ruby Red- PV19). When it's dry draw a water droplet lightly onto the shape.
Second Step
Wet the paper just outside one side of the droplet. Load the same colour you used for the droplet, touch it along the edge, and let it softly bleed to create a gentle, feathered edge. Let that dry.
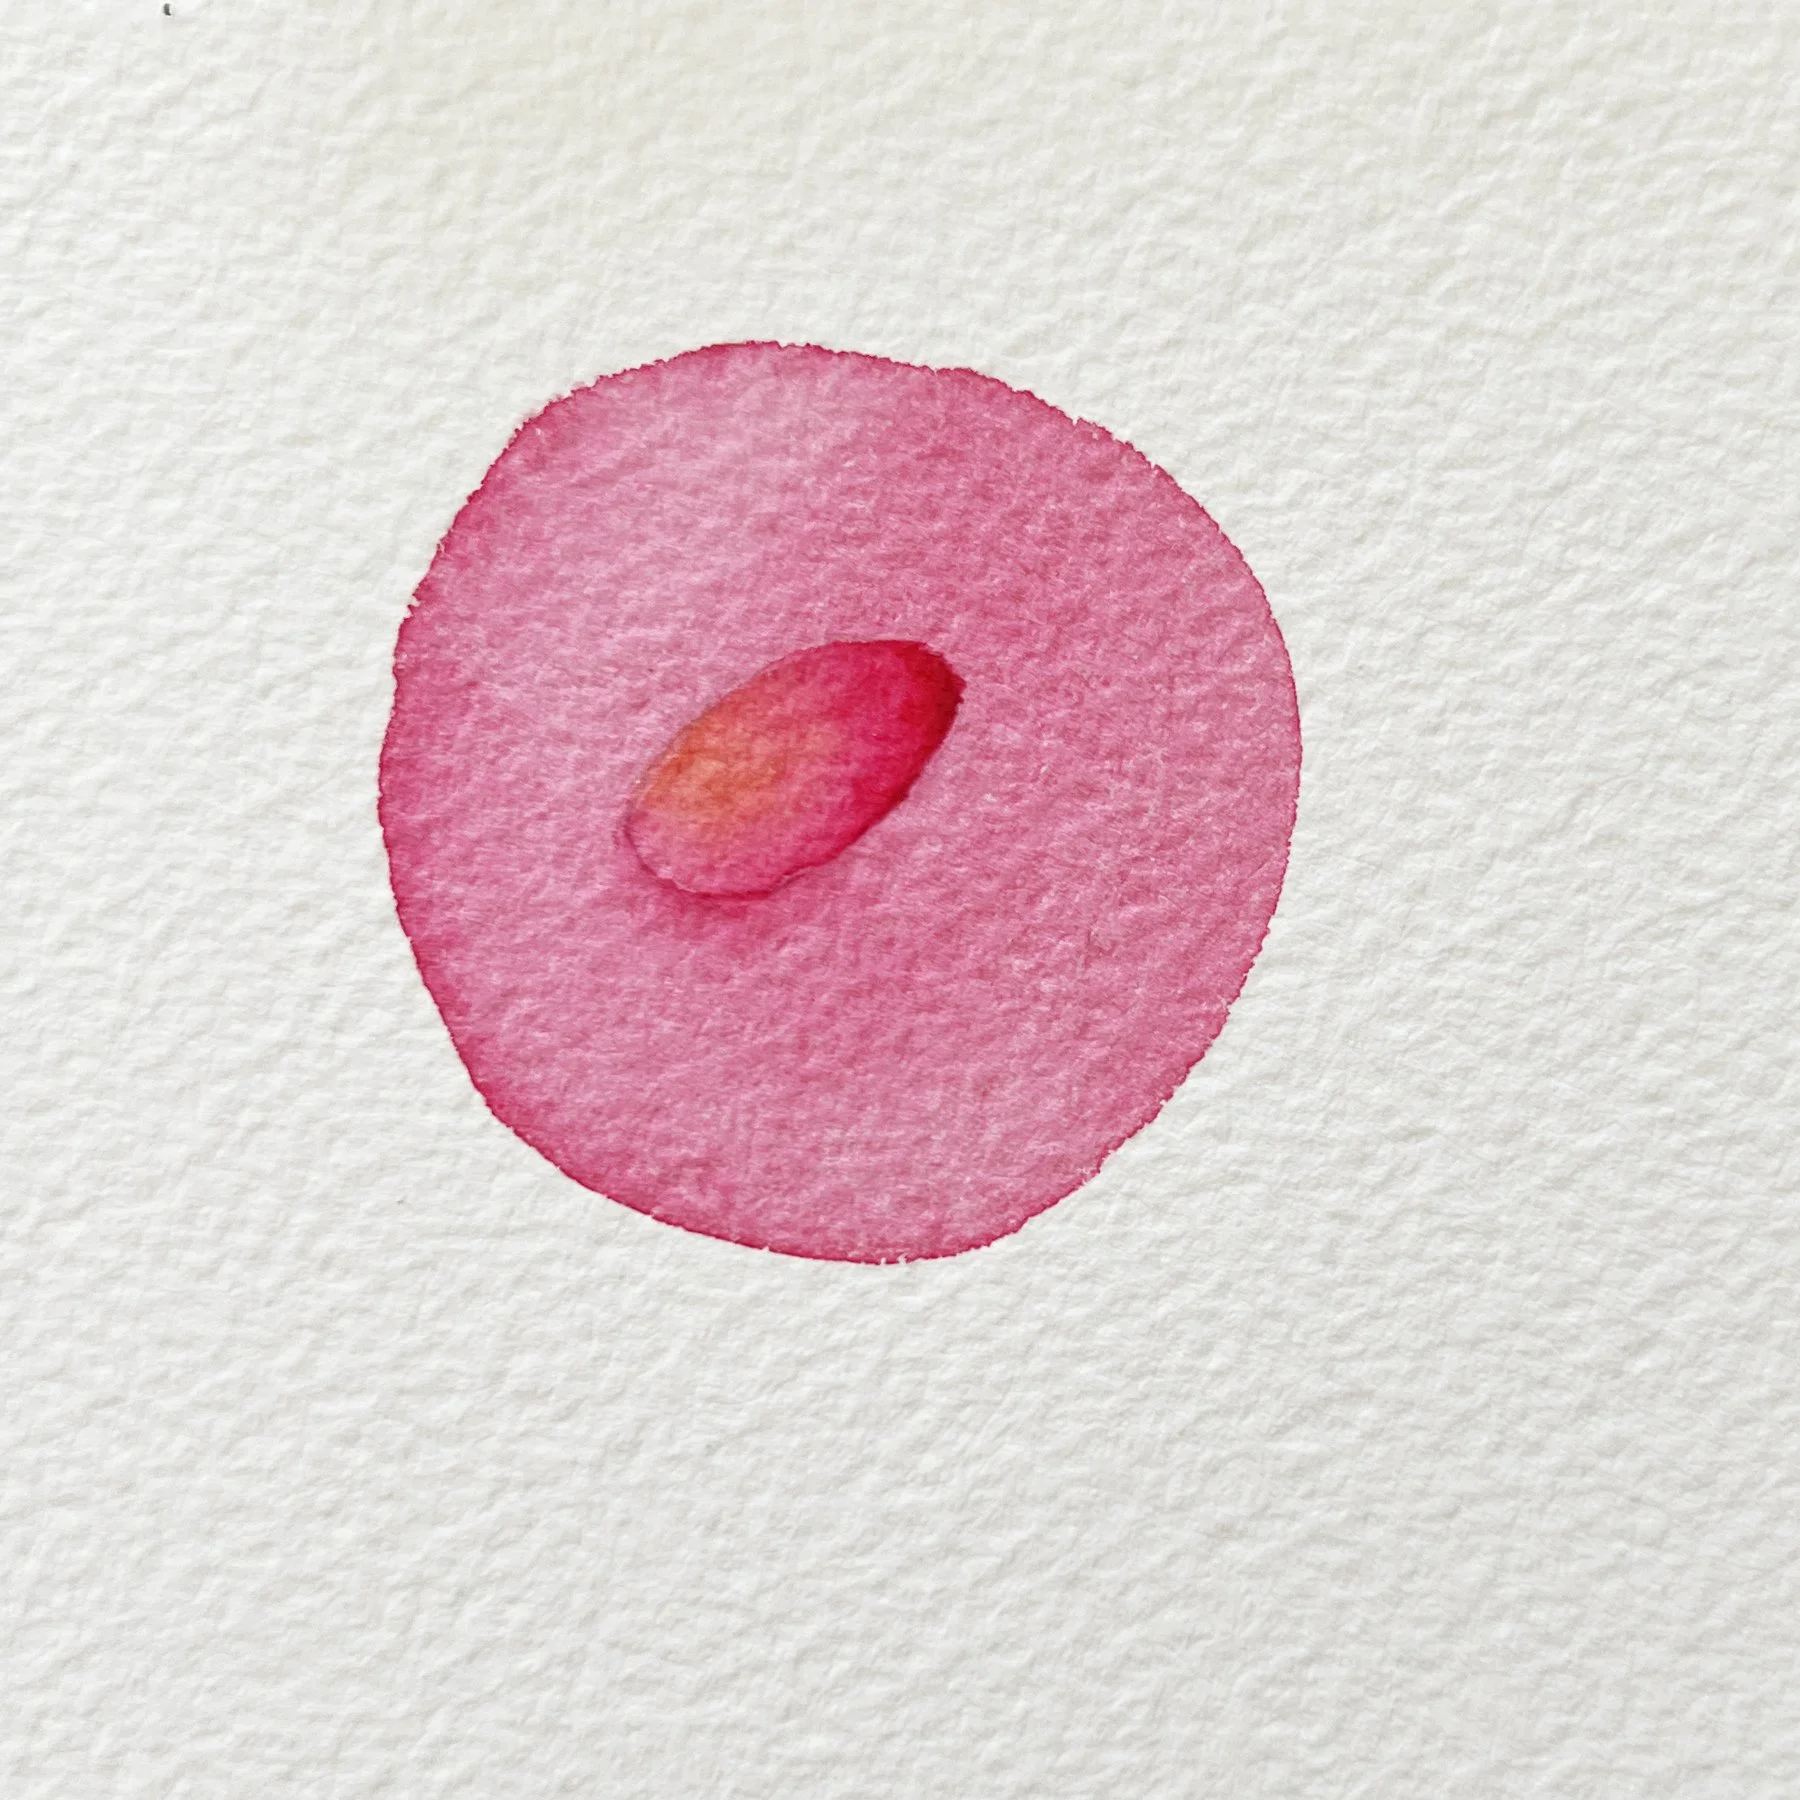
Third step
When the first layer is dry, wet the inside of the droplet. Lay a touch of the original colour along the opposite edge (away from the cast shadow) and let it drift in. In this demo I’m using Ruby Red. While it’s still wet, charge in a little Winsor Yellow to create a warm orange glow.
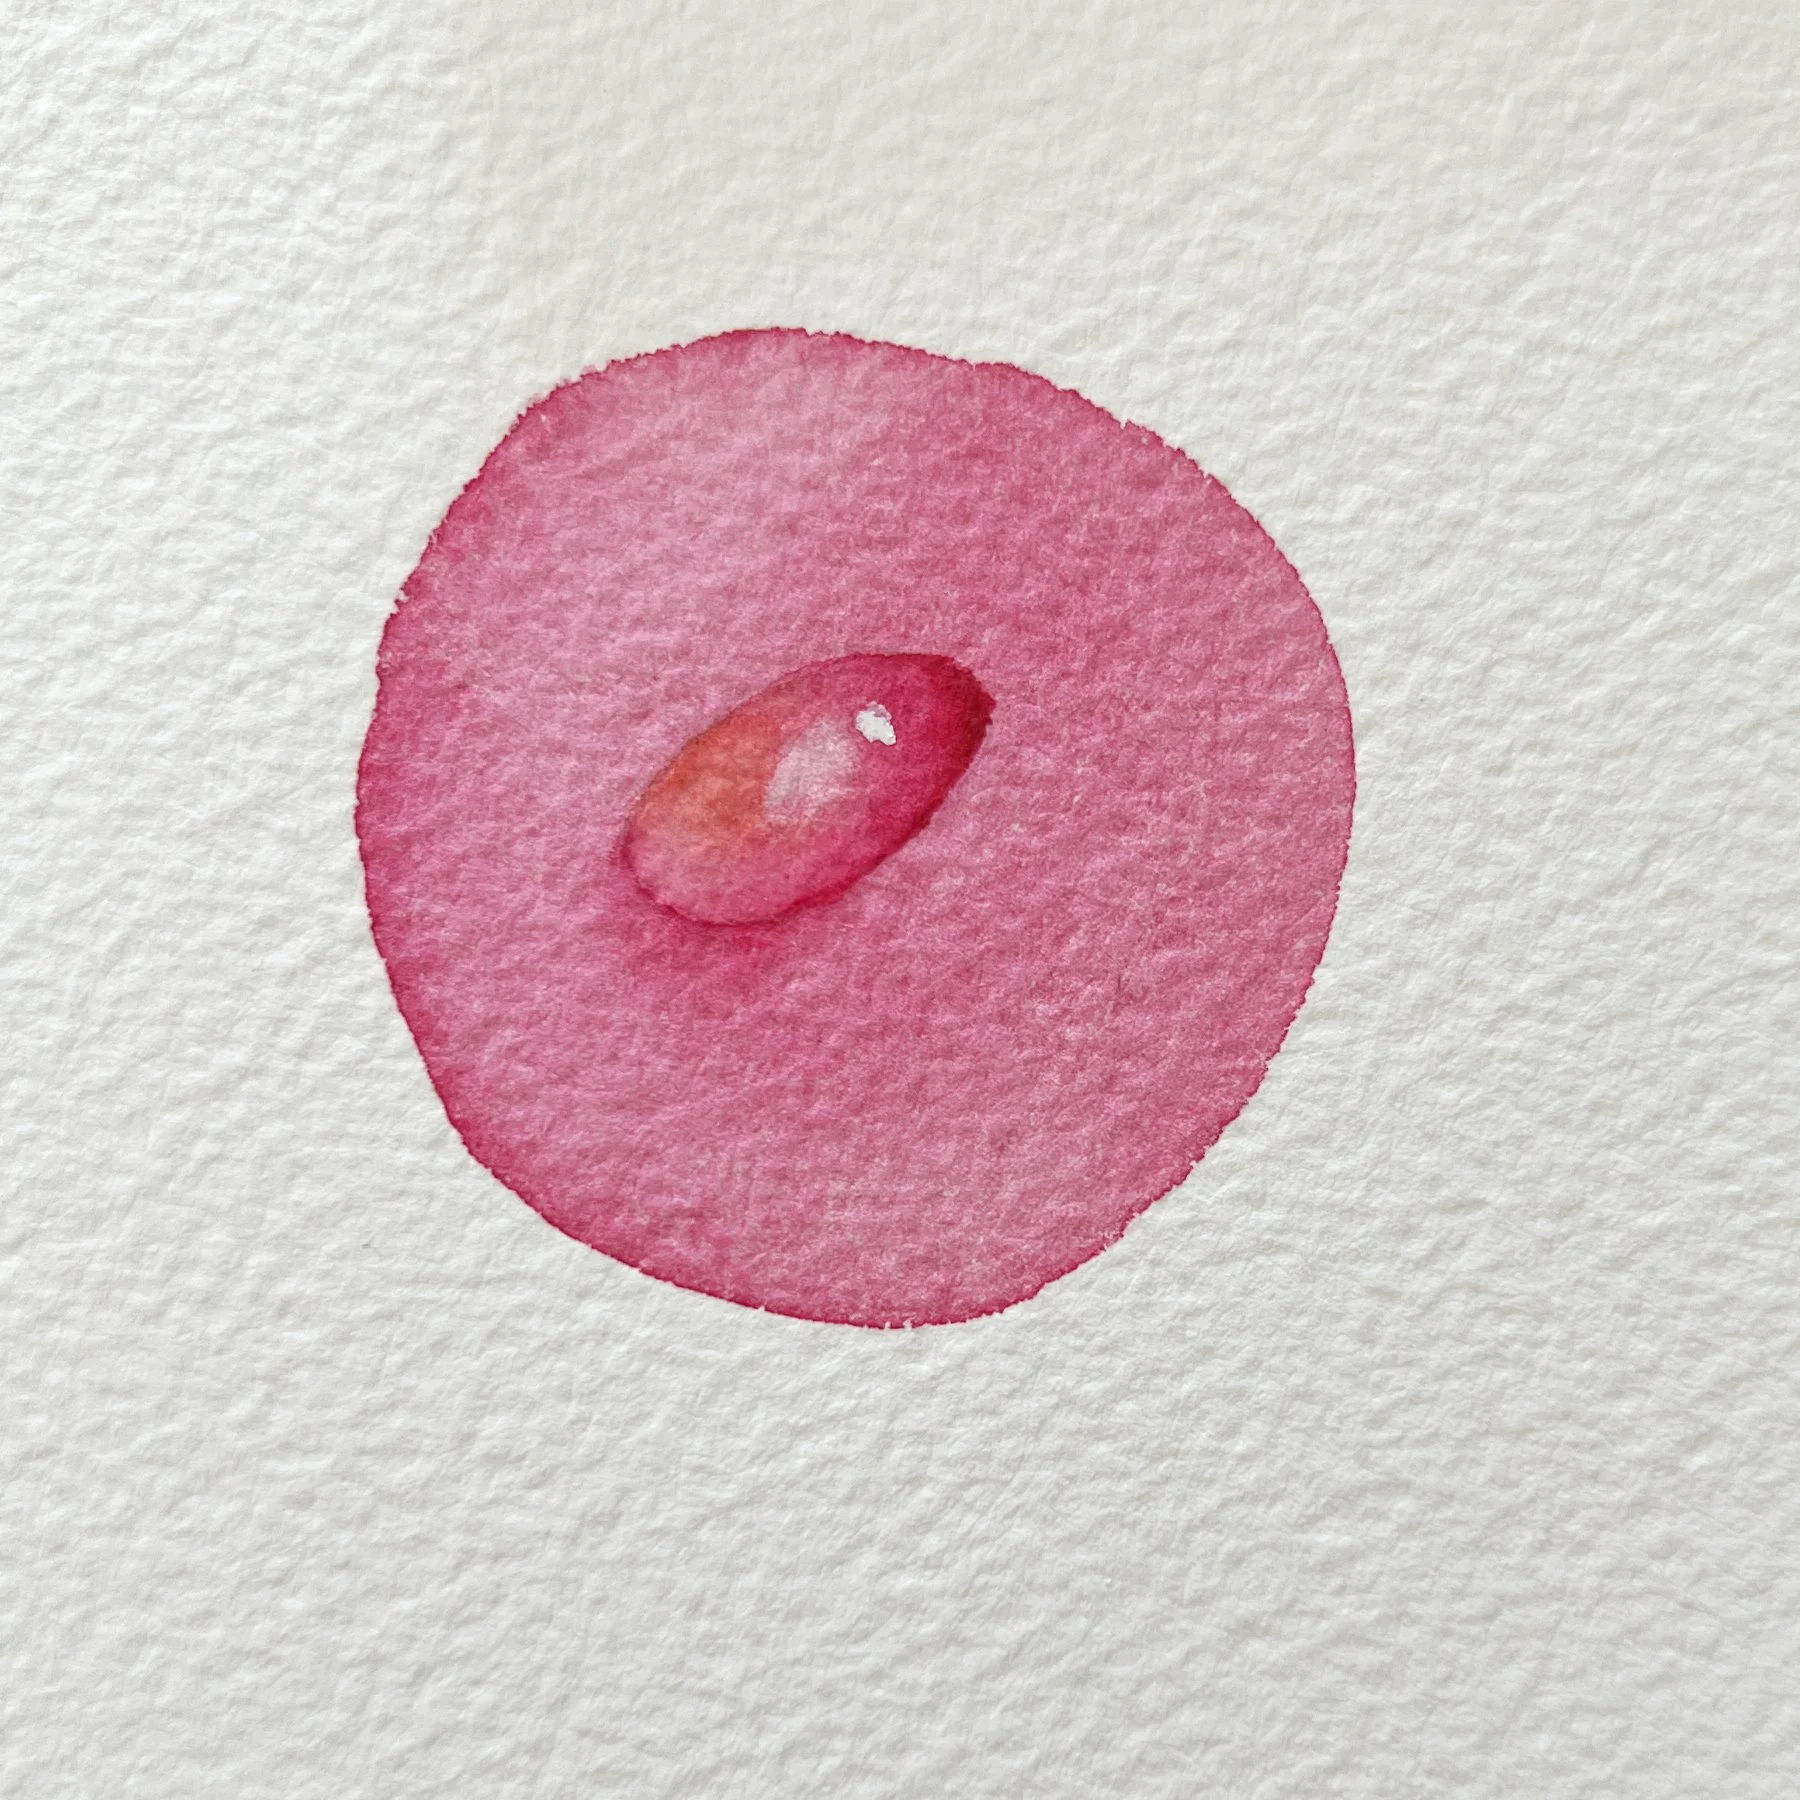
Fourth step
I lifted a large highlight in the centre with my eradicator brush - a damp, clean brush on dry paint. Then, on dry paper, I added a small, brighter highlight with a touch of white gouache.
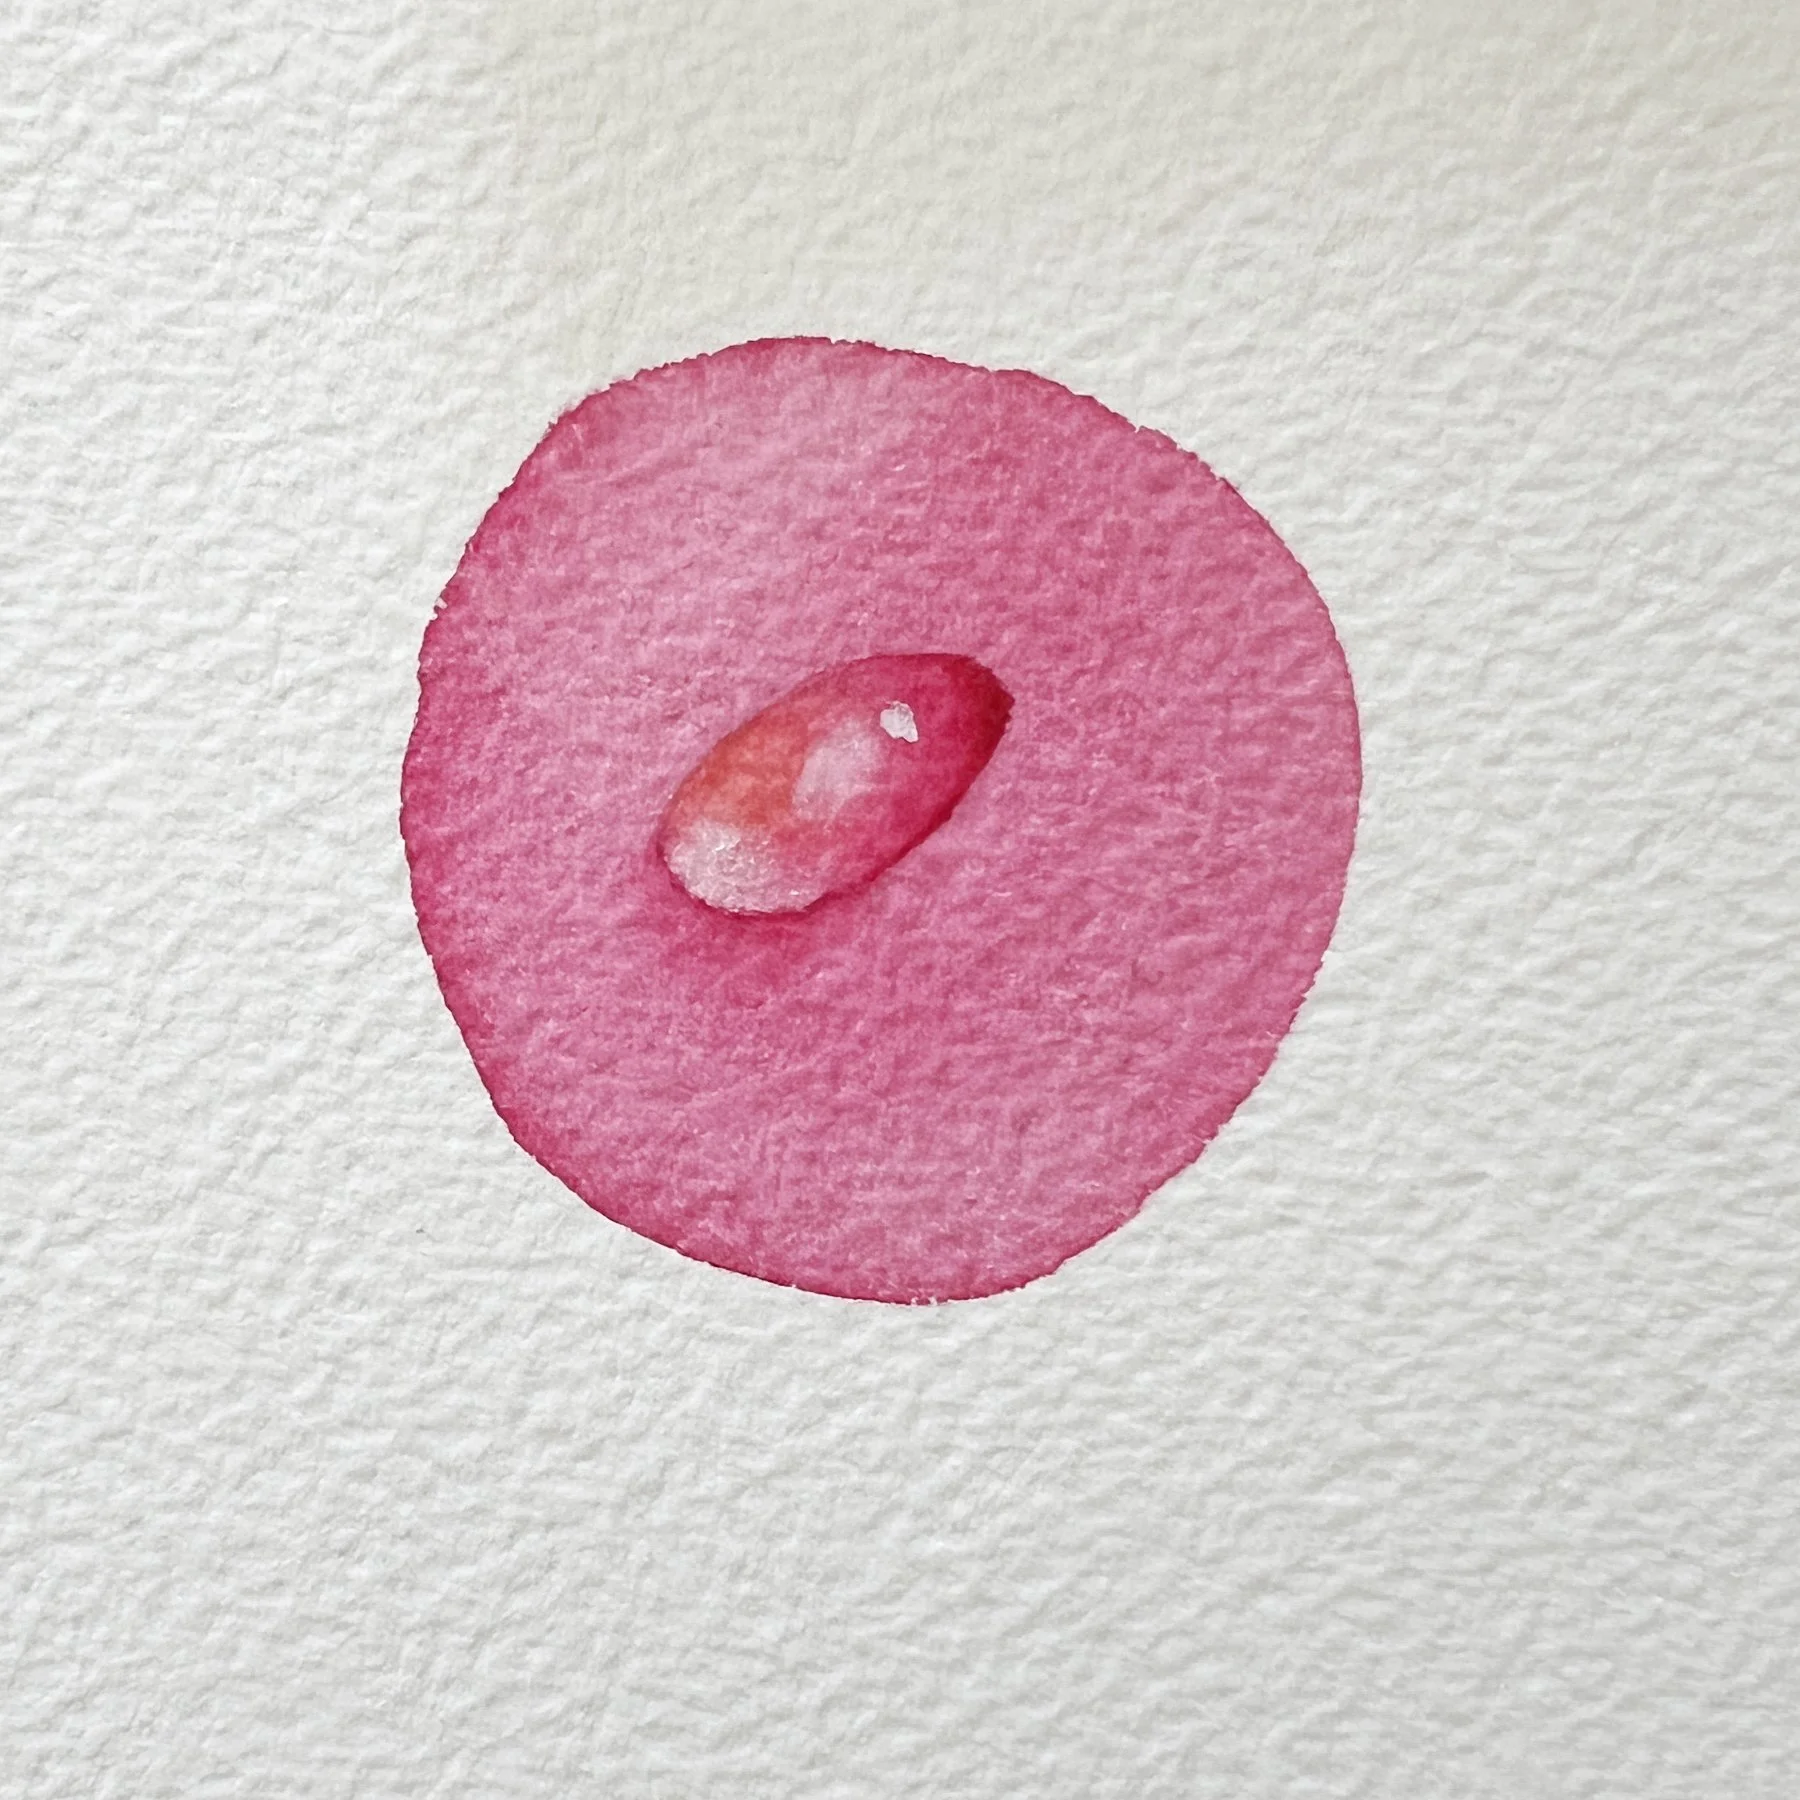
Final Step
I wet the lower section of the water droplet and I painted some white gouache there on the wet paper to create that soft glow near the cast shadow.
Final Thoughts
Painting water droplets takes patience and a careful eye, but once you start painting, the results are worth every fiddly brushstroke. Each tiny drop is its own little world of shadows and highlights, and mastering them will take your floral paintings to a new level. The more practice you have, the better your droplets will turn out.
If you’d like to learn more watercolour techniques with me, I offer a range of watercolour tutorials – from beginner lessons with watercolour basics to advanced projects. They’re full-length, voiced over, and I explain not just what I’m doing, but why.
Happy painting! 🌸
Want to watch the video on how to paint water drops?
If you are interested in learning to paint in watercolour, I have hundreds of online, voiced over watercolour tutorials for all skill levels.


