Starting a Watercolour Painting: What to paint first.
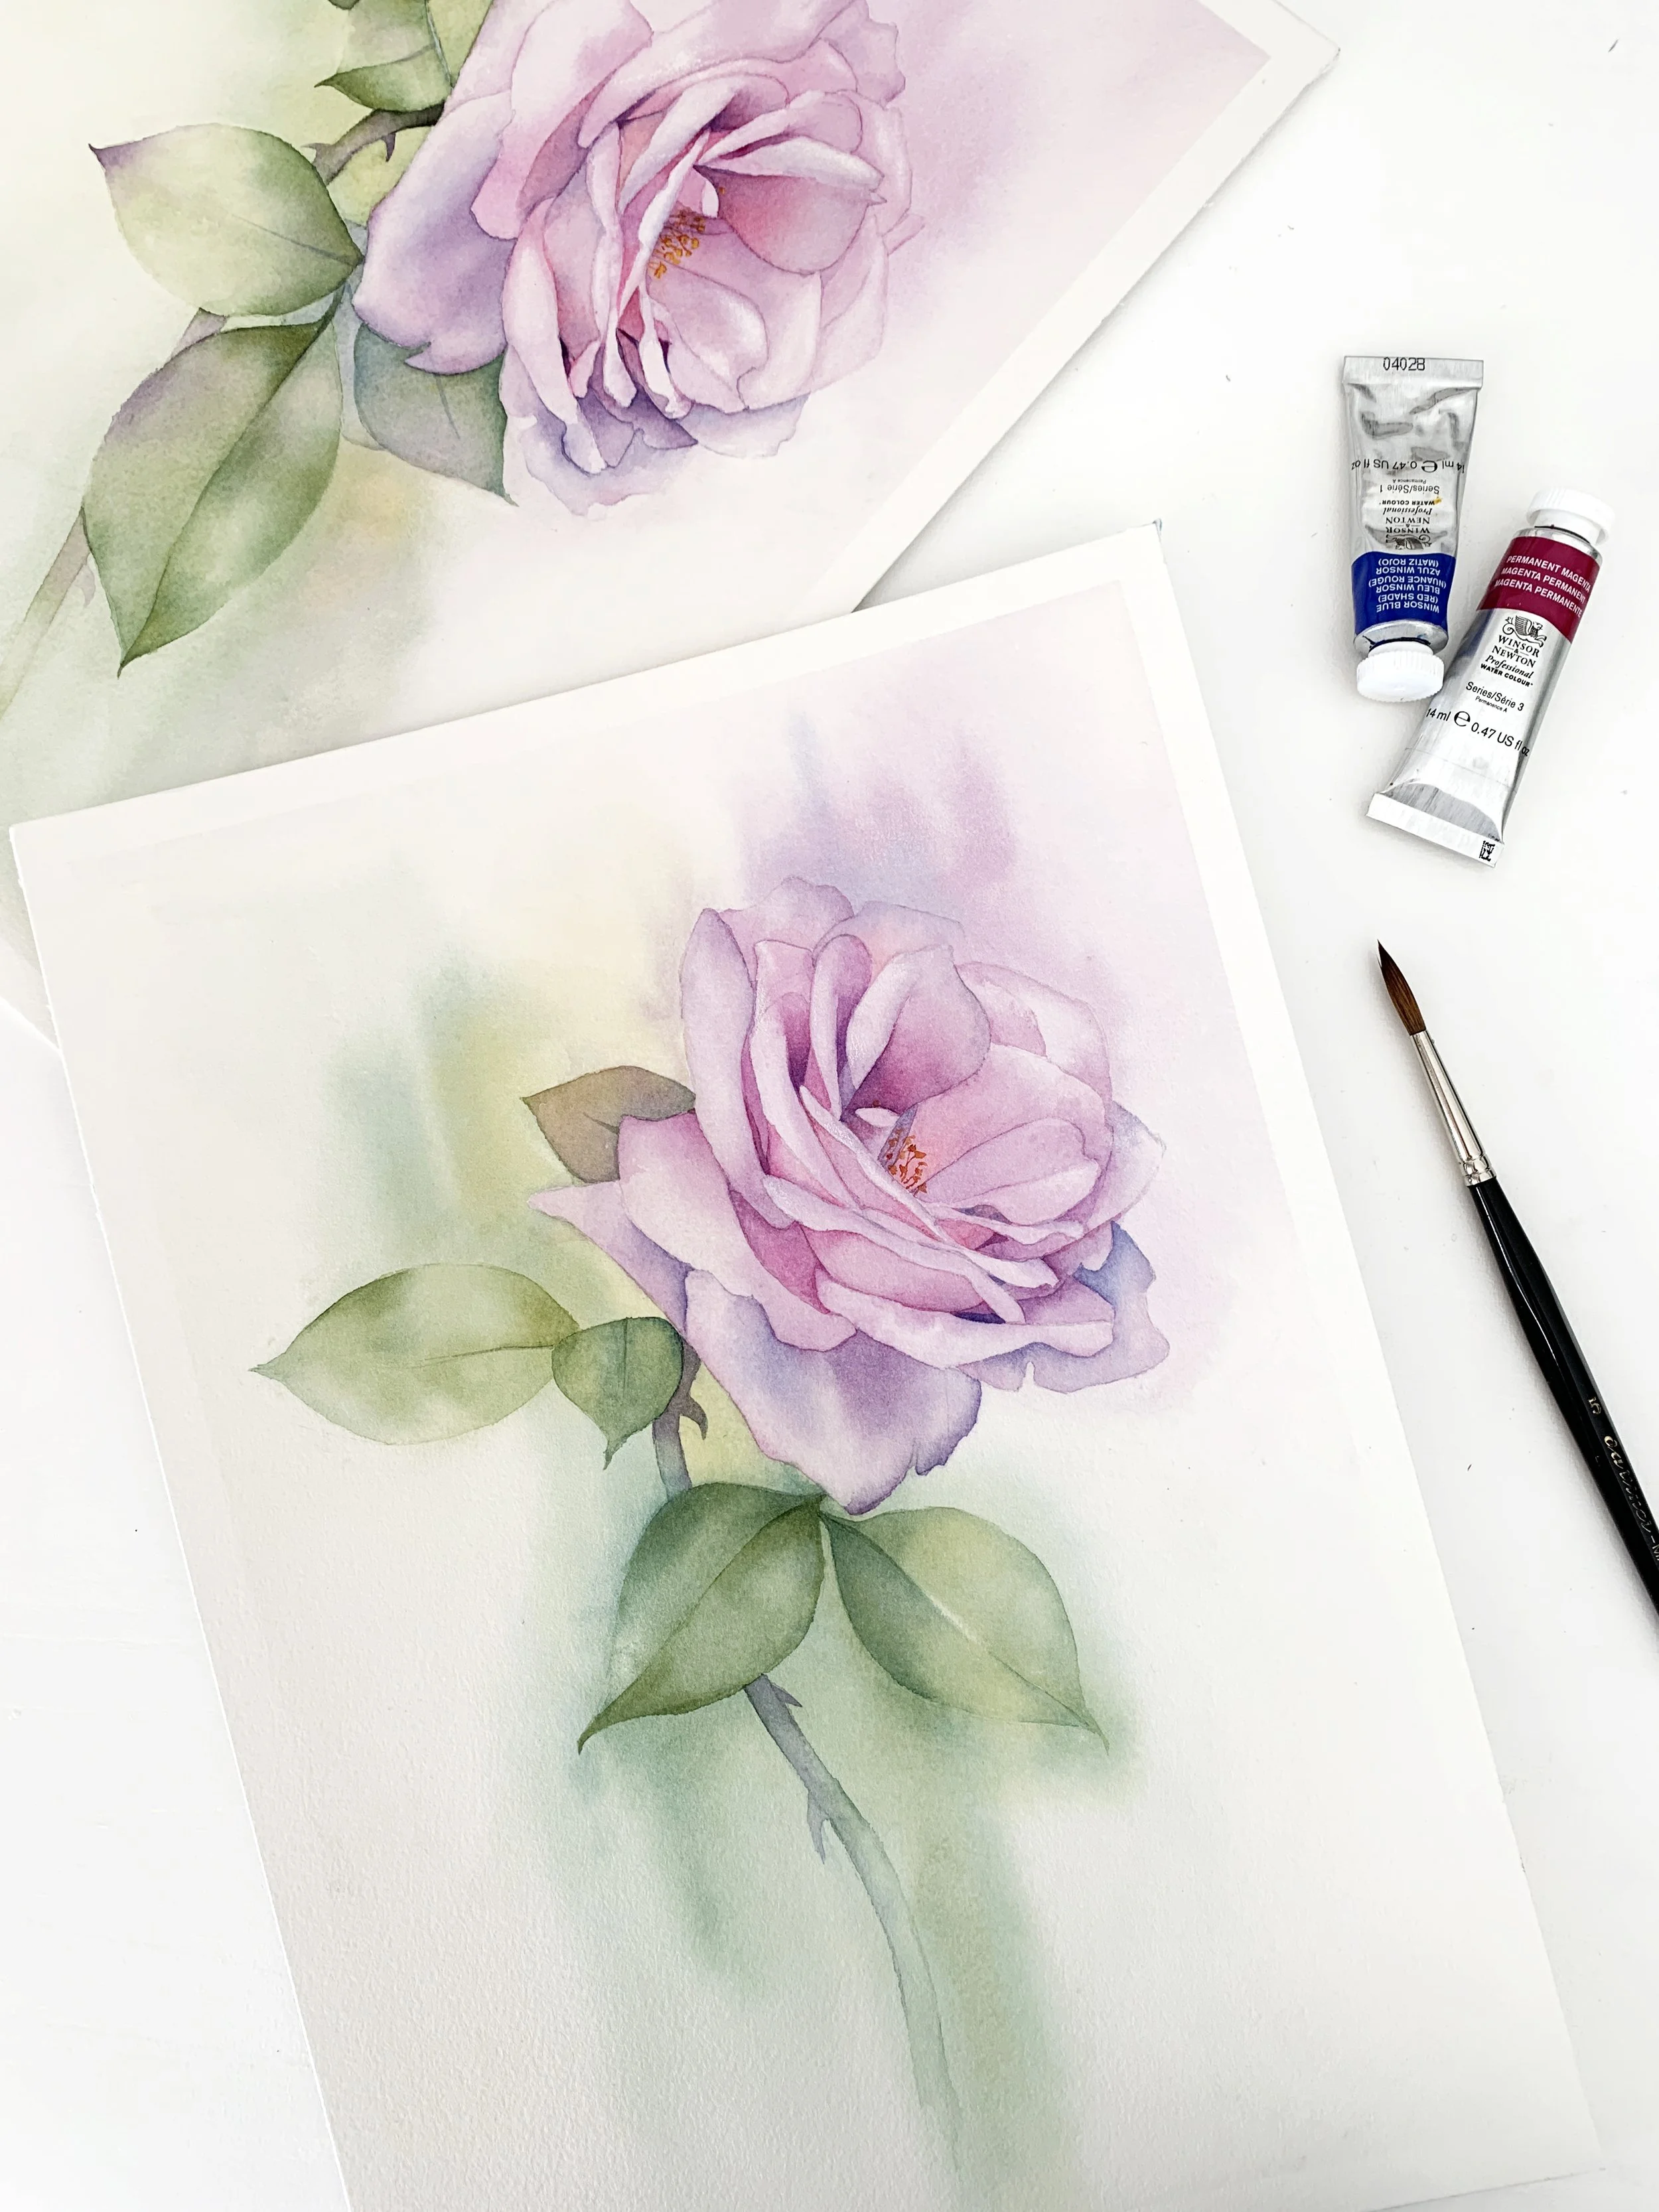
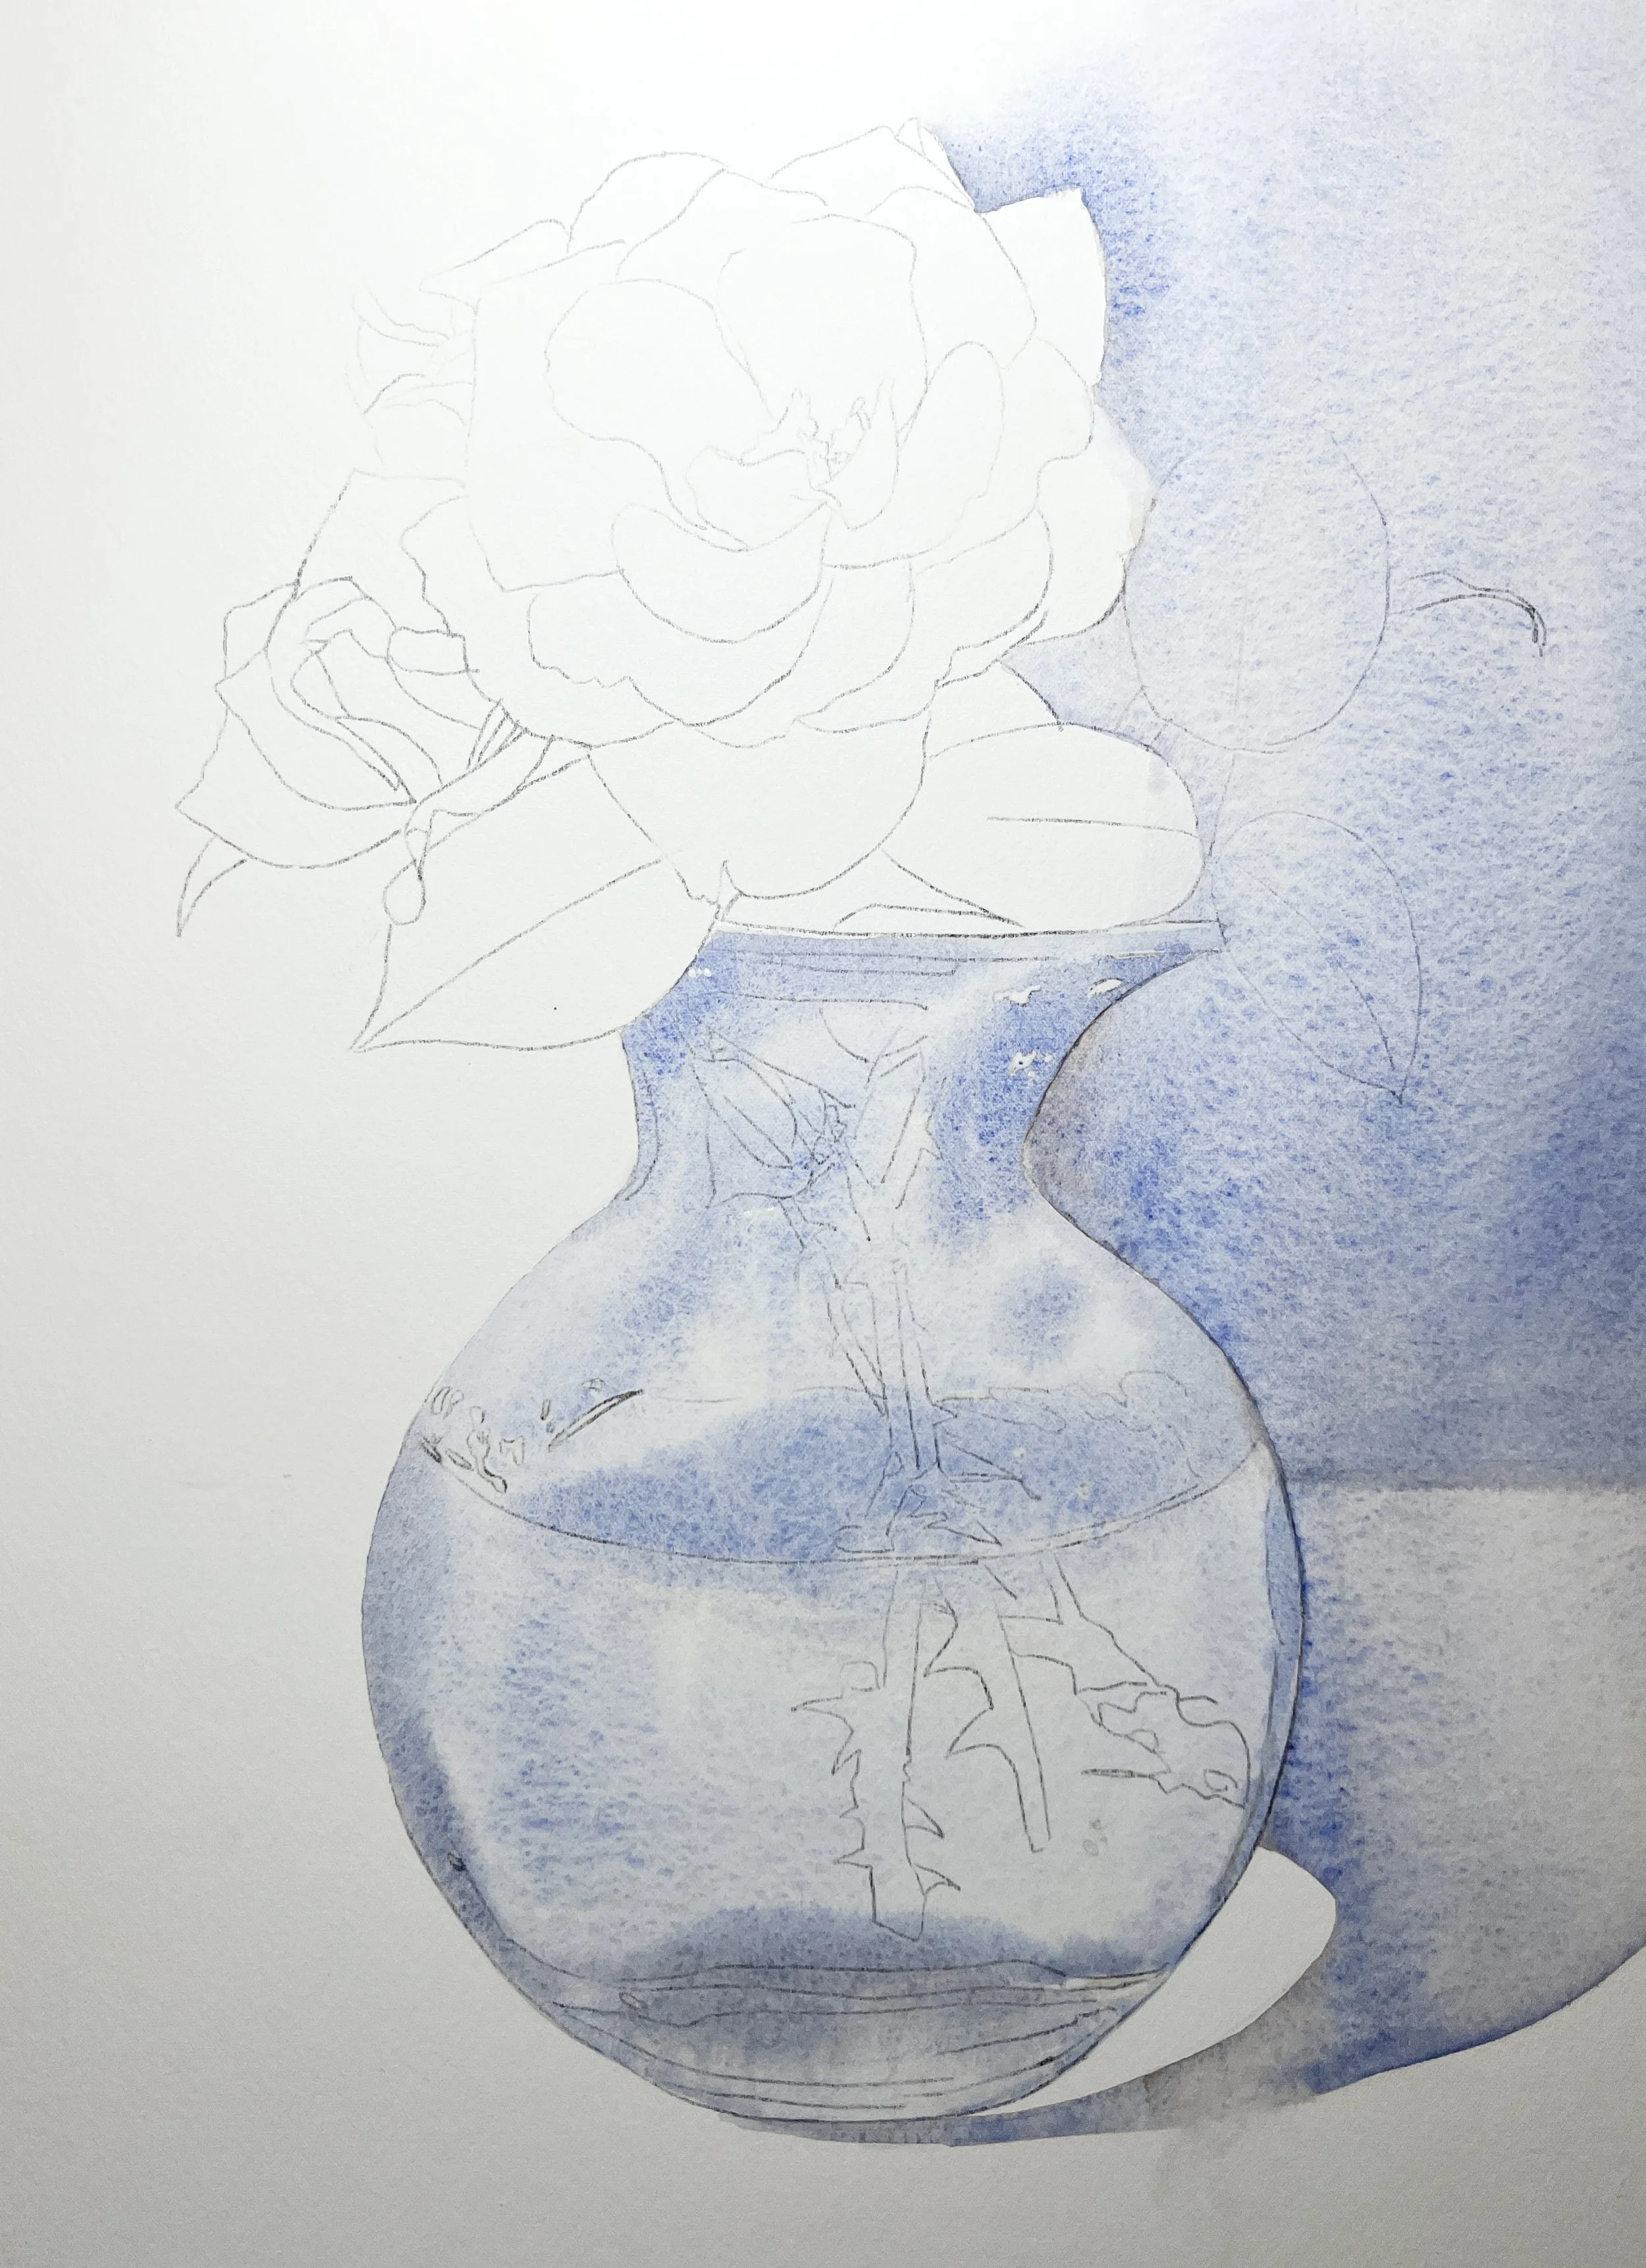
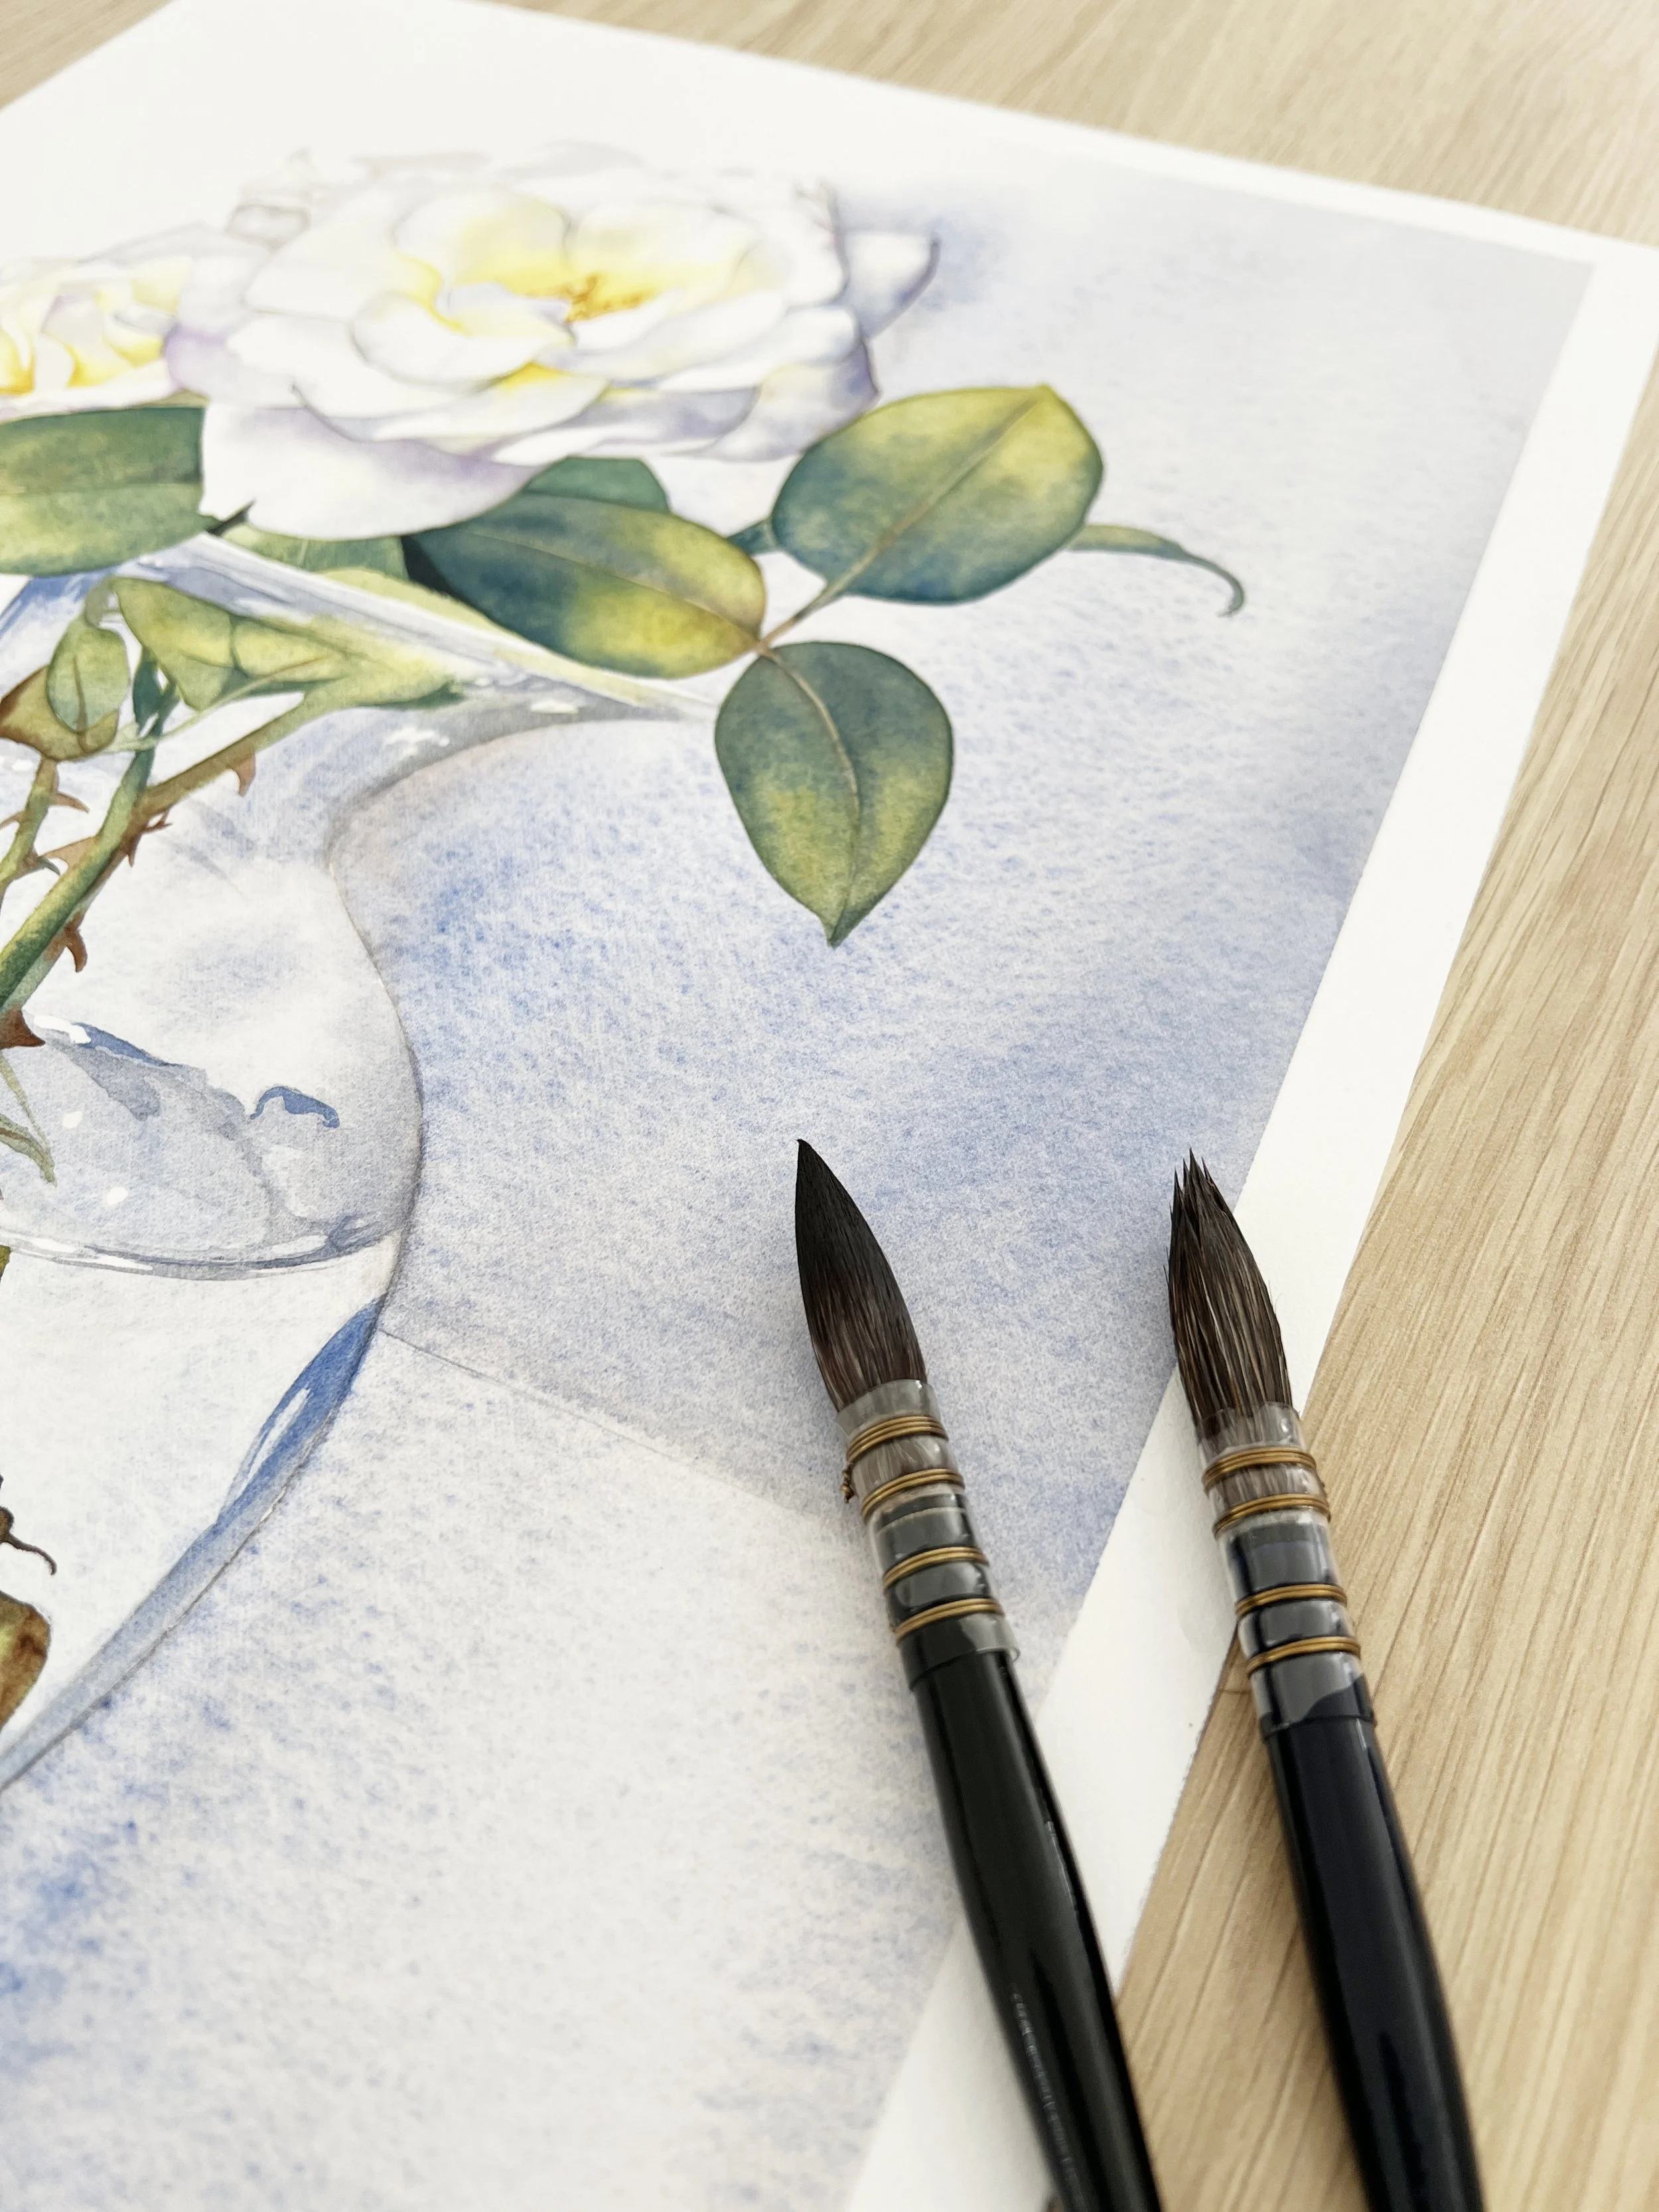
A soft rose painted on cold pressed watercolour paper.
What should you paint first in watercolour?
It’s one of the most common questions beginners ask - and for good reason. Watercolour has a mind of its own, and once the paint hits the paper, there’s no going back. Knowing where to start can save a lot of heartache (and paper).
In this post, I’ll walk you through how I decide what to paint first, why it matters, and how a bit of planning can make your whole process smoother.
Watercolour Painting: Start Light to Dark
When you learn watercolour remember one of the golden rules is to work from light to dark. Because watercolour is transparent, your lighter colours need to go down first - you can’t just paint over them later like you would with acrylic or oil paint. If you jump in too early with dark paint, you risk losing all the subtle highlights and glow that make watercolour so special.
Start by looking for the lightest tonal values and paint those in first. Once they’re down, you can start building depth with layers - saving the darkest areas for last. One big reason for this is that dark colours can easily lift on watercolour paper, even the staining ones. If you add them too early, you risk disturbing them as you continue layering and refining the painting.
Watercolour really is all about light. It’s the glow, the transparency, the way the paper shines through the paint that gives it life. Understanding how transparency works is one of the keys to preserving that luminous watercolour look. If you're after moody, heavy tones, other mediums like acrylic paints might do the job better.
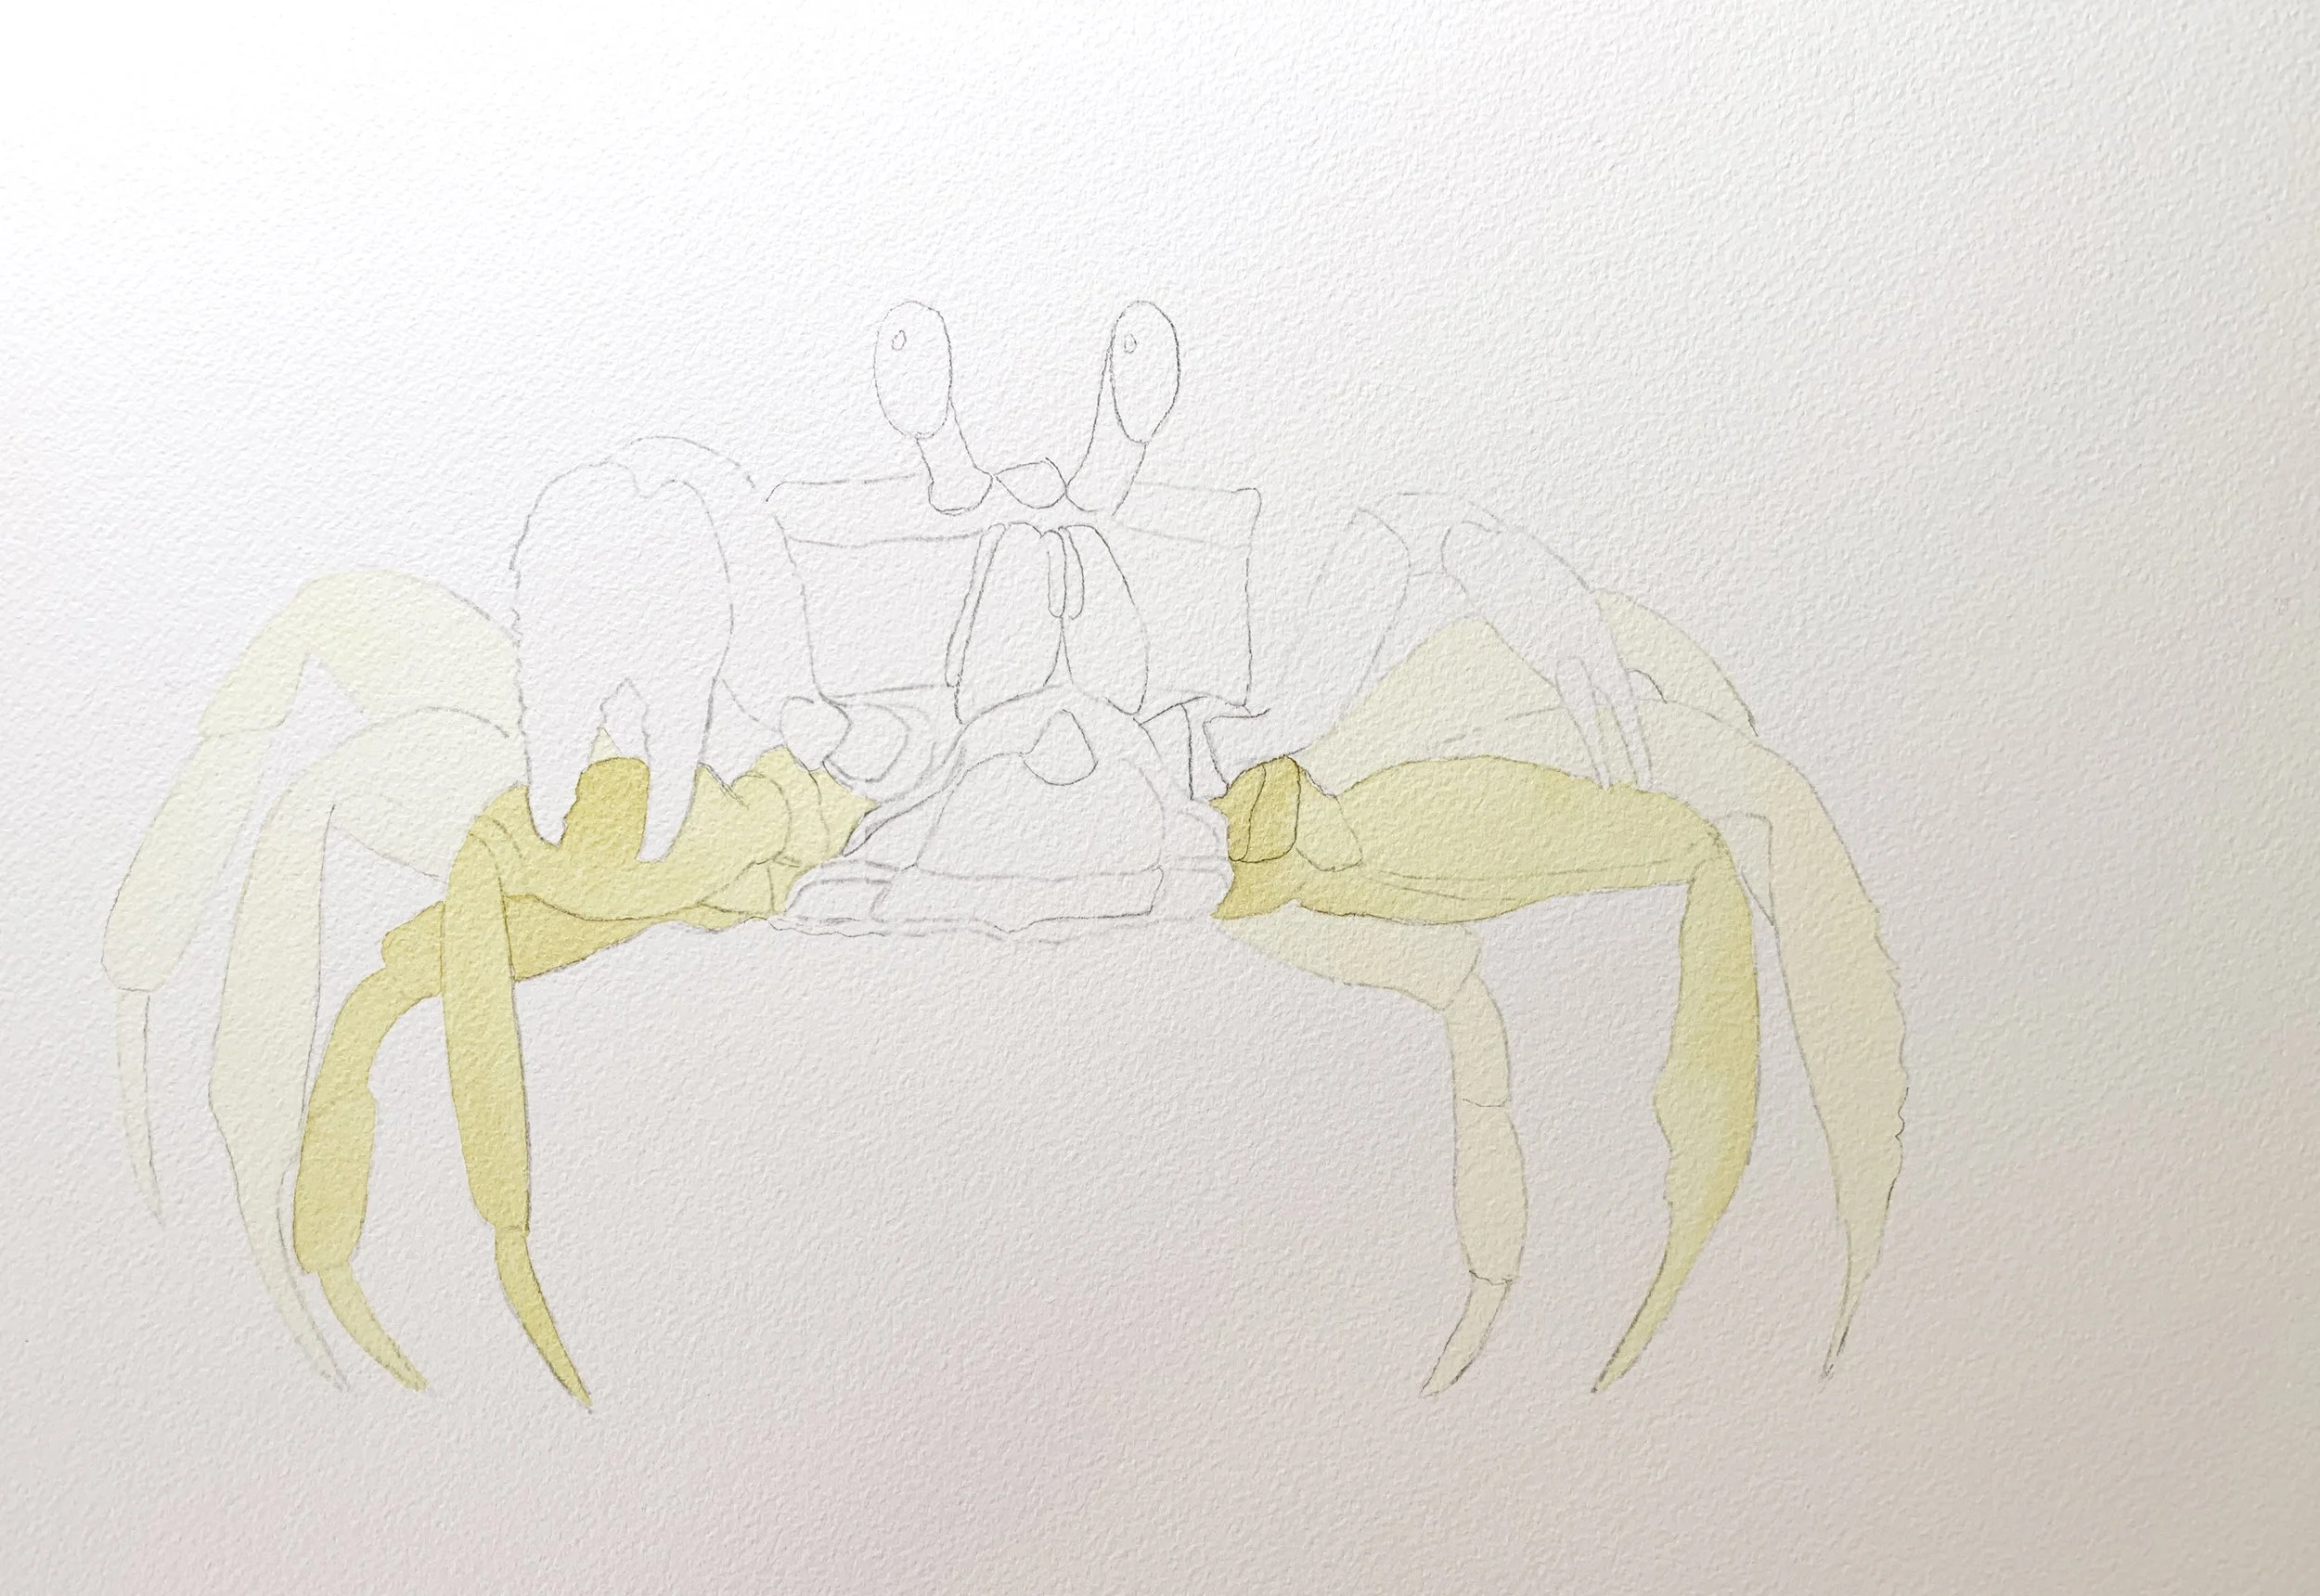
Work light to dark when you paint in watercolour. (Cold pressed paper)
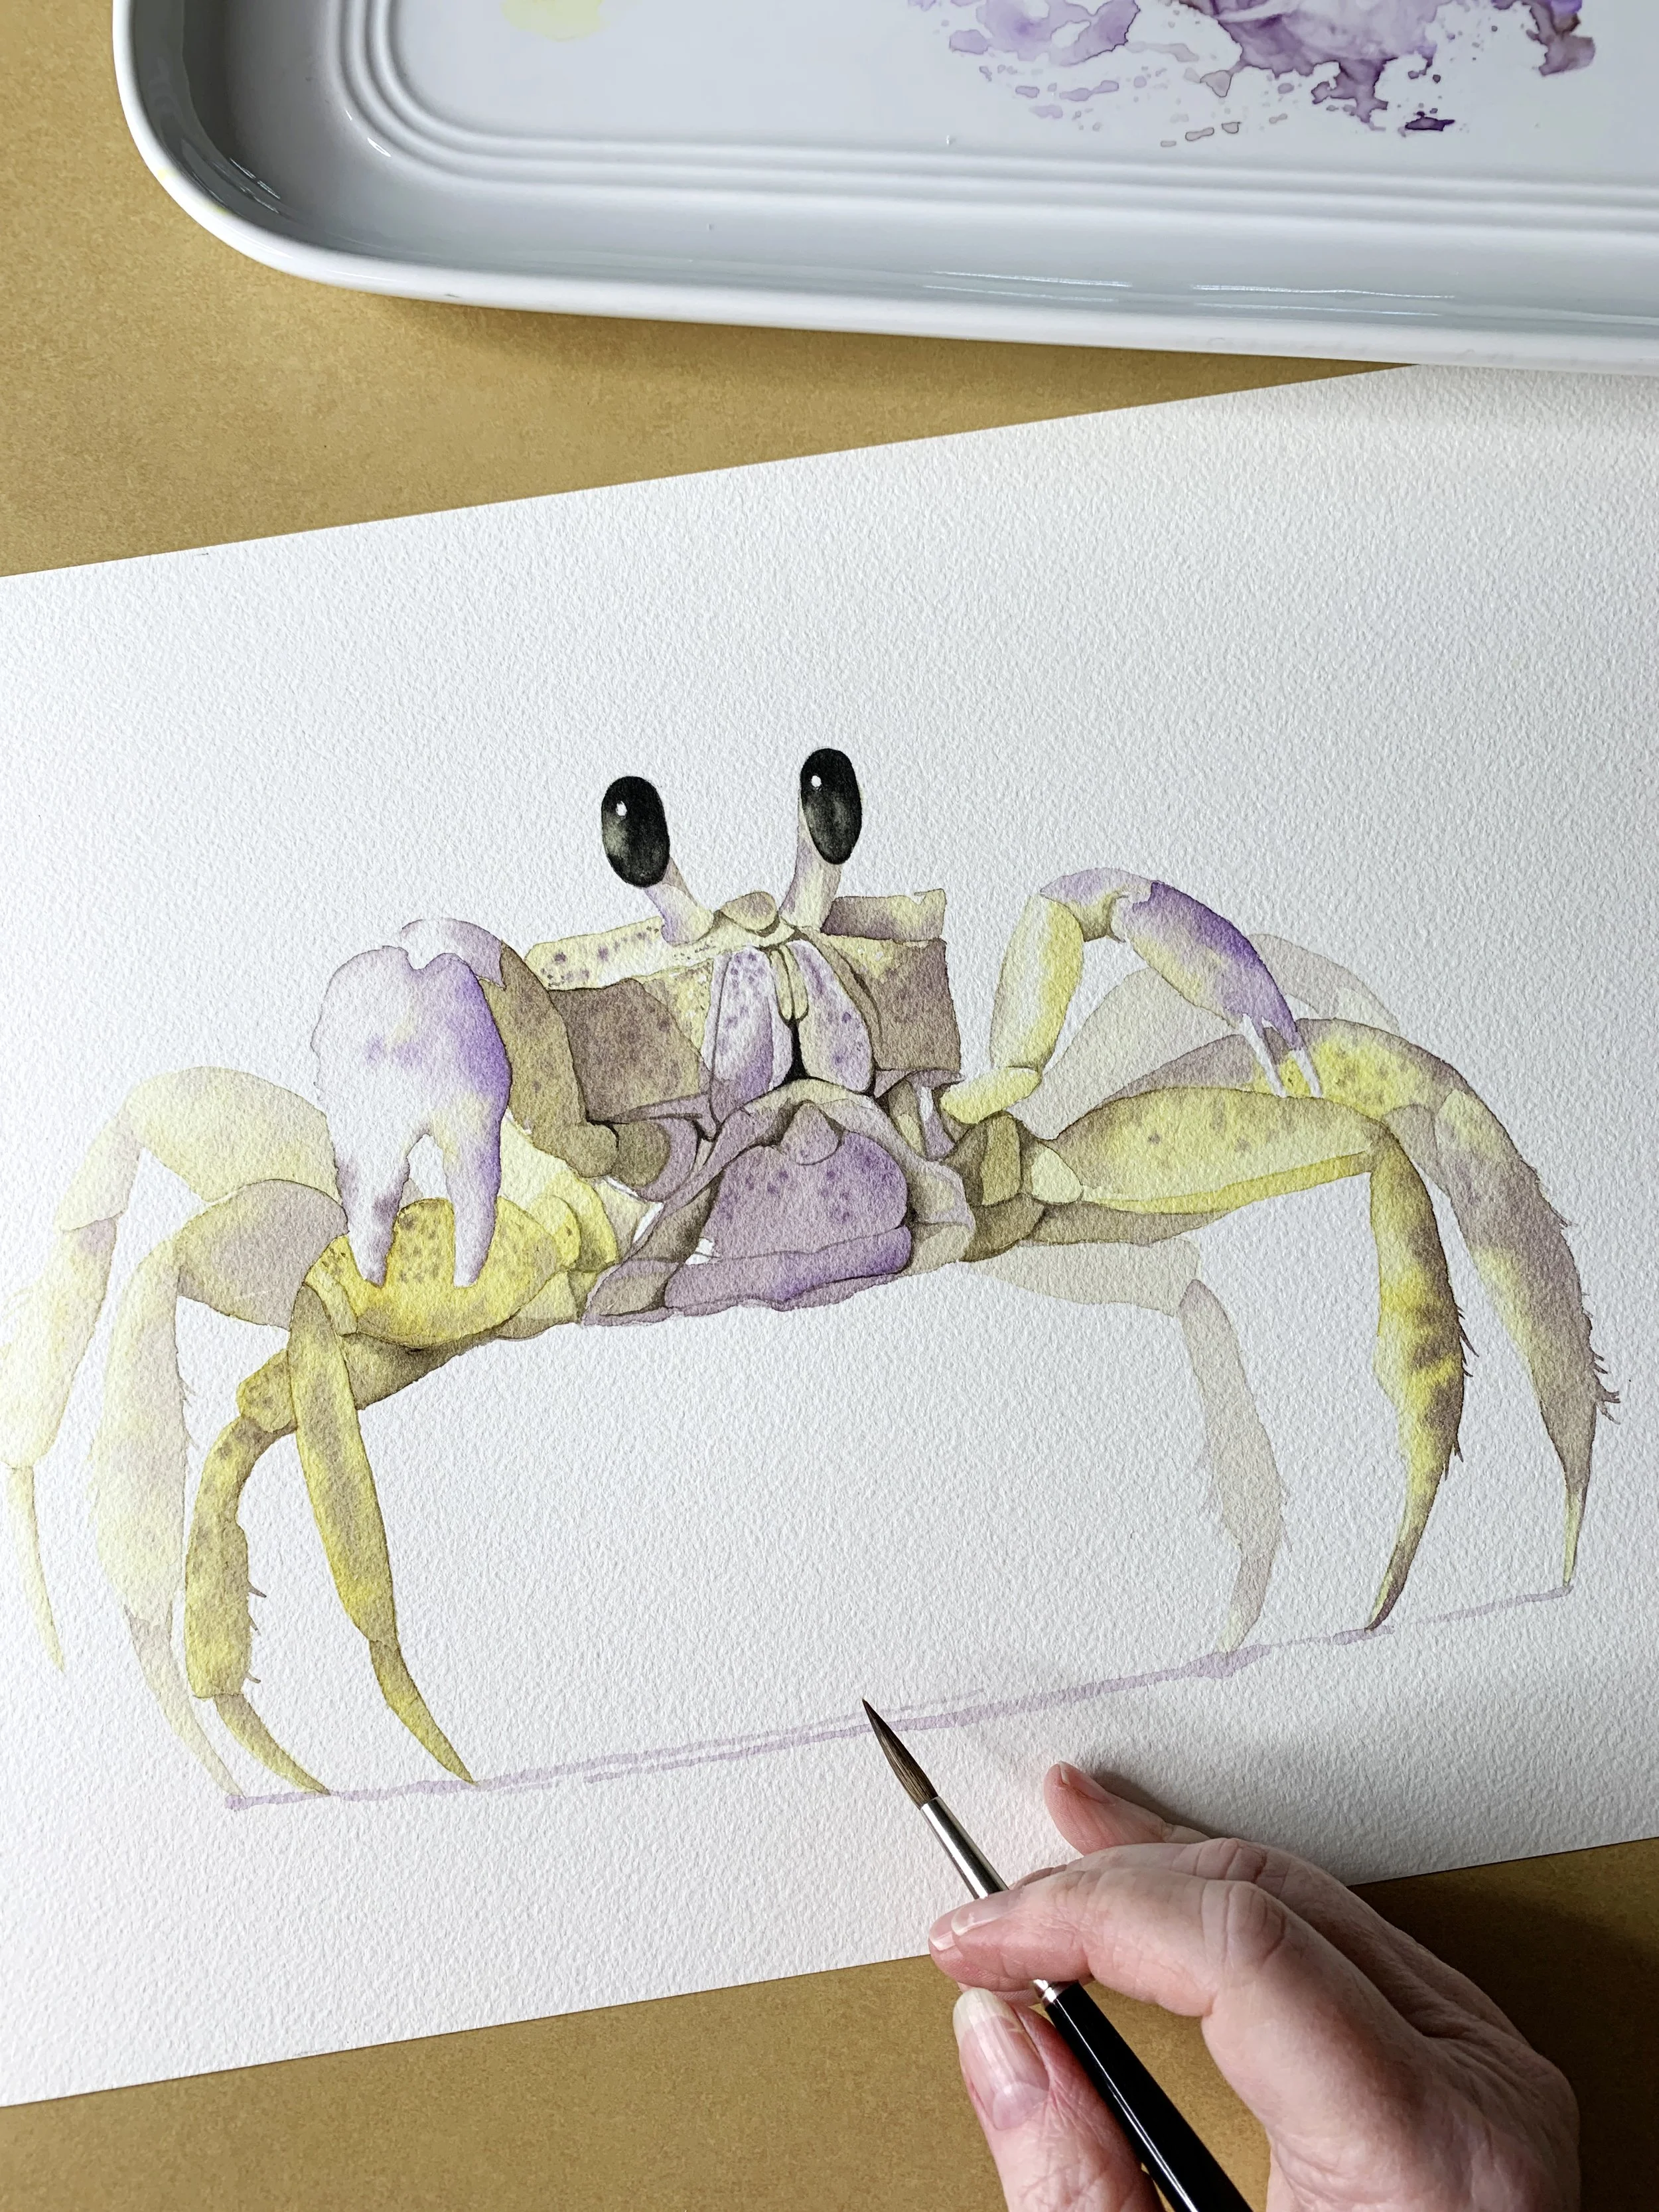
My finished crab painting.
Should you Paint the Background or Subject First?
Everybody’s painting process is different, and honestly, there’s no one-size-fits-all answer here. Some artists swear by starting with the background because it’s usually the largest shape and can instantly set the tone for the rest of the painting. Others prefer to get the main subject down first to lock in the focal point, then paint the background around it. It really comes down to your painting’s needs and your personal workflow.
If you're after a looser style with soft transitions - like a moody sky or a variegated wash - it makes sense to start painting the background first while the entire paper is still fresh and wet. Learning to recognise the different moisture stages of the paper makes these soft transitions much easier to achieve. Working on wet paper lets the paint flow freely, blending effortlessly and creating soft edges. It’s perfect for setting an atmosphere or mood early on. You can always mask off the subject or paint around it carefully once things dry.
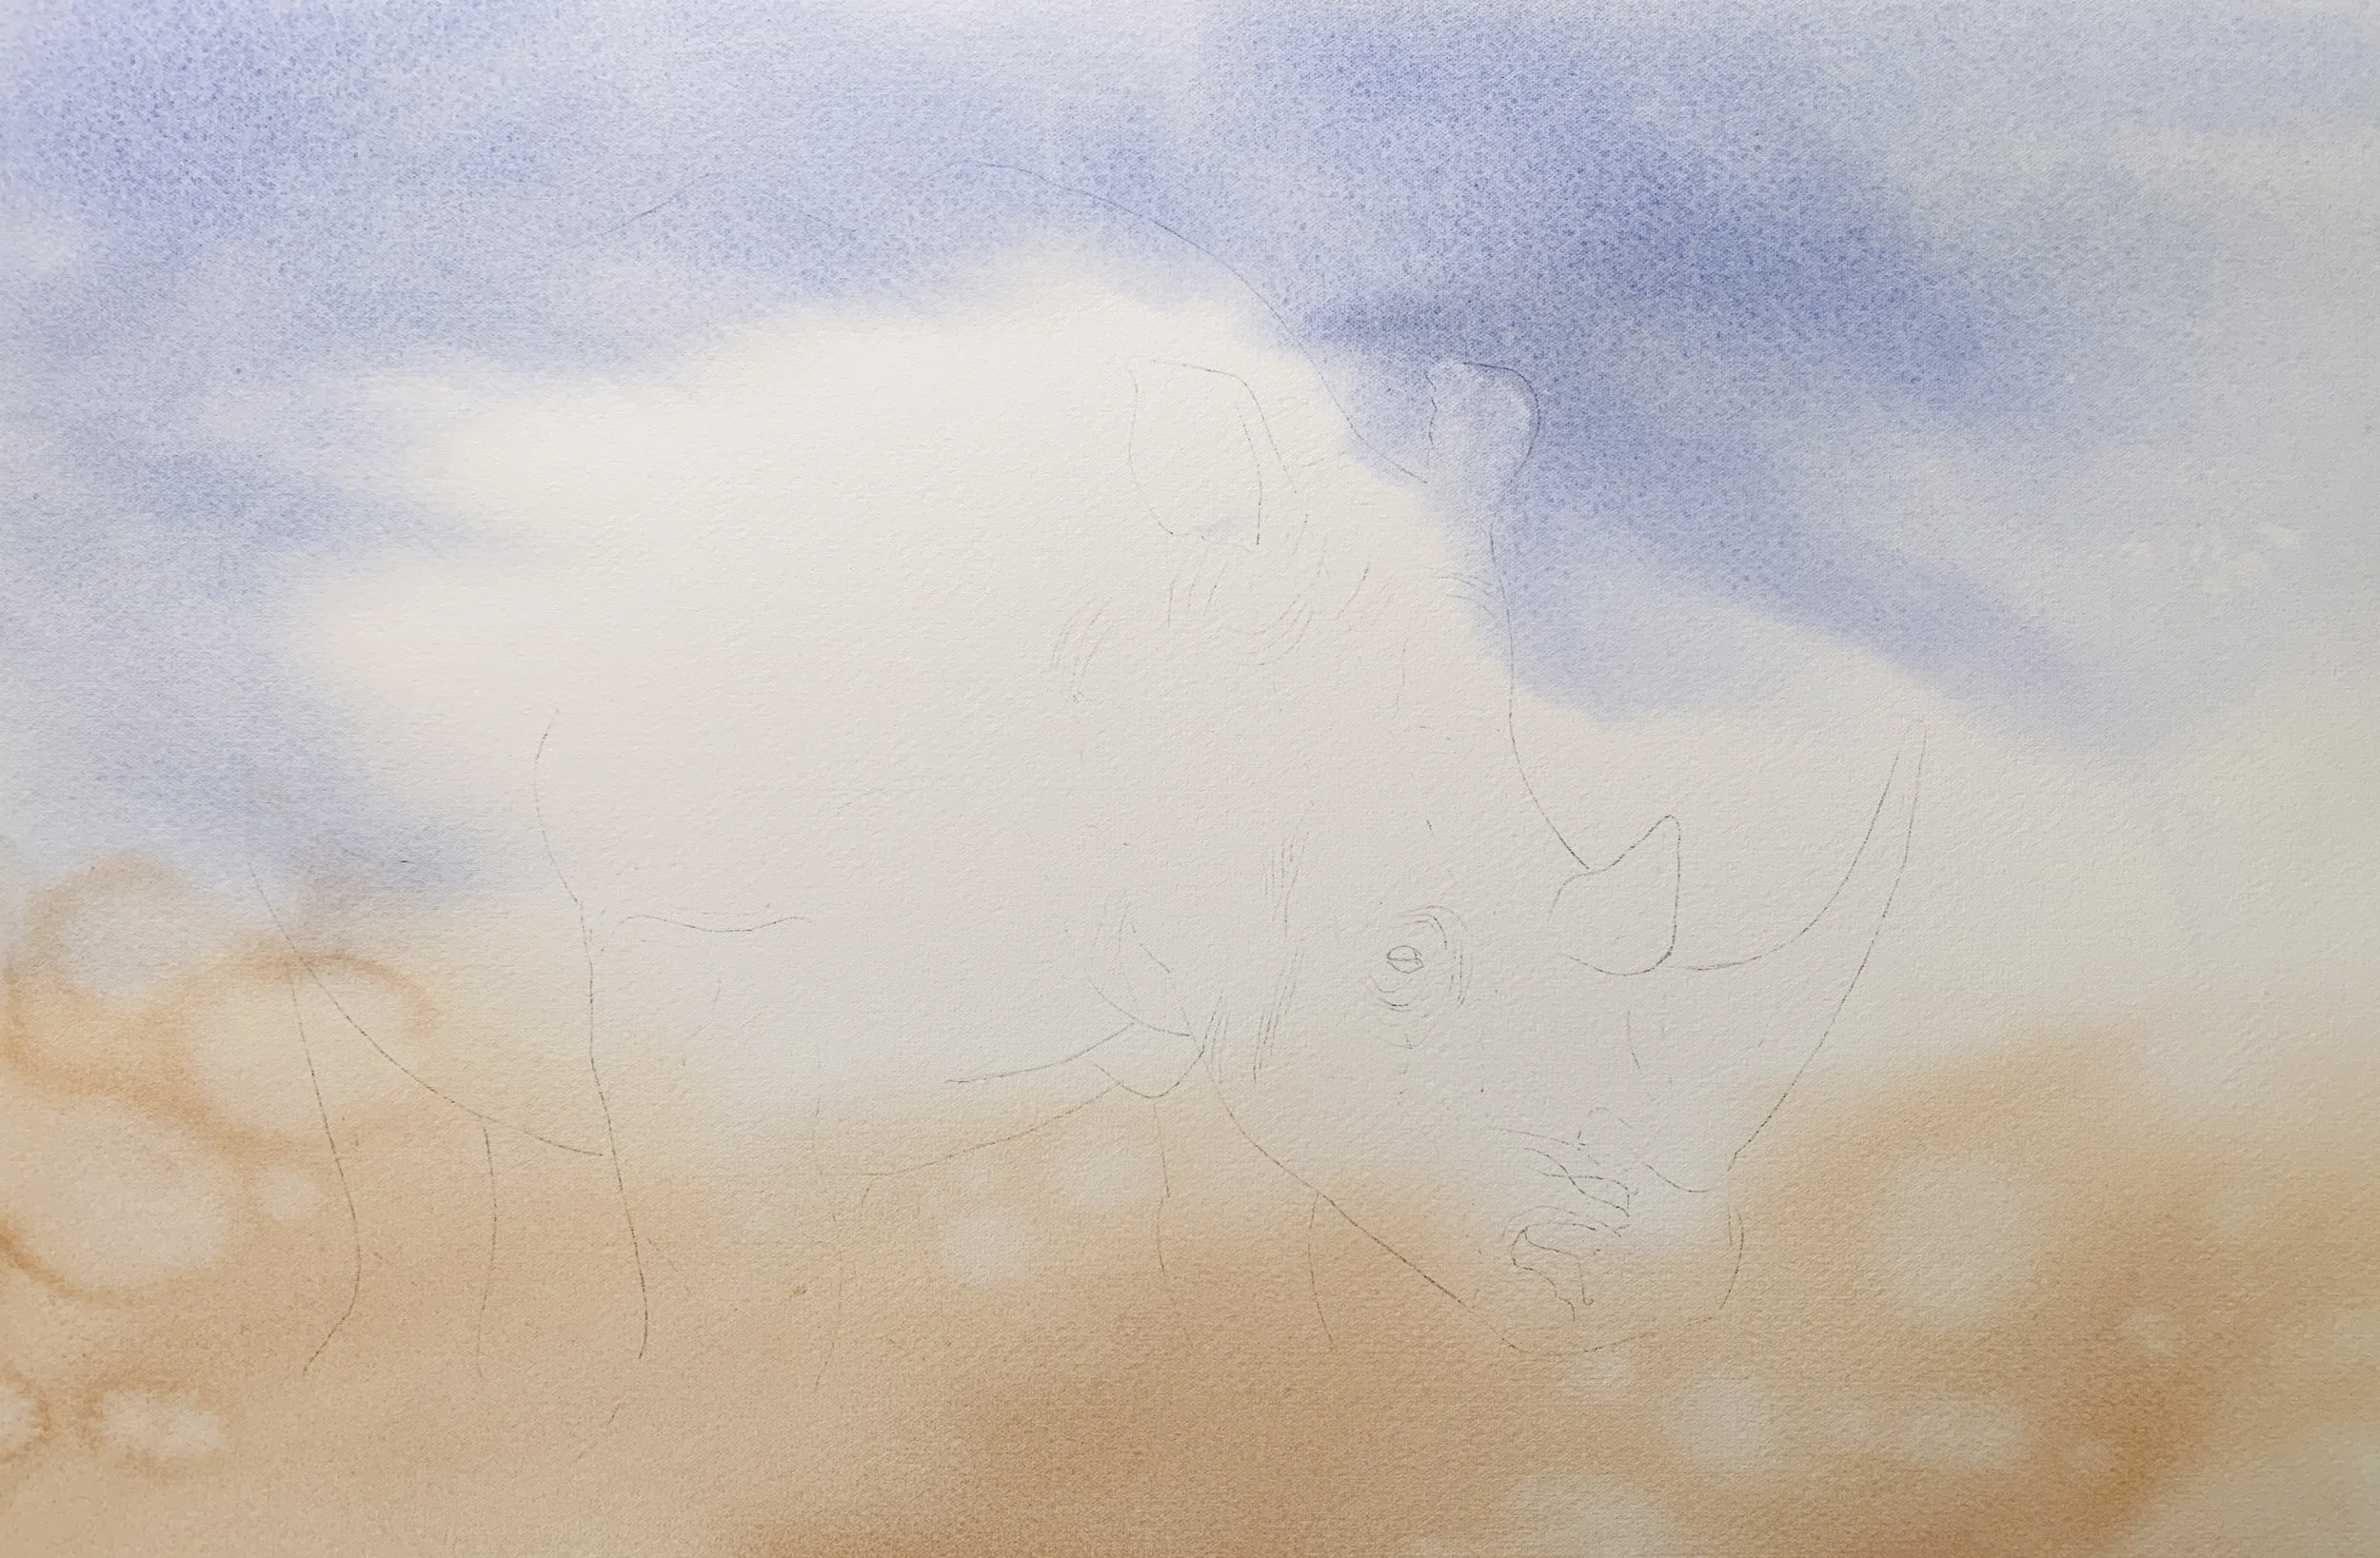
I painted the sky and foreground first on this rhinoceros painting because it made sense. I didn't want to disturb the finished rhino by painting a background in after it was finished. As a watercolor artist you have lots of planning to do and decisions to make before you put paint to paper.
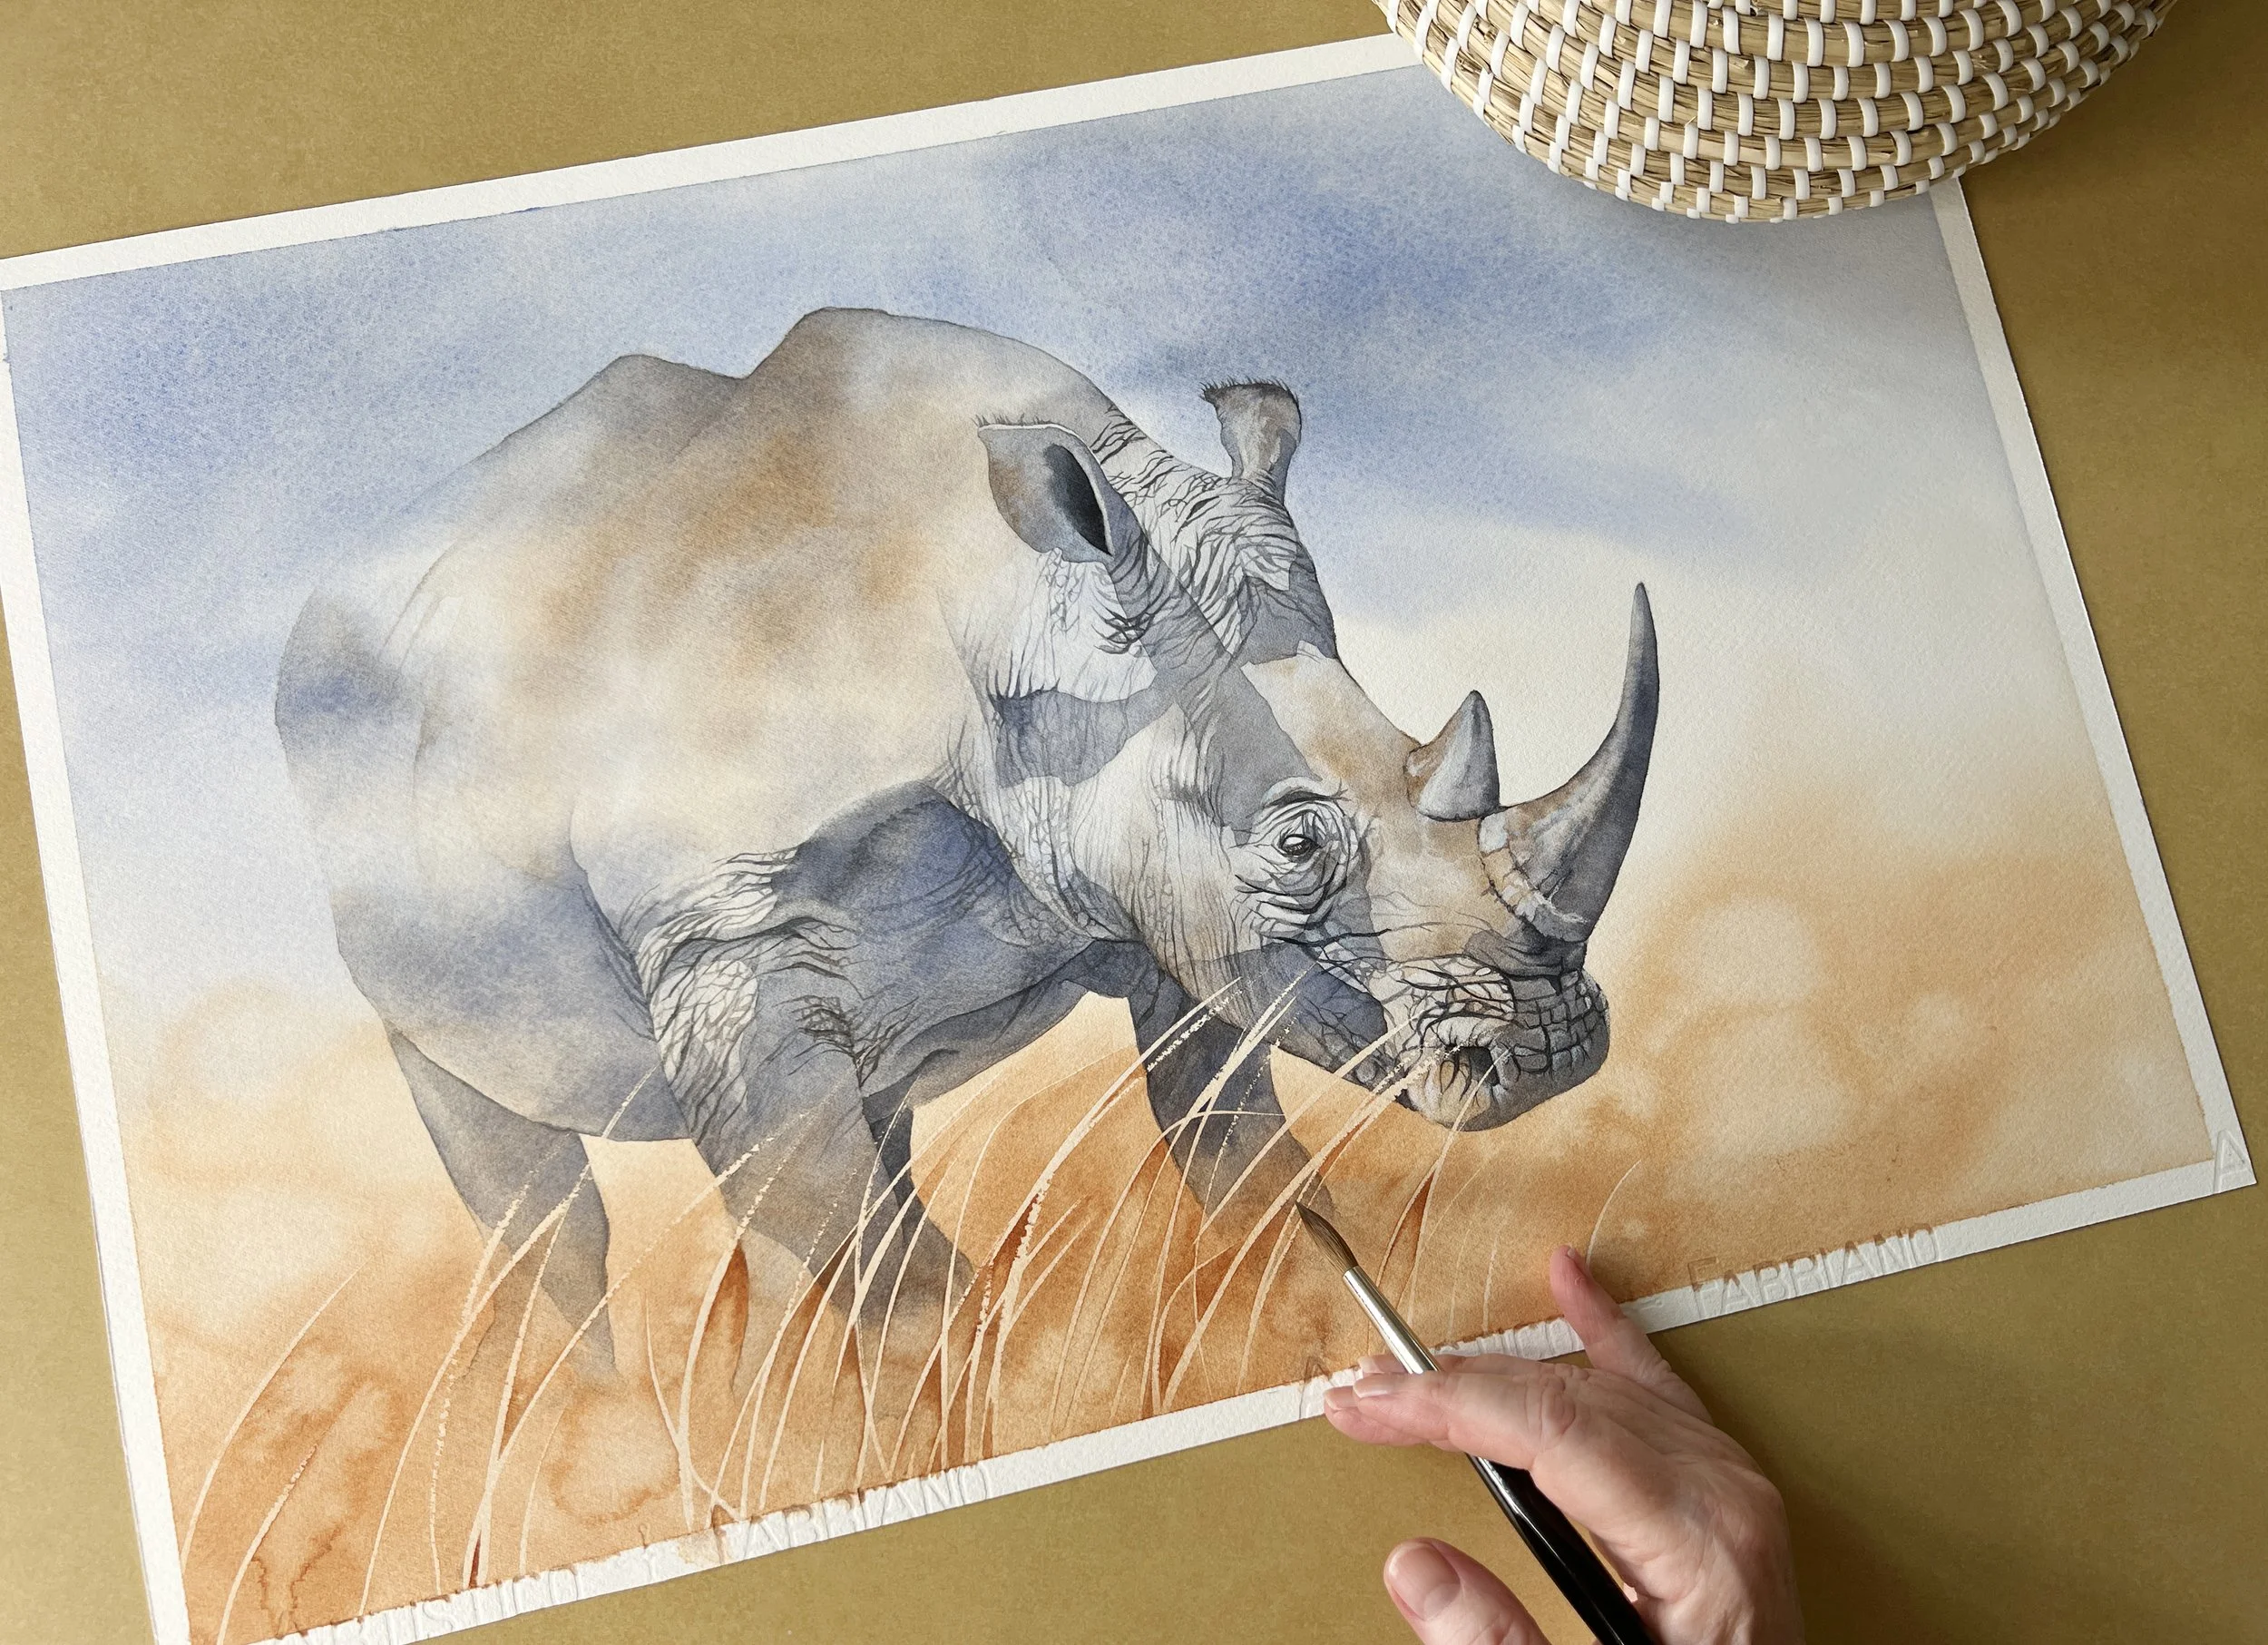
The finished Rhino painting.
On the other hand, if your subject needs sharp edges or crisp detail, you might want to paint that first on dry paper and then work the background around it later. This approach gives you more control, especially when you want to avoid colours bleeding or muddying areas where wet paint overlaps.
Personally, I switch it up depending on the painting. If I want the background to carry the mood, I get it in early while the paper’s still damp. If I need the subject to stand strong and clean, I start there instead. Either way, a bit of planning goes a long way - especially when you’re working wet-on-wet or covering the entire paper.
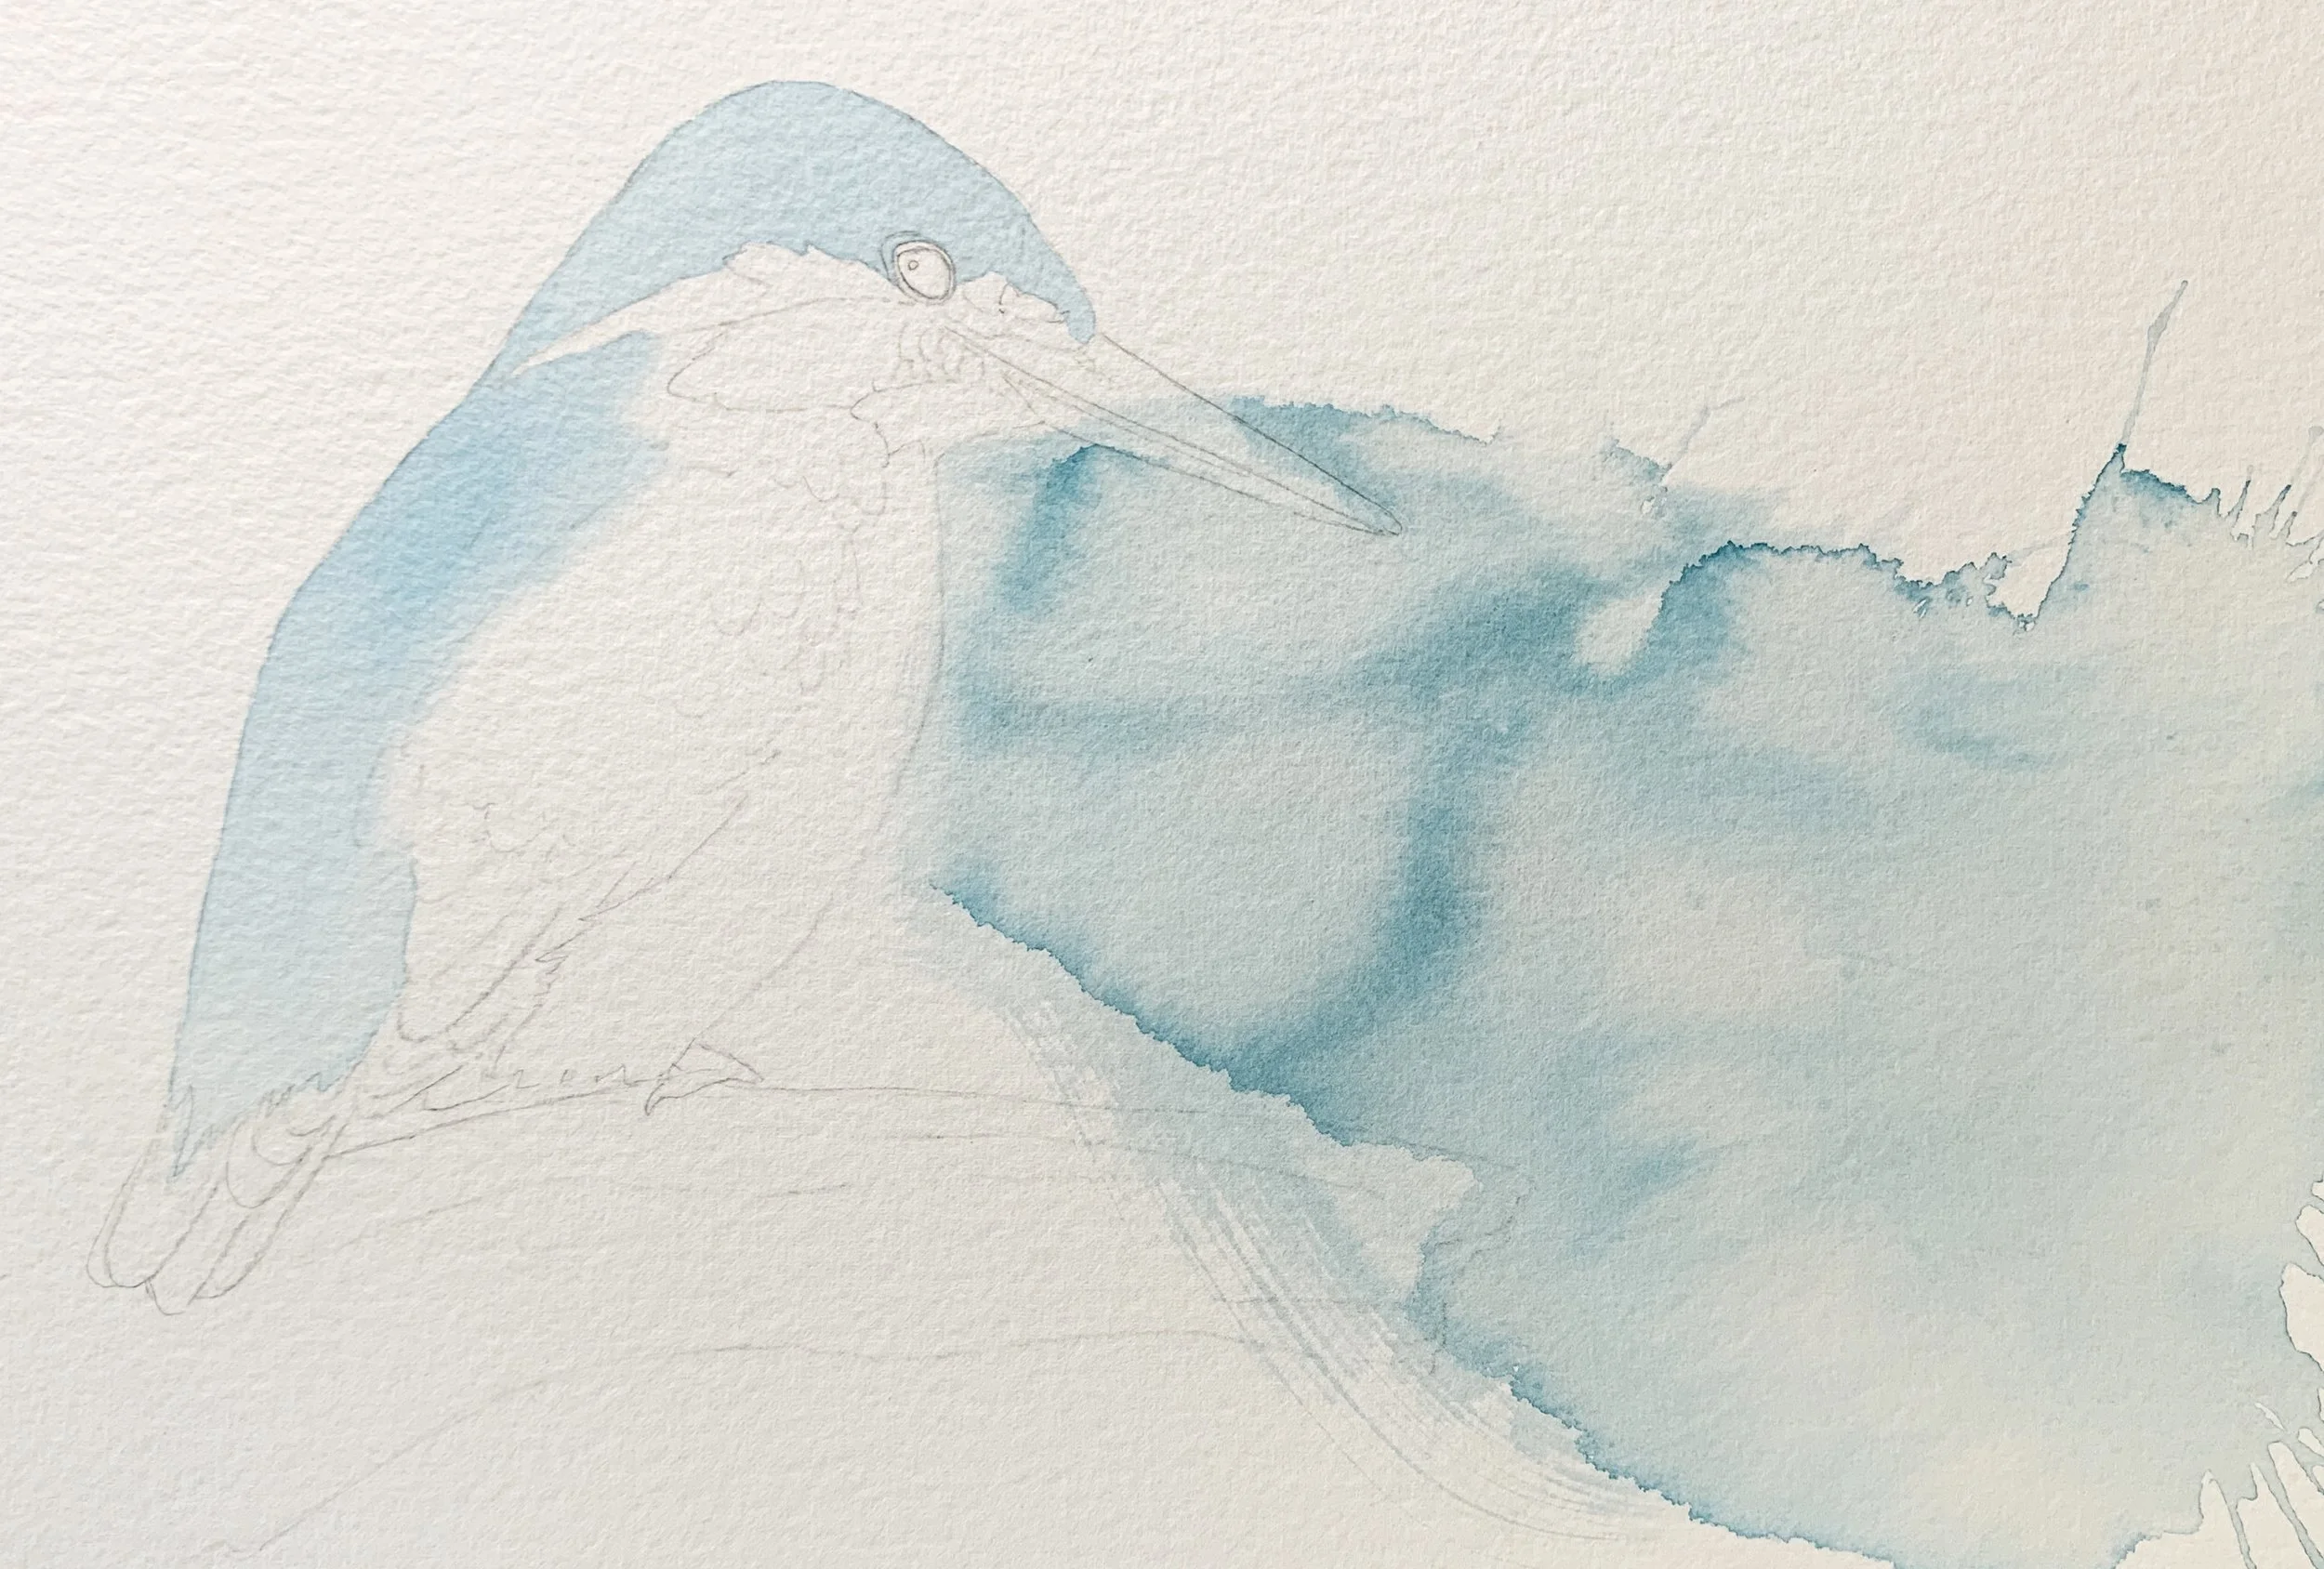
I painted the simple background splash in first on this Kingfisher watercolor painting.
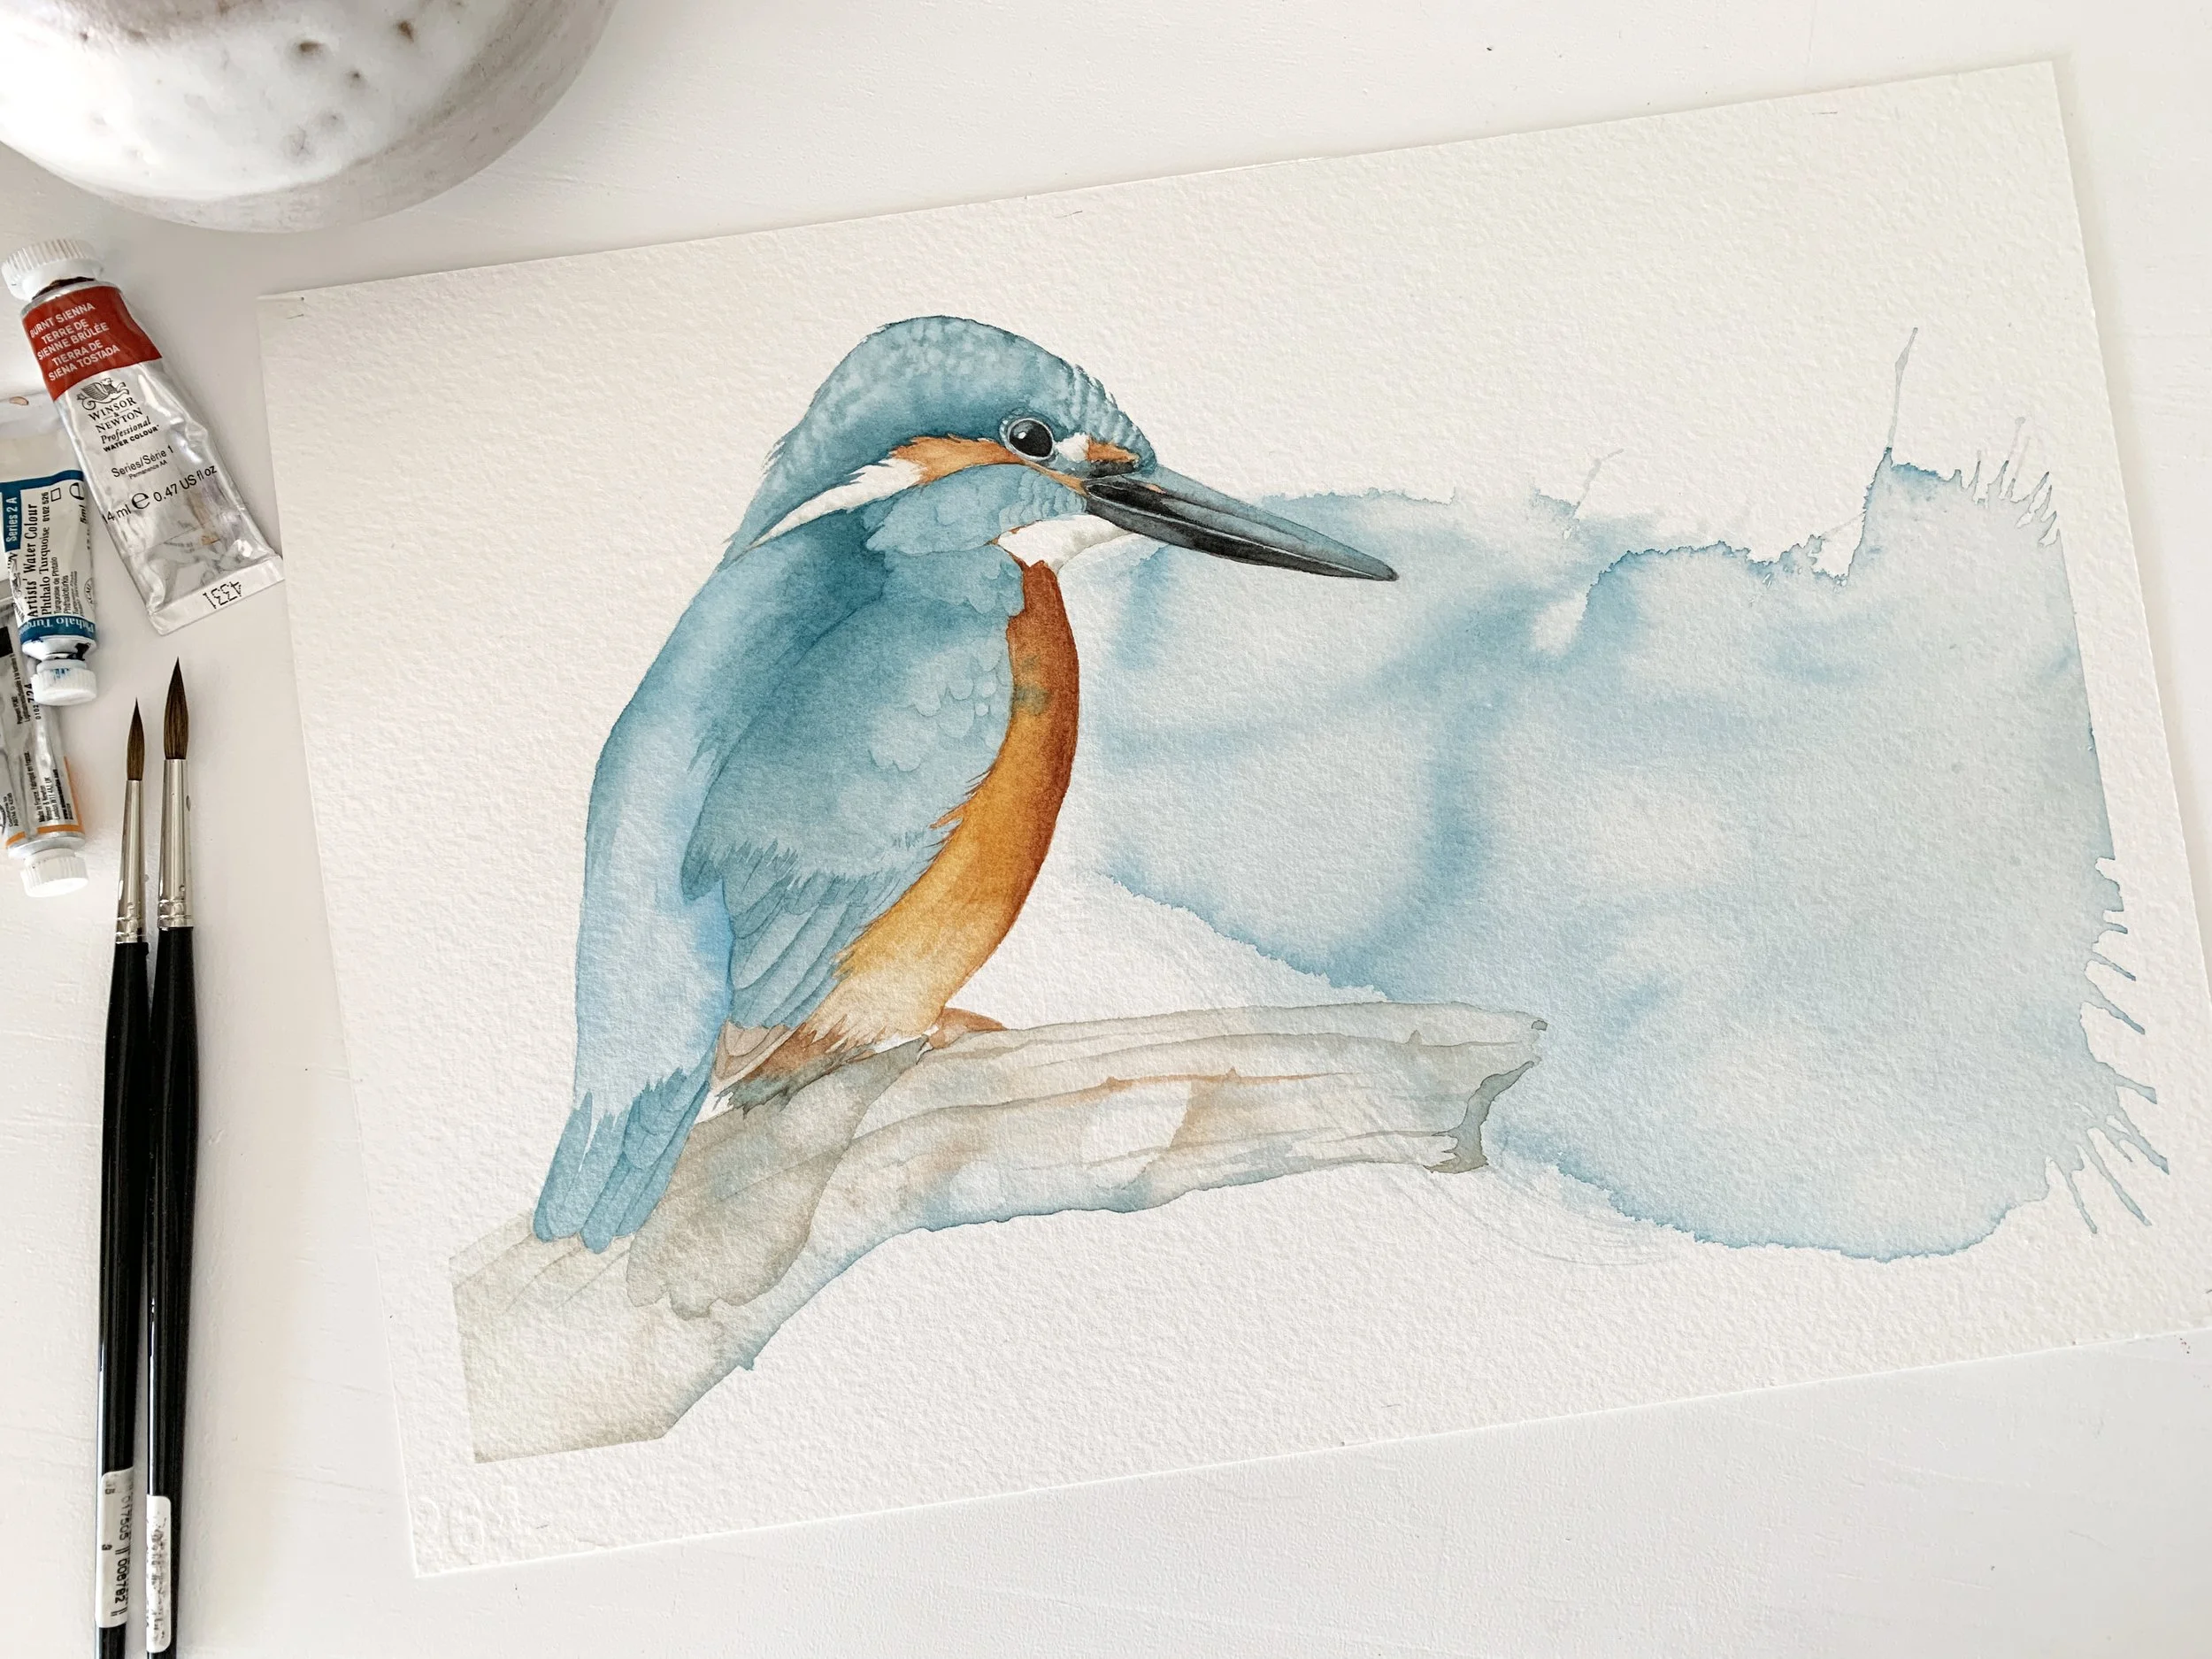
The completed Kingfisher painting.
Painting Watercolour: Big Shapes Before Details

Block in the large key shapes at the beginning.
A good rule in watercolour practice is to start painting the big shapes before worrying about the details. If you're a beginner, train yourself to look past the tiny features and focus on the broad forms first. Squinting at your reference can help blur the noise and reveal the key shapes you need to lay down early.
Start painting with a larger brush and block in those big areas using light washes. This sets the structure and gives your painting a solid foundation. Once it's dry, you can build on it with smaller brushes and finer details. It’s all about working from broad to specific - this is one of those habits that will seriously improve your watercolour skills over time.
Jumping straight into details too early is a trap lots of beginners fall into, so remember, without those big shapes in place, your painting won’t hold together properly. Start painting simple, and build from there.
Watercolor basics: Paint broad to specific.
Use large watercolour brushes at the start of the painting.
Paint the wet on wet on wet areas first
Wet-on-wet is a great way to start a watercolour painting because it lets you get all the soft edges in while the paper is still a wet surface. There’s no need to rush - if things start to dry, you can always add more water to rewet the area. By laying down a wet wash early on, you can establish the atmosphere and general shape of the painting before committing to any detail.
It’s especially useful for backgrounds or areas where you want colour to flow and blend naturally. Once those soft-edged areas are in and dry, you can come back with less water, more control, and start refining the hard edges and detail. It’s all about building from loose to tight, soft to sharp - setting the mood first, then bringing in focus.
Start with wet on wet painting before committing to detail.
Details come later.
Wet on Dry
Once your wet washes have dried and you’re ready to add more definition, painting wet on dry is helpful. This technique gives you crisp, clean edges which are perfect for details or areas where you want more control.
Painting on dry paper means the paint will stay exactly where you put it, which makes it ideal for things like fine lines, texture, or layering depth into your subject.
In a watercolour painting, this is often when you start tightening things up and shifting from a loose impression to more deliberate shapes. It’s also where contrast starts to build, especially when layering over lighter washes with more pigment and less water.

In this poppy watercolor painting I'm starting to build the detail on the petals by adding darker colors on both wet and dry paper.
Planning a Watercolour Painting is Key
Before I even pick up a brush, I spend time thinking about how I’m going to tackle the painting. Watercolour rewards painters who plan ahead. You can’t just wing it and hope for the best - well, you can, but it usually ends with muddy colours and lost highlights. Many of the most common beginner mistakes can be traced back to rushing the planning stage.
Start by figuring out your lightest areas and work out how many layers you’ll need to build up to the darkest tones. That first wash lays the groundwork: it shapes the composition, locks in your light values, and gives everything else something to sit on. As the painting progresses, you add mid-tones and then carefully bring in the darks - bit by bit, not all at once.
It’s way easier to darken a colour than to lighten it, so build up slowly. Think about where your highlights are, and leave those areas untouched or mask them off. Let each layer dry fully before adding the next - no shortcuts here if you want clean, vibrant colour.
This kind of planning becomes second nature with regular watercolour practice. It’s a habit that saves you time, paper, and frustration. Wherever you’re at in your watercolour journey, being intentional with your process is what helps you grow - not just in skill, but in confidence too.
And If You’re Brand New to Watercolour
Start simple. Pick an easy subject, use just a few colours, and focus on getting familiar with how the paint moves on the paper. Don’t stress about perfection - just enjoy the process. Every time you start painting, you're building experience. The rest will come with practice.
I hope this helped you feel more confident about getting started. Watercolour can be unpredictable, but that’s part of what makes it so fun. Just pick up your brush and have a go - you’ll learn something new every time.
If you are interested in learning to paint in watercolour, I have hundreds of online, voiced over watercolour tutorials for all skill levels.


