Watercolour on Ampersand Aquabord.
How I painted this bright frog.
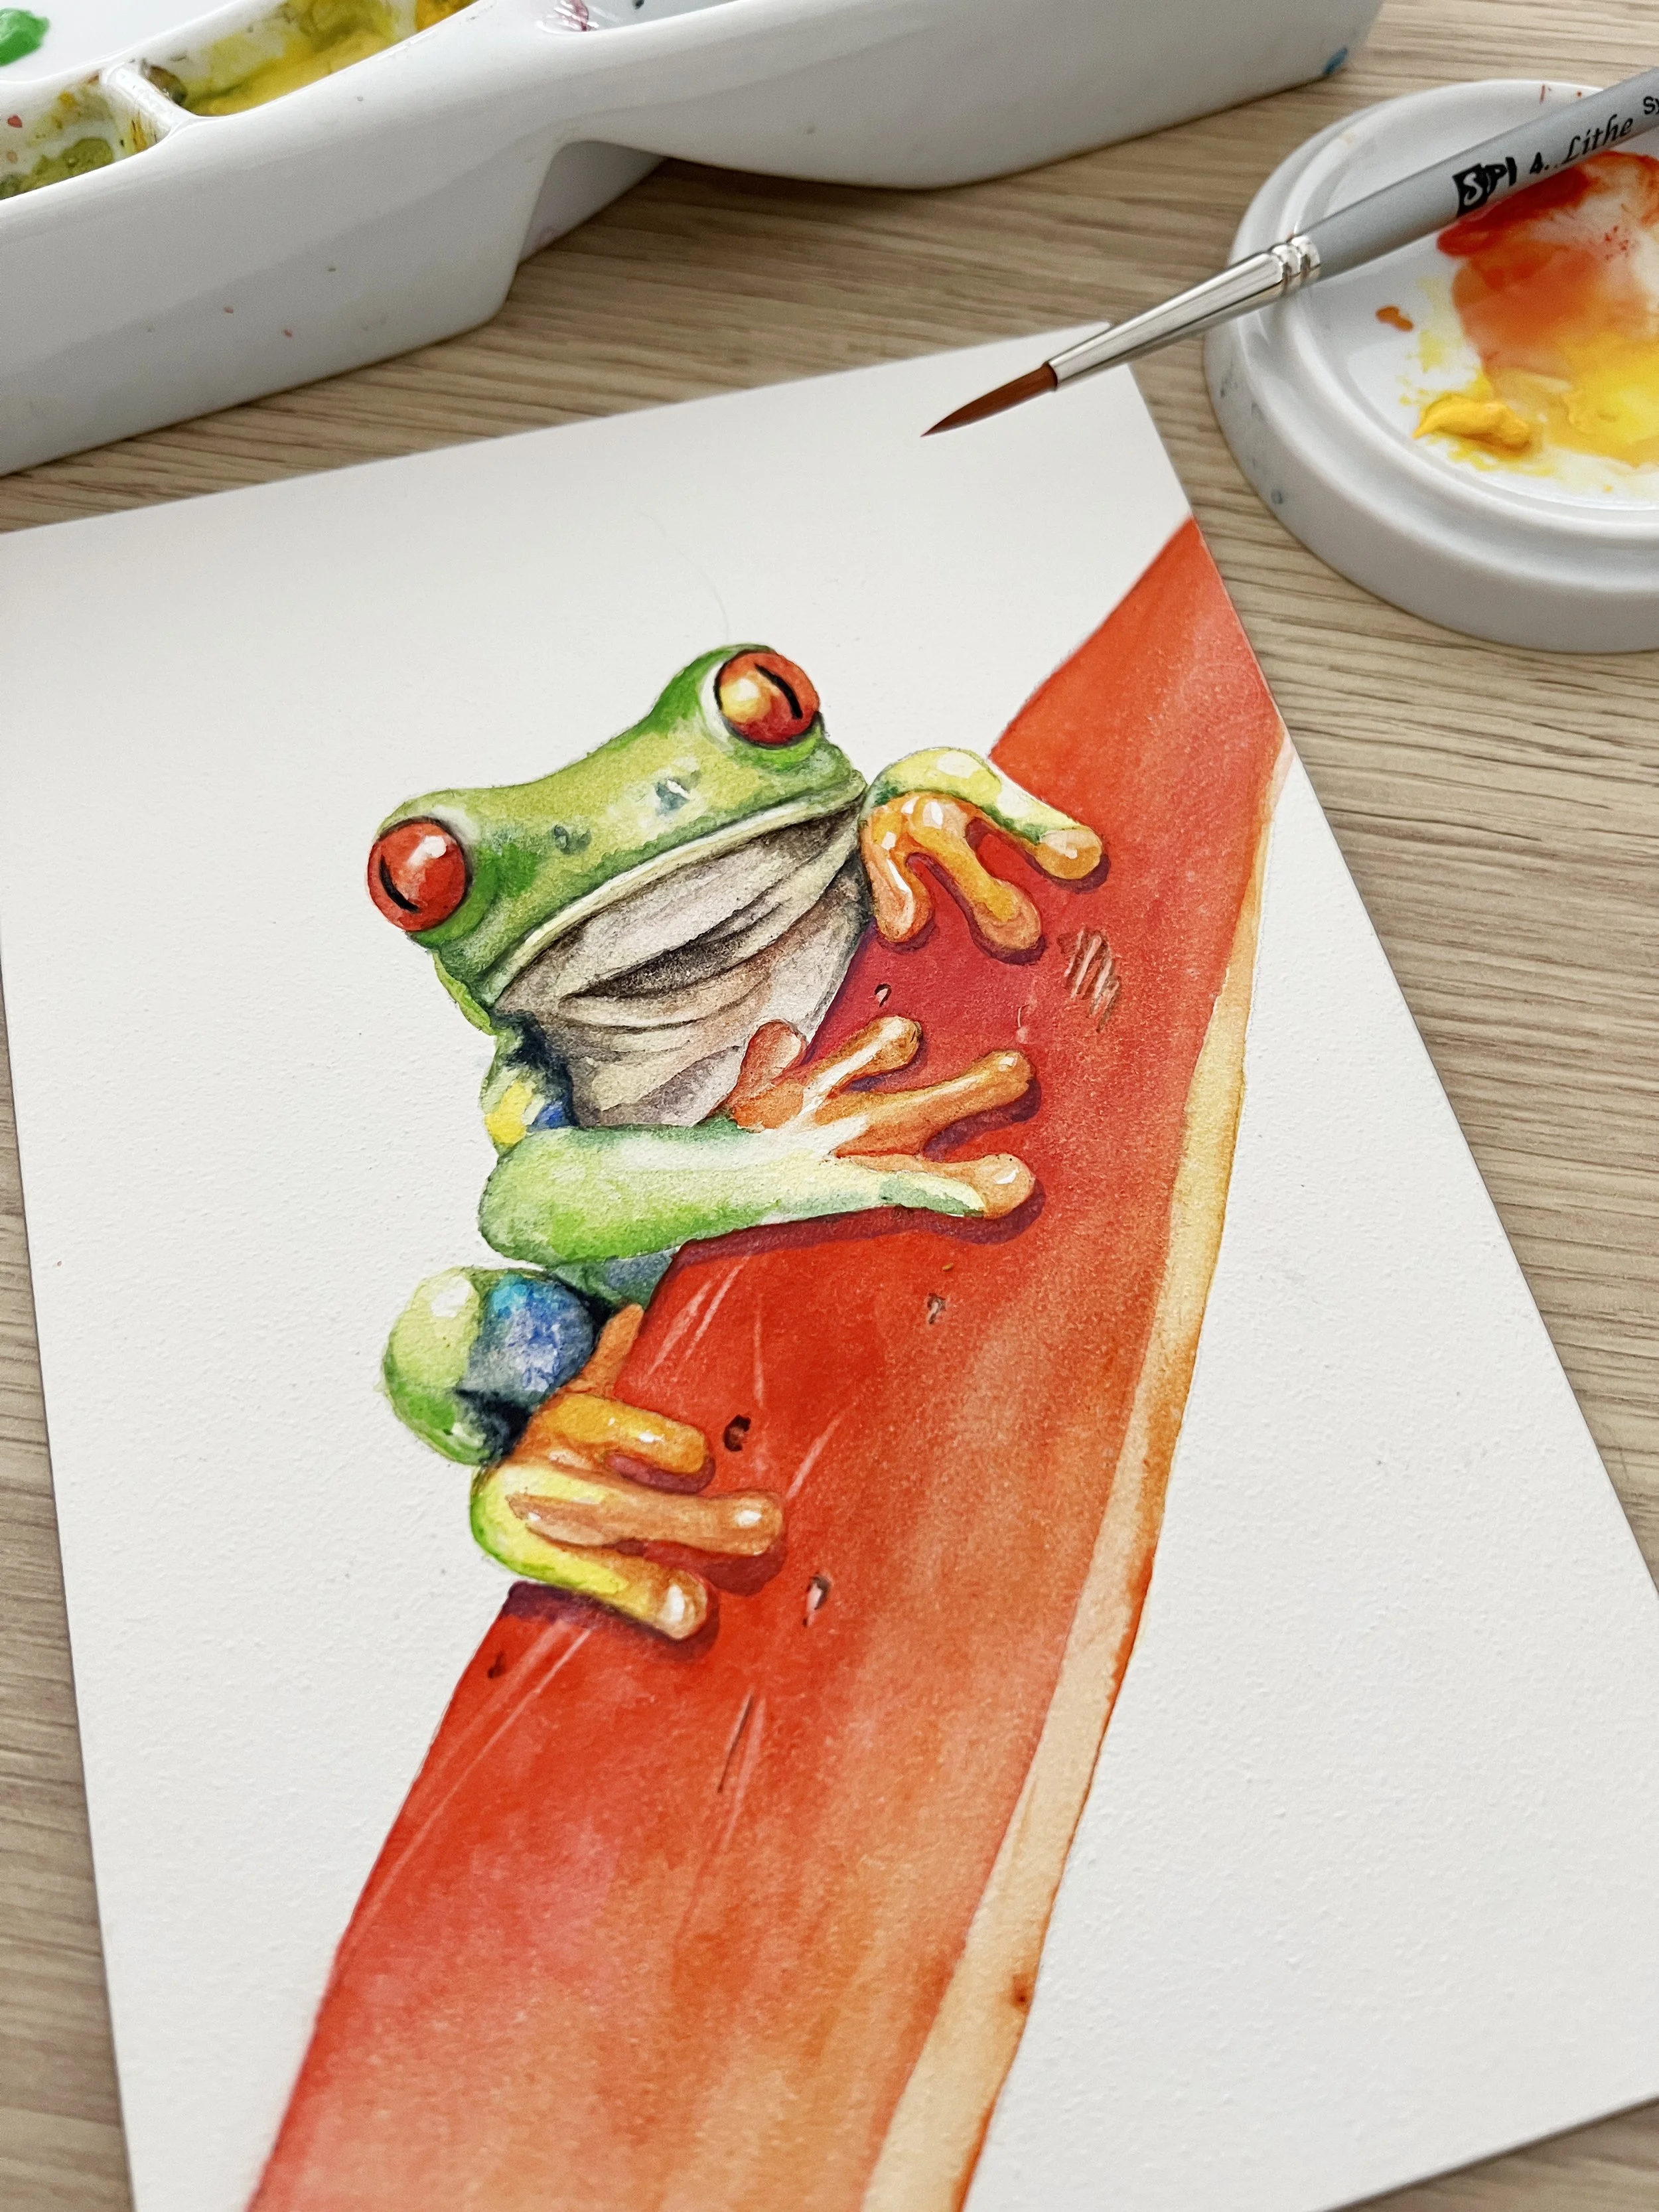
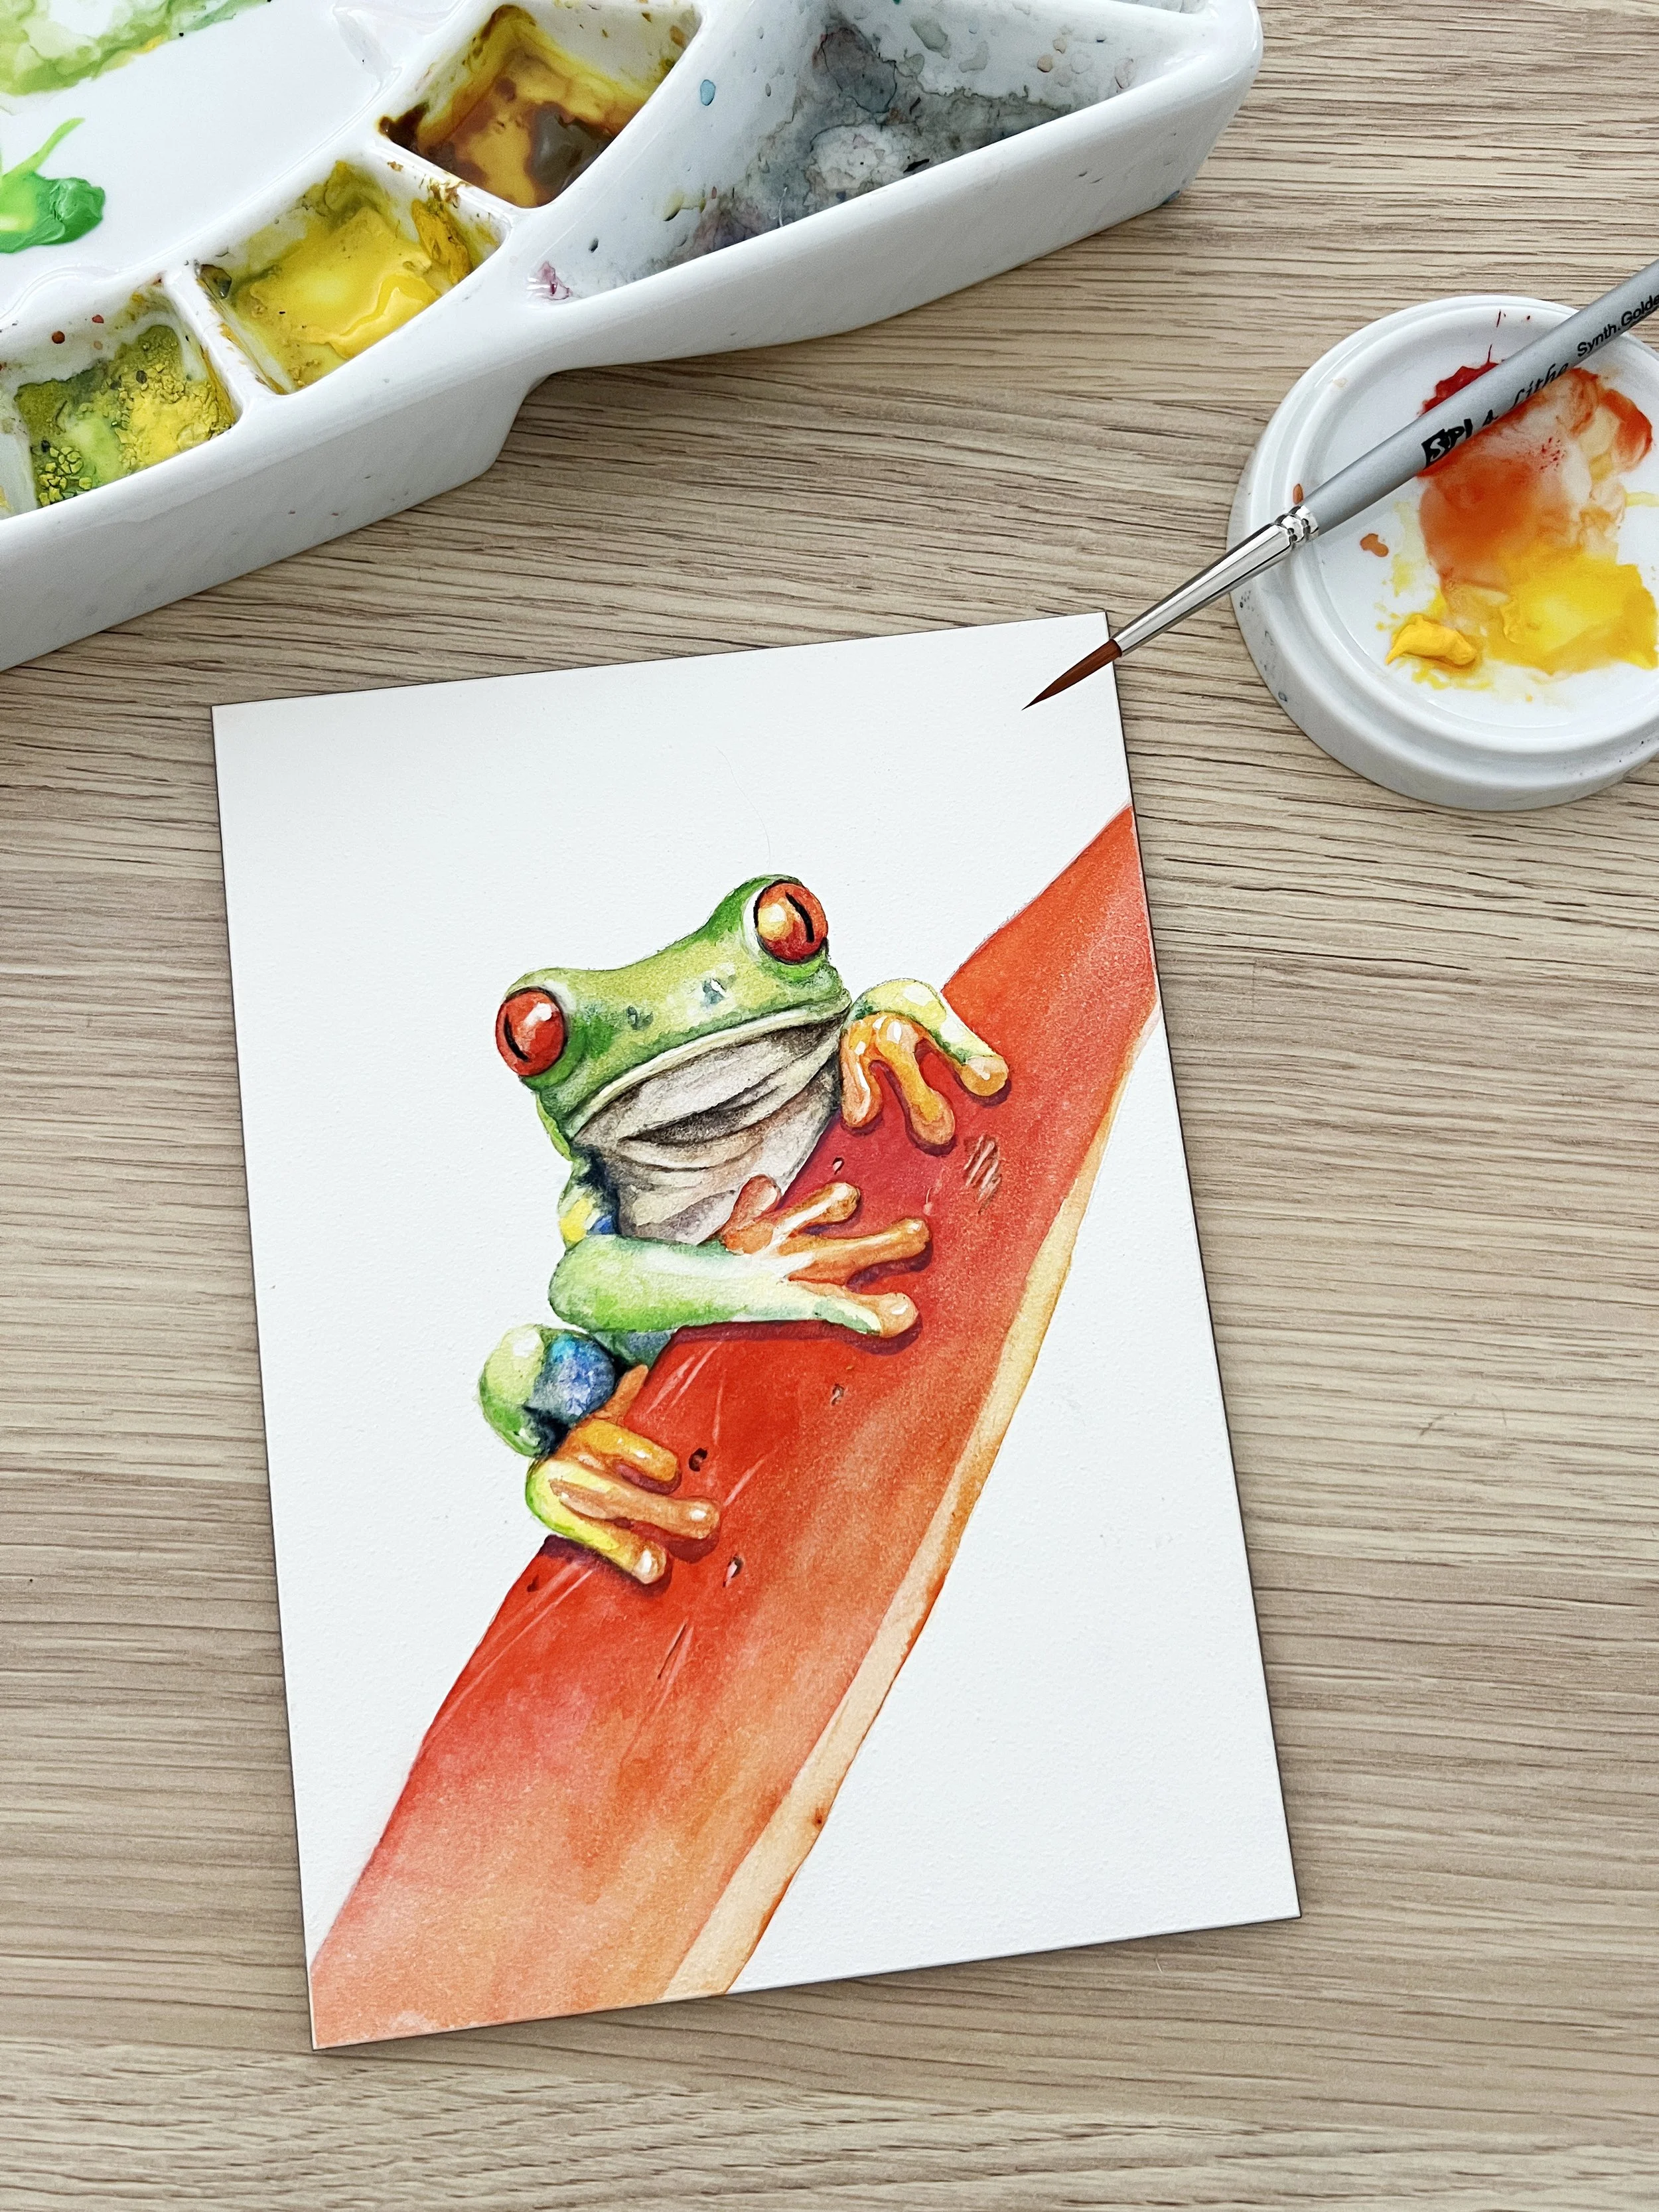
A watercolour painting of a little frog on an Ampersand Aquabord 5 by 7 " panel. Thanks to Zdenek Machacek for the reference photo from Unsplash.
Painting on Aquabord is different to painting on traditional watercolour paper. The surface allows colours to stay vibrant and lift easily, making it perfect for lively subjects like this little tree frog. In this post, I’ll share a few tips for working on Aquabord and take you through the steps I used to paint him.
Watercolour Boards: What is Aquabord?
Aquabord is an acid free clay panel made by Ampersand Art Supply. It has a highly absorbent surface designed to handle watercolour beautifully, with a texture similar to cold pressed watercolour paper. Two of the things I particularly love about Aquabord are that colours can be easily lifted, making it simple to create highlights or fix mistakes, and once the painting is finished, it doesn’t need to be framed behind glass to protect it.
The materials I used
an Ampersand 5 by 7 " Aquabord panel
Schmincke watercolour paints: Phthalo Blue, Transparent Yellow, French Ultramarine, Transparent Sienna, Scarlet Red, Madder Red Dark, Paynes Grey Bluish
Faber Castell Albrecht Durer watercolour pencil - Mauve
Derwent Inktense watercolour pencil - black
Brushes: Lithe synthetic round series 8806, #2, Silver Black velvet round #4, Da Vinci Micro Nova series 170, #5/0, Da Vinci Nova liner series 1570, #0, Da Vinci Nova filbert brush series 1375, #2, Rosemary and Co eradicator brush small
Saral transfer paper - black
Preparing the surface of the watercolour painting
Before you start painting on an Aquabord panel it's important to wet the surface with some water to release any trapped air bubbles. I use a large flat brush and paint clean water onto the surface. I let it dry naturally and then I transferred my line drawing onto the panel using some saral transfer paper.
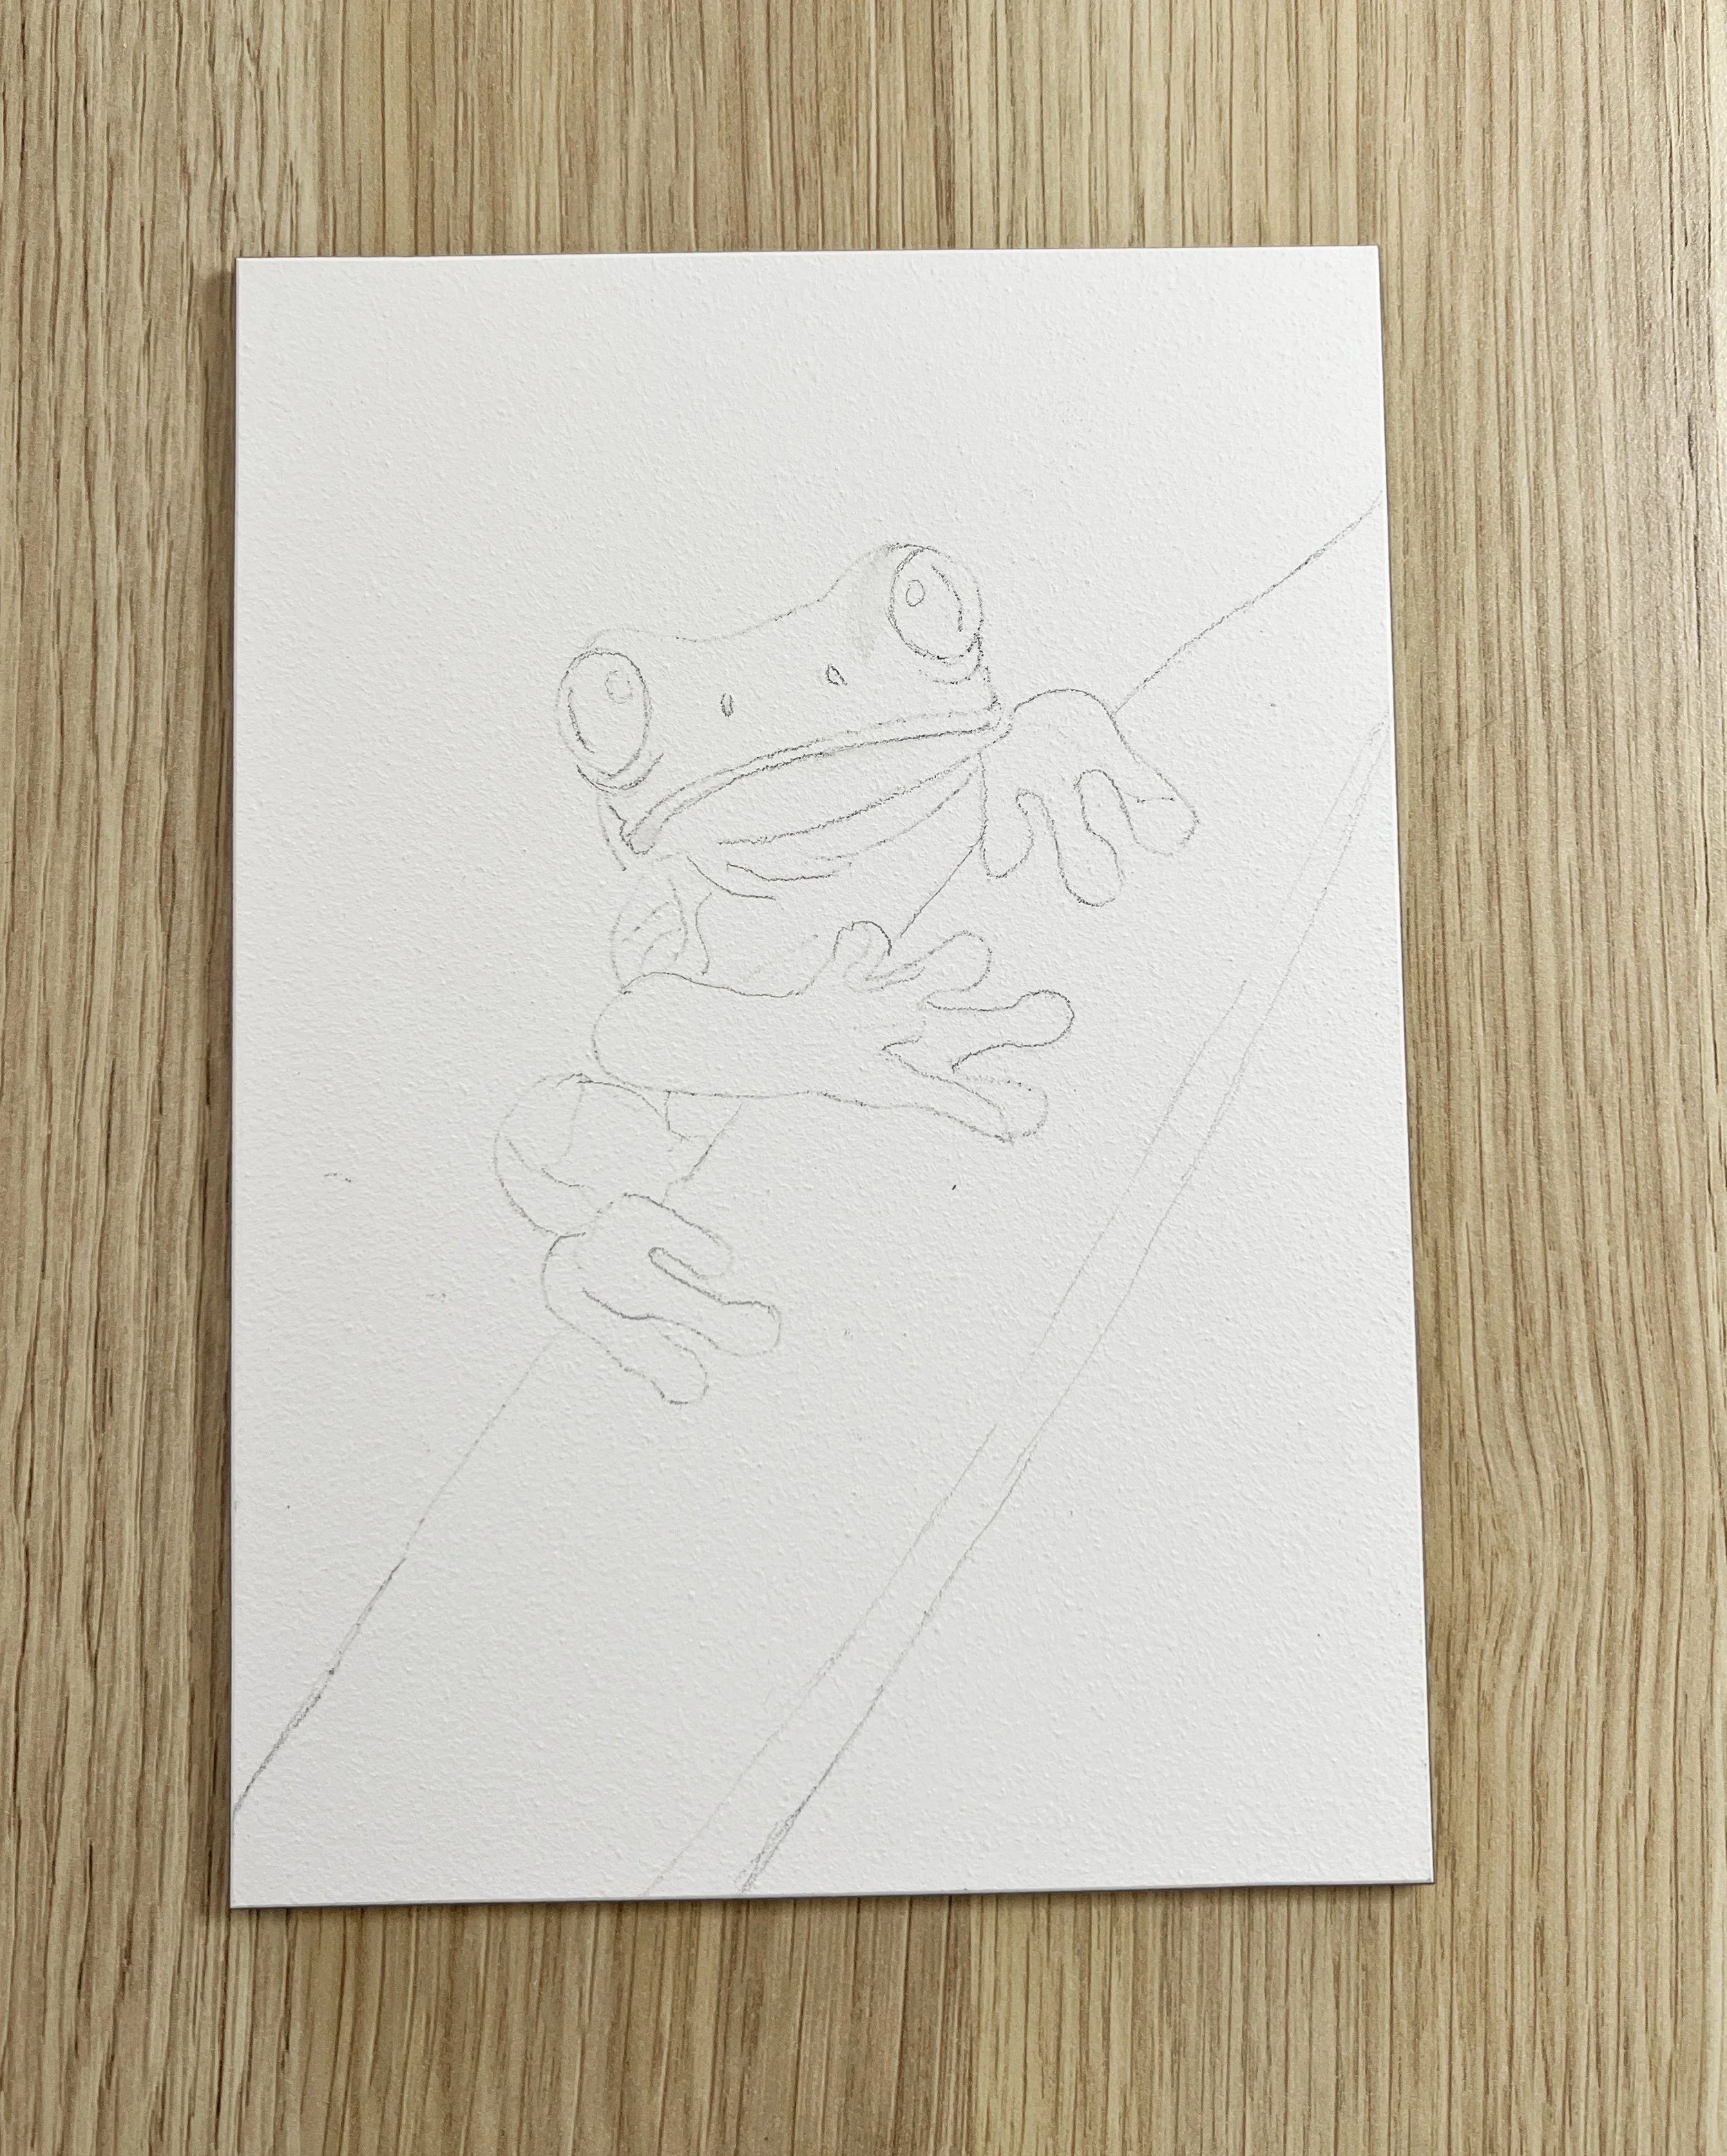
The line drawing has been transferred to the Aquabord panel using some saral transfer paper.
Tip
I’ve found that the clay surface can be easily damaged by an eraser, so I no longer rub out pencil lines directly. Instead, I gently dab unwanted marks with a kneadable eraser. A sticky lint roller, like the kind used for pet hair, also works well for picking up any residue from transfer paper. Another method I use is my eradicator brush, dampened slightly, to gently lift unwanted lines from the dry board.
Laying in the first washes
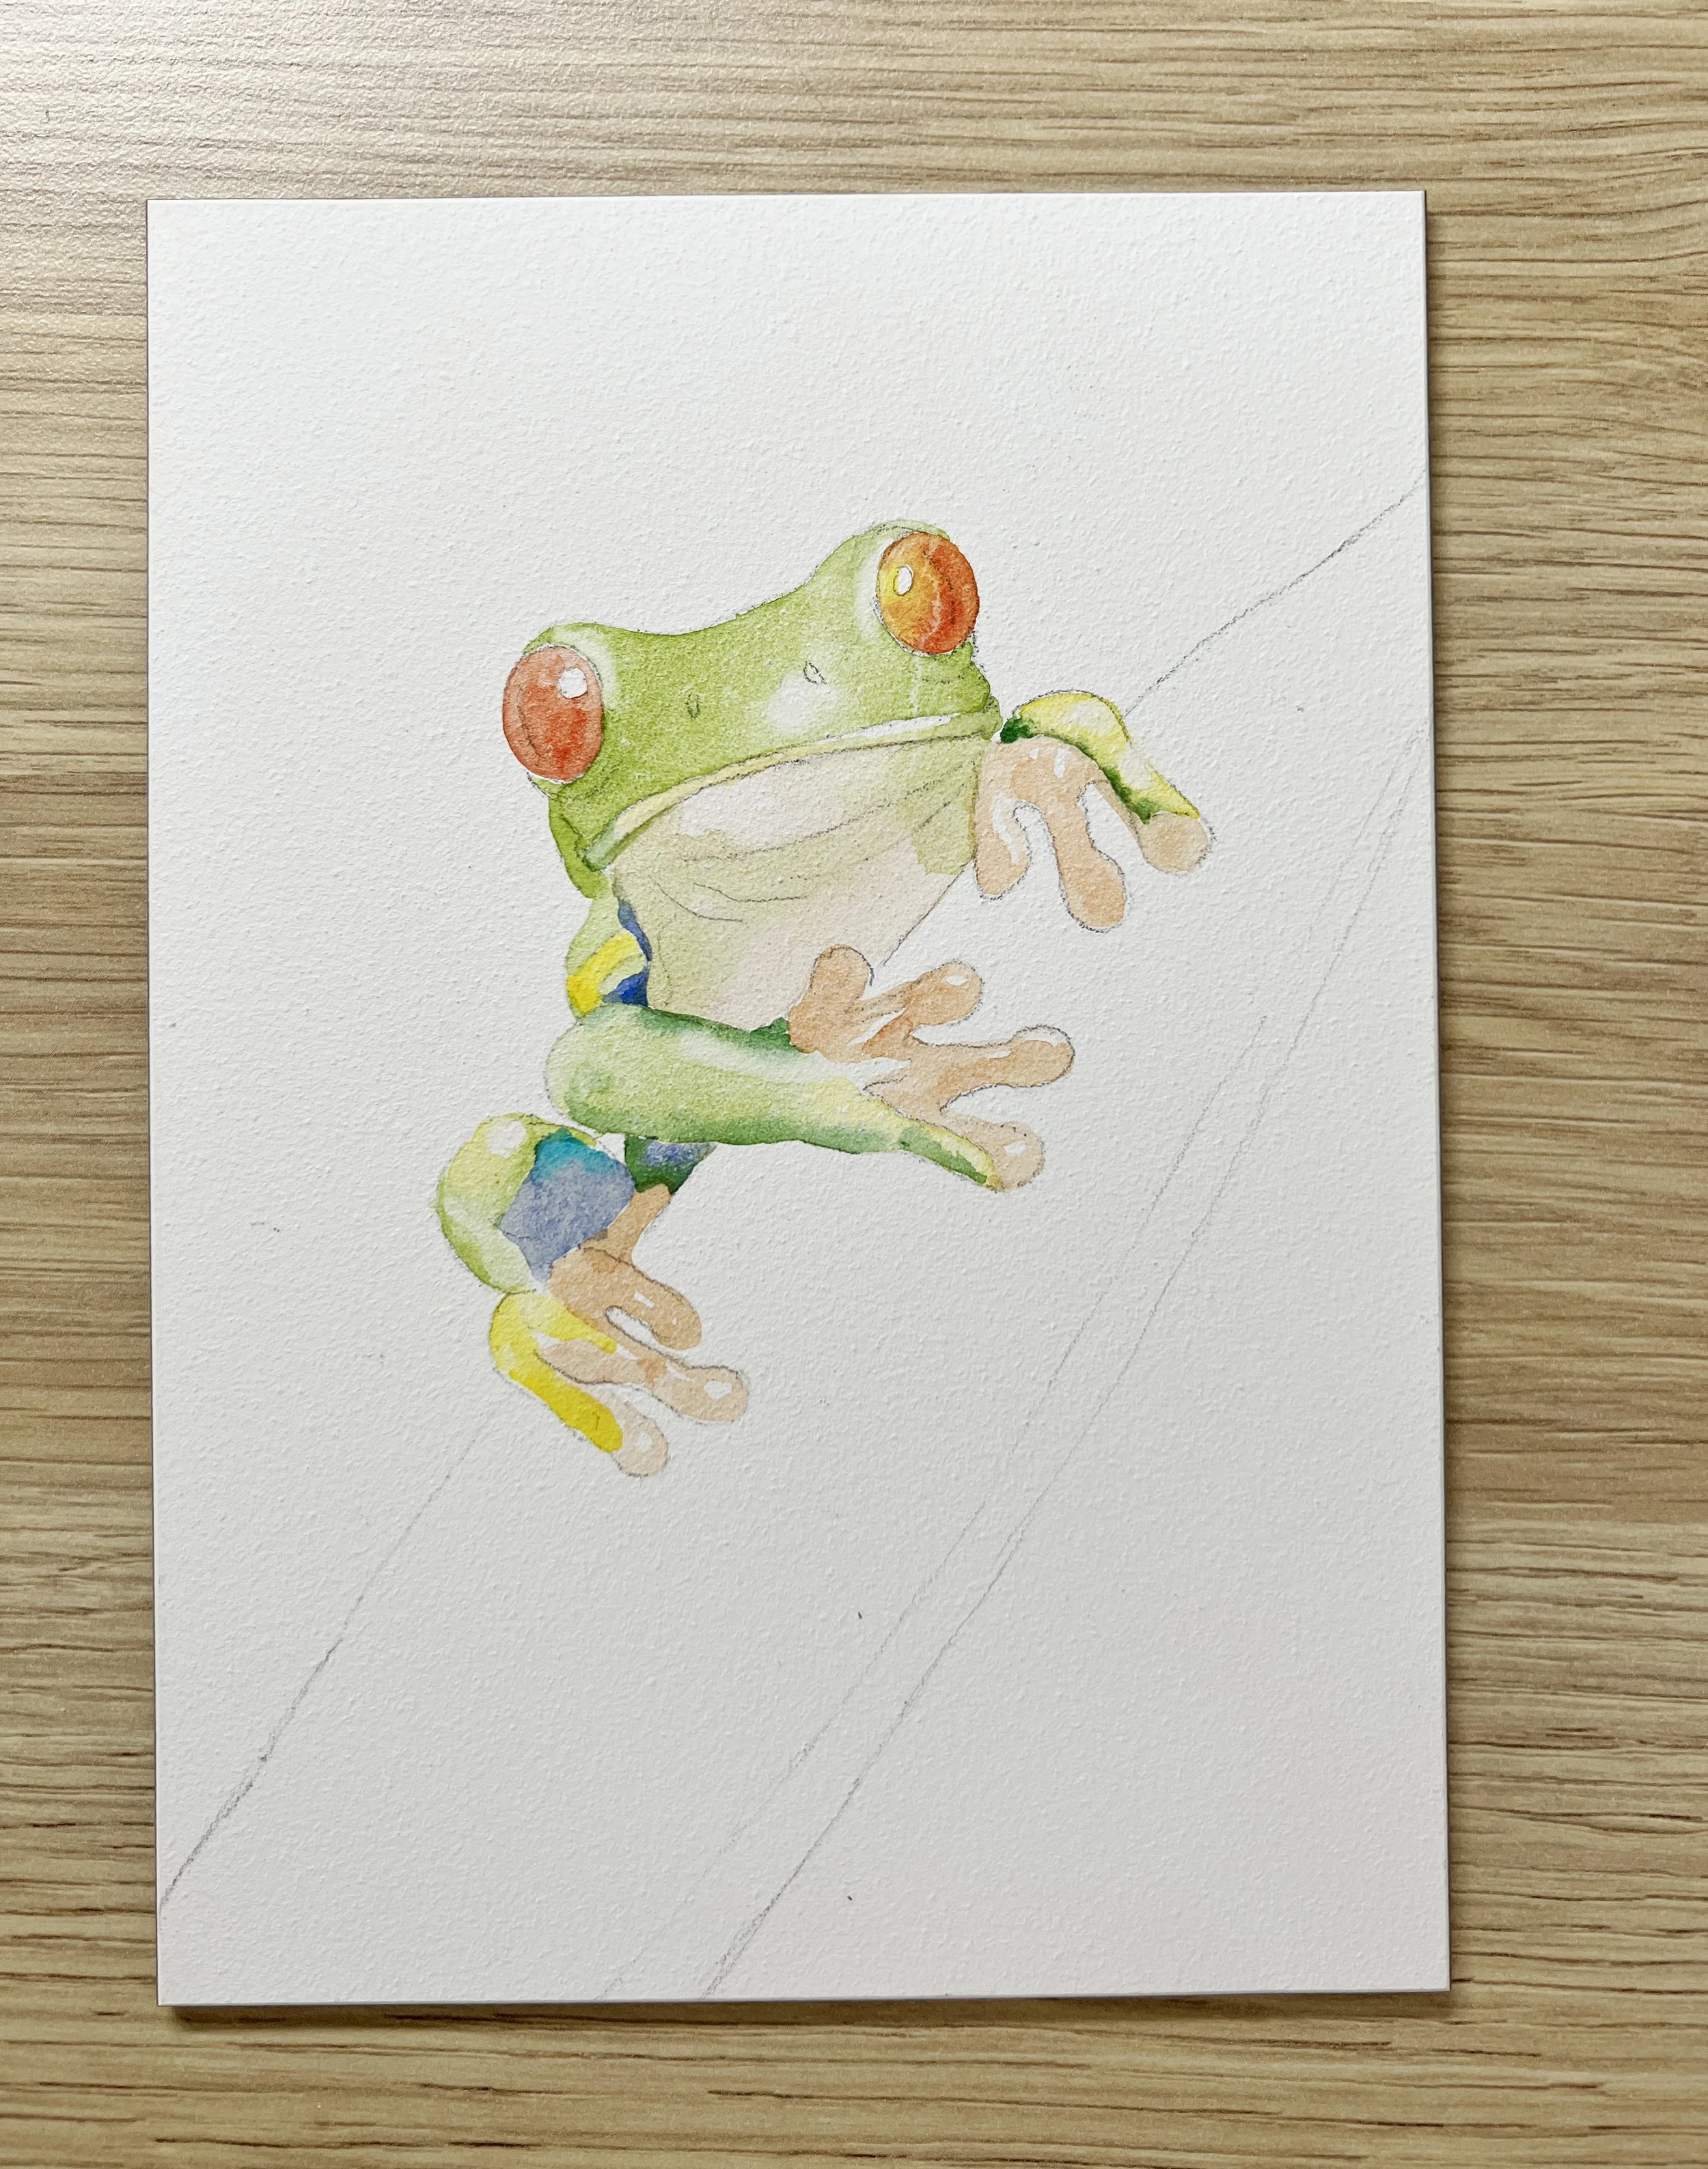
Step 1
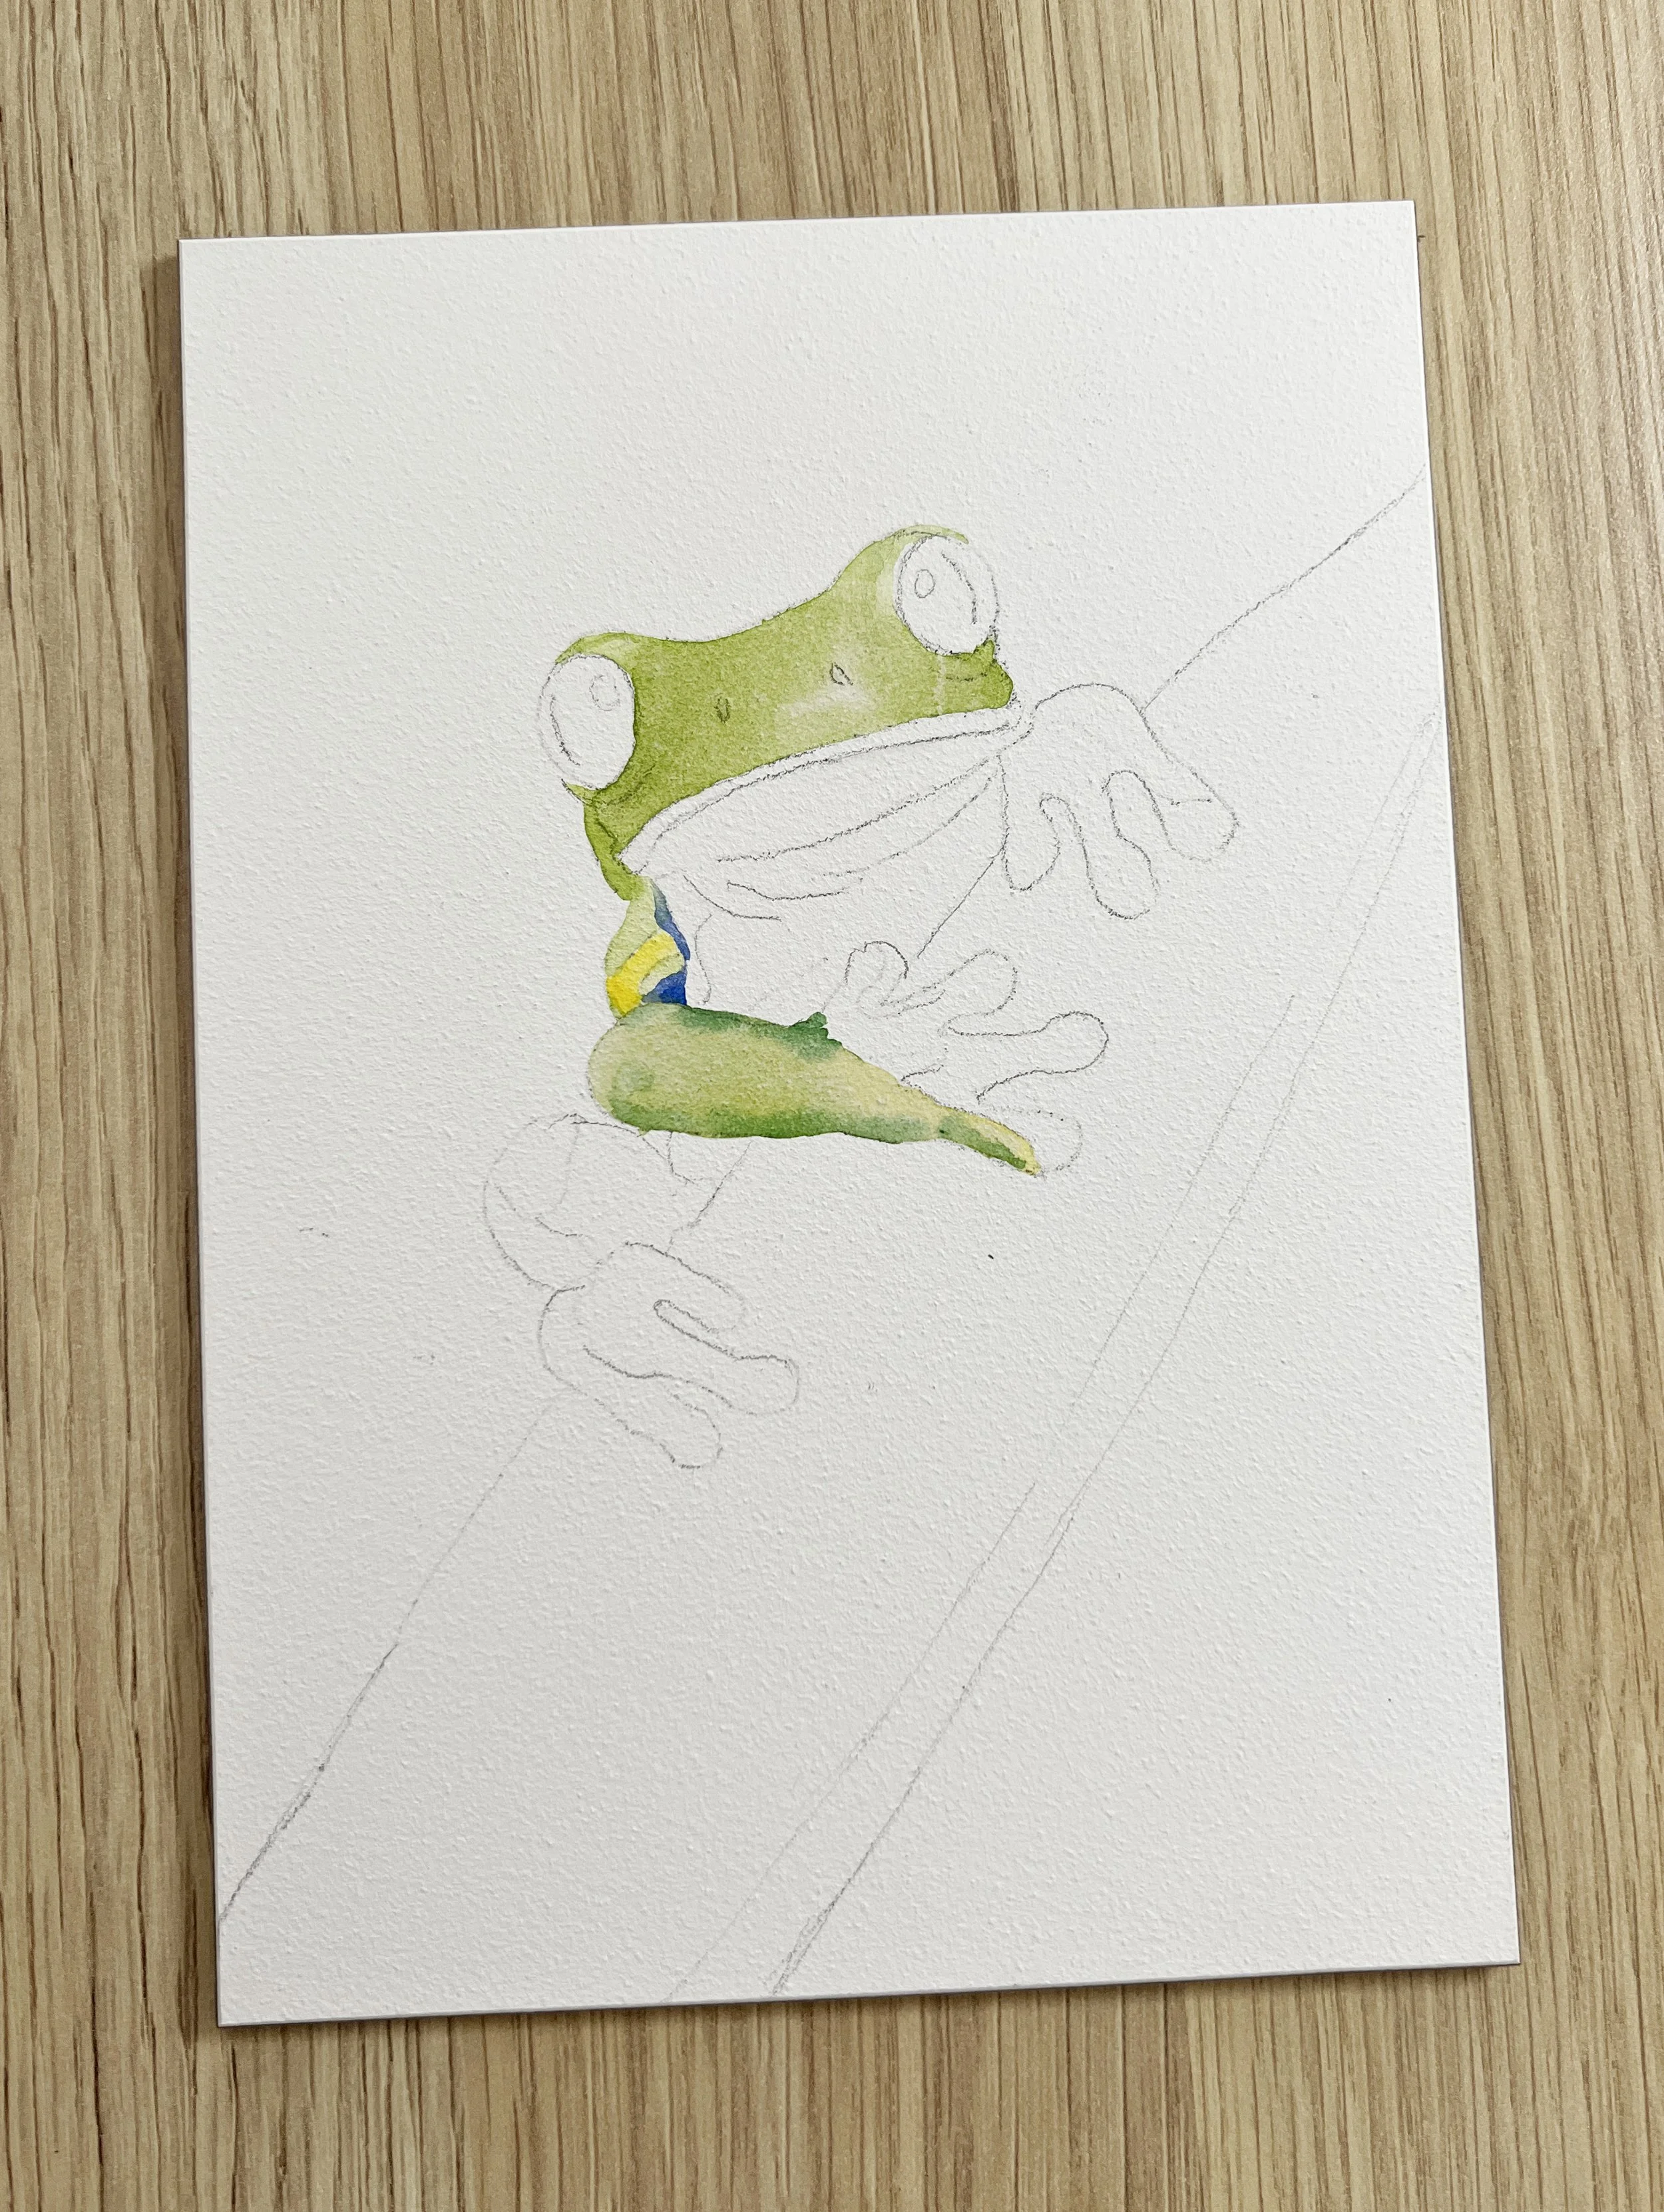
I mixed a green using Phthalo Blue and Transparent Yellow and brushed it onto the head and arm with the Silver Black Velvet brush. It helps to lightly wet the board first, only in the areas where you want the paint to sit. I keep the bead of paint moving as I work because once it dries, it can form a hard edge and the wash may look uneven. Aquabord dries faster than cotton watercolour paper, so pre-wetting gives you a bit more time to blend the colour smoothly. I also lifted a small highlight on the head near the nostril while the paint was still damp.
I painted the small side section of the frog on dry Aquabord using the same green mix, along with a touch of French Ultramarine and Transparent Yellow. Then I wet the arm with clean water and applied the green mixture onto the damp surface. For the darker areas, I added a little Phthalo Blue to the mix and brushed it along the edges while the lighter green was still wet.
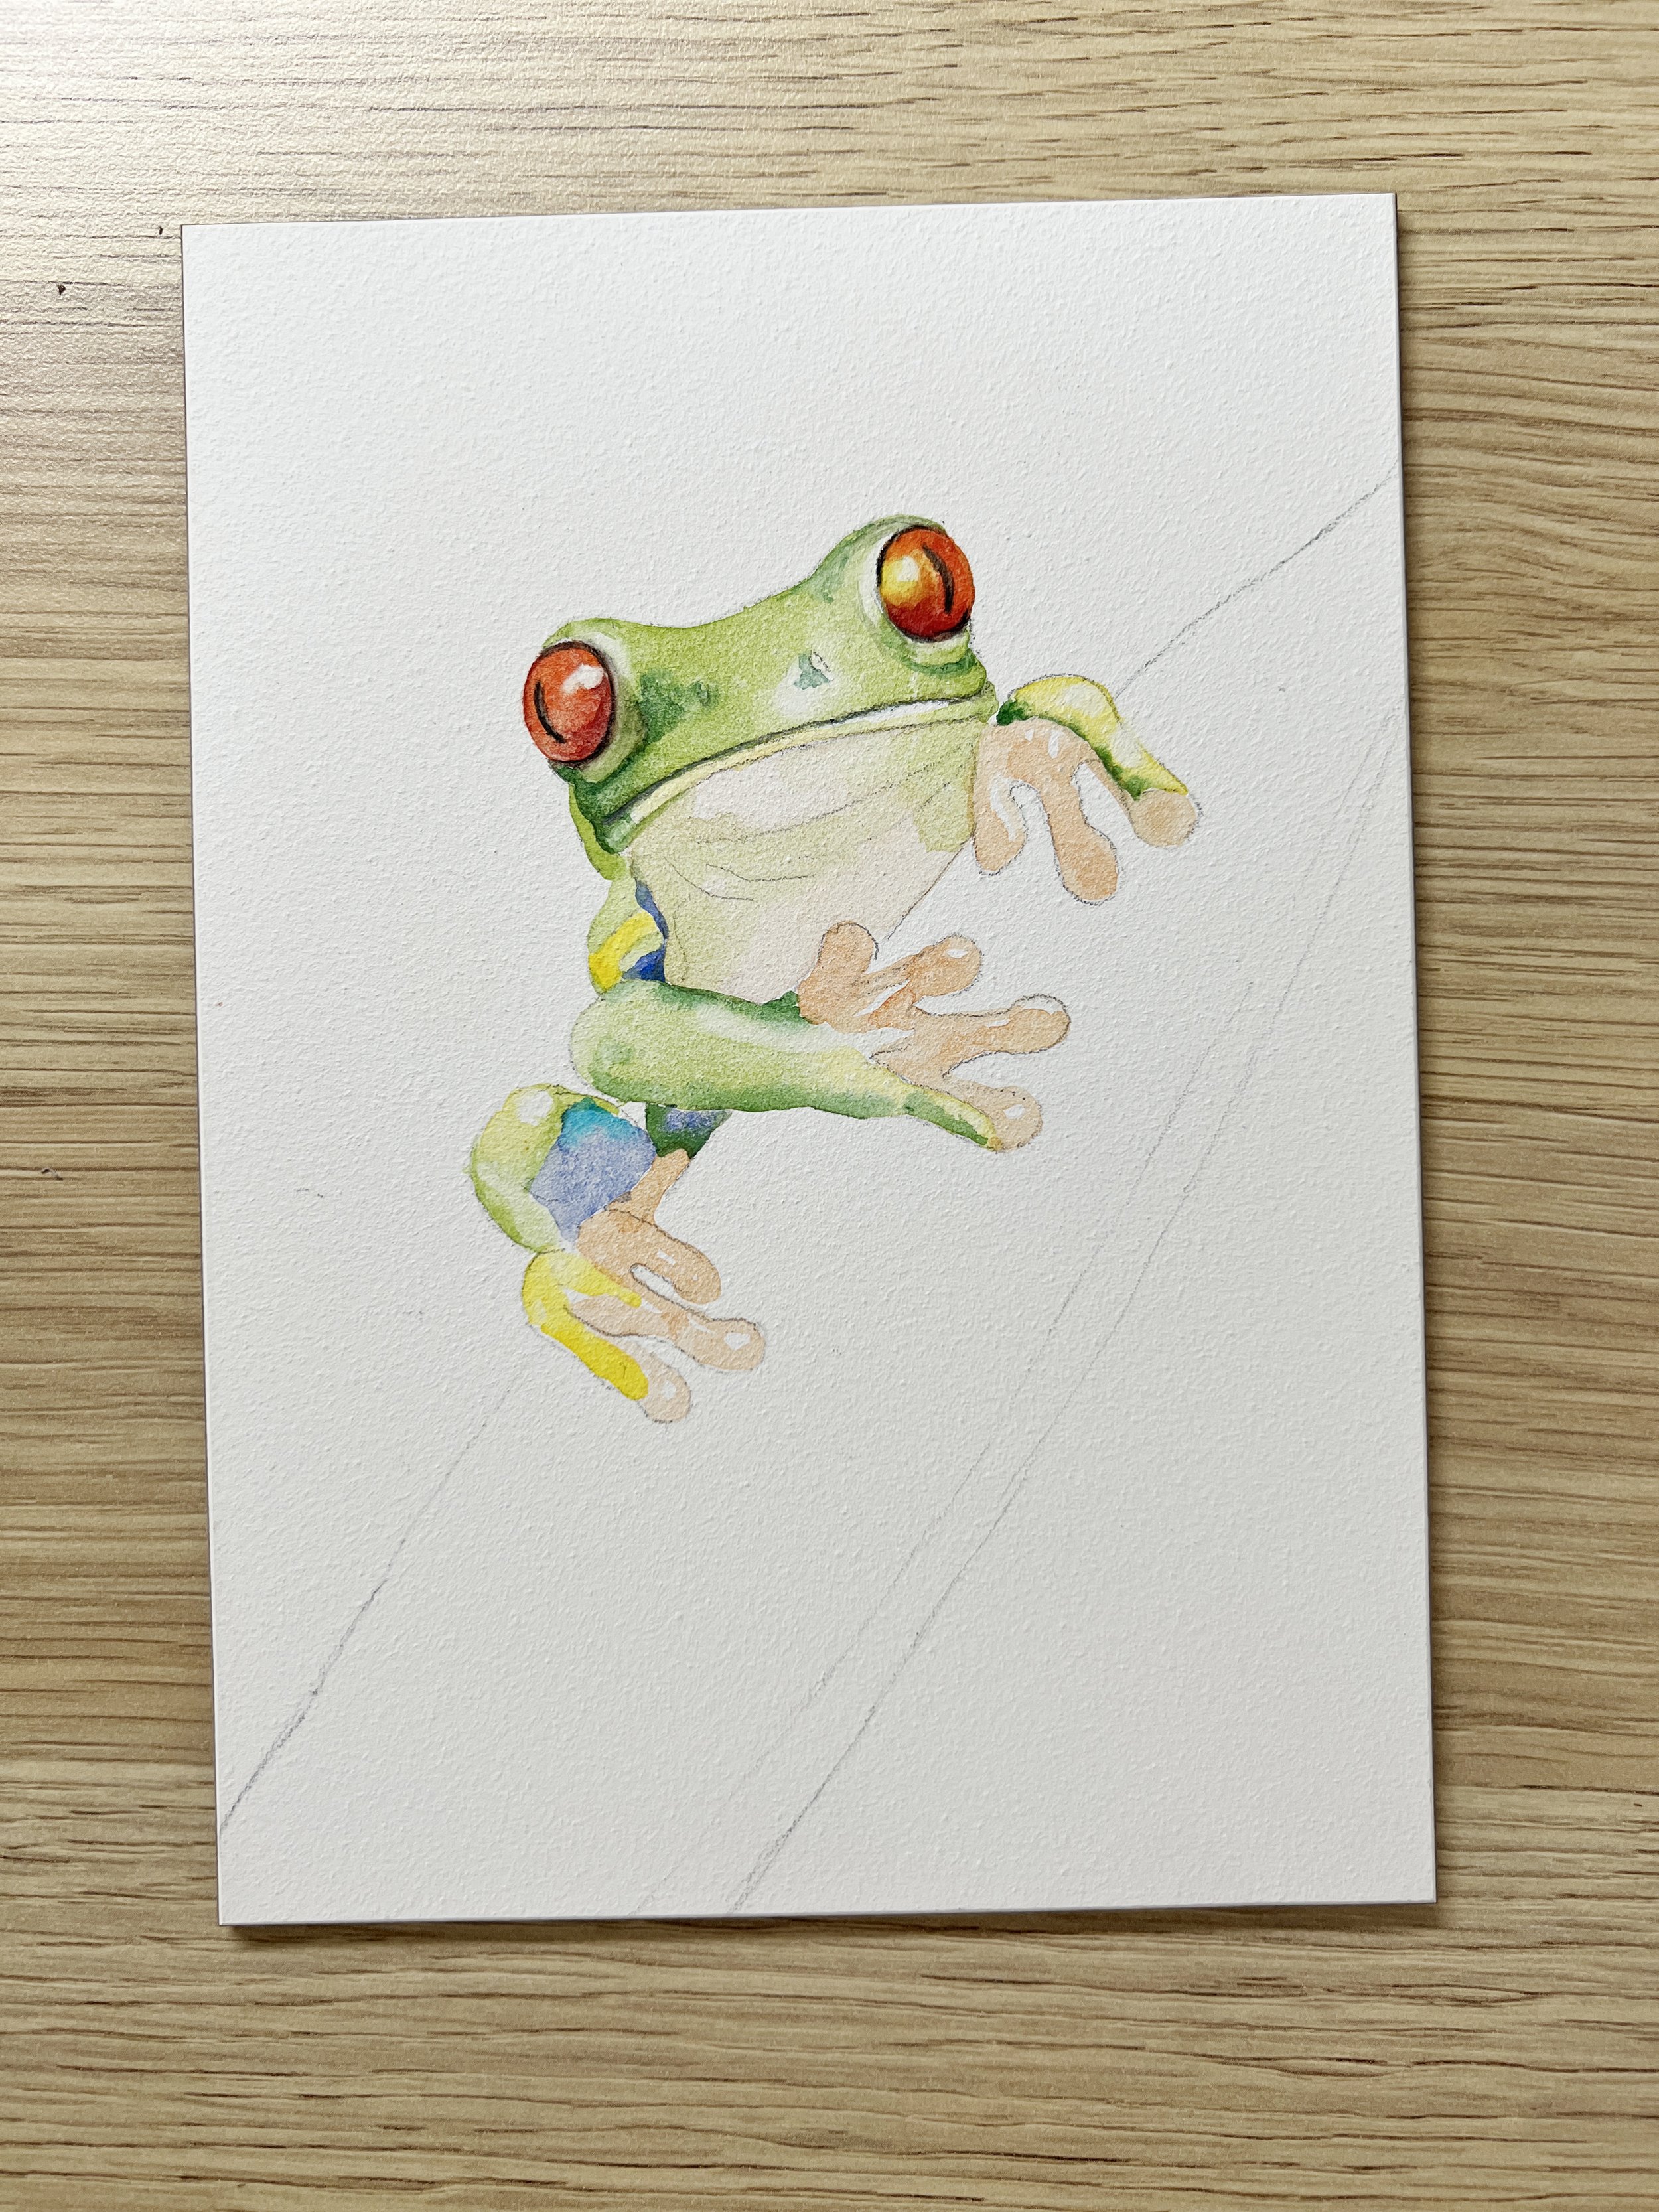
Step 2
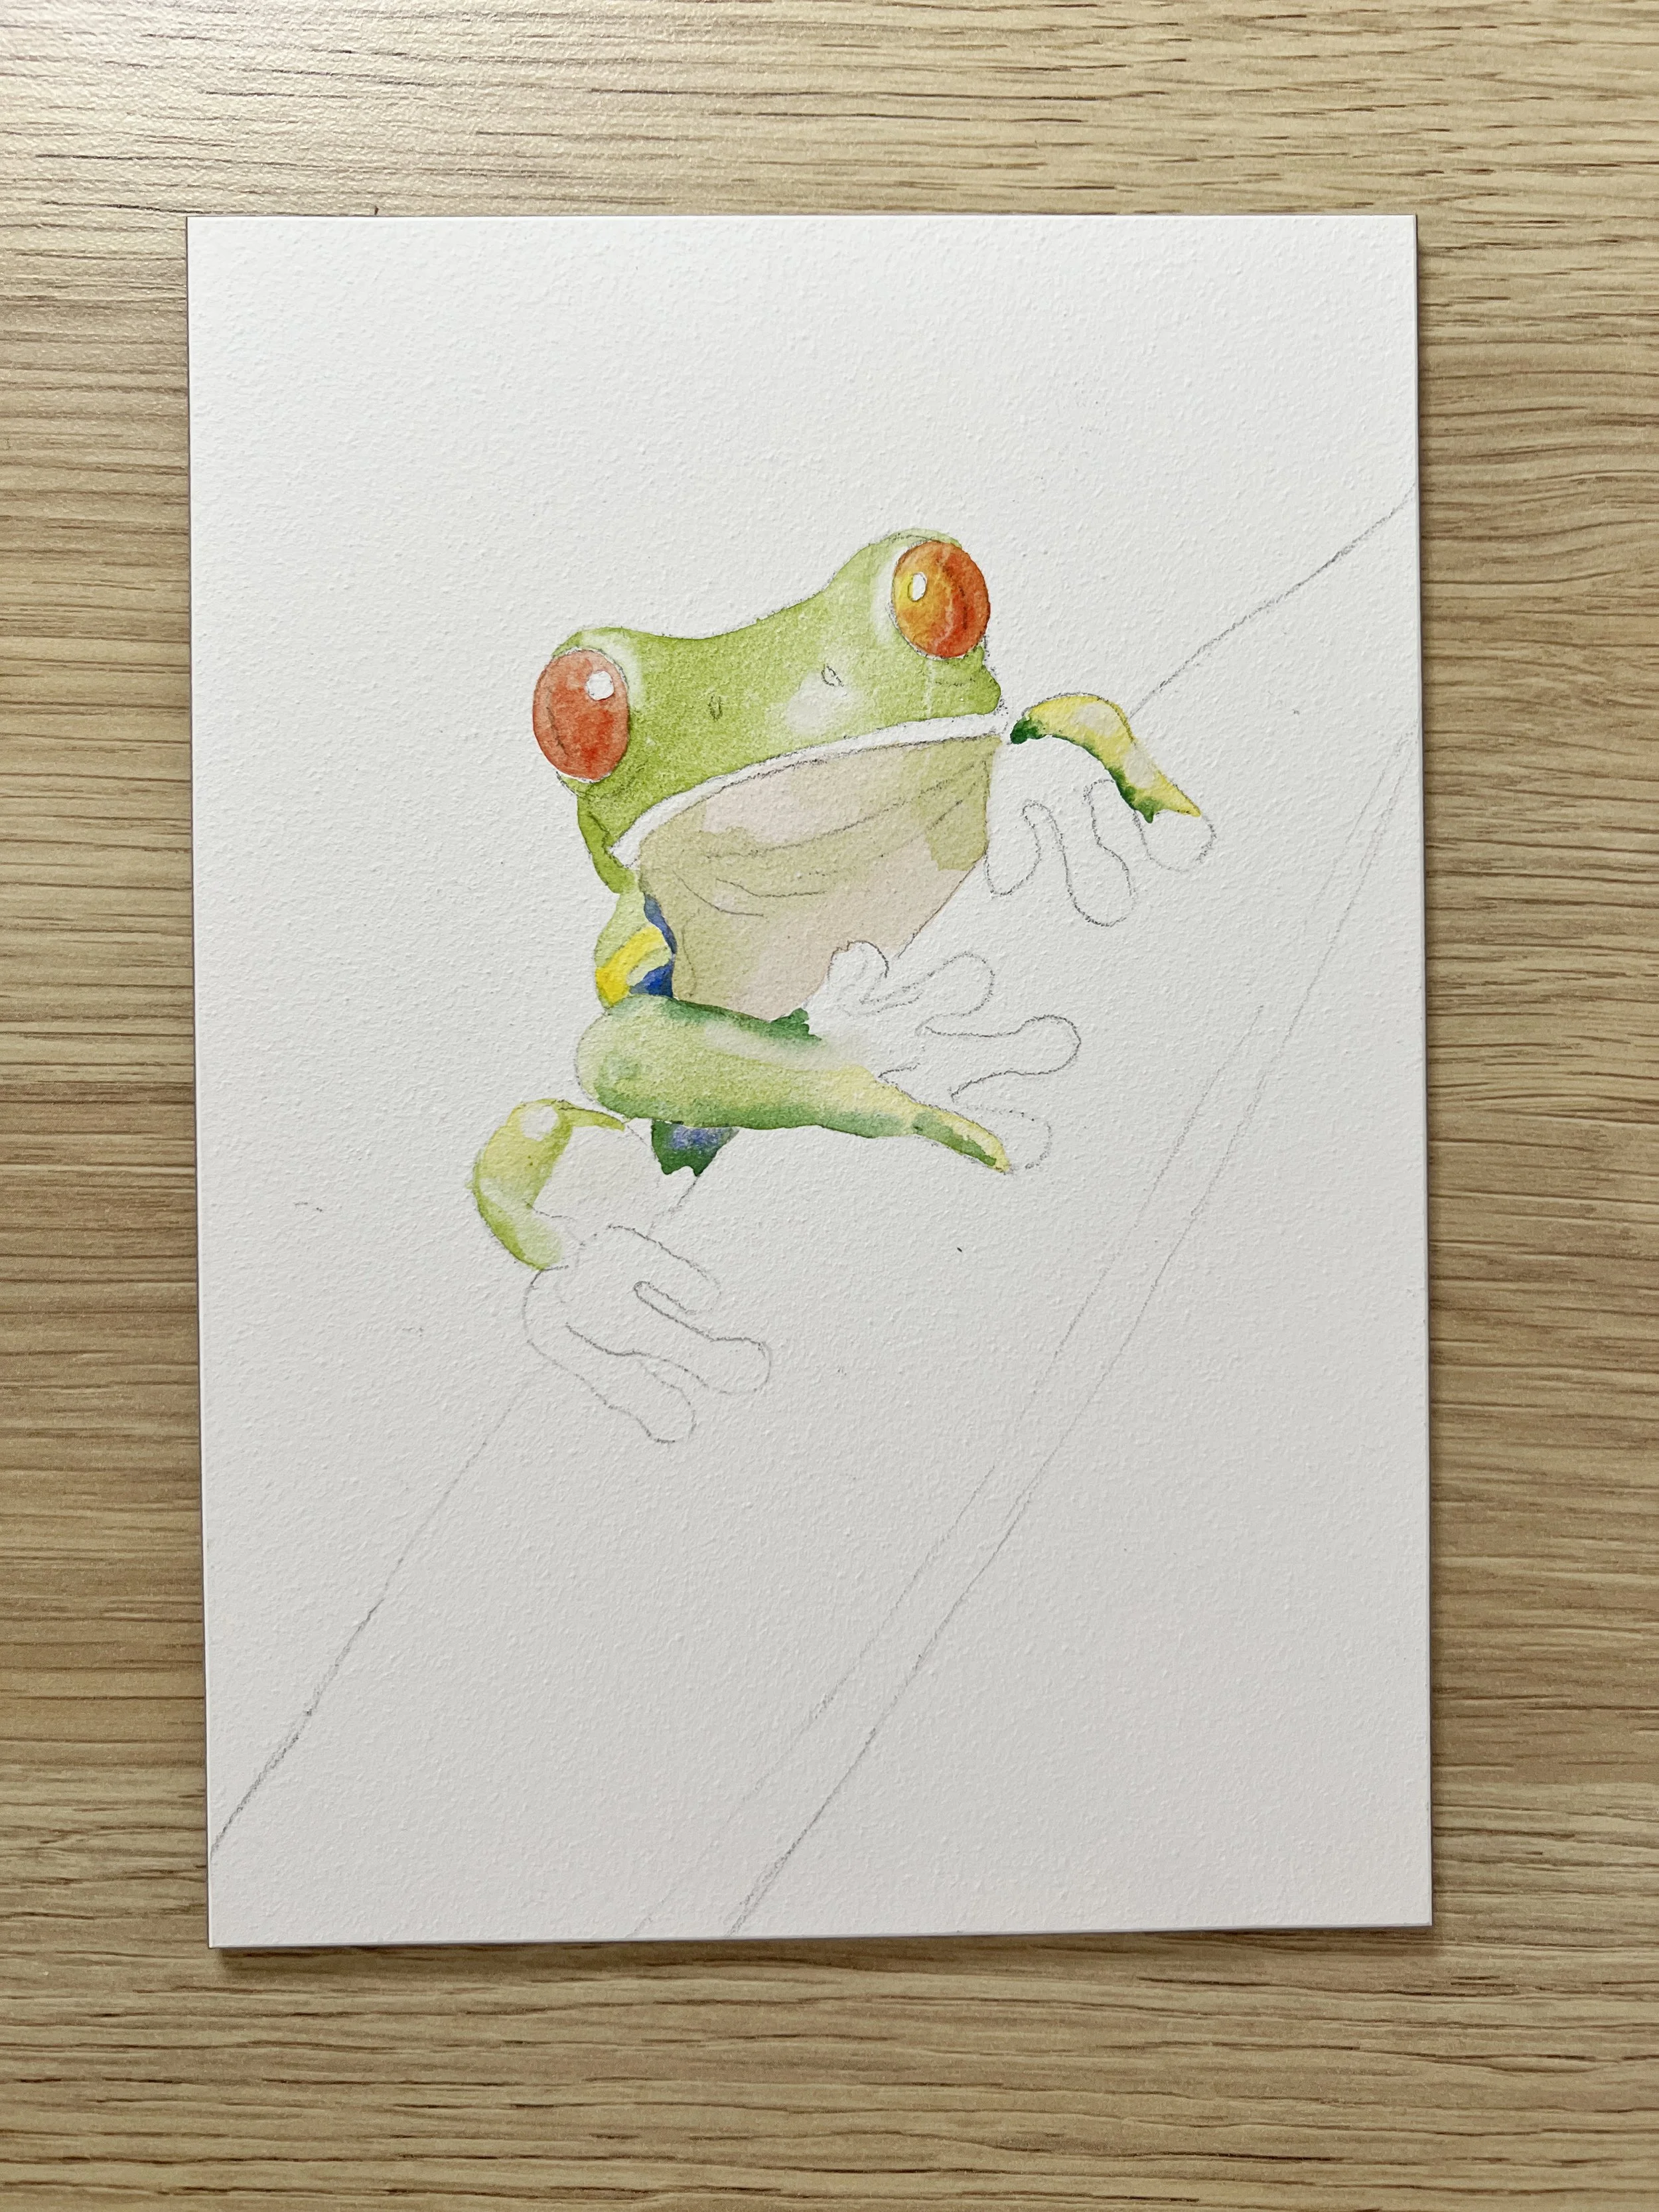
I painted the toe on the right foot with Transparent Yellow, and while it was still wet, I used a liner brush to add darker green along the left edge. I used the same approach for the left knee, laying down the yellow first, then blending in lighter green so the colours merged smoothly. For the underside of the frog, I wet the board first and applied a very pale wash of Transparent Sienna, then added touches of the initial green mix while the Sienna was still damp. Once everything was dry, I used the filbert brush to lift highlights in a few spots. The eyes were painted on the dry board using a mix of Scarlet Red and Transparent Yellow.
Step 3
I thinned the orange mixture from the eyes with a little water and brushed it onto the toes on the dry board, leaving the highlights visible. The toe on the lower left foot also has a touch of Transparent Yellow applied to the dry surface. I painted the blue area on the knee with French Ultramarine, then added a small patch of brighter blue using Phthalo Blue before it dried. I also brushed a little Transparent Yellow along the front edge of the mouth for warmth.
Building up detail
Step 4
I started adding darker green areas to the head using the original green mix with a little extra Phthalo Blue. Working mostly on the dry board, I dabbed the brush lightly onto the surface and softened the edges with a clean, damp brush as I went.
Next, I deepened the colour of the eyes with another layer of the orange mixture and added a touch of Transparent Yellow to the right eye. For the dark sections (the pupil and the area around the eyes) I used a Derwent black watercolour pencil on the dry board, then activated it with a damp Micro Da Vinci liner brush. I also painted a few darker accents on the eyes using Madder Red Dark on the dry surface.
Step 5

I mixed a dark brown using French Ultramarine and Transparent Sienna and painted the shadowed areas on the underside of the frog on the dry board. I also added a touch of darker green along the top of the mouth, again working on the dry surface. Then I lightly wet the shoulder area on the left and brushed in a dark shadow using Payne’s Grey Bluish.
Step 6
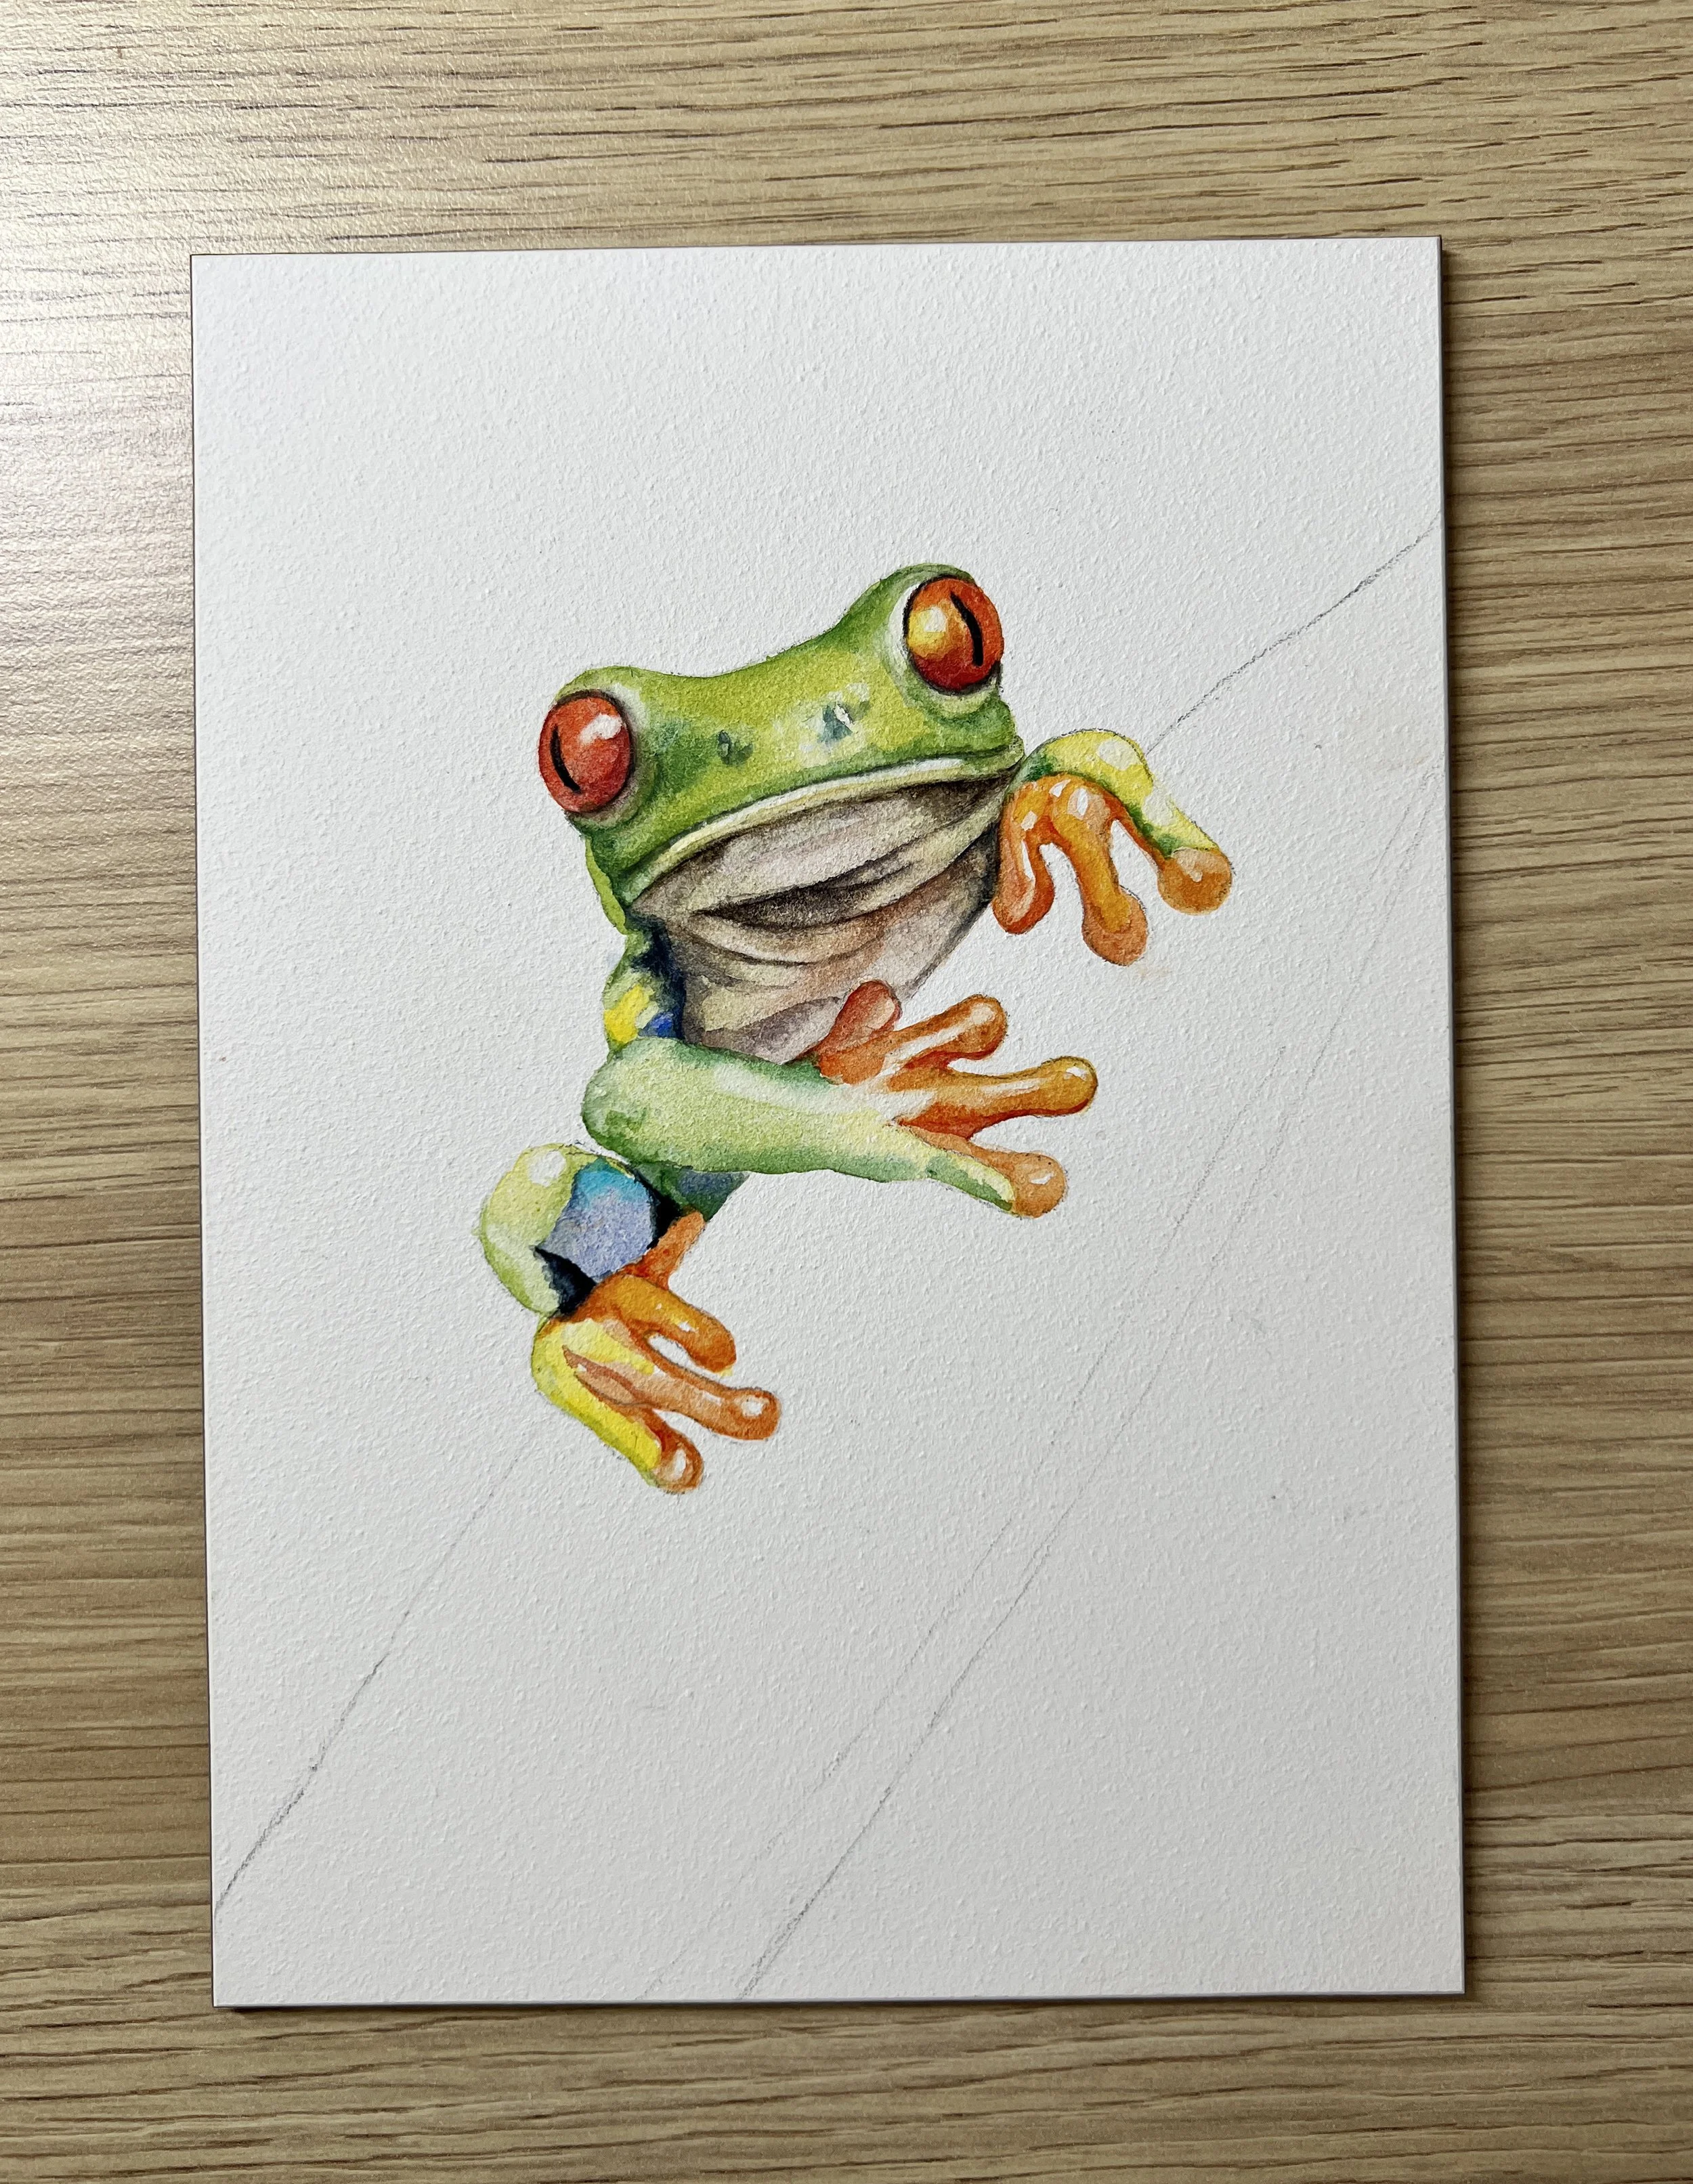
Next, I added more detail to the orange areas on the toes. I deepened the orange mixture with extra pigment and painted the darker sections on the dry board using a small Da Vinci micro brush. I also used a bit of Scarlet Red on its own to enrich the colour. The dark areas on the knee were painted with Payne’s Grey Bluish on the dry surface. I also brushed on a little Transparent Sienna onto the underside of the frog on the dry surface.
Step 7
Painting the flower
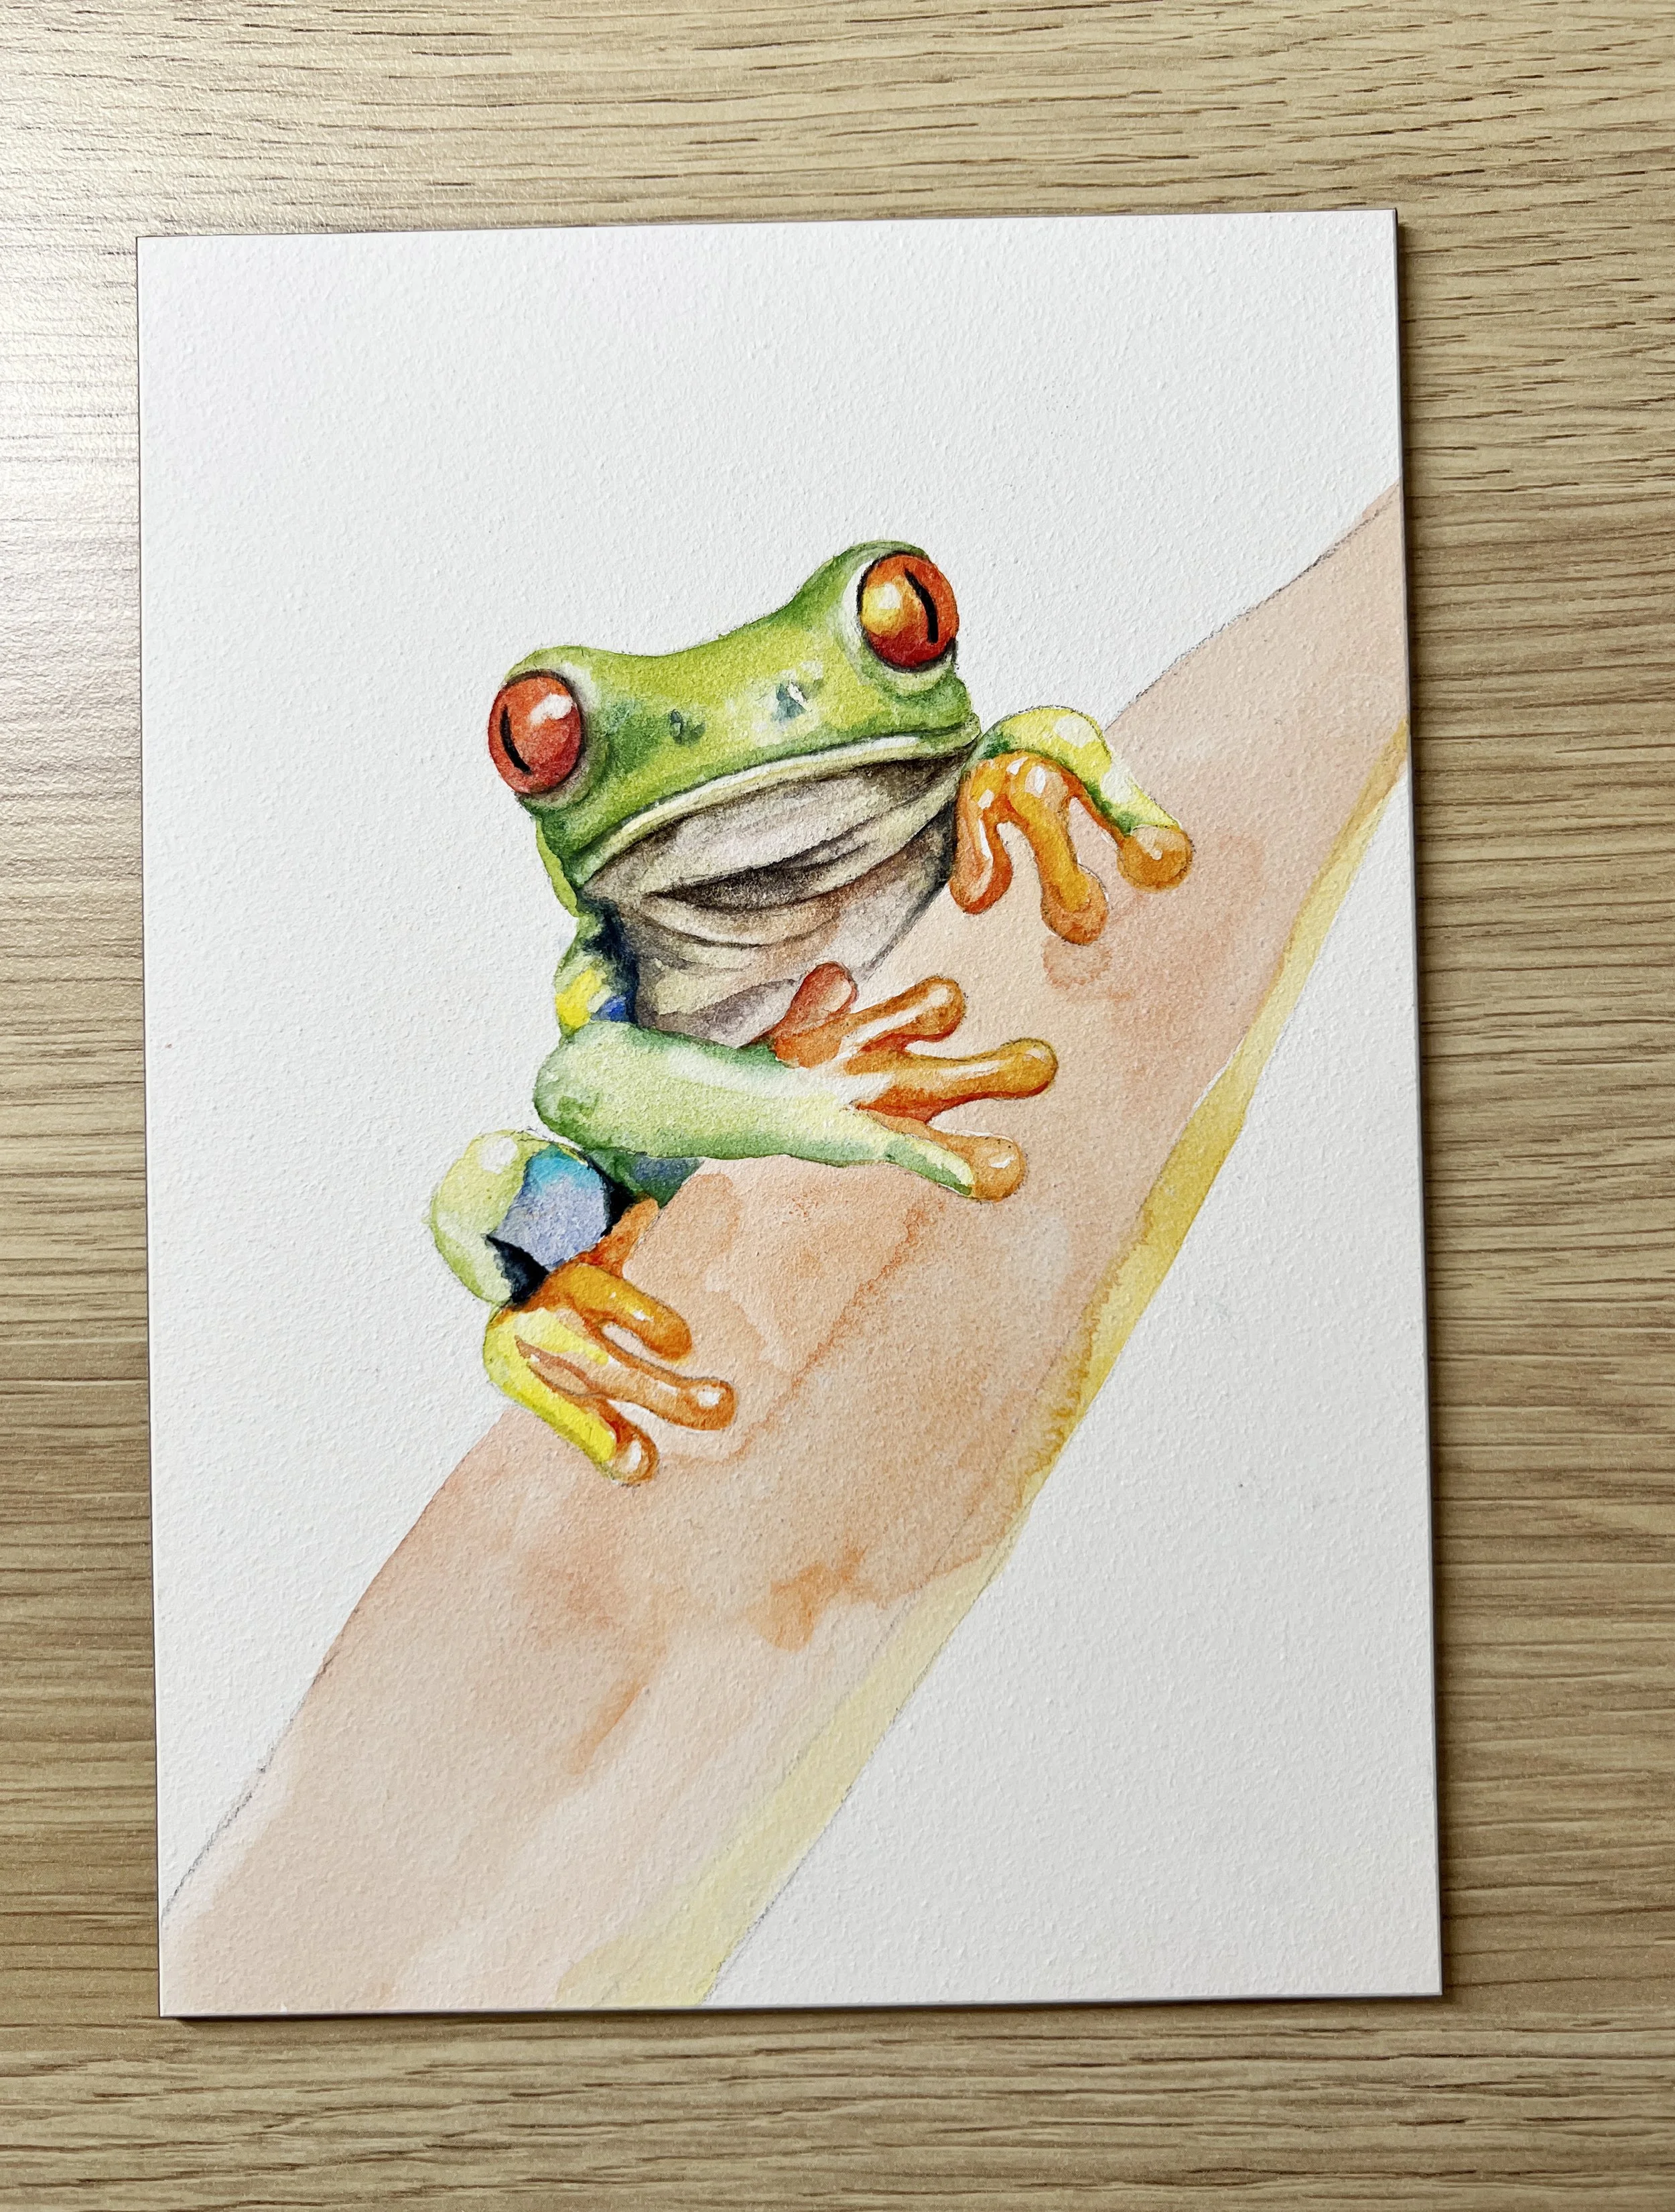
I washed in the flower that the frog is sitting on with the same mixture I used for the eyes - Scarlet Red and Transparent Yellow. The front edge is painted with Transparent Yellow with a small amount of the red mixed into it.
Step 7
I added a few more layers of the orange mixture to the flower until I was happy with the depth of colour, keeping it darker near the frog and gradually lightening it by adding more water to my brush as I moved away.
Once it was dry, I used a damp eradicator brush on the dry board to lift a few markings on the flower. Then, with the small micro brush, I applied some of the dark brown mixture over the highlighted areas. I also wet the lighter section along the front edge of the flower and ran a bit of the dark orange mixture through it.
To finish and to create depth, I added soft shadows where the toes rest on the flower using a Mauve watercolour pencil. I lifted pigment directly from the pencil tip with a damp Silver Black Velvet brush and applied it gently to the shadowed areas.
Final Thoughts
Aquabord allows colours to retain their vibrancy and makes it easy to lift or adjust them as you paint. Its texture provides the perfect surface for creating rich, luminous watercolours that really stand out. Once your painting is complete, you can frame it without glass after sealing it with an archival spray varnish, keeping the artwork protected while showing off its natural beauty.
If you are interested in learning to paint in watercolour, I have hundreds of online, voiced over watercolour tutorials for all skill levels.


