Watercolour Is Hard!
How to Stop Those Ugly Dark Edges
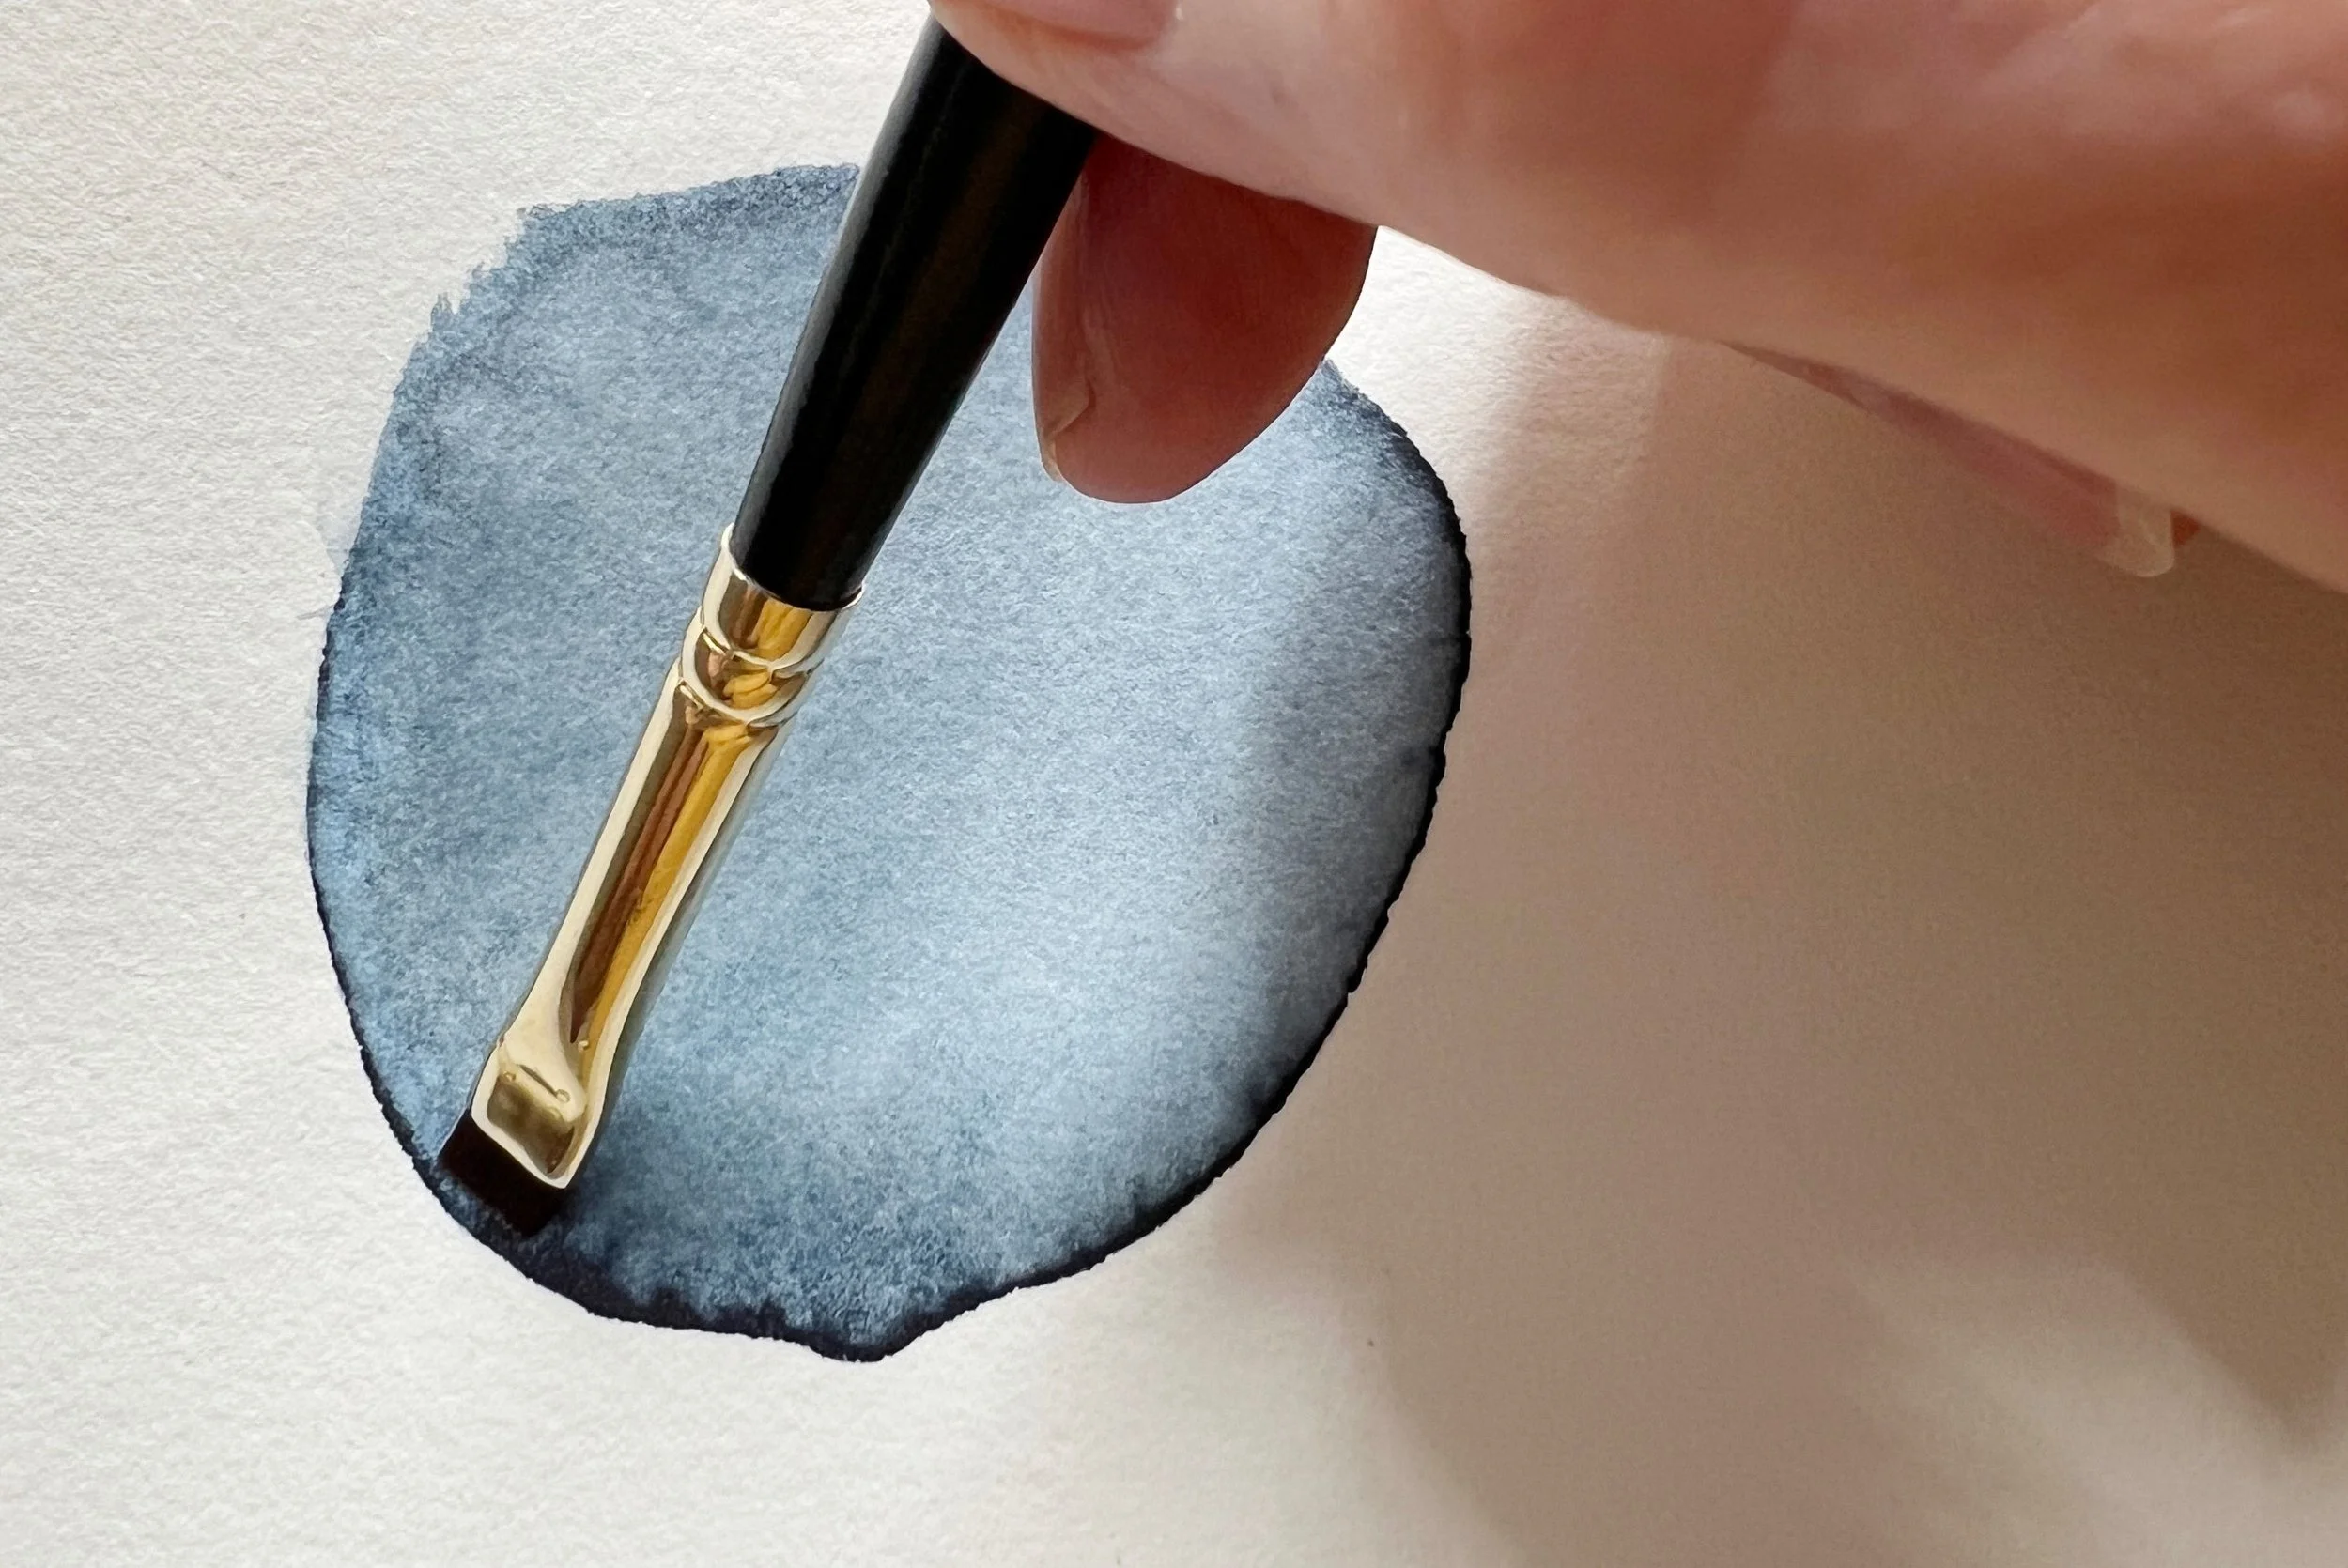
Watercolour can be tough and it is often called the most difficult medium, especially when you paint a simple shape and it dries with that ugly dark ring around the outside.

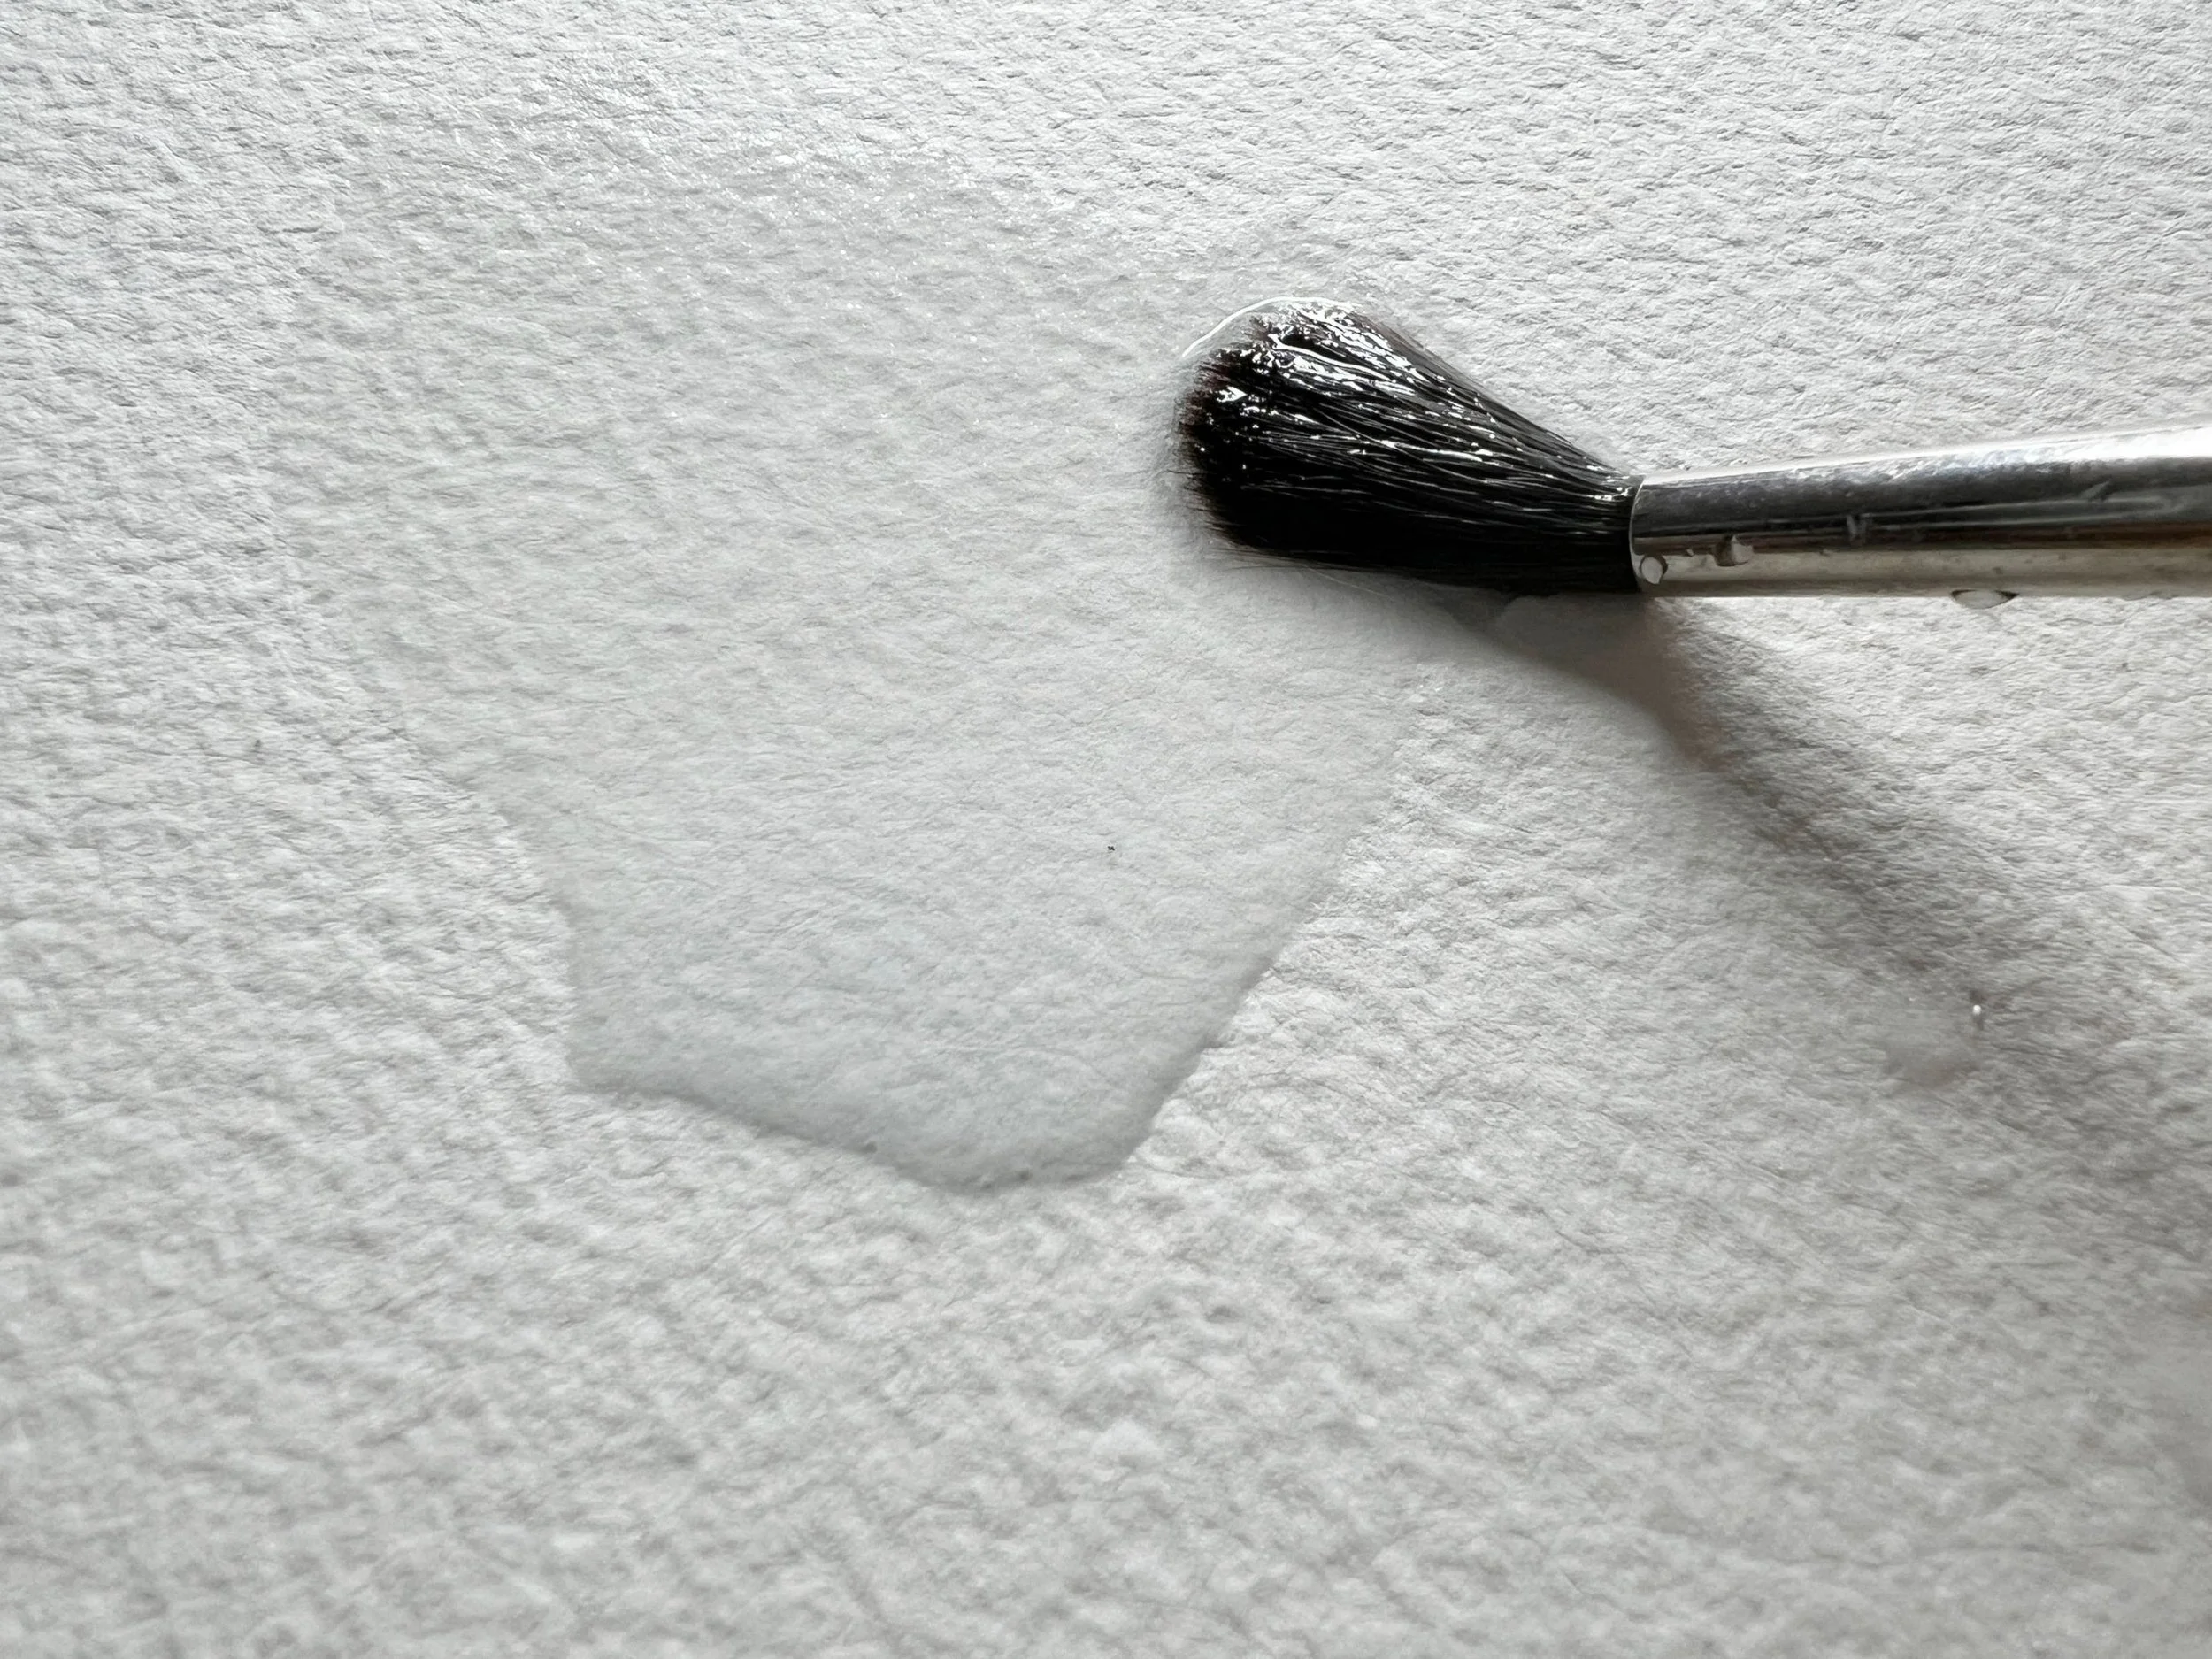
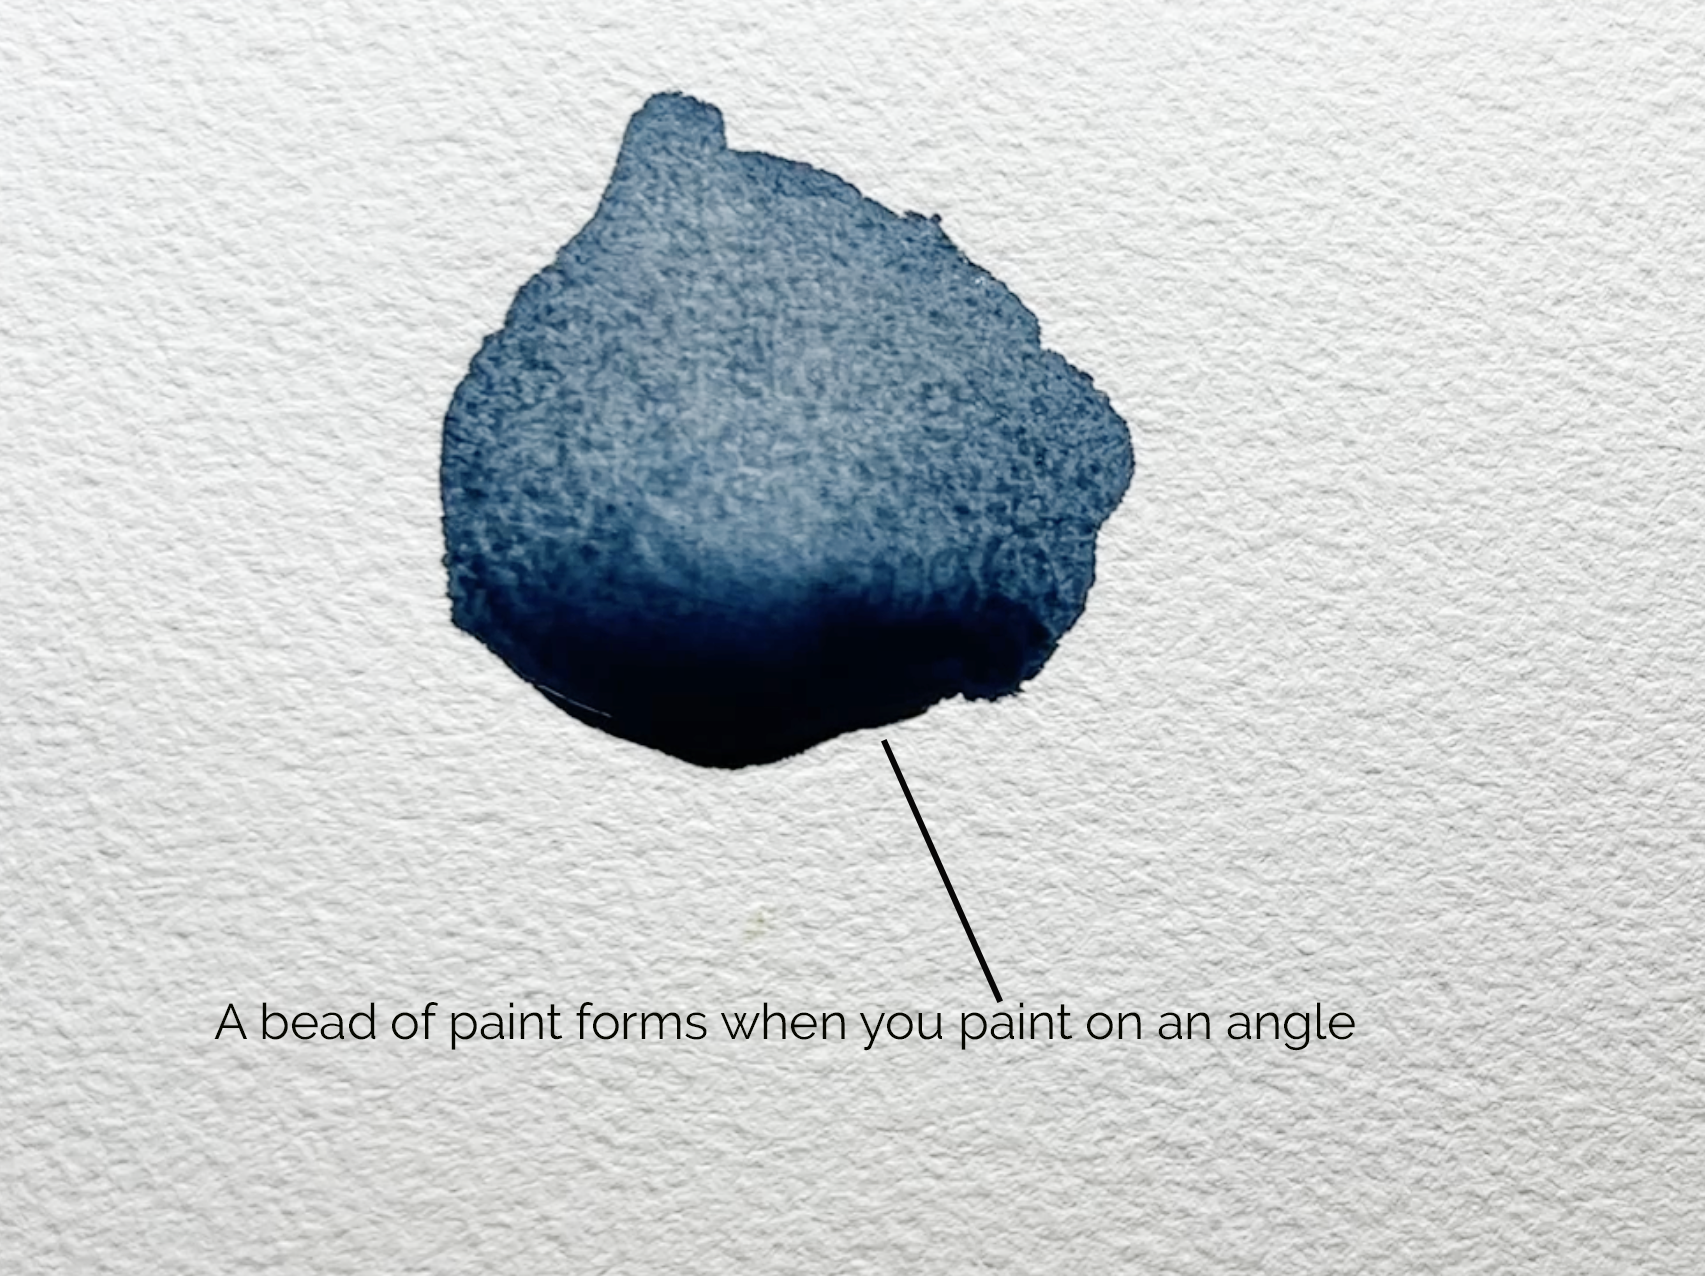
A watercolour wash with an ugly dark edge around the outside.
A lot of beginners ask why they can’t get those clean, soft edges that experienced watercolour painters seem to manage so easily. The good news is there’s a simple reason this dark ring shows up. In this post I’ll walk you through what’s causing it, how you can avoid it in your own washes, and a few simple ways to correct them when they happen.
To be successful with watercolour painting you need to understand how the paint and water interact.
If you’re still getting a feel for this, it can help to understand how water behaves on paper in a bit more detail.
Why Your Washes Dry With a Dark Edge
Too Much Water on the Paper
When you put down a very wet wash, the edges begin to dry faster than the centre. As the water evaporates, it pulls the pigment outward and deposits it around the rim of the shape. That is why you end up with a dark edge and a lighter centre. Too much water on the paper is usually the main cause.
Other Reasons You Might Get a Dark Edge
Watercolour Paper
I’m always talking about good quality watercolour paper with my students, and that’s because good quality 100% cotton paper makes a massive difference to how your washes dry. Cotton absorbs water evenly, so it gives you more time to work and helps prevent those harsh dark edges. Cheaper cellulose papers tend to dry in patches and push the pigment around, which is why beginners often struggle on them. Even so, dark edges can still happen on the best paper if there’s too much water sitting on the surface. Cotton paper just makes it easier to control.
Your Paint Mix Might Be Too Wet
A very wet, diluted mix can easily create a puddle on the paper, and that’s when dark edges form. When there’s too much water in the wash (and on the paper), it spreads out across the wet area as it dries and carries the pigment with it, leaving that darker ring around the outside. Using a slightly stronger mix when you apply paint gives you much more control and helps your washes dry evenly.
Getting that balance right takes a bit of practice, and it becomes much clearer when you can see it demonstrated step by step.
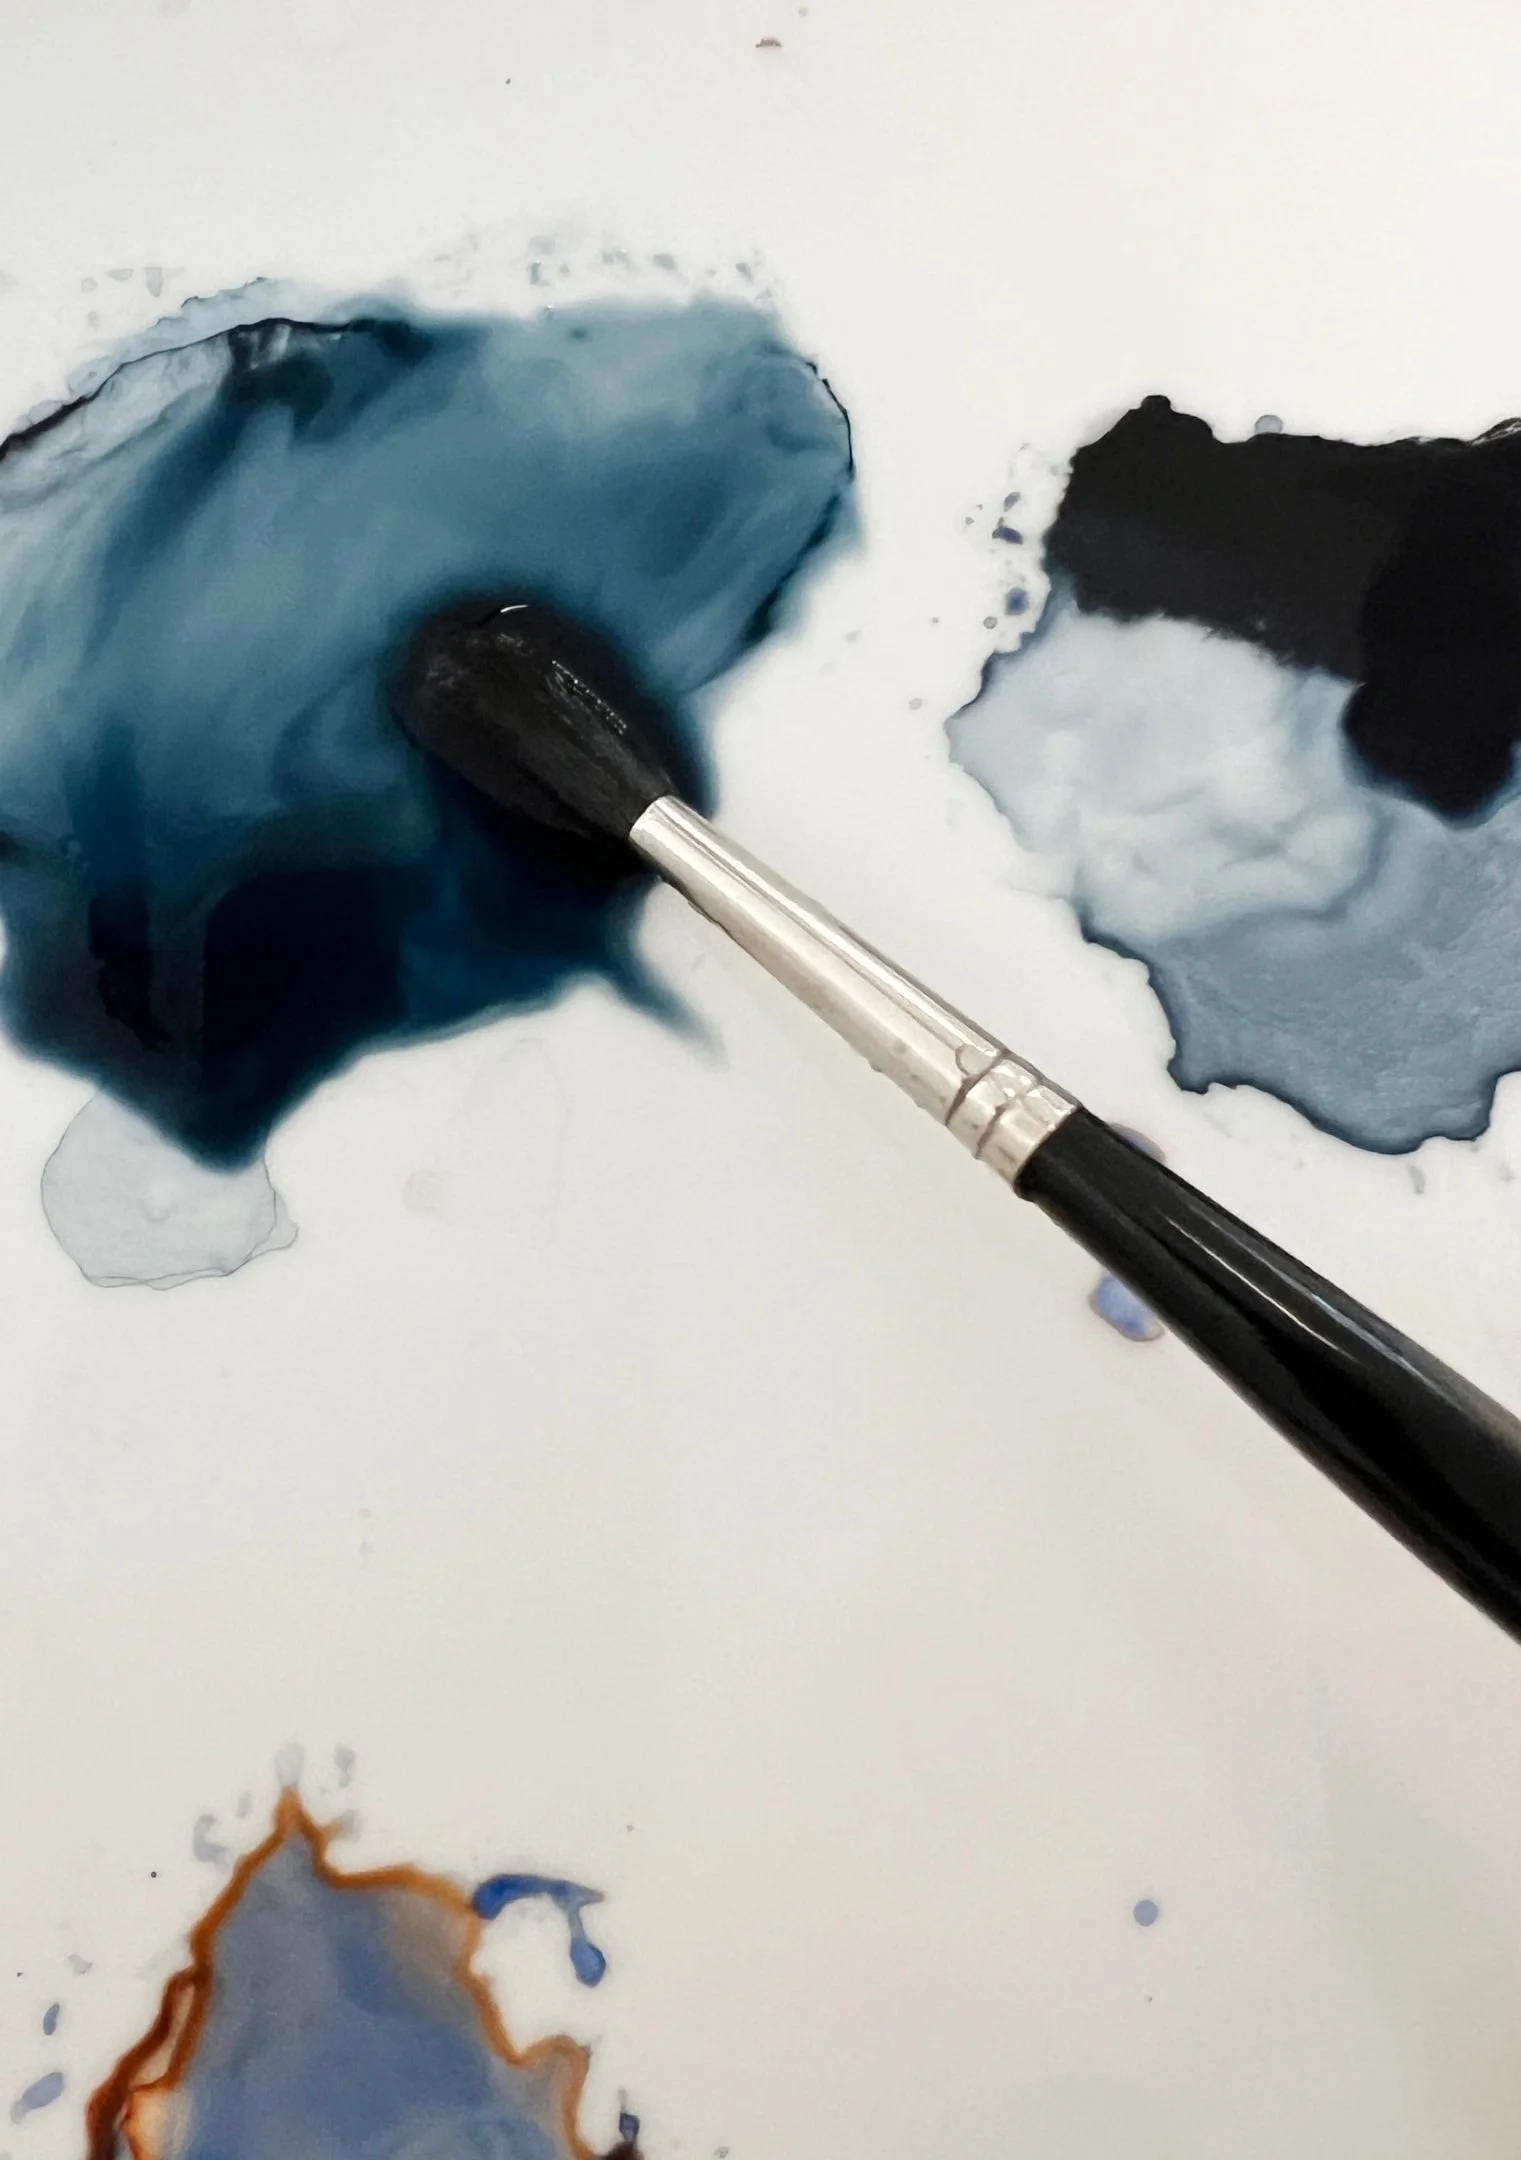
Use less water in your paint mixture if you find your edges are dark and unsightly.
Your Brush Might Be Too Wet
Another common cause of dark edges is a very wet brush. Even if your paint mix is right, loading up your brush with too much water will flood the area as soon as you apply paint. Beginners often aren’t sure how much water should be on the brush and that’s totally normal. It’s hard to judge at first, but the more you paint, the more intuitive it becomes. After a while you’ll just know, without thinking, exactly how wet your brush needs to be. A quick blot on some paper towel removes the excess and gives you far more control over how the wash settles.
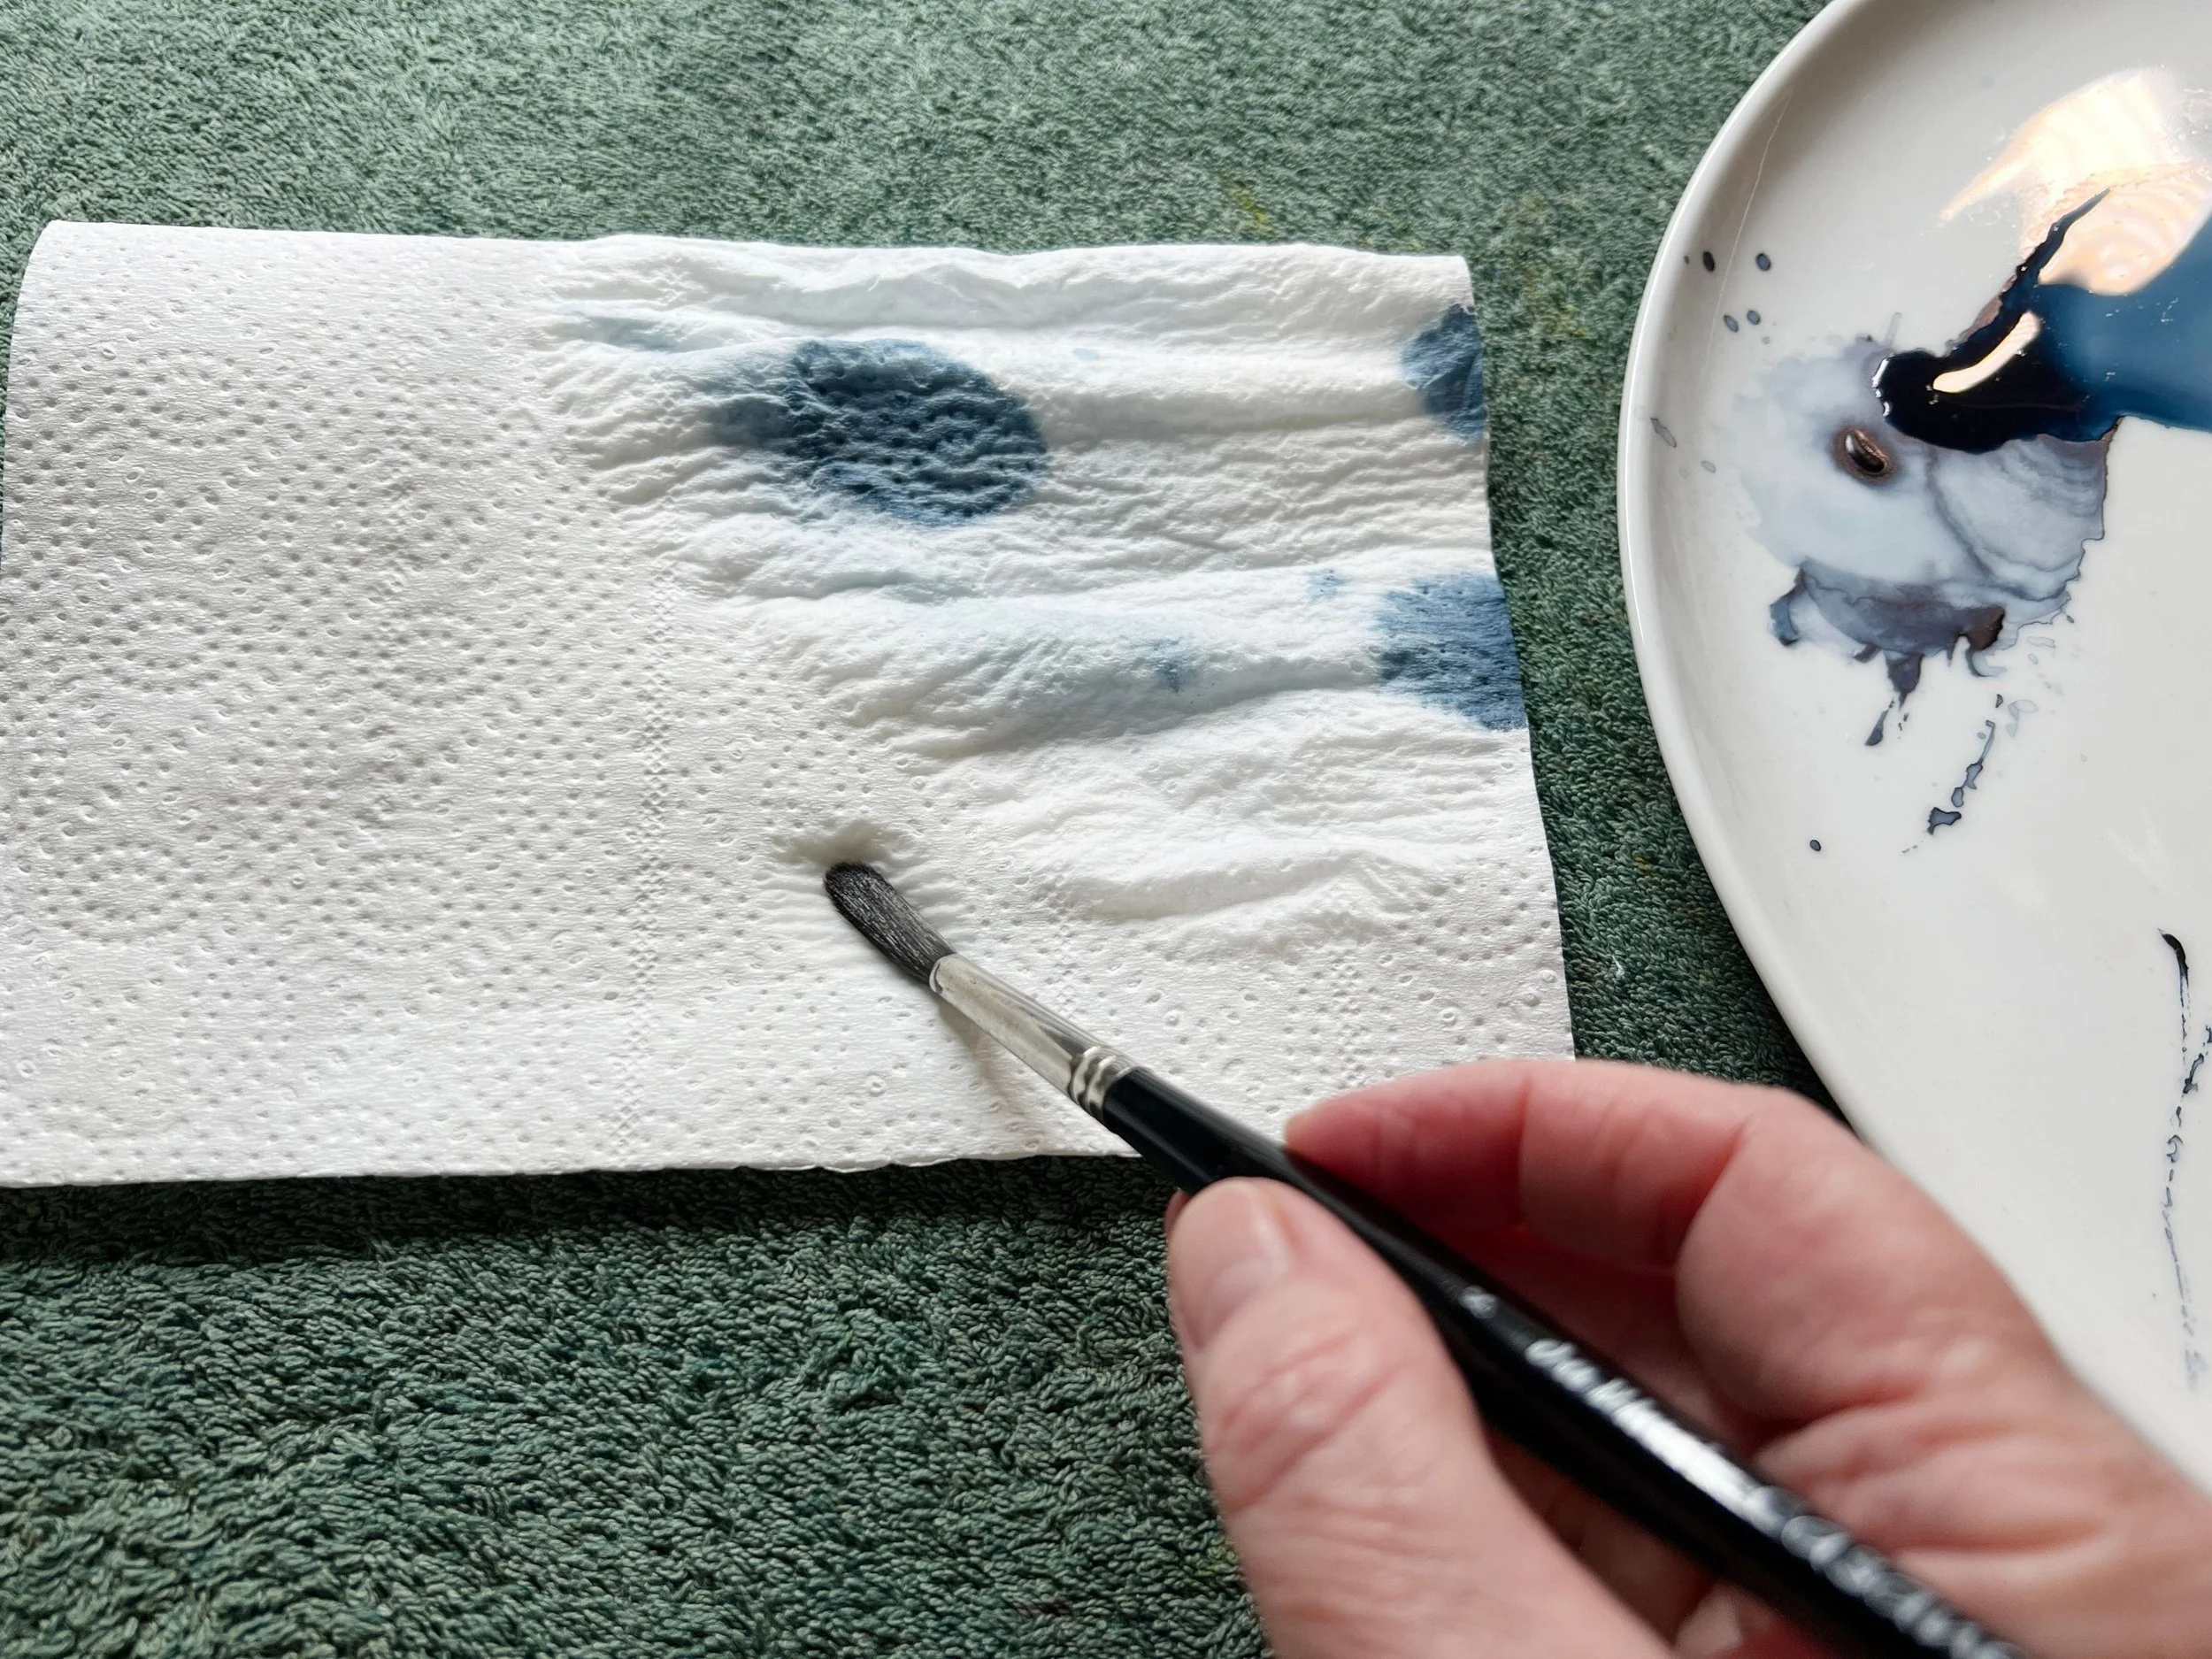
A damp brush is usually best for picking up paint- not sopping wet.
Fussing Too Much
Overworking the area can also cause dark edges. When you keep dabbing at a wet wash, adding extra paint, or fussing with the brush, you end up re-wetting parts that were already starting to dry. That uneven moisture creates little puddles that push the pigment around and leave those dark rims behind. It’s tempting to keep fixing things in the moment, but watercolour behaves best when you lay the wash down, give it a moment to settle, and then leave it alone.
This is something that’s often easier to recognise when you watch a painting unfold in real time rather than trying to judge it on your own.
Painting on a Flat Surface
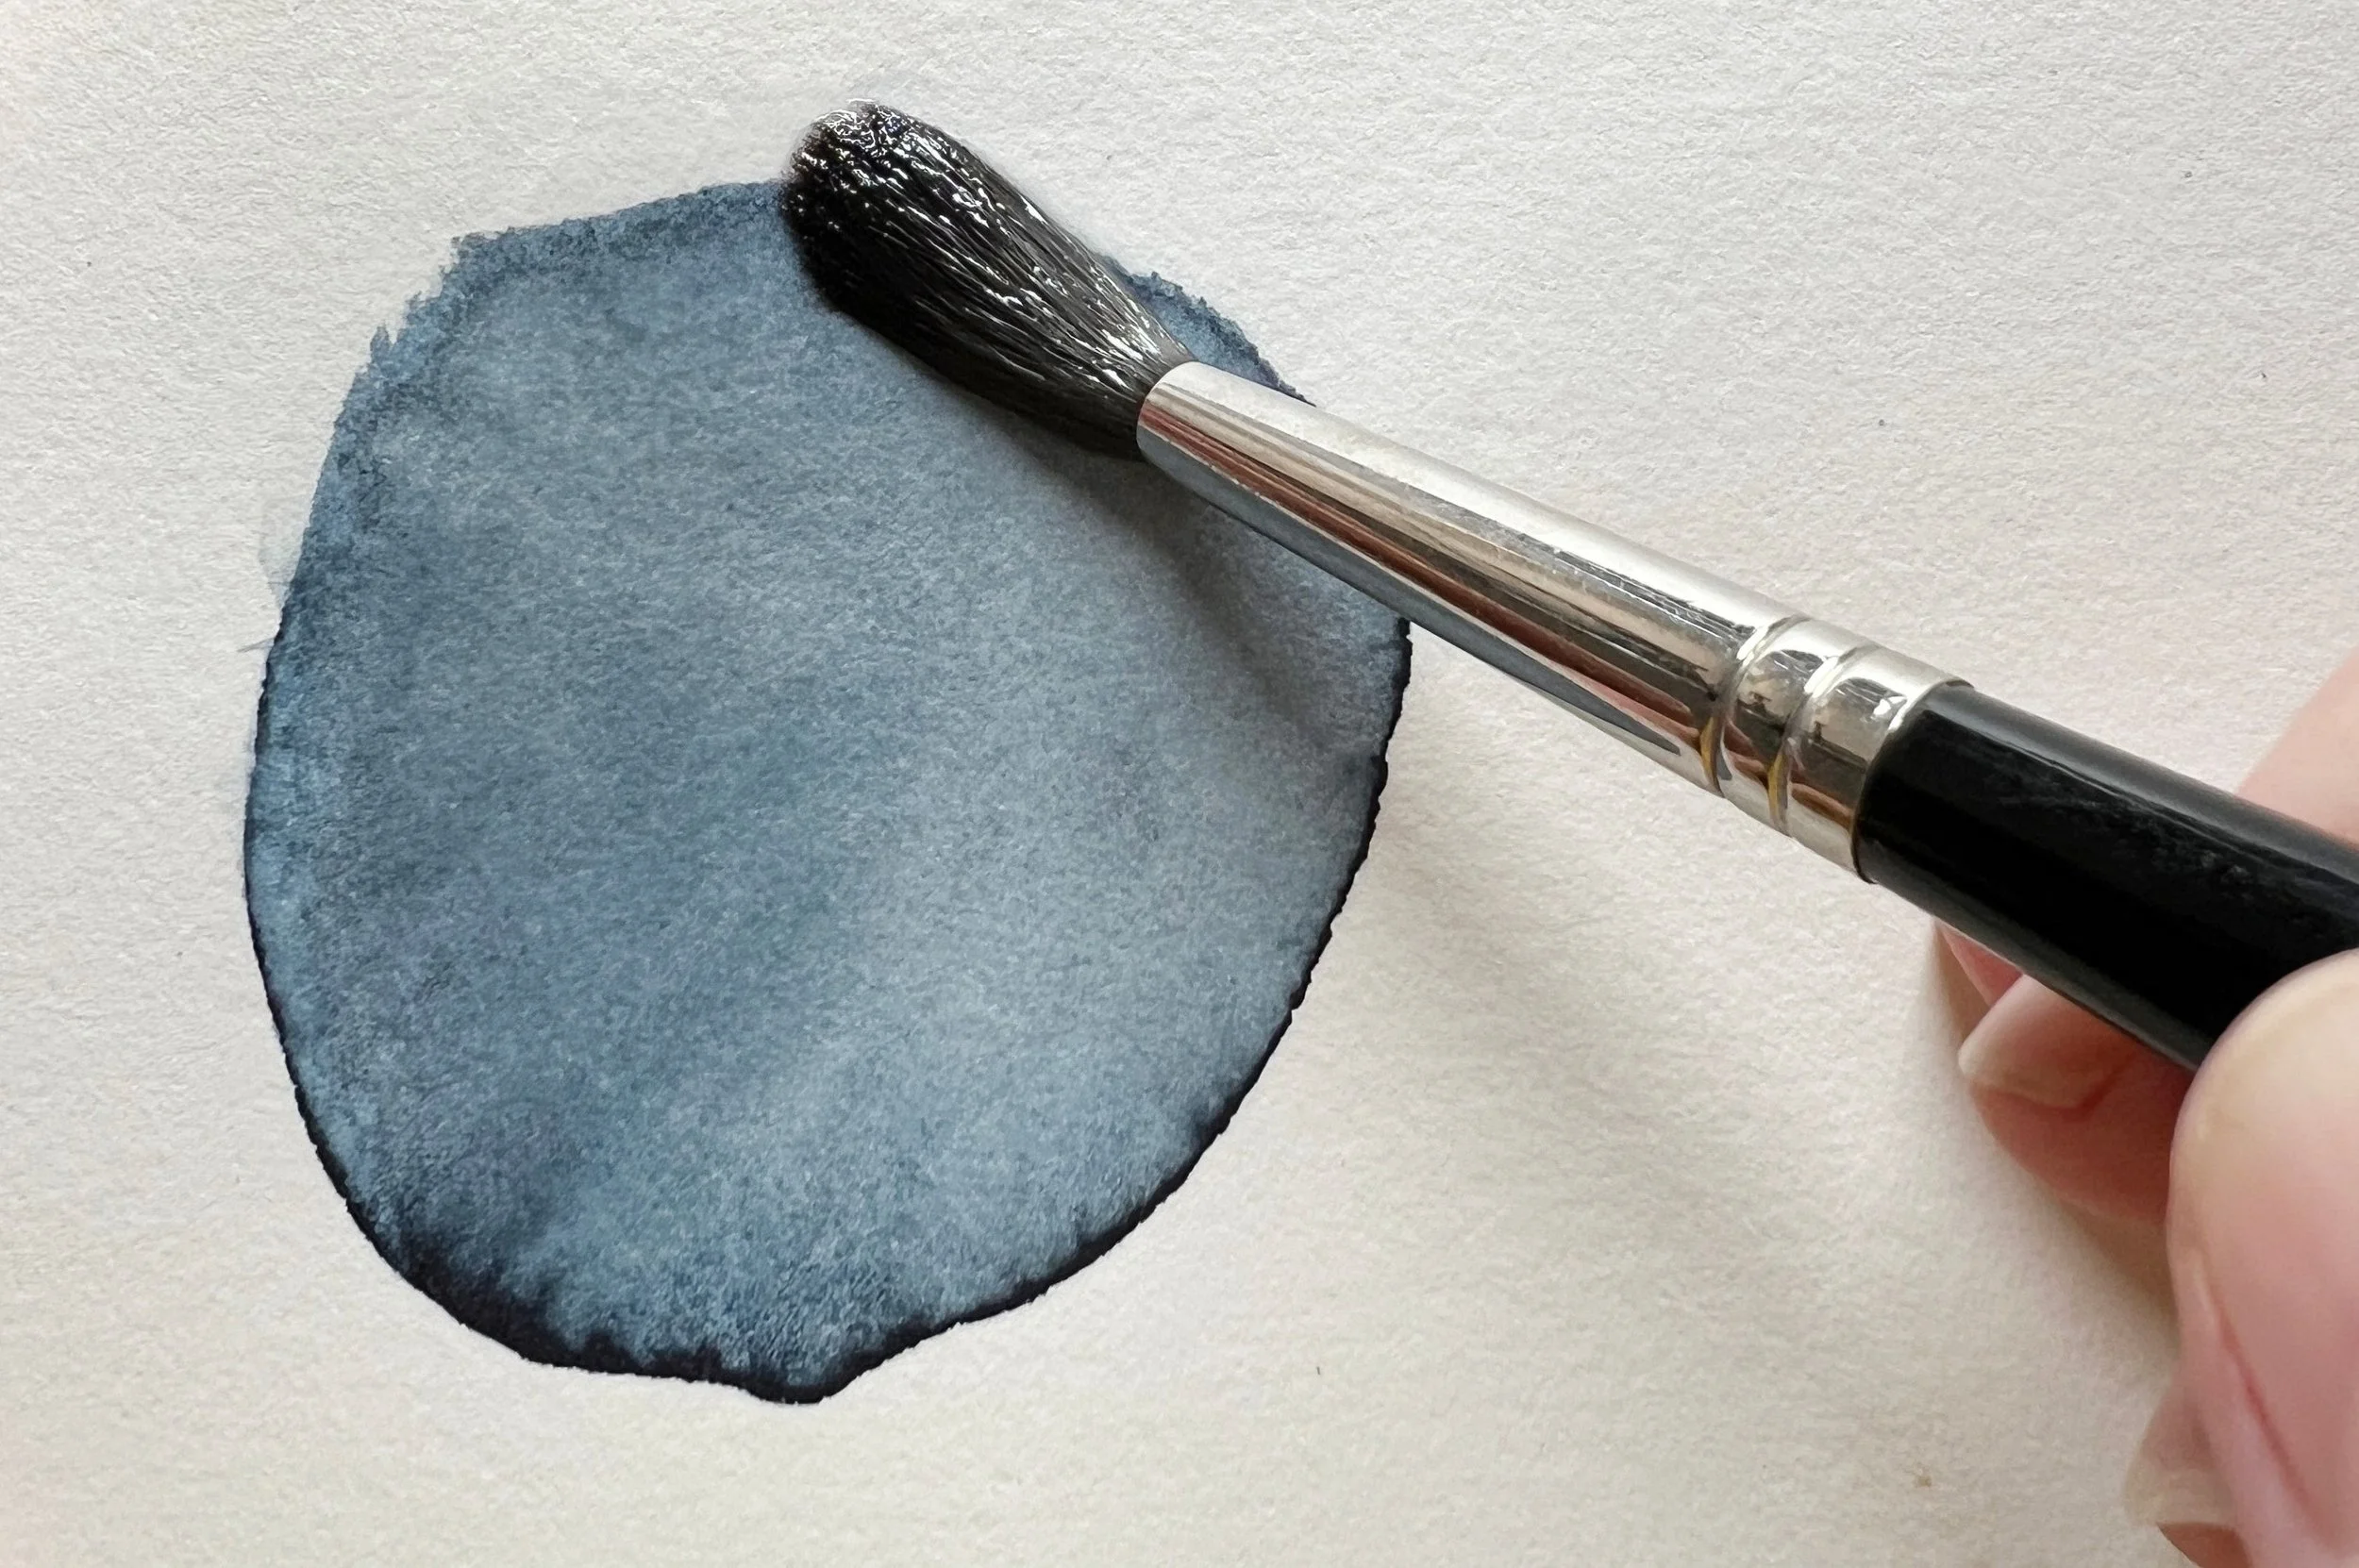
Painting on a completely flat surface can also make dark edges more likely. When the paper sits flat, the water has nowhere to flow, so it tends to pool and push the pigment out to the edges. Tilting your board even a little helps the water move in one direction and settle more evenly. If you are using a lot of water, you will notice a bead of paint sitting at the lower edge of the wash, and you can use a damp brush to gently lift away the excess. You don’t need anything fancy, I often just pop a thick book under my painting board to give it a slight angle. That tiny lift makes a big difference to how clean your washes dry.
So, preventing dark edges comes down to water control, how wet your mix is, how wet your brush is, and how evenly the paper dries. Use good cotton paper, watch how much water you’re putting down, tilt your board a little, and try not to fuss with the wash once it’s on the paper. With a bit of practice, these small habits will help you with edge control and they will make your washes cleaner and way easier to manage.
Here's Another Way to Prevent Those Ugly Dark Edges.
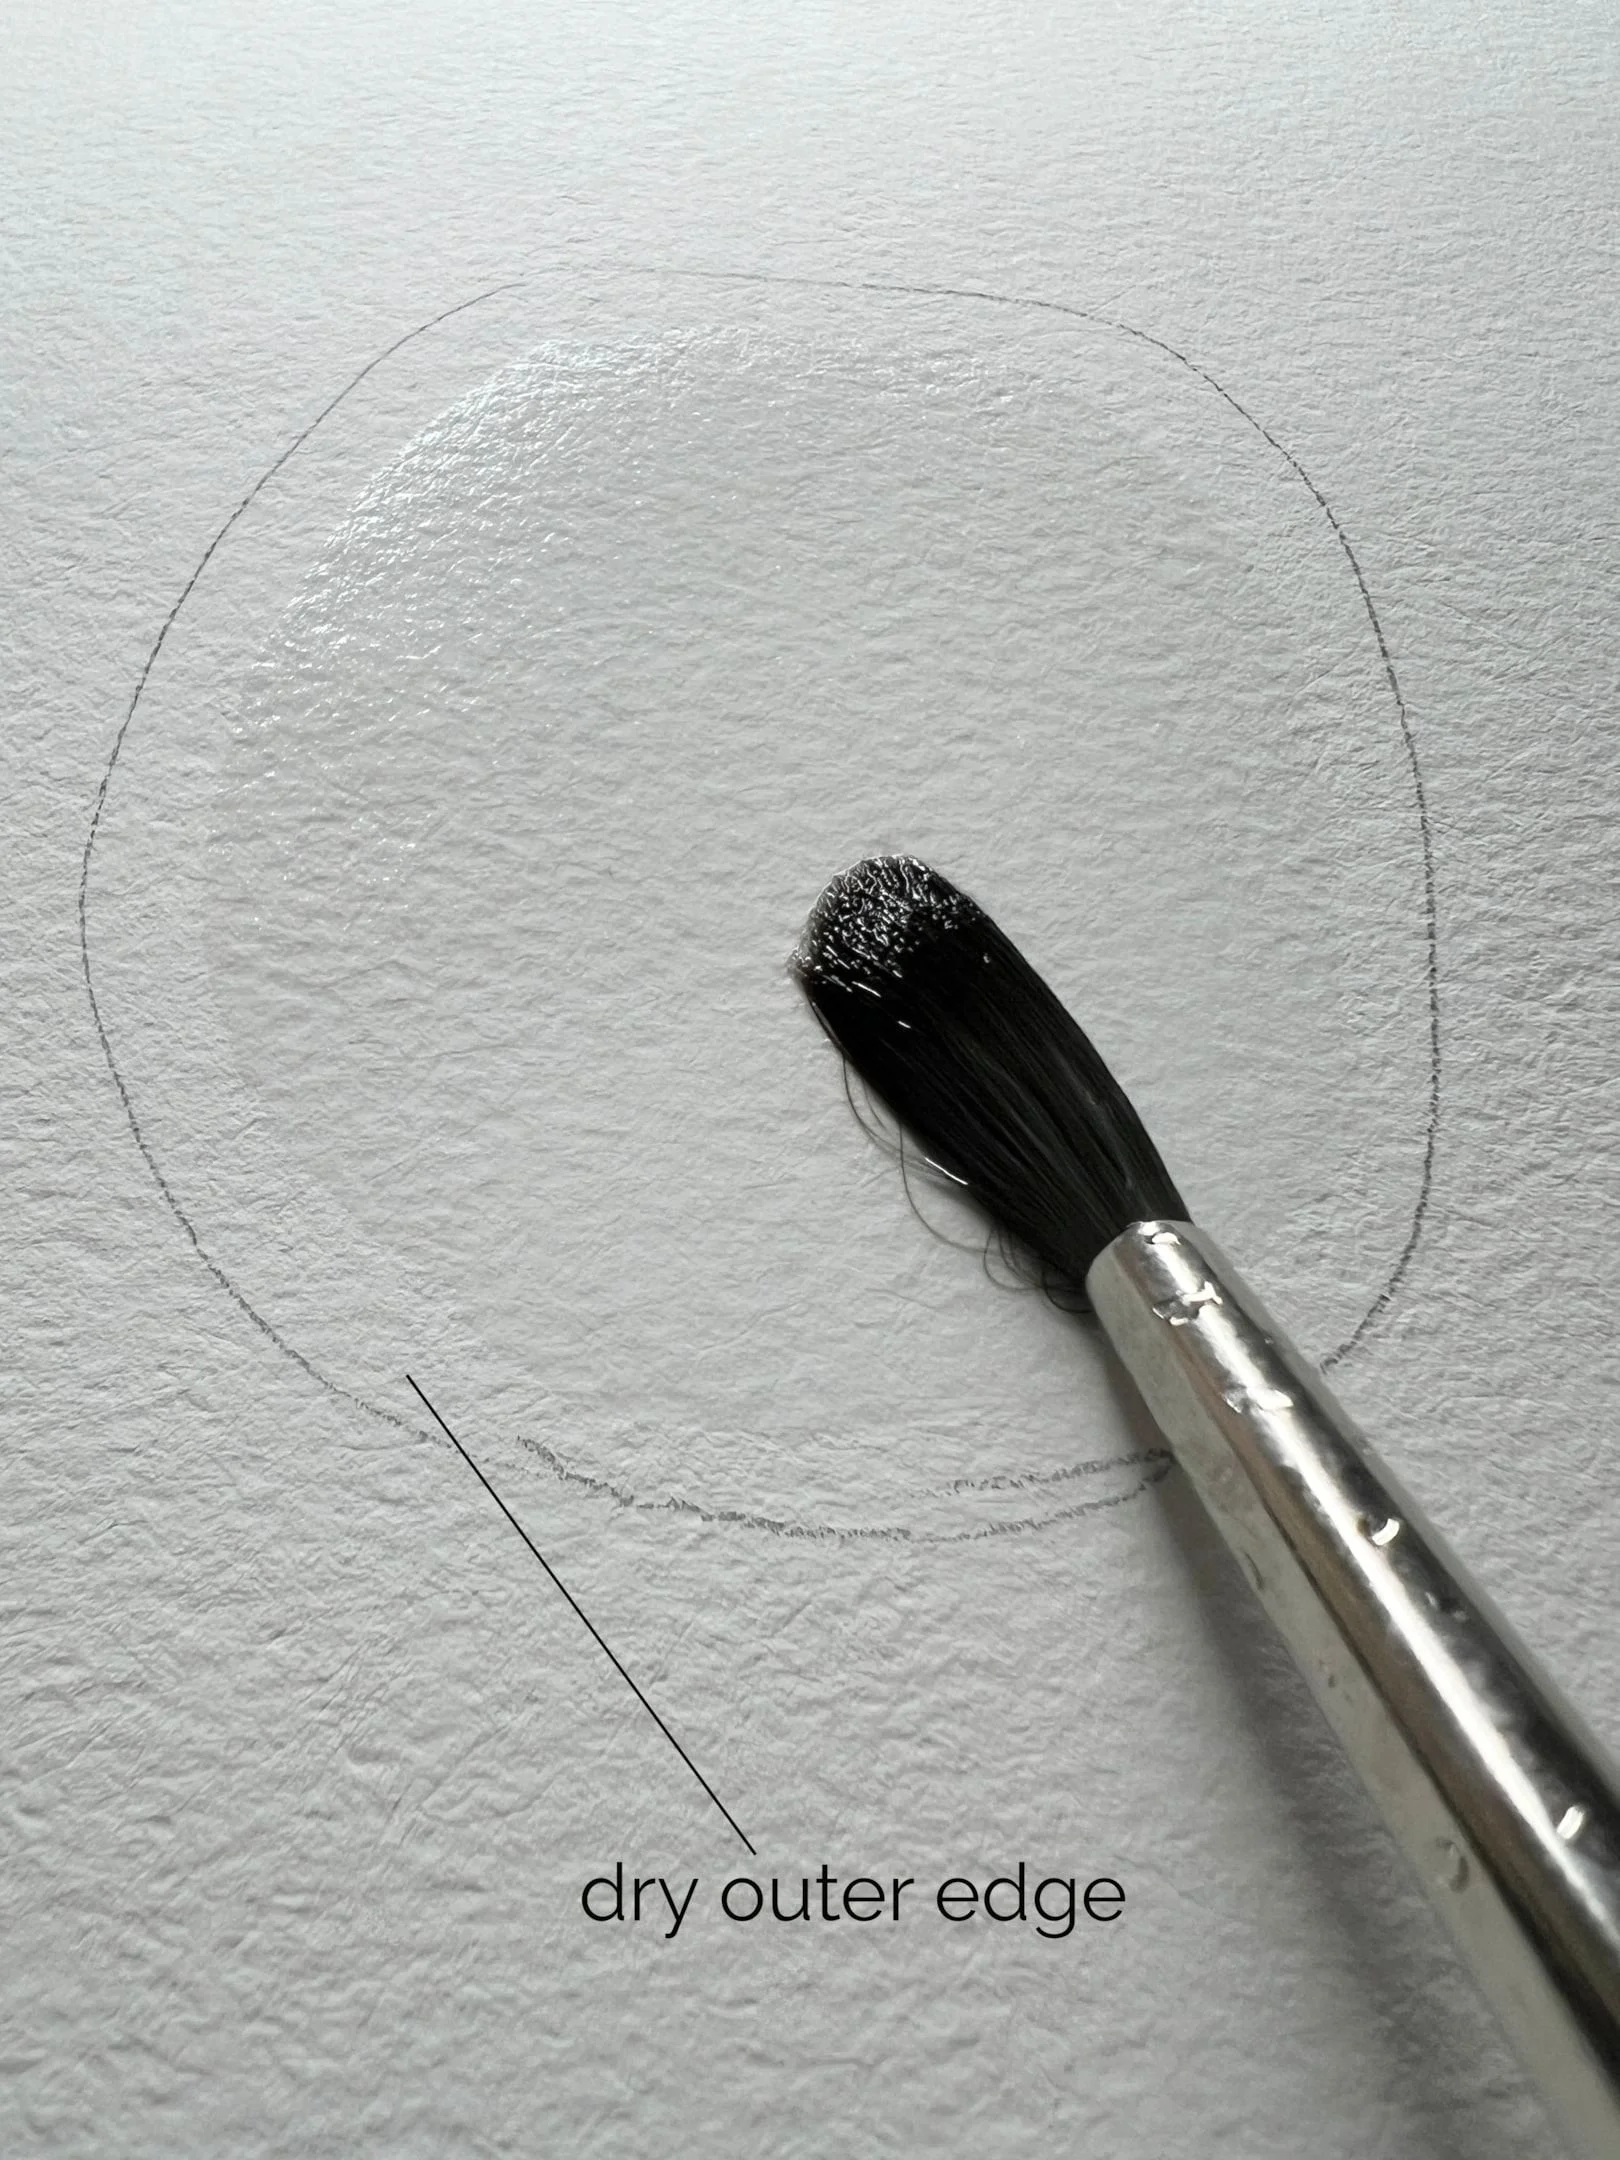
When you wet an area for wet on wet, you can leave a tiny border of dry paper around the outside, about a brush width or even a bit less. This stops the water from running right up to the edge and pooling there. Then, when you apply the paint, it spreads softly through the wet area without pushing all the pigment to the rim. It gives you much cleaner, softer edges as the wash dries.
Small adjustments like this become much easier once you’ve practised them a few times in a structured way. If you’d like to practise this kind of control more consistently, you can work through these techniques step by step rather than trying to figure them out as you go.
How to Fix it After it Happens.
One way to fix dark edges is to gently soften them with clean water. I lightly wet the edge with a soft brush (after it has dried) and use the side of the brush to nudge the pigment loose. Once it softens, you can dab it away with a tissue. You just need to be careful not to disturb any surrounding washes, and make sure the water doesn’t dry in a hard line, otherwise you’ll end up with a new tideline instead of removing the old one.
Hard edges where the paint has accumulated can be lightened with a wet brush after they have dried.
Another way to fix a dark edge is to use a stiff brush, like the Rosemary and Co eradicator. I use it wet on dry paper and gently scrub at the dark rim to loosen the pigment. Then I blot the lifted colour with a tissue. I find it works best when you pull that darker pigment back into the area of the same colour, rather than pushing it out into the lighter parts of the wash.
Correct mistakes with the eradicator brush.
And of course, not every dark edge needs fixing. Sometimes the best option is to leave the dark edge alone and accept what the paint has given you. Watercolour has a mind of its own, and once you start trying to fix things, it’s easy to make the area look overworked. Remember that you’re the painter, so you’ll always notice these little “flaws” far more than anyone else will. Most people looking at your painting won’t even see the edge, but they will notice if you’ve rubbed or fussed at it too much.
Final thoughts
Dark edges are one of those little things every watercolour painter deals with at the start, but they are also one of the first things to improve once you get a feel for water control. The more you paint, the easier it becomes to judge how much water is on your brush, how wet the paper should be, and when to step back and let the wash do its thing. Keep practising, stay patient with yourself, and remember that every wash, even the messy ones, teaches you something. Before long, those clean, soft edges will start showing up without you even thinking about them.
If you are interested in learning to paint in watercolour, I have hundreds of online, voiced over watercolour tutorials for all skill levels.


