Painting Simple Watercolour Christmas Cards
Two Festive Mini Christmas Watercolour Paintings Projects Using Just Two Colours
As the holiday season approaches, I love going back to small, calming projects. The ones that need only a few materials but still leave you with something beautiful and personal to give away, like your own watercolour Christmas cards. Even if you are short on time right up until Christmas, these cards are so quick to paint that you can make them as a last minute DIY present.
In today’s blog post, I’ll show you two Christmas card ideas with a lovely Christmas theme as an inspiration.
Here's how to paint two easy watercolour Christmas cards:
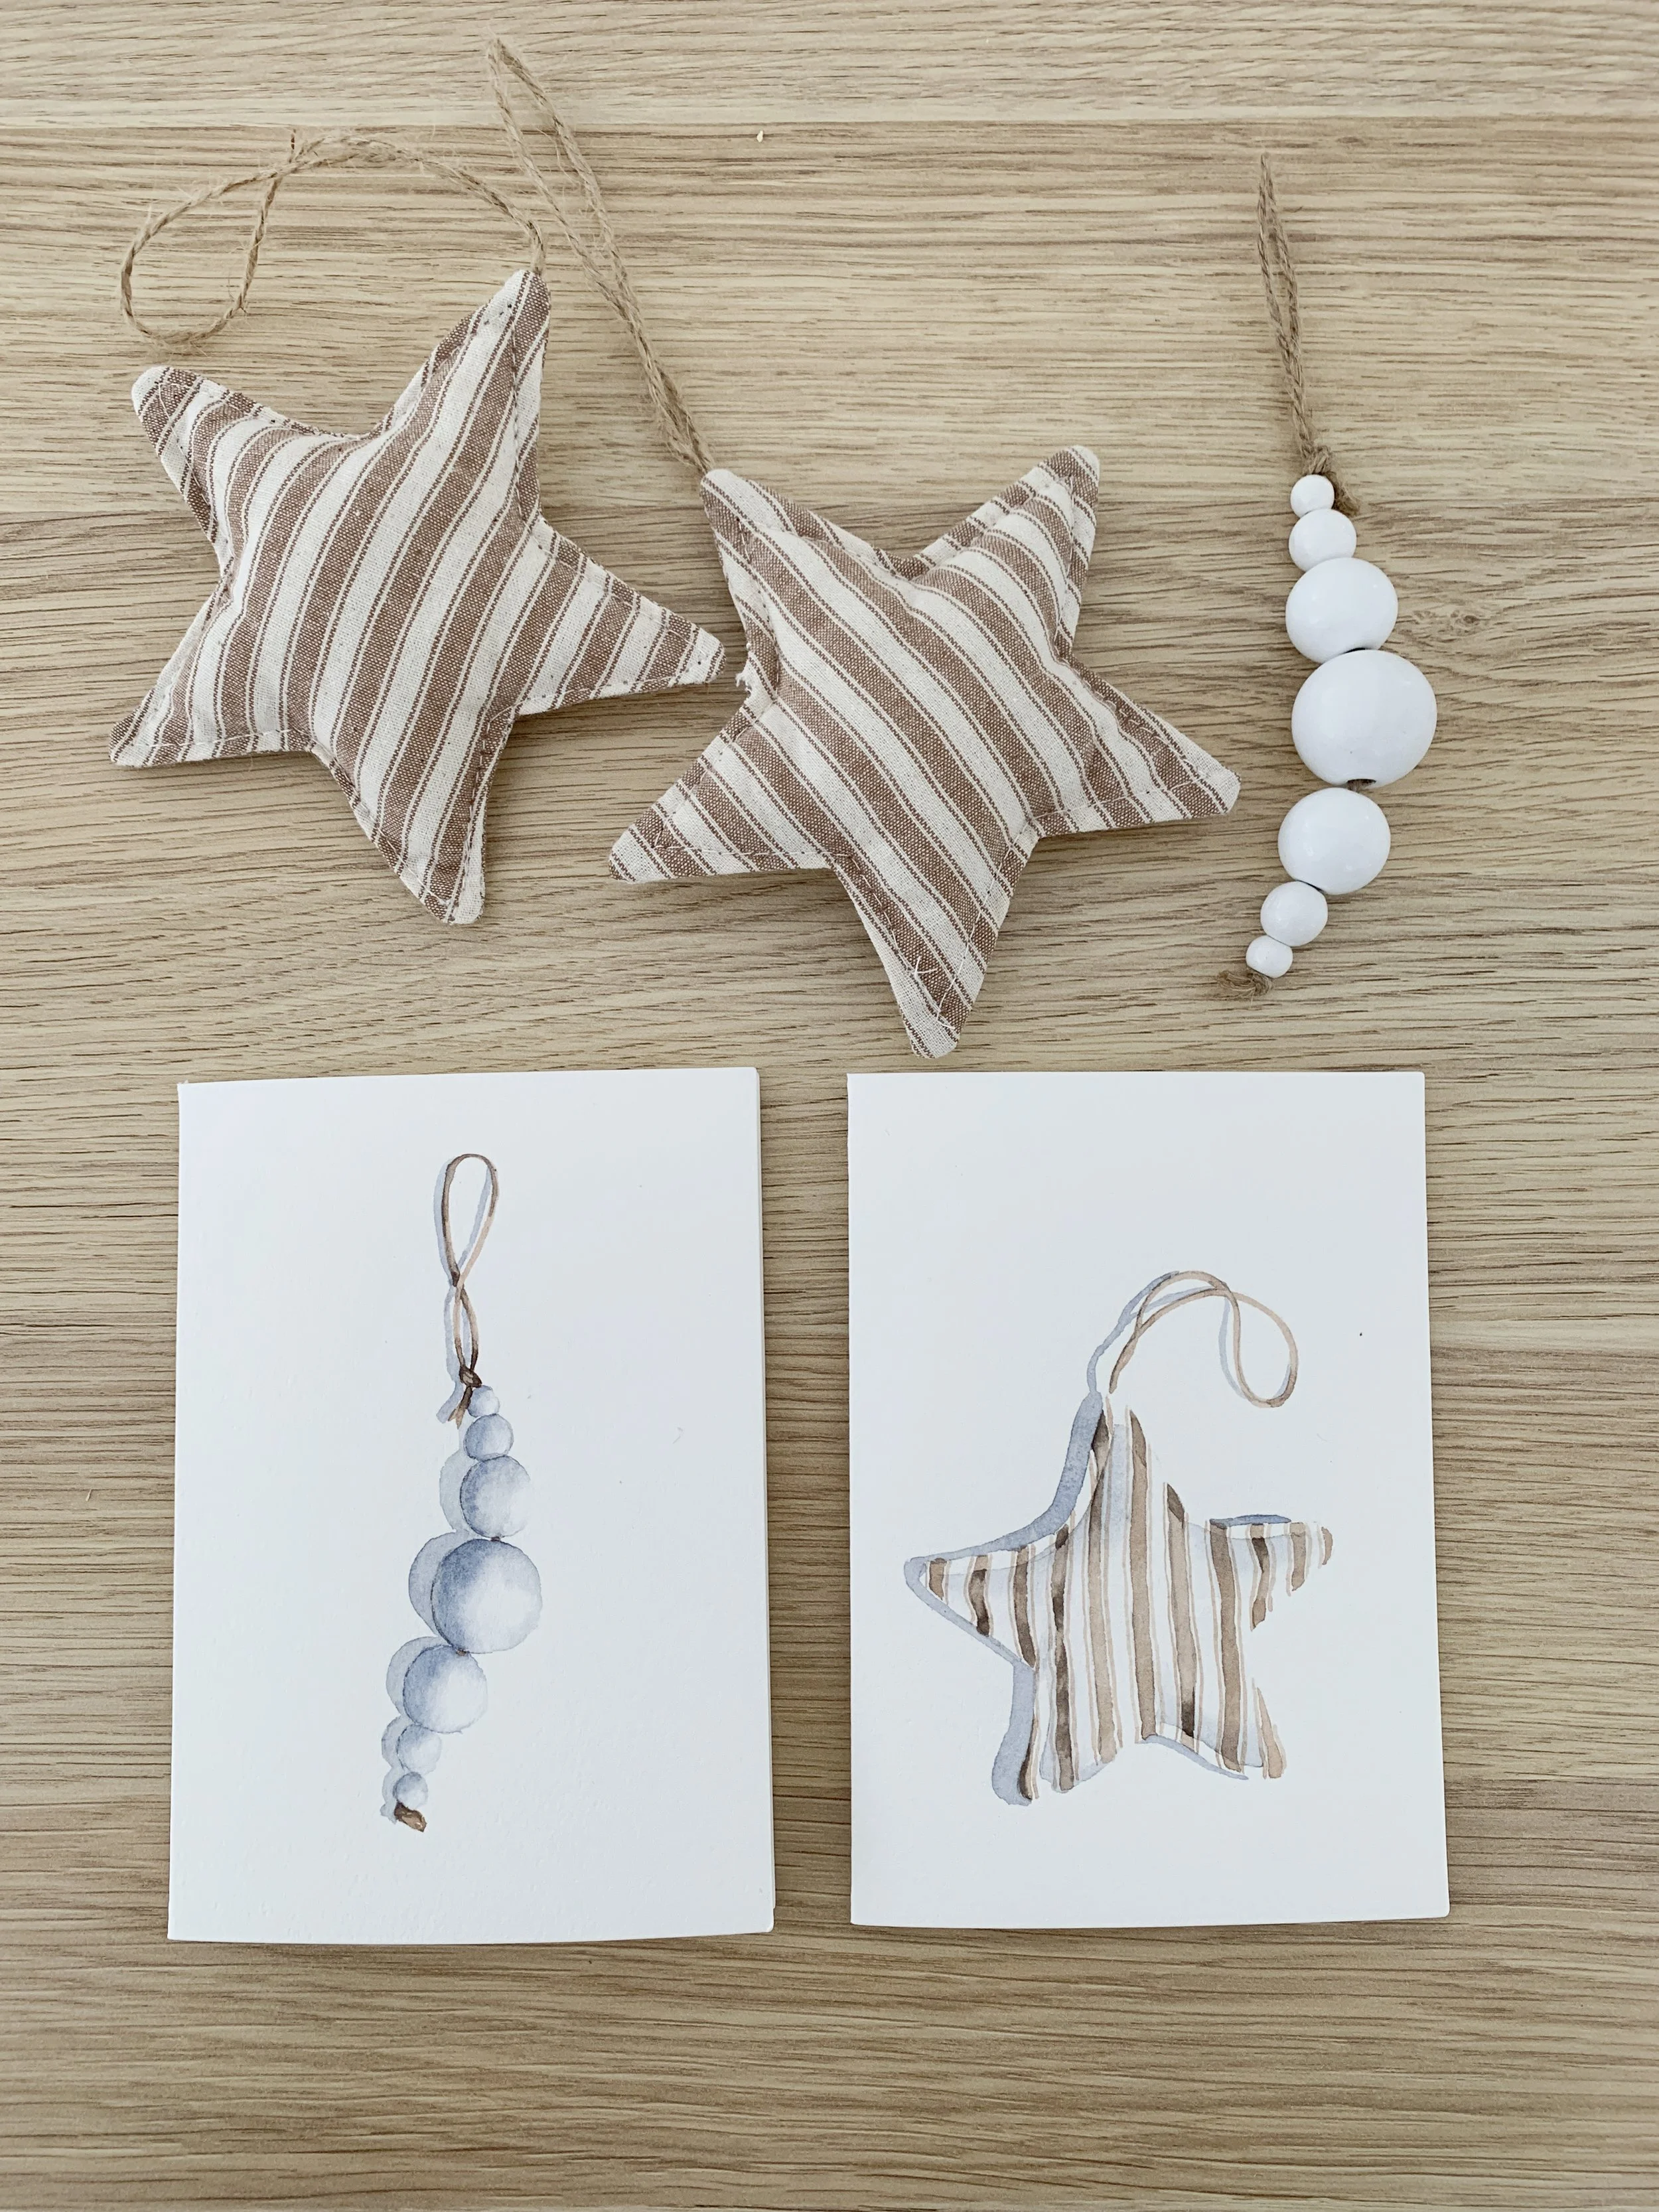
a soft, striped star ornament and a string of wooden beads.
Both pieces use a very limited palette of only Burnt Sienna and French Ultramarine Blue on Etchr 100% cotton greeting cards. The burnt sienna and french ultramarine combined result in my favourite grey mix to use. Feel free to use your own mix of grey, light and dark brown!
These cards are quick, gentle, and relaxing to paint. They’re also wonderful for practising:
control of water and pigment,
wet on wet technique
creating soft edges,
mixing neutrals,
and adding subtle, natural shadows.
You won't need any masking fluid for these cards, which is always a win in my book.
Materials I Used for these Christmas Watercolour Paintings
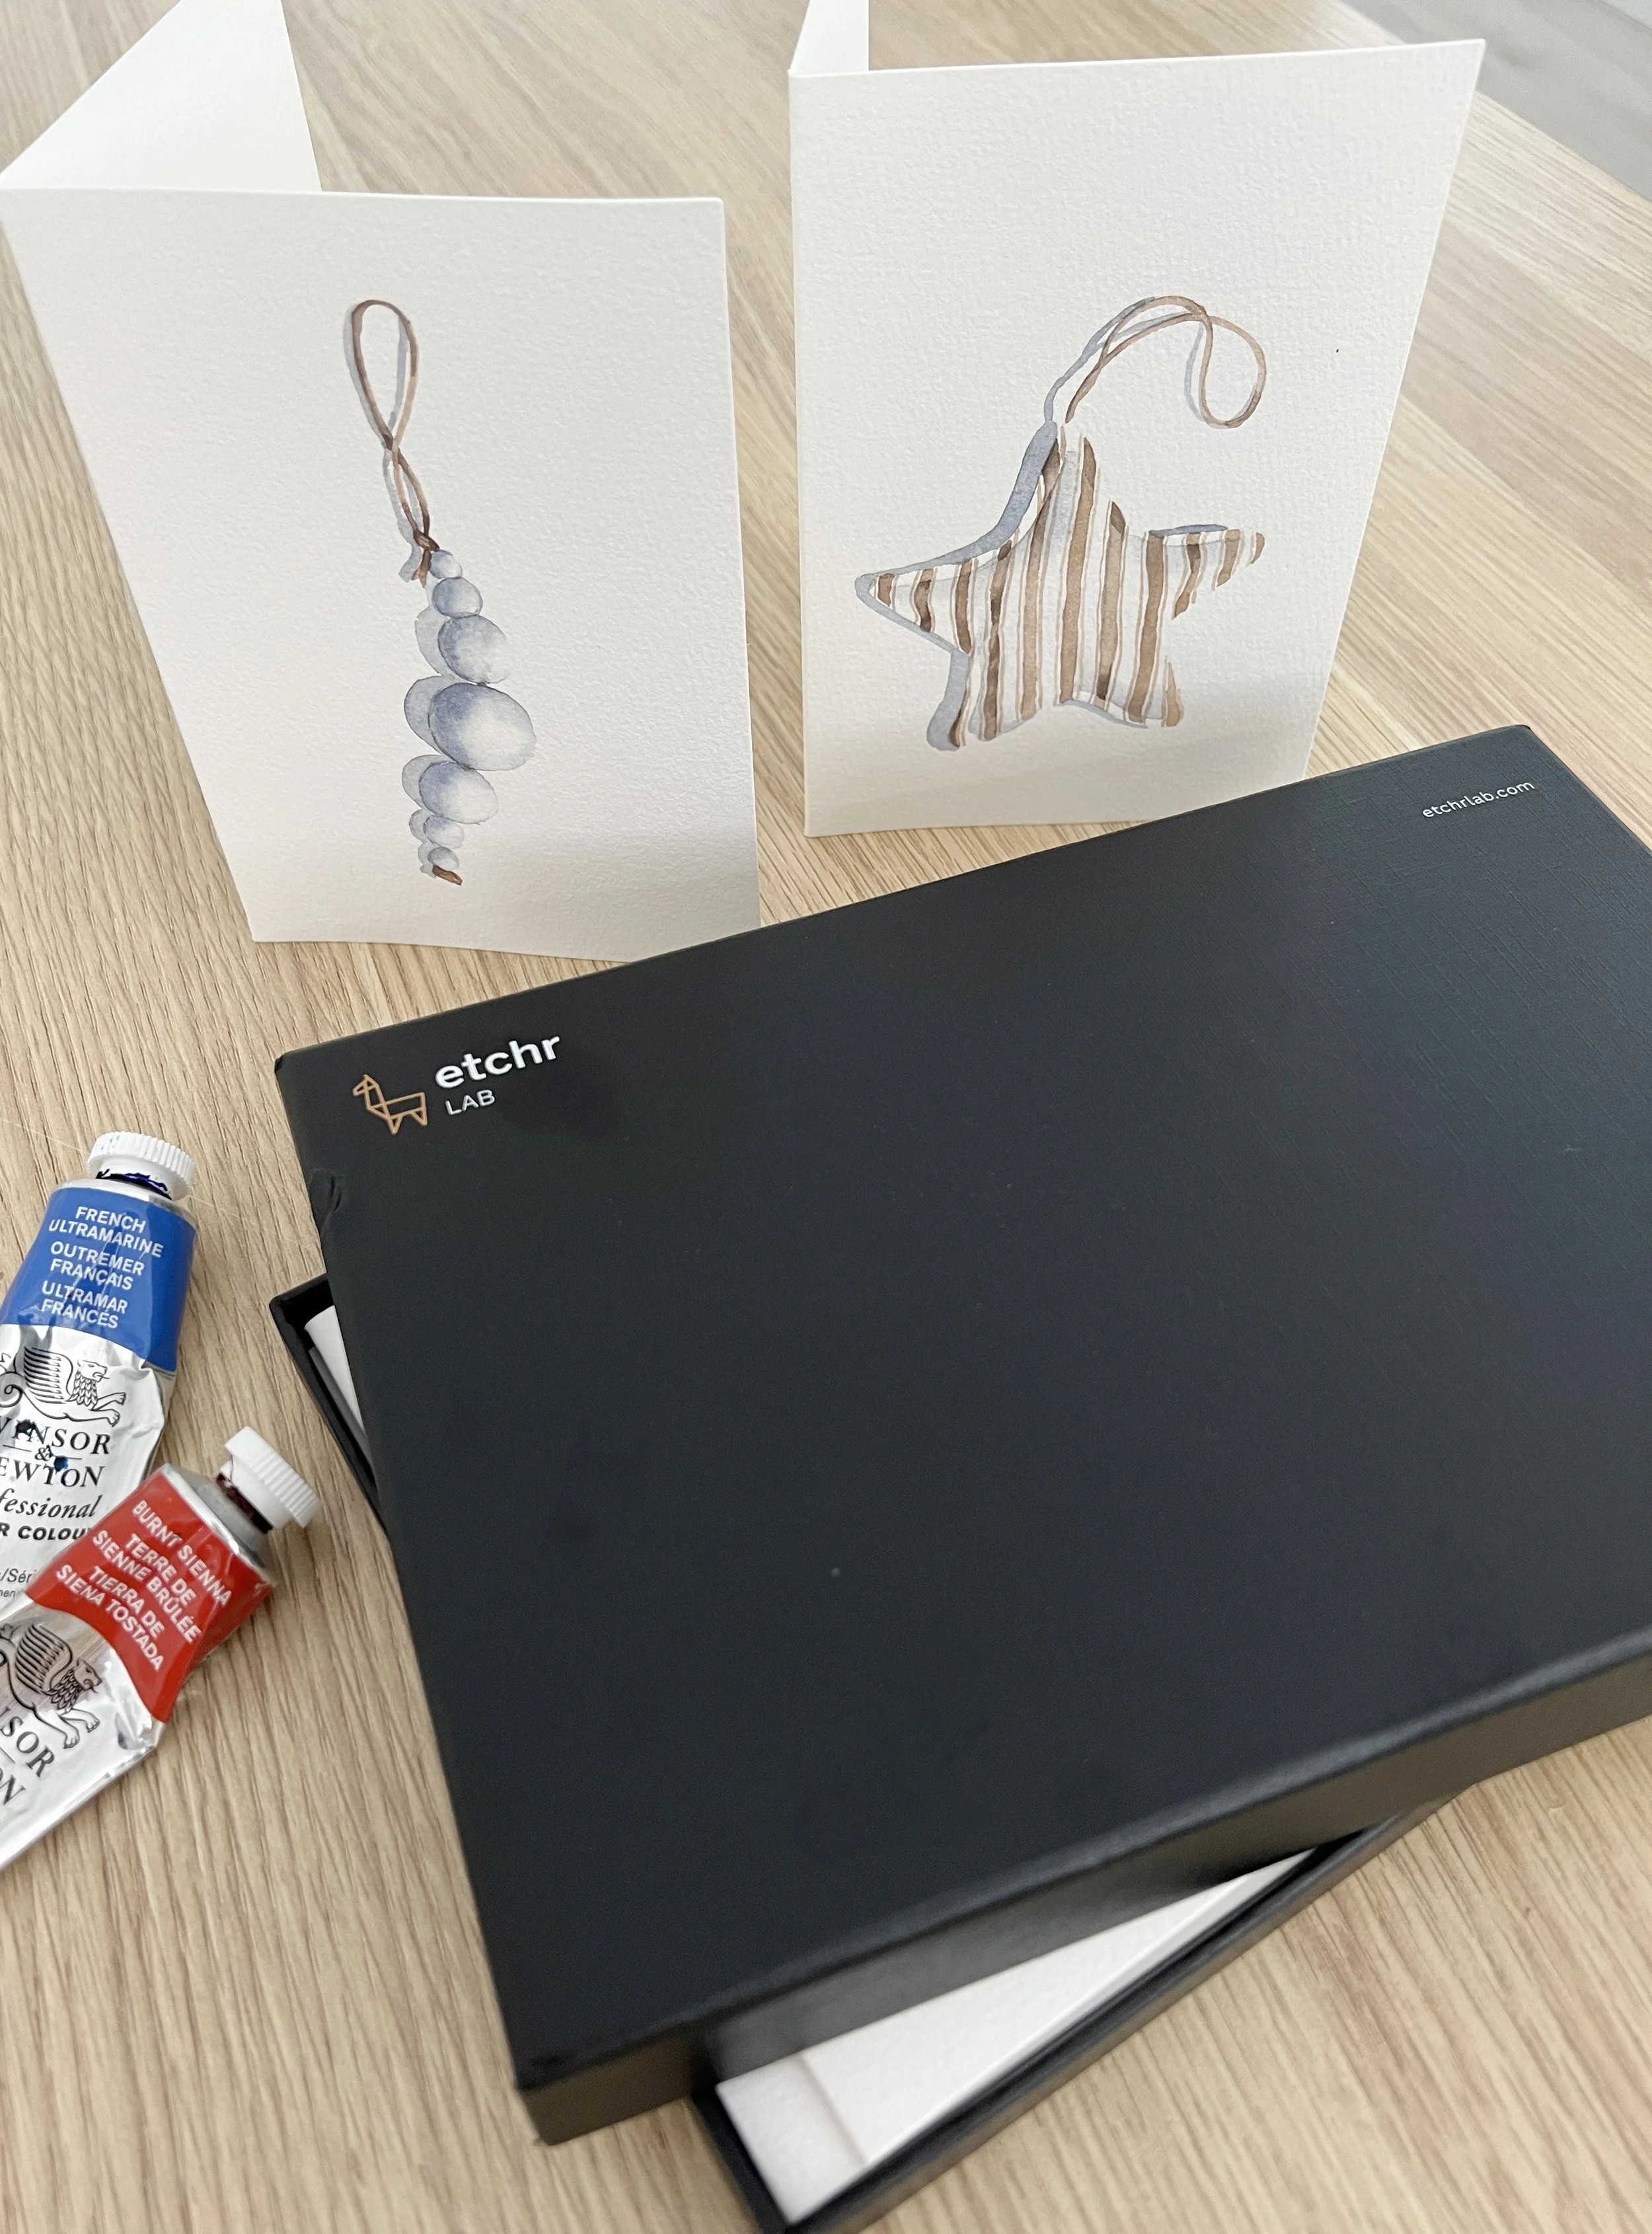
Etchr cold-pressed greeting cards (100% cotton, 300 gsm)
Card fronts measure 10.5 × 15 cm. Any other watercolour paper will do as well.
Burnt Sienna
French Ultramarine
Round brushes: No. 3 and a tiny detail (Zero) brush
Water container and paper towel
Pencil and eraser
Hairdryer (optional but helpful)
Card 1: Painting the Striped Star Ornament
1. Drawing and Softening the Edges
For the first watercolour painting, lightly sketch a simple star shape on the front of your card. Keep your pencil marks soft so you can barely see them. Inside the star, draw a smaller line that runs parallel to the inner edge. This slight little seam gives the star its soft, stuffed fabric look later.
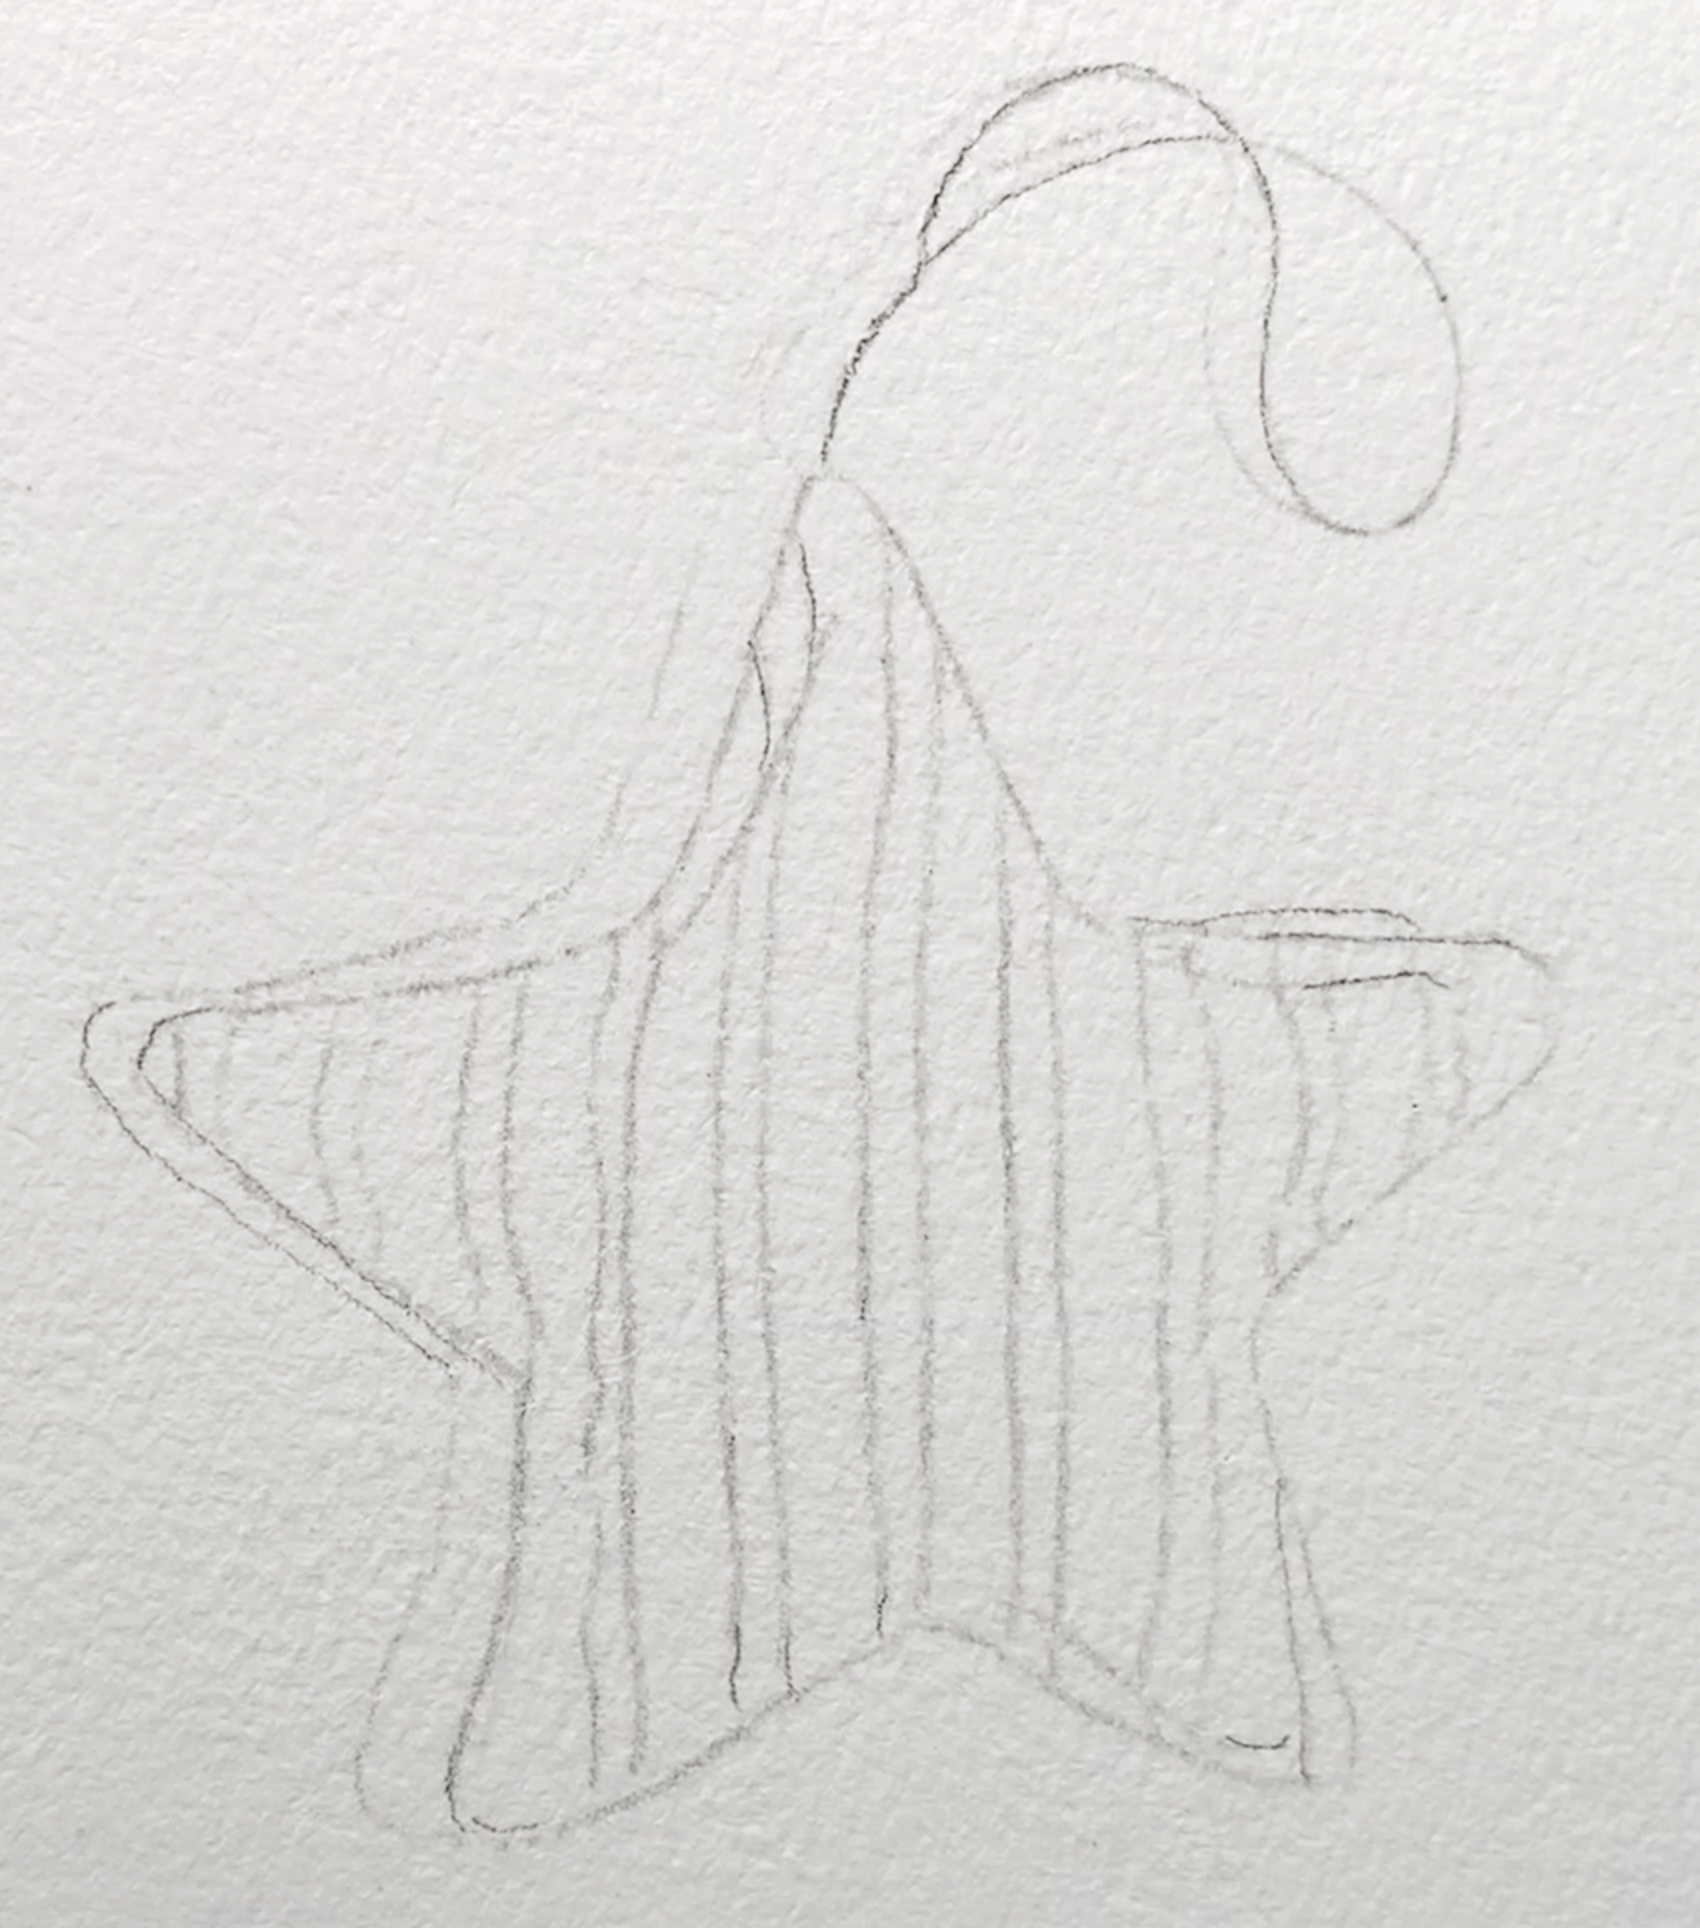
The pencil sketch.
Before painting any colour, prepare your neutral grey:
mix Burnt Sienna and French Ultramarine
add a little more ultramarine to cool the mixture
This grey will be used for all your shadows.
With your No. 3 brush, paint a narrow line of clean water along the seam you sketched. This pre-wet area ensures the shadows stay soft. Then gently touch the grey mixture to the damp paper. You don’t need to push it, the pigment will softly spread on its own.
Move around the star and repeat this step on any place where you want the form to dip inward. Think of where fabric would naturally crease: near the inner angles and along curved edges.
If the grey spreads too far, simply rinse your brush, blot it, and use the slightly damp bristles to pull back or soften the shape.
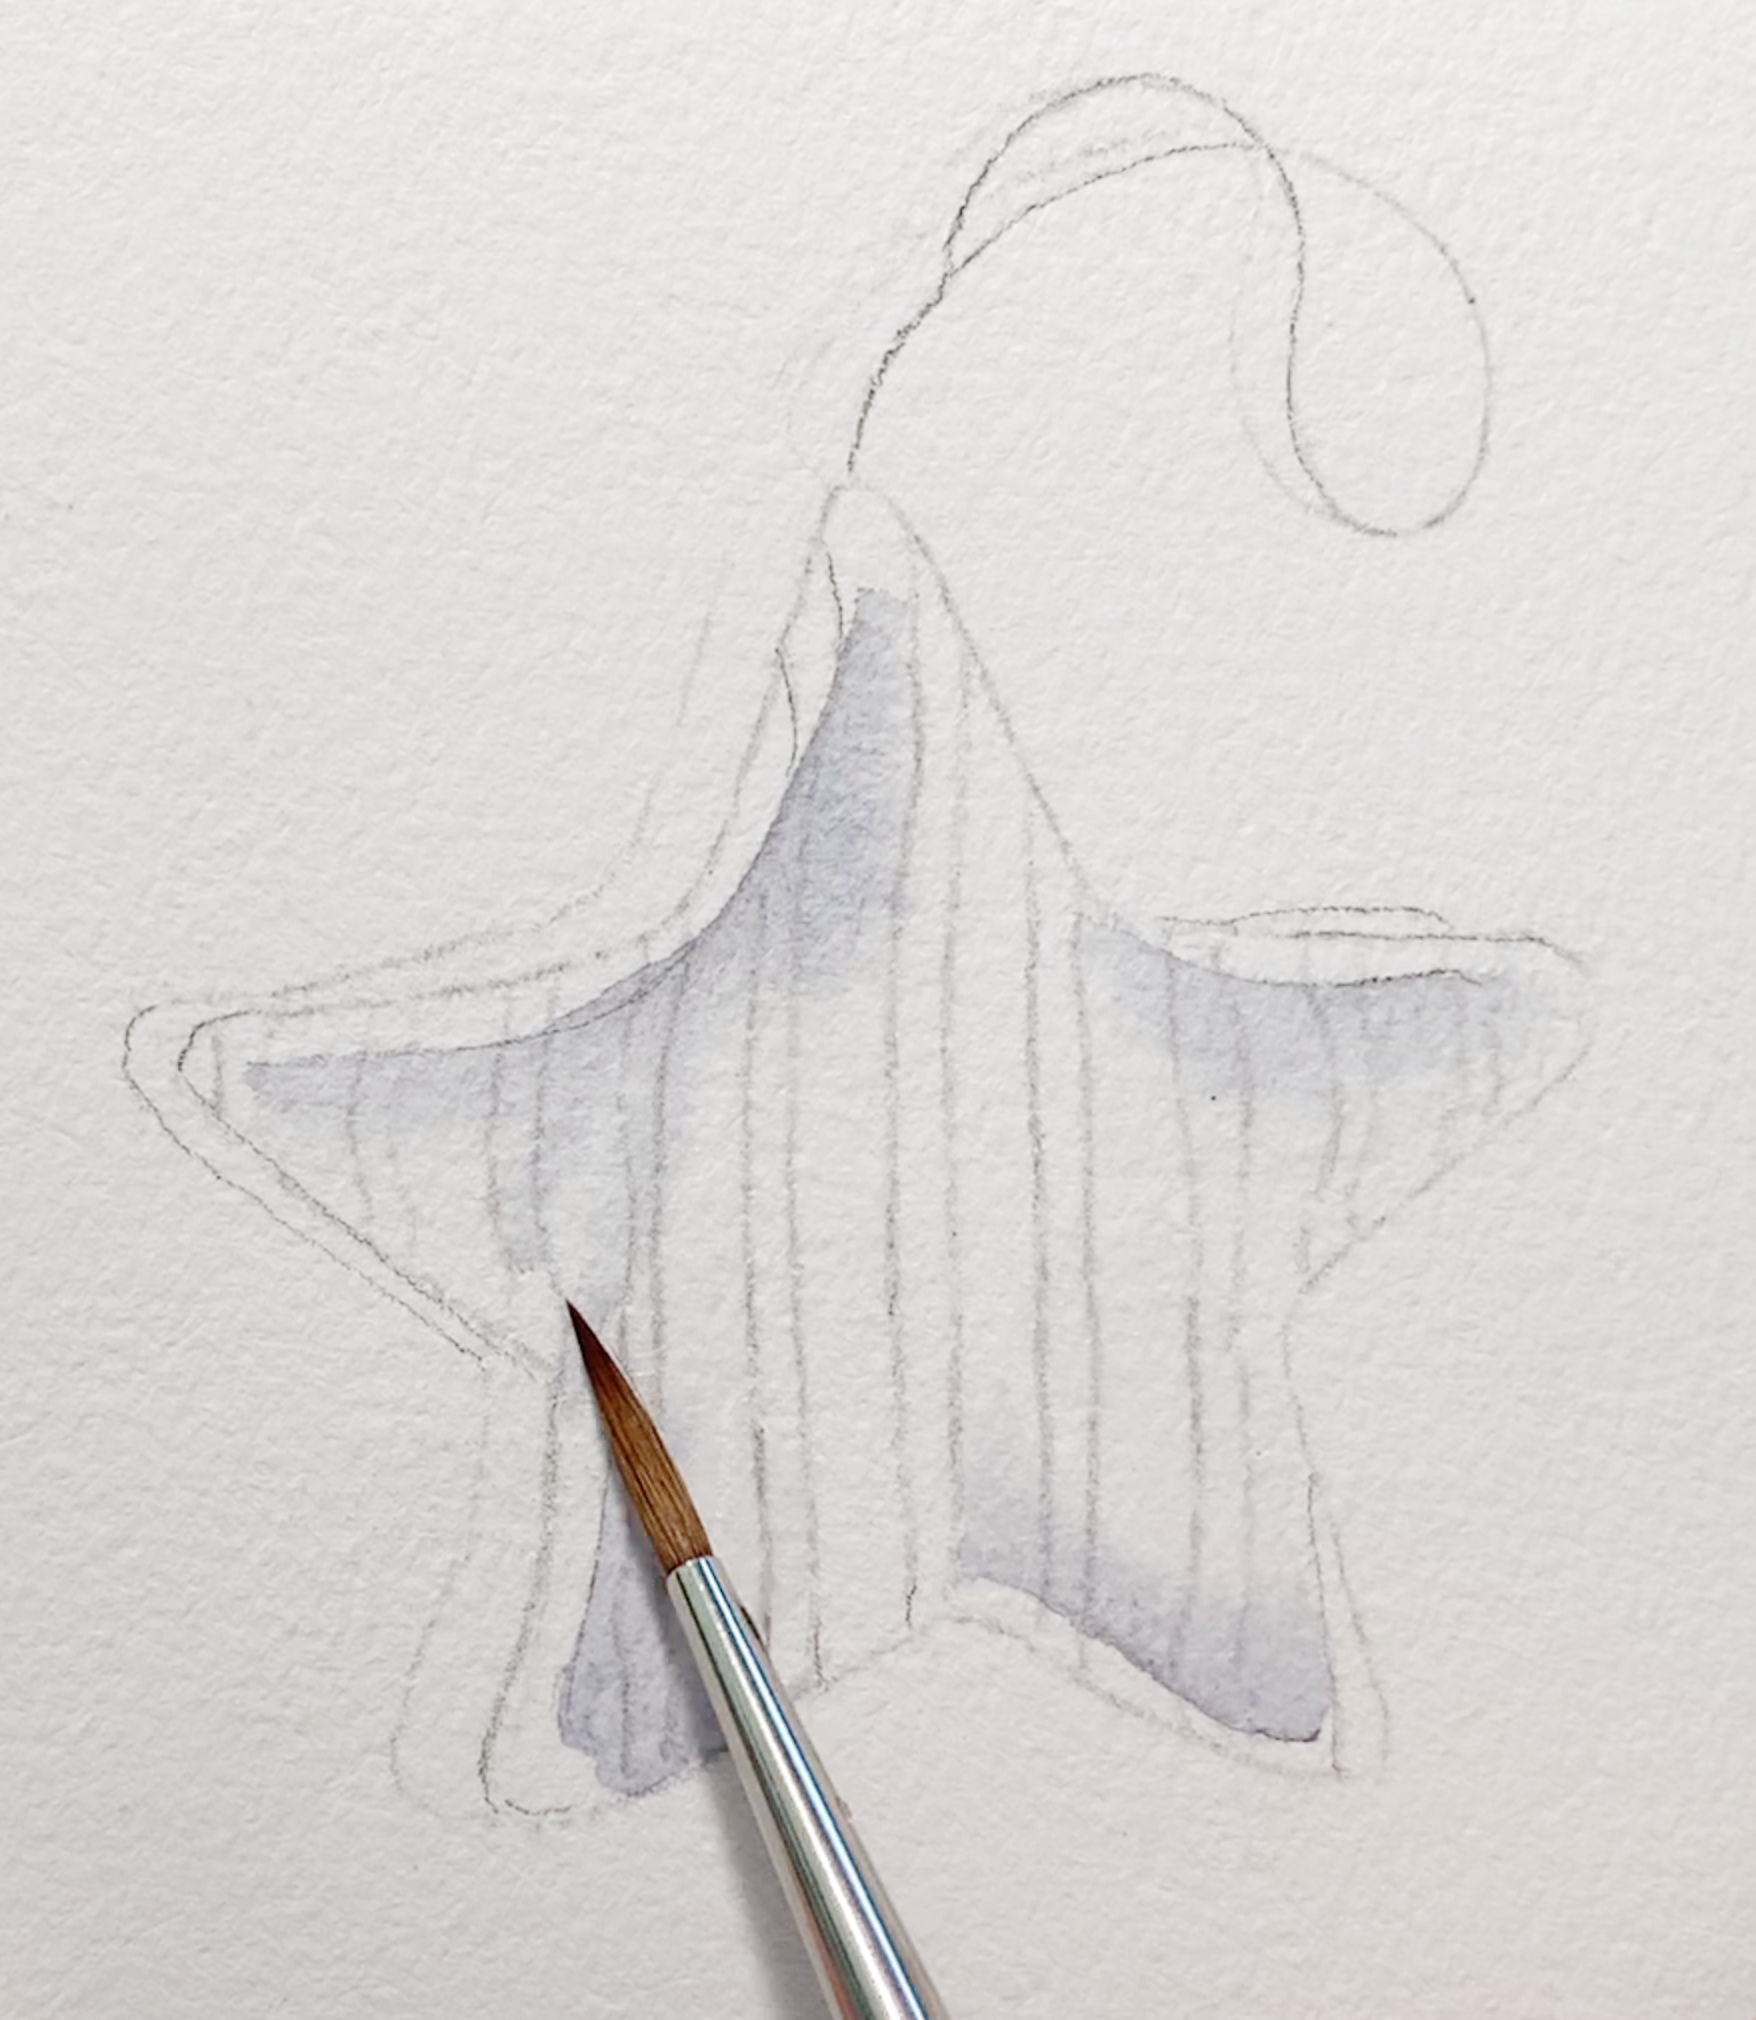
Painting the grey shadows on wet paper.
2. Painting the Brown Stripes
Mix a warm brown by using mostly Burnt Sienna with only a touch of French Ultramarine.
On dry paper, paint:
the small string at the top,
the wide brown stripes across the star.
Painting on dry paper keeps these edges clean and defined, so don’t pre-wet this time.
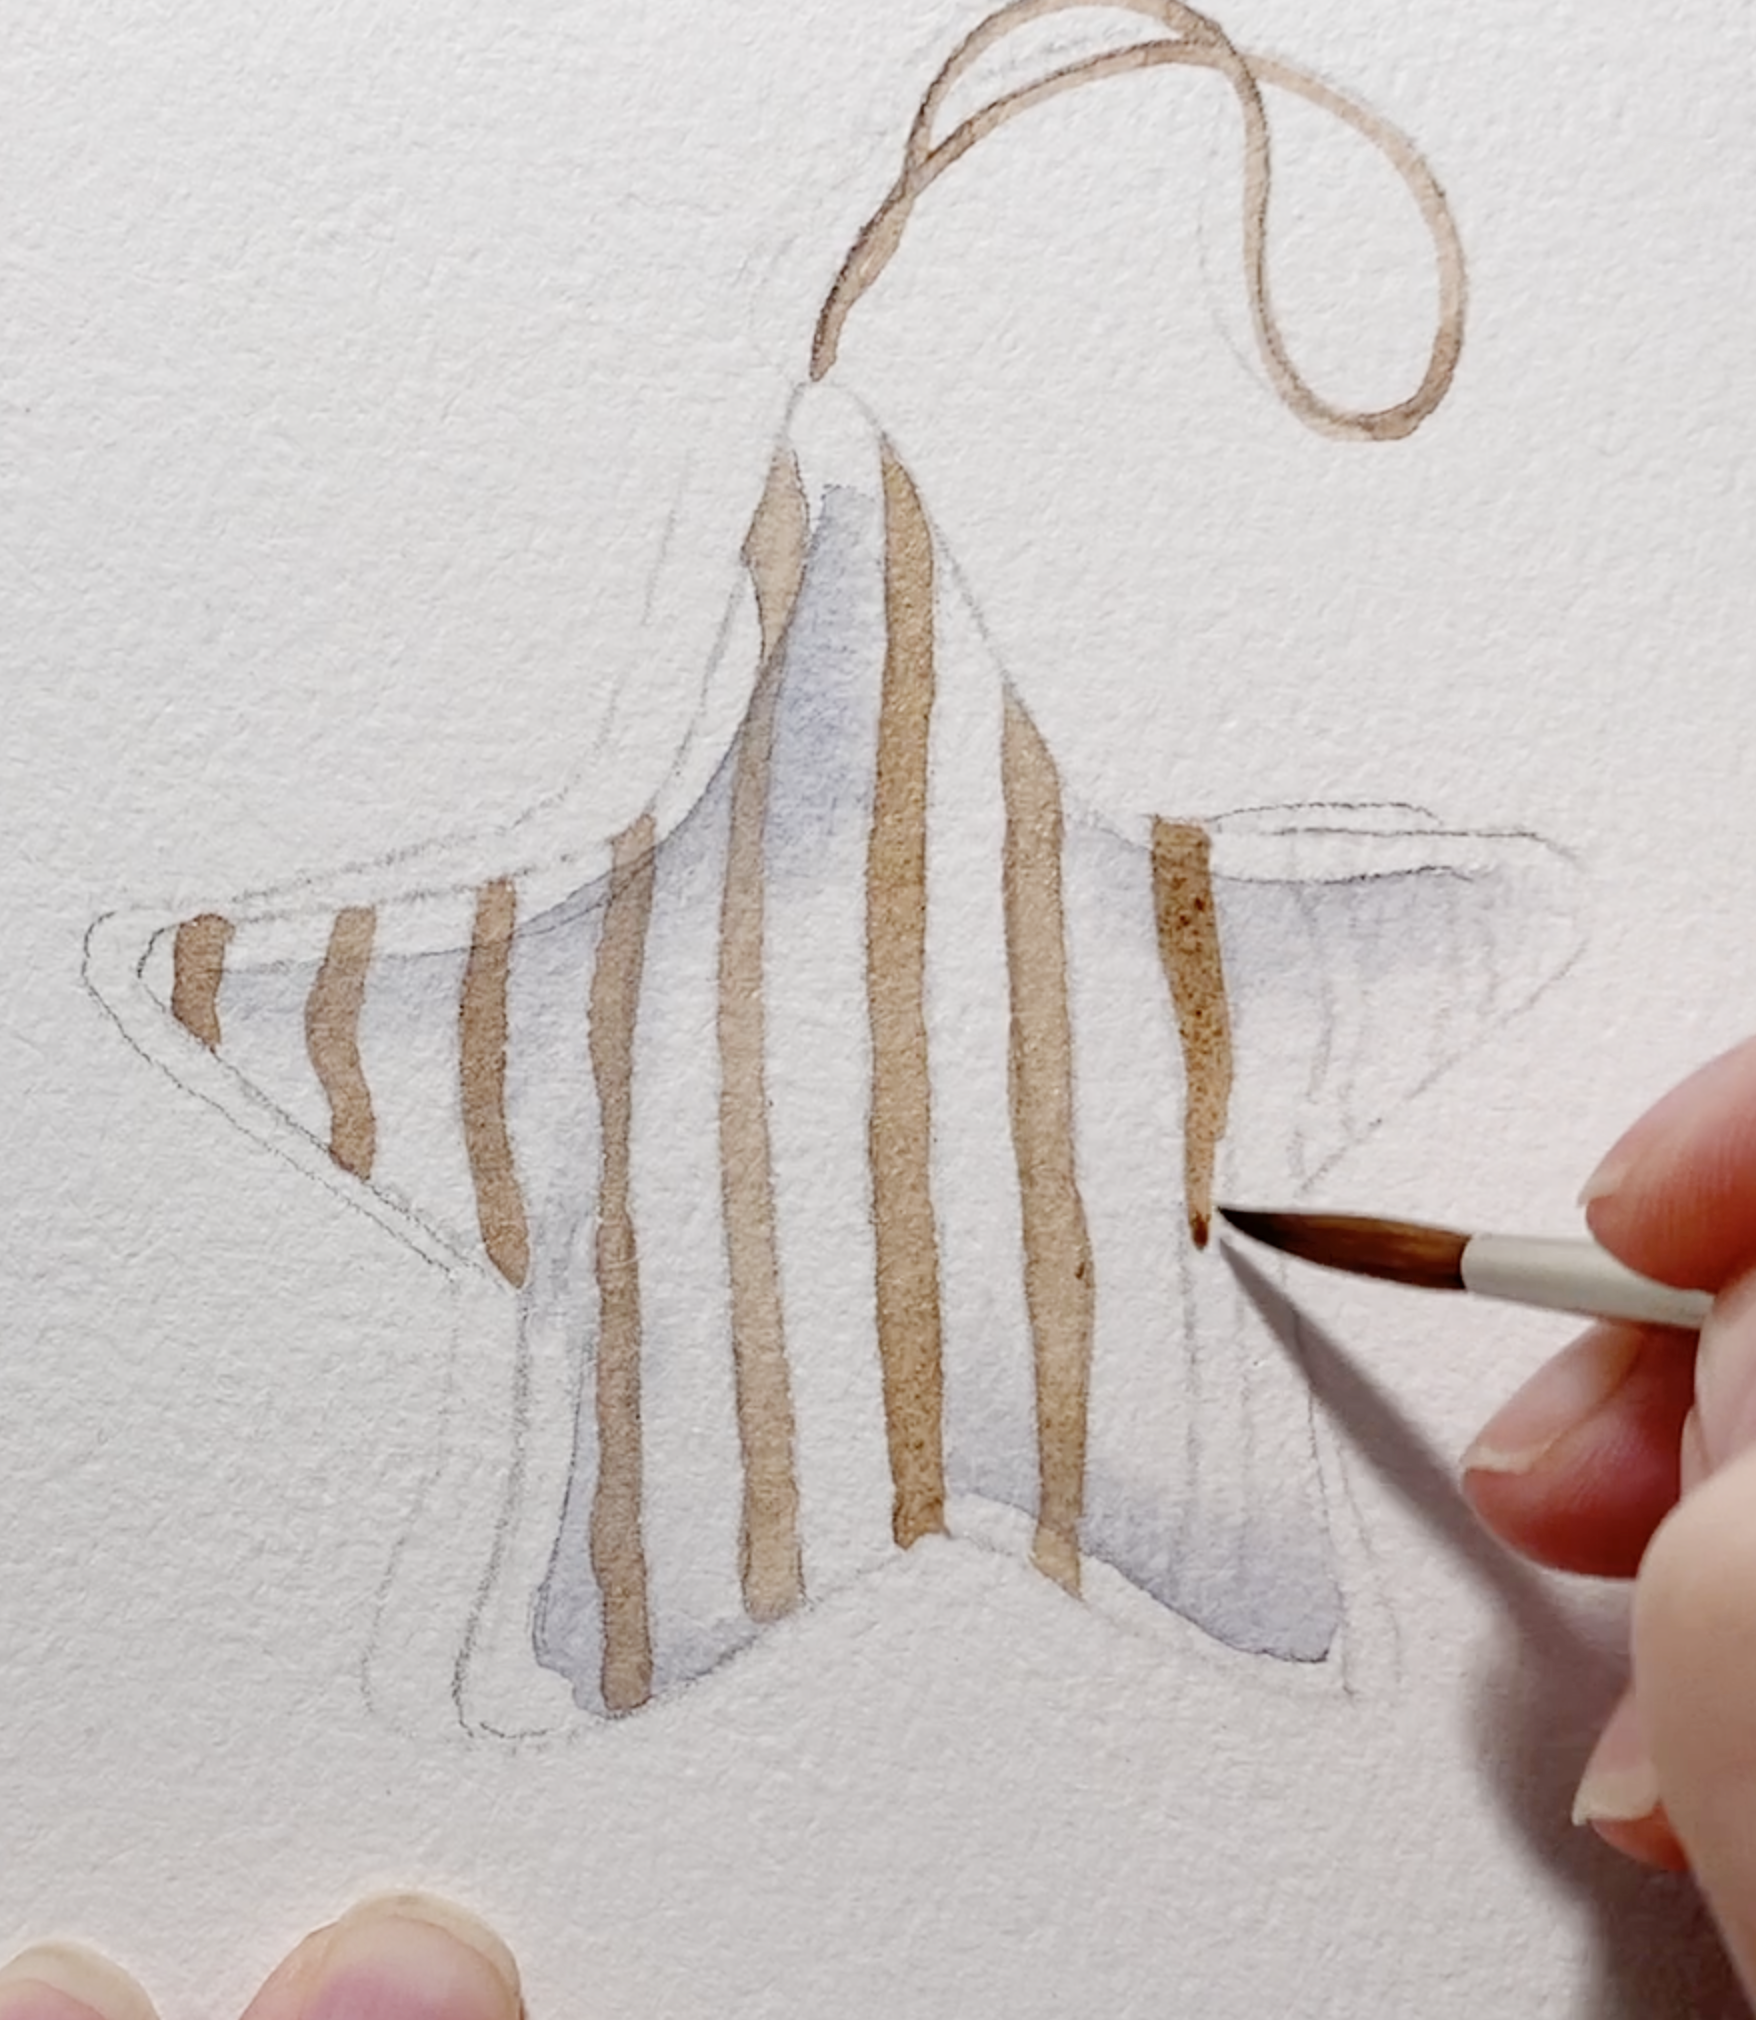
I start by painting simple long brush strokes on dry paper.
3. Deepening the Shadows, Painting the Cast Shadow and Adding the Thin Stripes
When everything is completely dry (you can use a hairdryer), create a darker brown by increasing the pigment load and reducing the water.
This richer mixture is ideal for:
the areas of the star that fold inward,
the deeper parts of the seam,
and the shadowy creases between the stripes.
To achieve soft transitions, very lightly re-wet the area you want to shade and drop the darker colour in while the paper is damp. The result is a gentle gradient that gives the star its padded, three-dimensional feel.
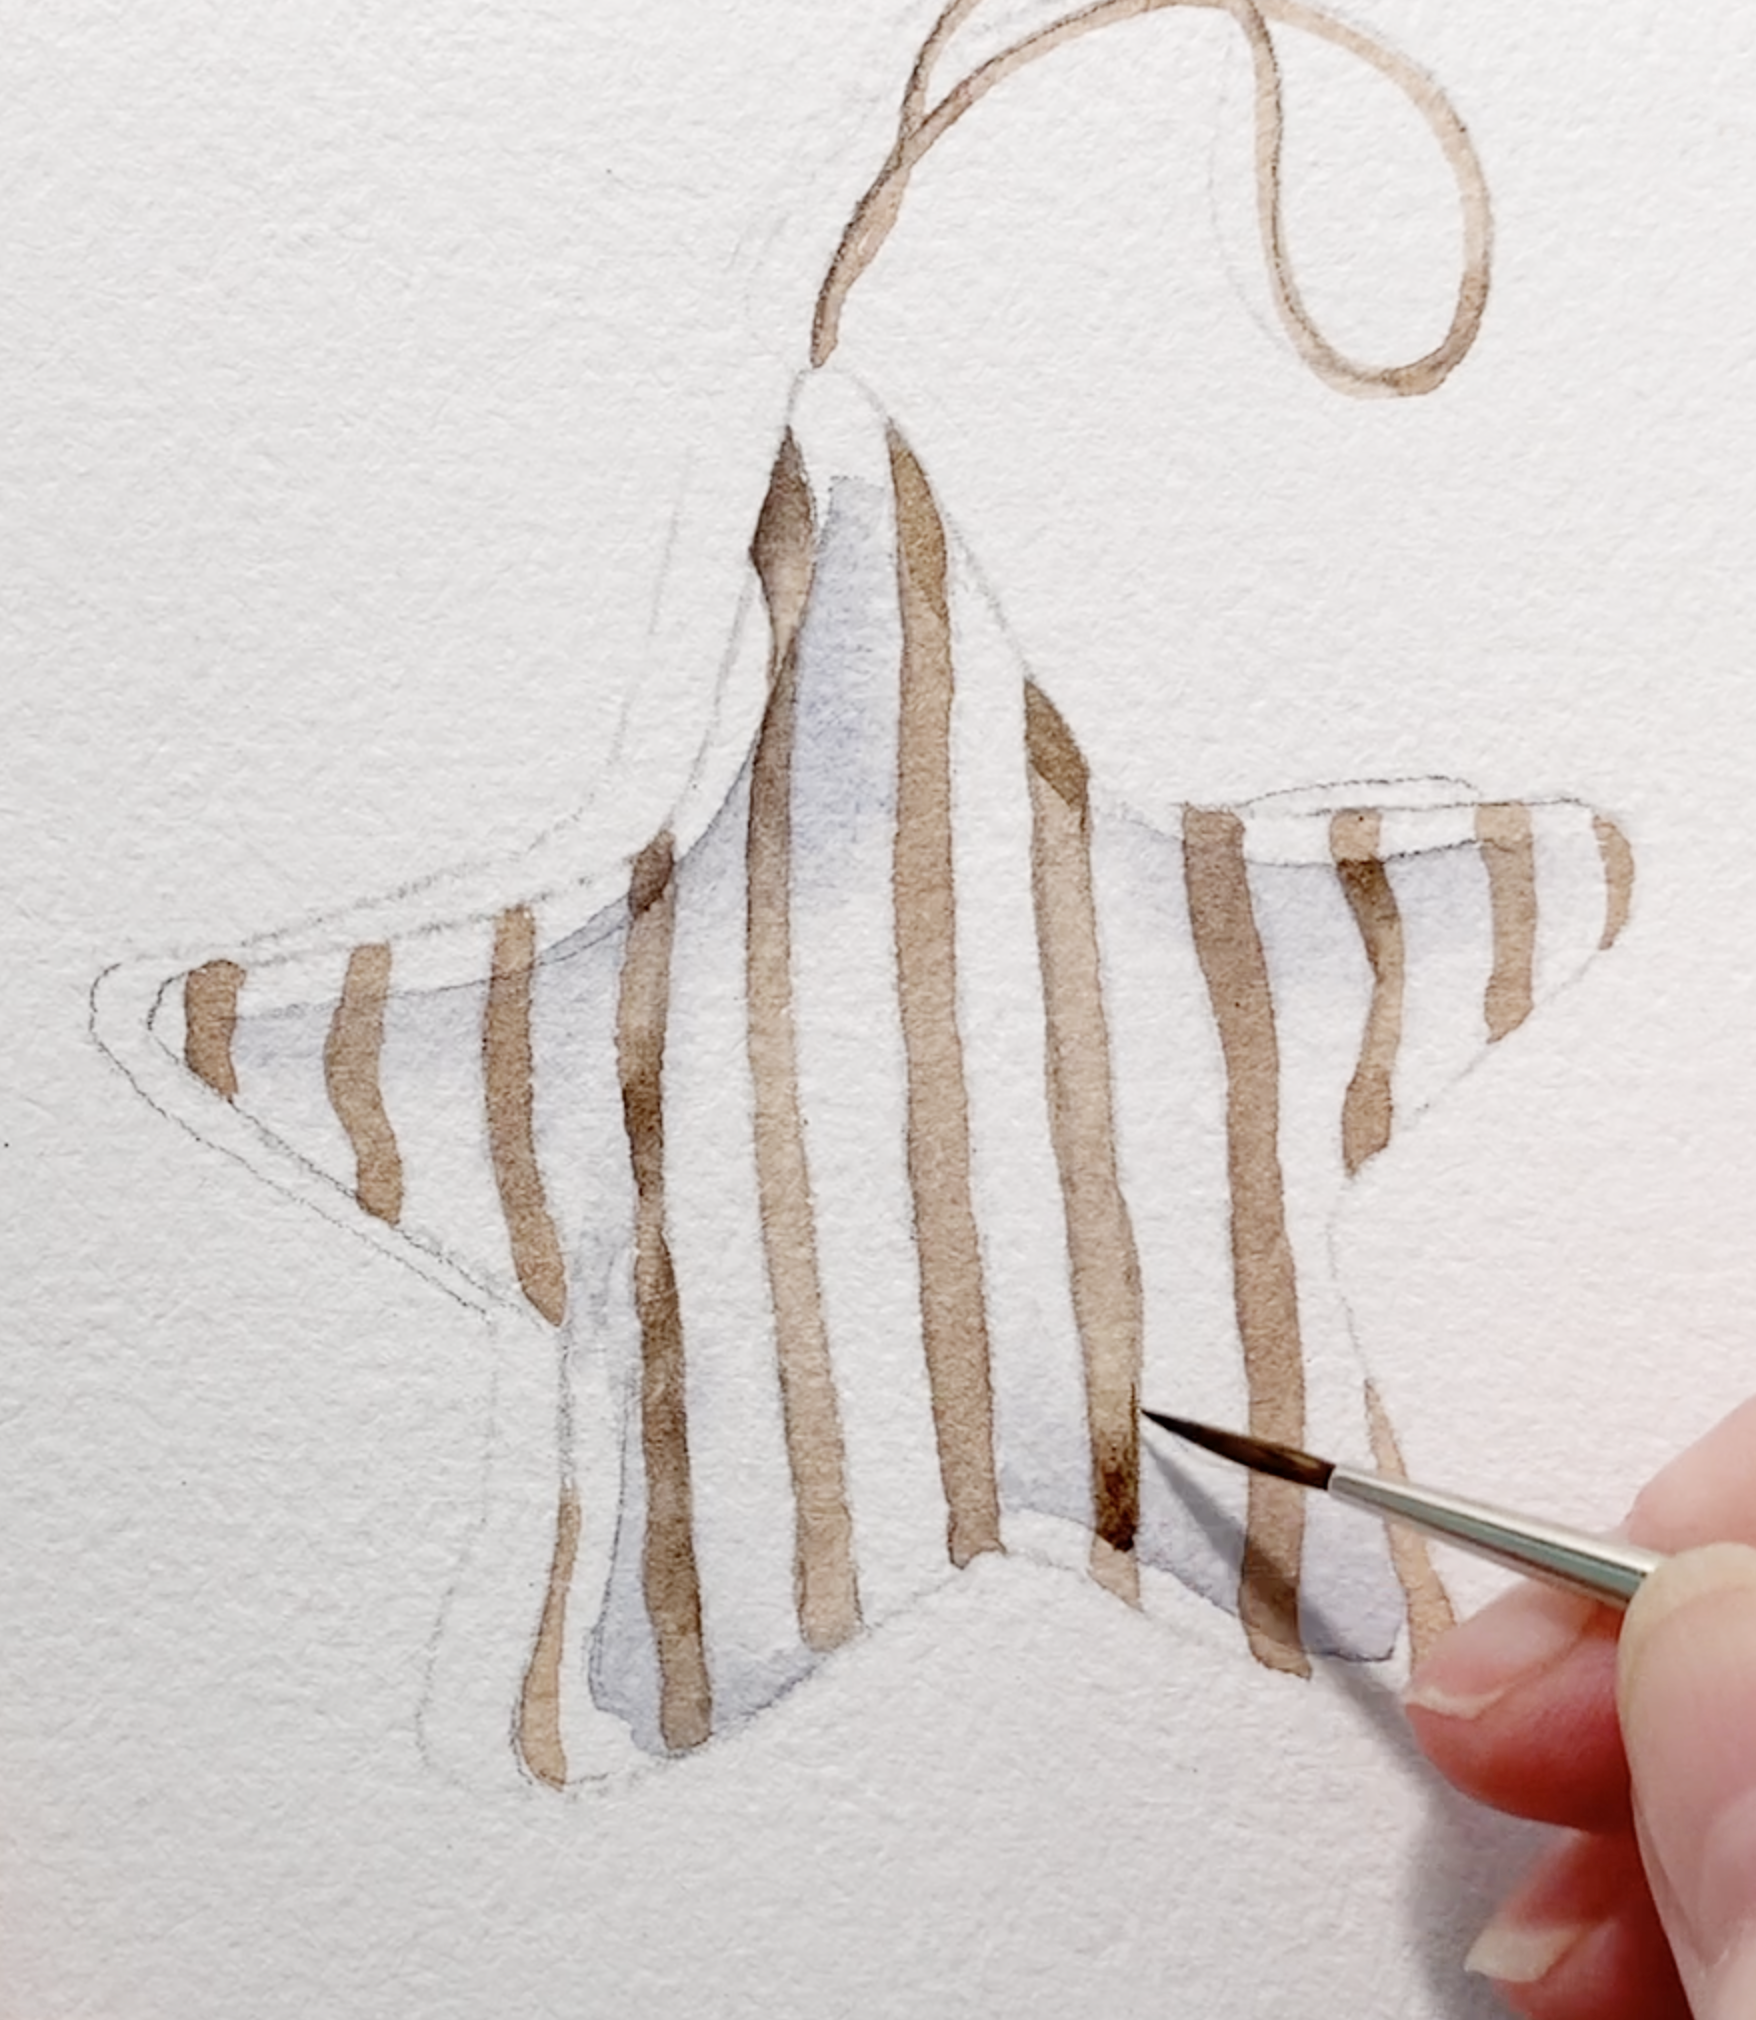
Adding the dark shadow areas on the stripes.
Now return to your original grey mix and paint the cast shadow beneath the star. Keep it soft and subtle, just enough to ground the ornament so it doesn’t appear to float.
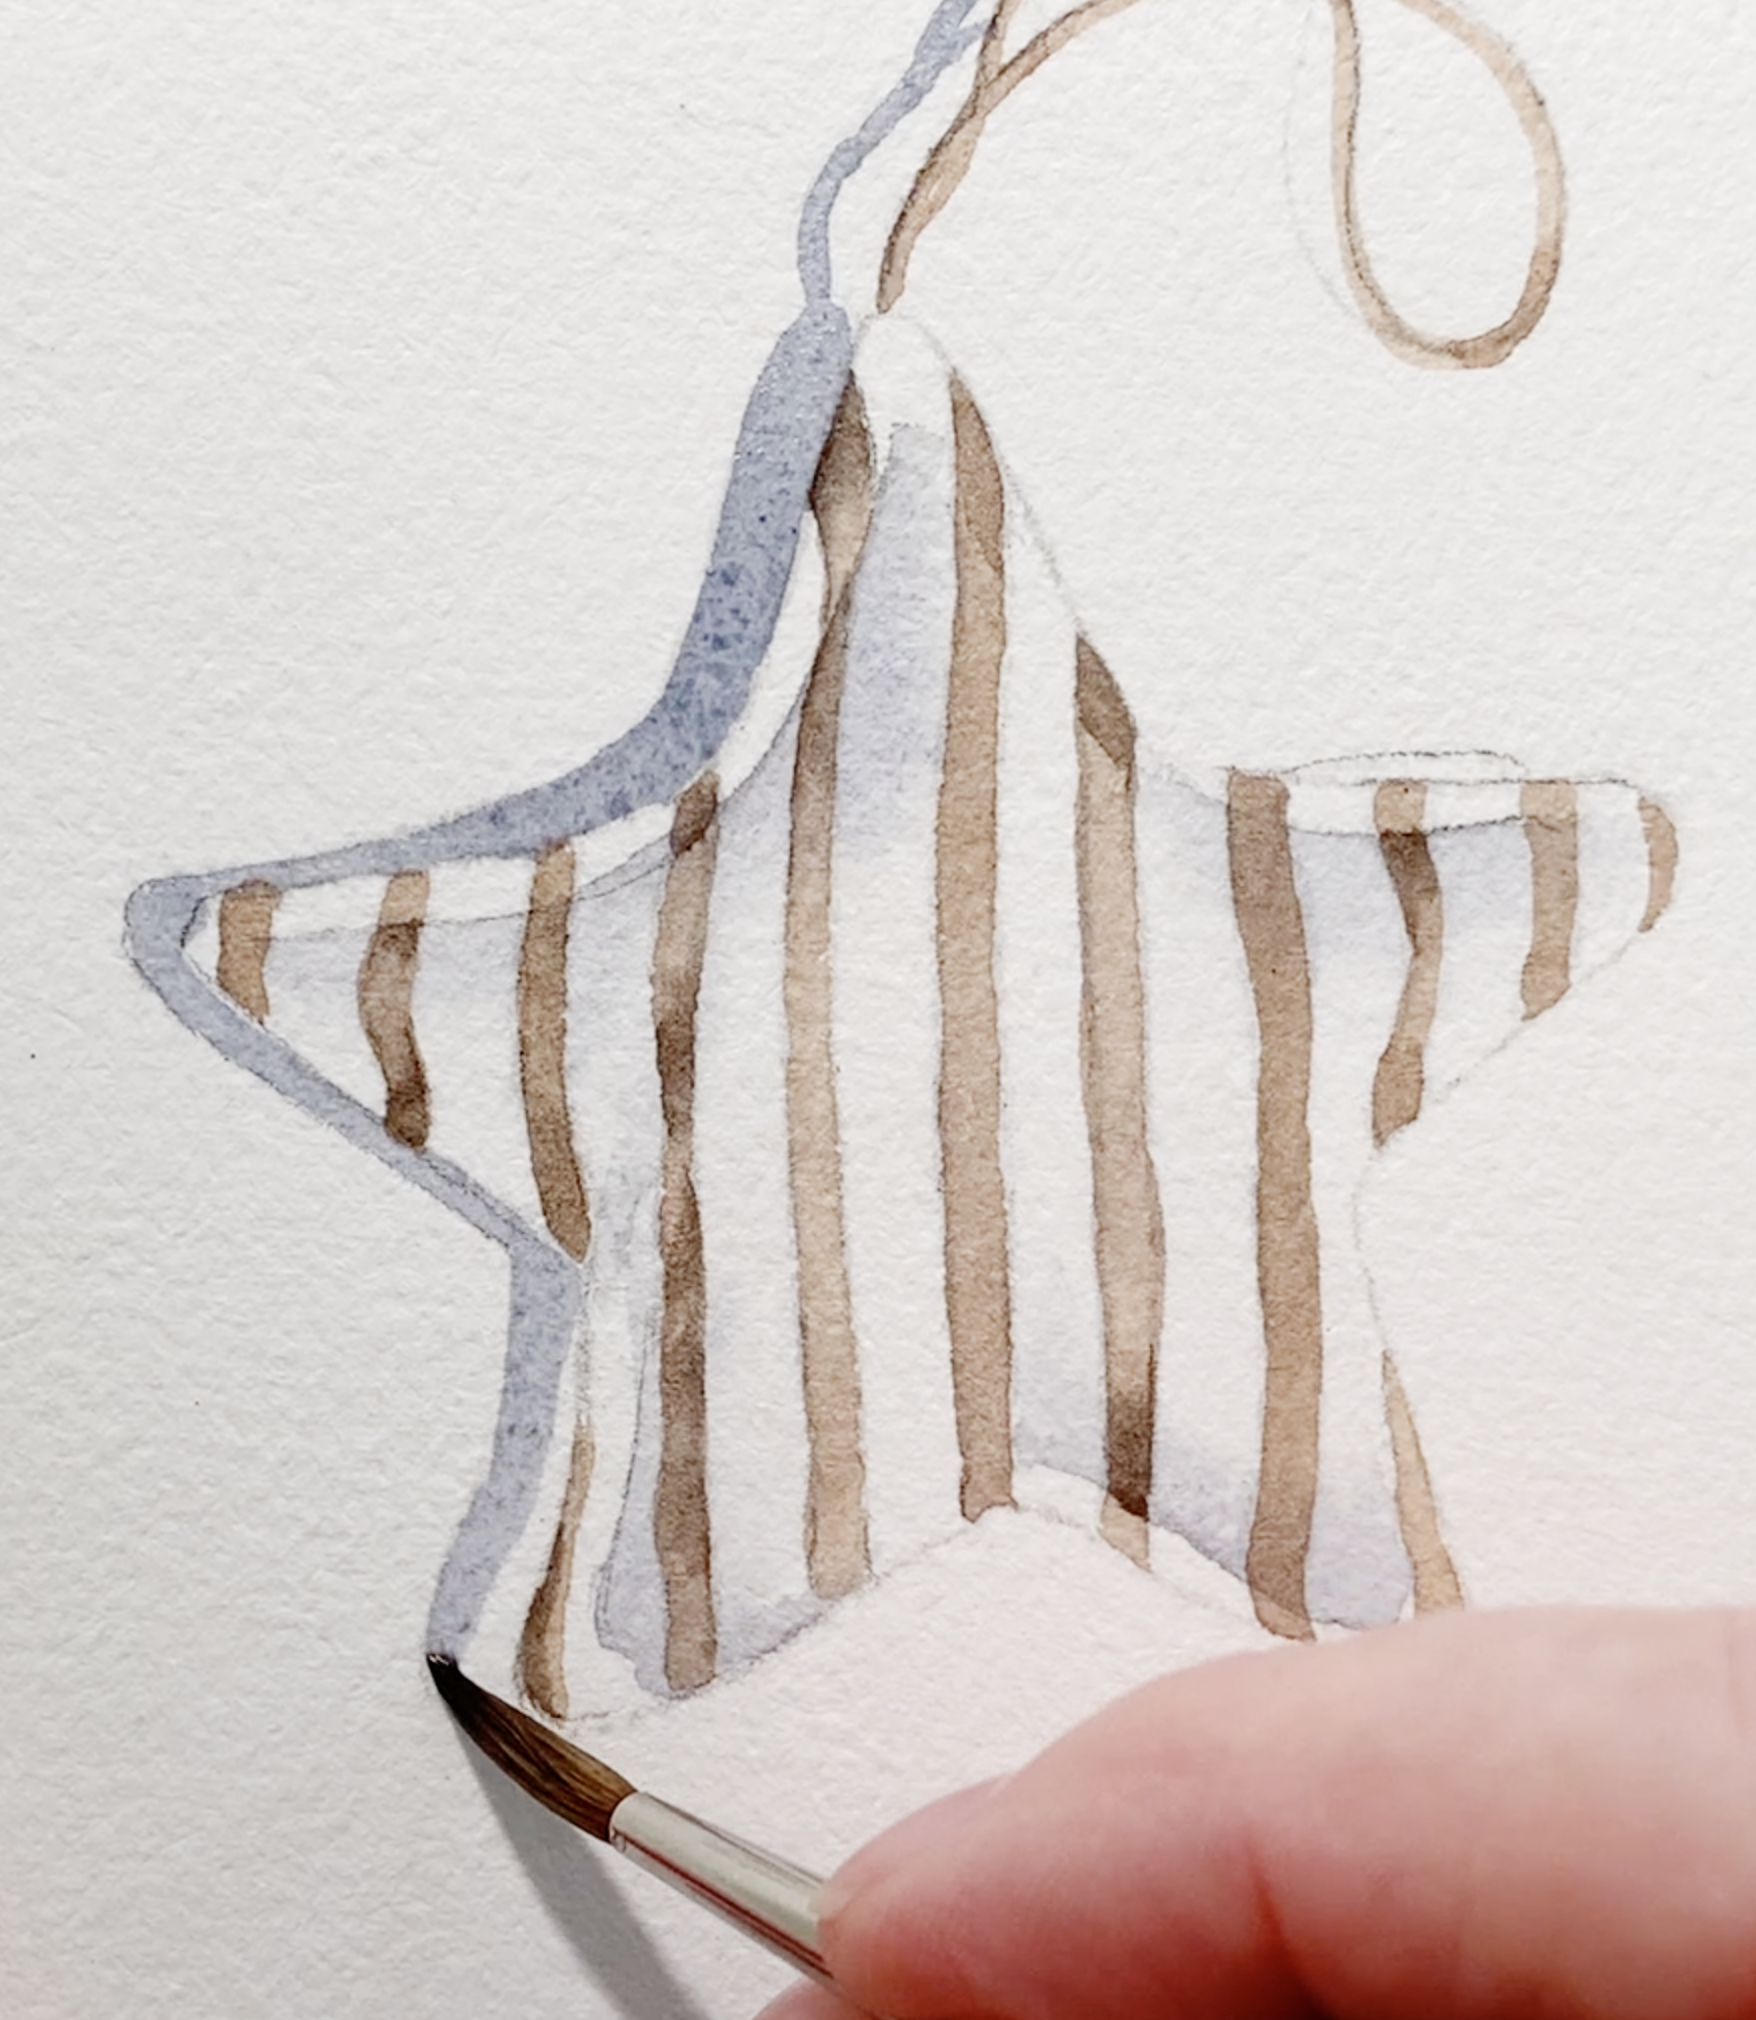
Painting the cast shadow on dry paper.
When everything is dry, erase any faint pencil lines still visible.
With the same brown mix, paint the thin, delicate lines that sit beside each wider stripe. These little details bring the star to life and make the pattern feel intentionally crafted.
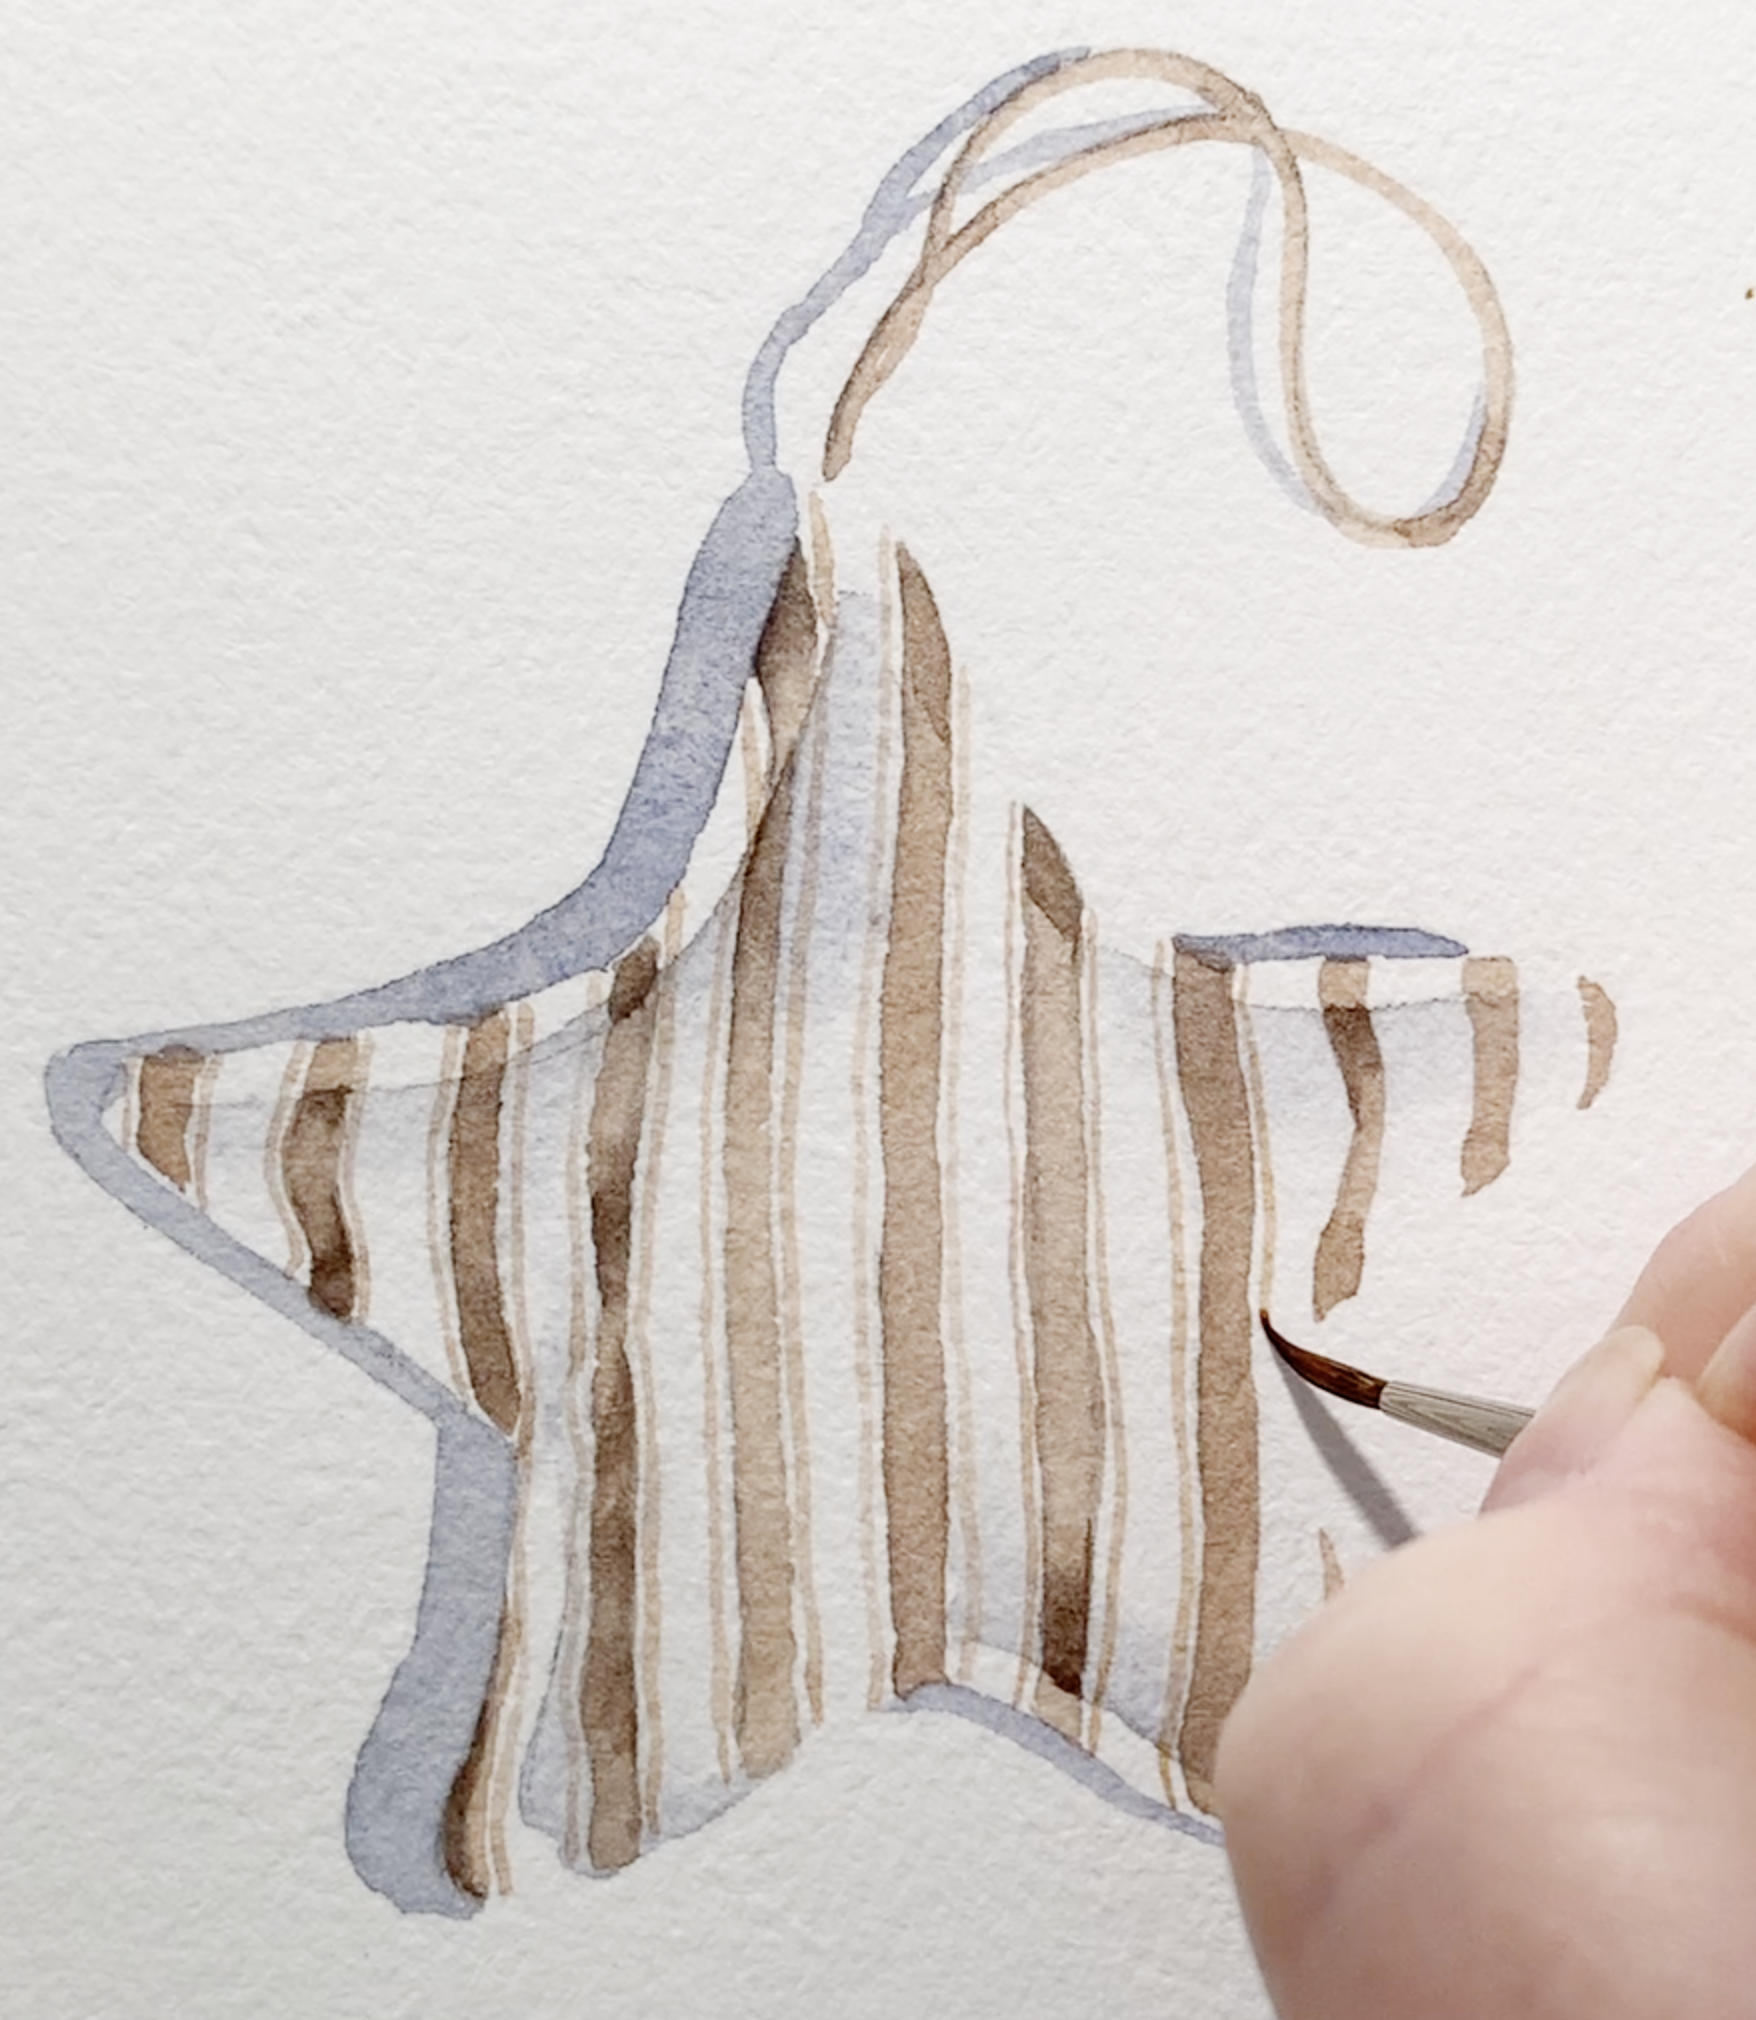
Painting the second, thinner, stripe.
At this point, your striped star card is complete: simple, warm, and delightfully soft-looking.
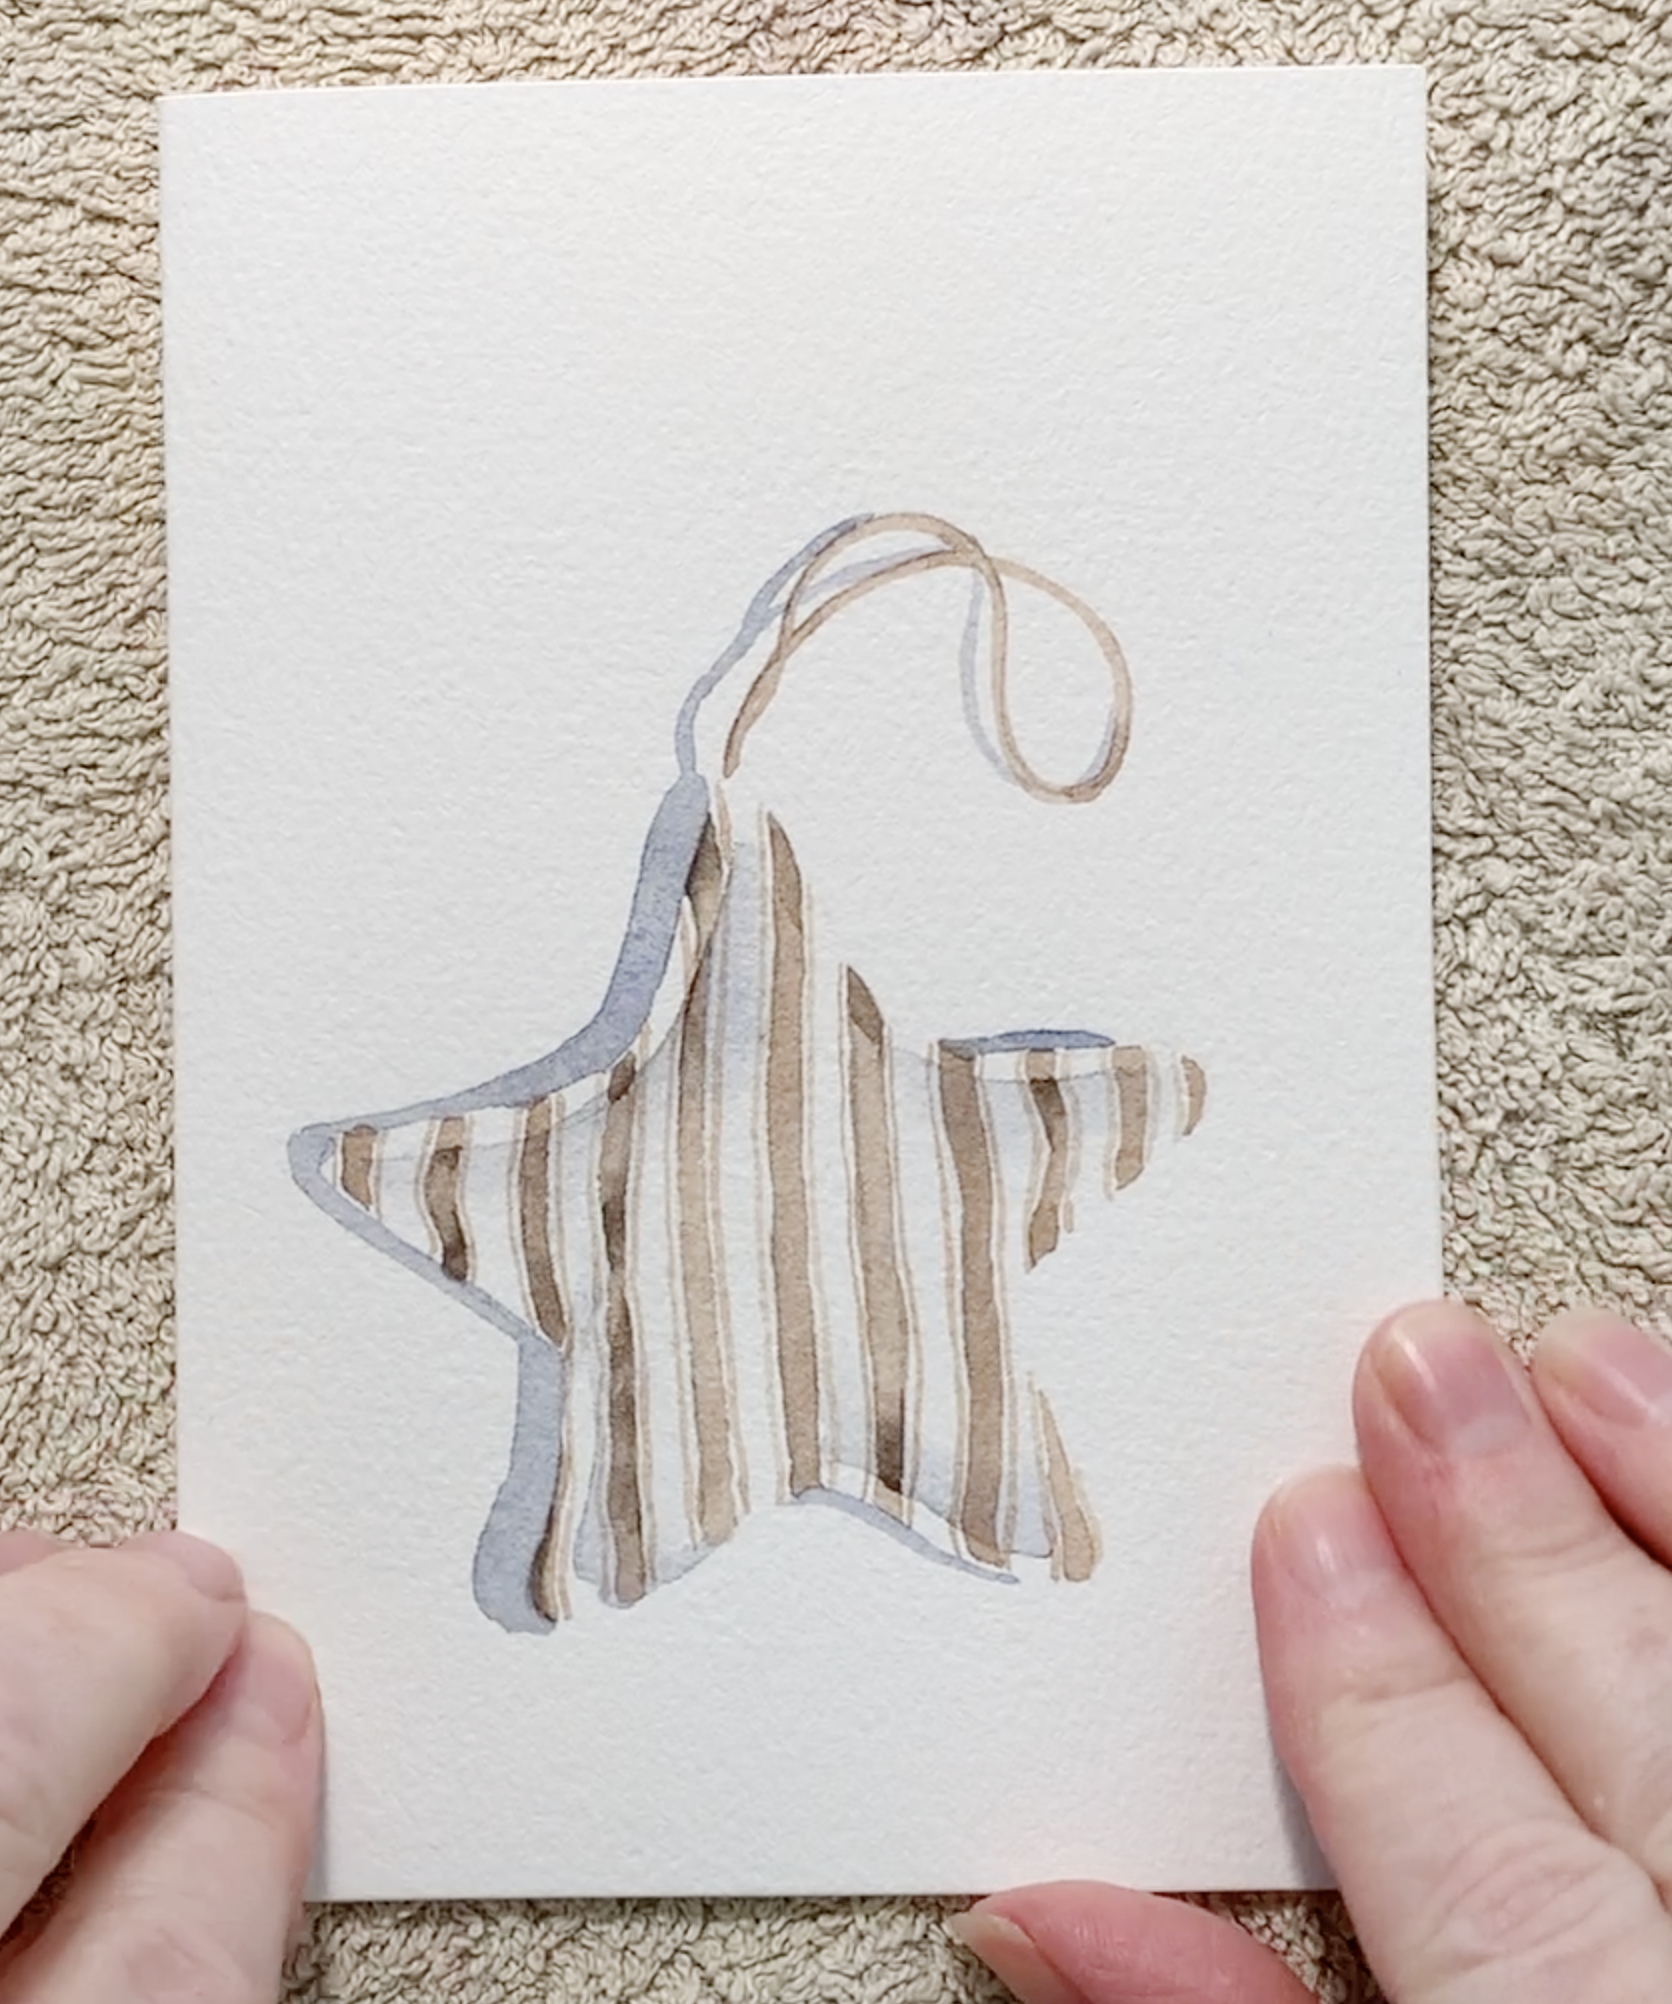
Here is the finished star.
Card 2: Painting the Wooden Bead Ornament
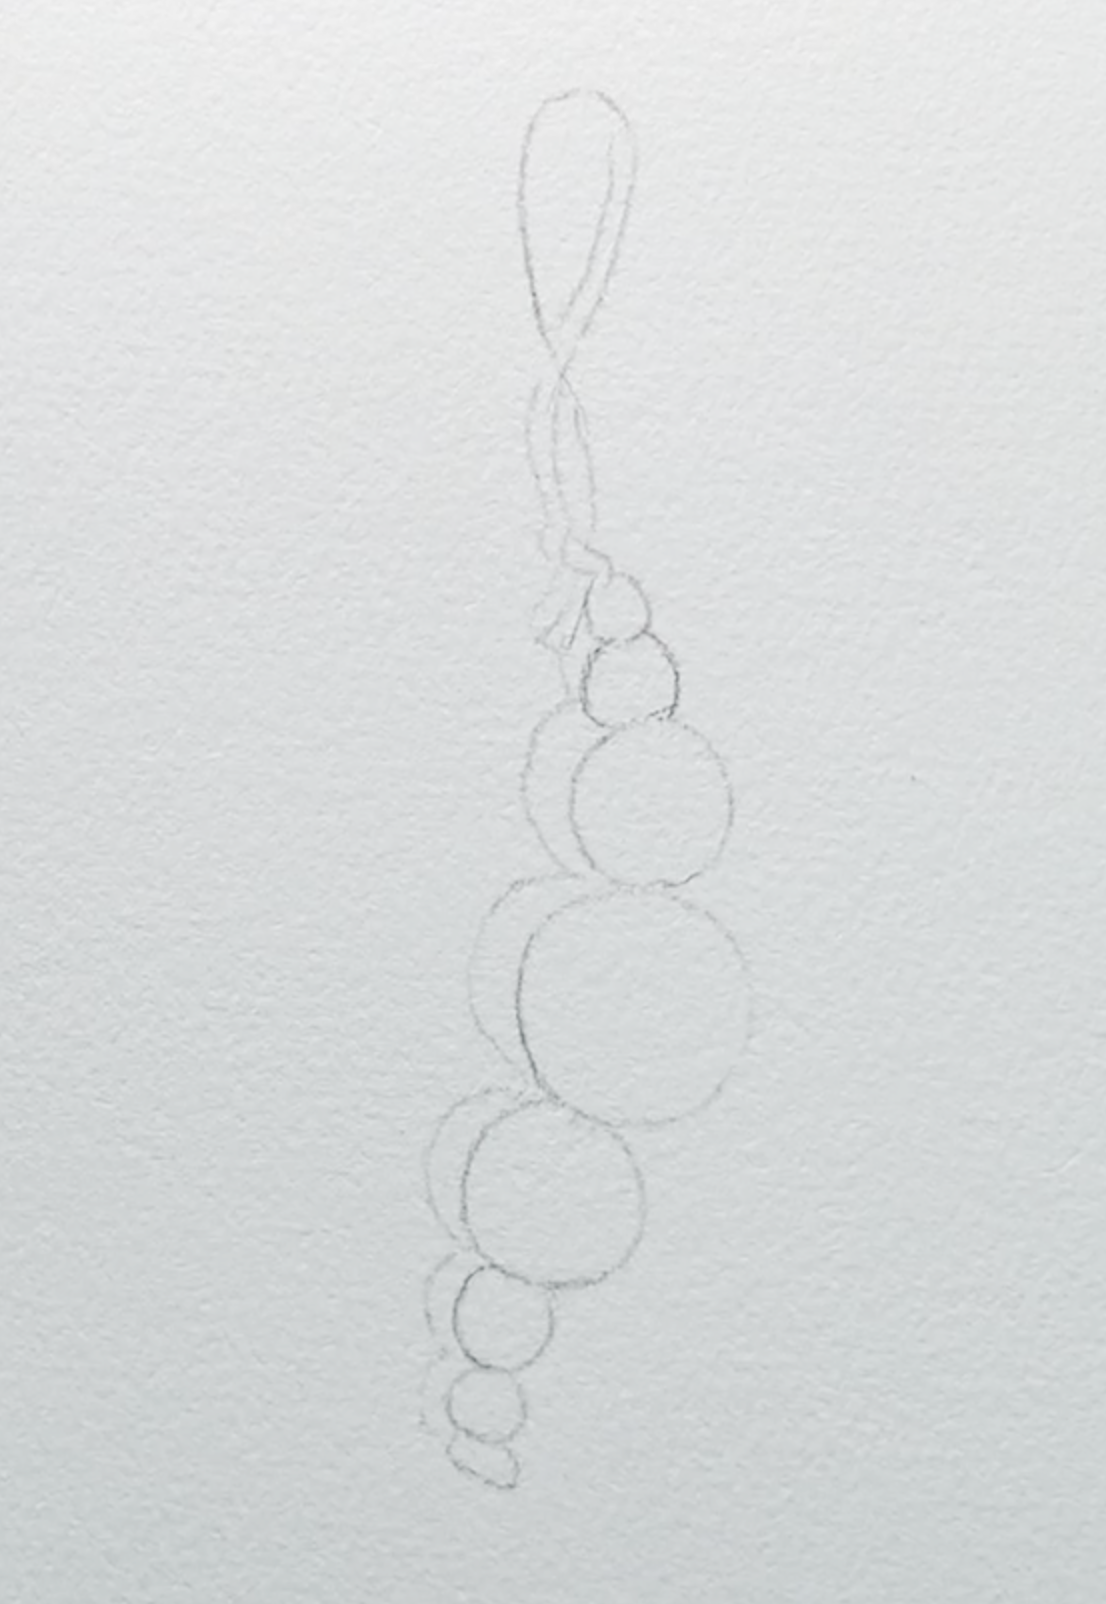
A simple line drawing of the ornament on the card.
1. Painting the String
Start with the same warm brown mixture you used for the star ornament. Paint the top string in one smooth line. With your Zero brush, add the tiny segments of string visible between each bead. These little touches help define the spacing of the beads later.
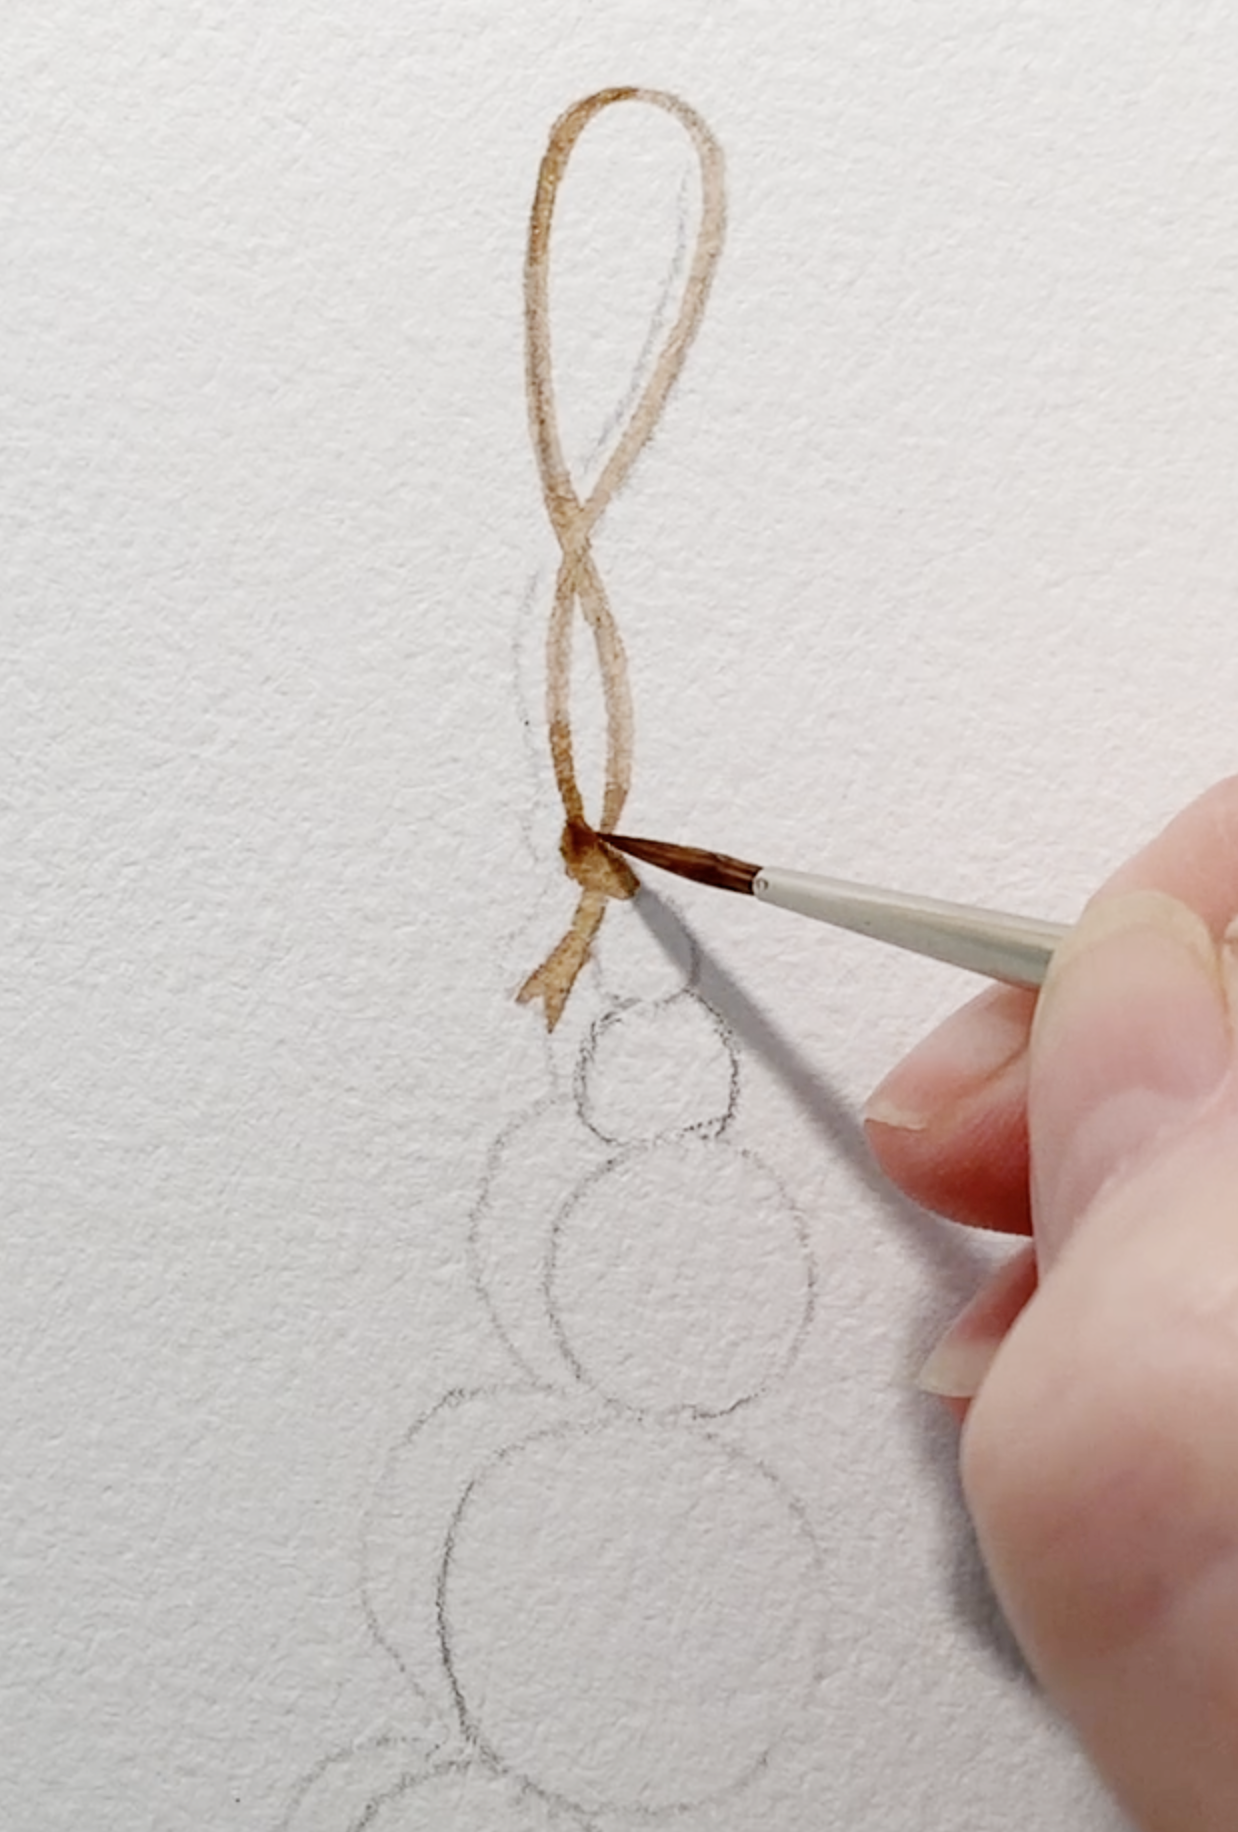
Painting the string on dry paper.
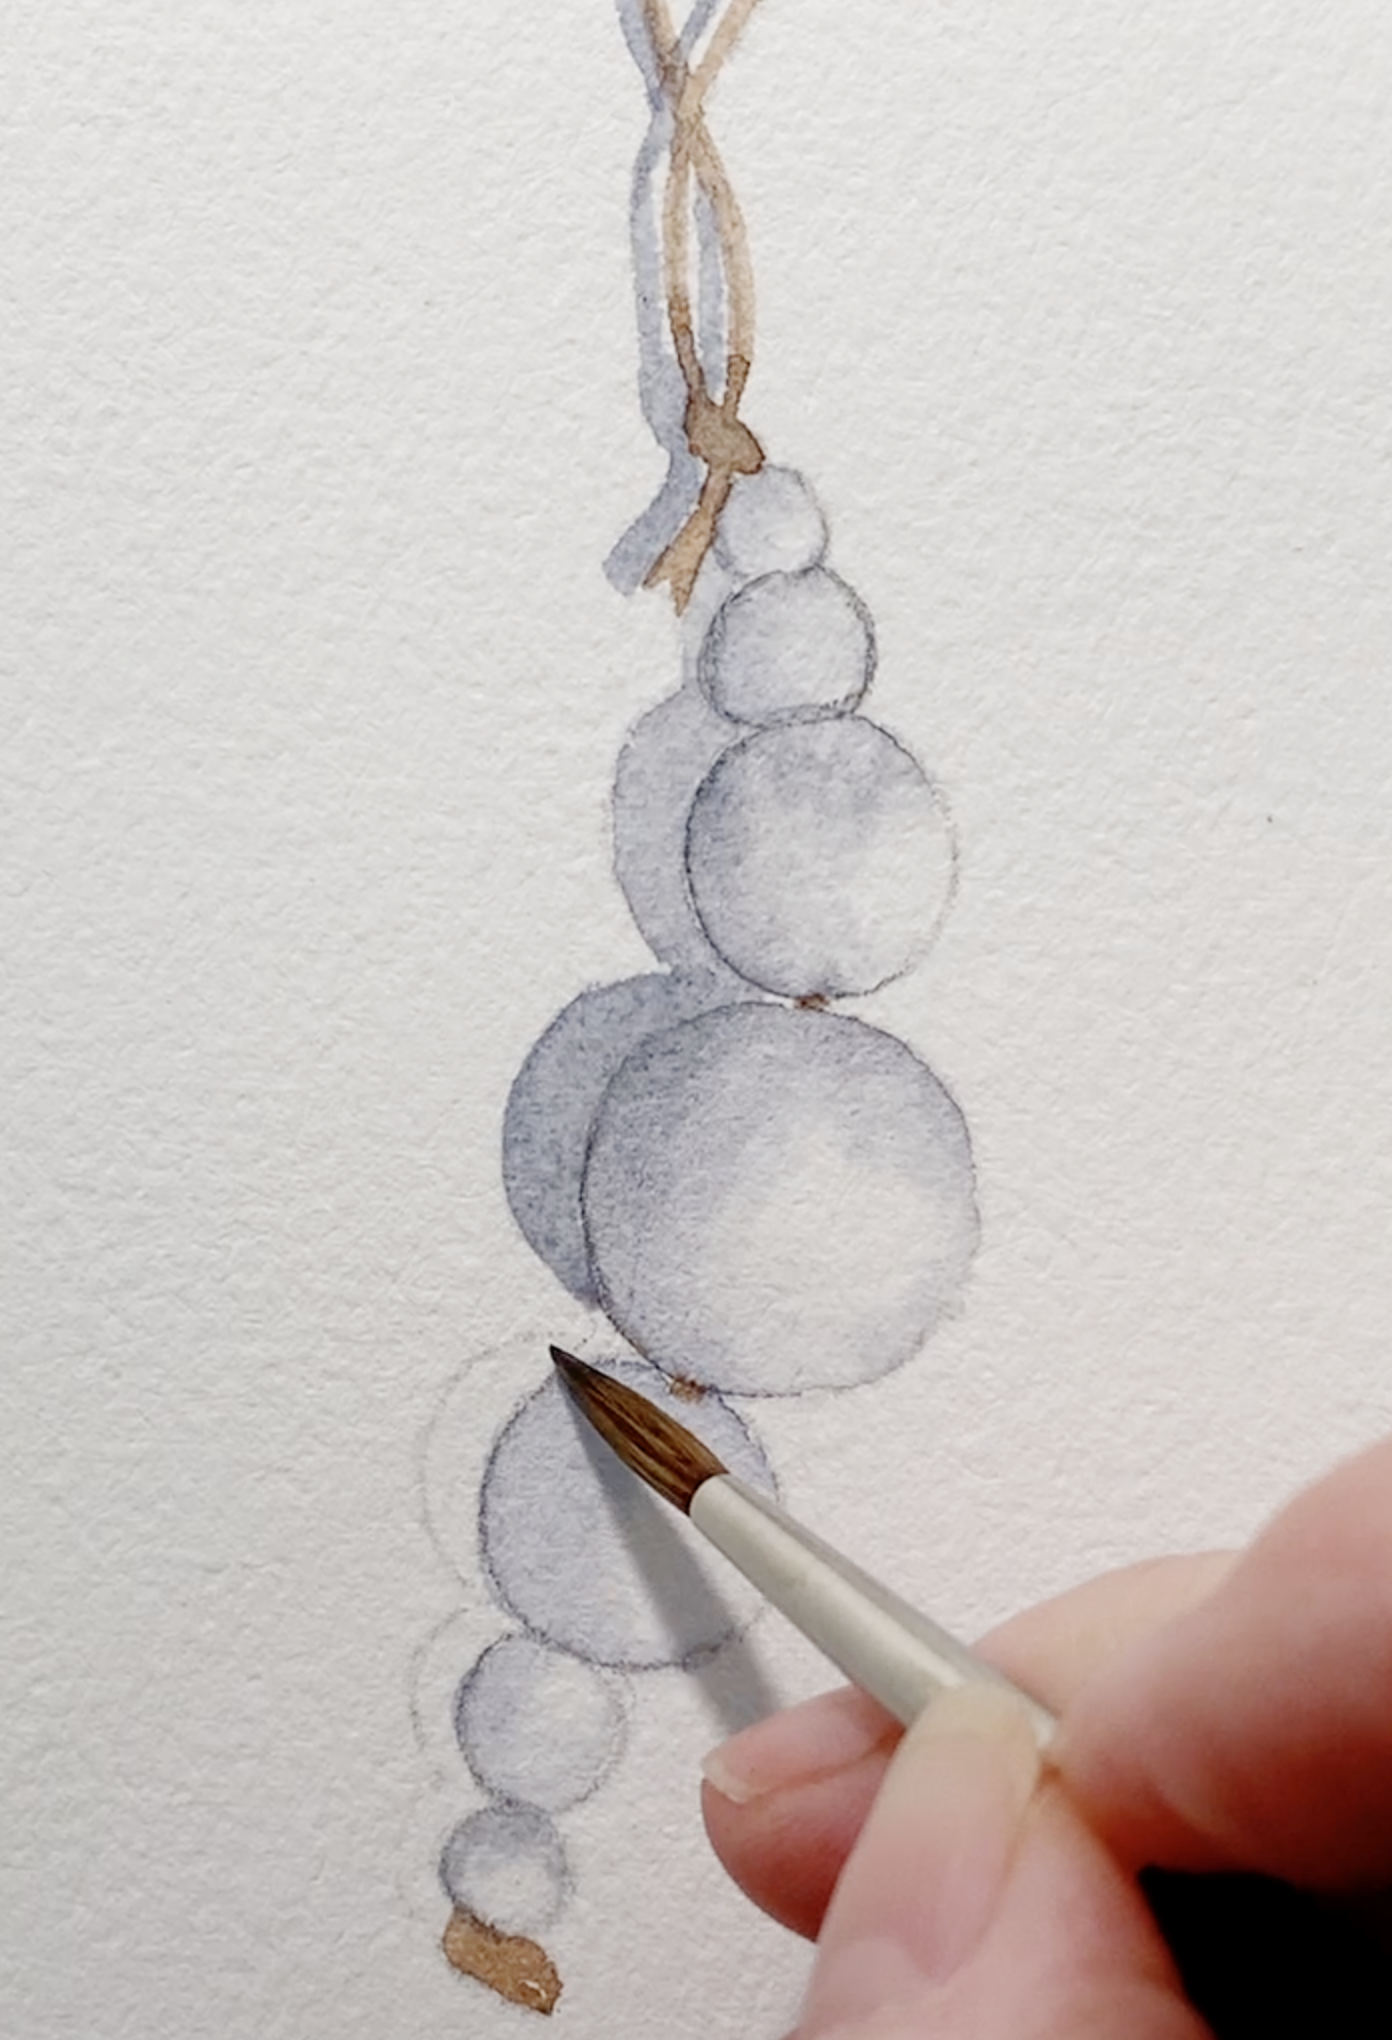
2. Soft Shading on the Beads
Paint each bead separately so the colours don’t bleed into one another.
For each bead we'll use the same technique:
Wet the circle with clean water.
The bead should have a thin, even sheen with no puddles.
Drop in your cool grey mixture along the upper-left edge.
This will become the shadow side of the bead.
Let the pigment softly move across the damp surface.
Resist the urge to overwork it with brush strokes; soft gradients happen naturally in watercolour.
If the colour creeps too far, use a clean, damp brush to lift or gently wipe pigment away.
Skip the bead right next to the one you just painted. This gives the first bead time to dry and prevents unwanted blending.
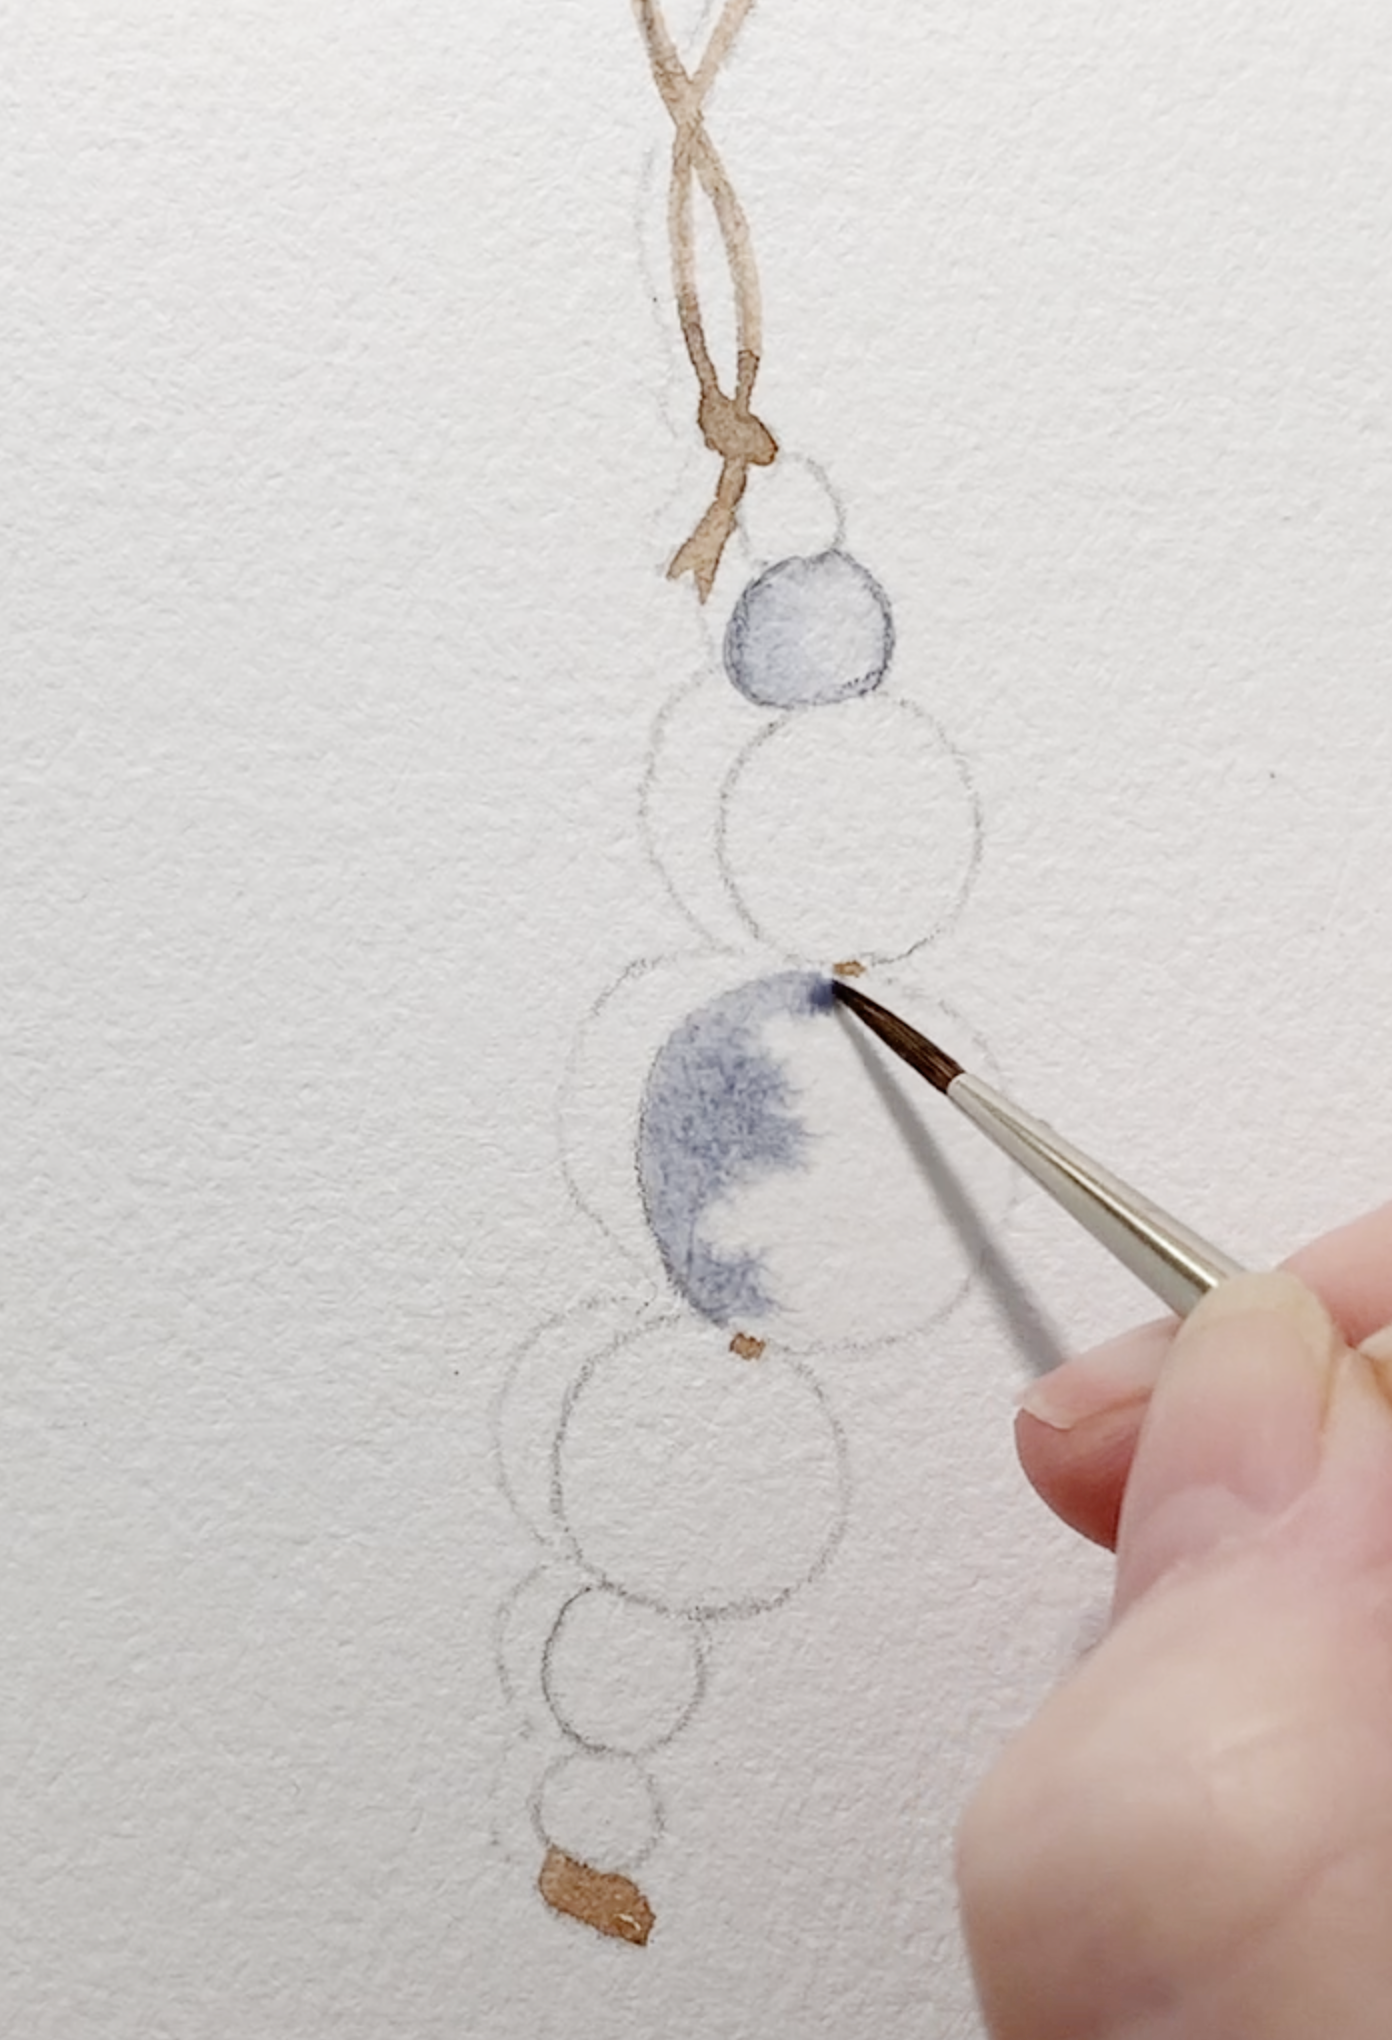
Working wet on wet to paint the shadows on the beads.
3. Painting the Cast Shadow
With the remaining grey mixture, paint the cast shadow behind the string and beads.
Because this shadow is narrow and precise, apply it on dry paper using your Zero brush. A steady hand and slow pace make this step of watercolour painting easier.
Painting the cast shadow on dry paper.
4. Adding a Second Layer of Shadow
Once the cast shadow is dry, go back with a stronger grey, so more pigment, less water.
Apply this darker value on the same shadow side as before. This step shapes the beads into true spheres, giving them dimensional weight. Keep your brushstrokes small and soft at the edges and leave the highlight area clear from colour.
Work your way through the string, drying when necessary to ensure the layers stay crisp.
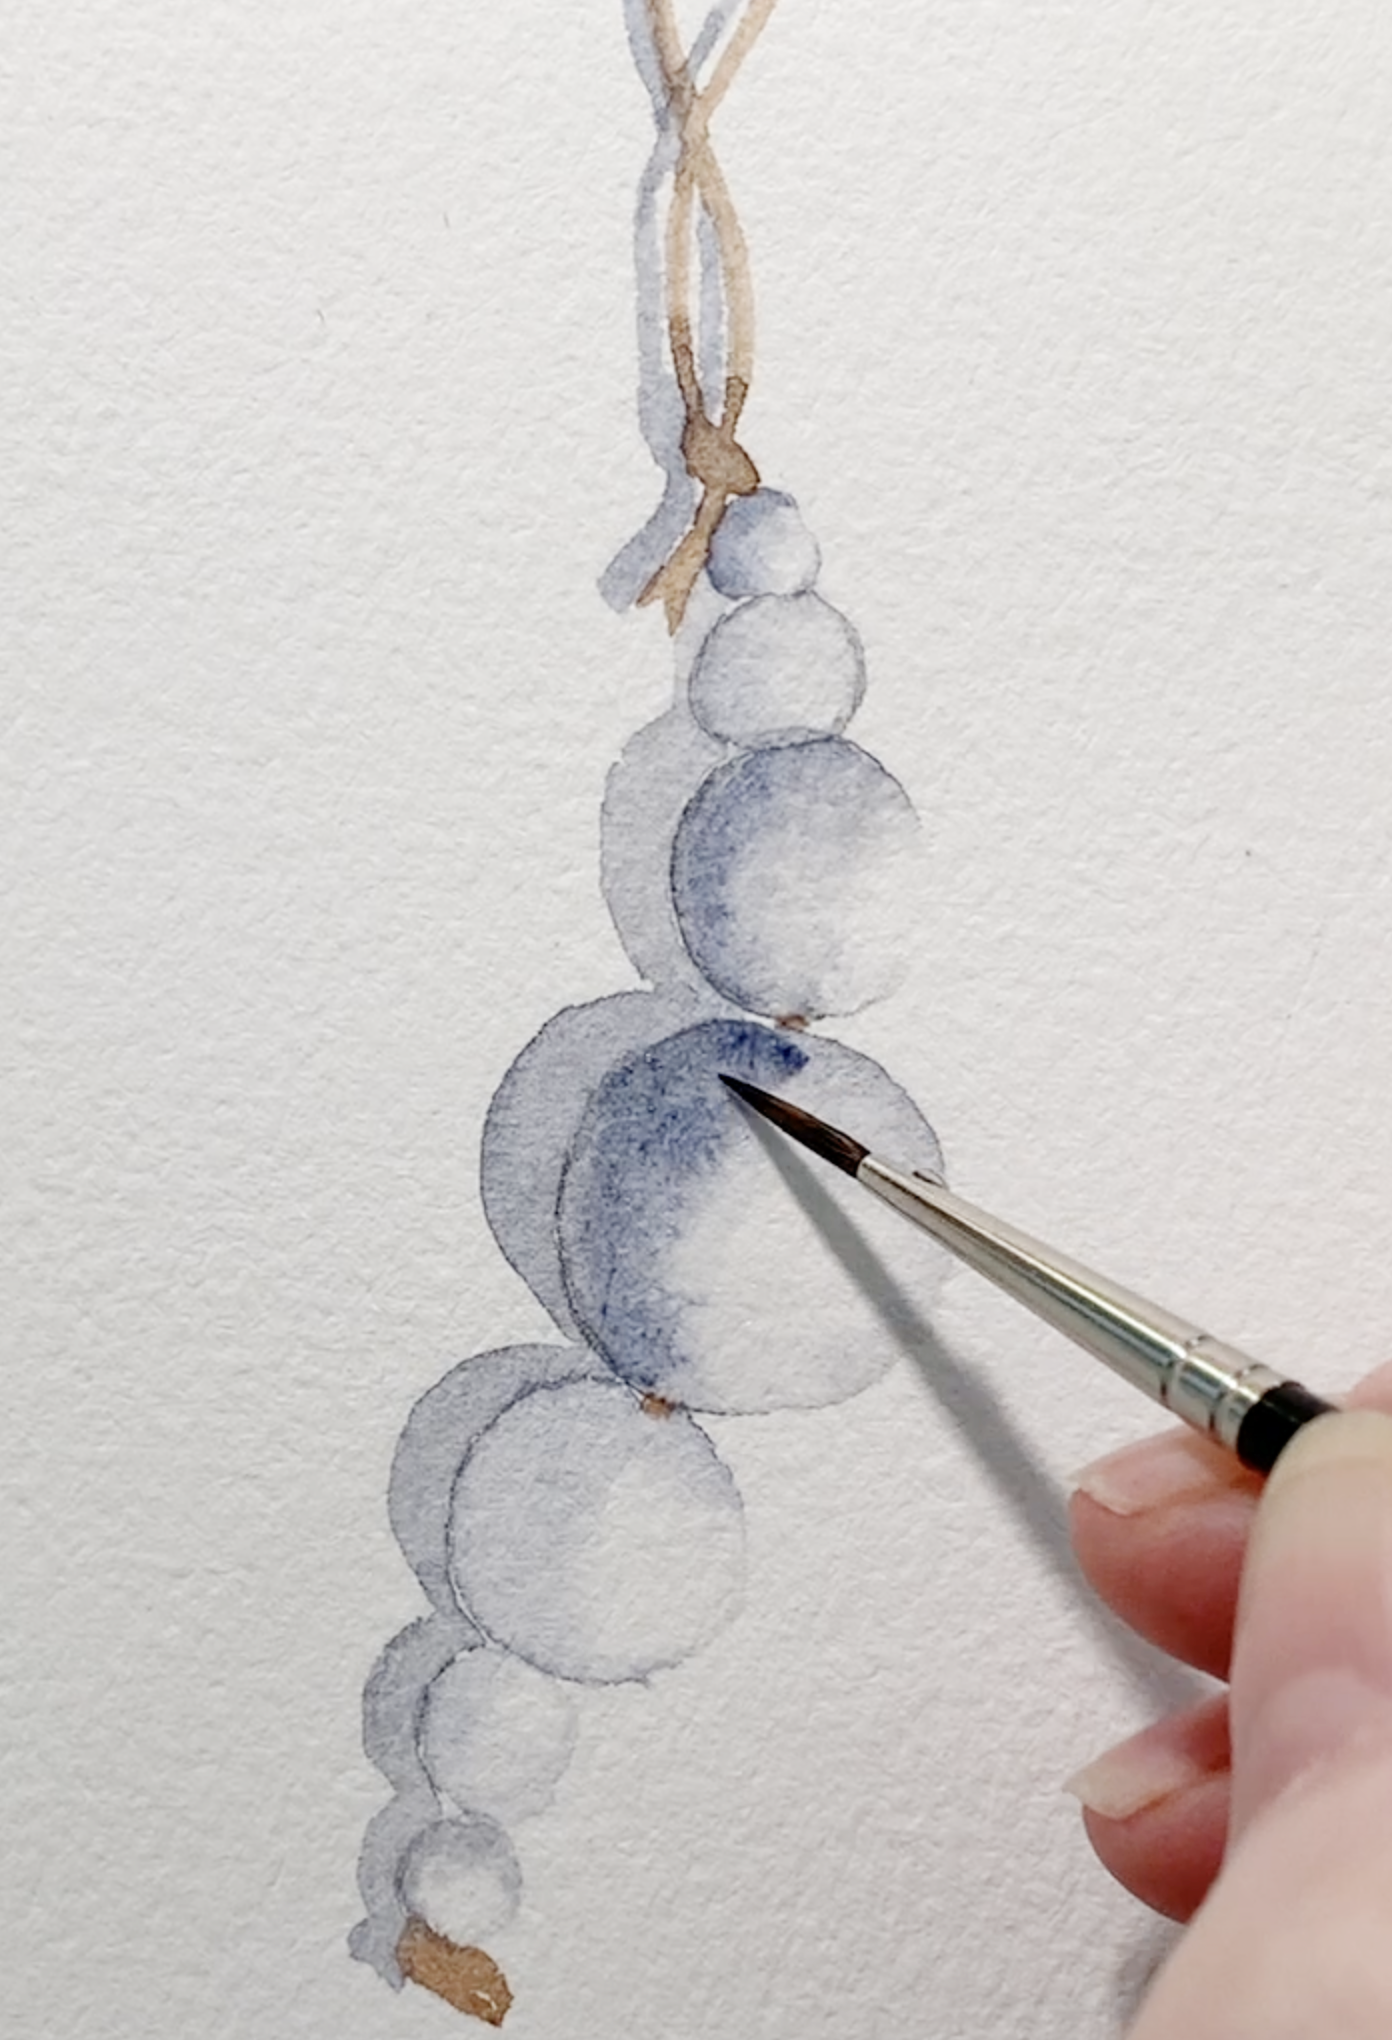
A second layer of colour on the shadows of the beads.
5. Final Details
To enrich the tones and bring the card together visually, add a touch of the darker brown mixture into the deepest brown shadows on the string and around some beads.
Finally, soften any edges that feel too sharp and let the card dry completely.
Your second ornament is finished - a delicate, warm, and beautifully understated watercolour christmas card.
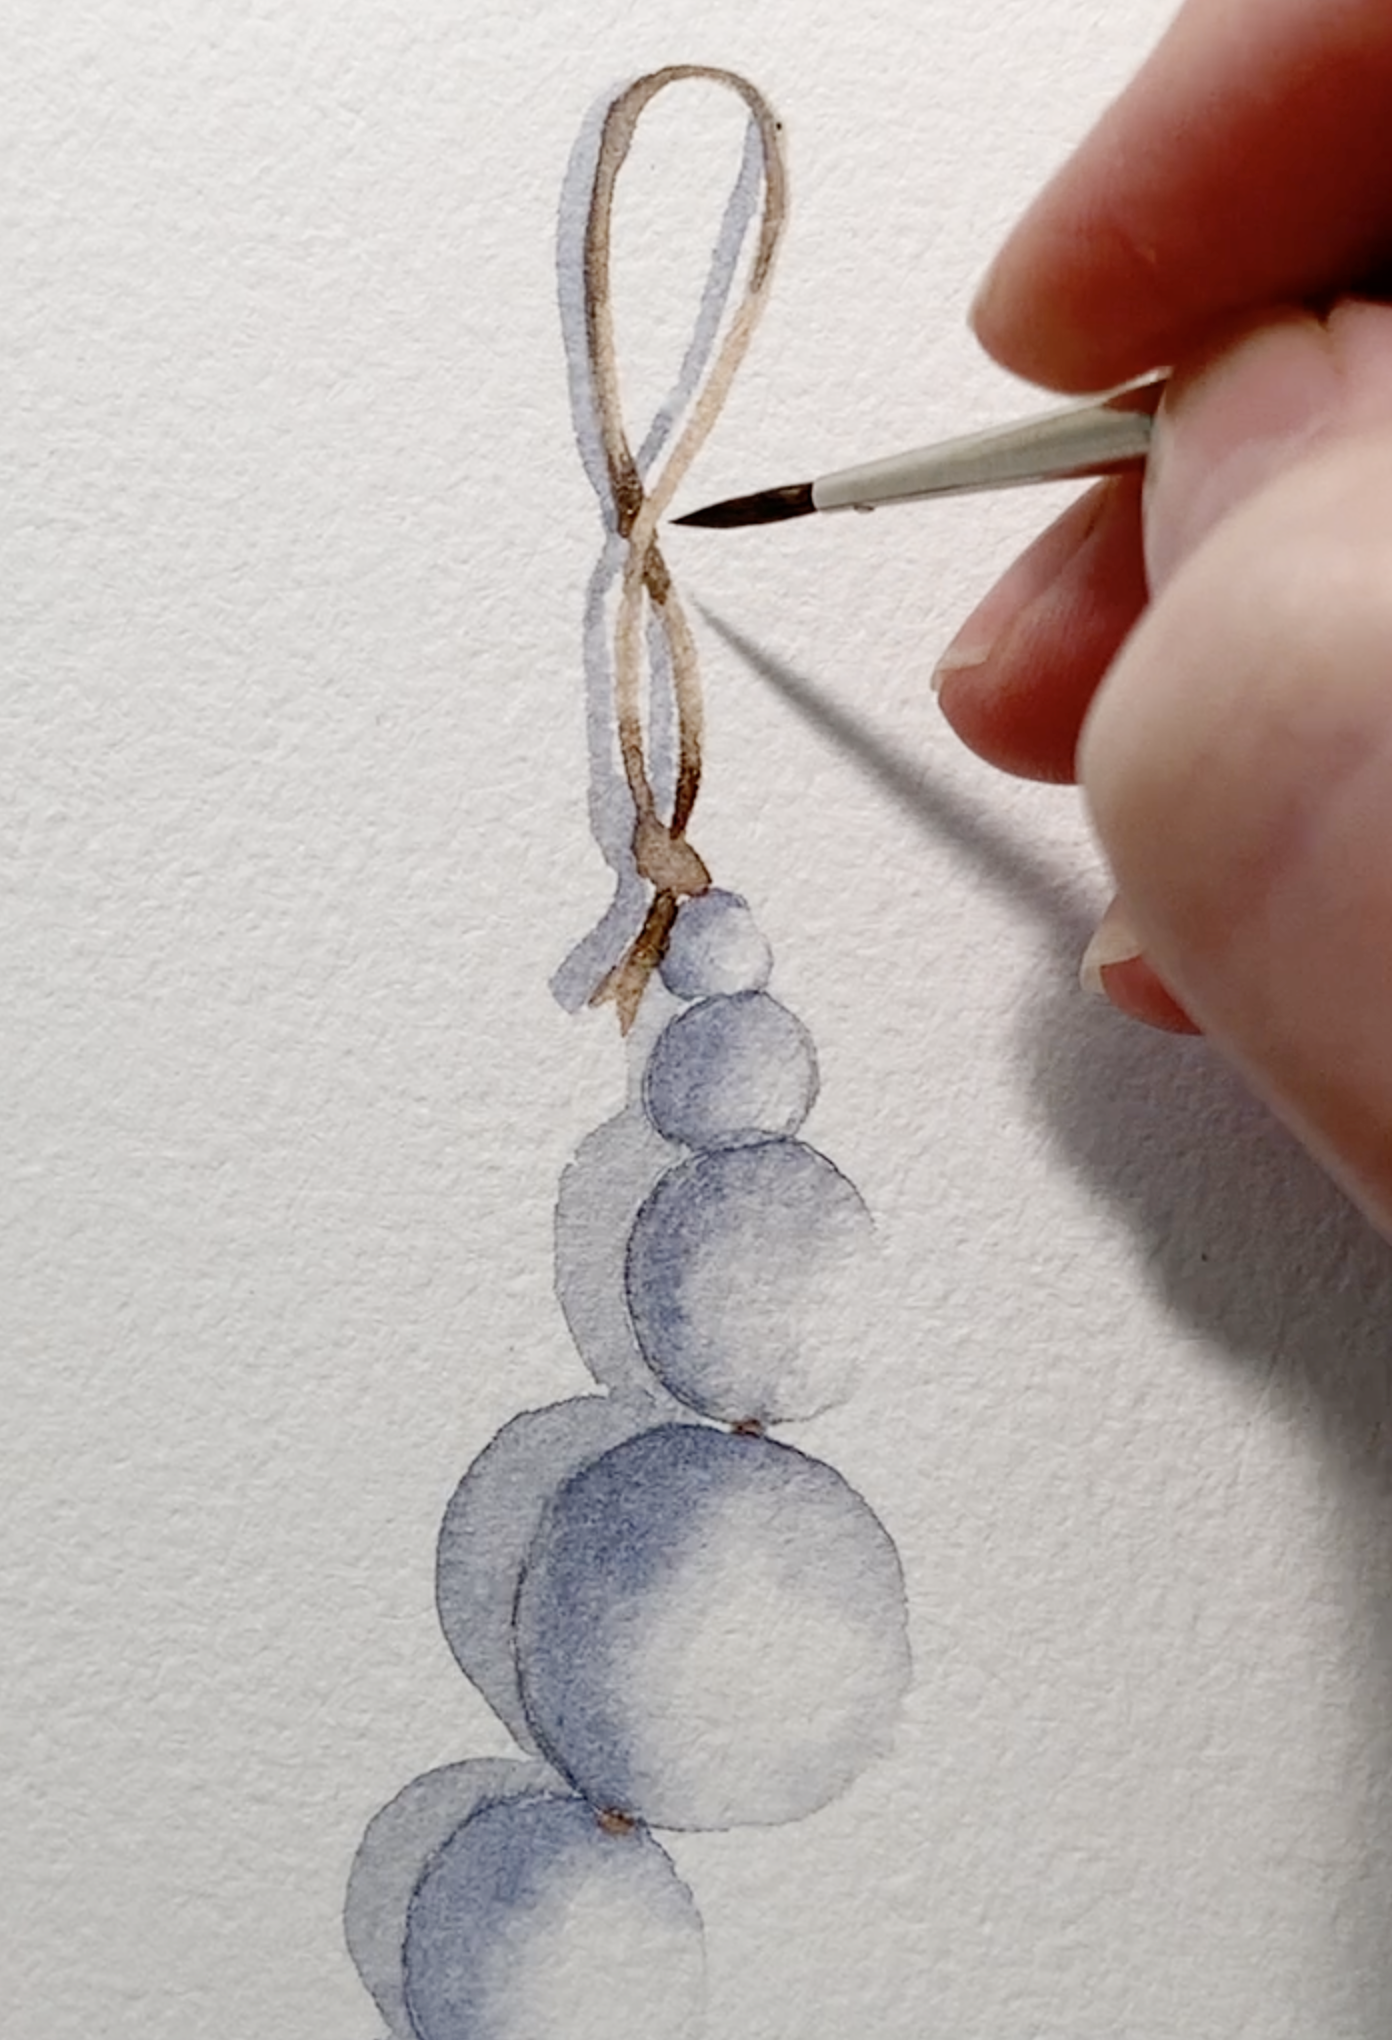
Adding shadow on the string.
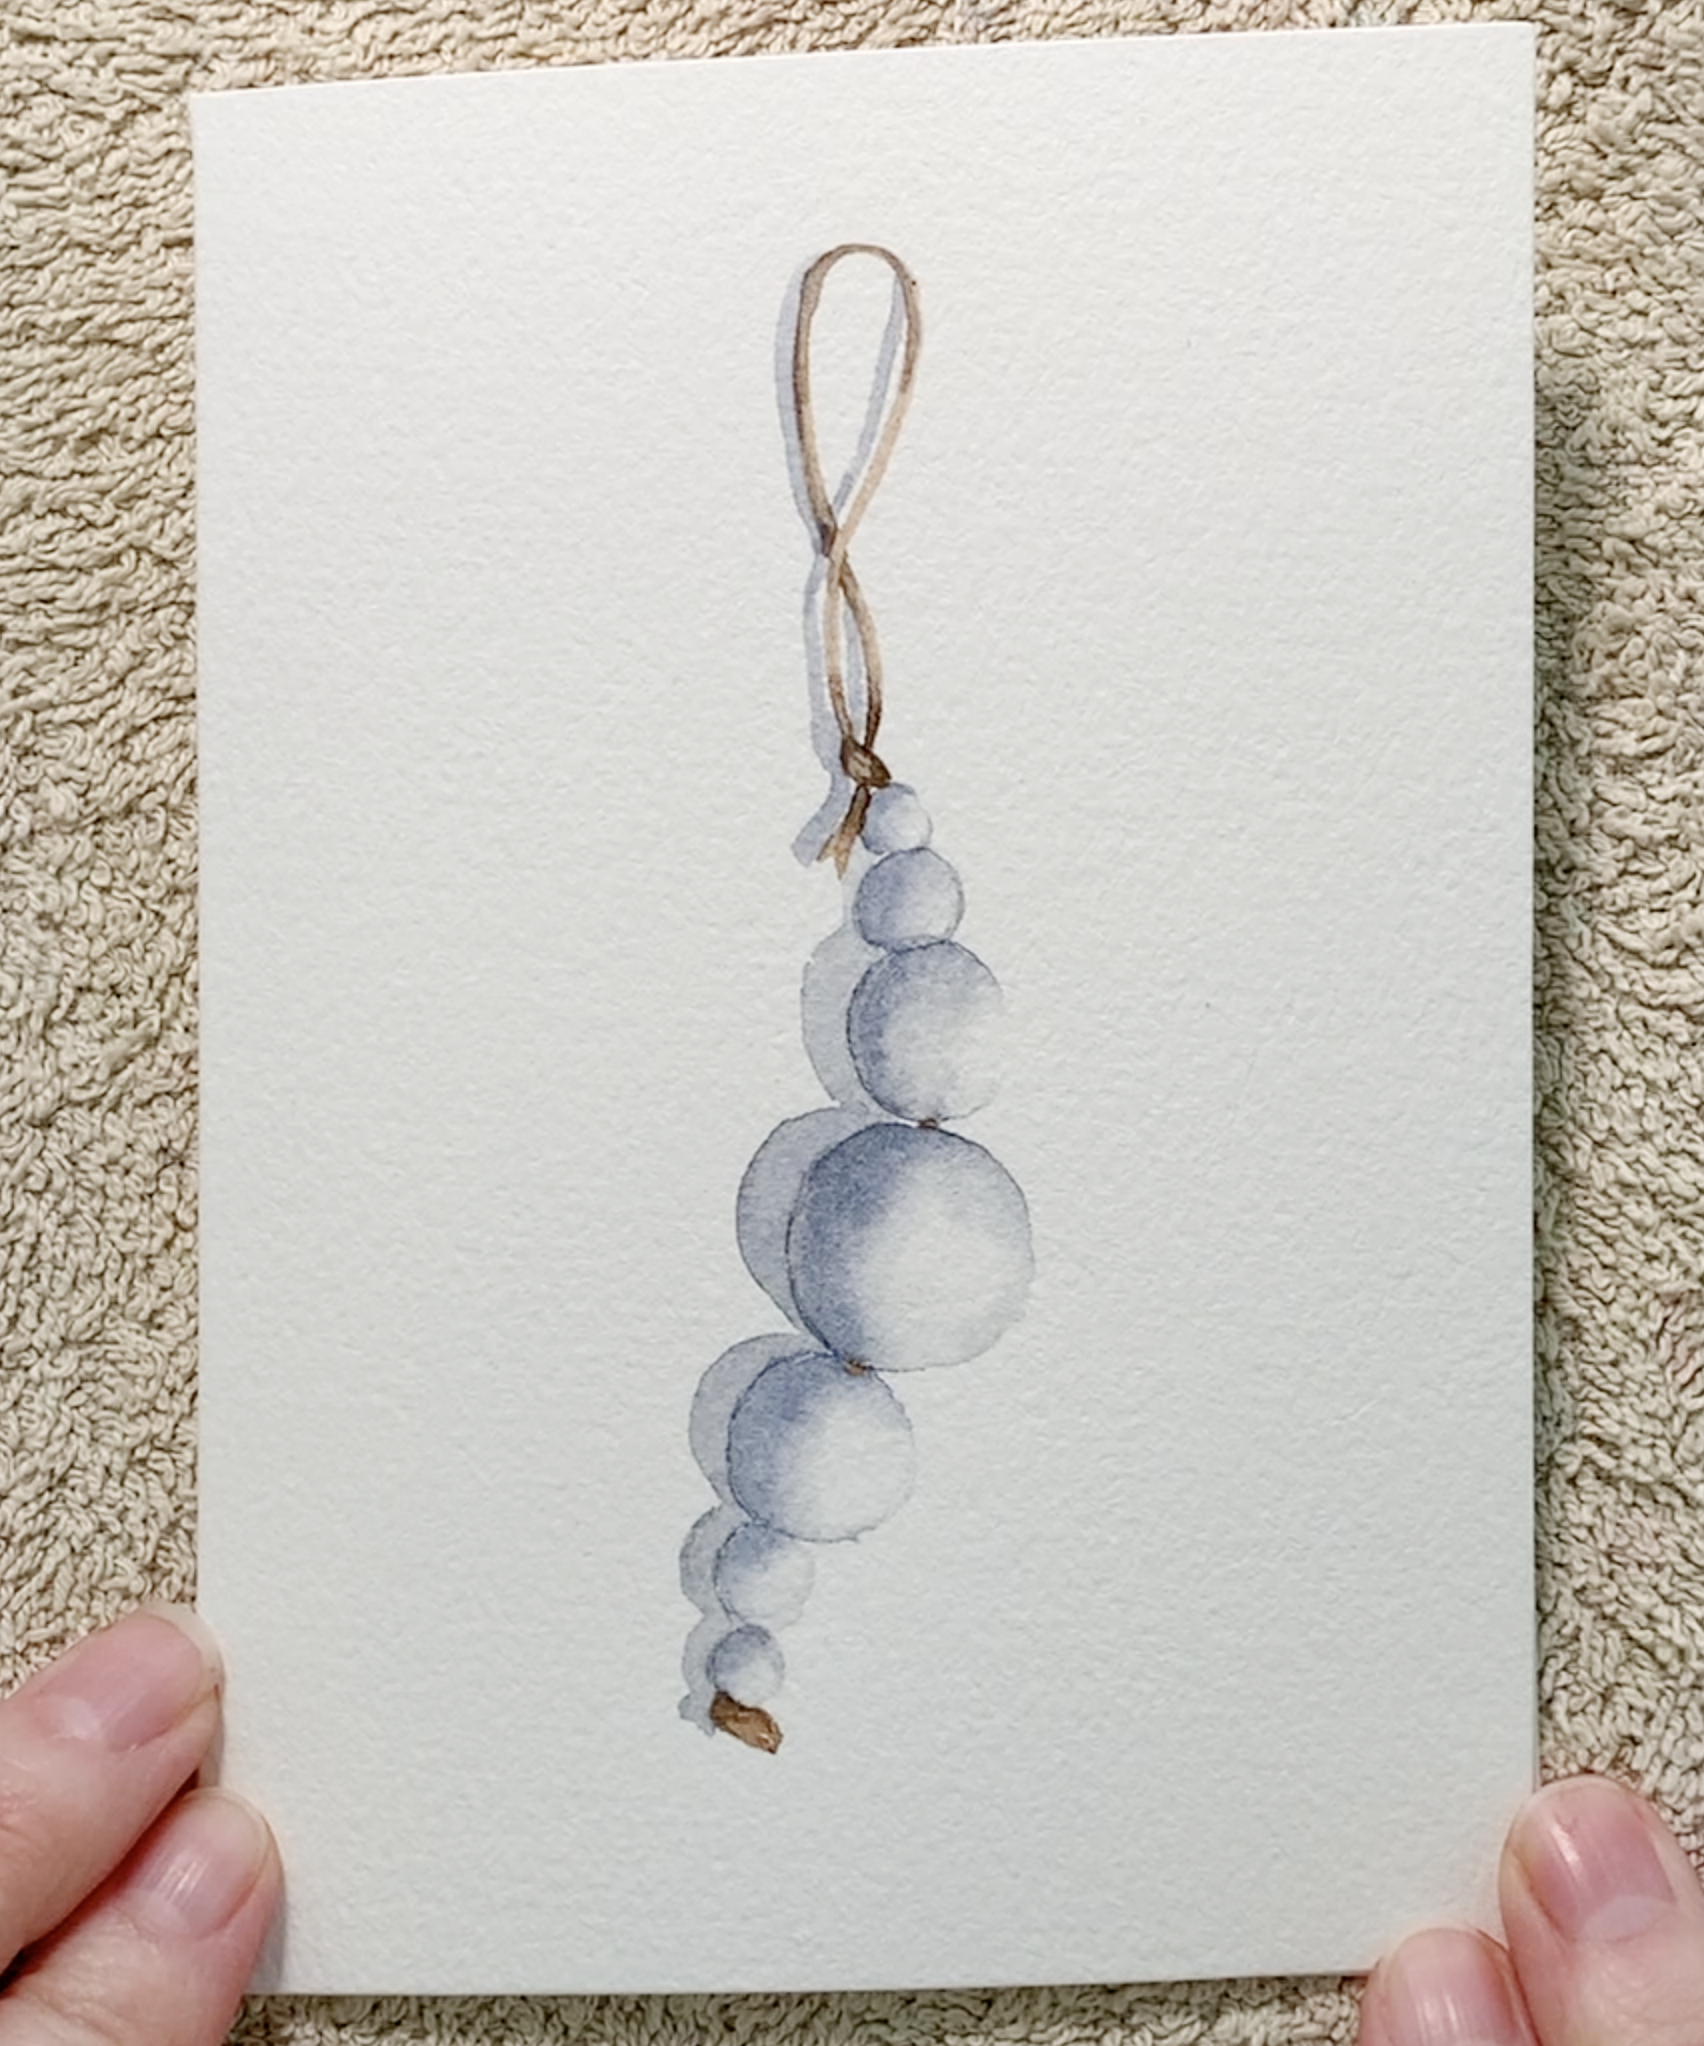
Finished.
Have a wonderful Watercolour Christmas!
These two watercolour Christmas cards are wonderfully simple and fun projects that require only two colours, a couple of brushes, and a calm, patient approach to shadows. They’re a lovely way to create something handmade and heartfelt with a personal touch during the festive season.
I hope these steps help you follow along easily and that you enjoy painting them as much as I did and that you got inspired to create art. I can't wait to see your own christmas cards!
I have plenty more tutorials for watercolour Christmas cards and other painting ideas for you to watch on my YouTube channel and on my Patreon.
Happy painting, and happy holidays! 🎄✨


