Integrating Digital Tools into Watercolour Practice
I've noticed more and more artists using Procreate or Photoshop to test colour harmonies and sketch outlines before they start painting. So I thought I’d share a few ways you can use these digital tools to support your traditional watercolour practice.
While this post isn’t about digital watercolour techniques - like painting directly in apps such as Procreate or Rebelle - it focuses on how digital tools can support and enhance traditional watercolour painting, especially during the planning stage.
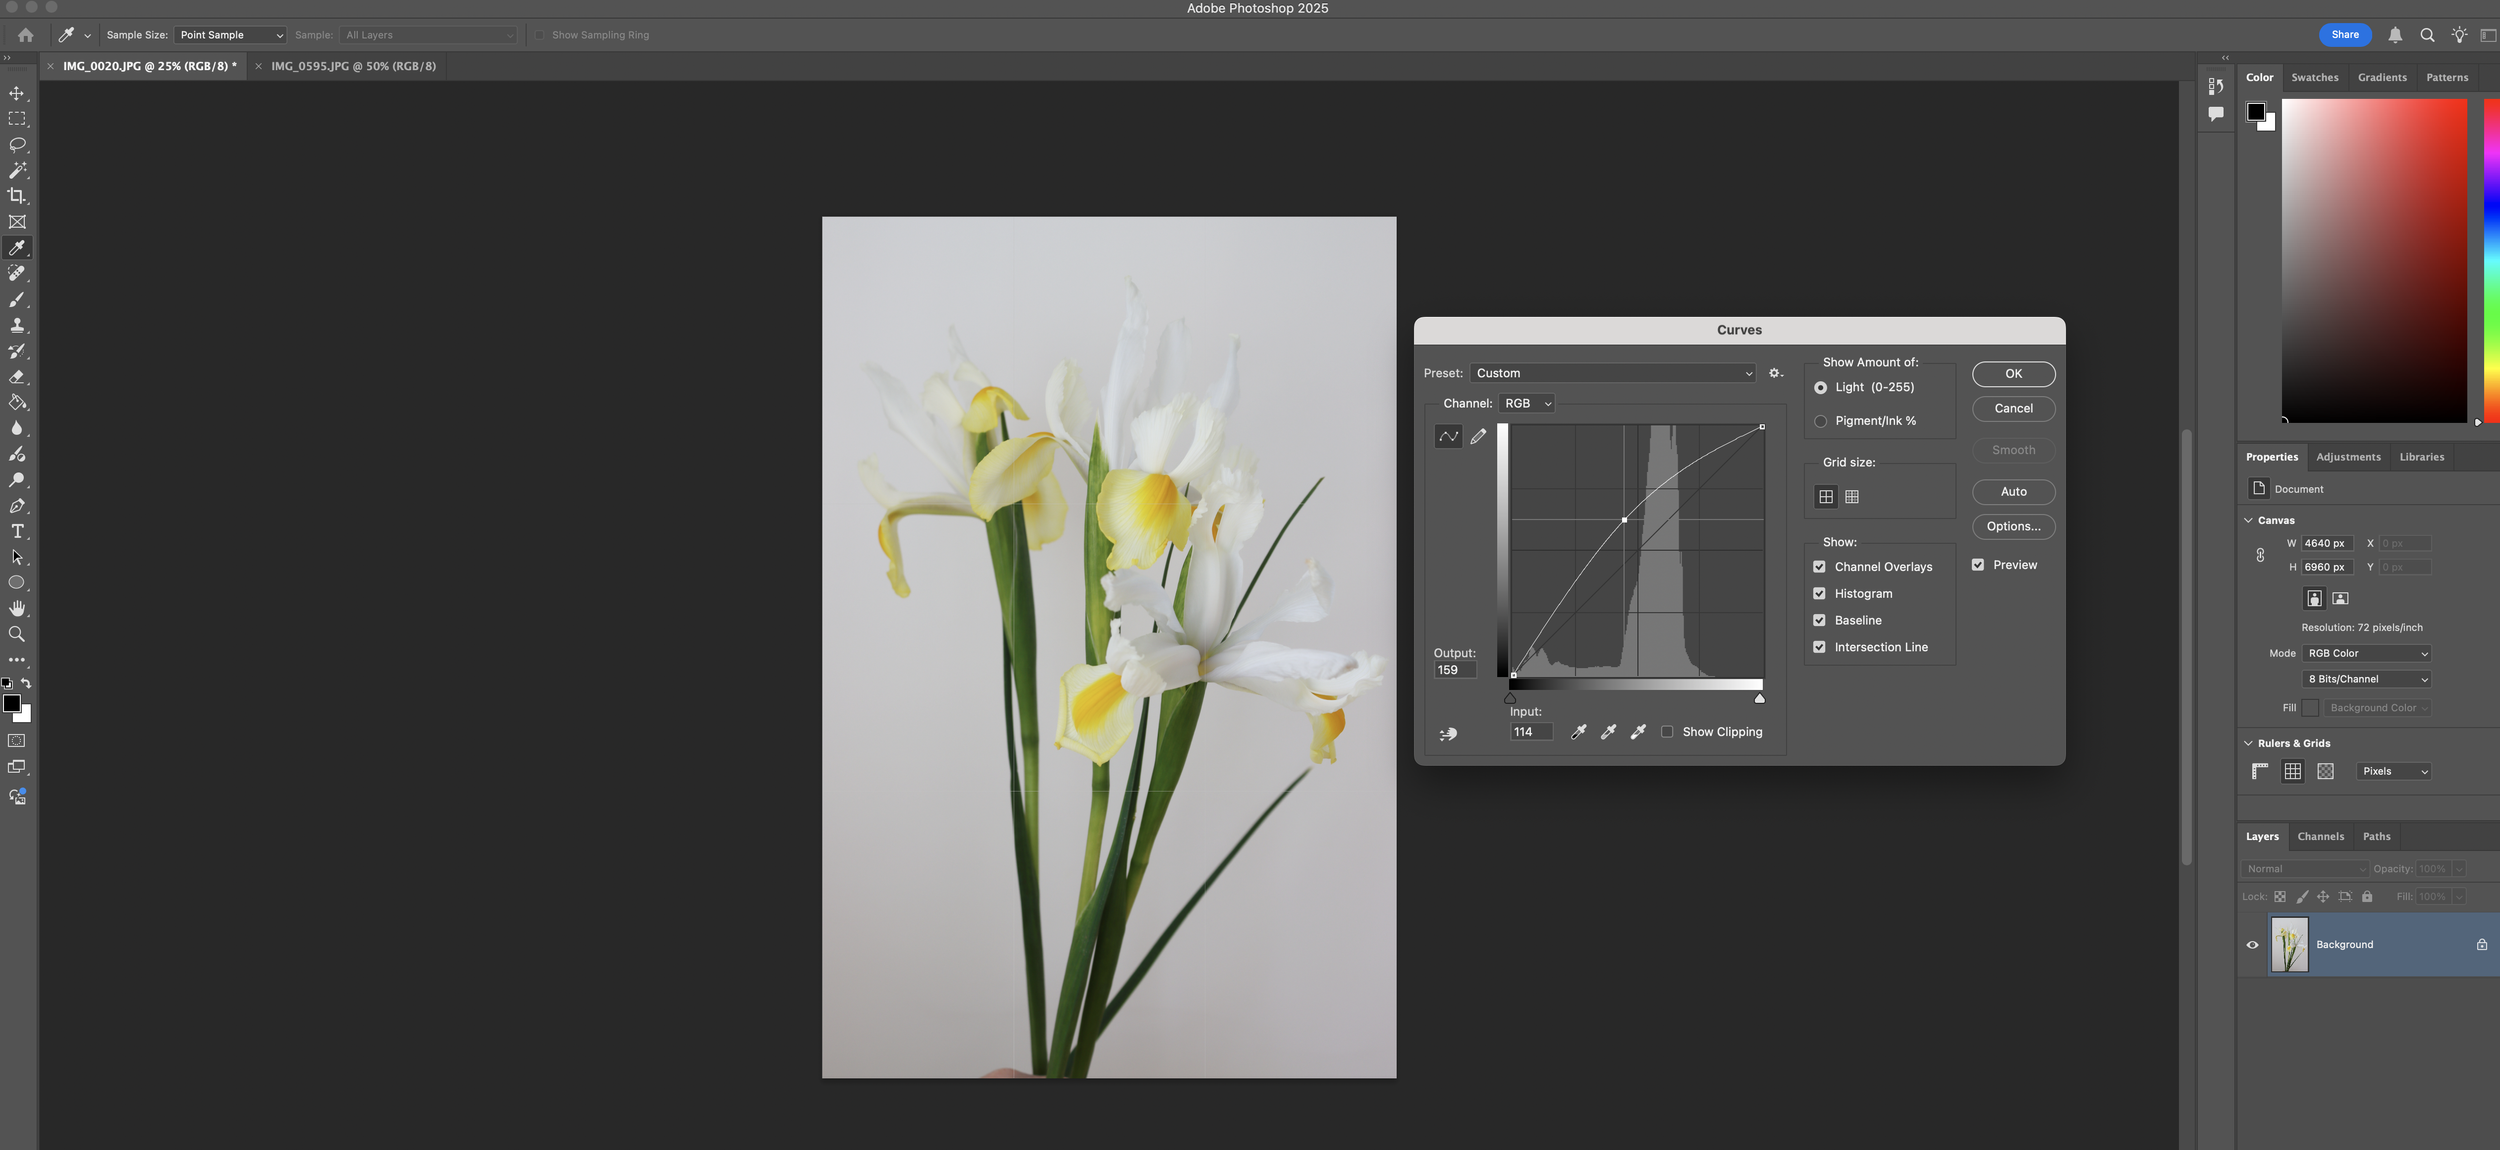
I use Adobe Photoshop to adjust the exposure and colours of my reference photos.
Digital Tools Every Watercolour Artist Should Know
How I Use Digital Tools to Plan My Watercolour Paintings
When most people think of watercolour painting, they imagine brush in hand, pigment on paper, and water flowing freely across a surface. That tactile, organic process is something I’ve always cherished - and always will. But over time, I’ve discovered that digital tools can be wonderful companions to my traditional painting practice.
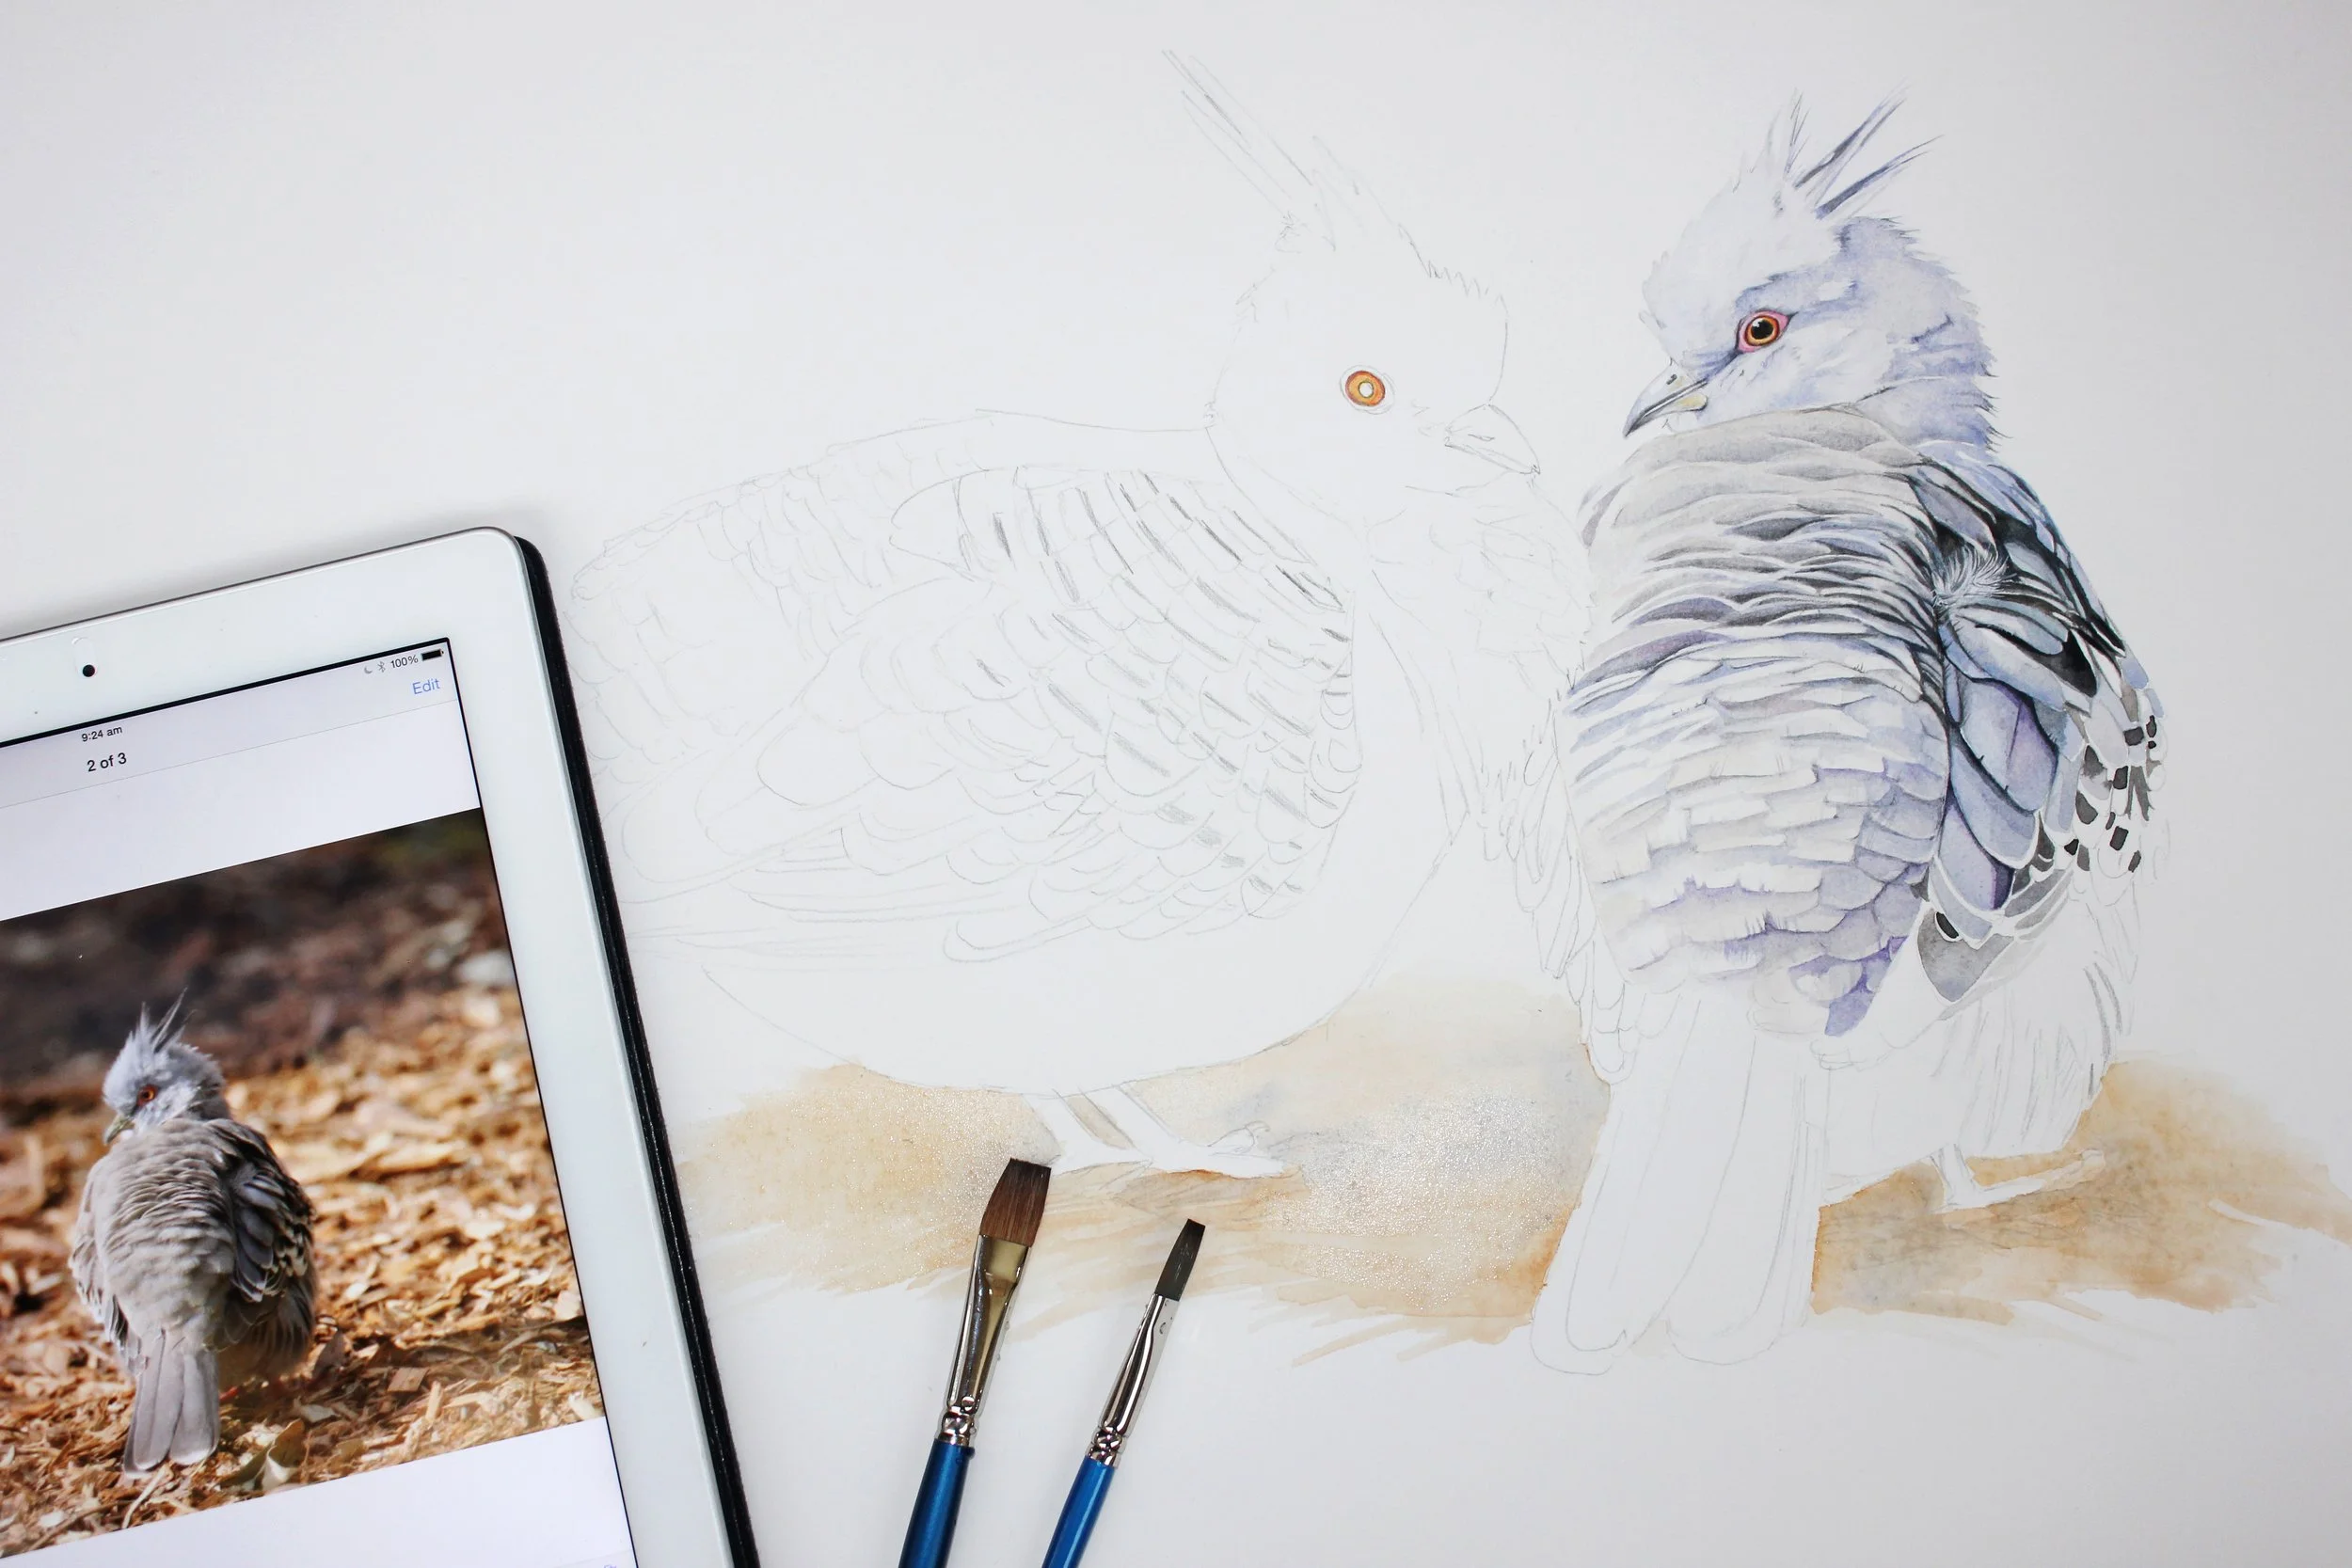
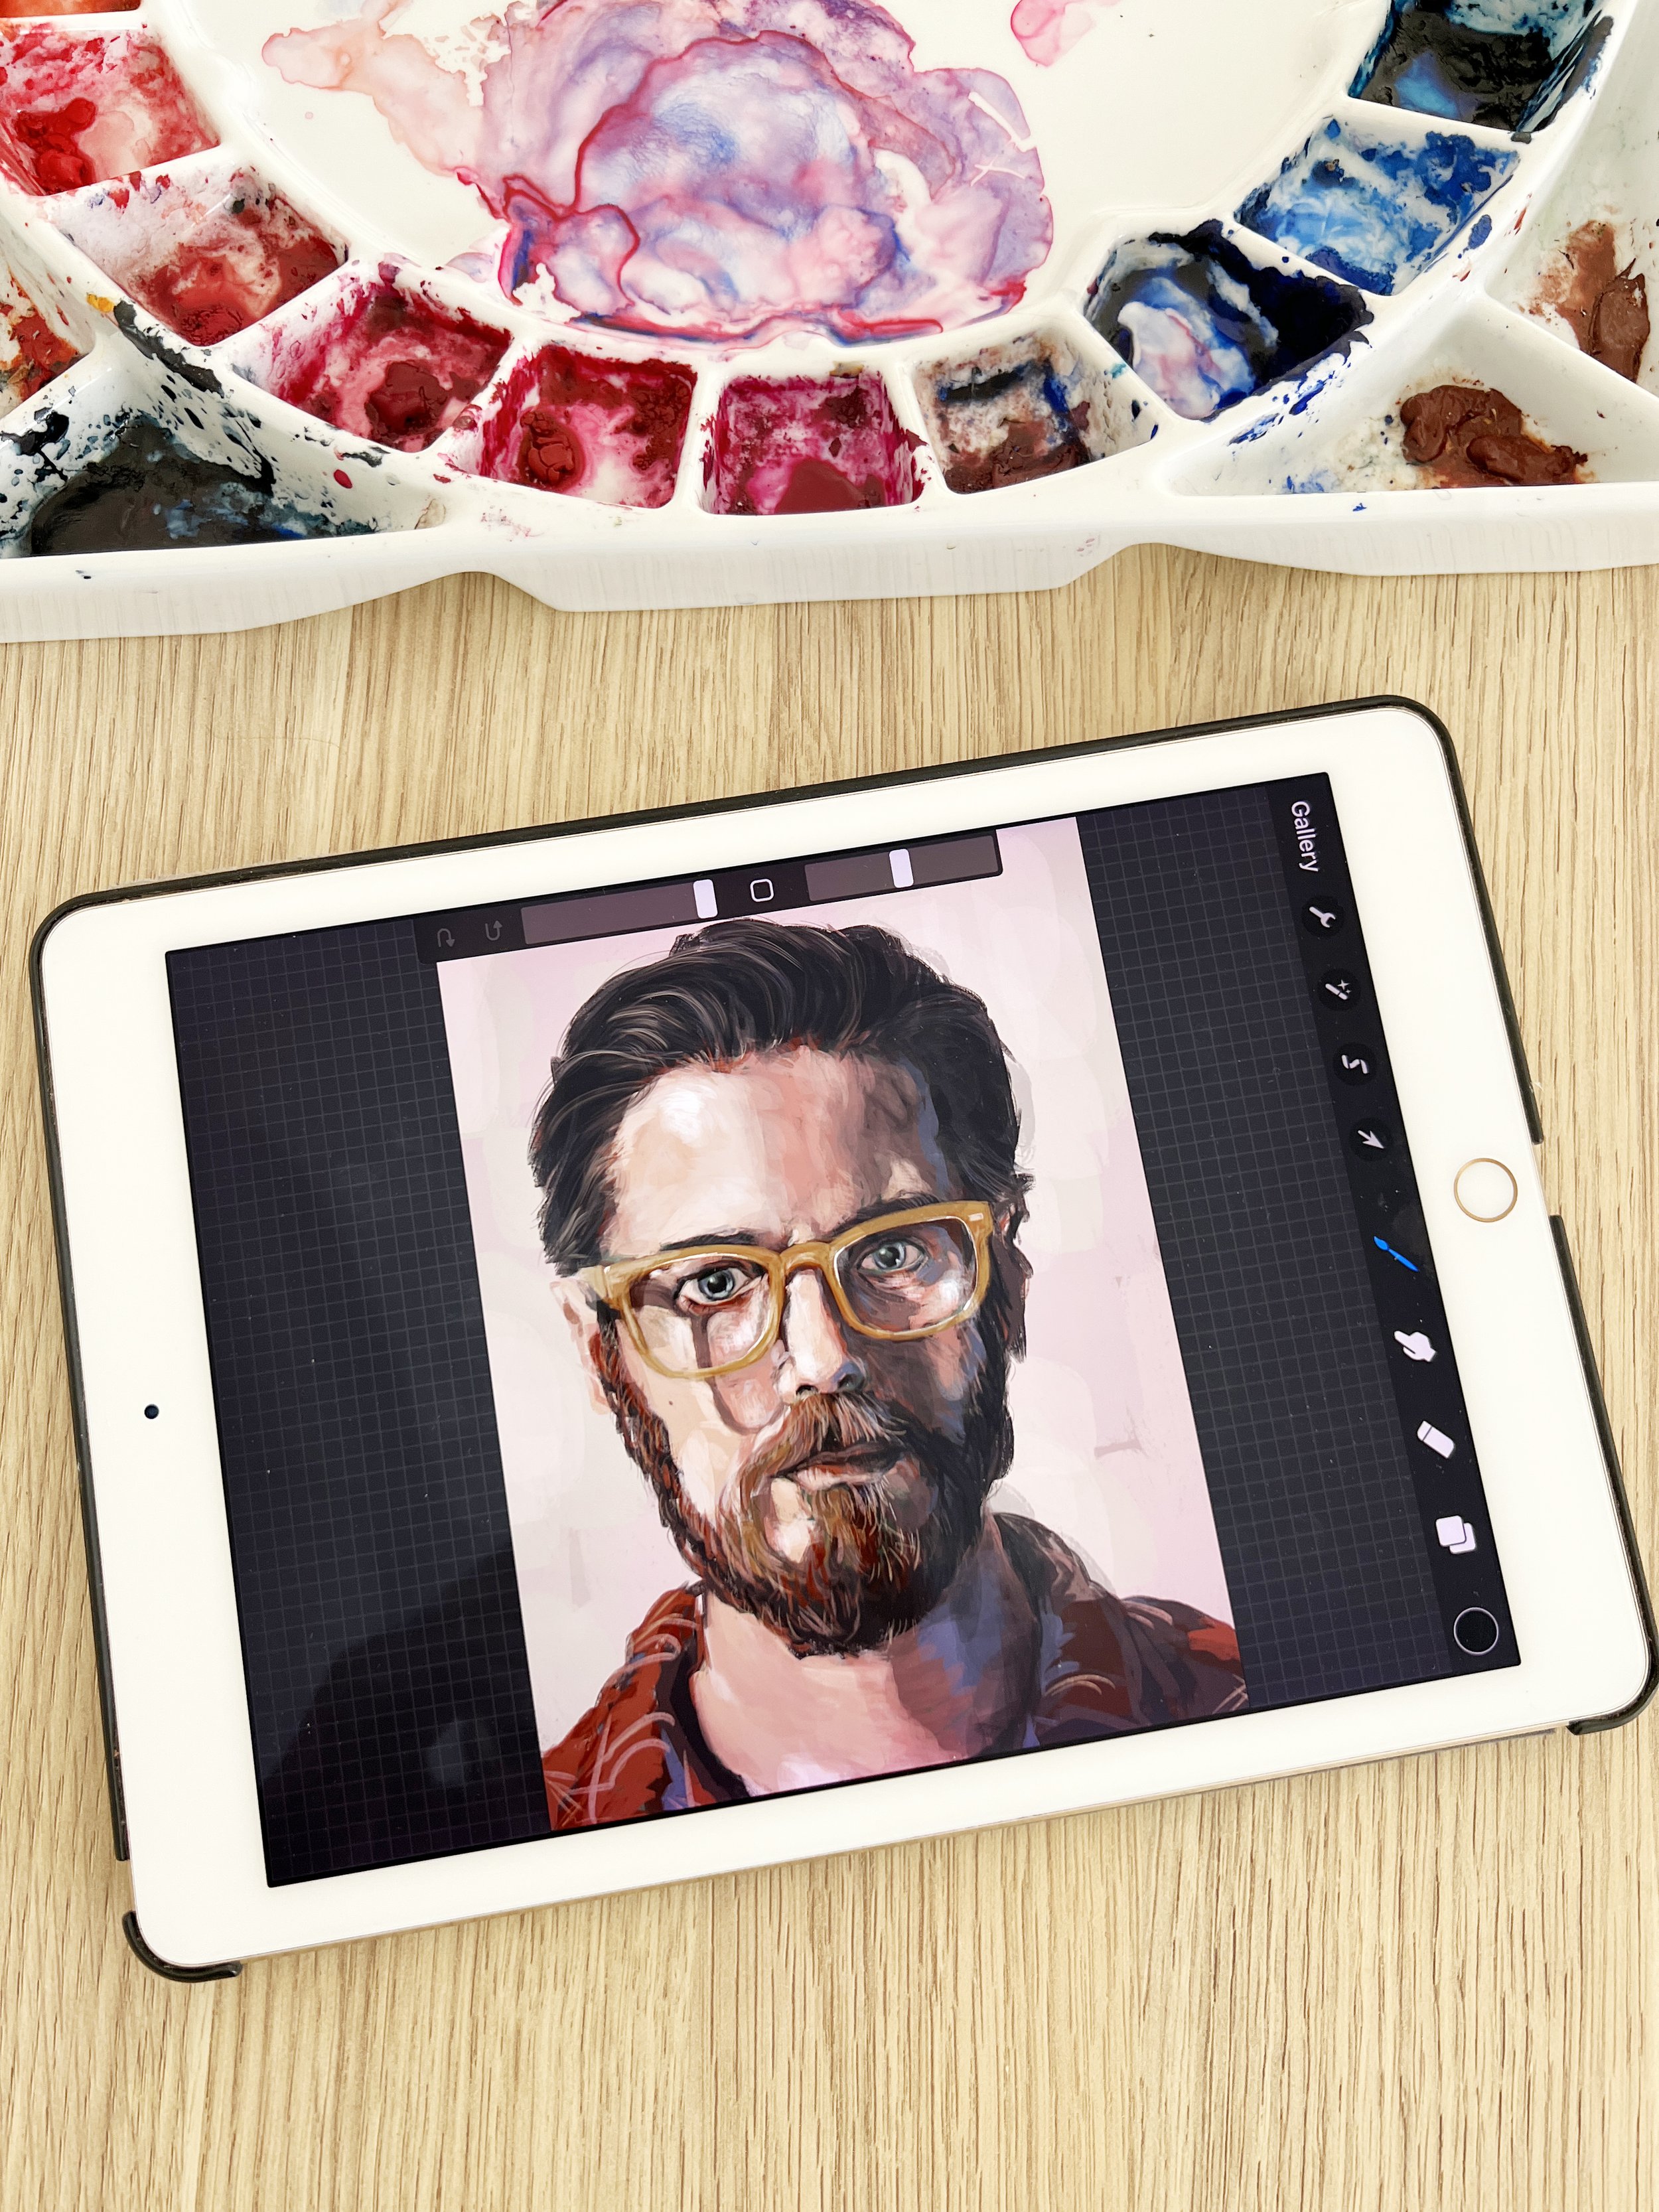
Watercolor artwork in progress.
These tools don’t replace the joy of painting. Instead, they enhance the planning process, helping me make creative decisions with more clarity, confidence, and ease. Whether I’m testing a colour palette, adjusting a composition, or preparing a line drawing - the digital world has opened up new possibilities that beautifully complement my watercolours.
Adjusting your reference image
Digital tools like Adobe Photoshop, are incredibly helpful when working with reference photos. I often crop or adjust the brightness and contrast of an image to better understand shapes, light, and shadow before I start sketching. A little editing can make your reference much clearer - especially when working from a photo with a busy background or uneven lighting.
Before starting a watercolor painting I often use Photoshop to manipulate the reference photo slightly.
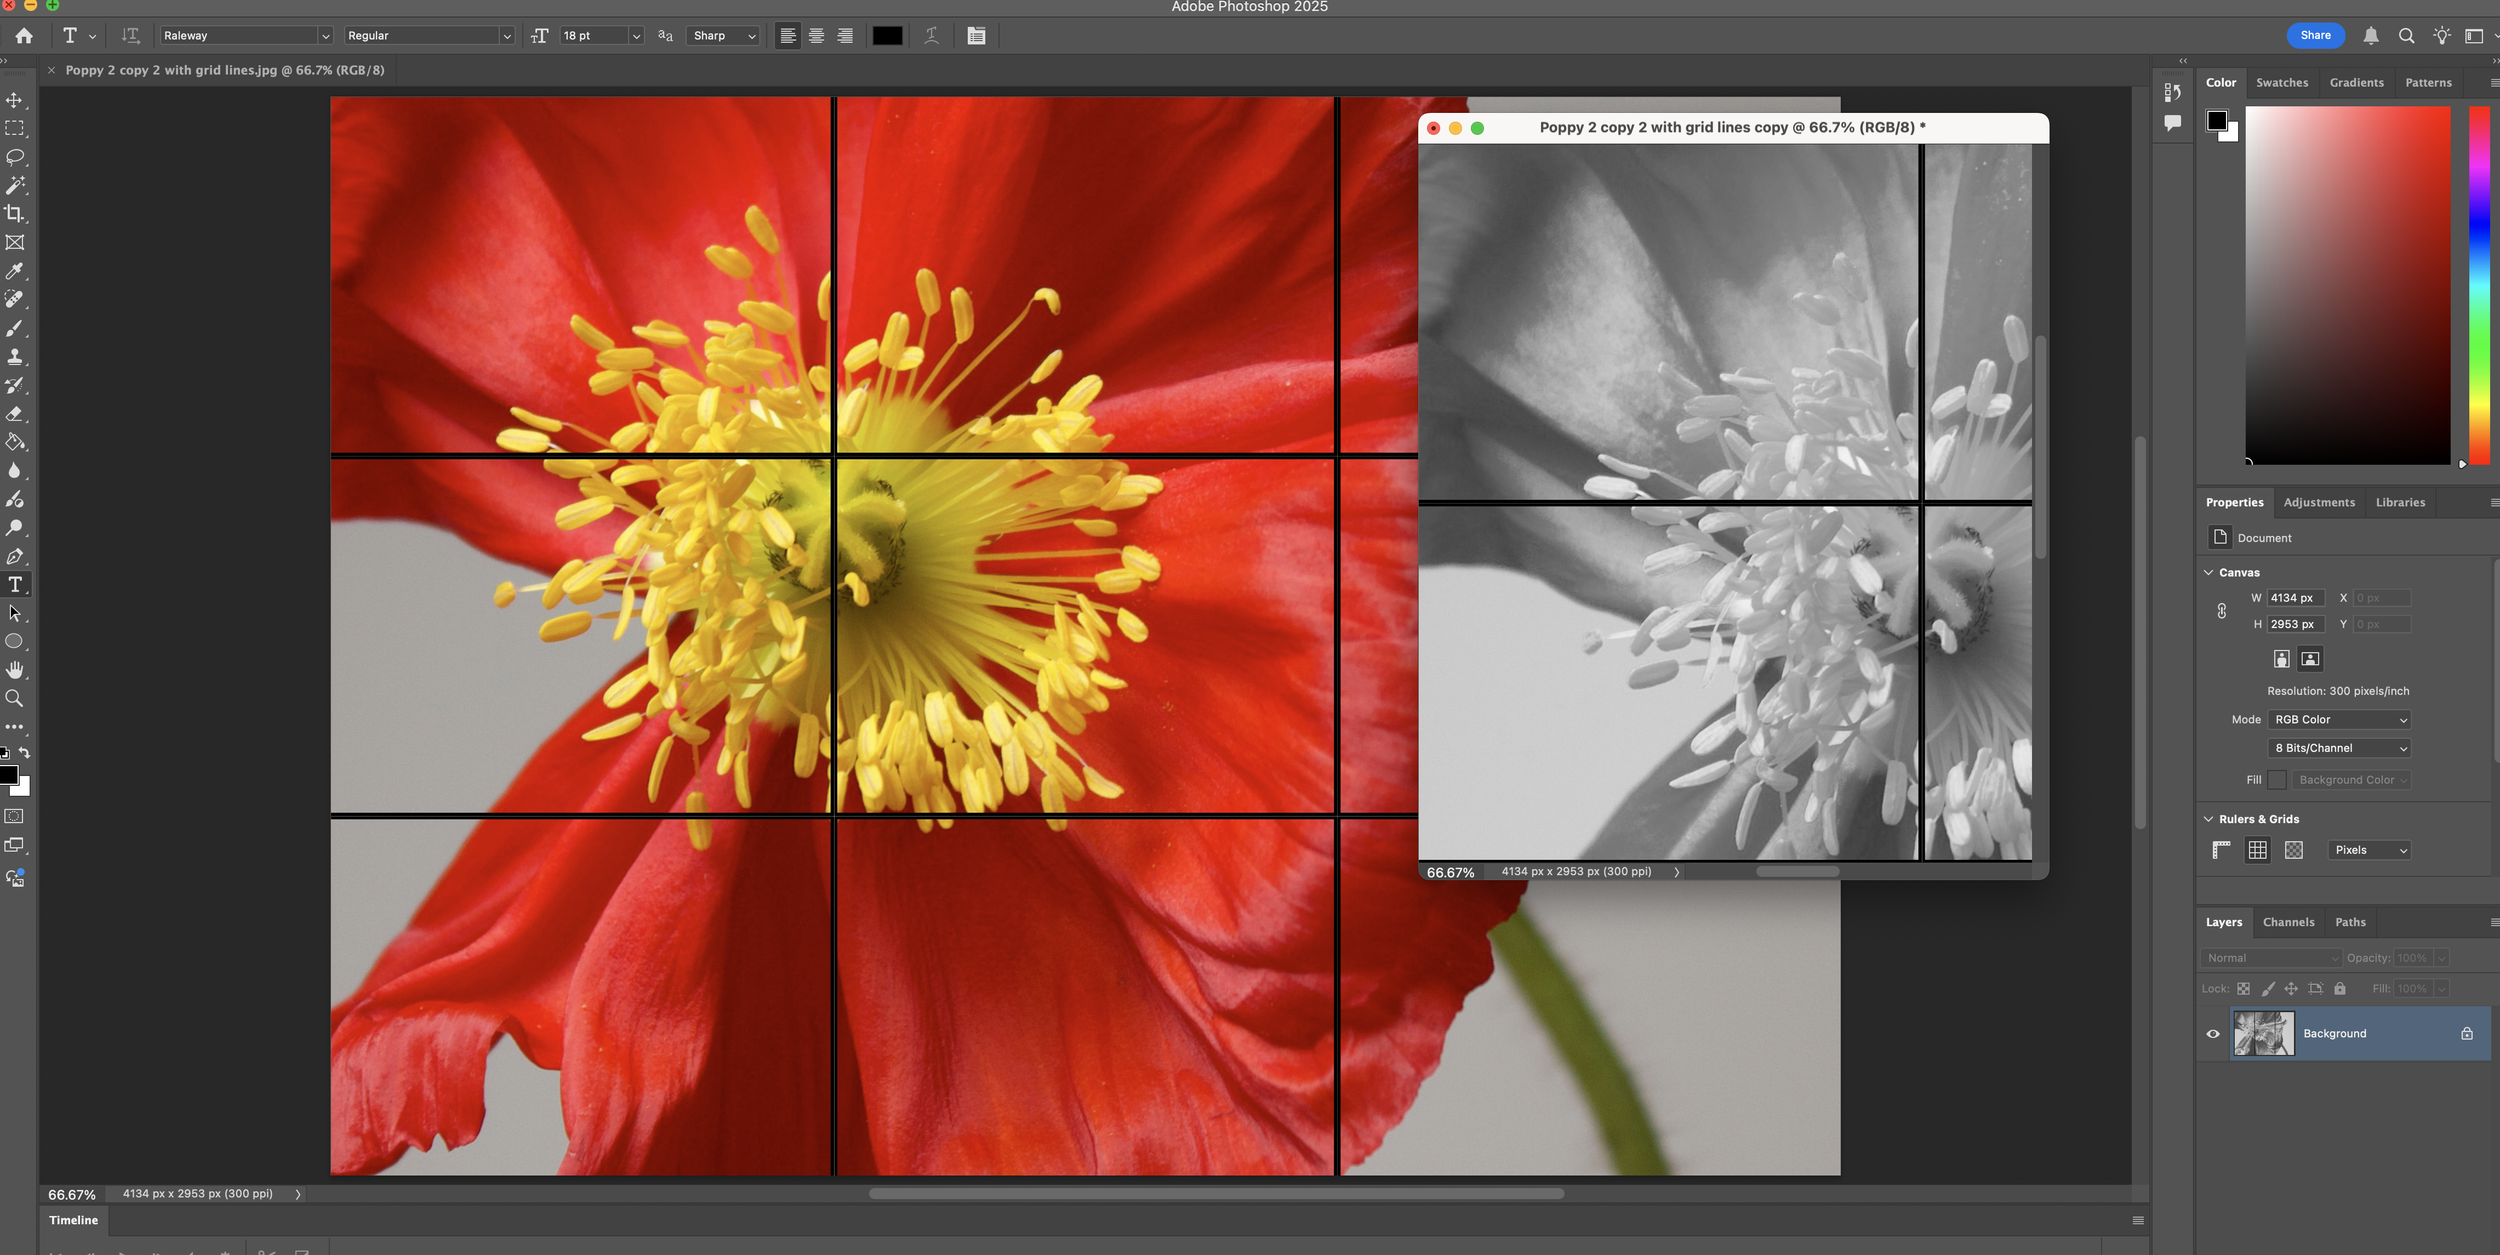
You can change the picture to black and white to see those light and dark areas better. Try zooming into a photo for a more dramatic effect. Play with what you have available to make a perfect reference picture!
Stay Organised with Digital Project Folders
If you're creating class content, preparing a commission, or simply working on a series of paintings, organising your sketches, reference images, and notes digitally can save you a lot of time and keep your process feeling streamlined. I keep folders for each project, with everything from my digital sketches to palette ideas and colour swatches stored in one place.
Let's get started now with the creative process!
1. Start with Colour Inspiration
Every painting begins with a feeling - a mood, a memory, or a spark of visual inspiration. Over time, I’ve become more confident with colour and setting up a palette has become second nature. But if you’re still finding your feet, tools like Coolors can be really helpful for exploring colour combinations digitally.
Coolors allows you to generate and refine colour palettes with just a few clicks. You can also upload a photo and extract colours directly from it, which I often do with my own reference images.
For those who enjoy exploring colour options, another helpful tool is Adobe Color. It’s great for experimenting with harmony rules - like complementary or analogous palettes - and can be a fun way to spark new ideas.
Using these tool can give you a head start - You can visualise how colours might work together before you ever dip your brush in water. I personally also like to use the colour pick up tool in Photoshop, if I am uncertain about which colours to use.
2. Simulate Colours with Rebelle
If you want to see how your chosen palette will behave in action, you could use a program called Rebelle. It simulates watercolour flow in a realistic way - from wet-into-wet blooms to dry brush textures.
I’ll always test how colours blend, layer, and interact and as you know, I sometimes do a quick study or sketch to test the overall harmony of the palette I've chosen. You can skip this part with the help of Rebelle. It’s like having a practice round before the real performance. This can also be done in Procreate.
This step is optional, but it can be incredibly helpful when working on a detailed piece or using a limited palette.
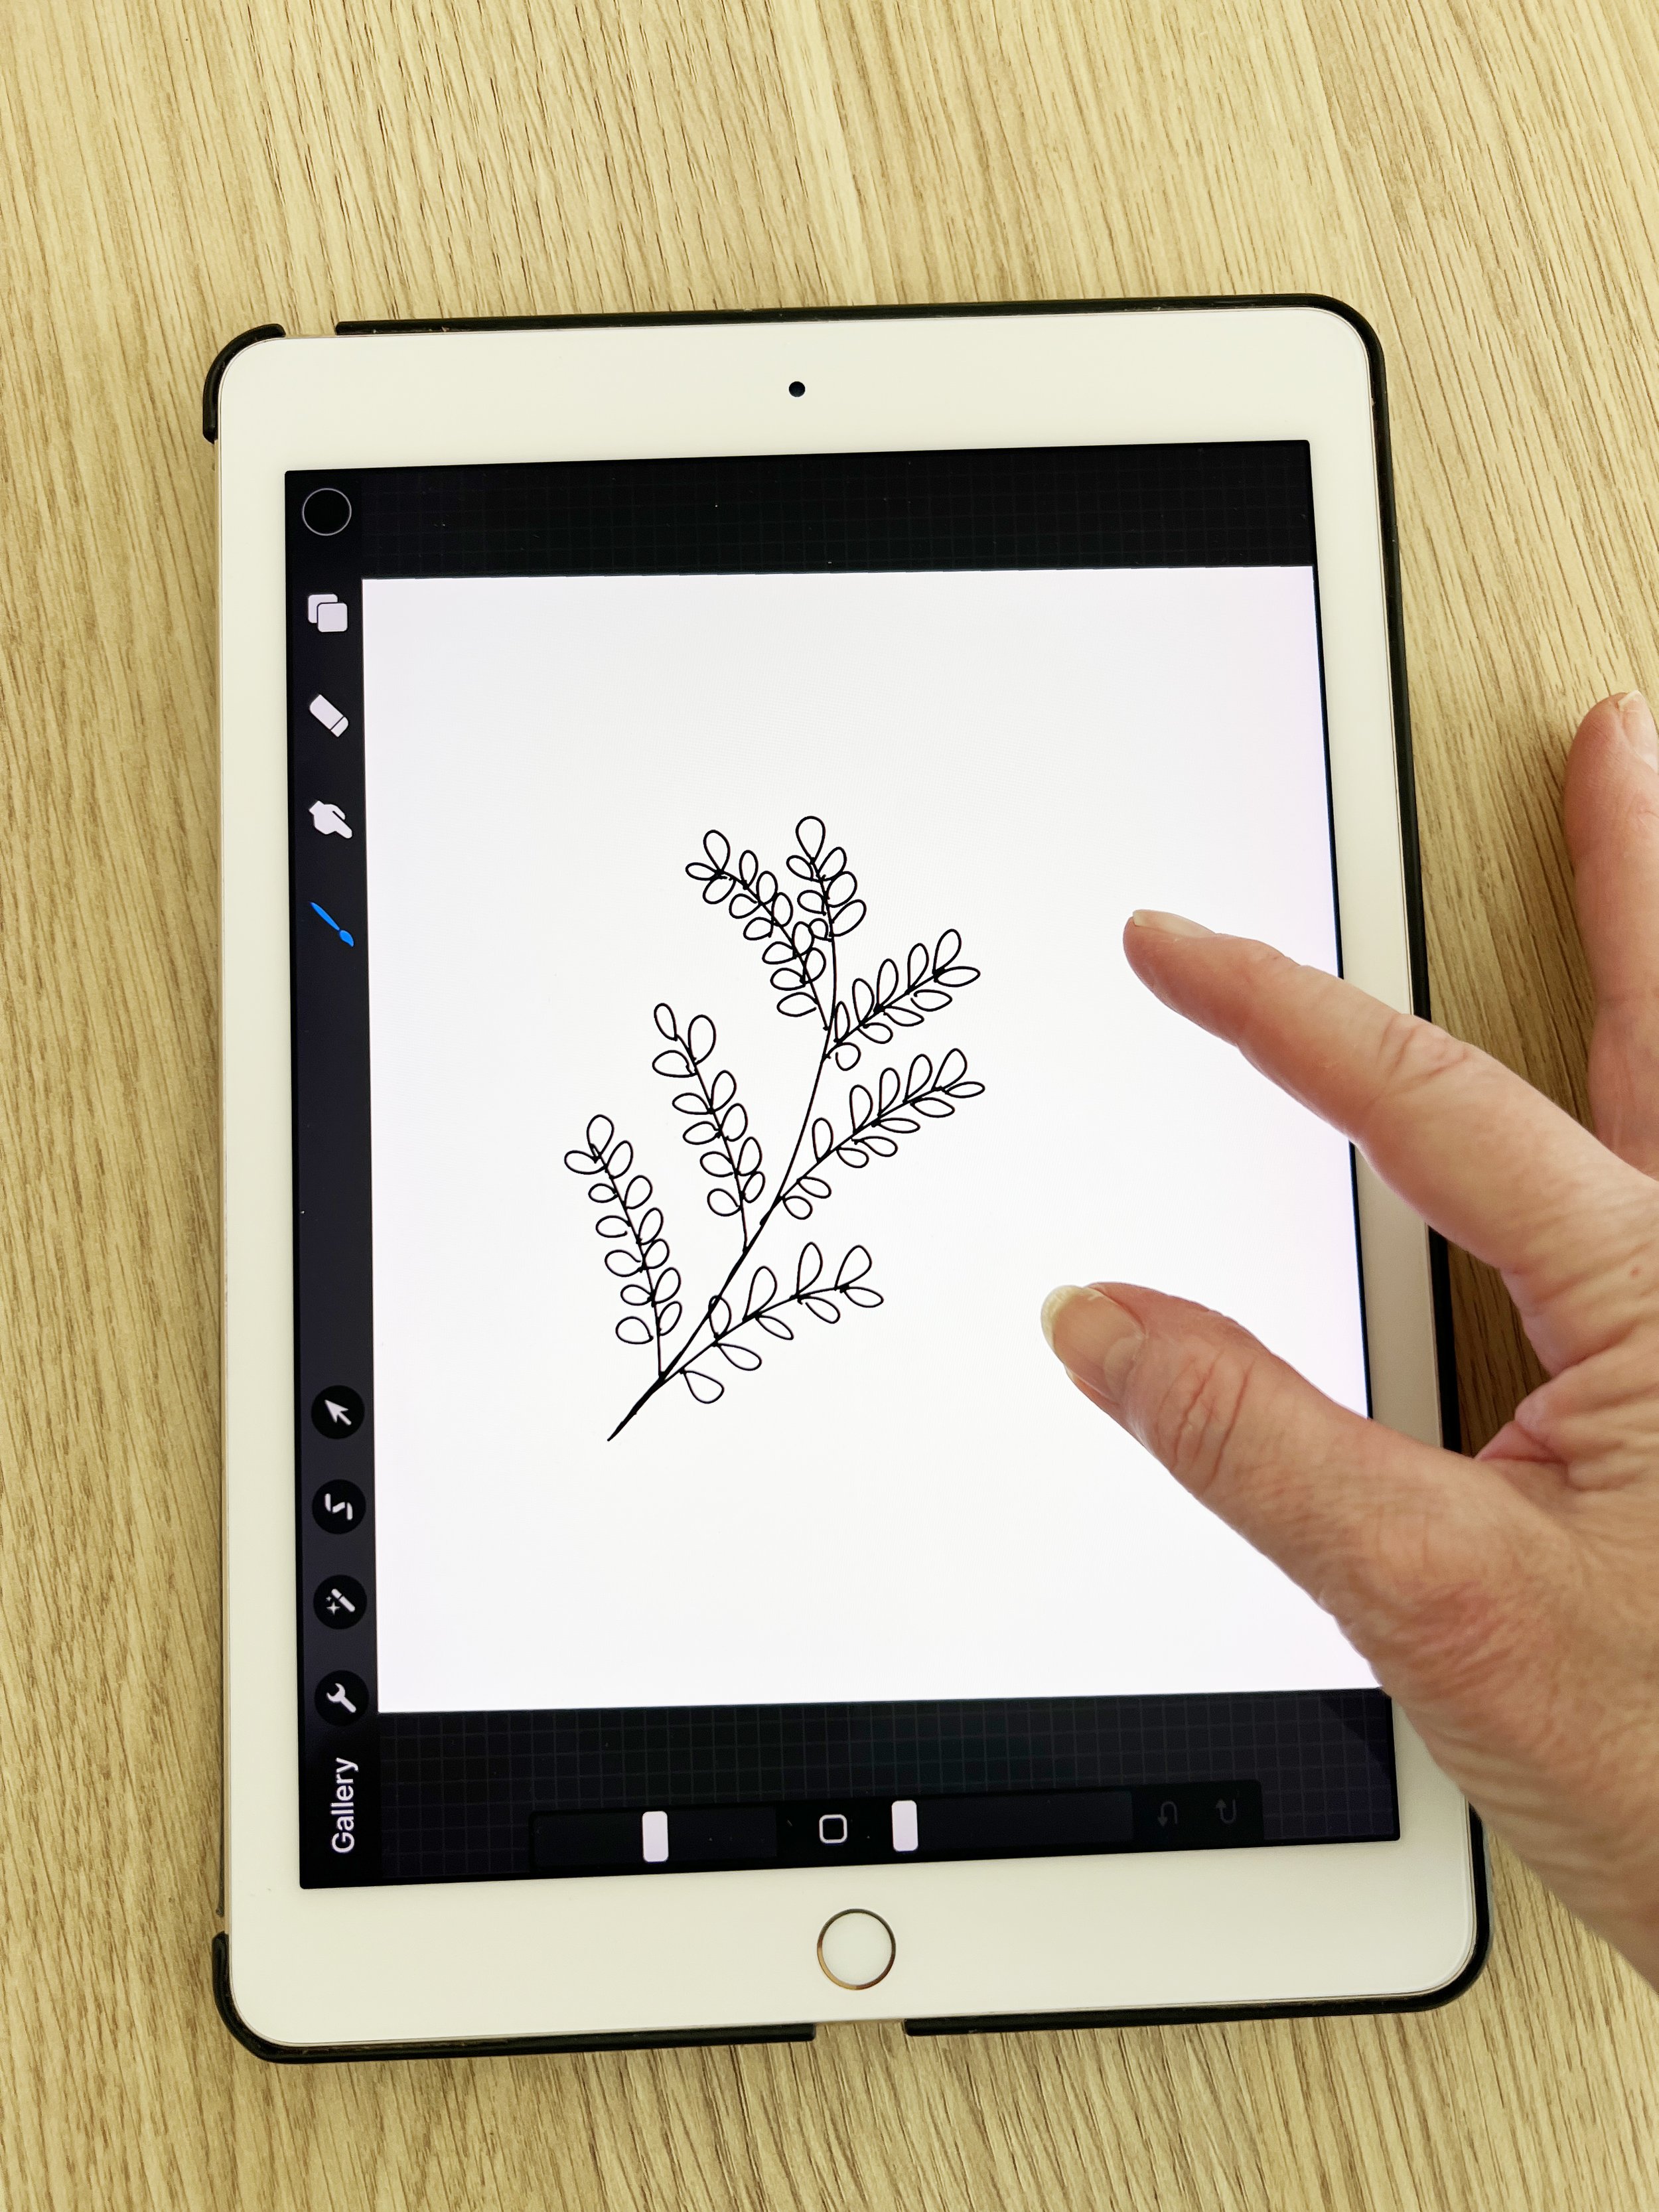
3. Create Line Drawings Digitally
You can use digital tools for creating line drawings or templates for your paintings.
There are a few reasons I love this approach:
It’s easy to refine. You can zoom in to adjust tiny details, undo a wonky line with one tap, or move elements around until the composition feels balanced.
It saves time. Once you've created a digital line drawing you're happy with, you can print it and transfer it onto your watercolour paper using tracing paper or a light pad. No more redoing the same pencil sketch multiple times!
It’s reusable. You can save these digital drawings so you can paint the subject again in a different style or palette down the line.
I often used Procreate when I was working in art licensing - it helped me quickly test compositions, tidy up sketches, and speed up the design process.
Digital drawings are reusable. You can save them so you can revisit the subject later with a different palette or style.
You don’t need to be a digital artist to do this - a simple drawing app like Procreate or Adobe Fresco will do the trick. And if you don’t have a tablet, even basic tools on your desktop computer can help you tidy up and adjust a scanned pencil sketch.
Whether you're preparing a class tutorial, planning a detailed commission, or just organising your ideas, digital line drawing is such a helpful step - and it blends beautifully with the other planning tools I’ve mentioned above.
Sketch in Procreate (but any basic drawing app will do), where you can zoom in for fine details, erase easily, and reposition elements until the composition feels balanced.
When you're happy with the sketch, print it and transfer it to watercolour paper using a light pad or tracing paper.
The best part? These digital drawings are reusable. You can save them so you can revisit the subject later with a different palette or style.
That said, there’s no substitute for drawing by hand when it comes to building your skills. If you’re still learning the basics of observation and proportion, I recommend keeping up your pencil sketching practice. These digital tools are most helpful when you already have a foundation in drawing and want to speed up the process or fine-tune a complex composition.
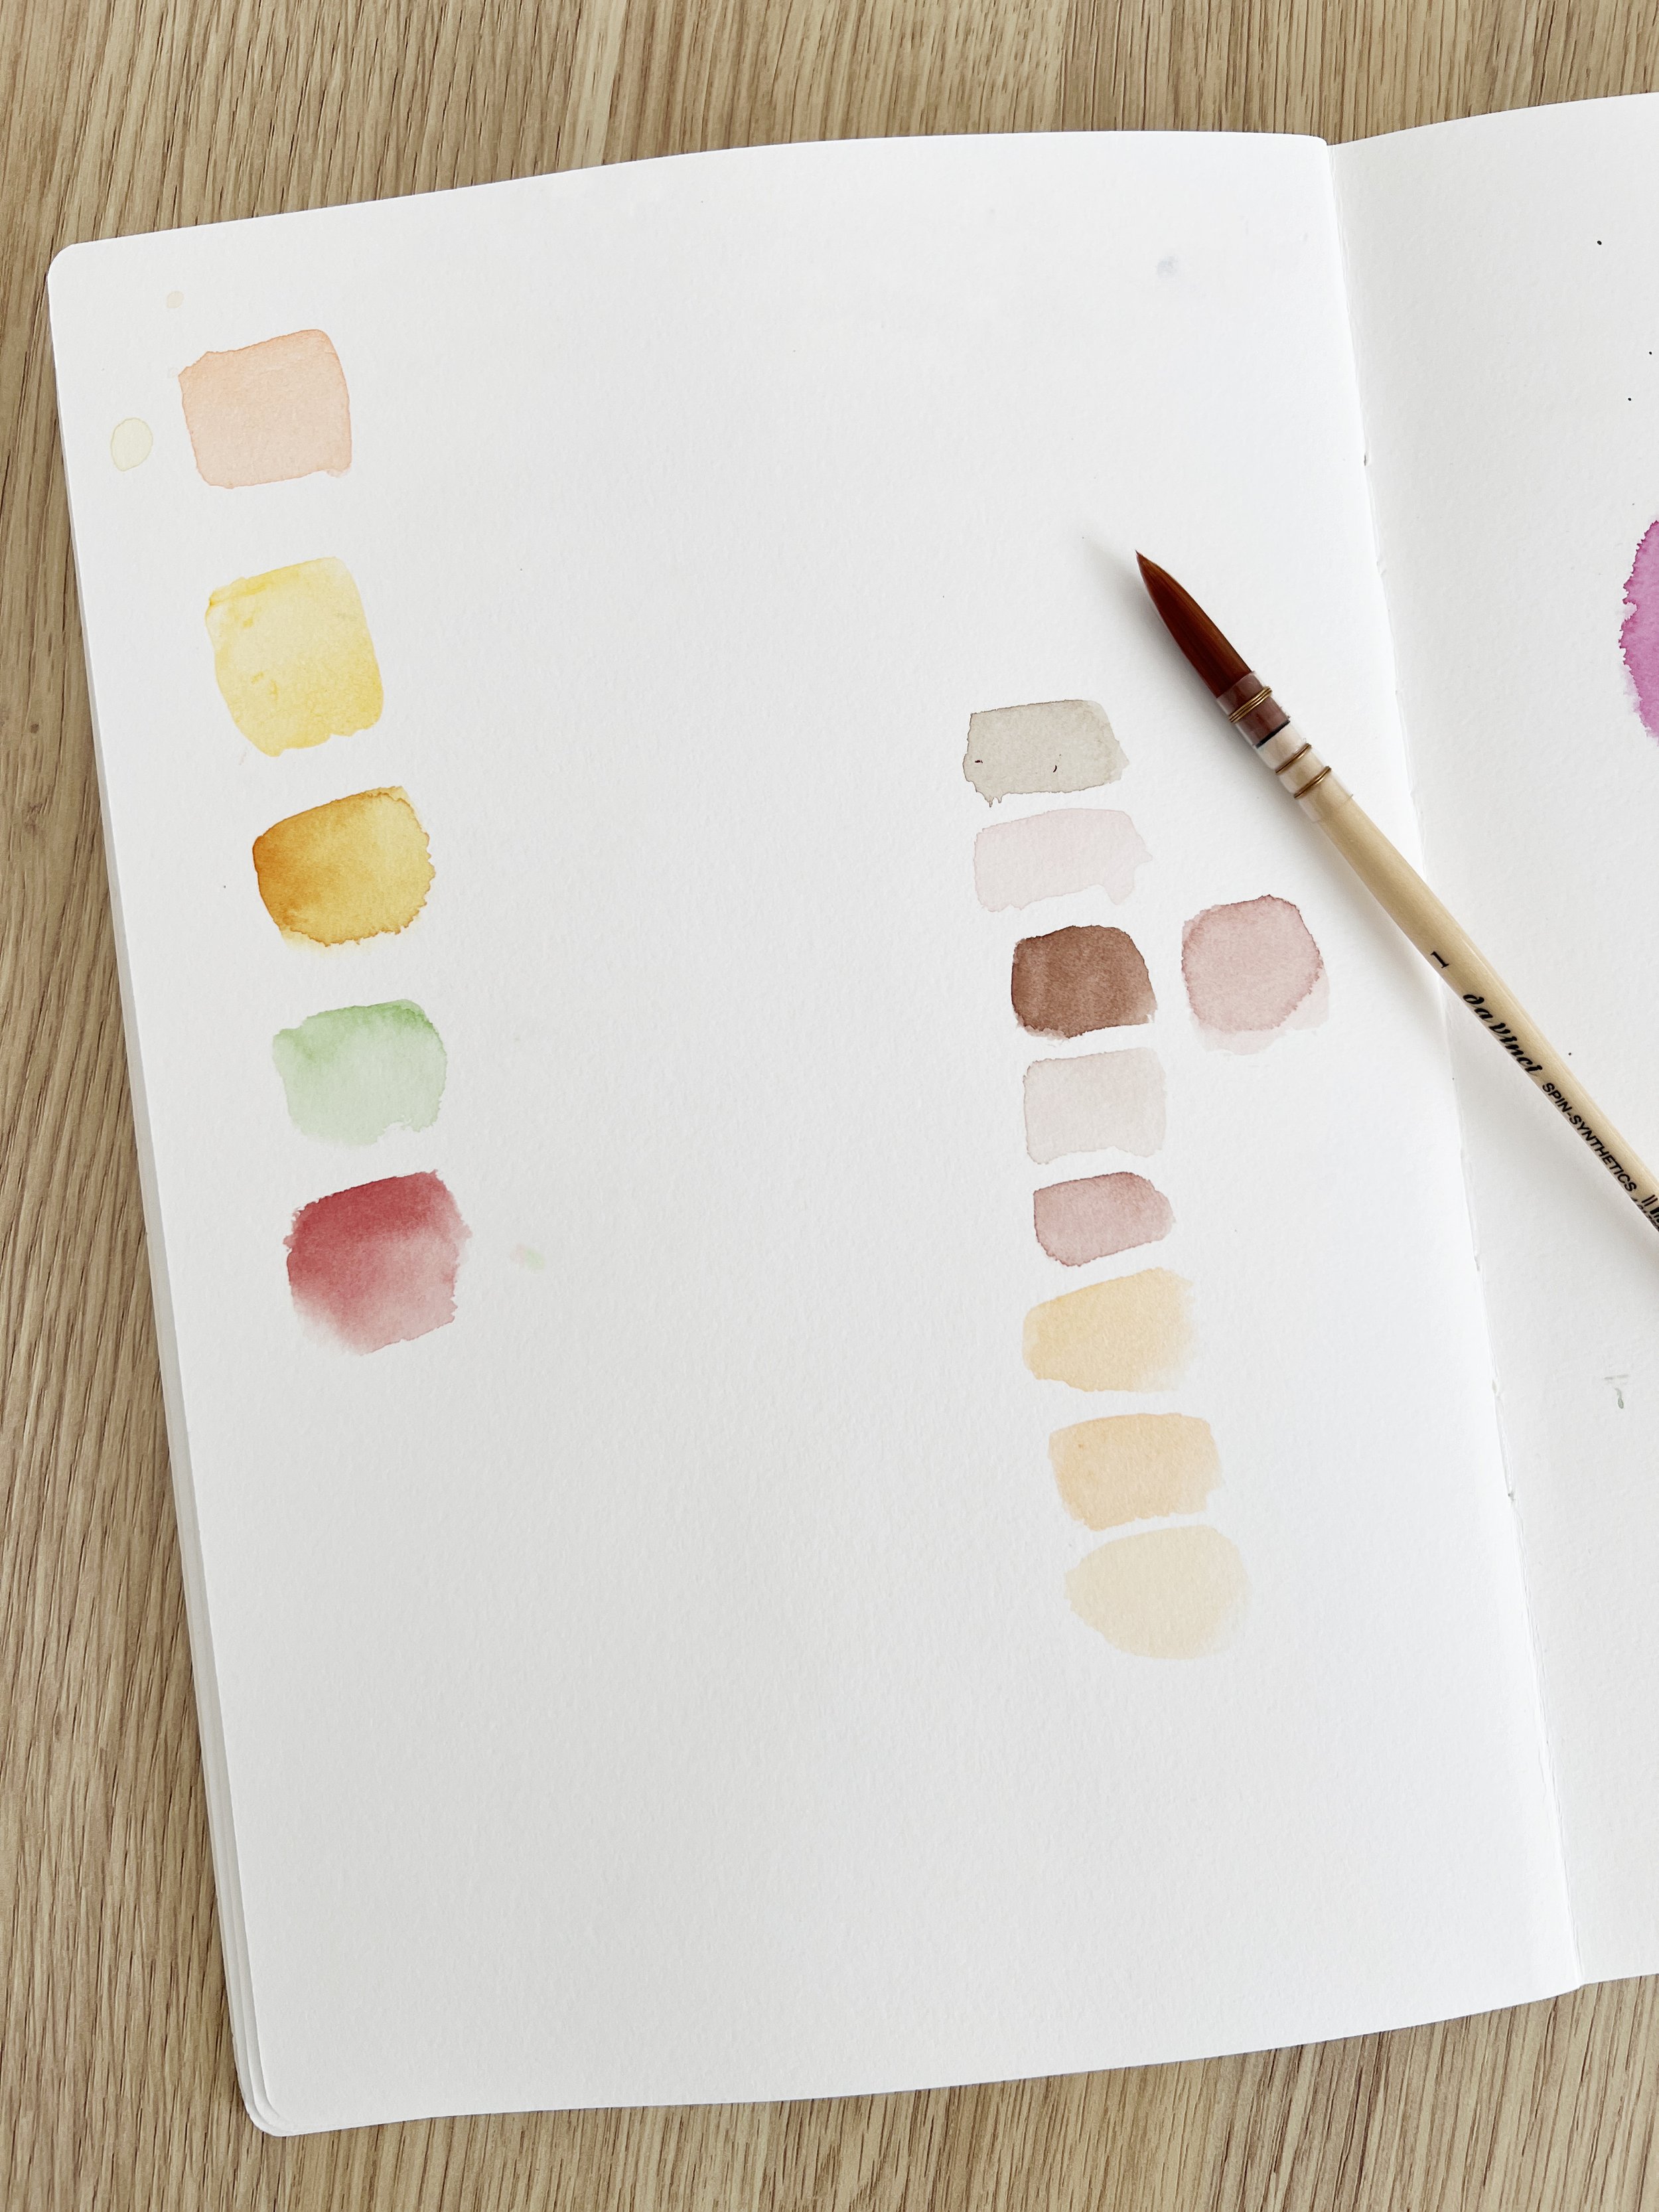
4. Finalise Your Palette with Traditional Swatches
Once you've narrowed down your colour choices digitally, return to your paints and swatch the final palette on real watercolour paper. This is when you check for granulation, transparency, and how the pigments lift or settle.
Because you've already explored options on screen, you will waste far less paint and paper at this stage. Instead of mixing aimlessly, you're testing with intention.
Why Use Digital Tools at All?
If you’re a traditionalist at heart (like I am), you might wonder whether it’s worth bringing technology into your process. For me, the answer is a gentle but resounding yes - because of the benefits it brings:
Efficiency
You can explore colour and composition quickly, without having to start over multiple times.
Resource Conservation
By testing digitally first, you save on paper, paint, and your own energy.
Creative Confidence
When you’ve already worked through decisions digitally, painting feels less like guesswork and more like joyful expression.
Comfort and Flexibility
One of the best things about digital planning is that you can do it anywhere - curled up on the couch, sitting outside with a cup of tea, or even while watching TV in the evening. No need to set up your whole painting station - just grab your tablet or laptop and start exploring ideas at your own pace.
Tradition and Technology - A Perfect Match
Digital tools don’t take away from the beauty of watercolour - they prepare the ground for it. They allow you to play, experiment, and explore without consequence, so when you do pick up your brush, you can paint with more clarity and freedom.
Whether you’re curious about trying out new palettes or want to streamline your sketching process, I encourage you to give one or two of these tools a try. Even small changes in how you plan your paintings can make a world of difference.
Until next time, happy painting - and happy exploring!
Warm wishes,
Louise 🌸🎨
If you are interested in learning to paint in watercolour, I have hundreds of online, voiced over watercolour tutorials for all skill levels.


