Top Tips for Using Masking Fluid
Masking fluid is a staple in the toolkit of many watercolour artists. Its primary function is to preserve areas of the paper, maintaining pristine white areas. I’m not a huge fan of it and I must admit, I tend to steer clear of it when I can. However, there are times when no alternative presents itself, and I will reach for this transparent saviour. Join me in this blog post as I spill the beans on my tips and tricks for navigating the world of masking fluid.
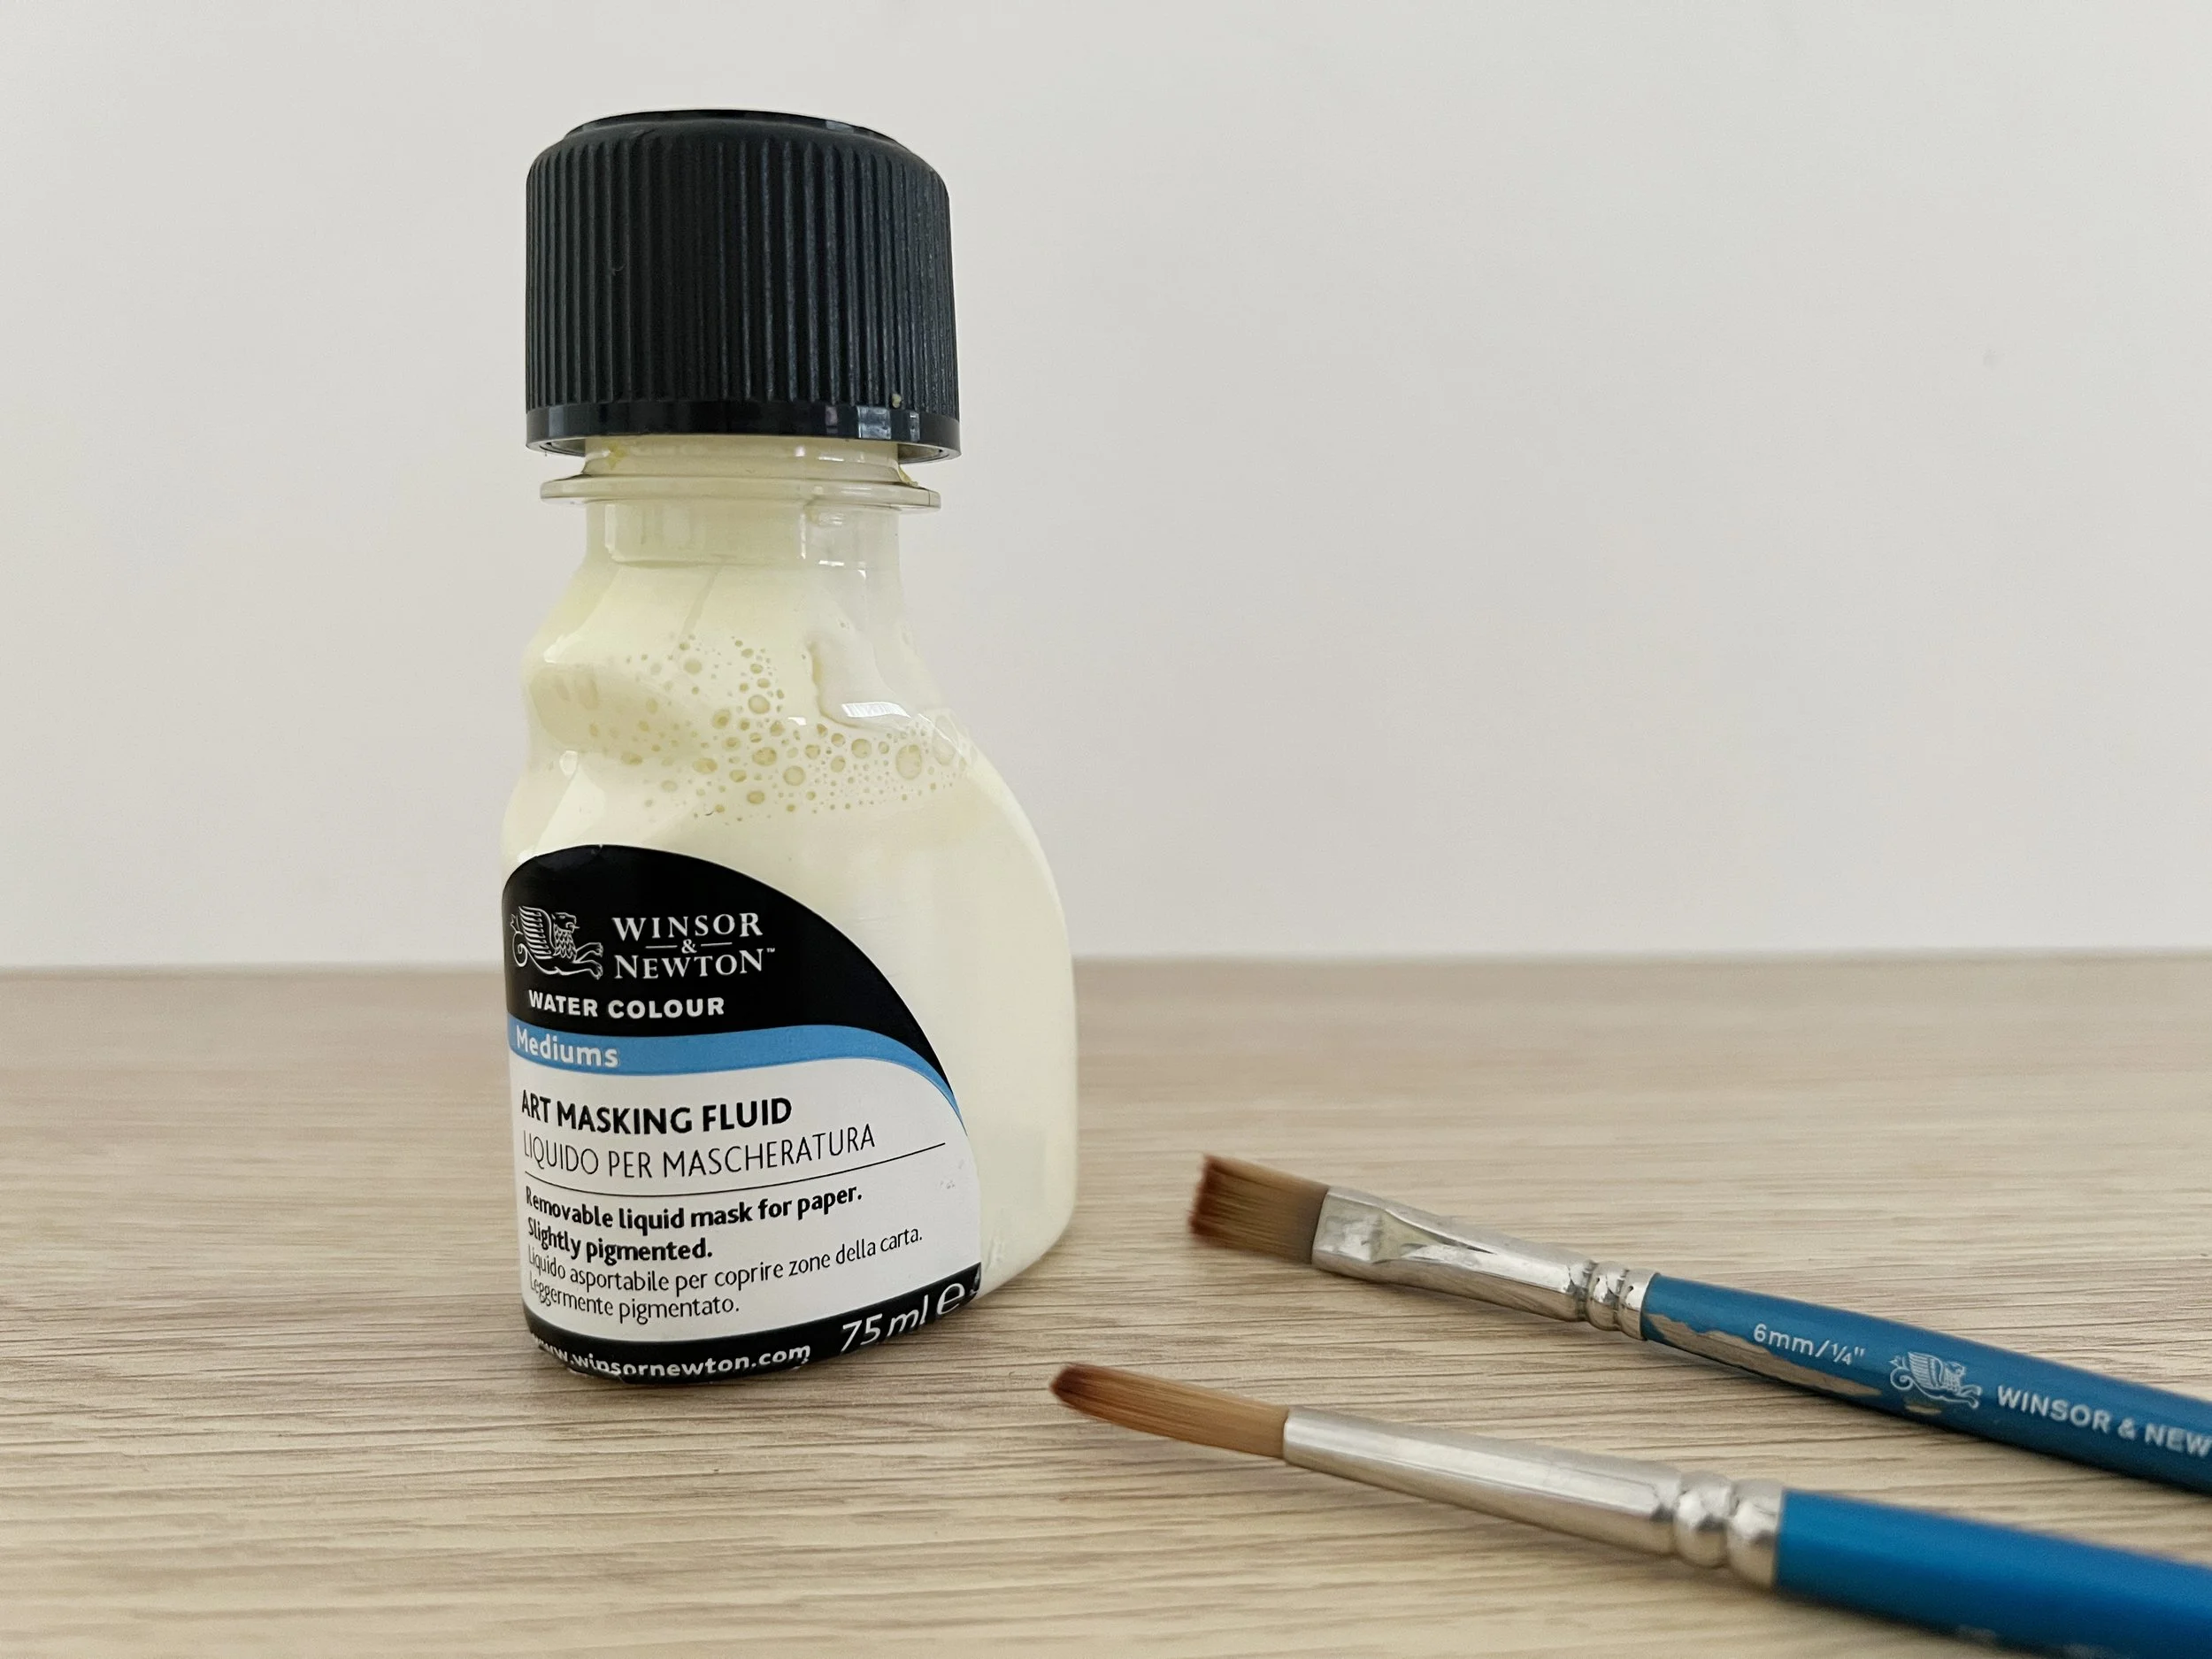
Masking fluid watercolour essential supply.
What is Masking Fluid for Watercolour?
Masking fluid is a liquid latex-based substance that forms a protective barrier on watercolour paper. It prevents the paper underneath from being coloured by the paint, allowing us to maintain those pristine whites that add a sparkle to our paintings.

Applying masking fluid with a brush.
A wash of watercolour paint applied on the painting surface over some masking fluid that has dried.
How to Apply Masking Fluid to Watercolour Paper
Stir, Don't Shake: Just like a delicate potion, masking fluid needs to be stirred gently before use. Avoid shaking the bottle, as bubbles could form, making your work less precise.
Drying: Ensure the paper is completely dry before applying masking fluid. Then, after application, let the magic set – let the fluid dry thoroughly before you start painting over it.
Diluting for Finer Details: Sometimes, masking fluid can be too thick, making it difficult to work with for finer details. In such cases, if the masking fluid you are using is water-based, thin it down with a drop or two of water. It’s like adding a bit of water to our paint to get the right consistency. The masking fluid should dry transparently and flat on your paper. There definitely is too much of a good thing.
Preserving Your Brushes: Masking fluid and your finest paint brushes are not the best of friends. Use an older, synthetic paint brush for application. A little trick I like to use is dipping the brush in soapy water before dipping it into the masking fluid – it's a great way to protect the bristles.
What is the best tool to apply masking fluid?
I use inexpensive synthetic paint brushes to apply masking fluid to my watercolour paper. Some artists use a dip pen to apply masking fluid.
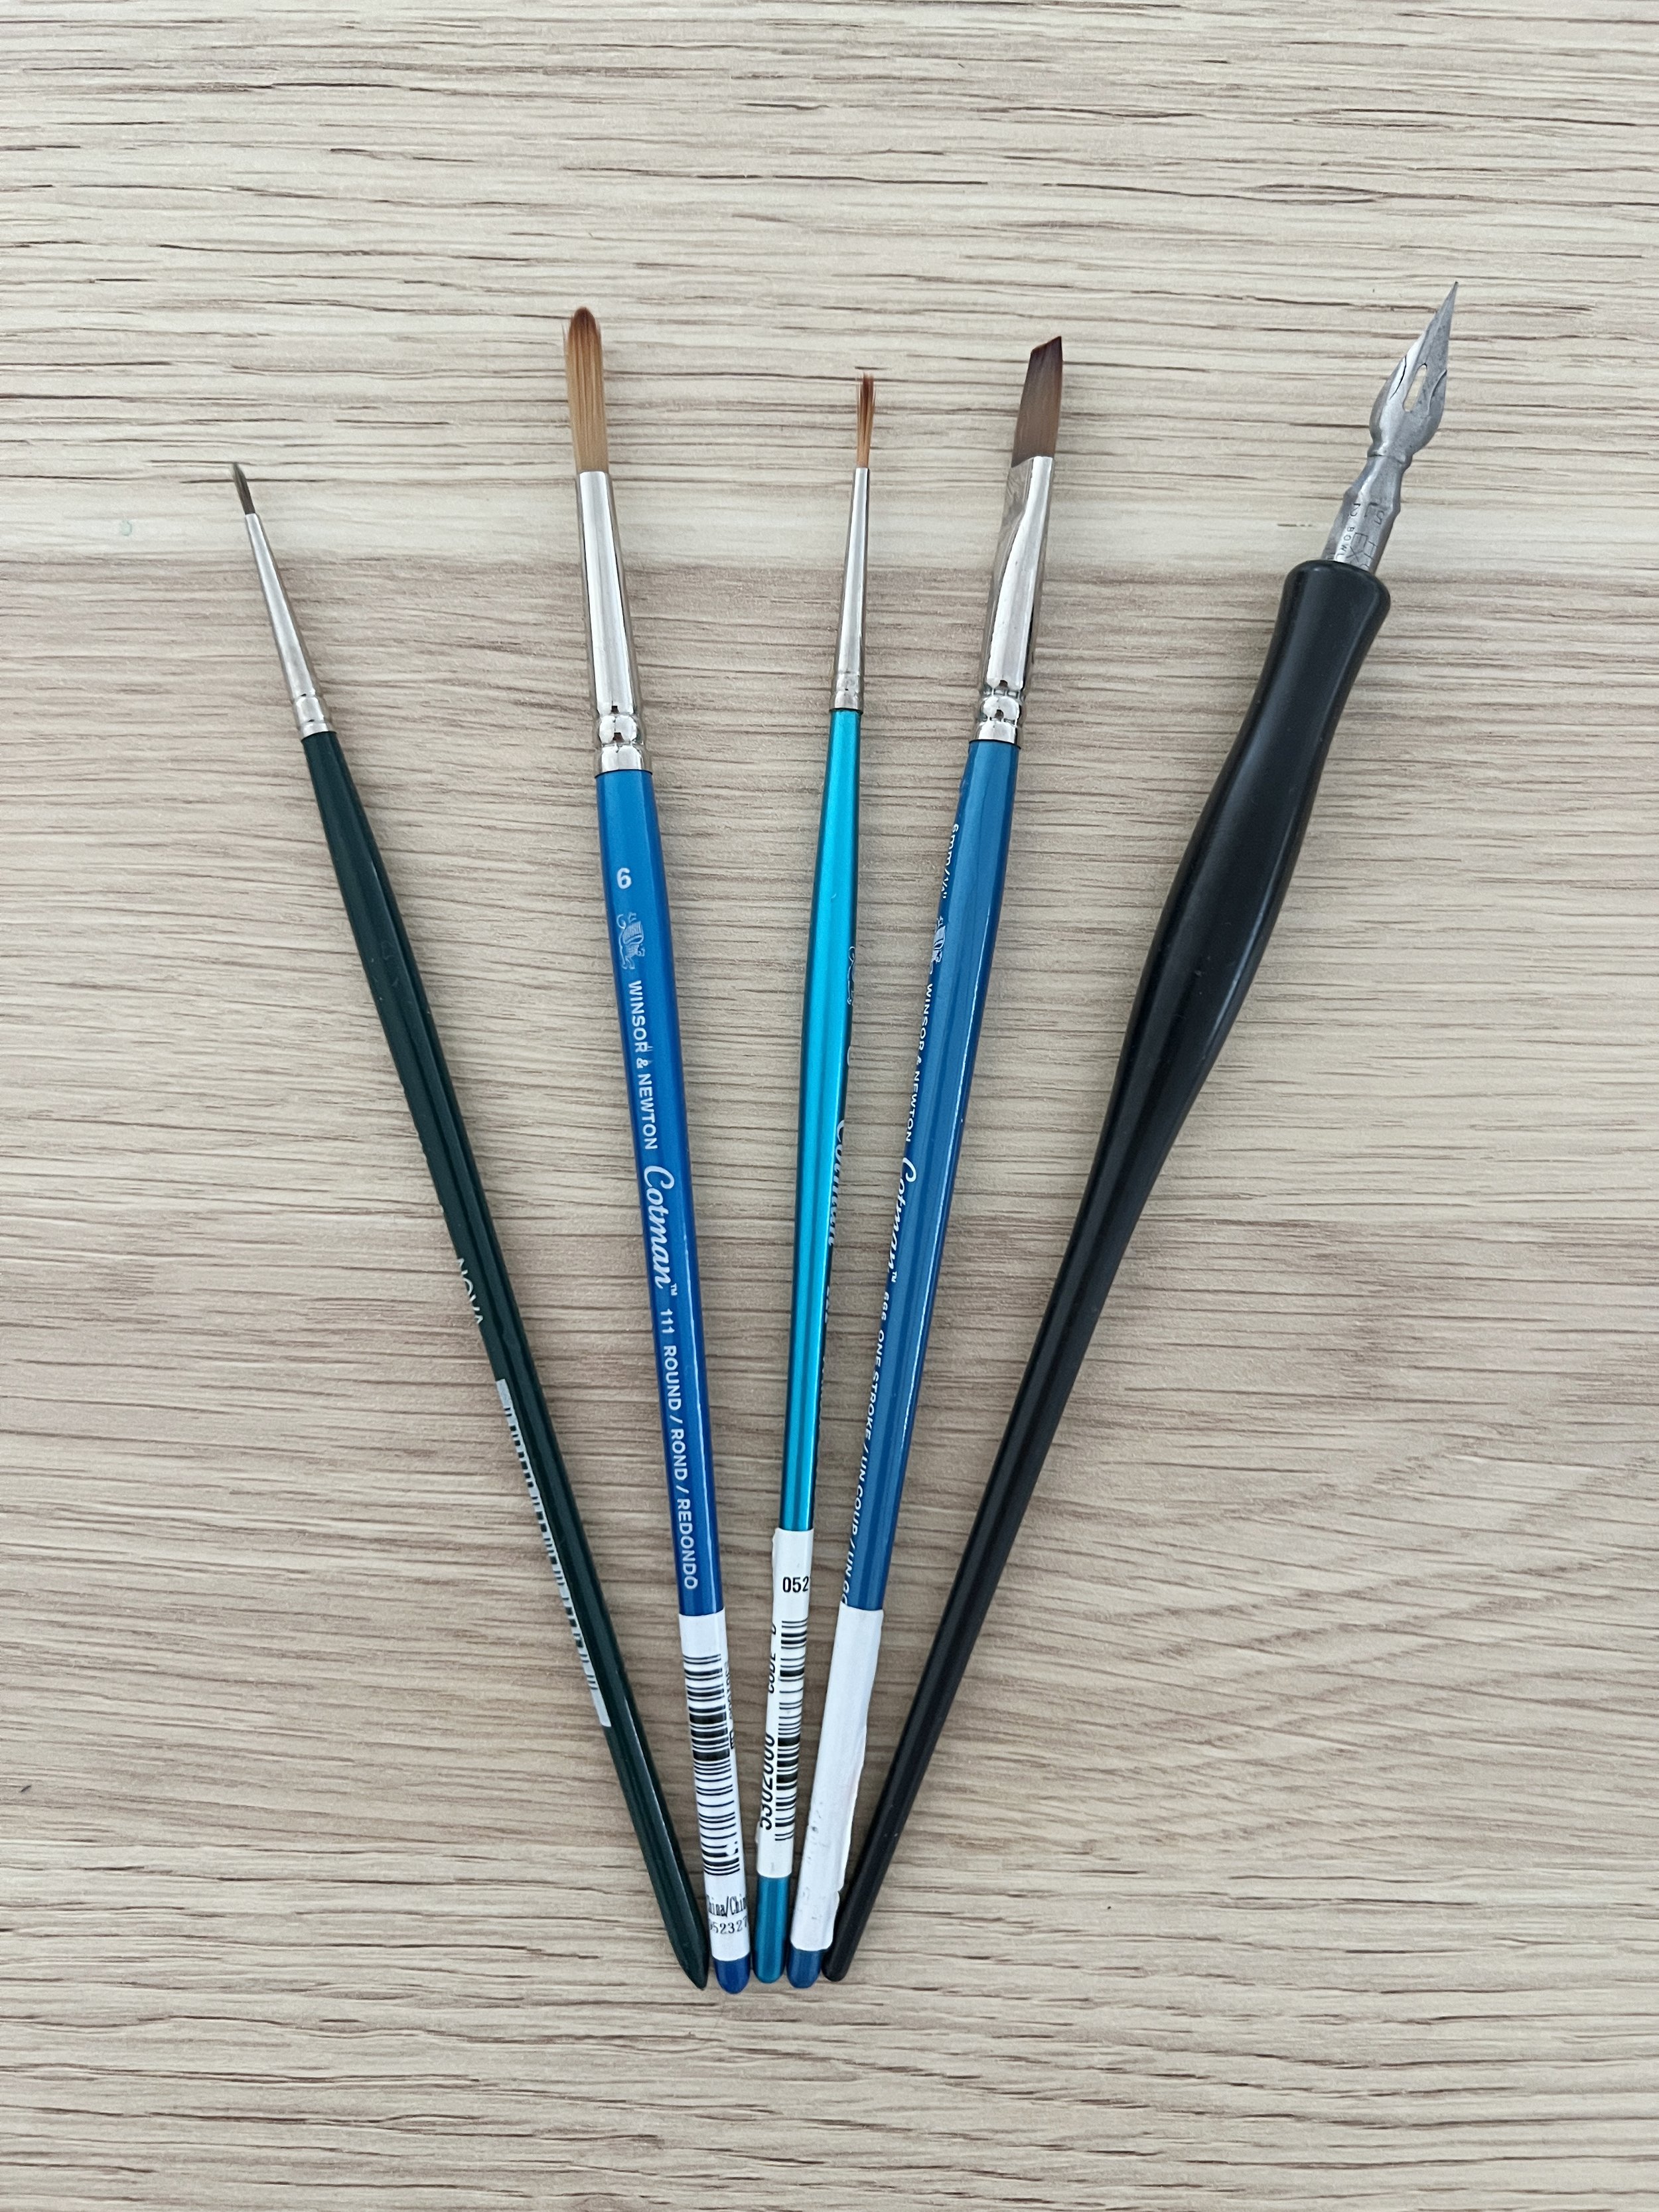
When it comes to applying masking fluid, your imagination is the limit. You can use synthetic brushes, ruling pens, silicone brushes, toothbrushes for splattering effects, sponges, bamboo quills and even fountain pens. Each tool brings its own unique magic to the paper.
Some brands like Schmincke and Pebeo offer masking fluid in a pen-like bottle with an applicator already included.
An interesting tool that can be used to apply masking fluid is a ruling pen. They are traditionally used by draftsmen and architects for creating precise lines and technical drawings. They consist of two adjustable metal blades that can be adjusted to vary the thickness of the line being drawn. They are good to use if you require precision over the marks you are making.

This is a ruling pen.
To apply masking fluid with a ruling pen dip the pen into the masking fluid to fill the reservoir then hold the pen against the paper with the screw to the side. Lightly move the pen over the paper to disperse the masking fluid. You may need to make sure the masking fluid is flowing properly on a spare piece of paper before you use it on your painting.

Using a ruling pen to make fine lines.

After applying masking fluid and painting the area.
How do you remove masking fluid?
Once your painting is dry, it’s time for the grand reveal. Removing the masking fluid should be done with care. I prefer using a rubber cement pick-up tool or an ordinary plastic eraser for this task, as it allows me to gently lift off the mask without damaging the delicate paper underneath.
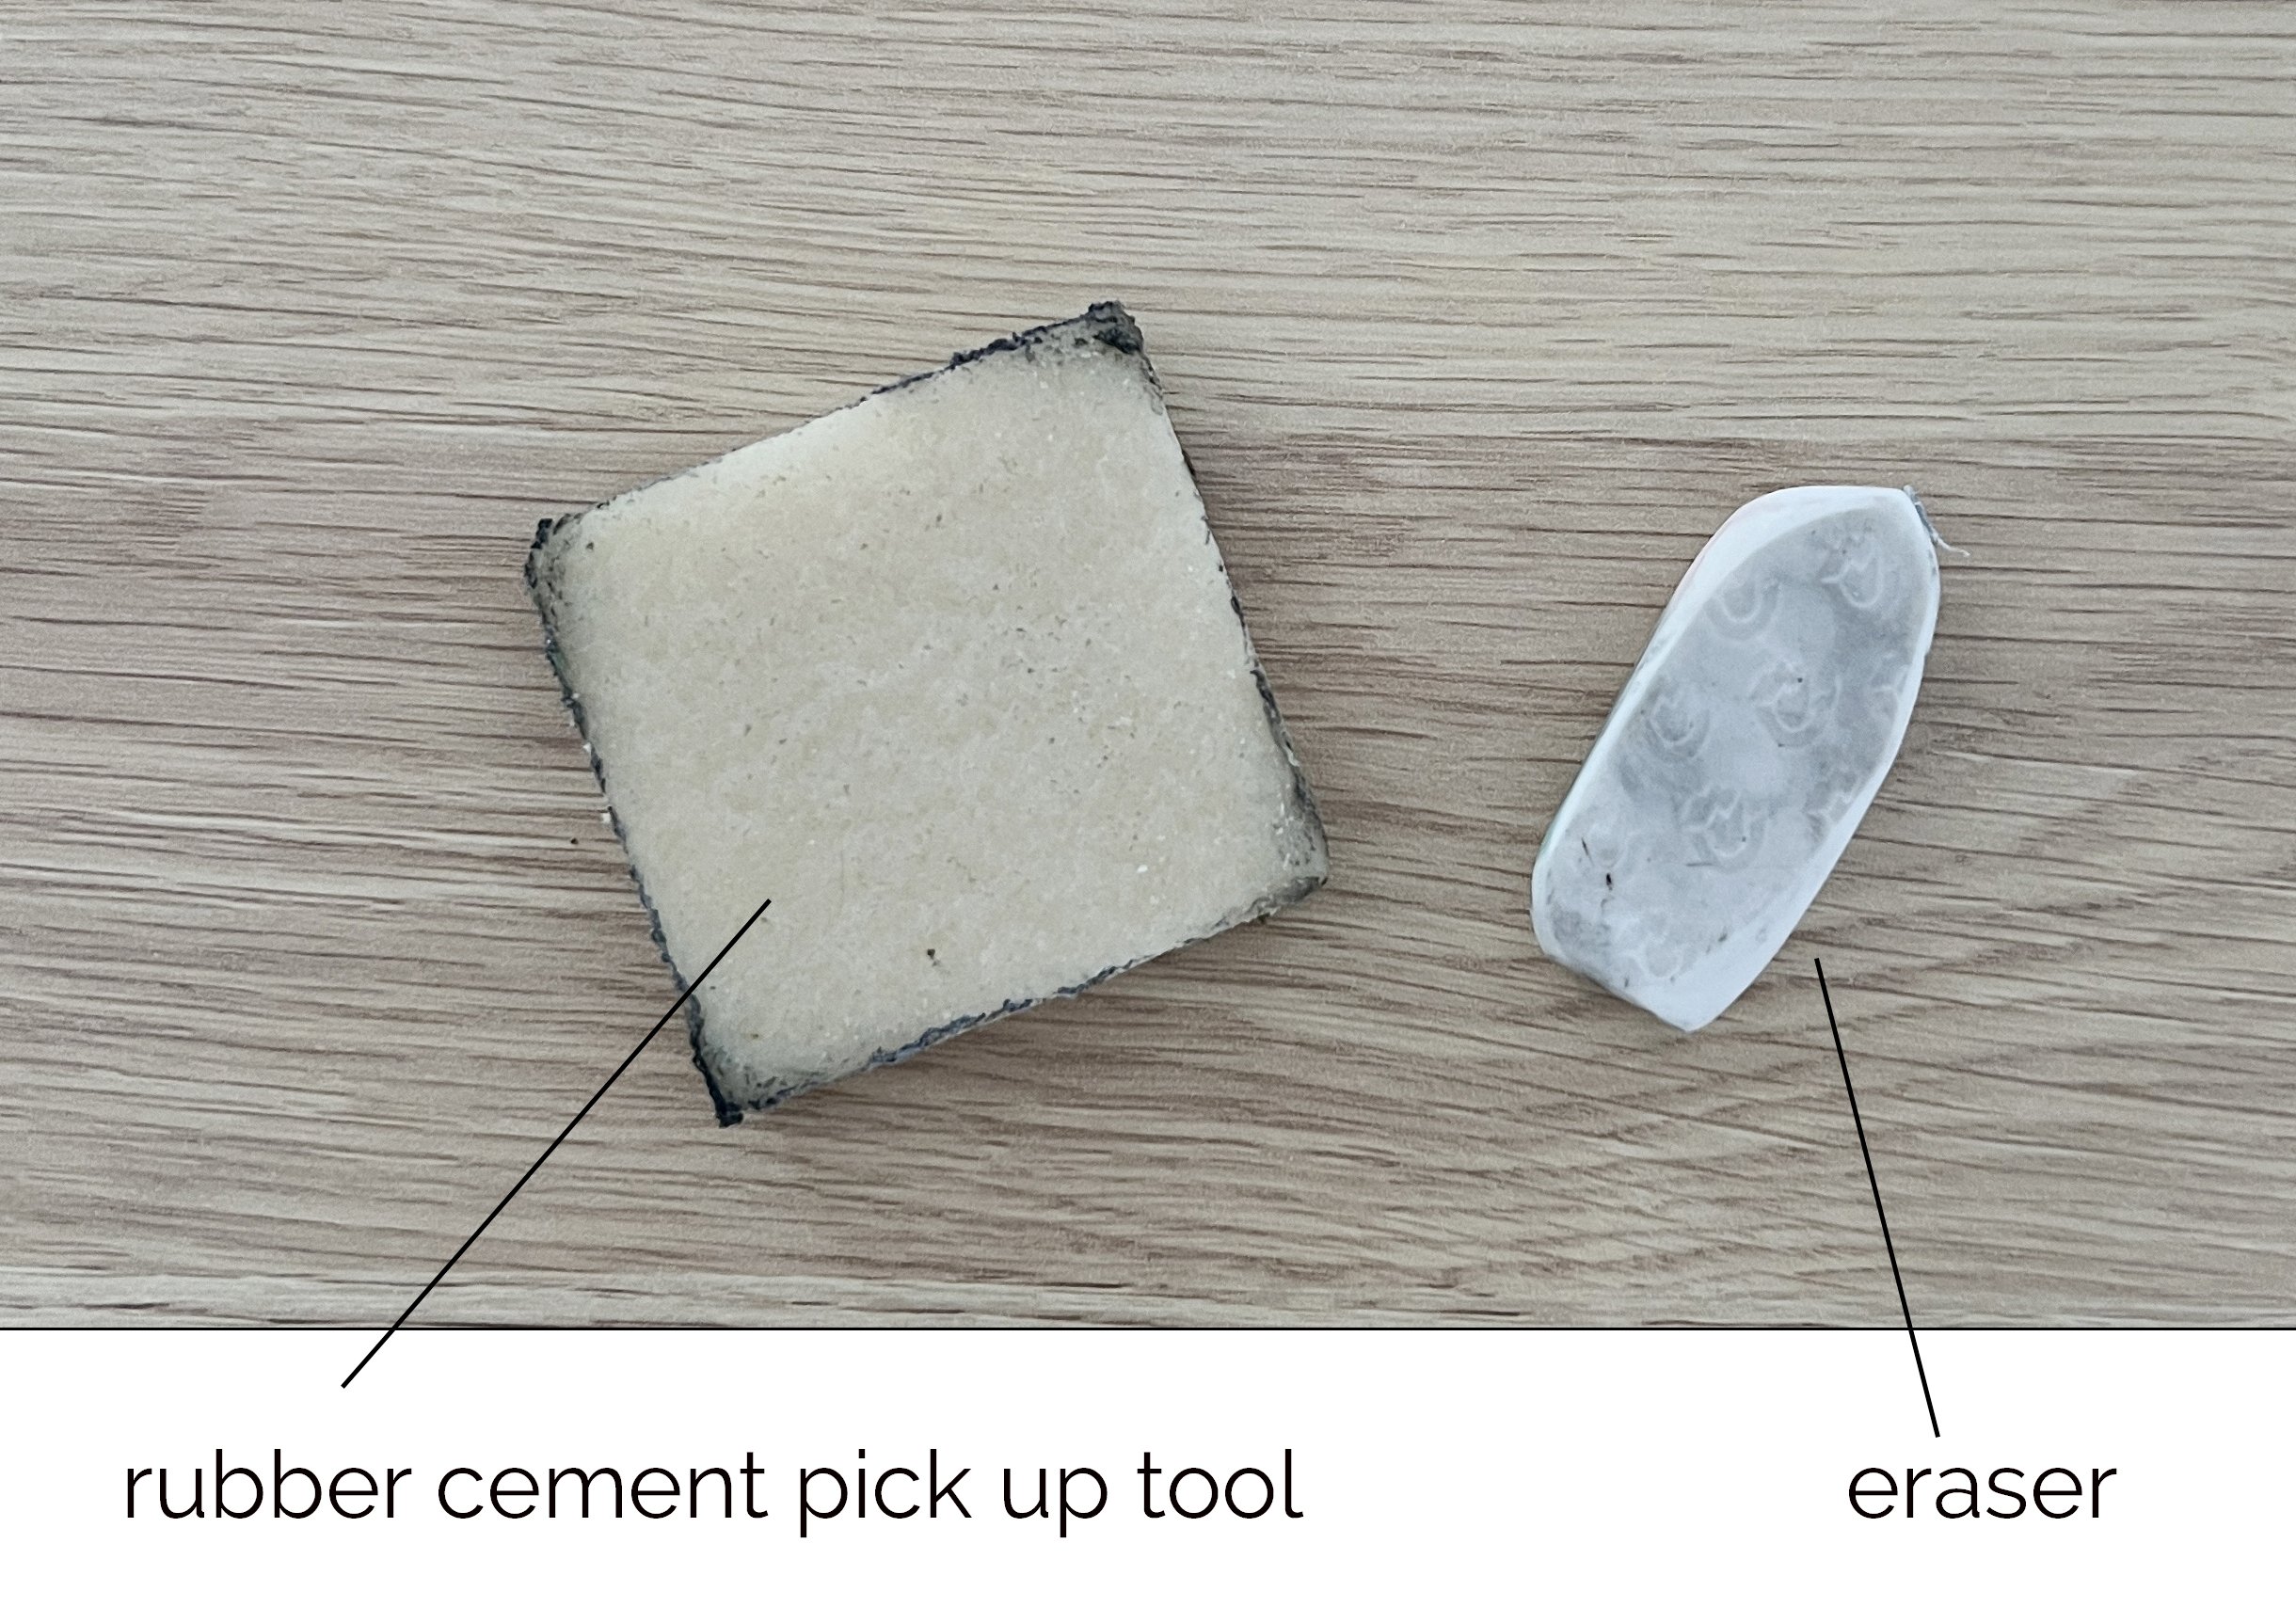
I gently rub at the dried masking fluid with a rubber cement pick up tool to remove it.
If you apply masking fluid thickly, you can sometimes peel it straight off the paper with your fingers- it's a bit like peeling skin after a nasty case of sunburn - 🥵 😬.
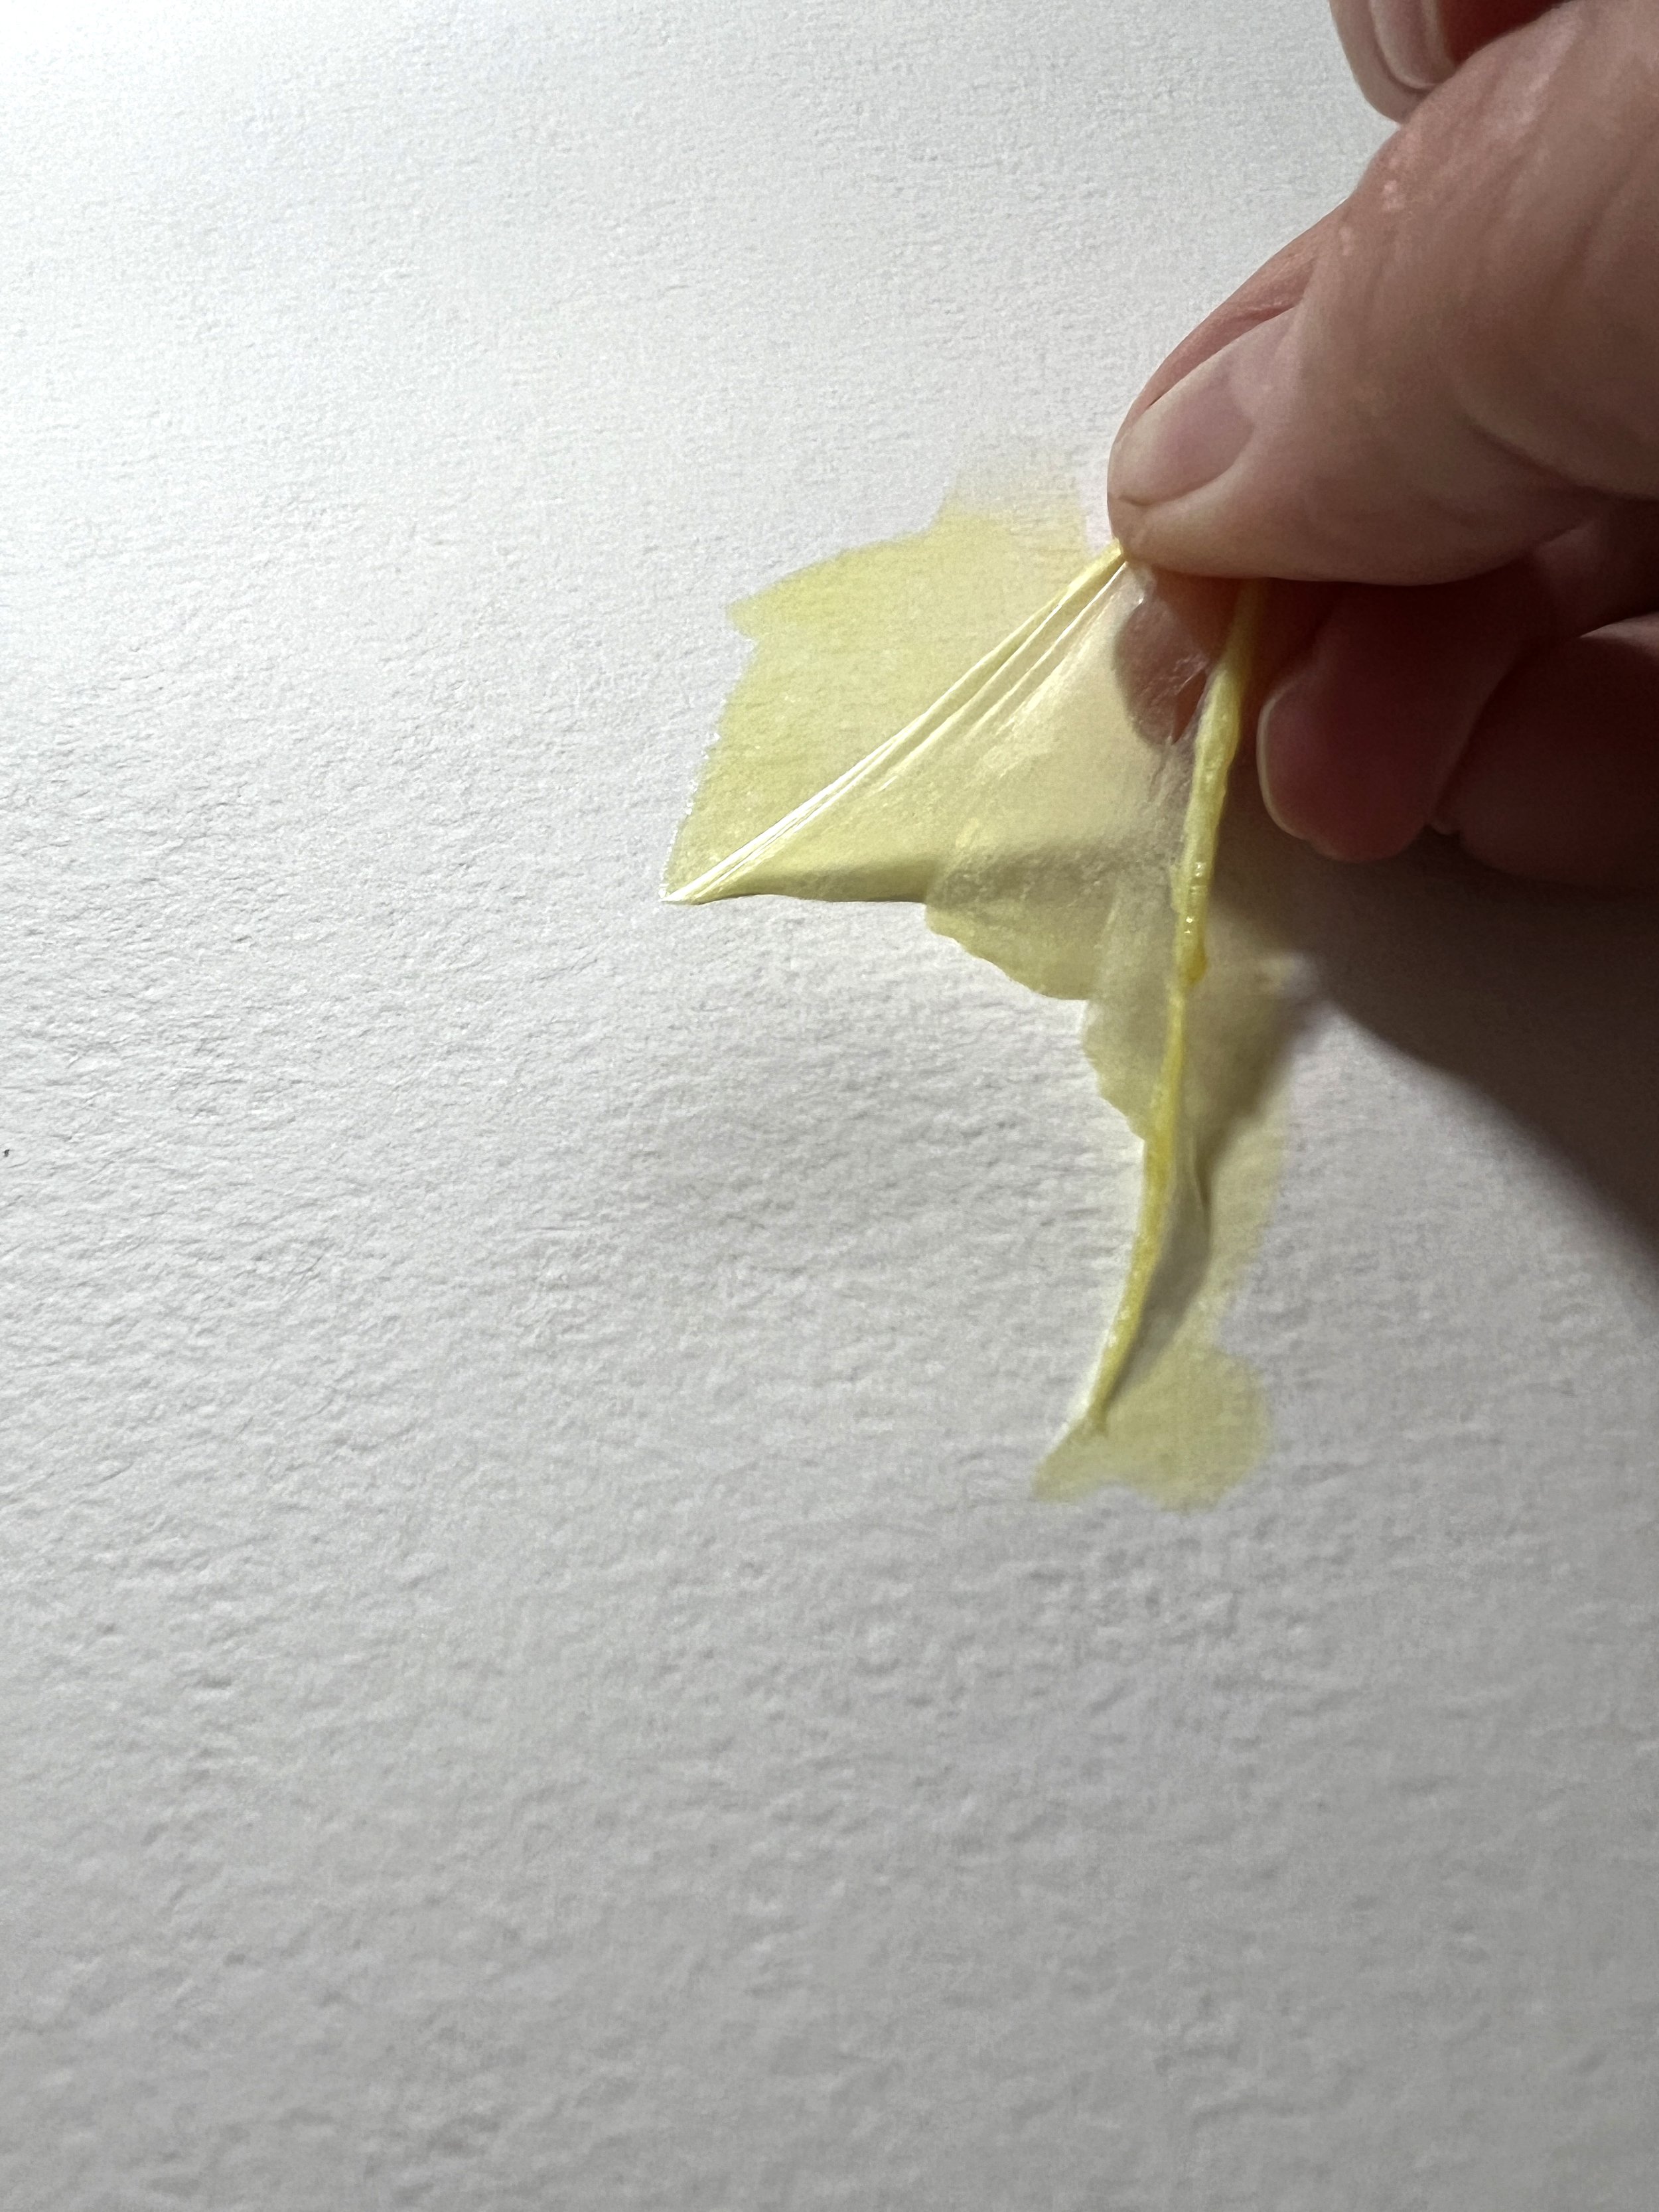
If you apply masking fluid thickly, you can carefully pull it off with your fingers.
Creative considerations when using masking fluid
Negative Painting
Masking fluid is a boon for negative painting techniques. It lets you preserve complex shapes and thin lines effortlessly, making your painting process more about adding colour than worrying about preserving whites.

Masking fluid is useful when you use the negative painting technique. You can use masking fluid on the subject to protect it and then paint the negative space around it. I admit I didn’t use masking fluid on this painting but I could have.
Handling Edges
This is the main reason I don't like using it. Masking fluid can leave hard edges. The marks left behind sometimes tend to look contrived - or false, like they don't belong. I nearly always have to do some edge softening with my brush after I have removed it.
If you’re working with non-staining colours, you can soften edges with a damp brush after removing the masking fluid.
If you have used a staining colour over your masking fluid it might be more difficult to soften the edges of the areas you have masked.

I often soften the edges of the highlighted areas left behind by masking fluid.
Plan before you begin painting
Just as we plan our compositions and colour palettes, planning the application of masking fluid is crucial. Think of it as white paint. Its placement should be as considered and deliberate as any other element in your painting.
You can apply masking fluid at the start of your watercolour painting to preserve white areas or you can begin painting and then you can paint some masking fluid onto a dried wash.
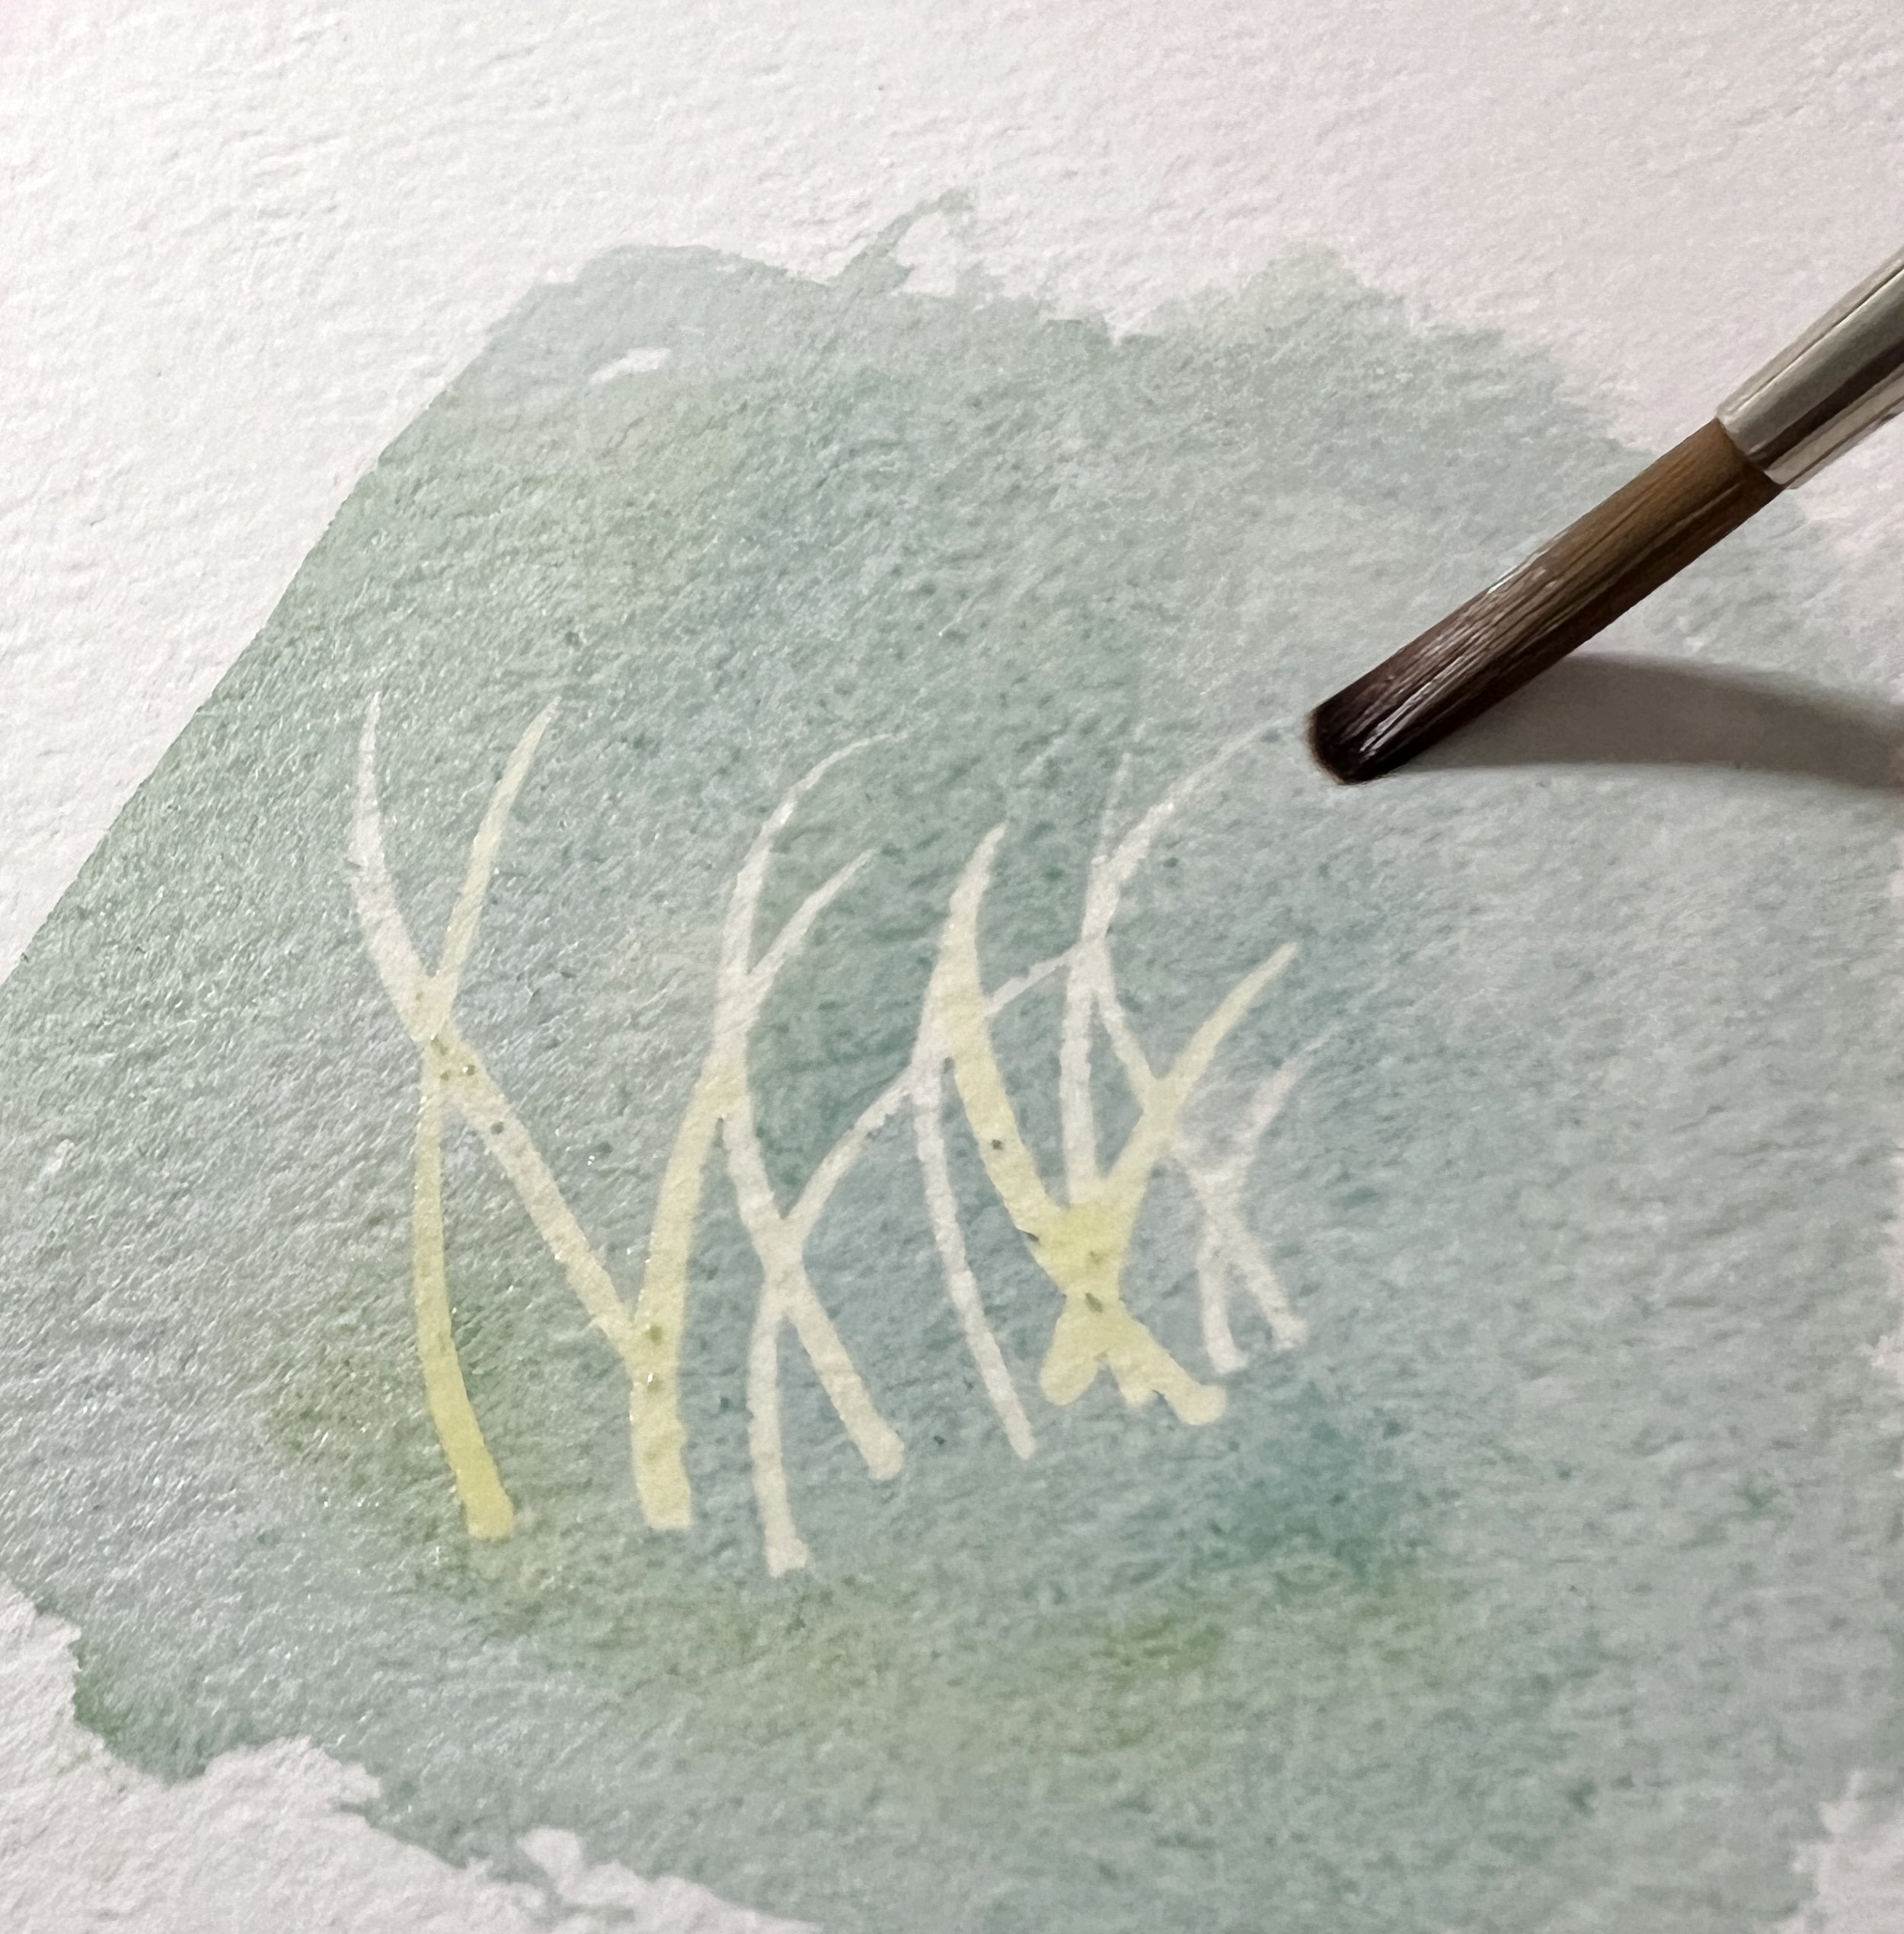
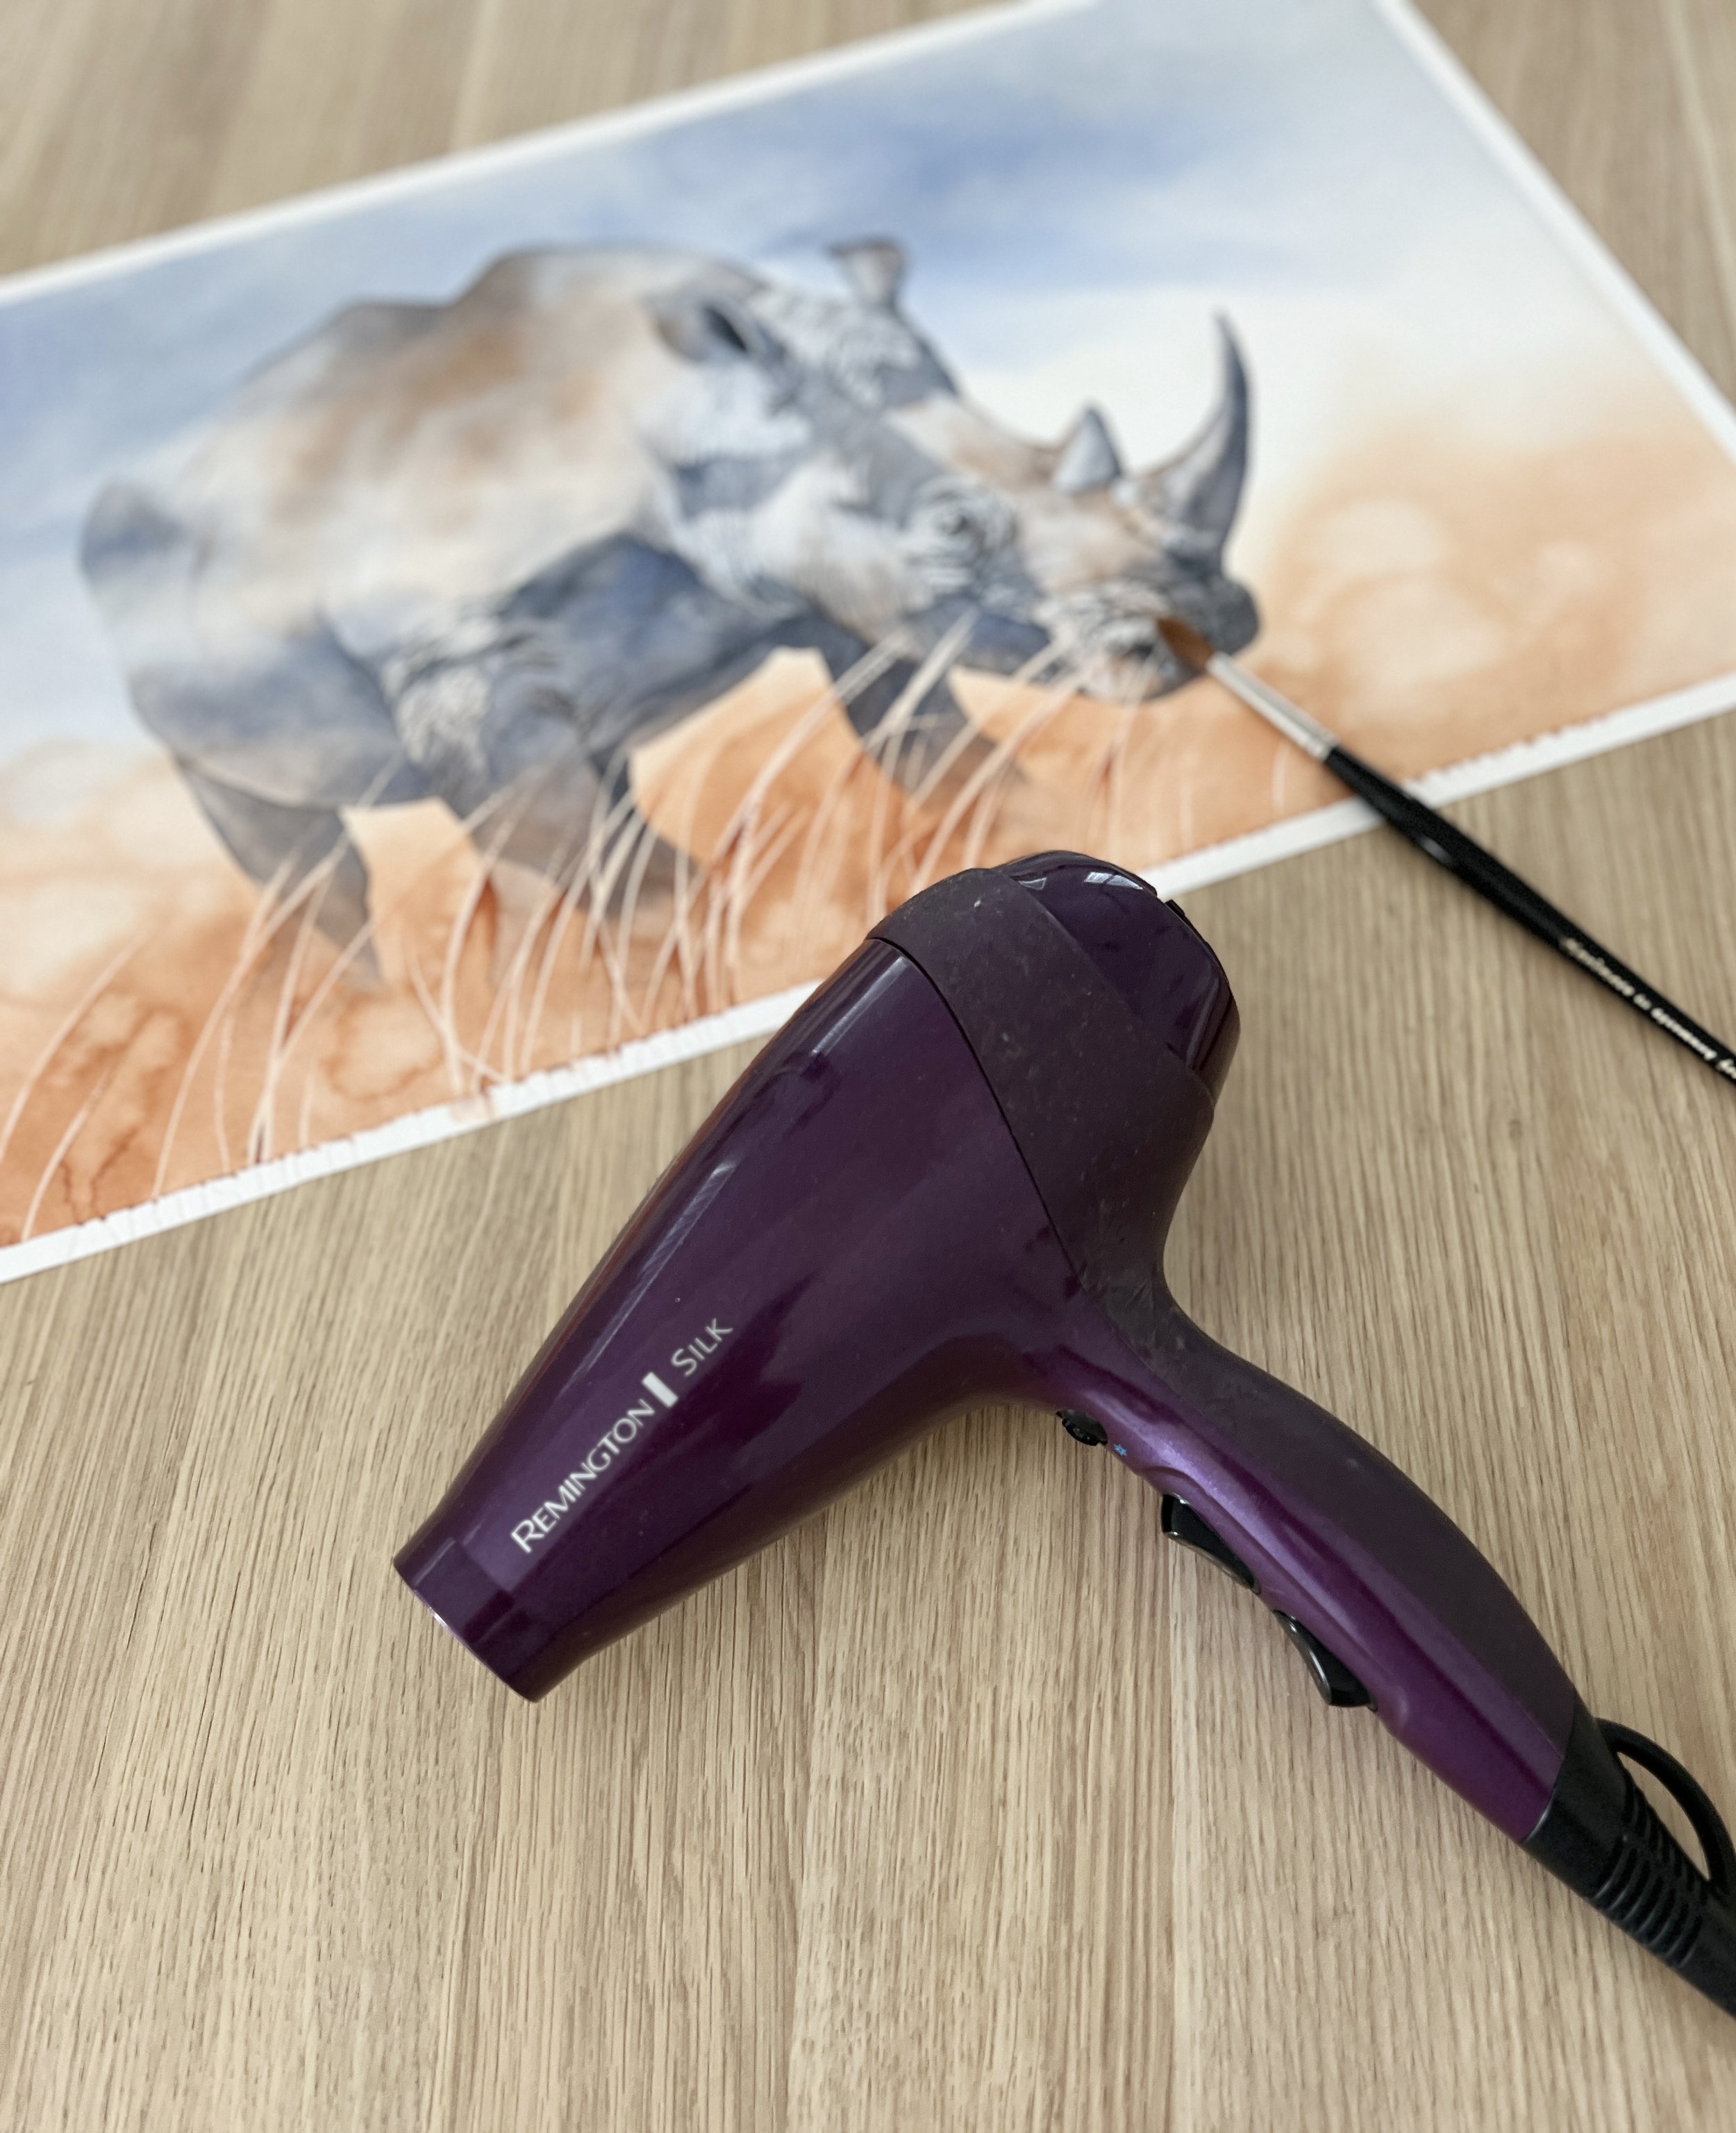
For the rhinoceros painting shown below, I began by applying an initial light wash of Burnt Sienna to the foreground. After allowing it to dry, I then used masking fluid to portray tall grasses. Once the masking fluid completely dried, I applied a second wash of Burnt Sienna over the masked area. When I removed the masking fluid, the grasses retained the pale hue from the initial wash.

The long grasses in the foreground of this Rhinoceros watercolour painting were painted with the use of masking fluid.
Common mistakes when using masking fluid
While masking fluid is indeed magical, it requires a bit of practice and patience to master. Don’t be disheartened if your first few attempts don’t turn out as expected. Like all good things in art, it takes time and practice to perfect. When it comes to masking fluid, even the most seasoned among us can slip up. Here are some common mistakes to avoid so that your journey with masking fluid is as smooth as a freshly stretched sheet of watercolour paper.
Avoiding the Heat Trap
Remember, masking fluid is quite the diva when it comes to temperature. Applying heat can corrupt it, transforming it from a helpful ally to a stubborn foe that refuses to leave the paper. So, if you use a hair dryer to speed up the drying time, try using it on the cool setting.
Timing is Everything
Like a delicate dance, the timing of applying and removing masking fluid is crucial. Applying it on damp paper or removing it before the paint is fully dry can lead to mishaps. Patience is not just a virtue but a necessity in our art.
Beware of Overstaying its Welcome
Masking fluid is meant to be a temporary guest on your paper. Leaving it on for too long can make it a permanent resident, and trust me, that’s a situation you don’t want to find yourself in. Aim to remove the masking fluid within a few hours after completing your painting to avoid it becoming too attached to your beautiful work.
Paper Quality Matters
The quality of the watercolor paper you’re working on matters greatly. High-quality watercolour paper tends to handle masking fluid better, reducing the risk of tearing when you remove the fluid. If you are unsure about how your paper reacts to the masking fluid, try it before you start your painting on a small piece of your chosen paper.

The quality of your watercolour paper is important. Some less expensive papers can be quite fragile and may tear when you remove the masking fluid.
A Gentle Hand
When it’s time to remove the masking fluid, approach it with the gentleness of touching a butterfly’s wing. Harsh scraping or pulling can damage the paper and disrupt the beautiful world you’ve created on it. A gentle rub with a kneadable eraser or your fingertips is often all that is needed.
Chuck it out if it's old
Masking fluid has a limited shelf life, a lesson I learned through firsthand experience. On one occasion, I used some masking fluid that had been sitting in my cupboard for a few years, only to discover that it had discoloured the white paper when I removed it. While it initially worked well when I first purchased it, a few years down the line told a different story. The result? A ghastly green stain marred my painting.
In our journey of watercolour painting, masking fluid is an invaluable ally, allowing us to explore and experiment with light and contrast in ways that would otherwise be challenging. It’s a tool that empowers our creativity, letting us push the boundaries of our artistic expression. I encourage you to experiment with it, play around with different application tools, and most importantly, have fun with your creations. Remember, every brush stroke, every masked area, is a step towards mastering this beautiful art form.
Happy painting! 🎨✨
If you are interested in learning to paint in watercolour, I have over 170 online, voiced over watercolour tutorials for all skill levels.
Originals, prints and merchandise are available to purchase in the shop.


