
How to Know When to Stop Painting and Avoid Overworked Watercolours
One of the hardest things to learn when you're learning to paint in watercolour is knowing when to stop.
You might look at your painting and think that one area needs to be a little darker. Perhaps an edge needs softening, a colour needs adjusting, or there's a tiny detail you haven't painted yet. So you pick up your brush and make one more little change.
And then another.
Before you know it, the painting that was looking fresh and lively has become heavy and laboured.
I know this because I've done it myself many times.
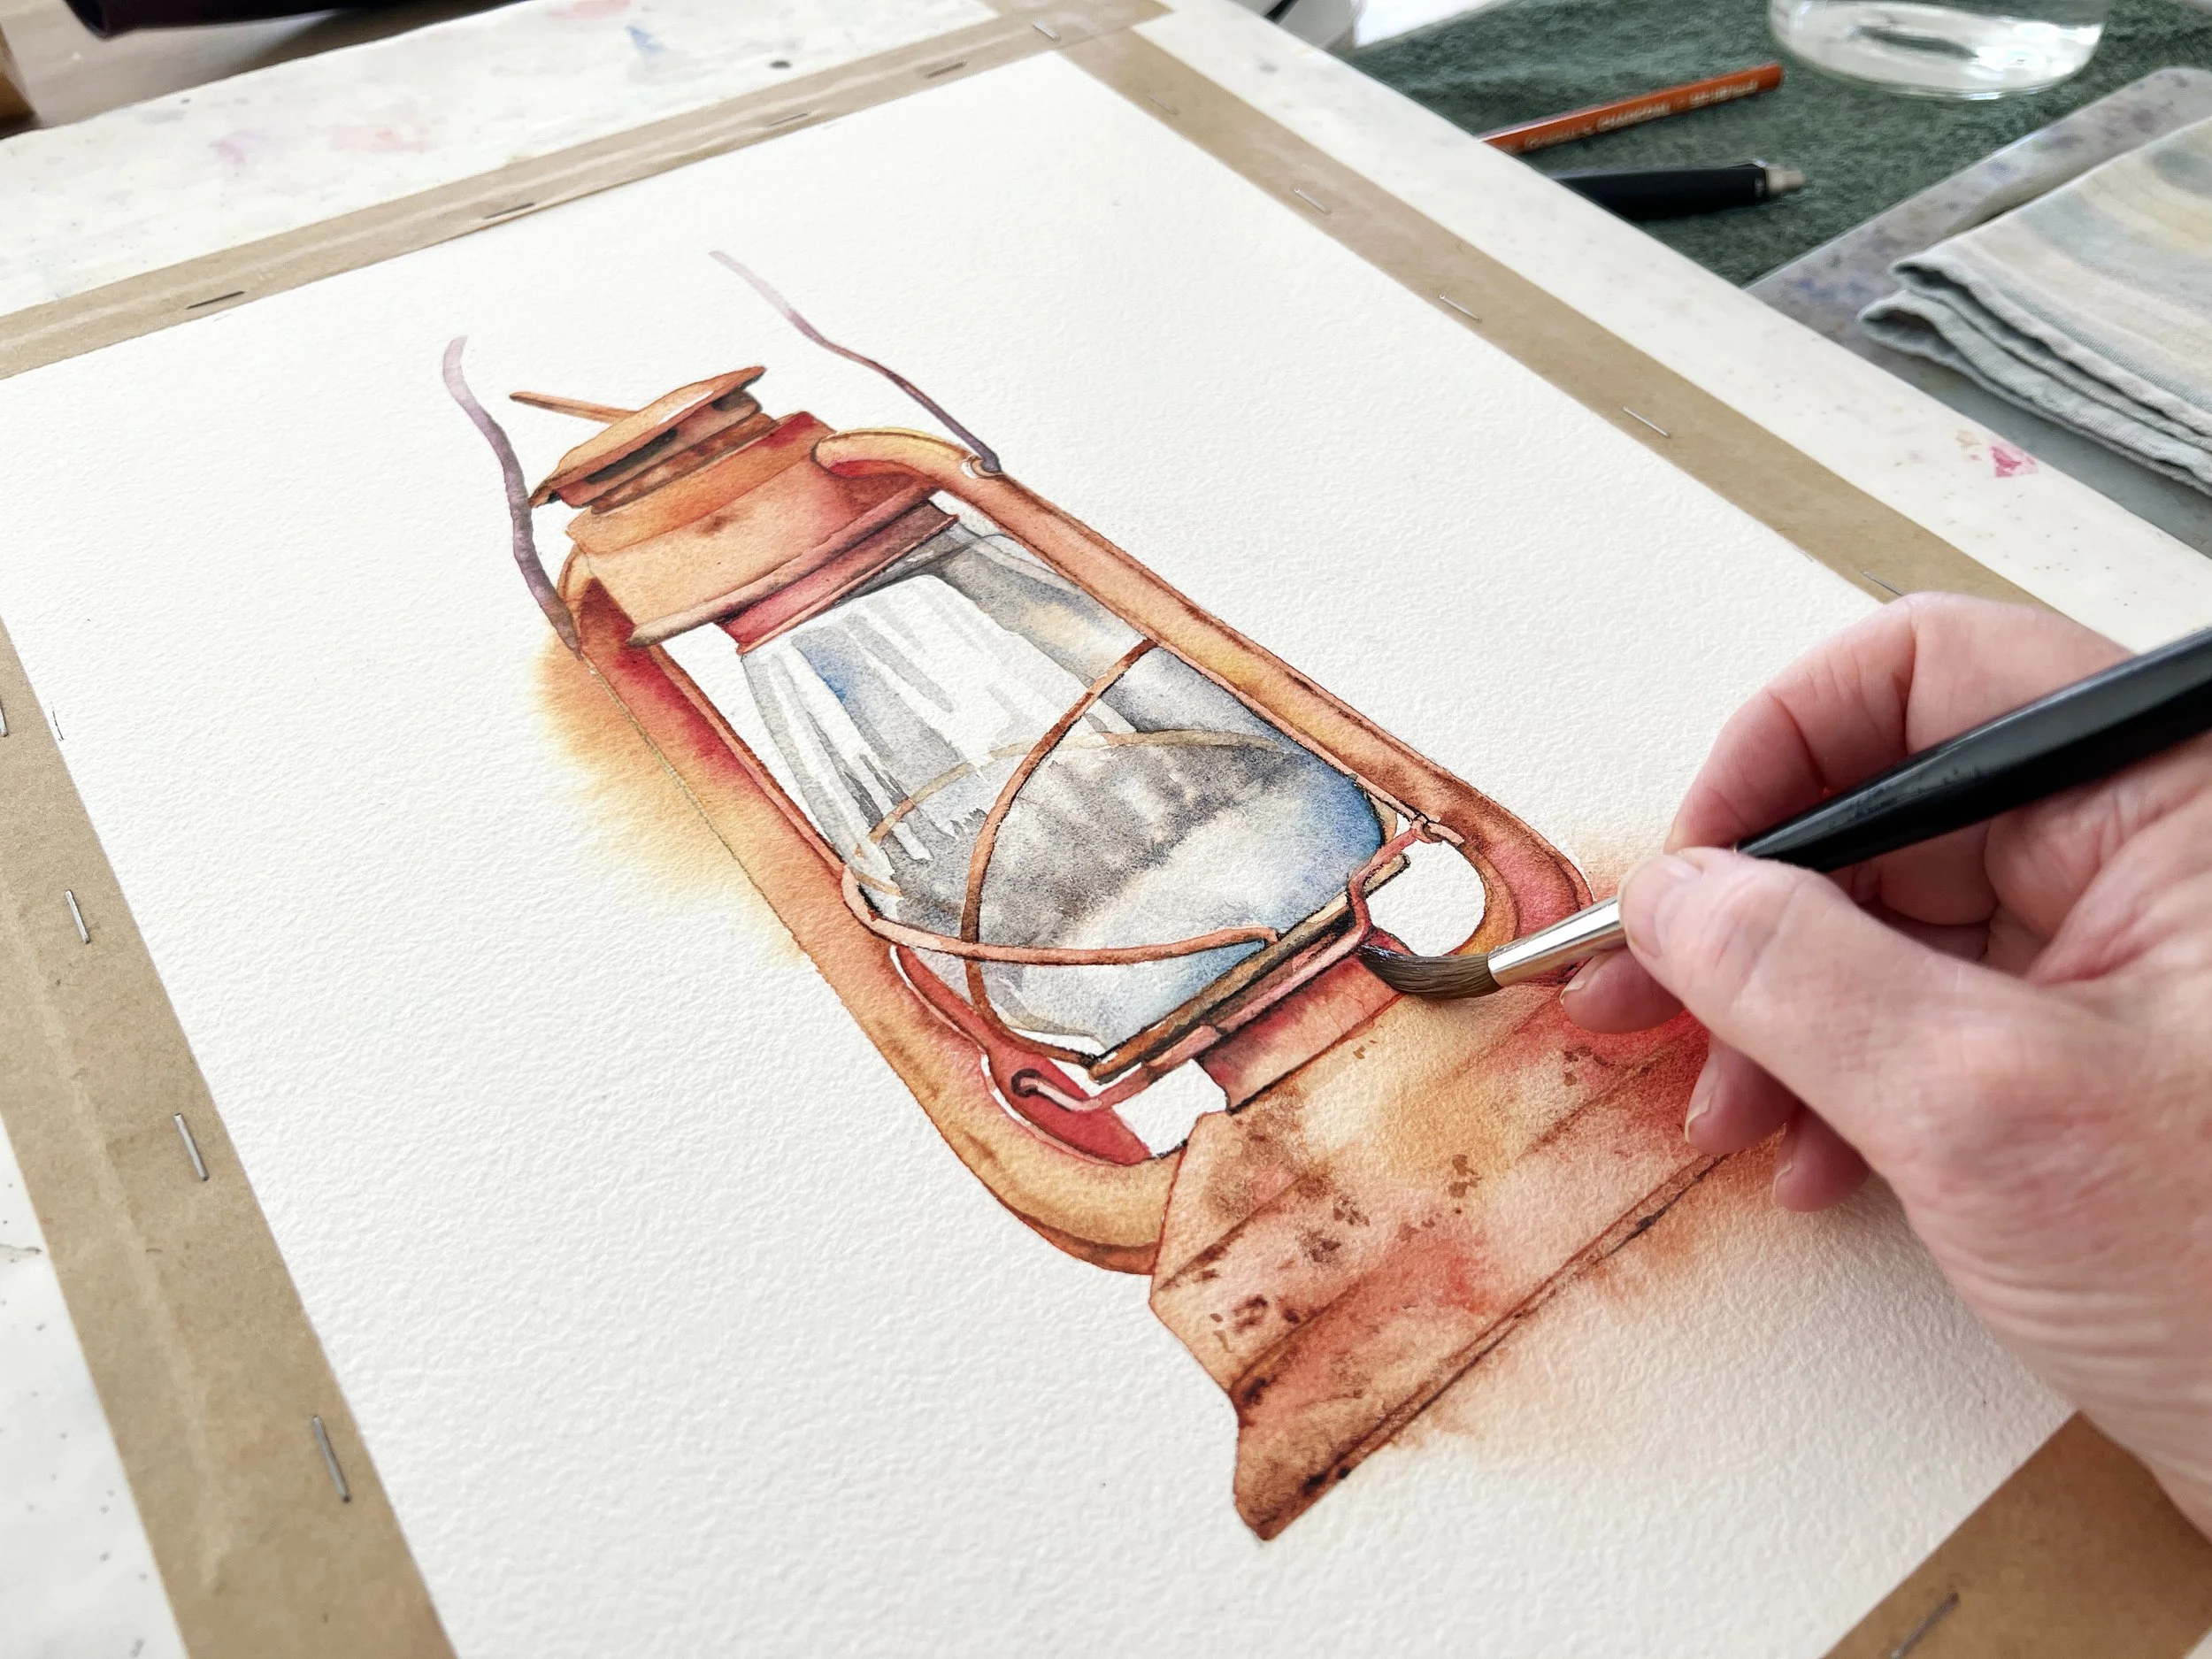
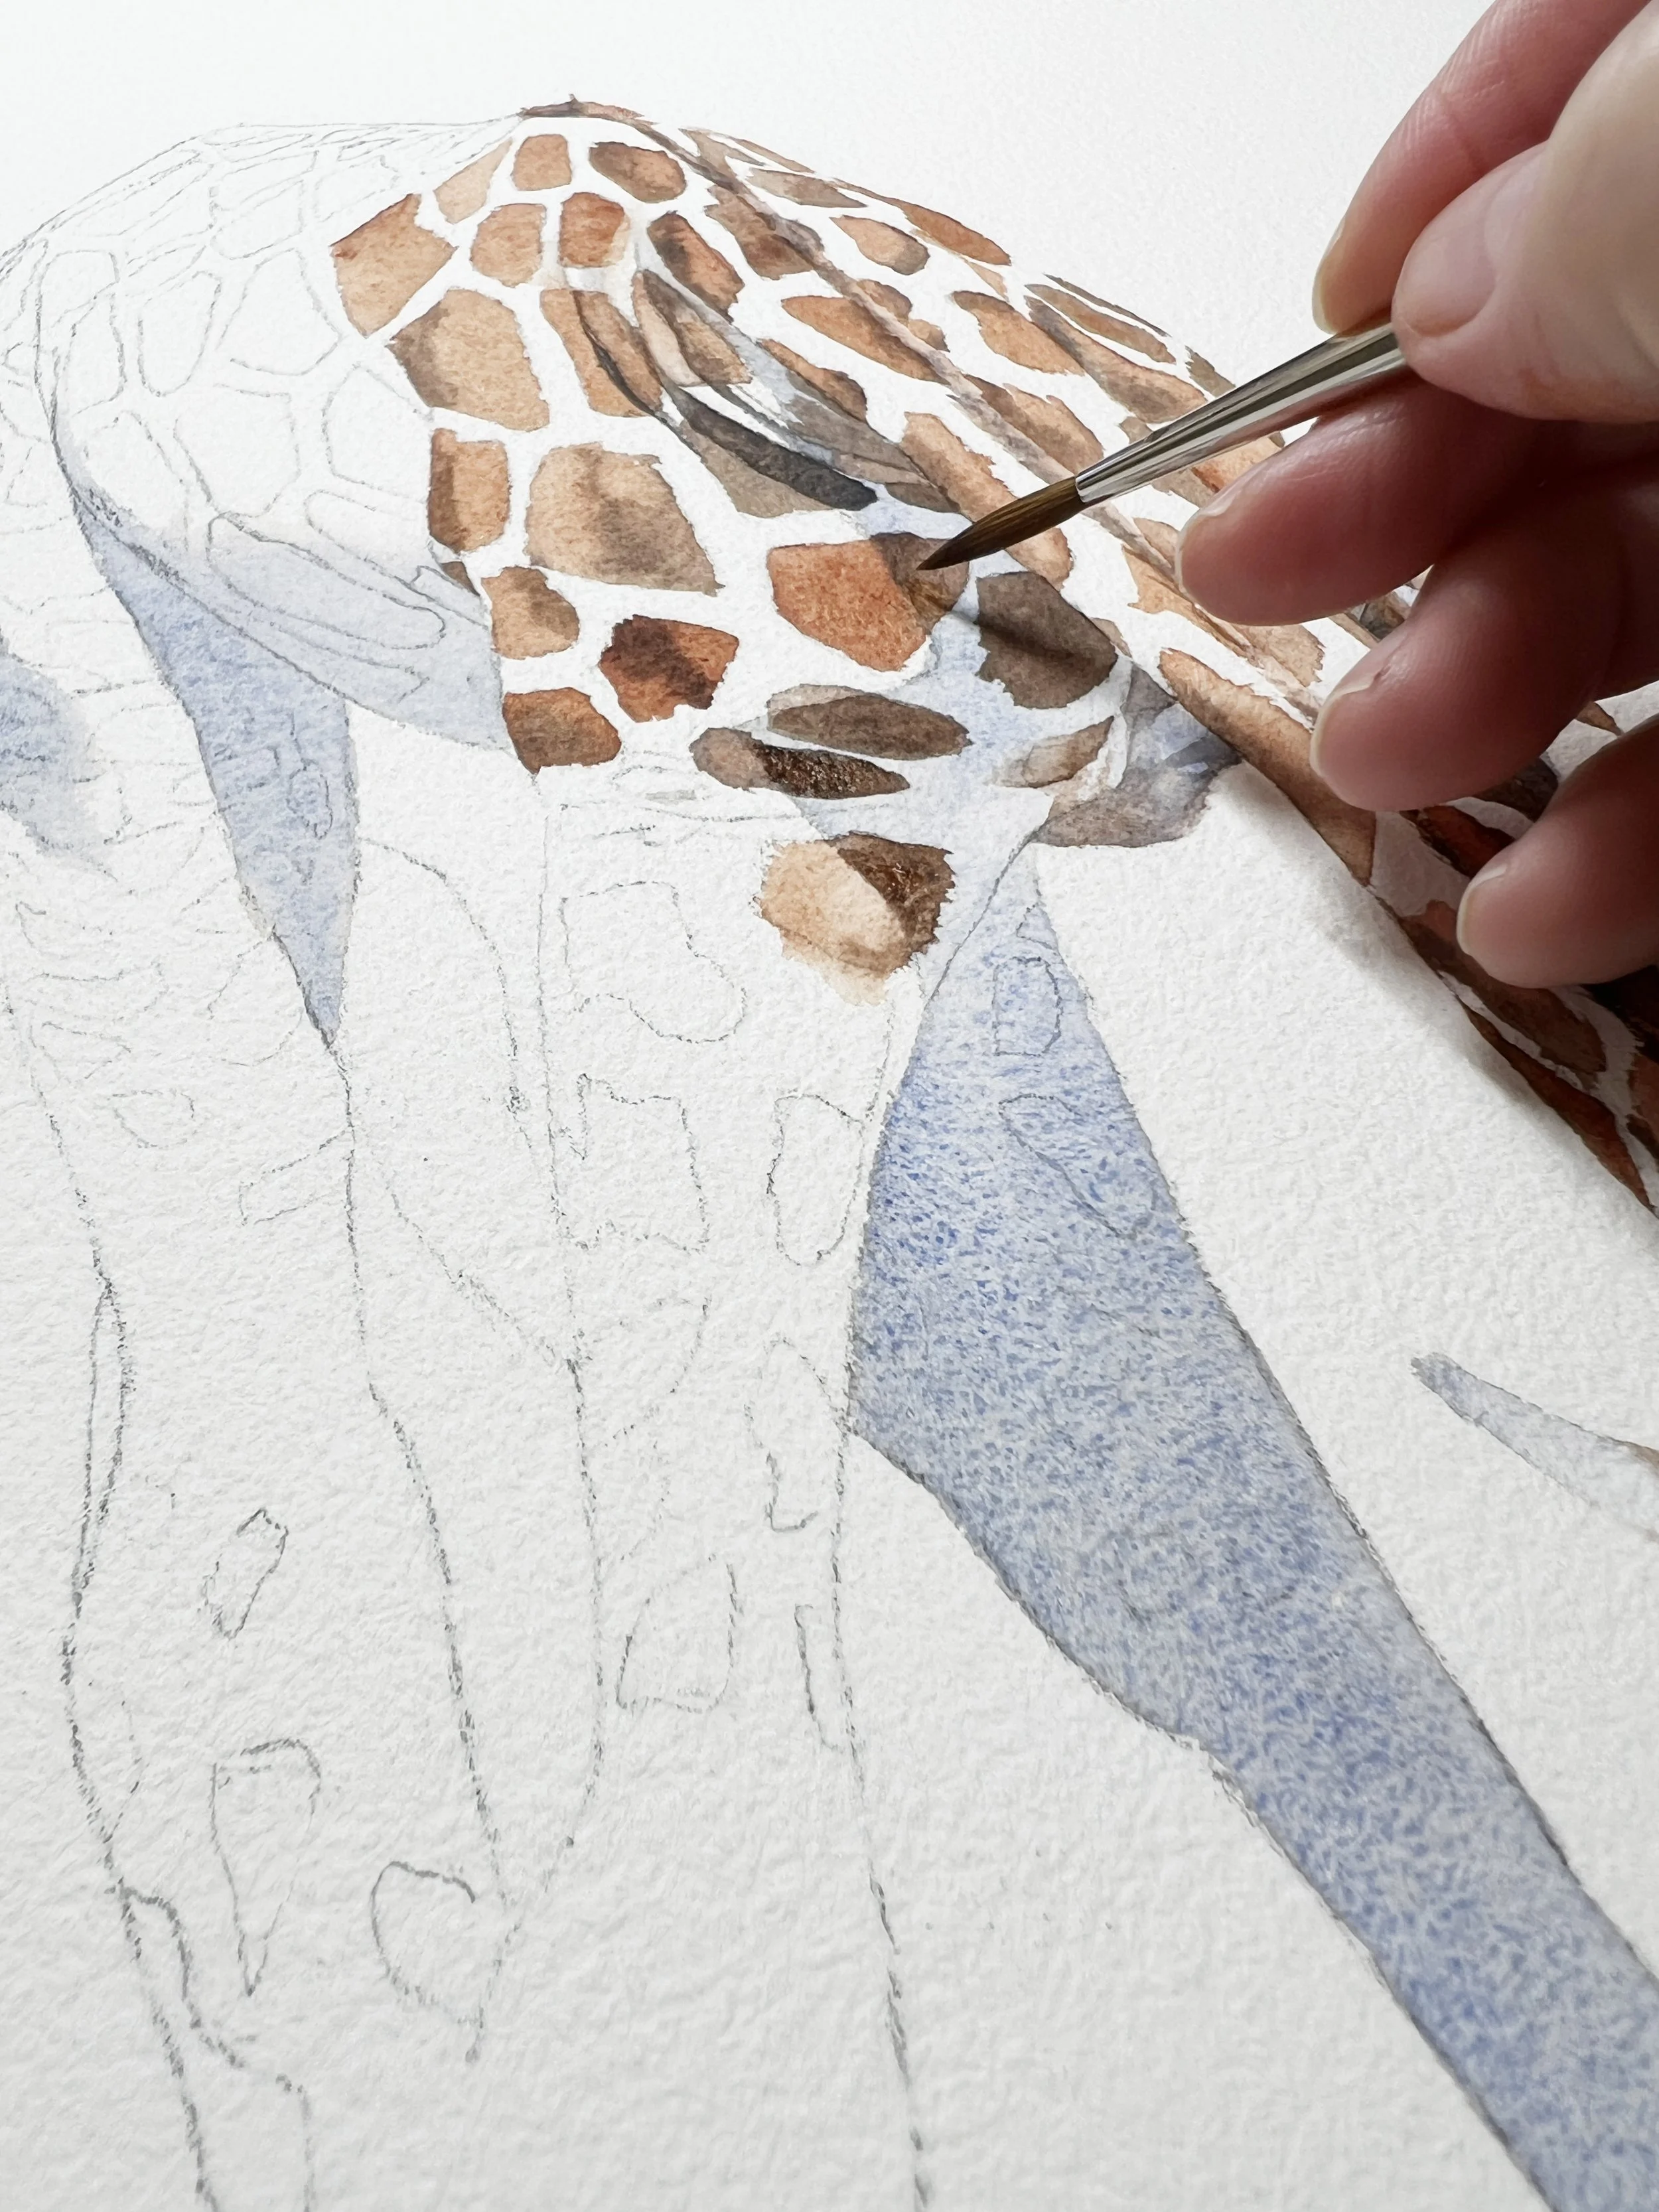
Confident brushstrokes help keep a watercolour painting looking fresh rather than overworked.
What is an overworked watercolour painting?
Watercolour is the medium of light. It's fluid, transparent and vibrant, and part of its beauty comes from allowing the white of the paper to show through the paint.
When we talk about an overworked watercolour, we're usually talking about a painting where some of those qualities have been lost.
You might see too many layers of paint, colours that have become muddy, or brushwork that looks laboured and hesitant. There may be too many hard edges, too much detail, and nowhere for the eye to rest.
This doesn't mean that watercolour has to be loose, pale or splashed across the paper. You can create beautifully detailed and layered watercolour paintings. There's a fine line, though, between adding useful detail and overworking a painting.
For me, overworking often happens when I try to refine and perfect every part of the painting. Instead of accepting what the paint is giving me, I start fussing with it and trying to make it do exactly what I want.
And that's usually when things start to go wrong.
I learnt this by repainting an old painting
A few years ago, I looked back at some of my older paintings and found one of a tulip that I had overworked.
It was a useful painting to look at because I could see exactly what I had been doing wrong.
I'd used too many colours and too many layers. I'd tried to record almost everything I could see in my reference photo. I'd worked and reworked areas until the paint had lost its transparency and luminosity.
There were too many hard edges and the brush marks looked hesitant in places. I'd also used much darker values than were really necessary.
At the time, I was, in a sense, painting more like an acrylic painter than a watercolour artist.
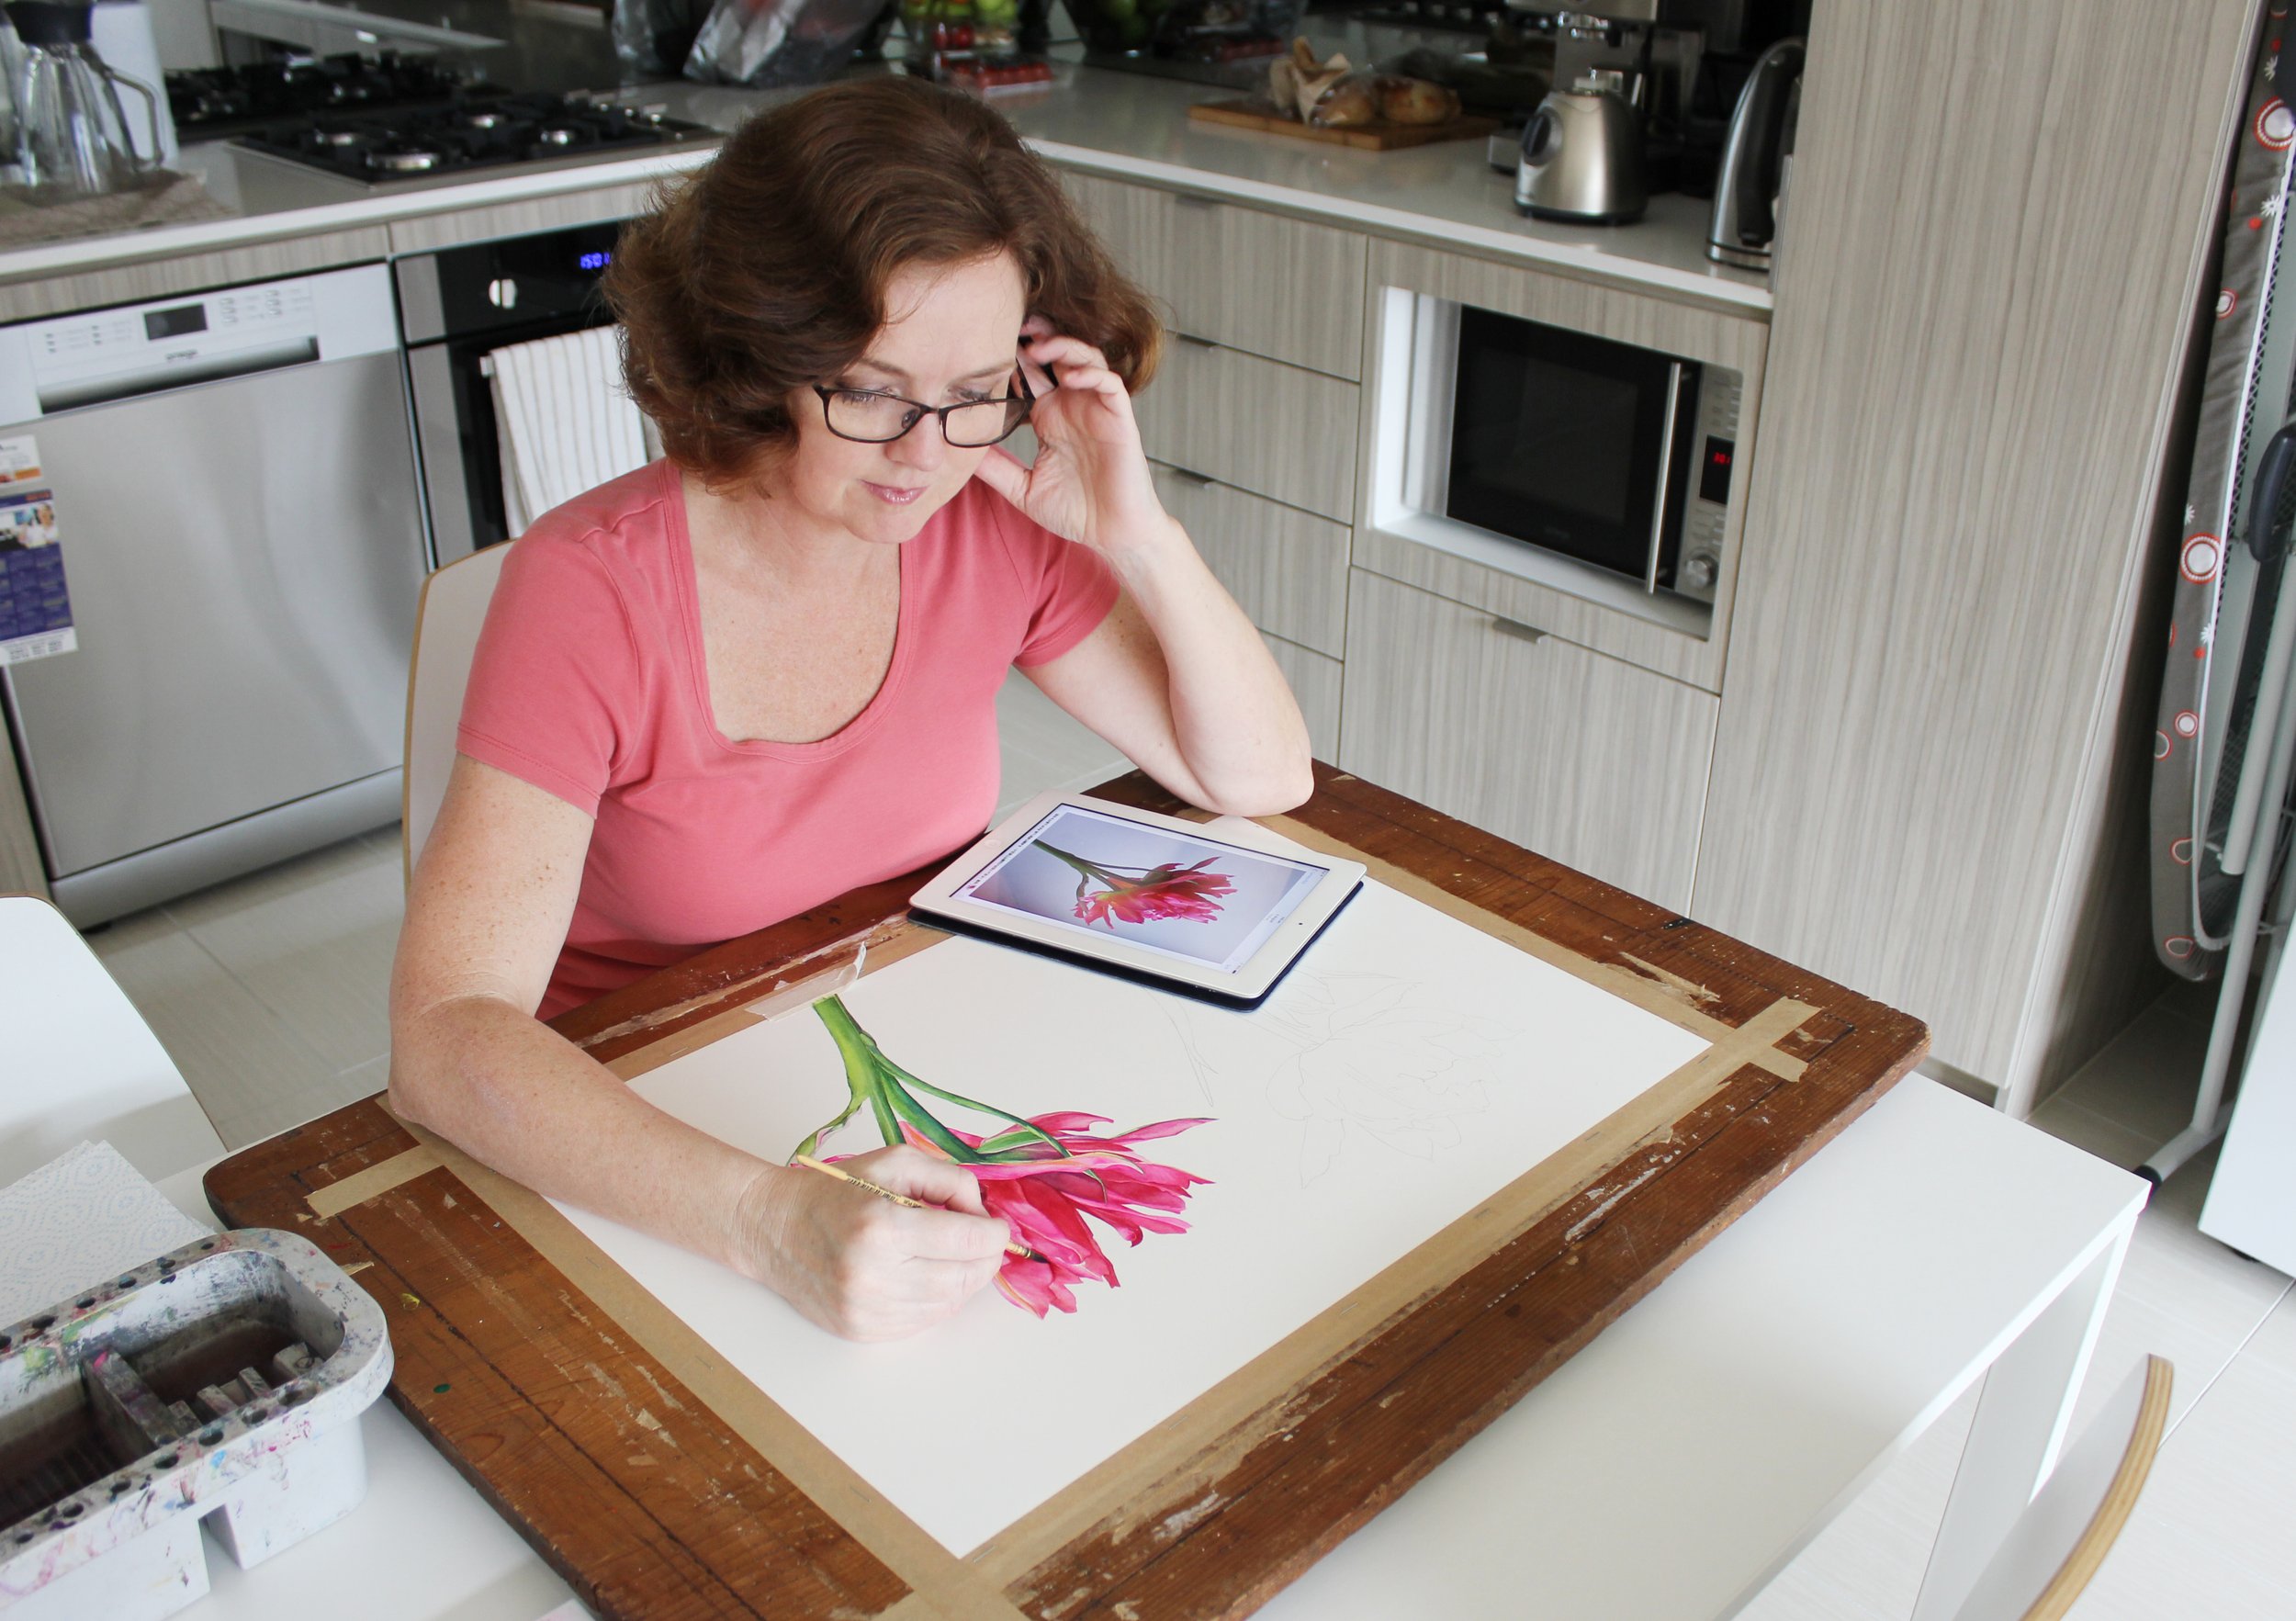
Working on a tulip painting on watercolour paper. Looking back at this painting process helped me see how my technique and painting style have changed over the years.
So I decided to paint the tulip again, using what I've learnt since.
The new painting was still realistic and still contained plenty of detail, but I approached it very differently. I used a limited palette, kept the layers lighter, simplified some areas and paid much more attention to where I was placing my brushstrokes.
The difference was quite striking.
The new painting had much more freshness and luminosity, even though I'd actually painted less.
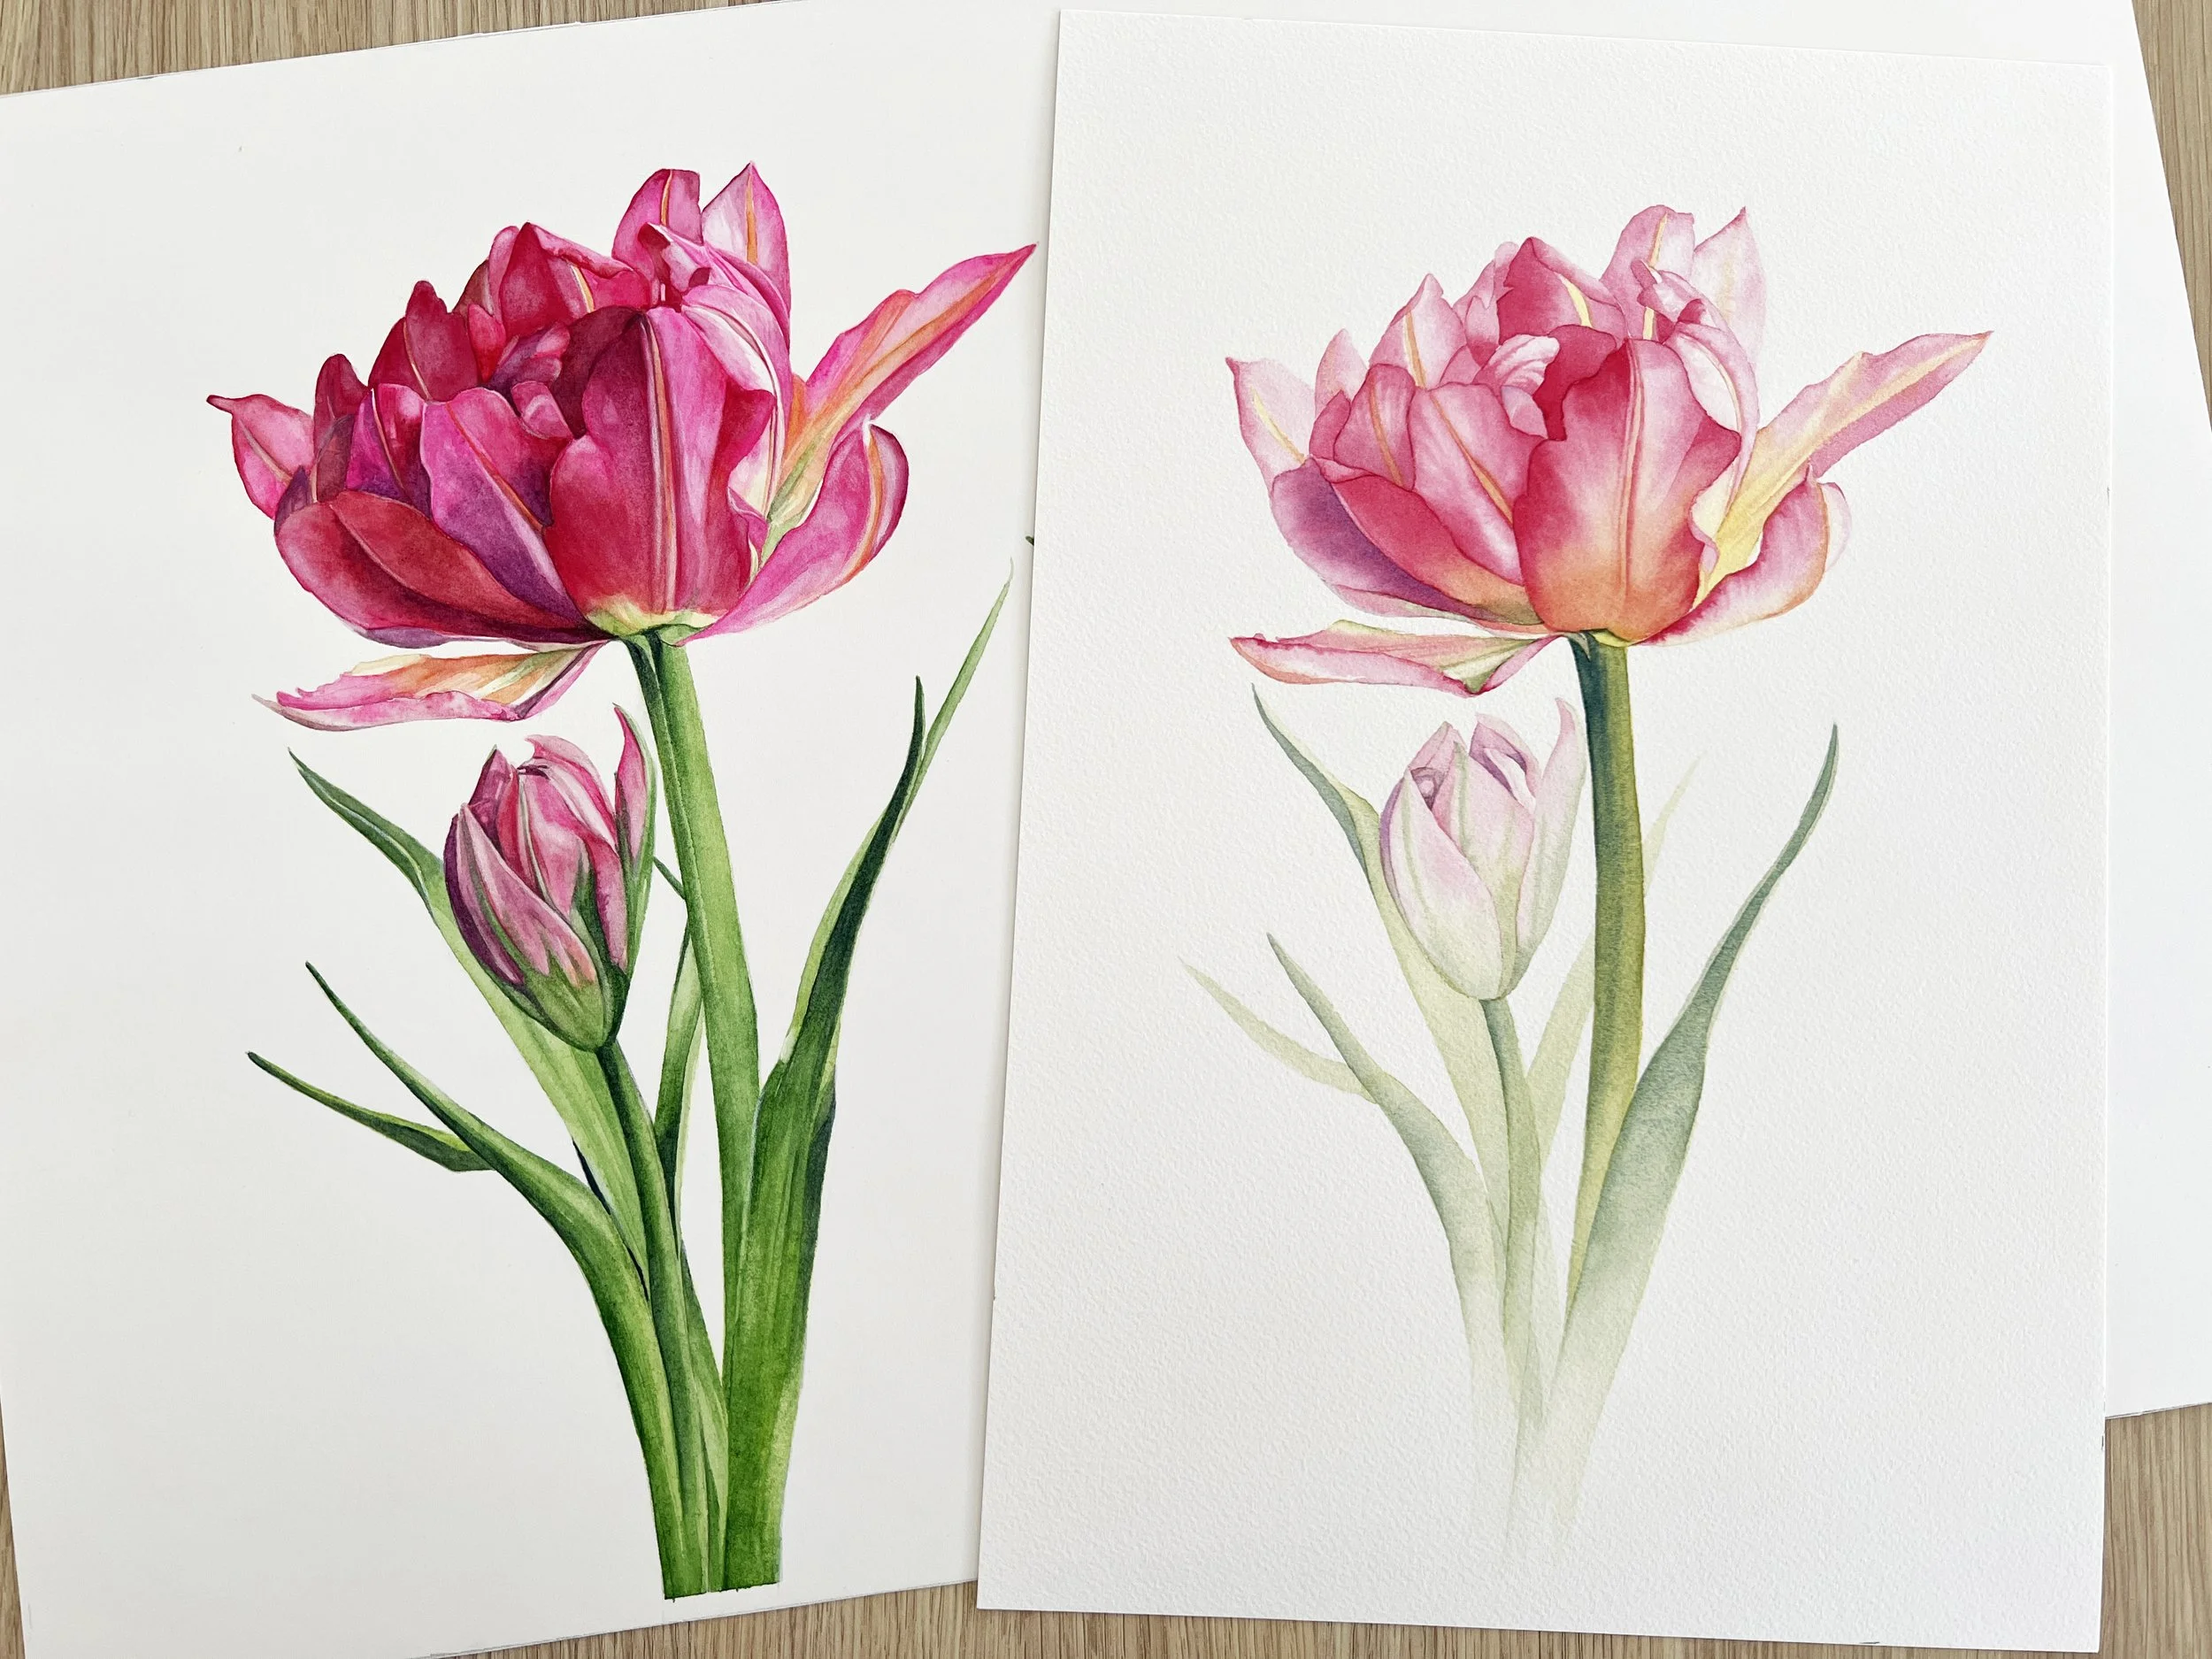
Revisiting the same subject with fresh eyes. The older watercolour painting is on the left, with my newer, simpler approach on the right.
Five things you can do to avoid overworking your painting
1. Limit your palette
One of the simplest ways to avoid overworking a painting is to limit the number of colours you use.
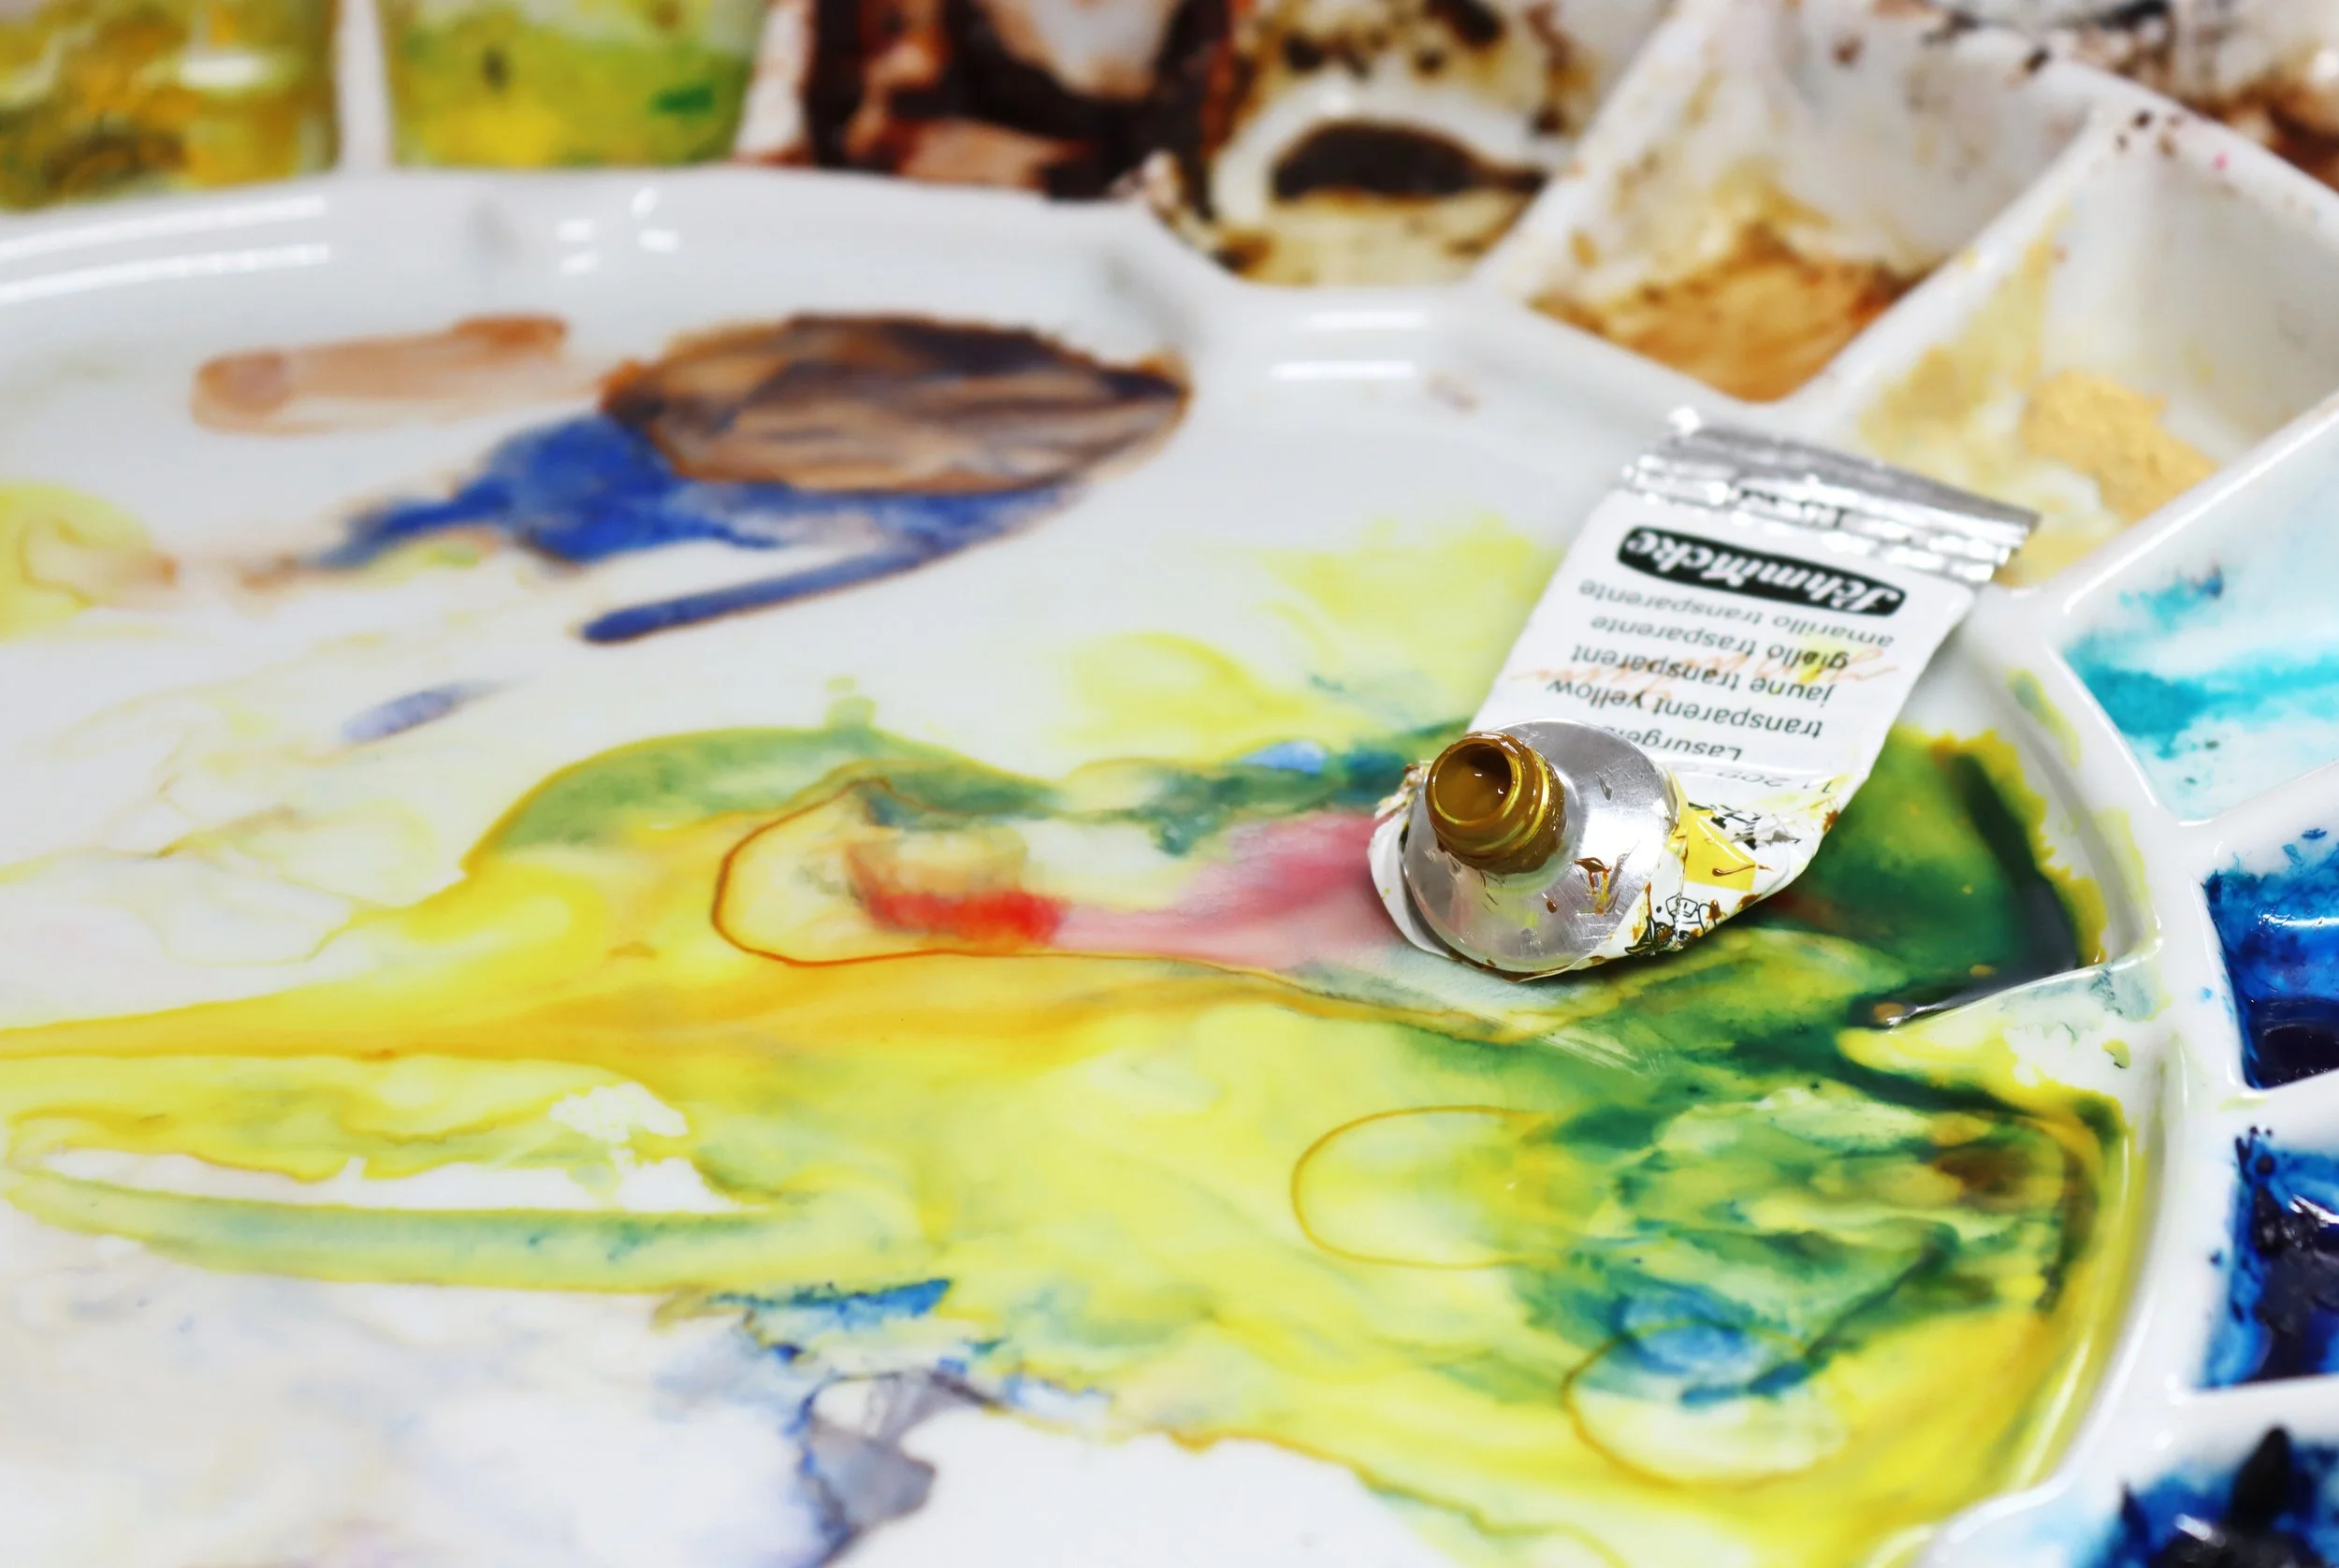
For my new tulip painting, I used just three colours: French ultramarine, transparent yellow and ruby red. With those three colours I could mix everything I needed, including the greens for the leaves and stem.
Using a limited palette can help create a more harmonious painting, but it also means you're less likely to keep reaching for another colour to solve a problem.
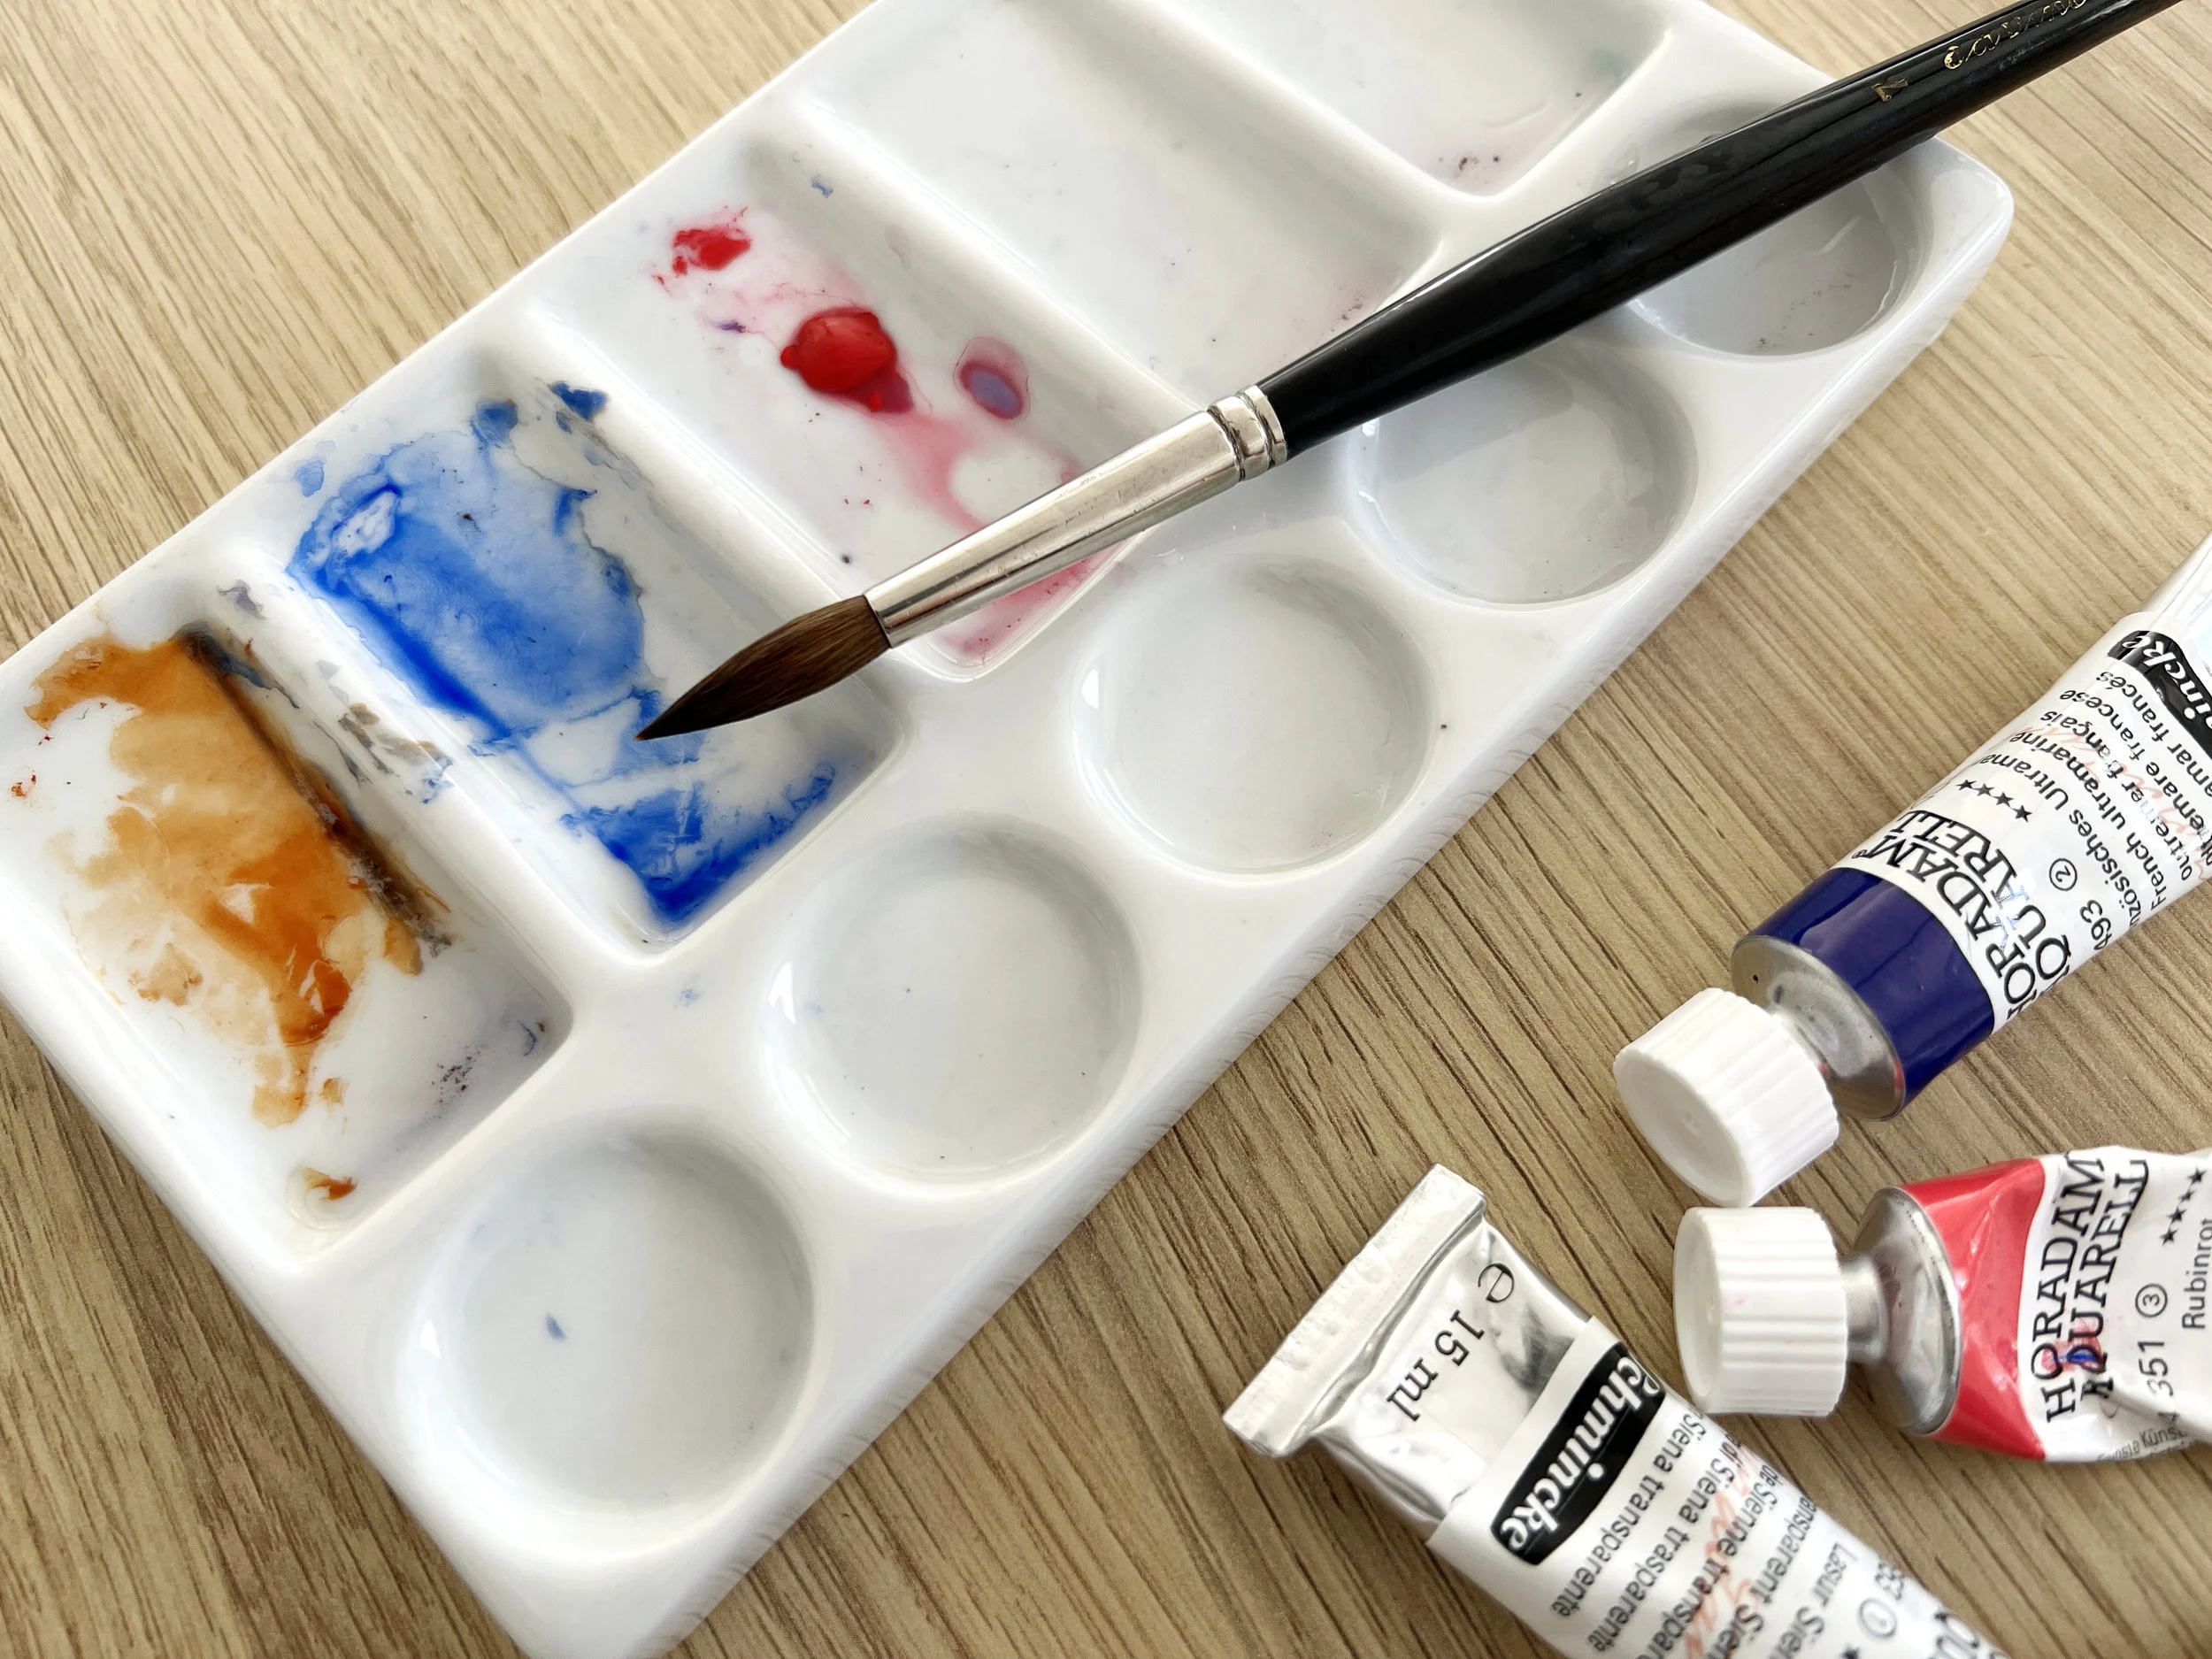
Using a limited palette can simplify the watercolour painting process and reduce the temptation to keep adding more paint.
2. Use thin washes
Watercolour doesn't need to be thick to be strong.
Try using light washes of colour rather than putting heavy pigment everywhere. Allow the white of the paper to contribute to the luminosity of the painting.
If you cover the paper with thick layers of paint, you can quickly lose the transparency that makes watercolour so beautiful.
I also try to get as much of the work done as I can in the first layer. I know I may need to come back and deepen some colours later, but I don't want to automatically build up four or five layers simply because I haven't got the colour dark enough yet.
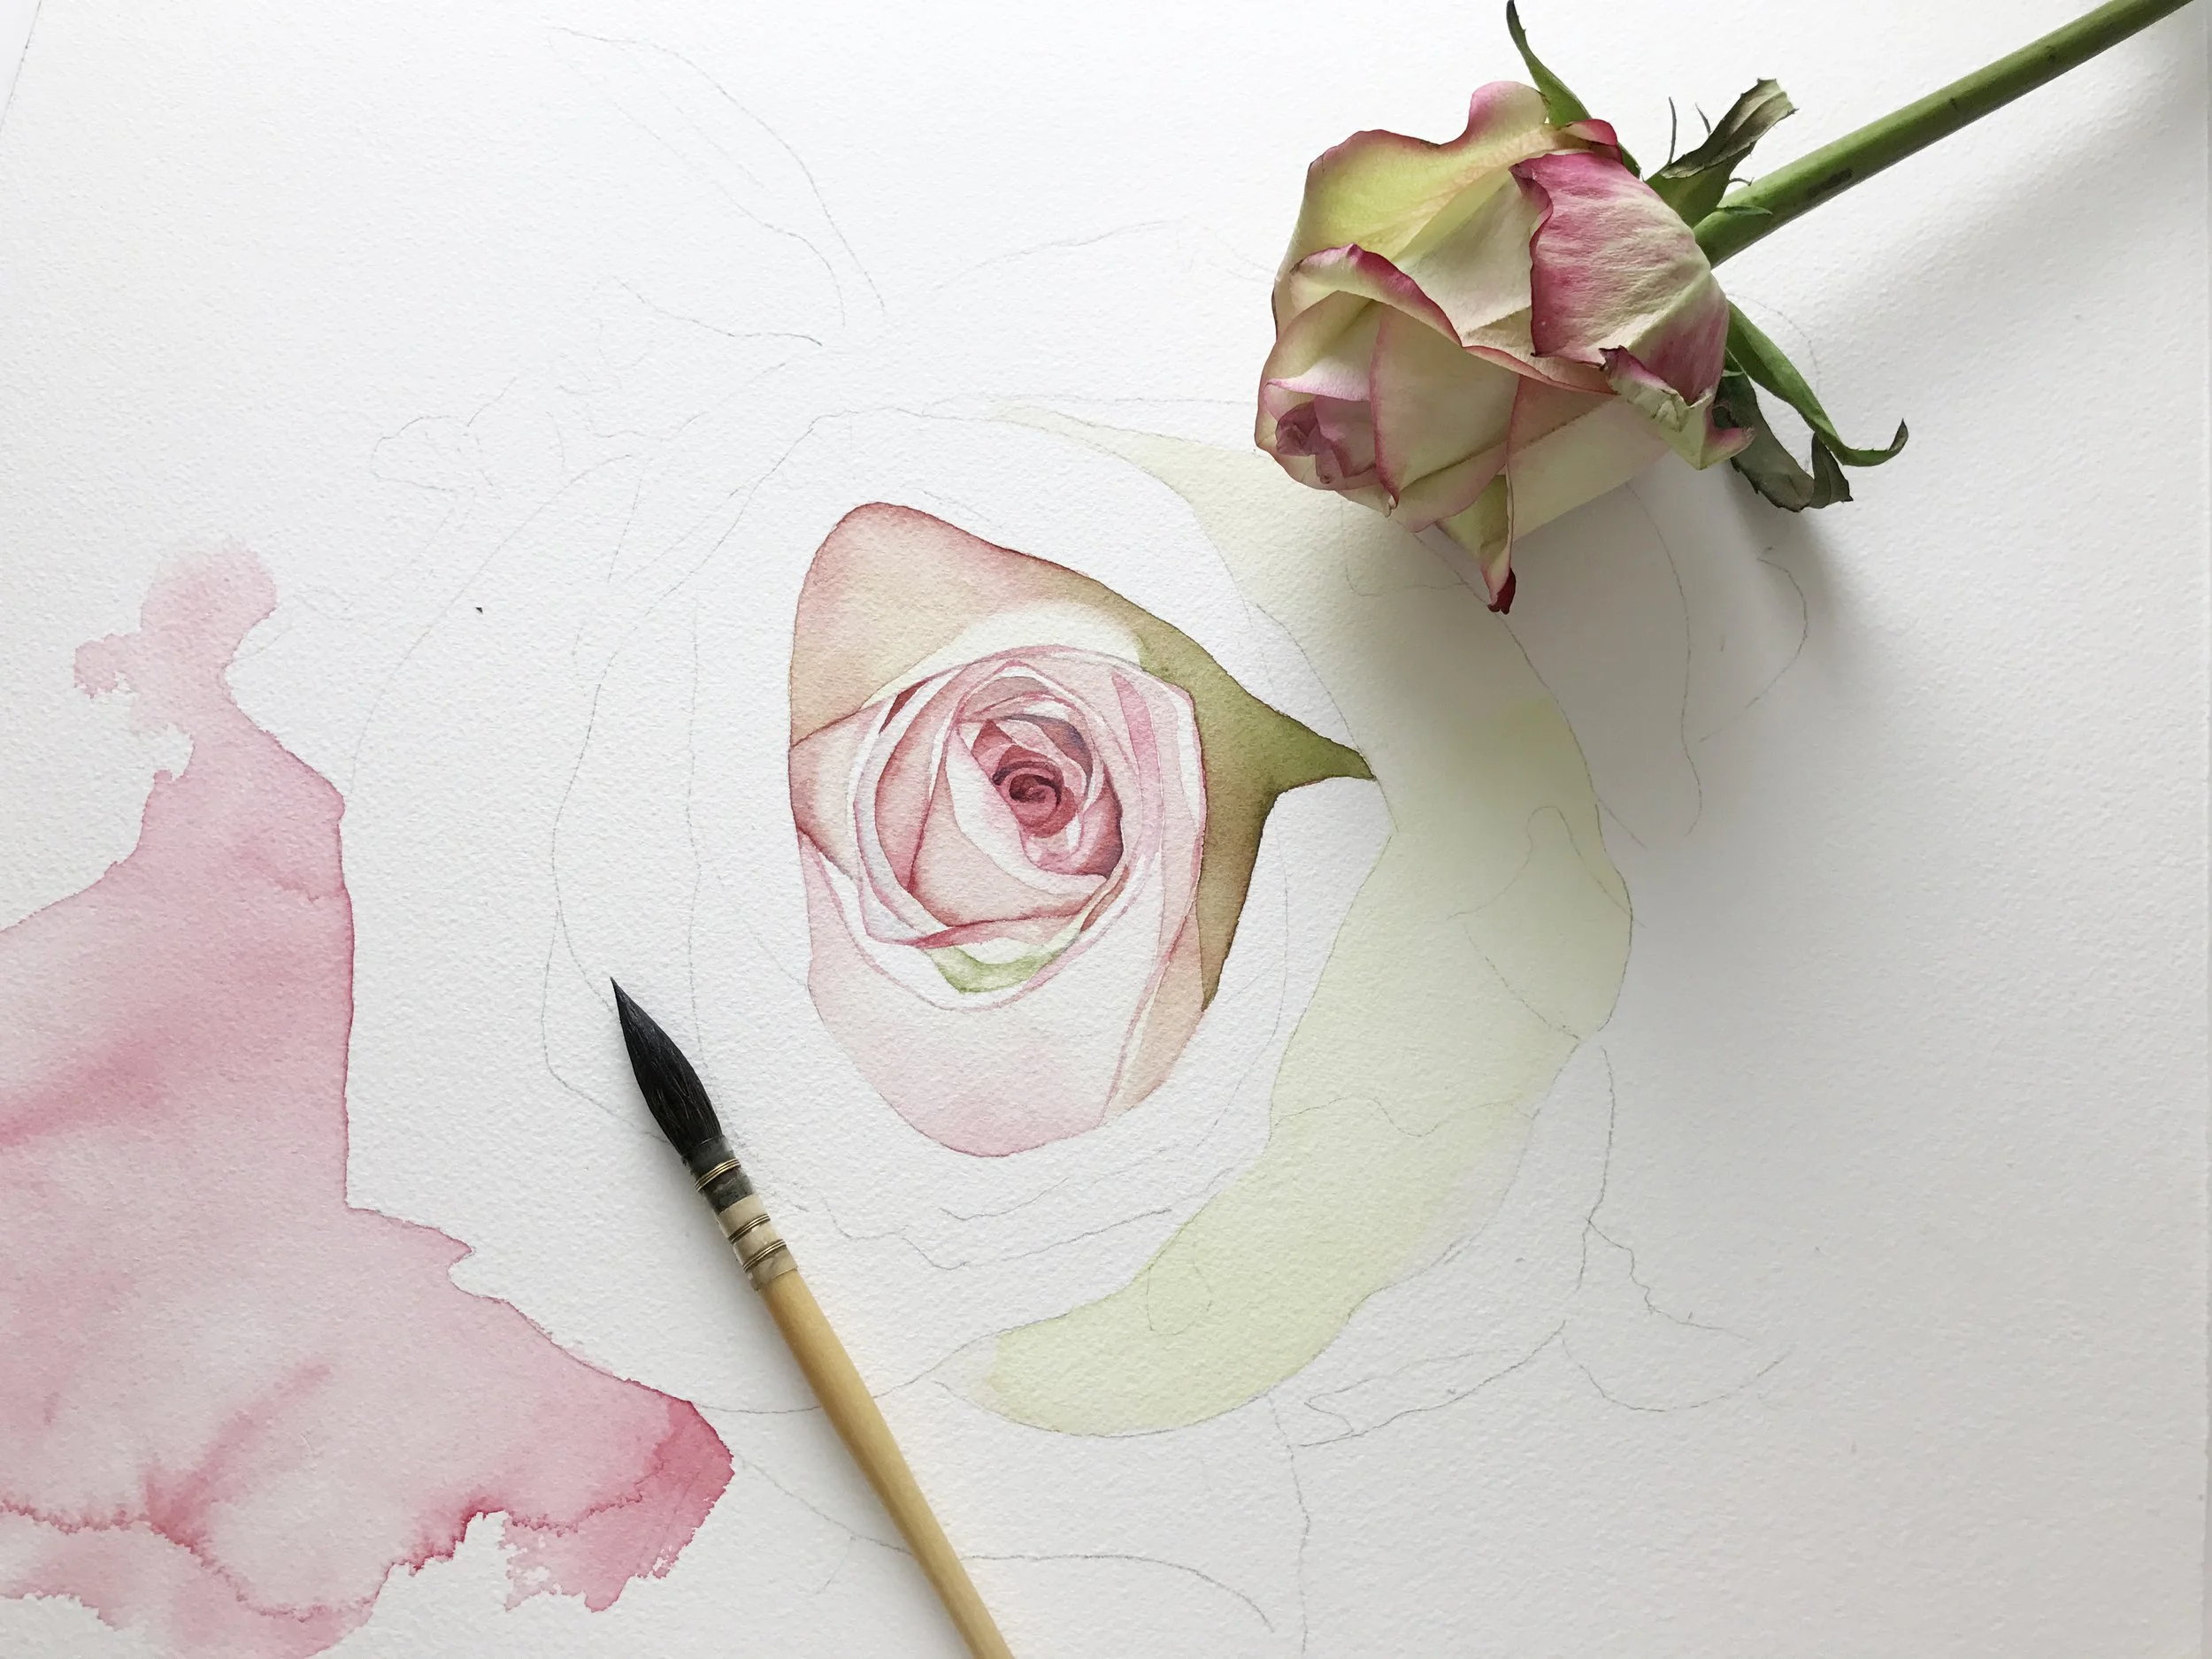
Light, transparent washes help keep watercolours fresh and luminous, while too many heavy layers can quickly lead to muddy colours.
3. Make sure your paint is dry before adding another layer
This is particularly important when you're working in layers.
If you paint over a layer that is still damp, you can disturb the paint underneath and end up with colours and edges that you didn't intend.
I usually let my painting dry naturally and then use a hair dryer to make sure it's completely dry before I do any re-wetting or add another layer.
It can be tempting to keep working while the paint is still damp, but sometimes the best thing you can do for your painting is simply wait. If in doubt, put the brush down, make yourself a cuppa and leave the painting alone for a few minutes. It’ll probably thank you for it.
4. Use confident brushstrokes
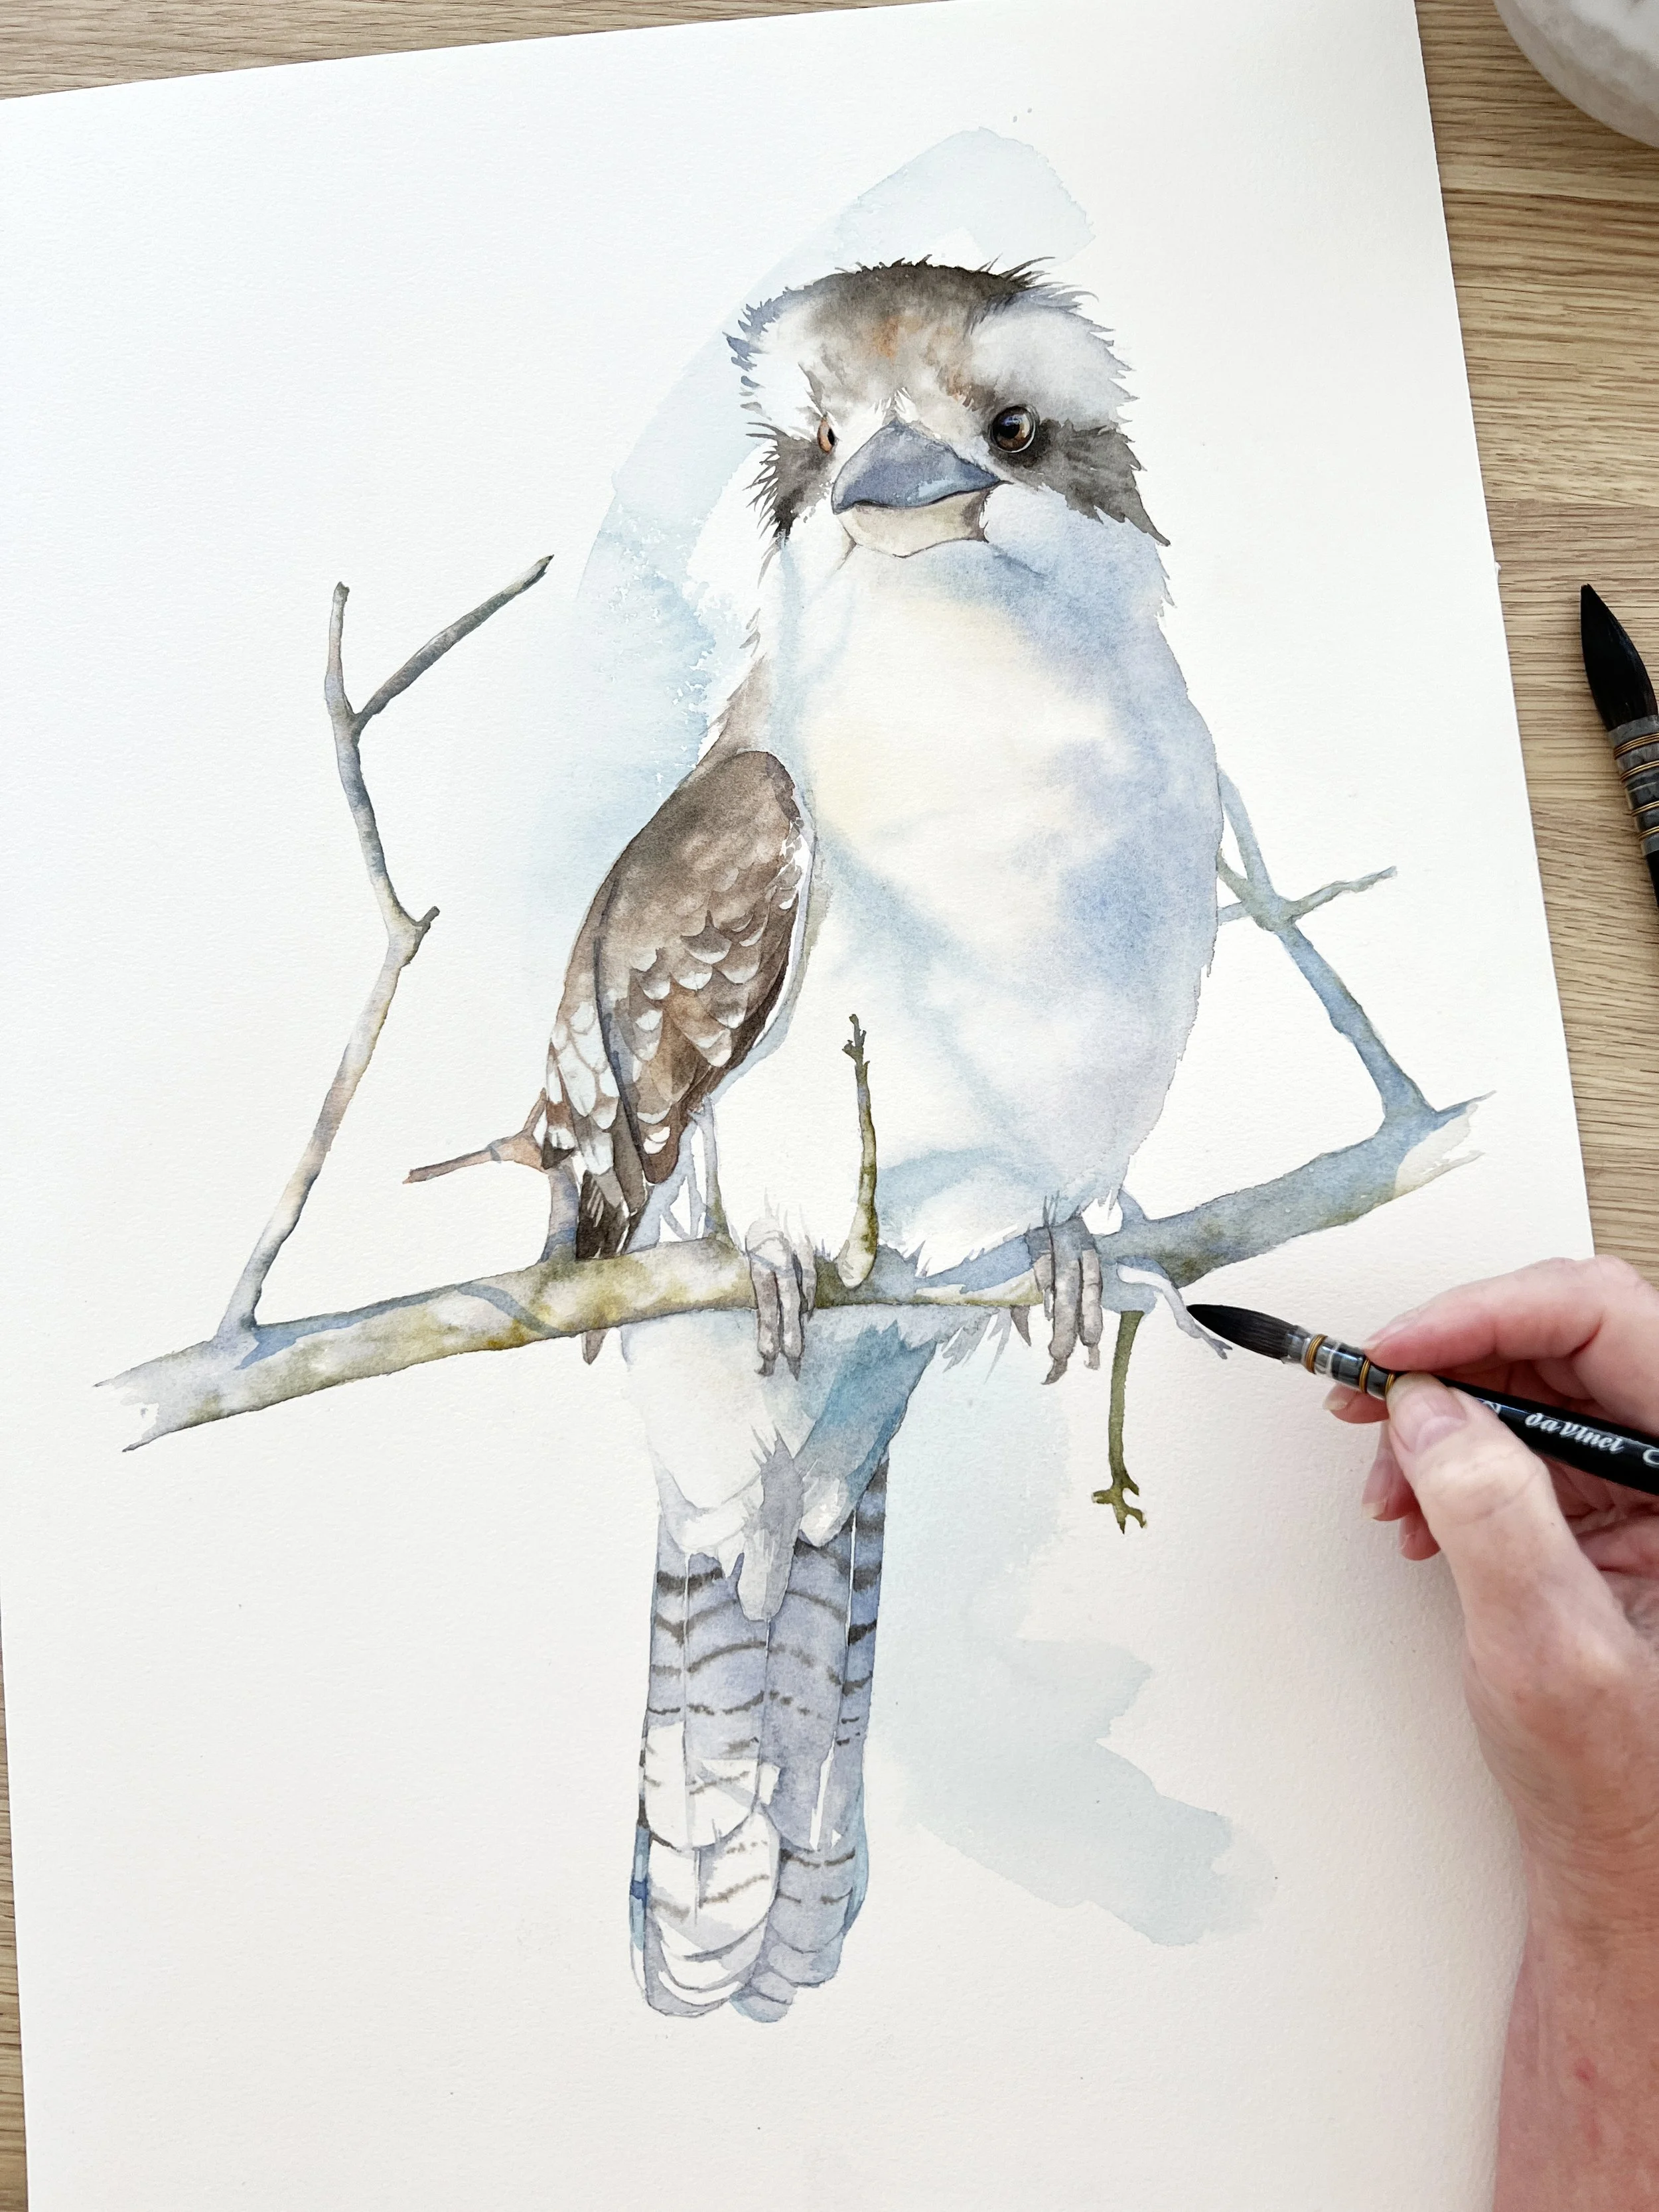
Don’t be afraid of using too much water. Letting the paint move on the paper can help create looser, more confident brushstrokes.
Try not to dab at your painting over and over again because you're worried that the first brushstroke wasn't quite right.
Put the paint on the paper and leave it alone.
This is much easier said than done, of course.
I find that using a reasonably large brush can help. A larger brush encourages you to make fewer, more confident marks rather than fussing over every little section with a tiny brush.
You don't have to get everything perfect with the first stroke. But you do need to give the paint a chance to do what watercolour does best.
Let the watercolour paint show you what it can do. Try not to get too fixed on the idea that every mark has to look exactly the way you imagined it. Some of the nicest effects happen when you leave a little room for the watercolour to surprise you.
5. Don't work every area of the painting to the same degree
This is perhaps one of the hardest things to learn.
When we're working from a reference photograph, it's very tempting to paint everything we see. Every leaf, every shadow, every little variation in colour.
But we don't have to.
Some areas can be detailed while others are left understated. Some edges can be sharp and others soft. Some parts of the painting can be lighter and quieter.
The eye doesn't need everything to be explained.
In my tulip painting, for example, I simplified the smaller unopened flower rather than giving it the same degree of attention as the main flower. I also kept the leaves quite simple and allowed the colour to fade away towards the bottom.
There was no need to draw the eye all the way down to the bottom of the painting.
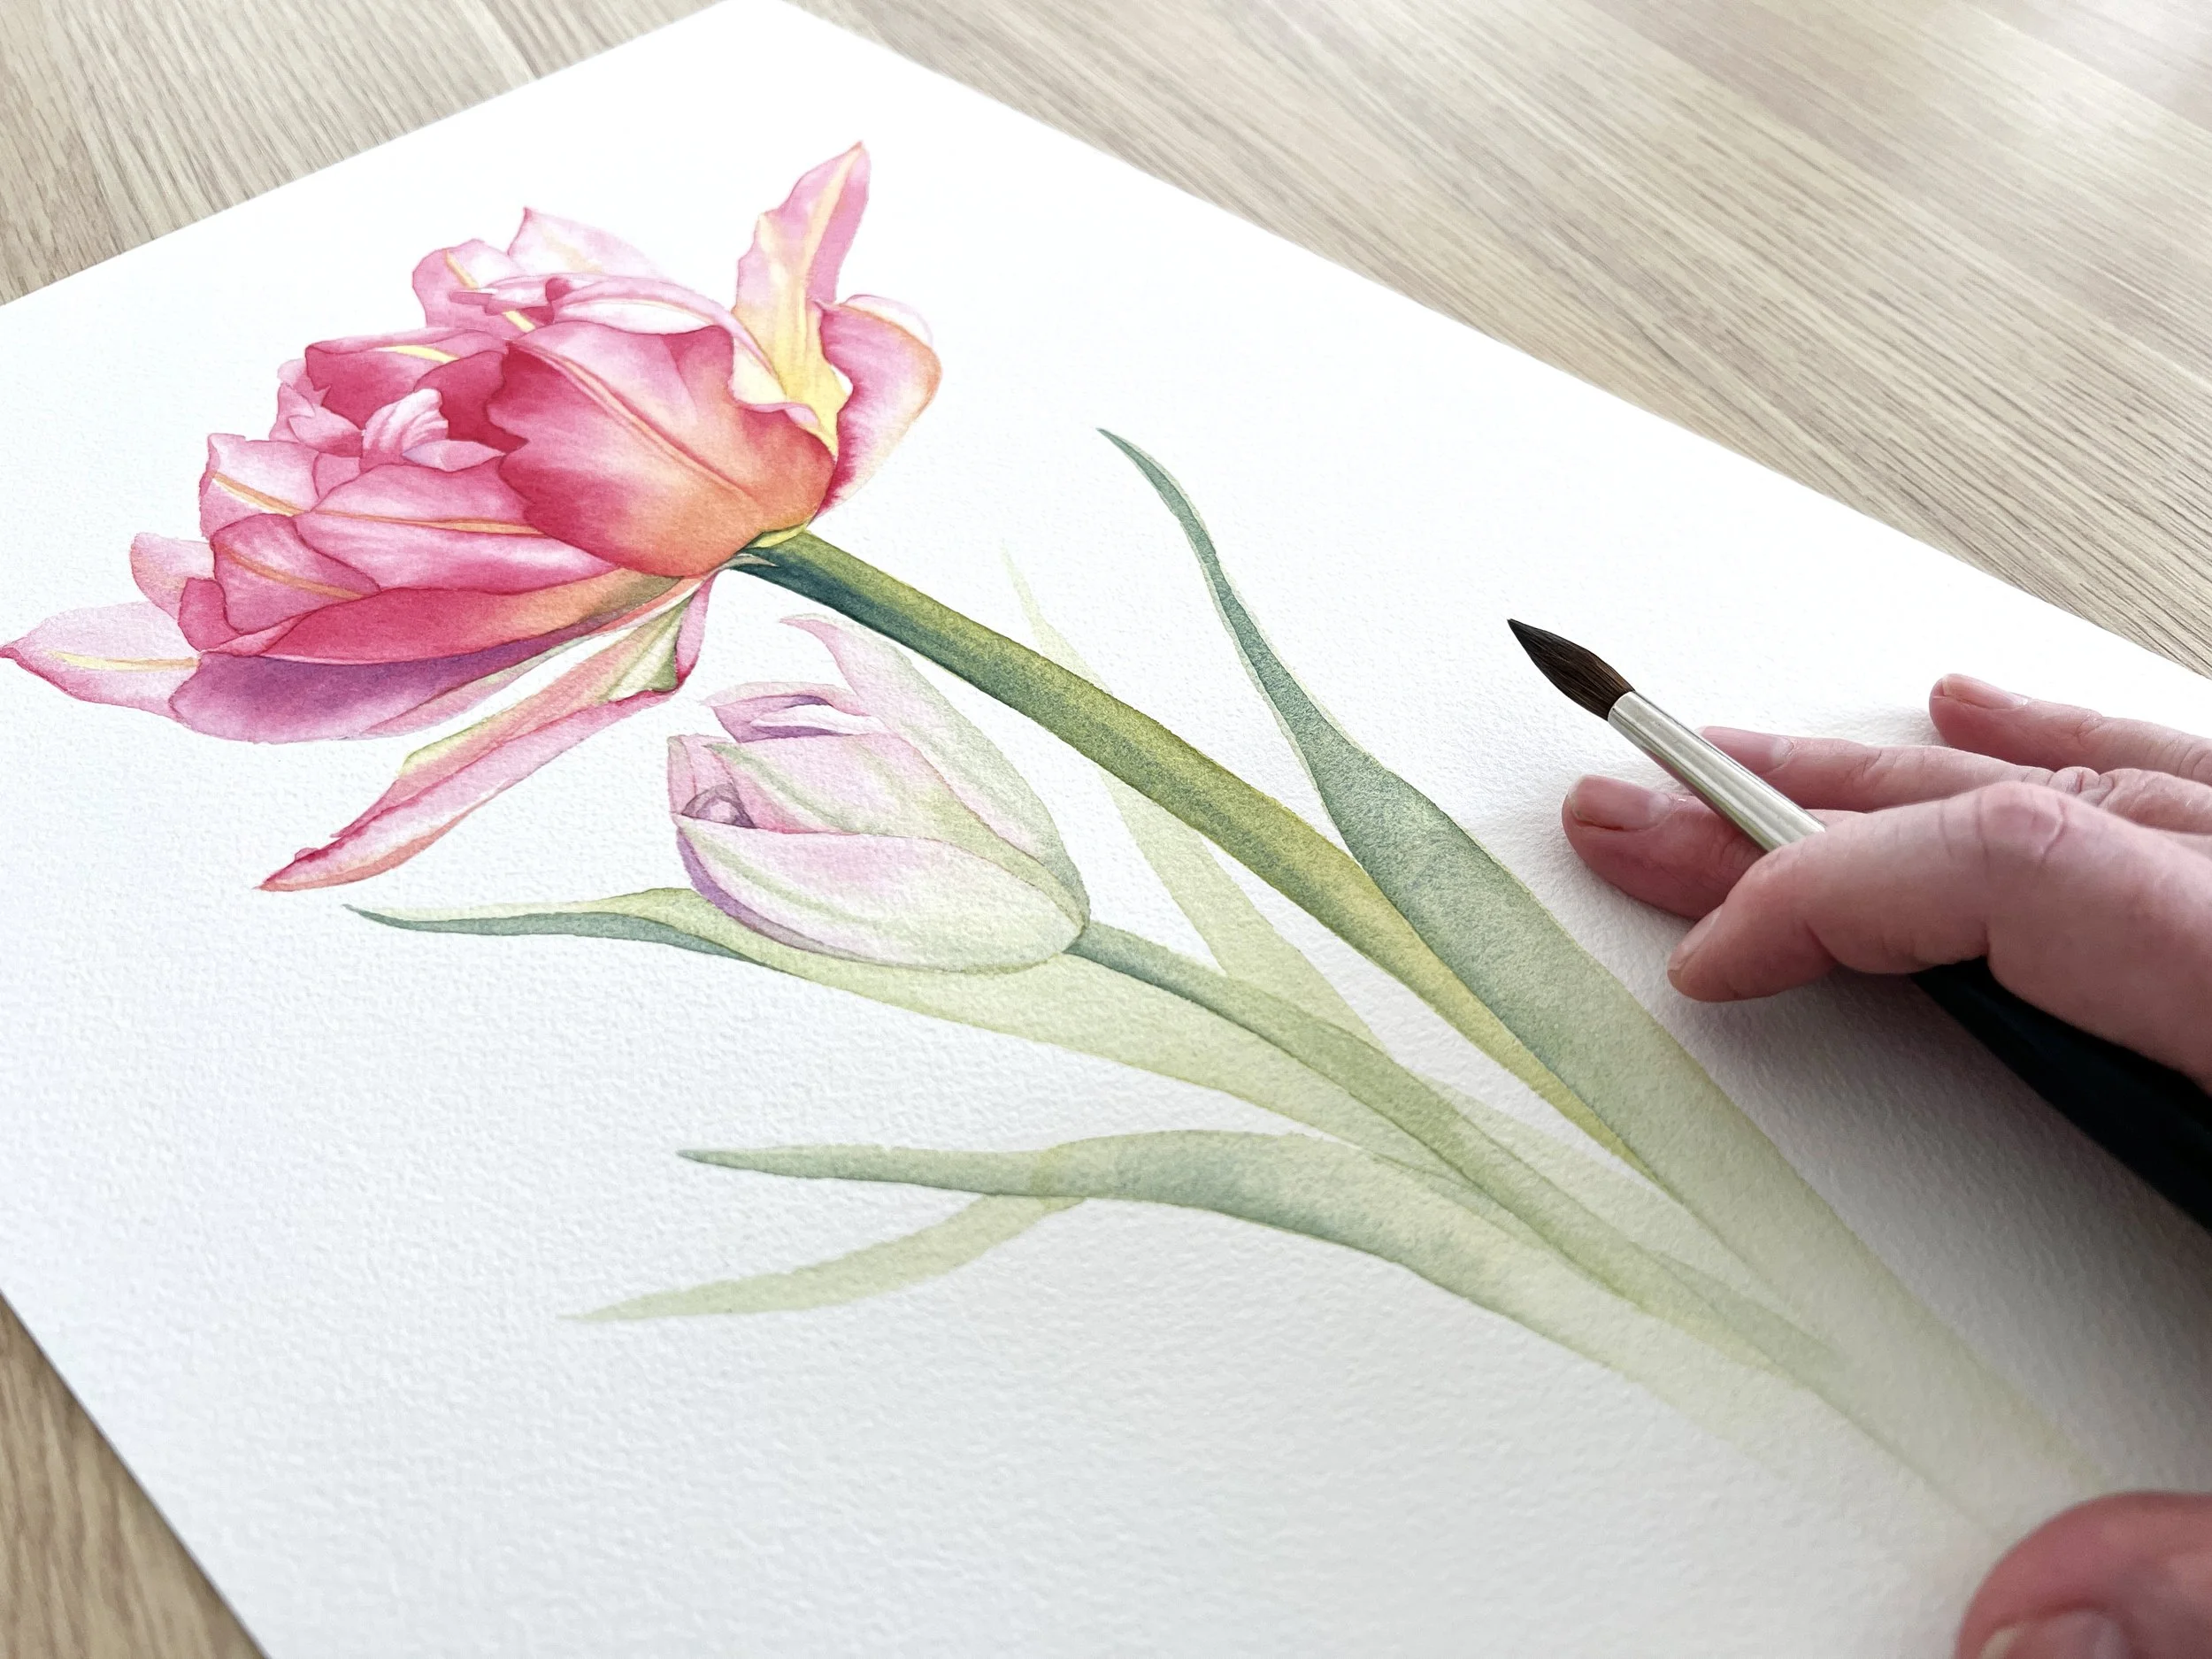
Not every part of a watercolour painting needs the same level of detail. Keeping some areas soft and understated helps guide the eye towards the focal point.
Step back from your painting
One of the simplest things you can do when you're unsure whether your painting is finished is to stand back from it.
When you're sitting close to a painting, it's very easy to become absorbed in tiny details. You notice a little area that doesn't look quite right and immediately want to fix it.
But when you step back, you can see the painting as a whole.
Ask yourself: Is this area actually a problem, or have I simply been looking at it for too long?
Sometimes you need to give the painting a little time before deciding what it needs next.
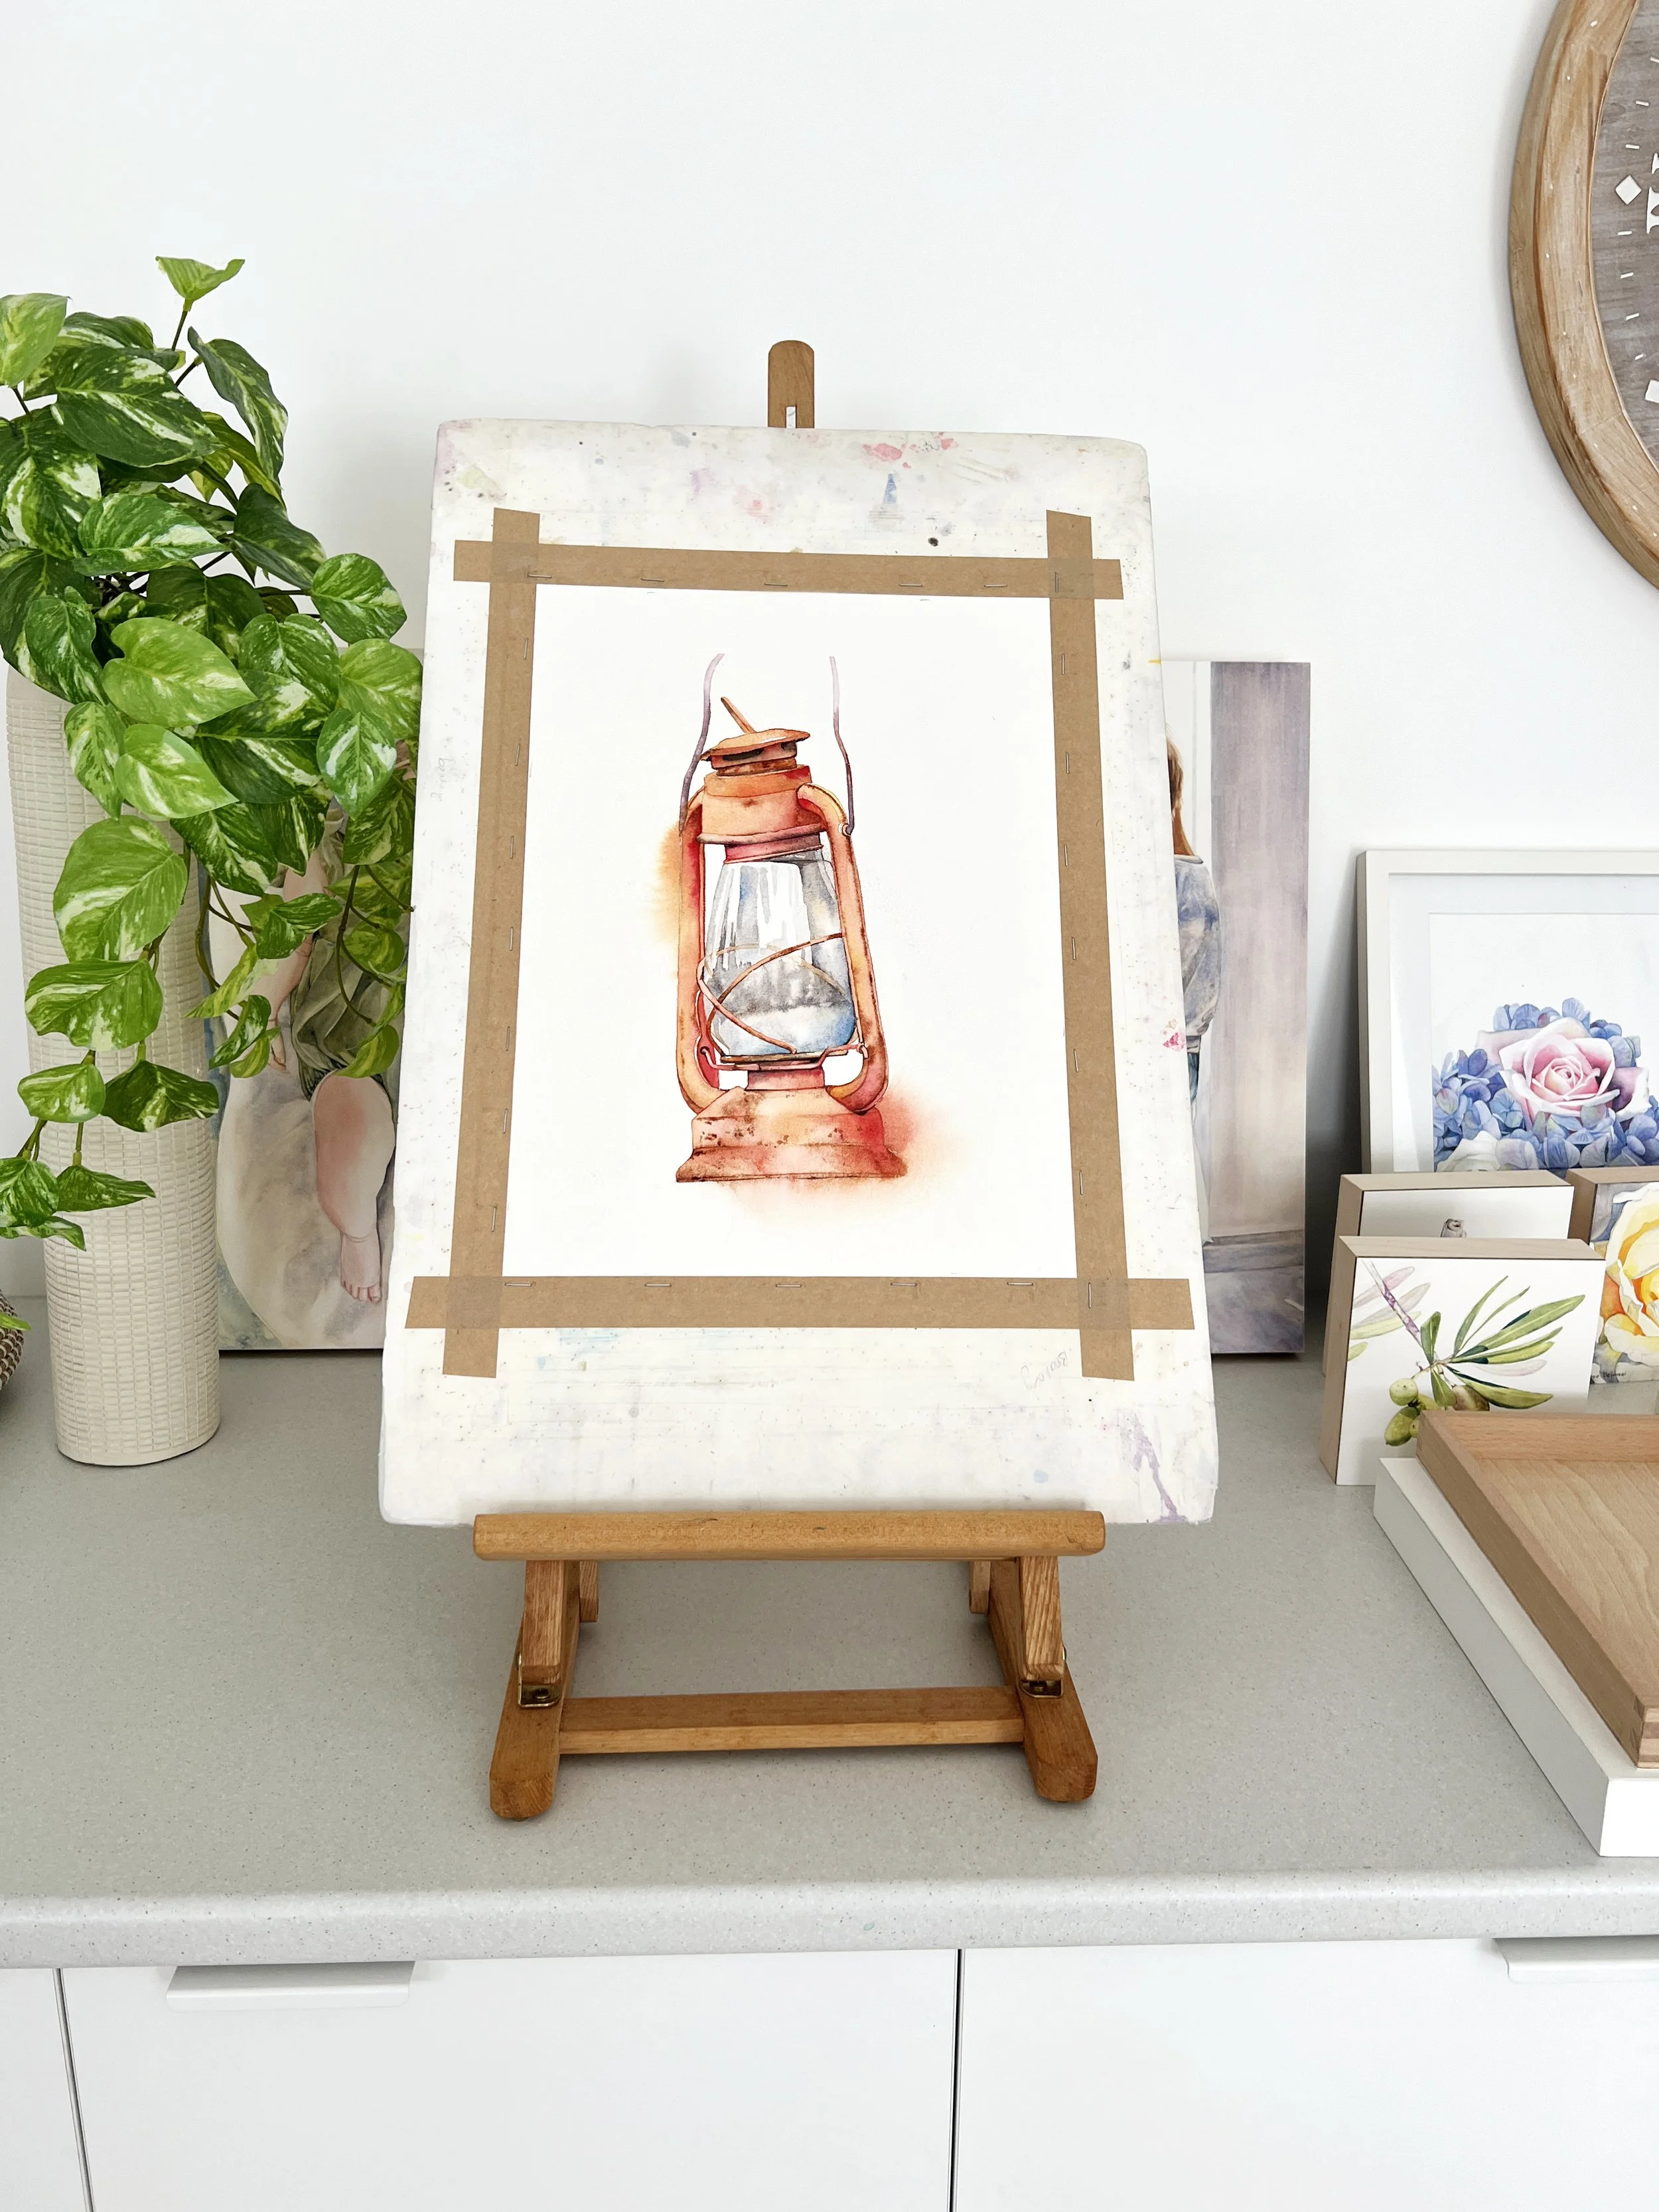
Sometimes the best way to know if a painting is finished is simply to step back and look at it from a distance.
Resist the “one more little thing”
This is the point where I think we all have to be a little bit honest with ourselves.
When you're almost finished, ask yourself why you want to make another change.
Does the painting genuinely need it?
Or are you simply uncomfortable leaving it alone?
If you find yourself repeatedly working at the same area, that's often a good sign that it's time to put your brush down.
Whenever I catch myself labouring over a painting, I force myself to stop. If I'm struggling with something, you can often see that struggle in the finished painting.
I've learnt that I don't need to paint every little thing I see in my reference photo, and I don't need to make every area of the painting equally important.
So, how do you know when a painting is finished?
There isn't a magic moment when a little bell rings and tells you that your painting is finished.
But there are a few questions you can ask yourself:
Does the painting already say what I want it to say?
Can I still see some of the white paper through the paint?
Are there areas that I've left quiet or understated?
Have I been adding detail because the painting needs it, or because I'm afraid to stop?
Am I making the painting better with this next brushstroke or am I simply making another brushstroke?
Am I still painting confidently, or have I started to fuss with the paint?
The last question is probably the most important one for me.
These days, I'm much more aware of not overstating things. I want to maintain the spontaneous and lively qualities that watercolour is known for.
Watercolour doesn't have to tell us everything.
Sometimes the most successful part of a painting is the part where you decided to leave something out.
And sometimes, the best brushstroke you can make is the one you decide not to make.
Want to see these ideas in practice?
The best way to get a feel for this is to watch a painting develop from beginning to end.
In my step-by-step watercolour classes, you can see where I add another layer, where I leave an area alone, and how I simplify a reference rather than trying to paint every detail.
Whether you’re just starting out or already have some experience, you can explore my watercolour classes and find a painting that suits where you are now.
A few years ago, I looked back at some of my older paintings and found one of a tulip that I had overworked.
It was a useful painting to look at because I could see exactly what I had been doing wrong.
I'd used too many colours and too many layers. I'd tried to record almost everything I could see in my reference photo. I'd worked and reworked areas until the paint had lost its transparency and luminosity.