10 Essential Watercolour Techniques For Beginners

Watercolour painting is often described as unpredictable. Paint flows, edges soften, and colours interact in ways that can feel difficult to control. But watercolour becomes far more manageable once you understand a small number of core techniques and how water, pigment, and paper respond to one another.
This guide focuses on watercolour techniques for beginners, but these foundational watercolour techniques are just as valuable to return to as your practice develops. Learning when and why to use them will help you create clearer shapes, stronger values, and more confident paintings without losing the freshness that makes watercolour so appealing.
If you’d like to practise these techniques inside a full painting, you can explore my step-by-step tutorials here.
1. Wet on Dry Watercolour Technique
What it is
Applying wet paint to dry paper, allowing the paint to stay largely where it is placed. Because the paper surface is dry, the paint spreads very little, giving you the most control over edges and shape.
Why it matters
Wet on dry gives you the greatest level of control in watercolour. Because the paper surface is dry, the paint stays where you place it, allowing you to create crisp edges and clearly defined shapes.
Wet paint on dry paper gives you the most control.
Best used for
Detail and fine lines
Defined shapes
Dark accents and finishing touches
Tips
Use wet on dry when accuracy and intention are important. This great technique is particularly useful in the later stages of a painting, when you want to reinforce values or add small, precise details. Make sure the loaded brush is not too wet. Too much water in the bristles can cause drips, hard puddles, or uneven edges, which makes precise work harder to control.
If you’d like a more in-depth explanation of how moisture levels affect edge quality, I’ve explored this in more depth in a dedicated guide if you’d like to go further.
Paintbrush loaded with paint for the dry brush technique.
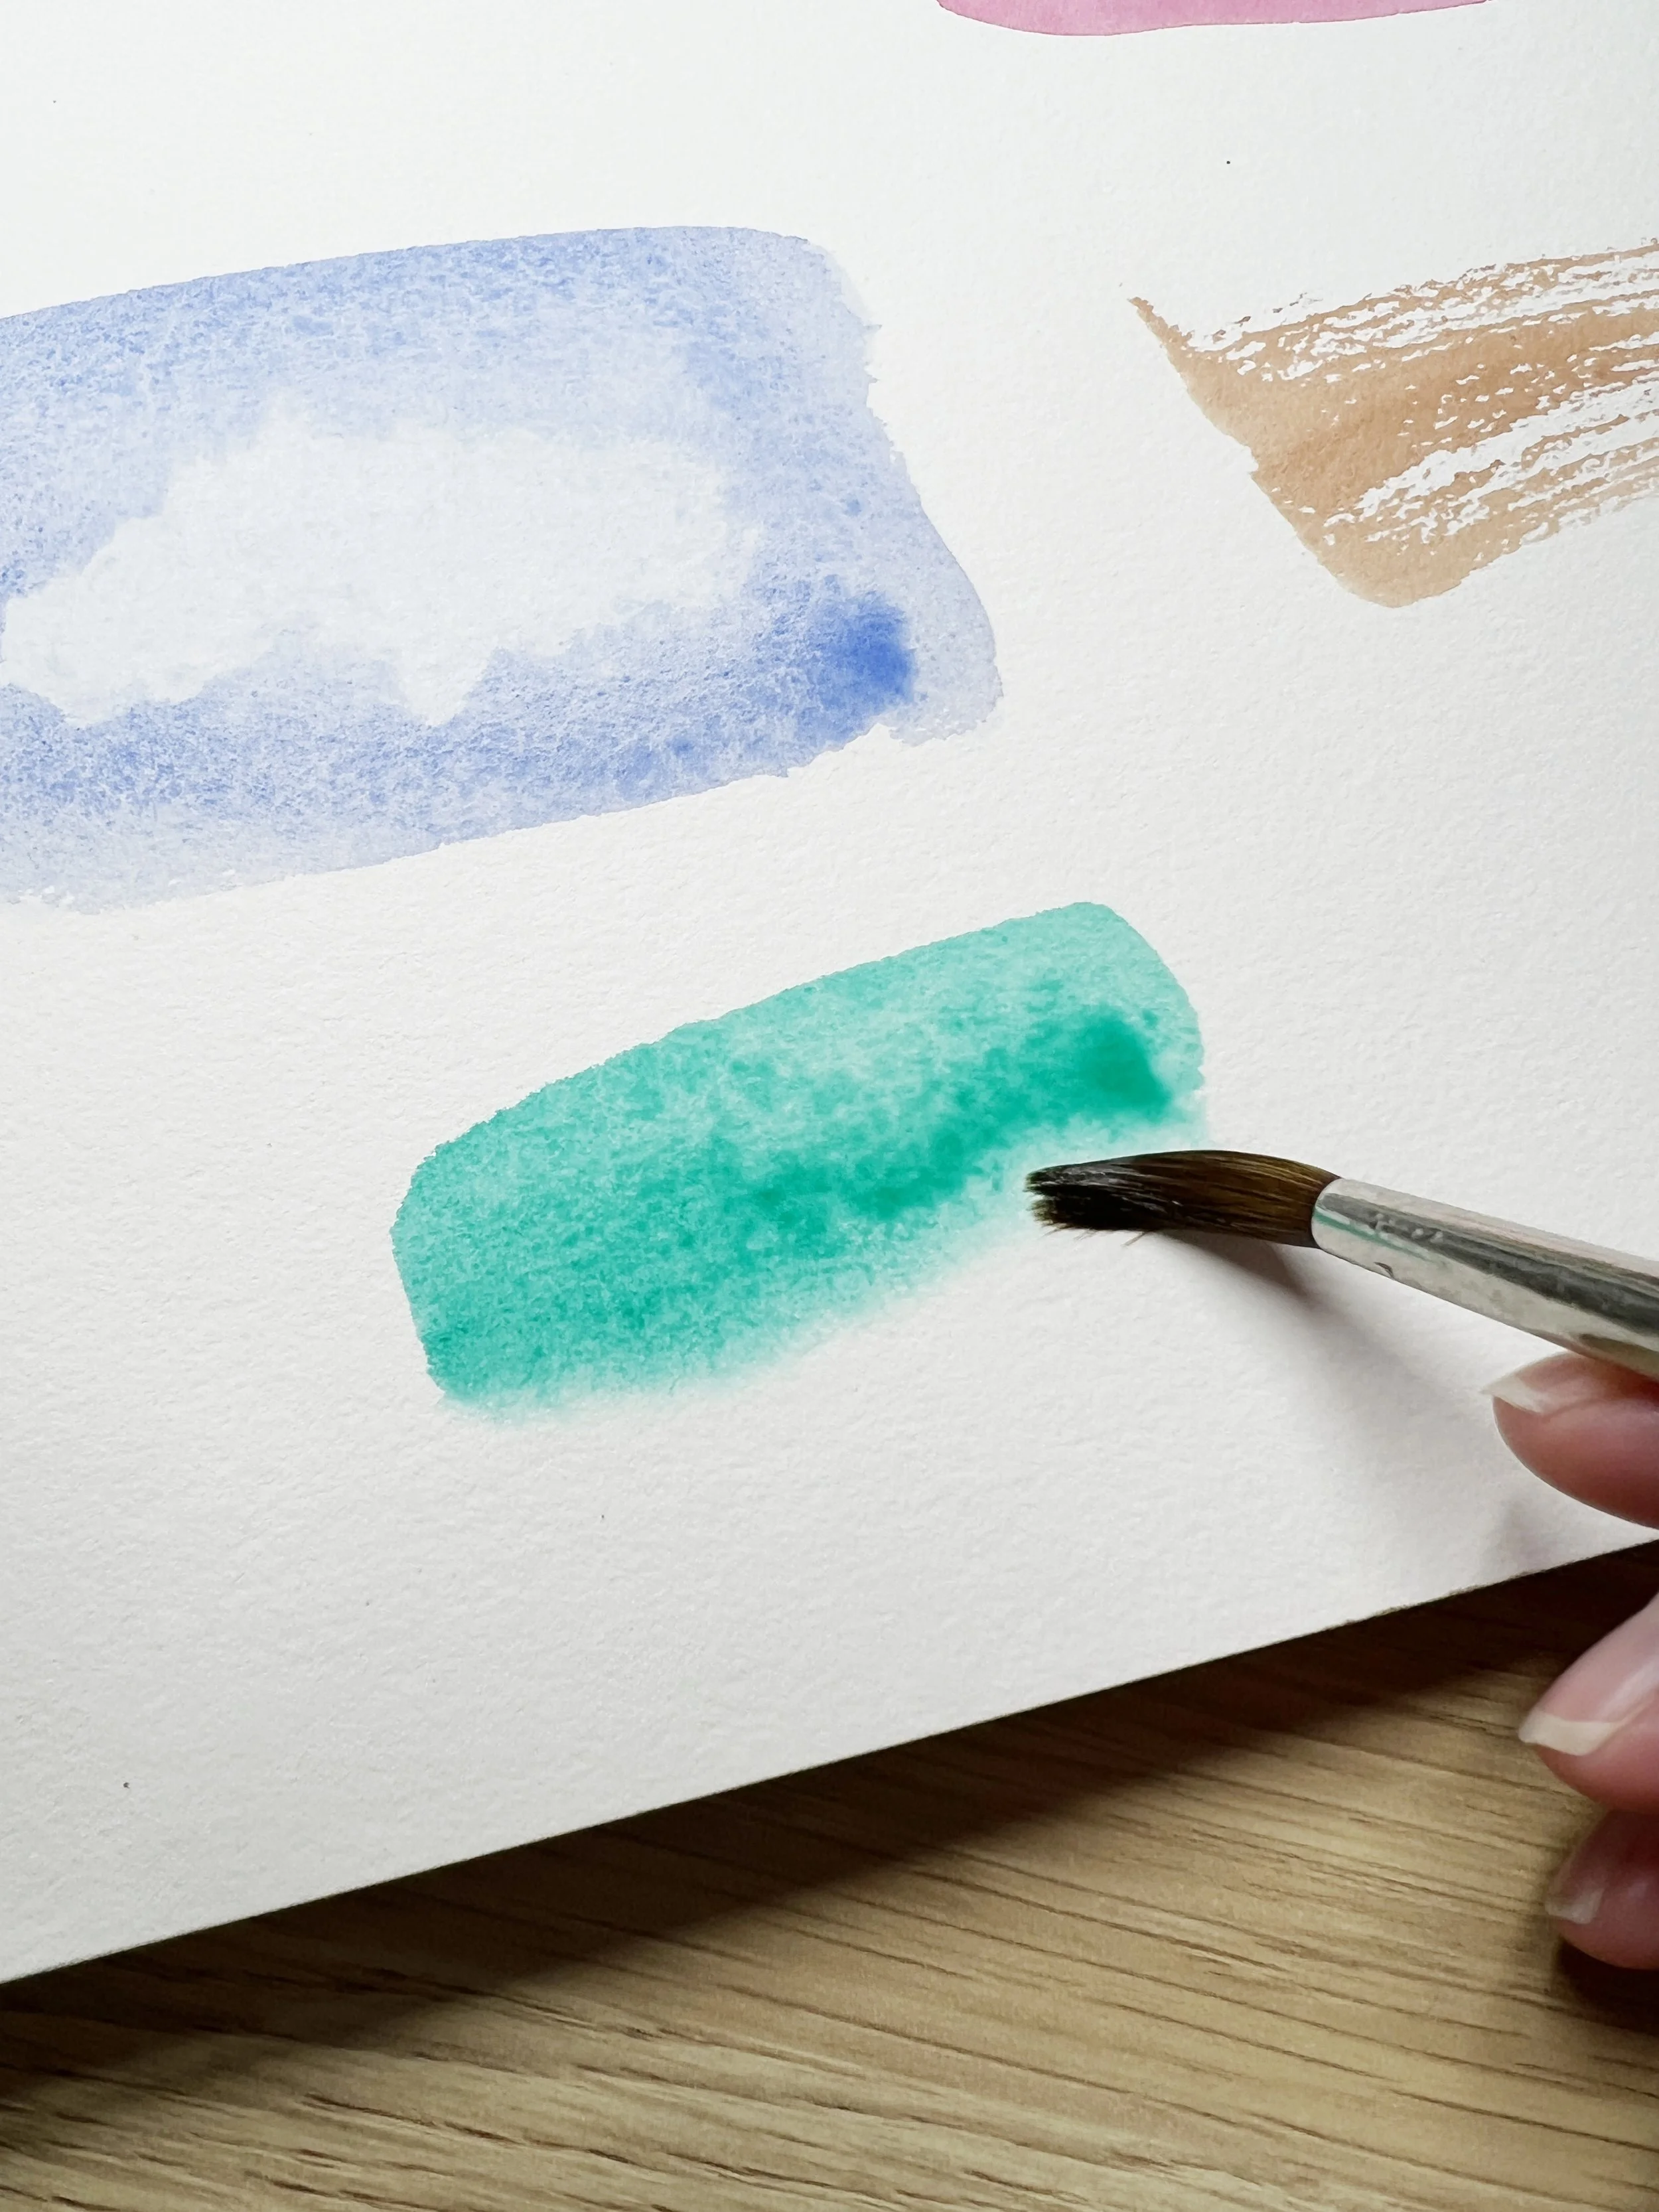
2. Wet on Wet Watercolour Technique
What it is
Applying wet paint to wet paper, allowing colour and water to move freely across the surface. This technique encourages soft edges and natural blending as the pigment flows into the damp paper. Such a fun technique!
Why it matters
Wet on wet creates soft edges and gentle transitions that feel natural and atmospheric. Because the paint is allowed to flow freely, this technique is ideal for capturing light, air, and movement.
Best used for
Soft backgrounds
Skies and large washes
Fur or feathers
Loose, expressive passages
Using wet paint on wet paper.
Tips
The key to wet on wet is timing. Watch the sheen on the paper rather than relying on instinct alone. Too wet, and the paint will spread uncontrollably; too dry, and edges will become harder than intended. Less brush movement often leads to better results. A spray bottle can help keep the paper evenly wet without introducing too much water, although I prefer thoroughly wetting my paper and if necessary I take the excess amount of water off with a damp brush.
If you want to learn more about controlling wet on wet washes, including how to read the paper surface, I’ve written a more detailed post exploring this technique in depth.
These techniques make much more sense when you see them applied in a real painting rather than in isolation. Watch a step by step demonstration in my free tutorial.
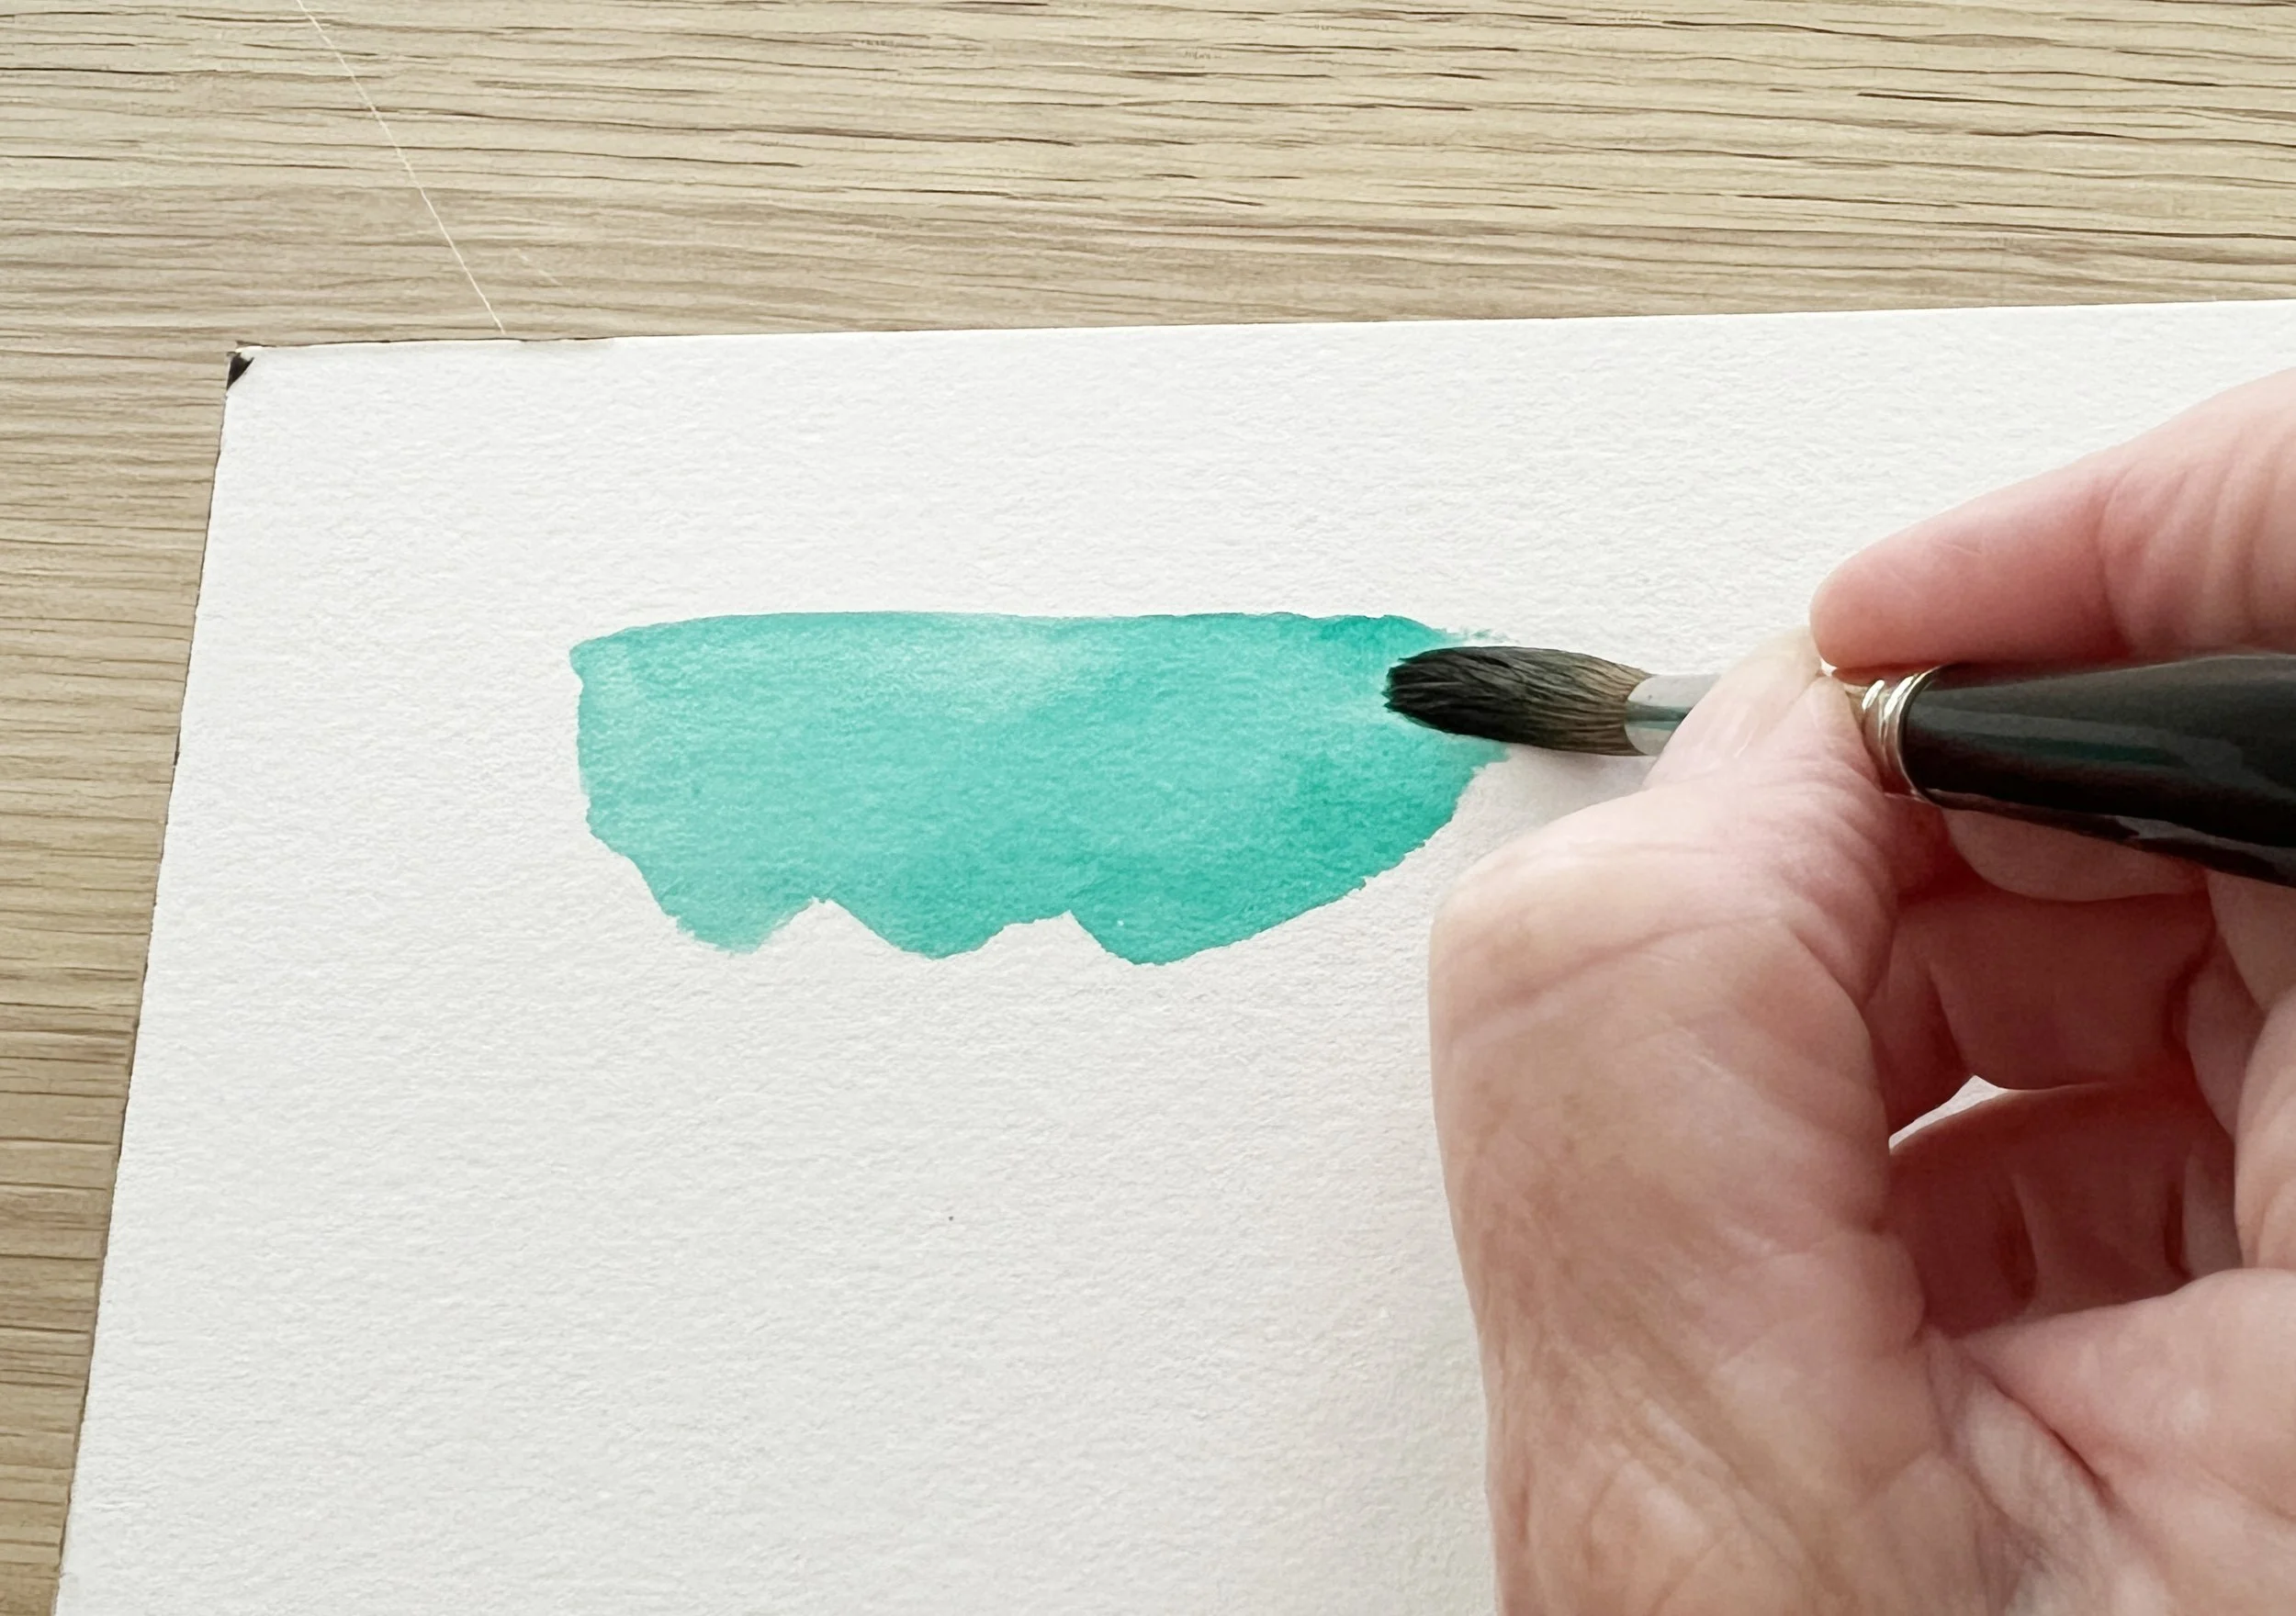
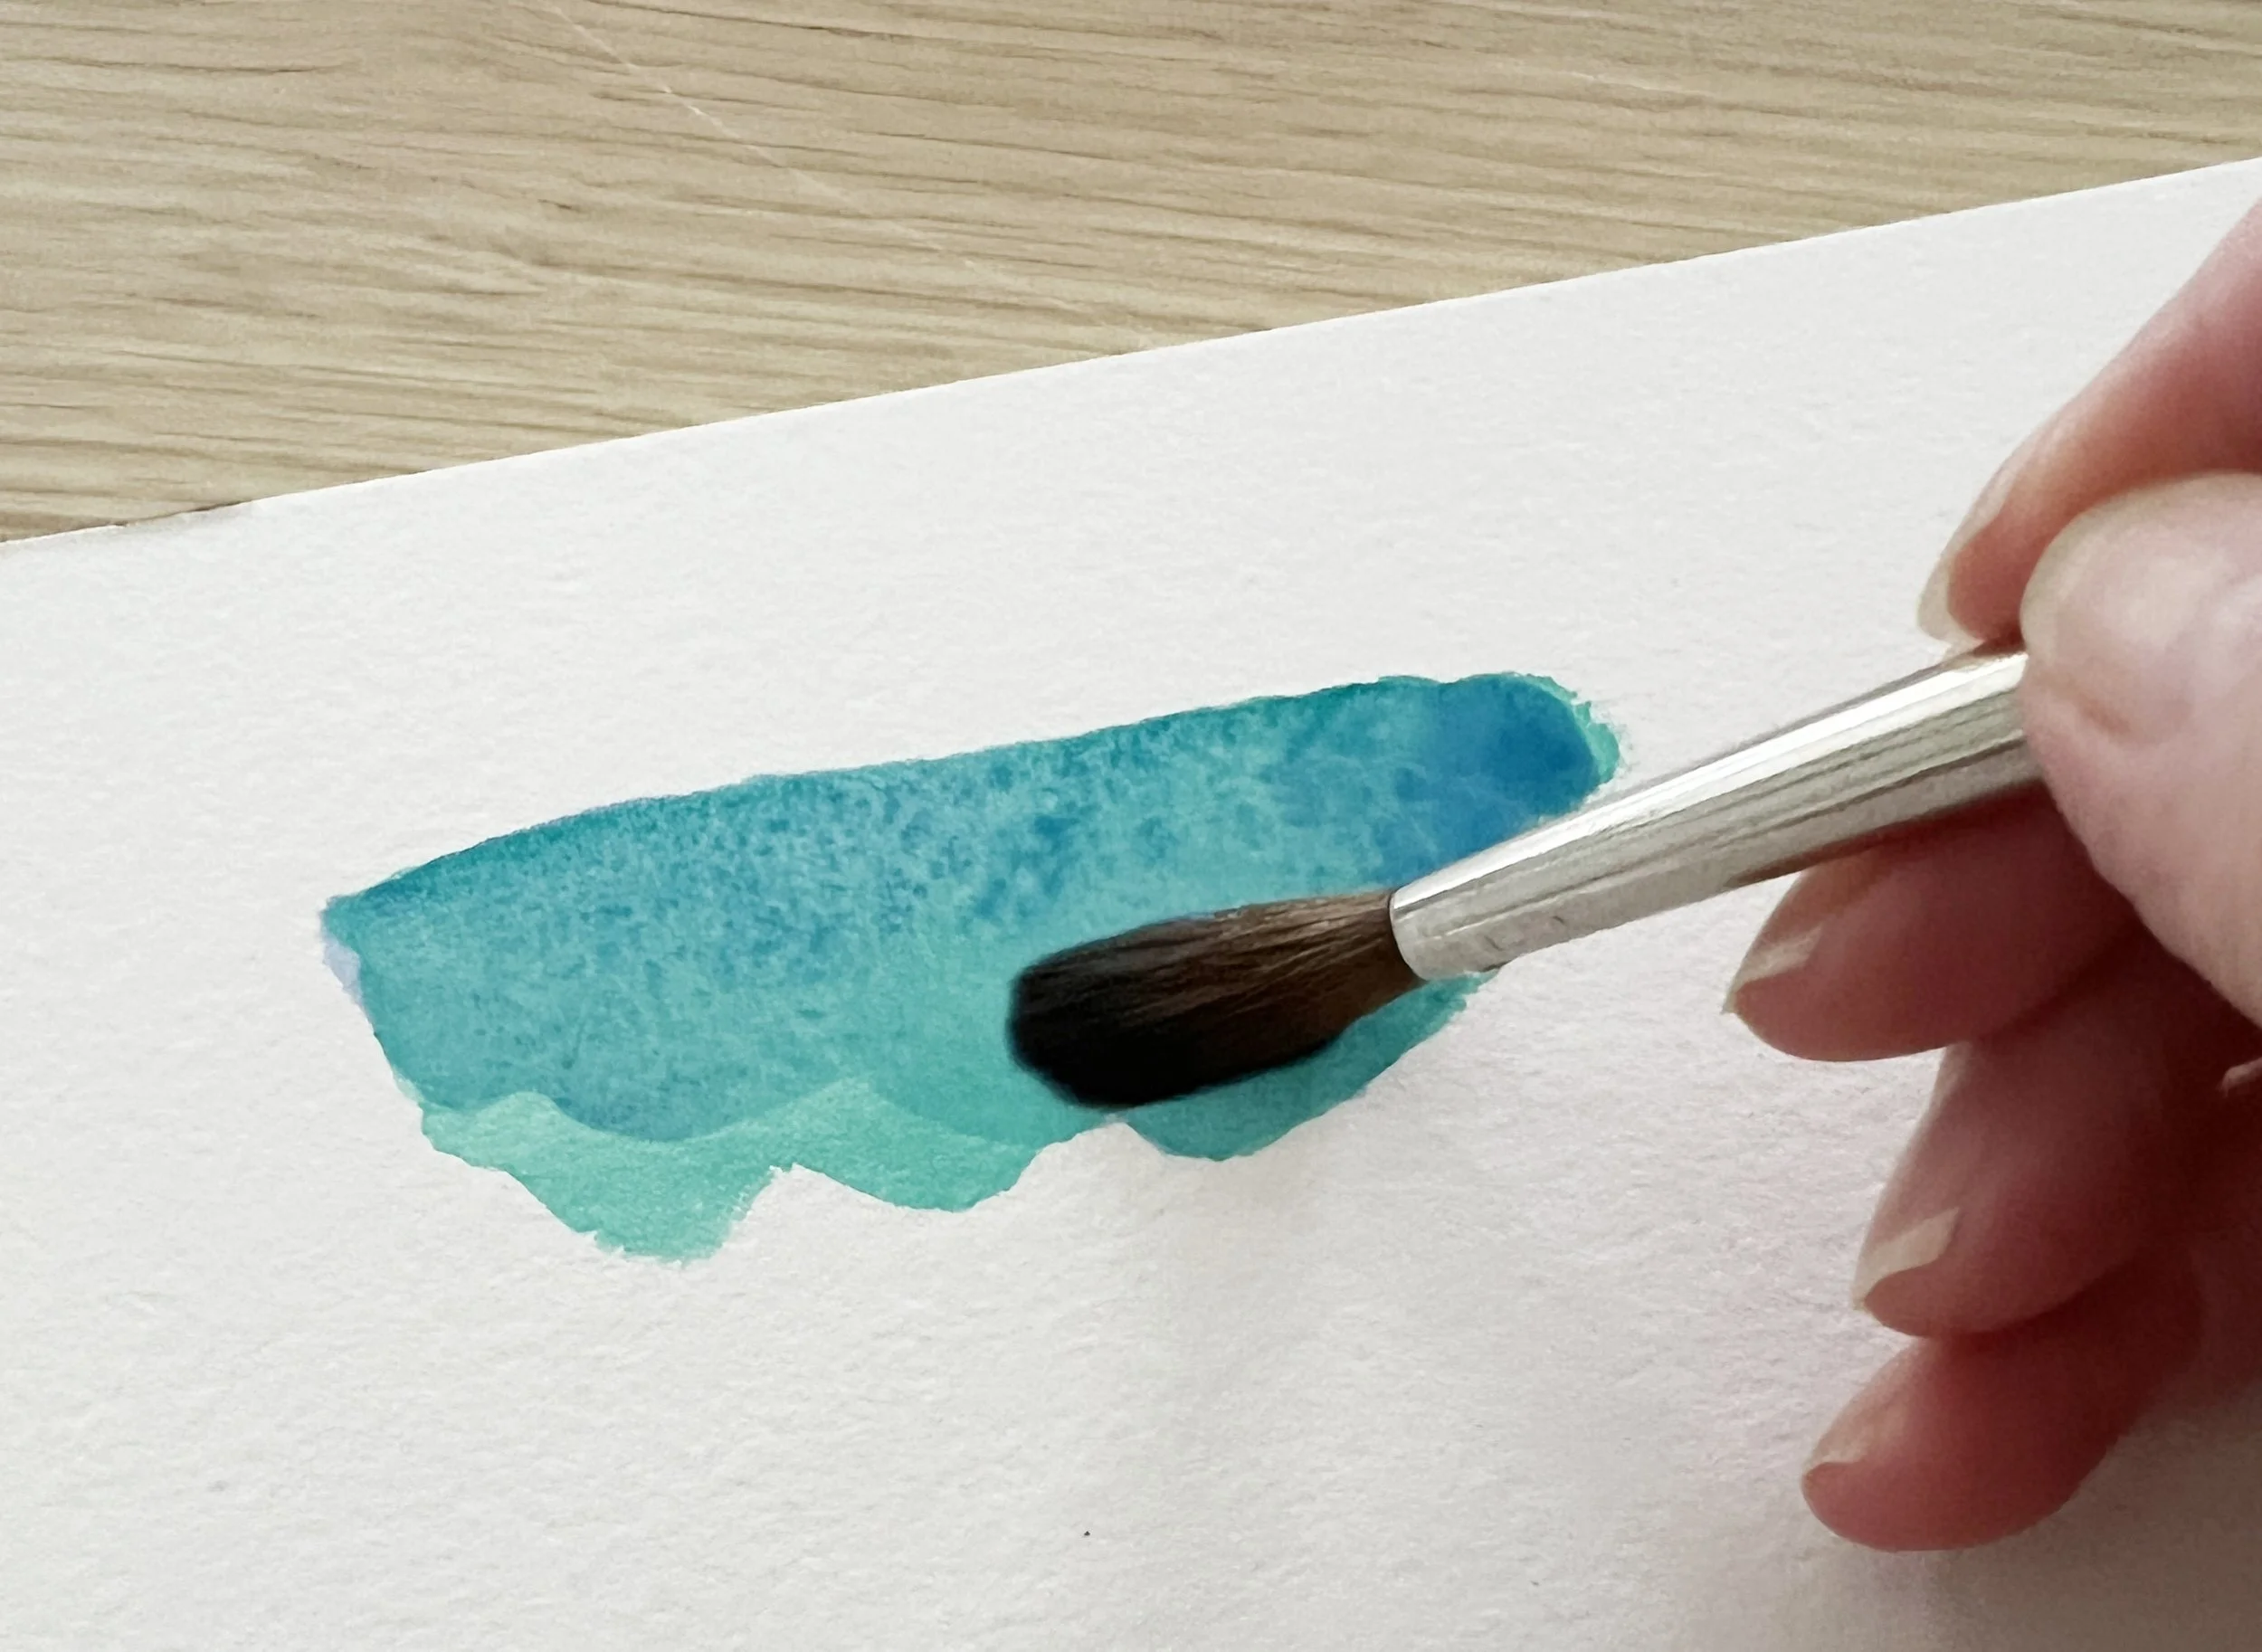
Much of this painting was painted using the wet on wet technique.
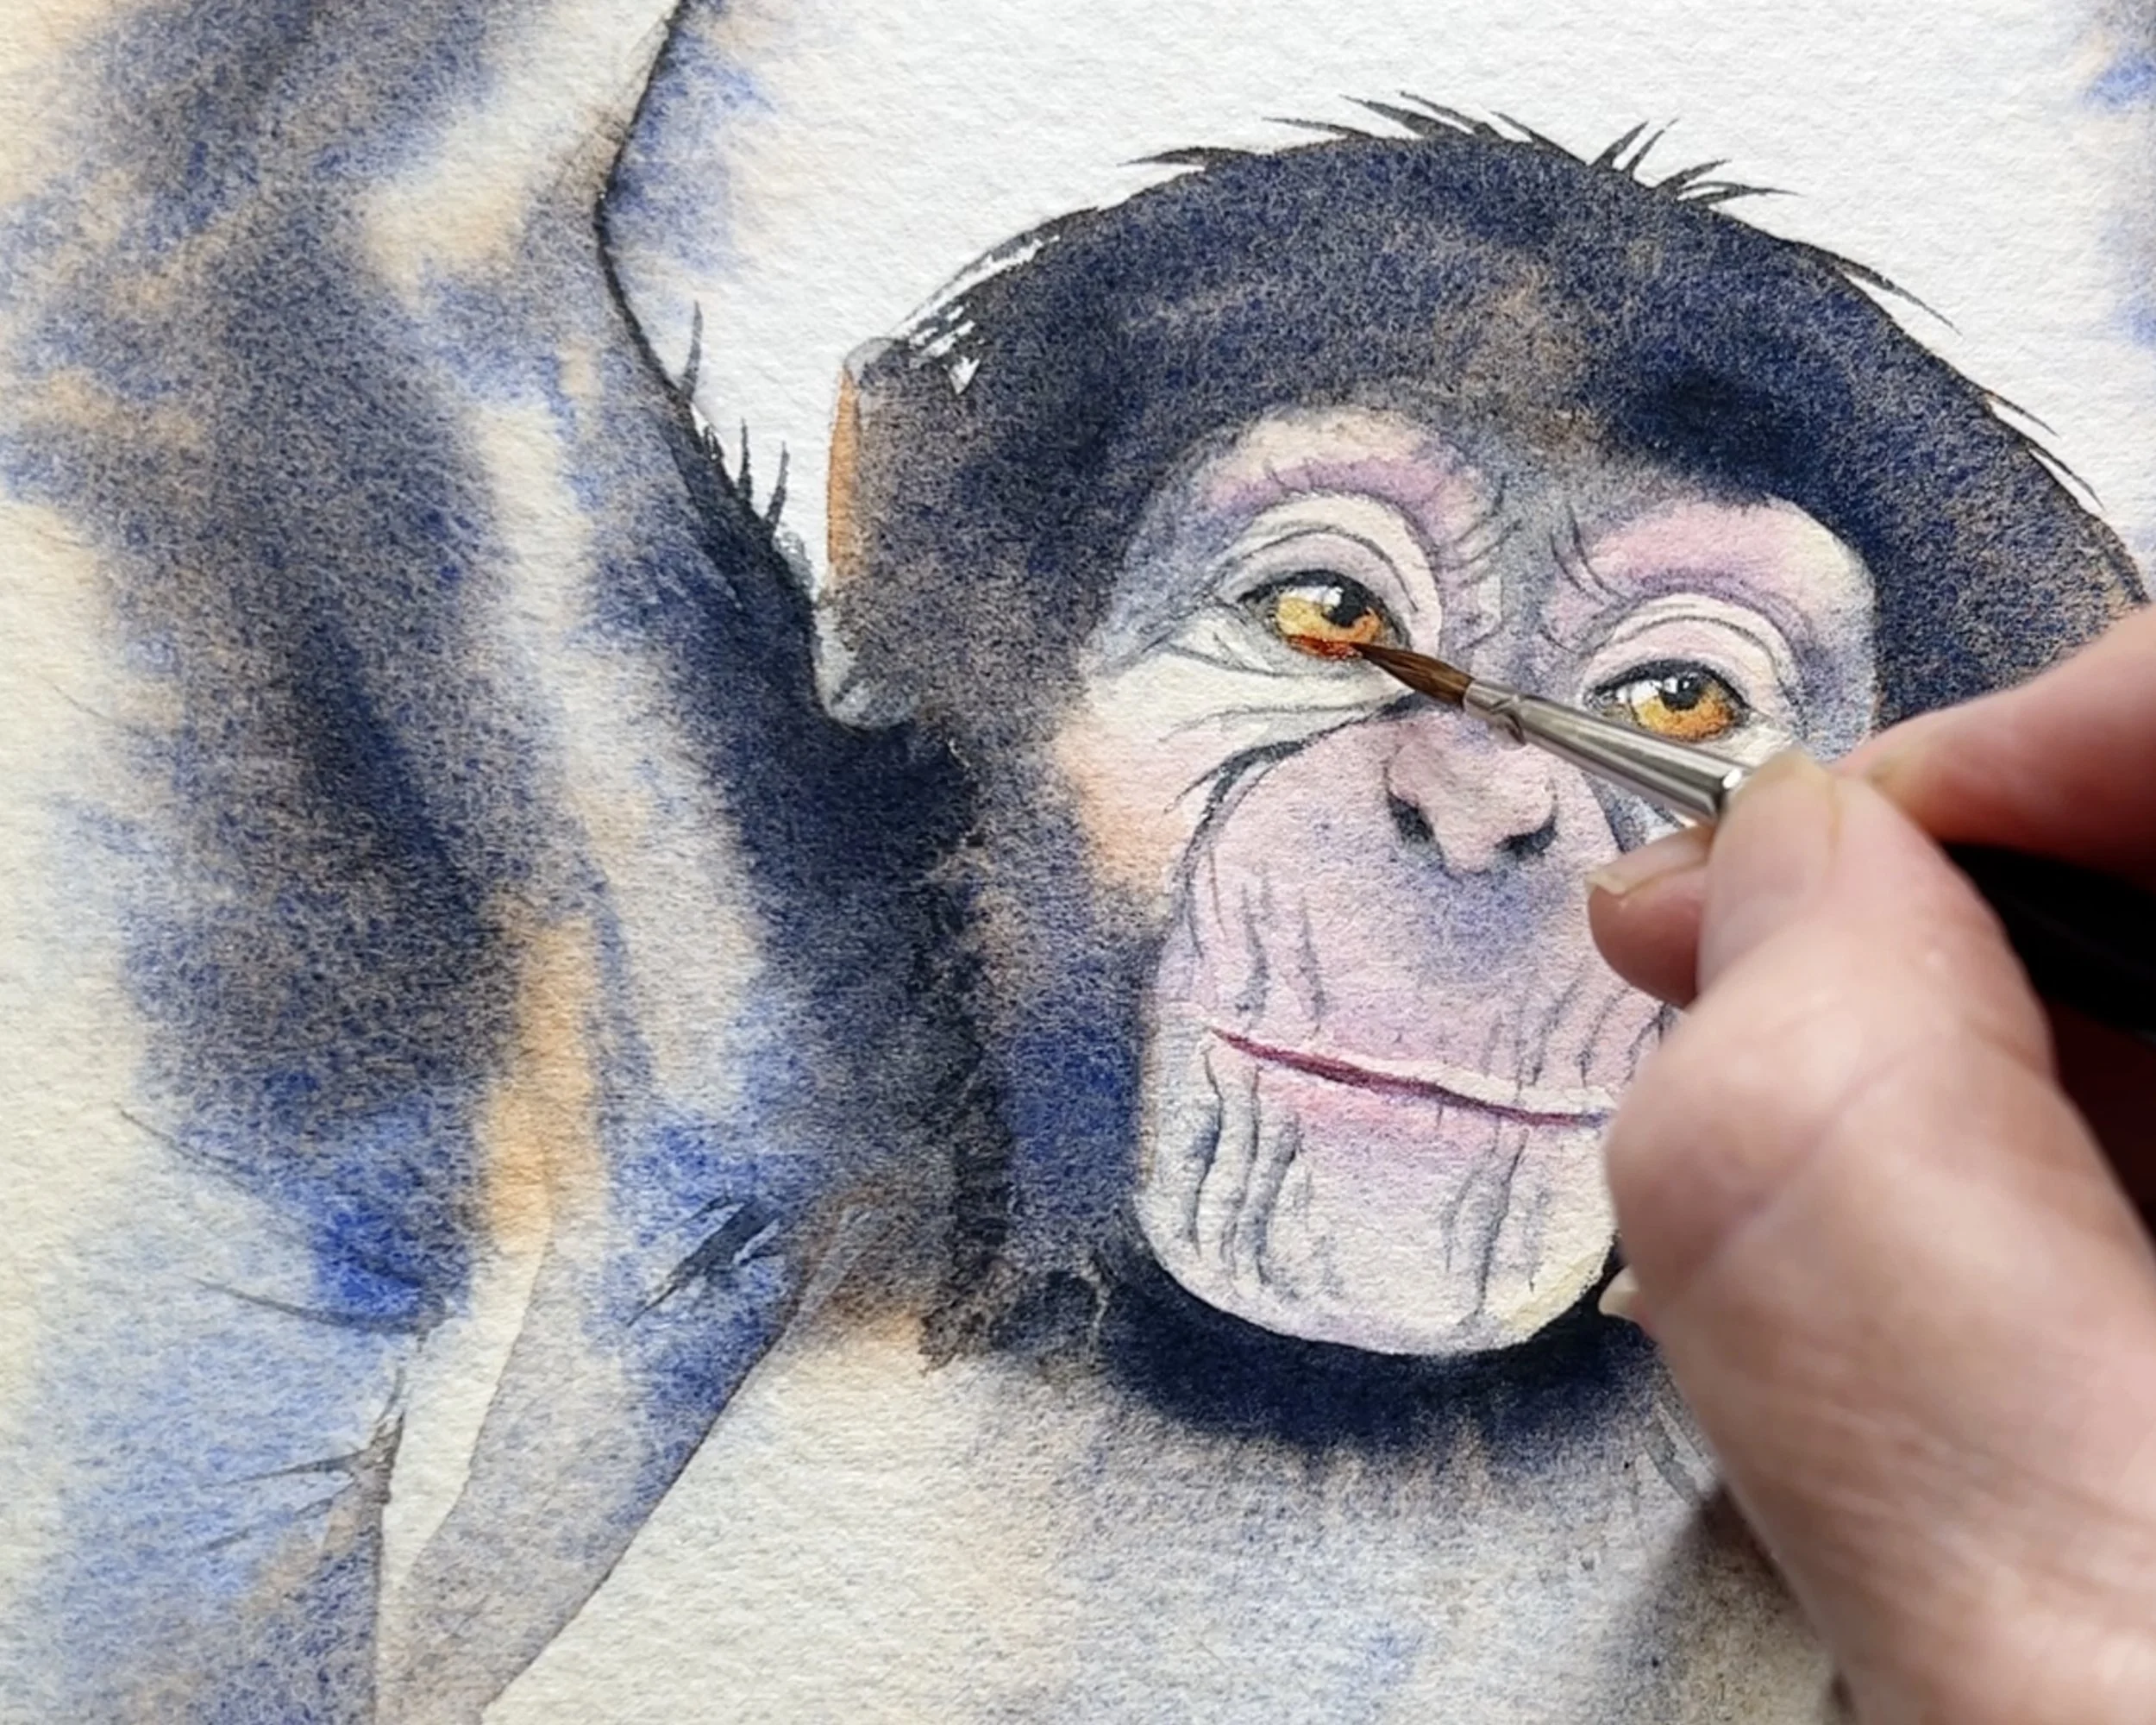
3. Glazing in Watercolour
What it is
Building up a painting by layering transparent washes of colour over completely dry paint. Each layer subtly modifies the colour and value beneath it without obscuring it.
Why it matters
Glazing allows you to build depth gradually without losing the luminosity of earlier layers. It’s one of the most effective ways to strengthen values and adjust colour temperature in watercolour.
Best used for
Building depth and form
Adjusting colour temperature
Strengthening shadows
Glazing blue over green.
Tips
Each glaze must be fully dry before applying the next layer. Use a soft brush and a light touch to avoid disturbing the pigment underneath. Fewer, well-considered layers usually result in fresher colour than many heavy ones.
If you’d like a deeper understanding of glazing, including common mistakes and how to avoid muddy colour, you can find a full explanation in my glazing guide.

Glazing orange over this tulip petal to add some warmth.
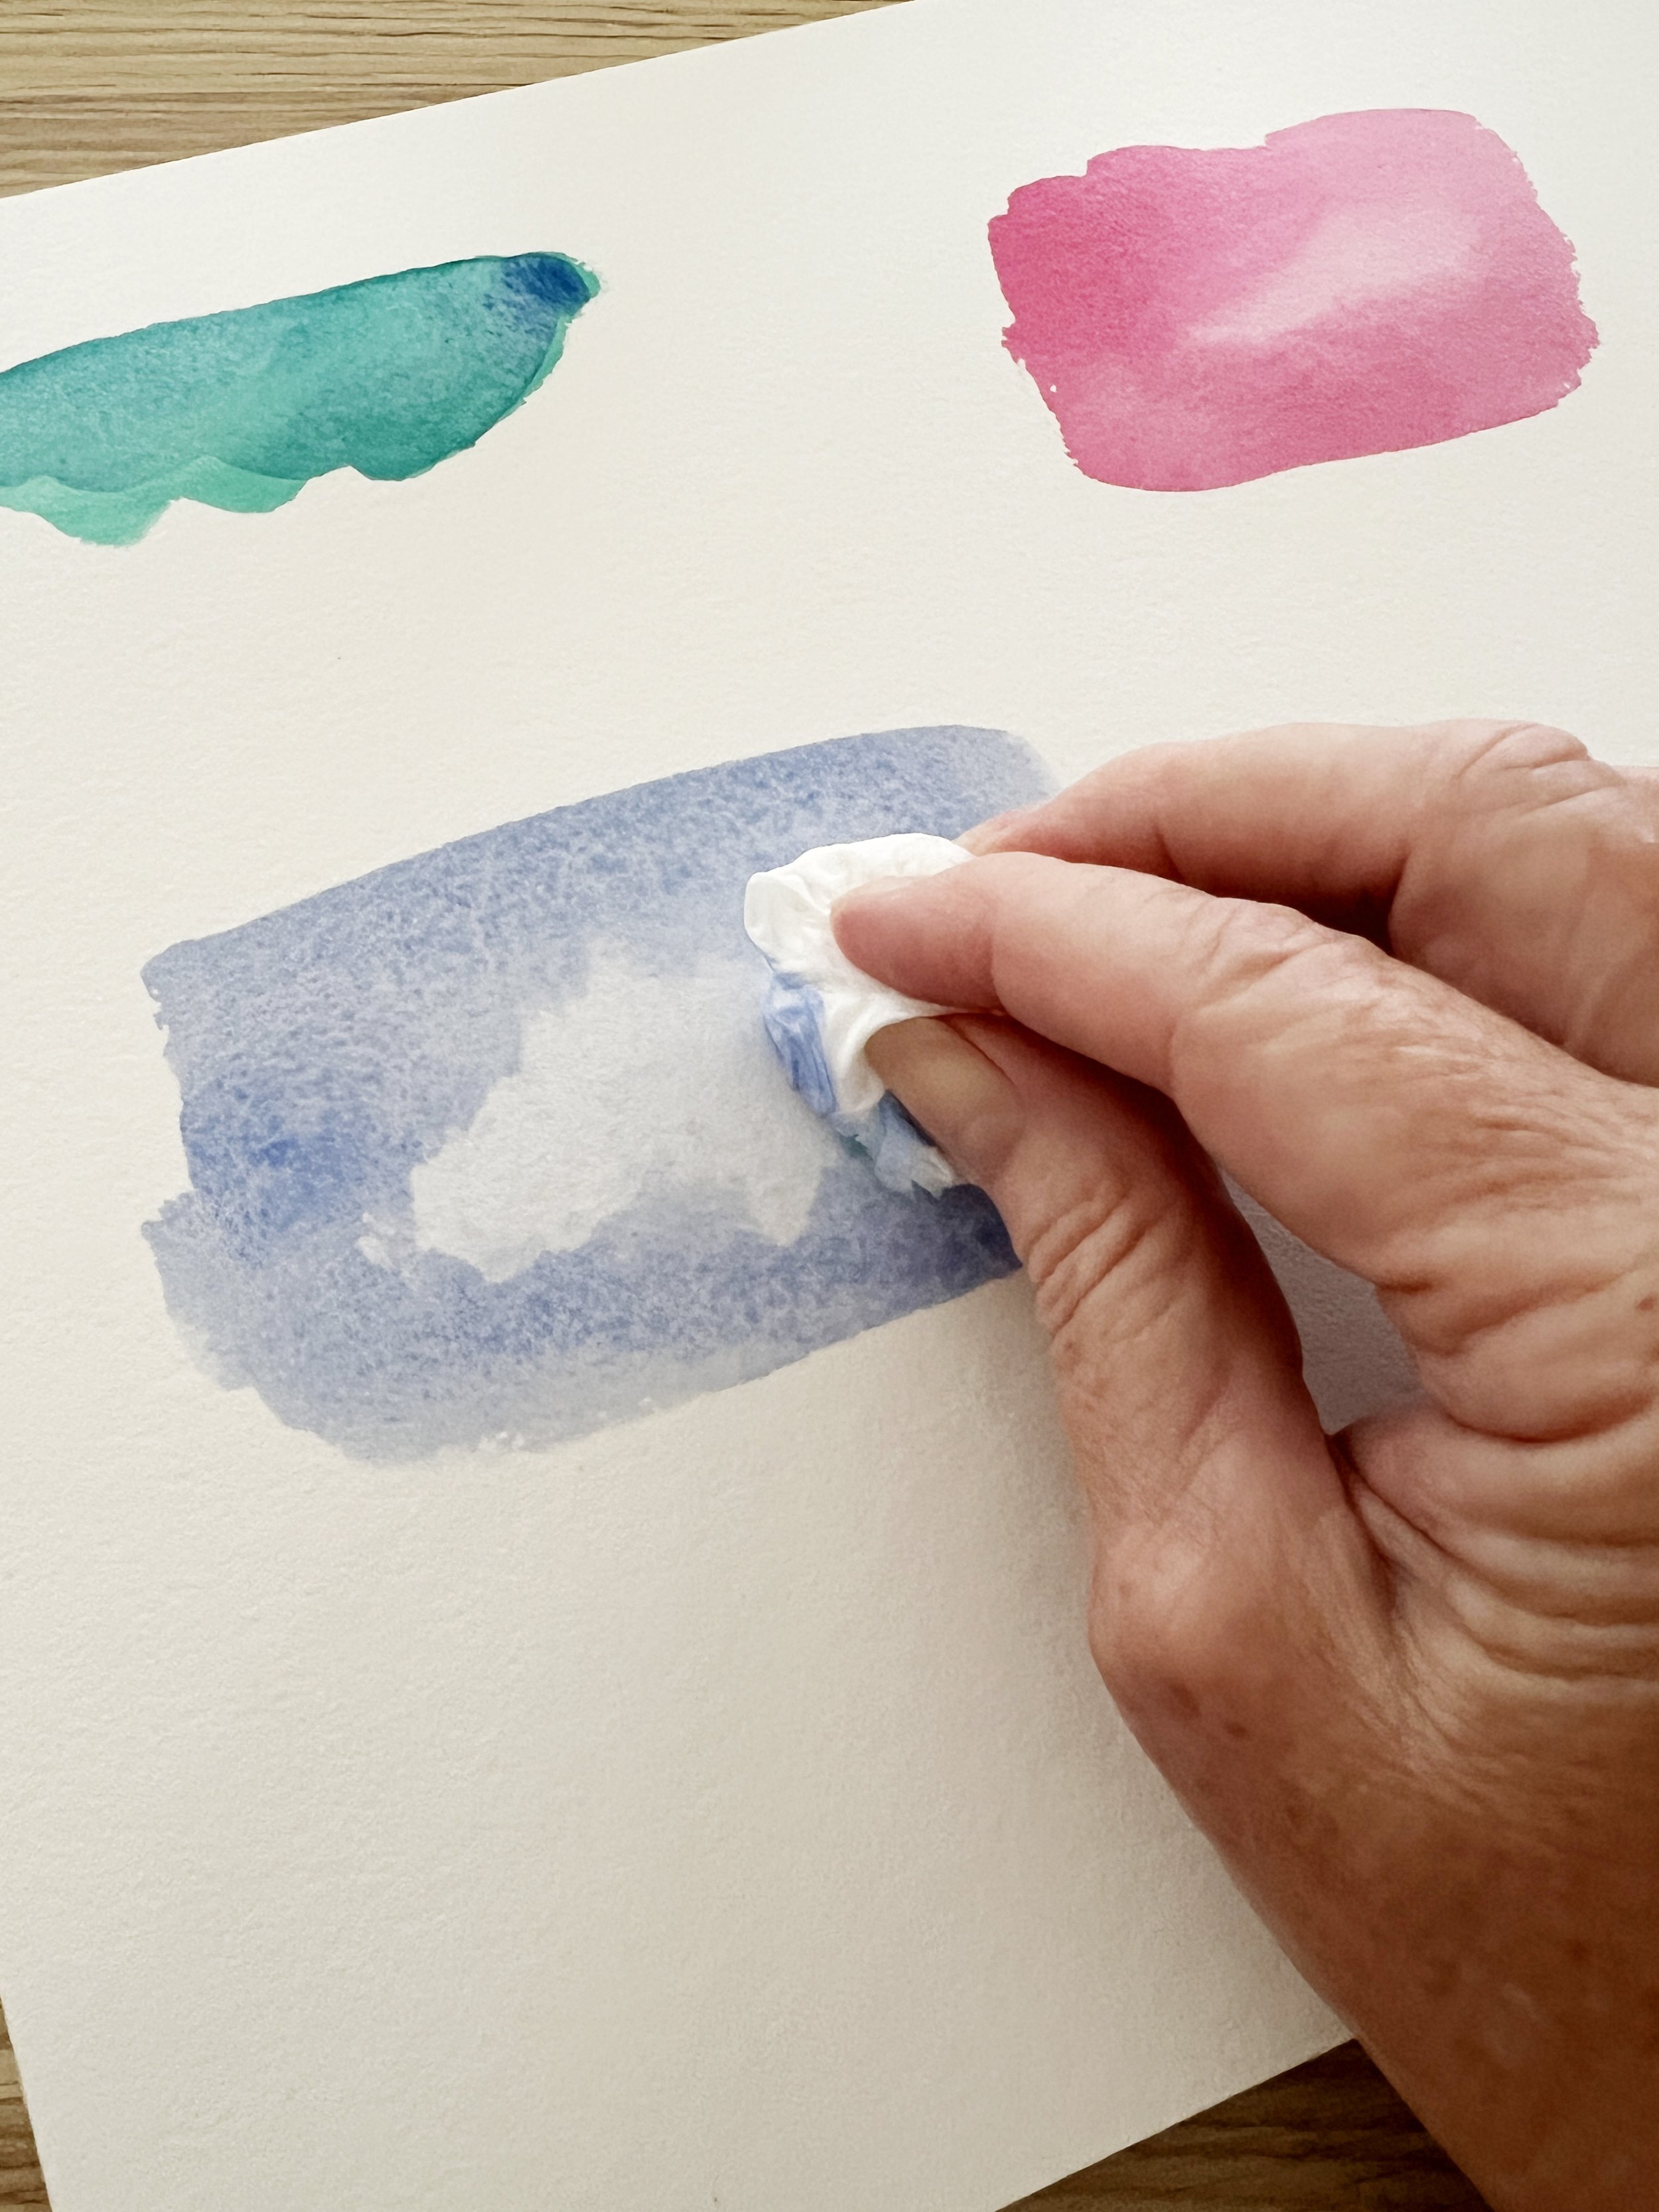
4. Lifting Watercolour Paint
What it is
Removing paint from the paper using a damp brush, paper towel, or cloth. This technique can be used while the paint is still wet or after it has dried, depending on the effect you want.
Why it matters
Lifting gives you flexibility. It allows you to create soft highlights, adjust shapes, and correct small mistakes without starting over.
Best used for
Soft highlights
Correcting small areas
Adding subtle texture
Tips
Lifting works best with non-staining colours and on good-quality paper. Timing is crucial: damp paper lifts differently than fully wet or completely dry paper. Lift or dab gently to avoid damaging the surface.
If you’d like a more in-depth explanation of lifting at different stages of dryness, you can explore this further in my detailed lifting tutorial.
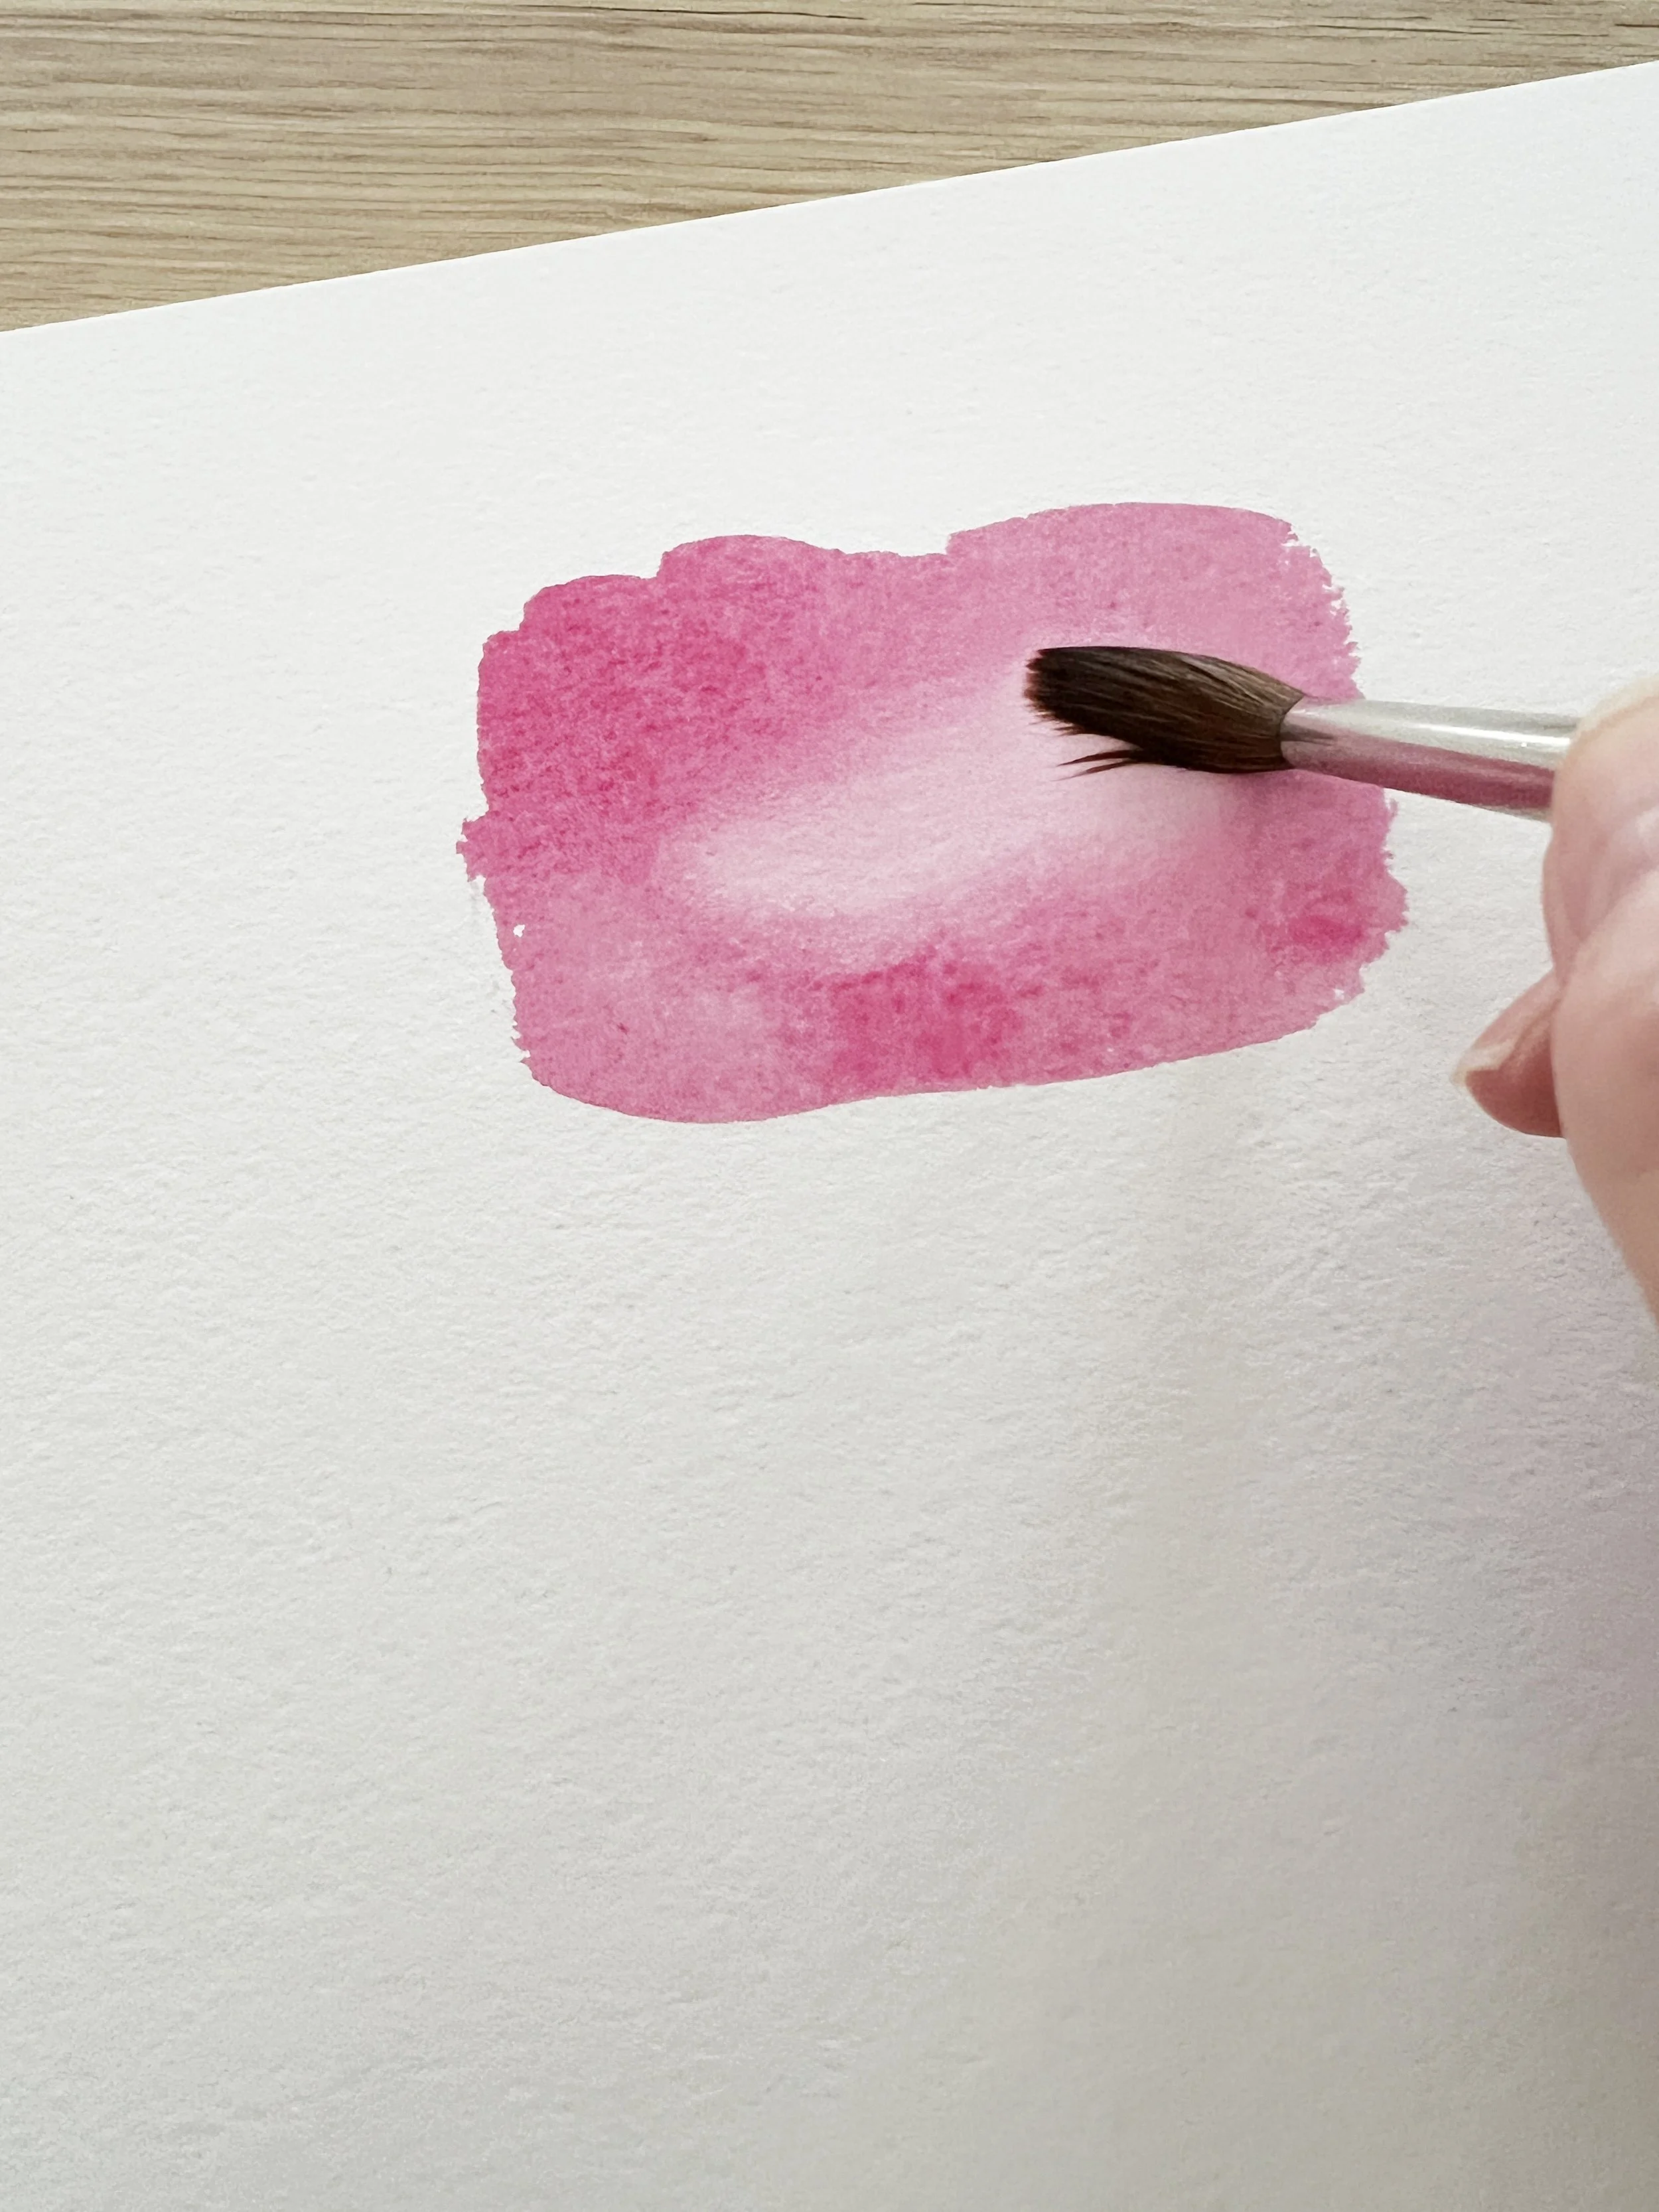
Lifting paint with a brush before the paint dries.
Lifting paint with a tissue.
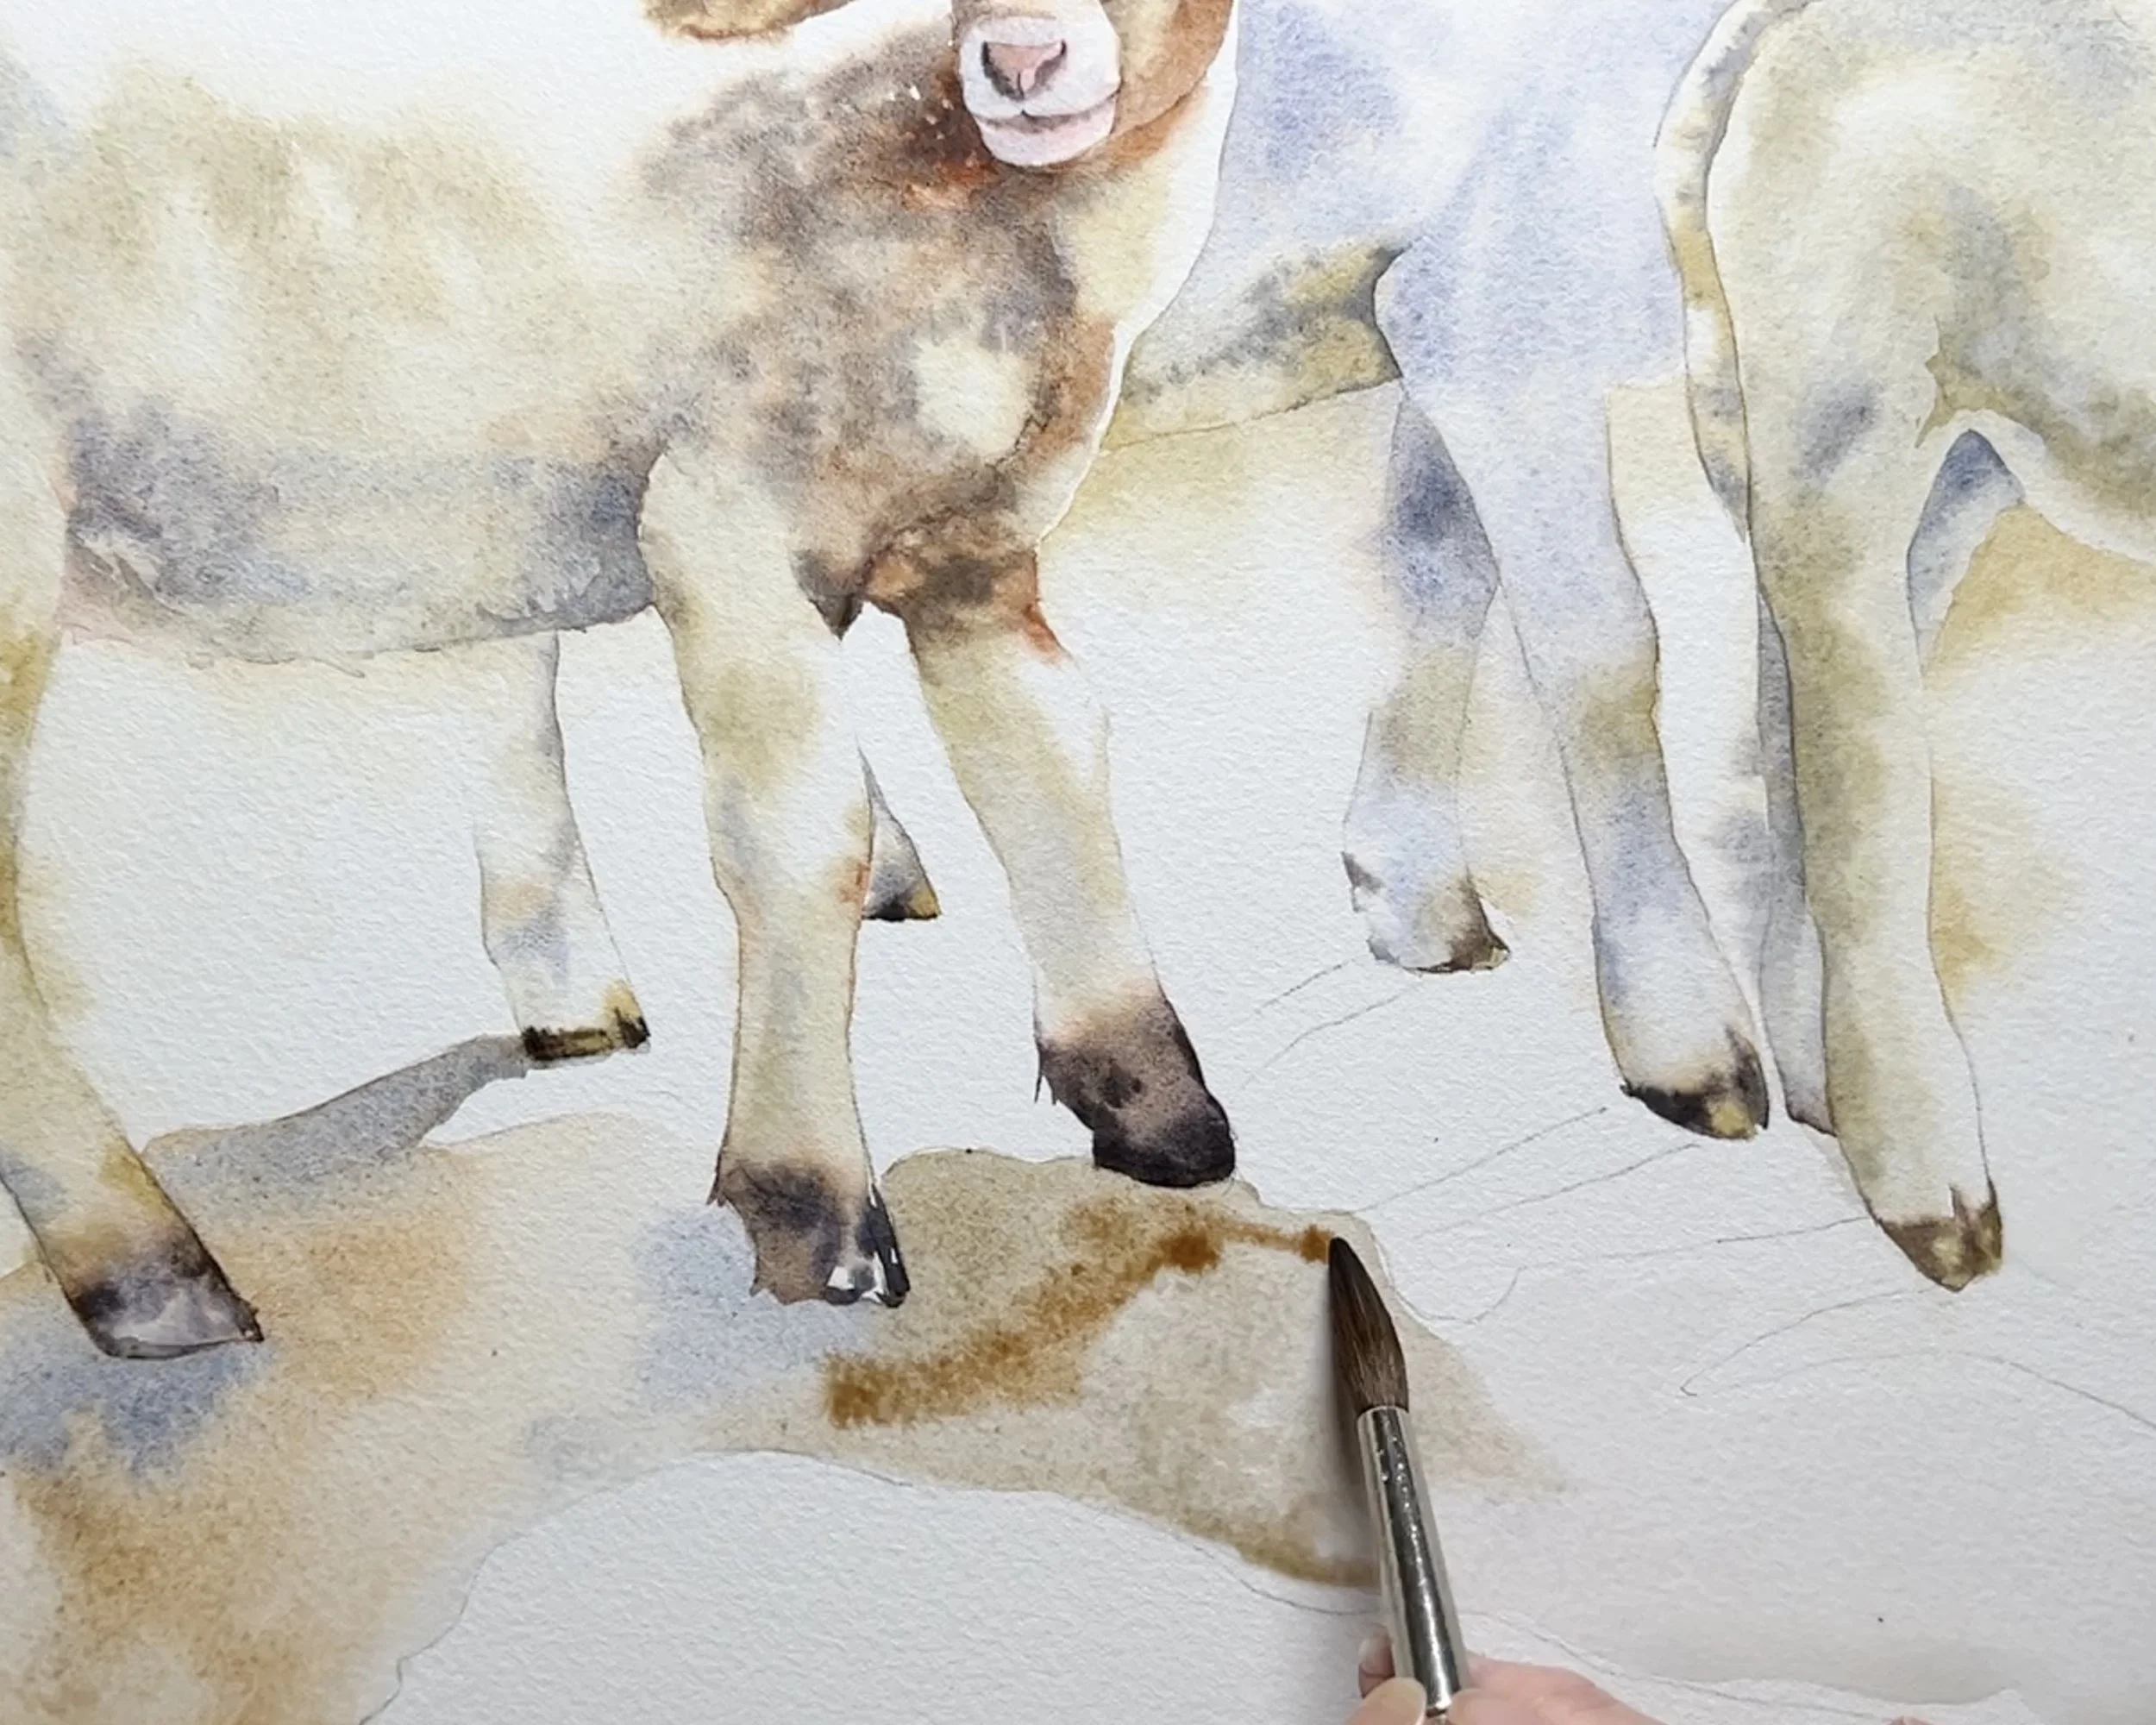
5. Dry Brush Watercolour Technique
What it is
Using a damp brush and paint on dry paper. Tilt your brush so it’s almost lying on its side, allowing the belly of the bristles to lightly skim across the paper instead of using the pointed tip. The dry surface catches the pigment unevenly, creating broken, textured marks.

Dry brushing shows the texture of the paper.
Why it matters
Dry brush creates broken marks that suggest texture without spelling out every detail. It’s an effective way to add visual interest while keeping your painting loose.
Best used for
Fur, bark, and grasses
Rough surfaces
Textural accents
Tips
Cold press paper is ideal for dry brush because the texture of the paper catches the pigment. Keep your hand light and resist the urge to overwork the area. Sometimes softening a dry-brushed passage with a wet brush before it fully dries can help integrate it into the rest of the painting. I like to use an old brush, that can hold a lot of water.
For a more detailed look at brush loading and mark-making, you can find additional guidance in my dry brush post.
The rock in this painting was painted using the dry brush technique.
6. Softening Edges in Watercolour
What it is
Gently blurring a hard edge using a clean, damp brush. This allows the paint to fade gradually into the surrounding area rather than stopping abruptly.
Why it matters
Softening edges helps shapes recede and prevents them from looking cut out. It’s an important tool for creating depth and natural transitions.
Best used for
Background elements
Subtle transitions
Creating depth
Tips
This technique works best while the paint is still wet. Blot your brush lightly before touching the paper because too much water will create blooms, while too little won’t soften the edge effectively.
If you’d like an in-depth explanation of edge control and how soft and hard edges work together, I’ve covered this in more detail in a separate post.
Running a damp brush along the bottom edge of this shape to soften it.
7. Charging in Colour
What it is
Introducing a stronger or different colour into a wet wash, allowing the pigments to mix naturally on the paper rather than on the palette.
Why it matters
Charging adds variation and energy to a wash, helping it feel lively and natural rather than flat.
Best used for
Colour variation
Expressive washes
Natural transitions
Tips
Match the moisture level of the added paint to the wash underneath. Once the colour is added, step back and allow it to move on its own. Overworking quickly destroys the effect.
If you’d like to explore this technique further, including how to avoid unwanted blooms, you’ll find a more in-depth explanation in my charging colour guide.
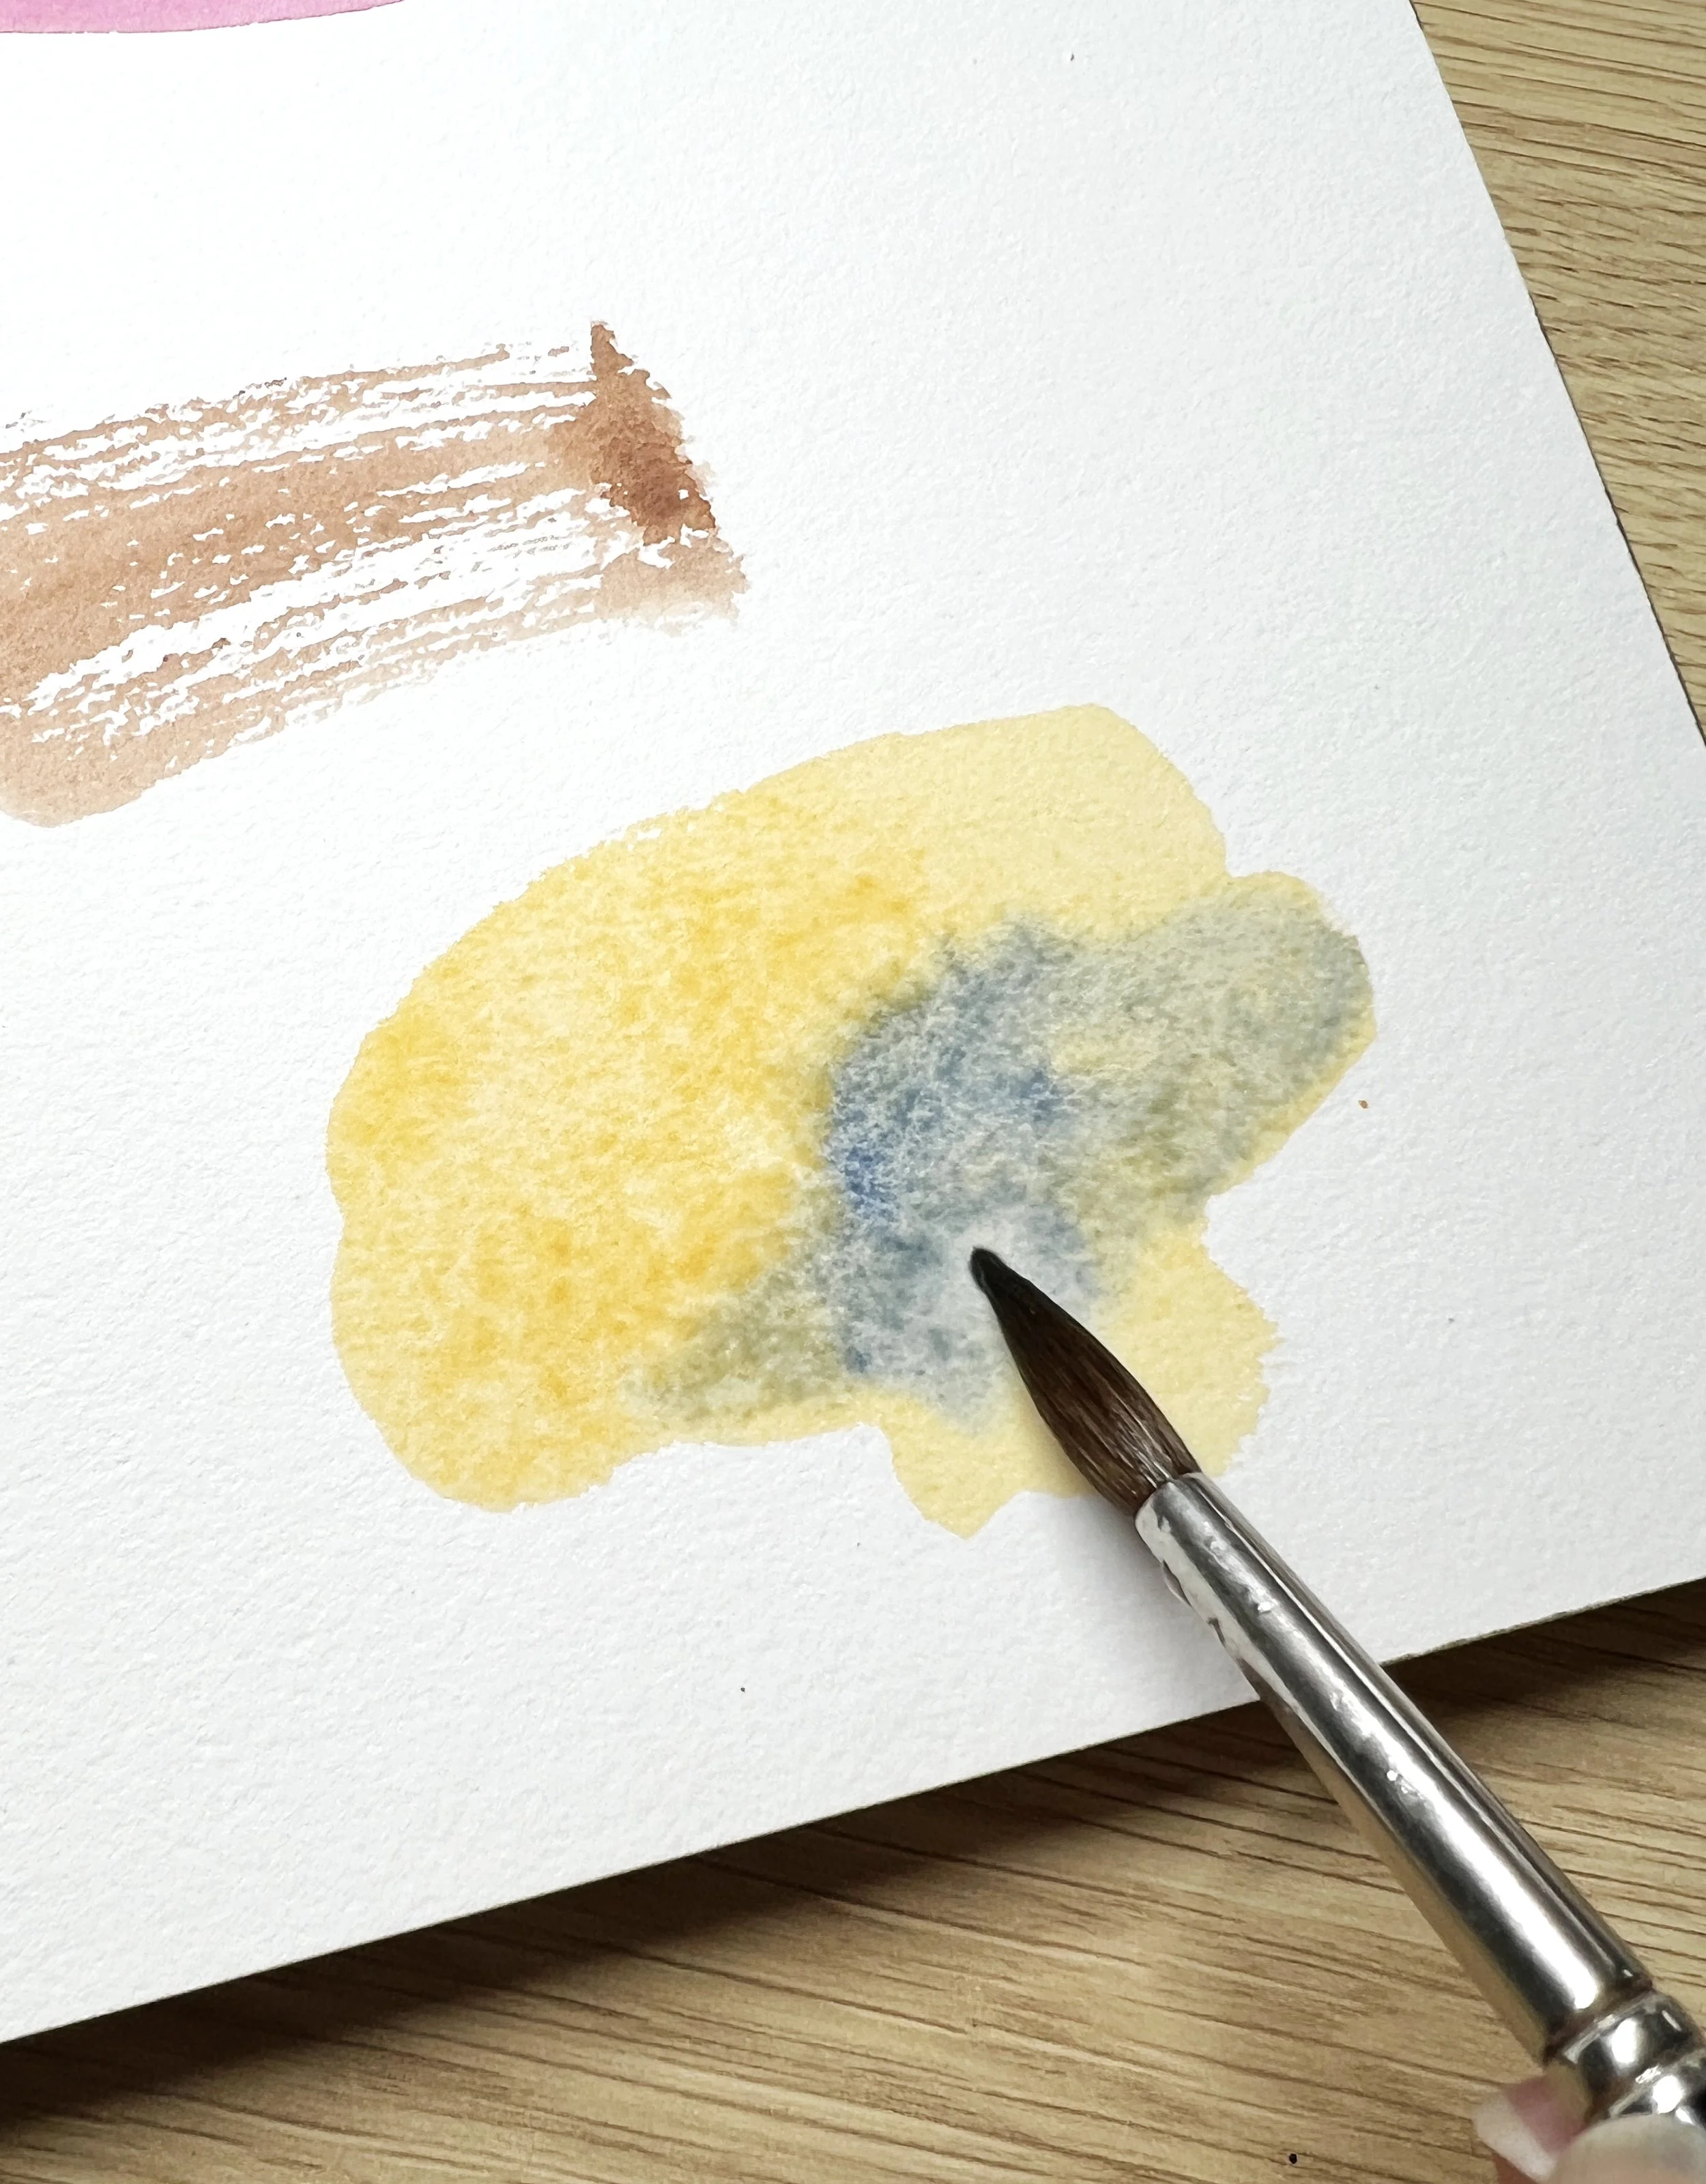
Charging blue into yellow.
8. Watercolour Blooms (Backruns)
What it is
An effect that occurs when additional water is introduced into a wash that is starting to dry, pushing pigment aside and creating organic, radiating patterns.
Why it matters
Blooms are often seen as mistakes, but when used intentionally they can add beautiful texture and organic movement.
Best used for
Textural effects
Expressive backgrounds
Loose, organic passages
Tips
For controlled blooms, add clean water to a wash that is just beginning to dry. Avoid blooms when you need smooth, even colour. The key is to use them deliberately rather than accidentally.
If you’d like to understand exactly why blooms happen and how to control them, I’ve written a more detailed explanation in a dedicated post.
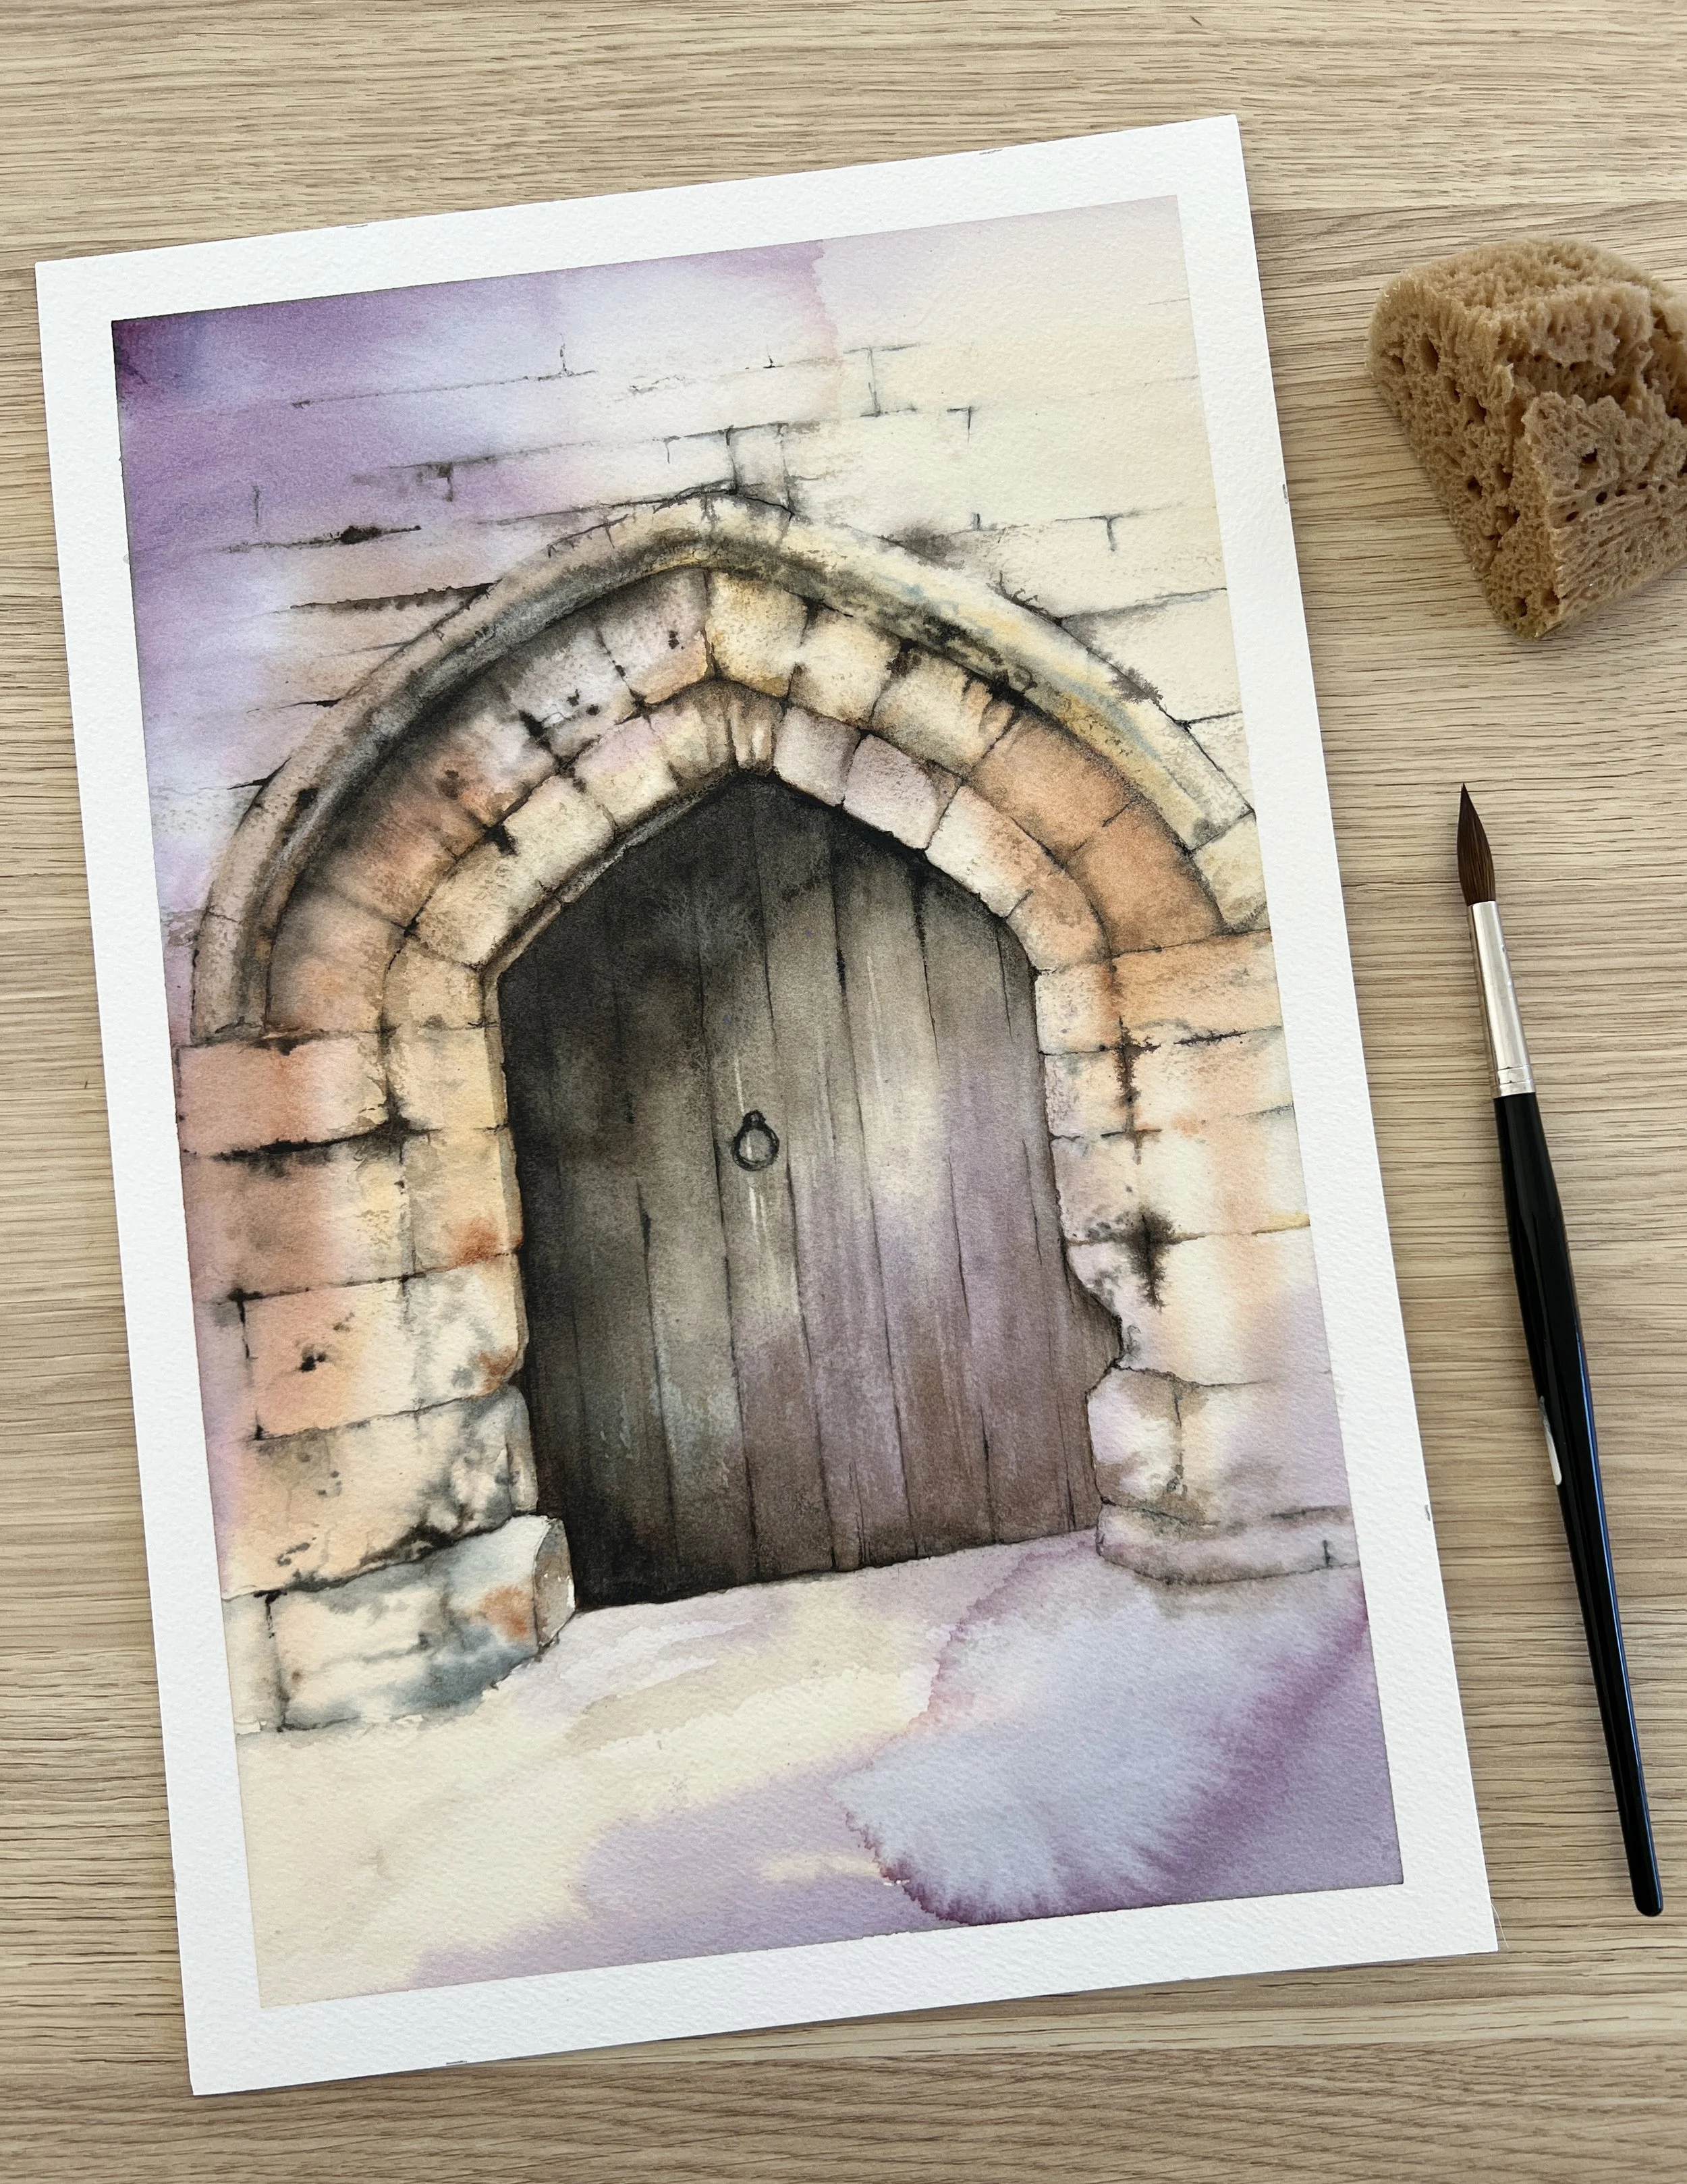
A deliberate bloom was added to the foreground of this castle door painting.
9. Negative Painting in Watercolour
What it is
Defining shapes by painting the surrounding areas instead of the object itself. The subject is created by what is left unpainted rather than what is filled in.
Why it matters
Negative painting helps define light shapes and creates a strong sense of depth and layering, especially in complex subjects like foliage.
Best used for
Leaves and feathers
Light shapes
Layered depth
Tips
Think in terms of abstract shapes rather than objects. Build the layers slowly and vary your edges to keep the painting from becoming stiff.
If you’d like an in-depth explanation of negative painting, including step-by-step examples, you can find more information in my negative painting post.
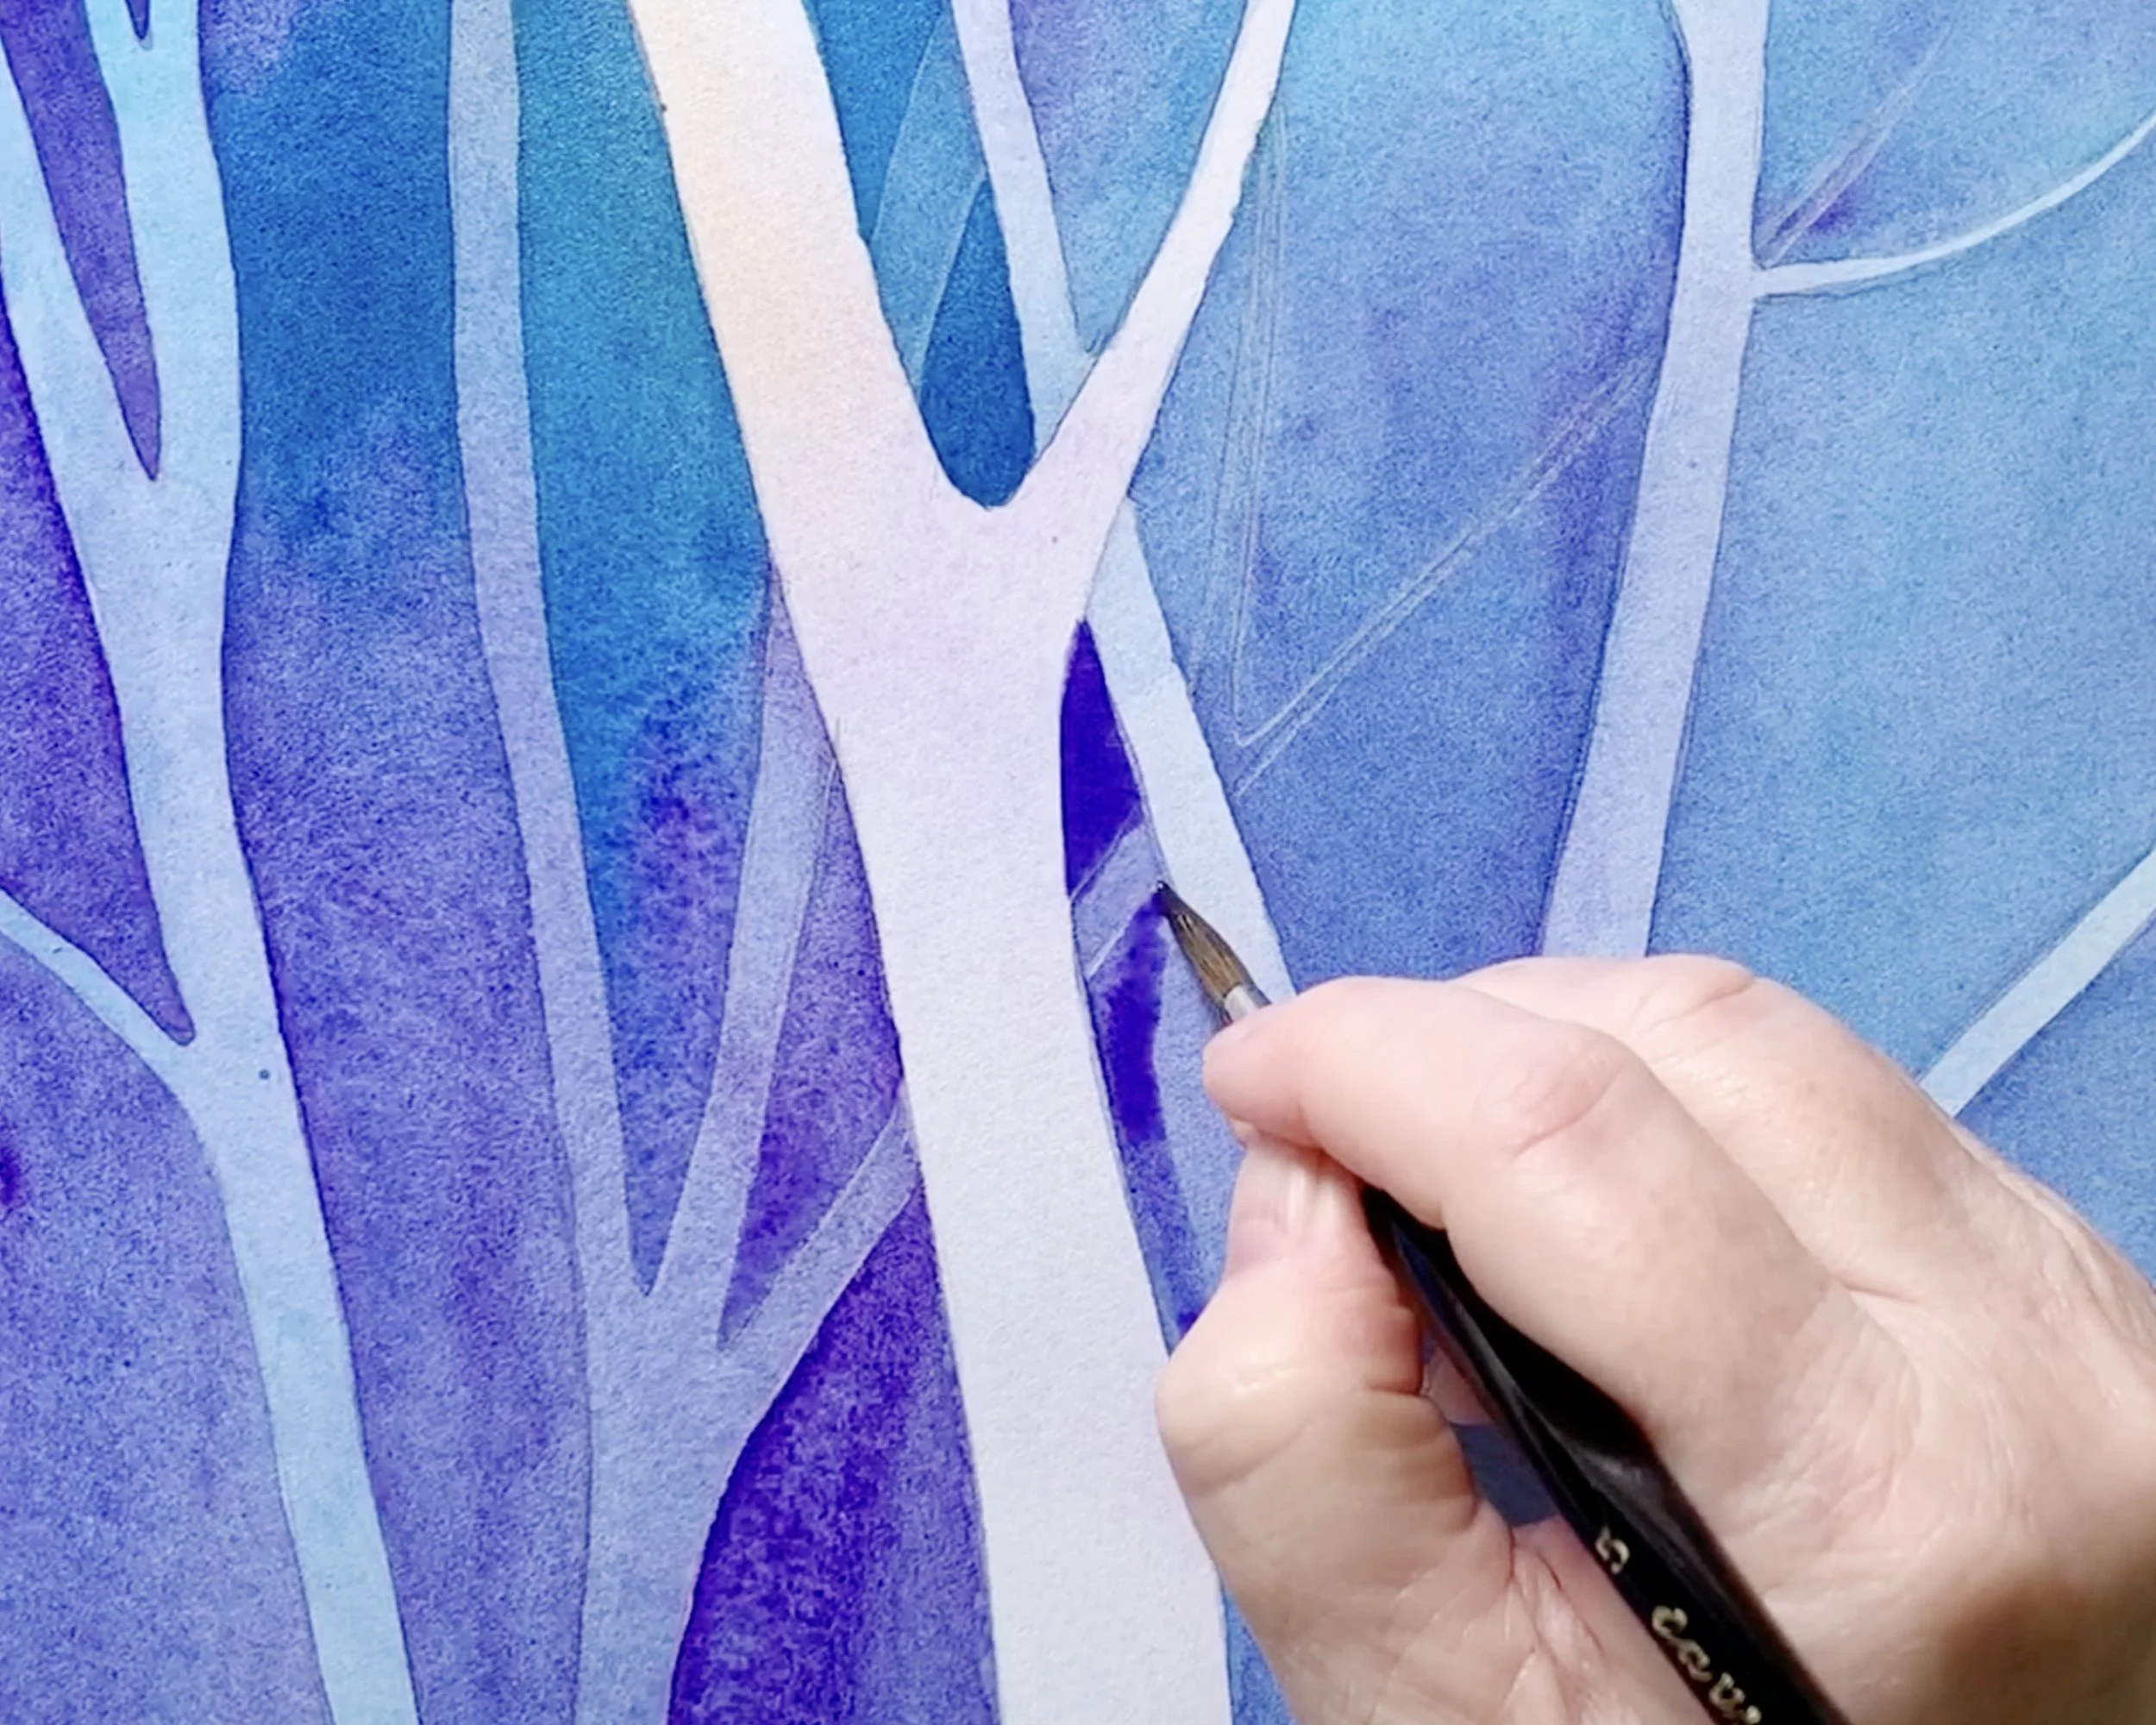
Painting tree trunks negatively by painting the spaces around them.
10. Preserving Whites in Watercolour
What it is
Keeping areas of the paper free of paint, either by carefully painting around them or by using masking fluid, in order to retain the brightest highlights.
Why it matters
The white of the paper is your brightest value in watercolour. Once it’s gone, it can’t be fully recovered.
Best used for
Bright highlights
Crisp details
Tips
Plan your whites early in the painting process. Use masking fluid sparingly and only when necessary. Often, careful brush control is a better solution than masking.
If you’d like to learn more about planning and protecting whites, I’ve covered this in more detail in a separate post.
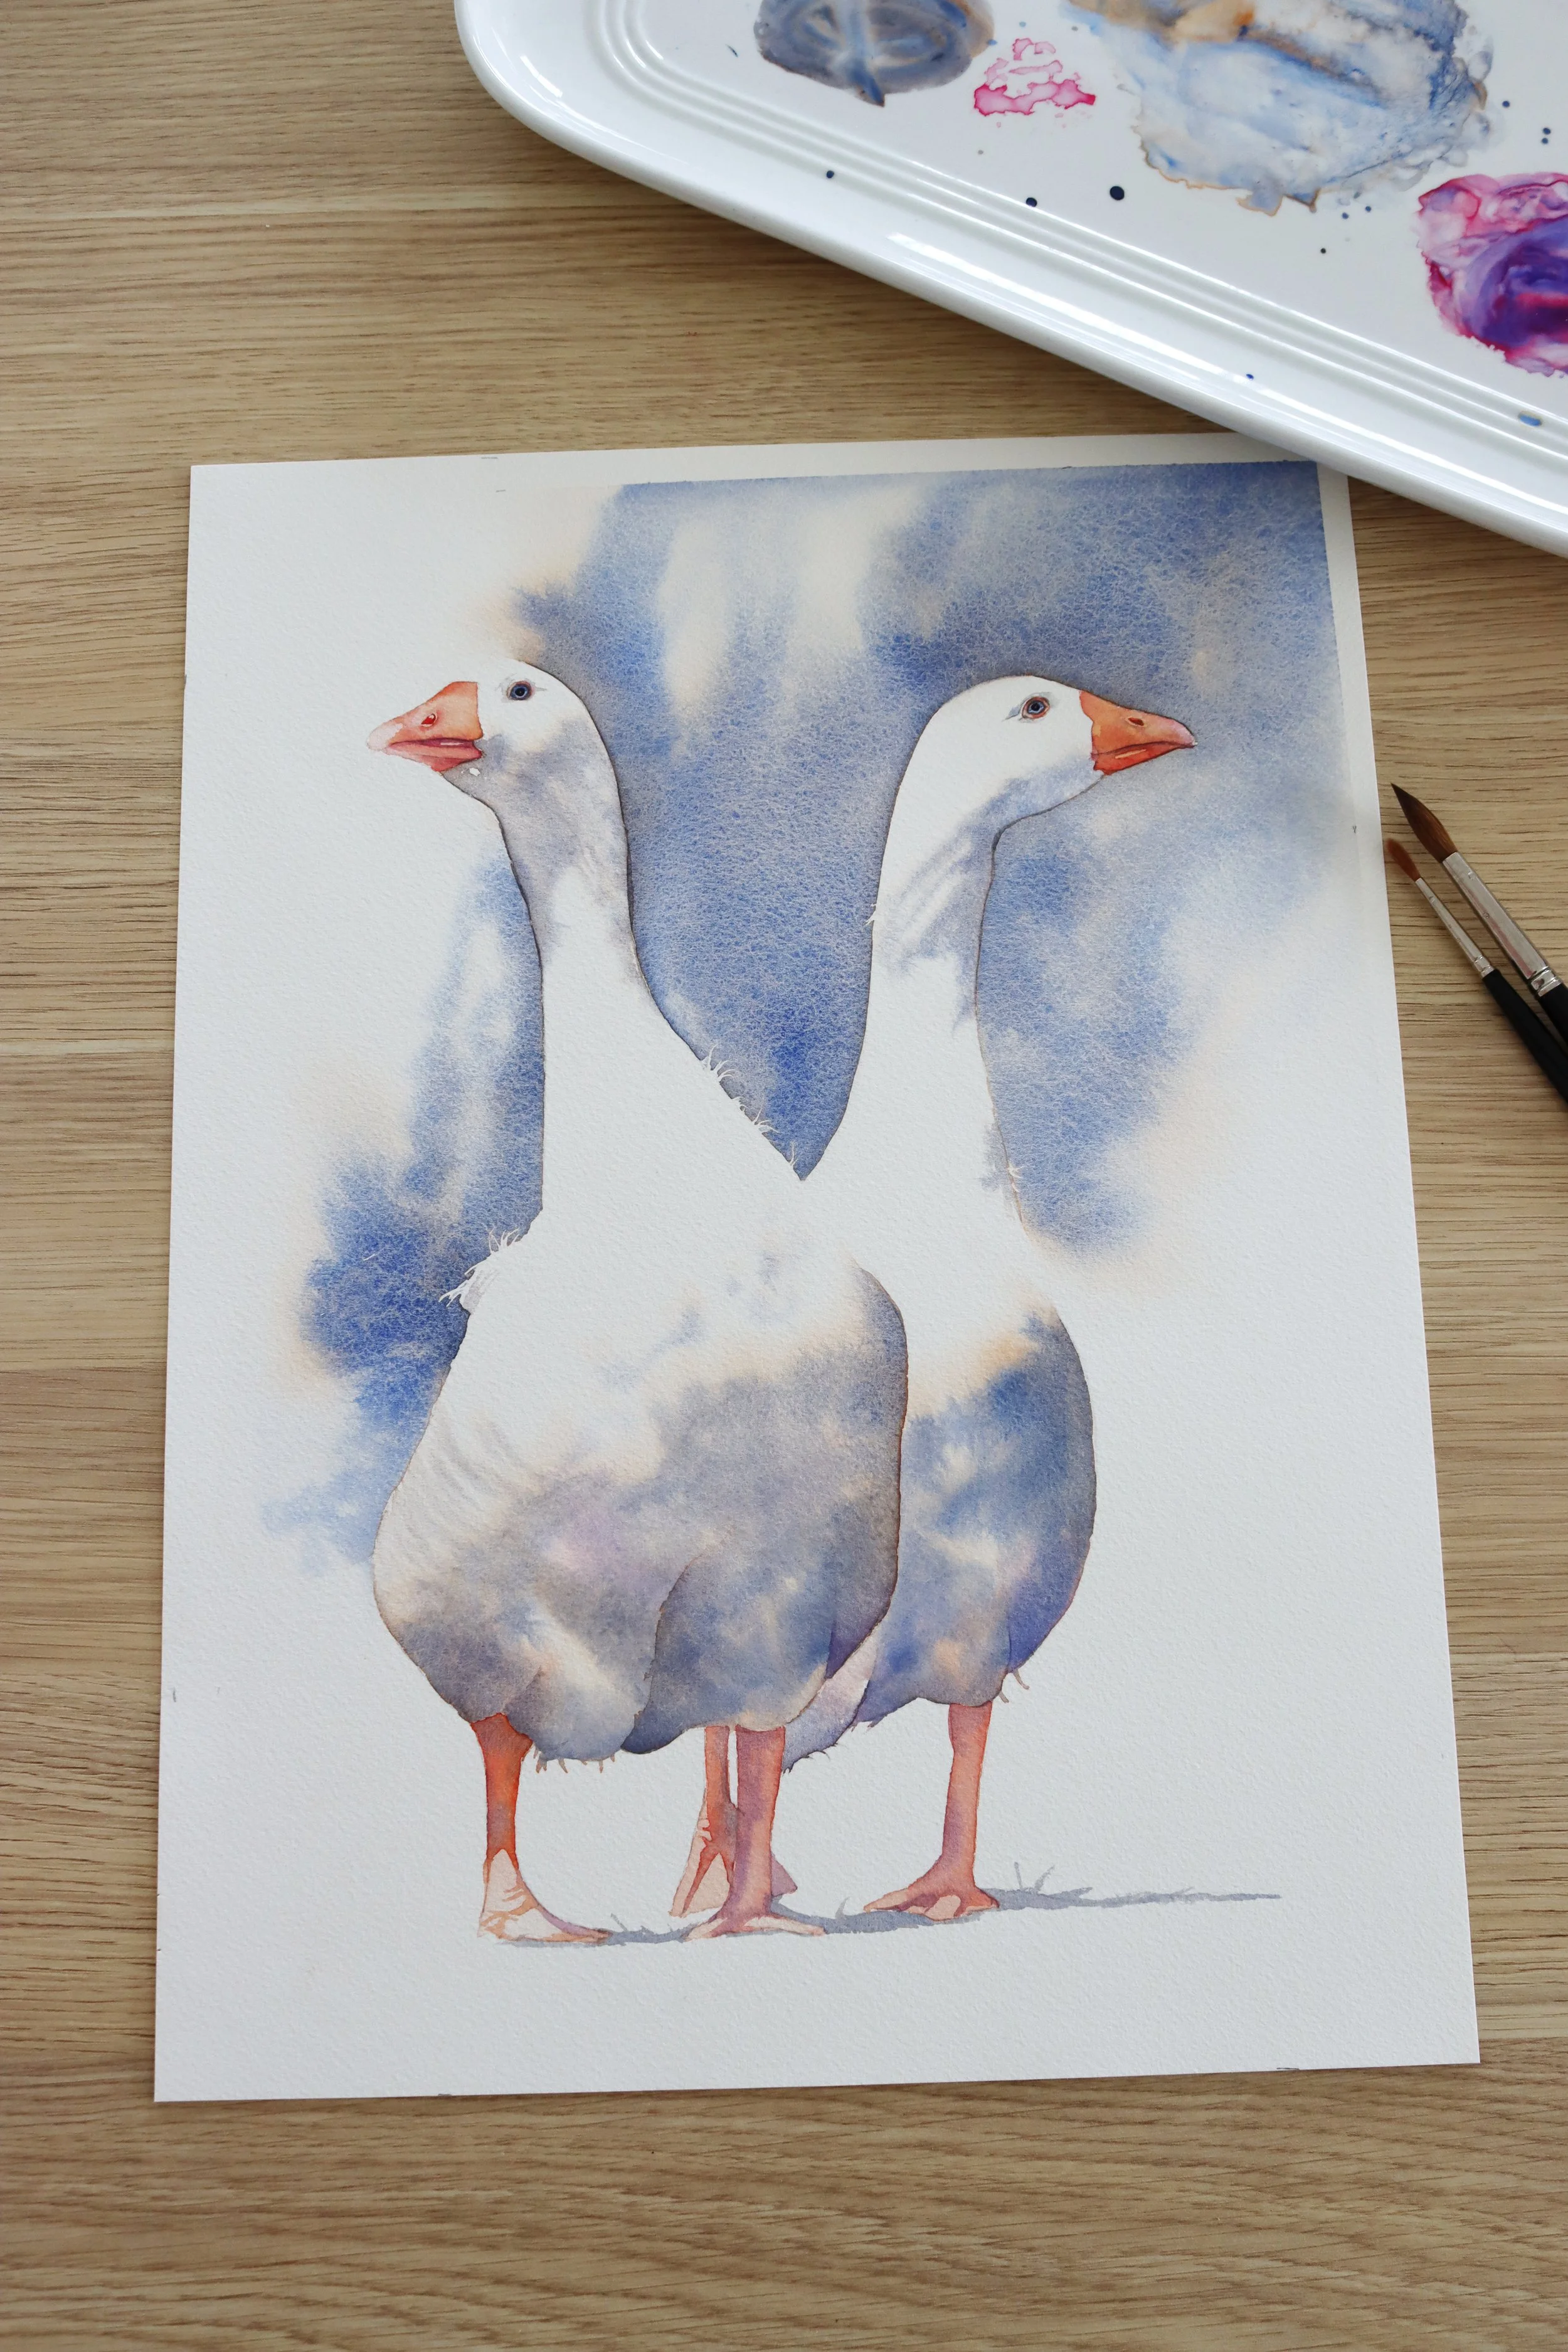
The white areas on these geese are unpainted - it is the paper showing.
🎨 Simple Practice Exercises
These short exercises will help you understand each technique without the pressure of making a finished painting.
Exercise 1: Edge Control - Paint three shapes:
one wet on dry
one wet on wet
one softened edge
Compare how the edges behave.
Exercise 2: Value Building with Glazing
Paint a simple shape using three transparent glaze layers. Let each layer dry completely.
Exercise 3: Texture Study
Create a small texture sheet using dry brush, lifting, and controlled blooms.
Exercise 4: Negative Shapes
Paint a cluster of leaves by painting only the background shapes around them.
If there’s one thing I hope you take from this, it’s that watercolour doesn’t need to feel rushed or intimidating. These techniques aren’t rules to memorise, but tools you return to again and again as your confidence grows. Even now, I still practice them in isolation, testing edges, watching how pigment settles, paying attention to timing - because each painting asks something slightly different.
If you enjoy these small studies, some of my tutorials are structured in the same way, focusing on one technique at a time before bringing everything together.
Returning to the Basics
If you’re a beginner, try not to feel that you need to master everything at once. Choose one technique and spend time with it. Notice how the paper behaves, how much water your brush is holding, how small changes affect the result. Progress in watercolour often happens quietly, through repetition and observation rather than big breakthroughs.
If you’d like to explore any of these techniques in more depth, I’ve written individual blog posts and filmed plenty tutorials that break them down step by step, with examples and exercises you can practice at your own pace. Come back to this list whenever you need a reminder, and let it guide your practice rather than limit it.
Watercolour rewards patience and curiosity. The more time you spend simply watching what happens on the paper, the more intuitive the process becomes and that’s when painting starts to feel not just controlled, but genuinely enjoyable.
Whenever you’re ready to move from practice sheets to finished paintings, you’ll find guided tutorials that walk you through the process.


